The Conversation (0)
Sign Up
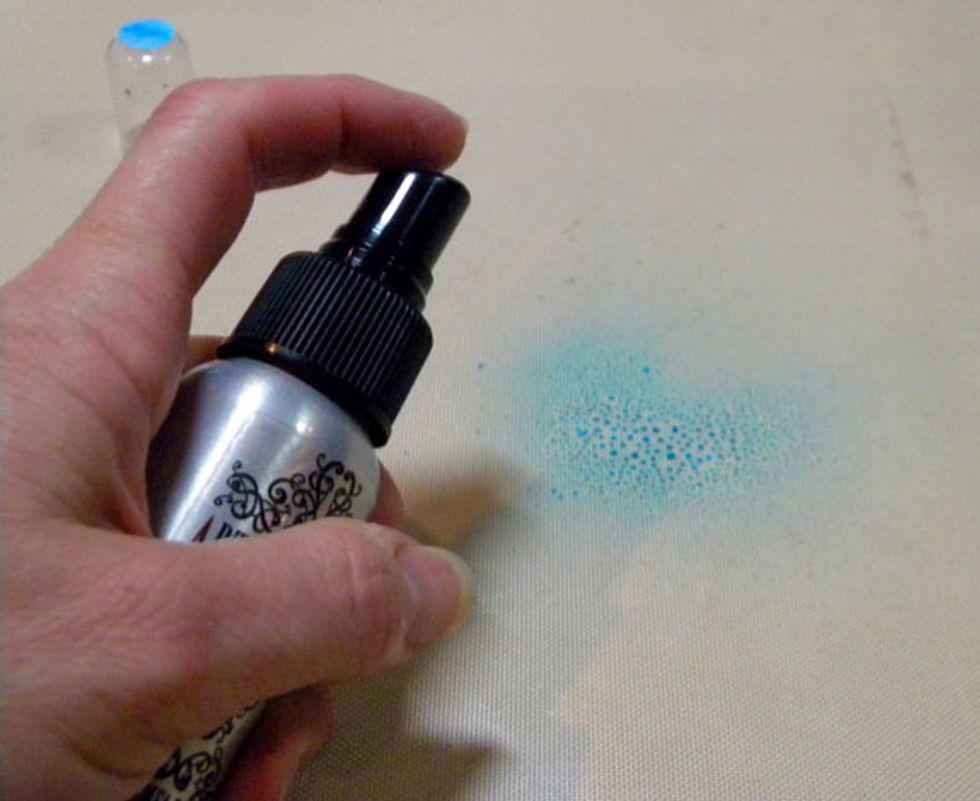
Spray Waimea Bay, Lark and Pearl Colorations Sprays onto the craft mat
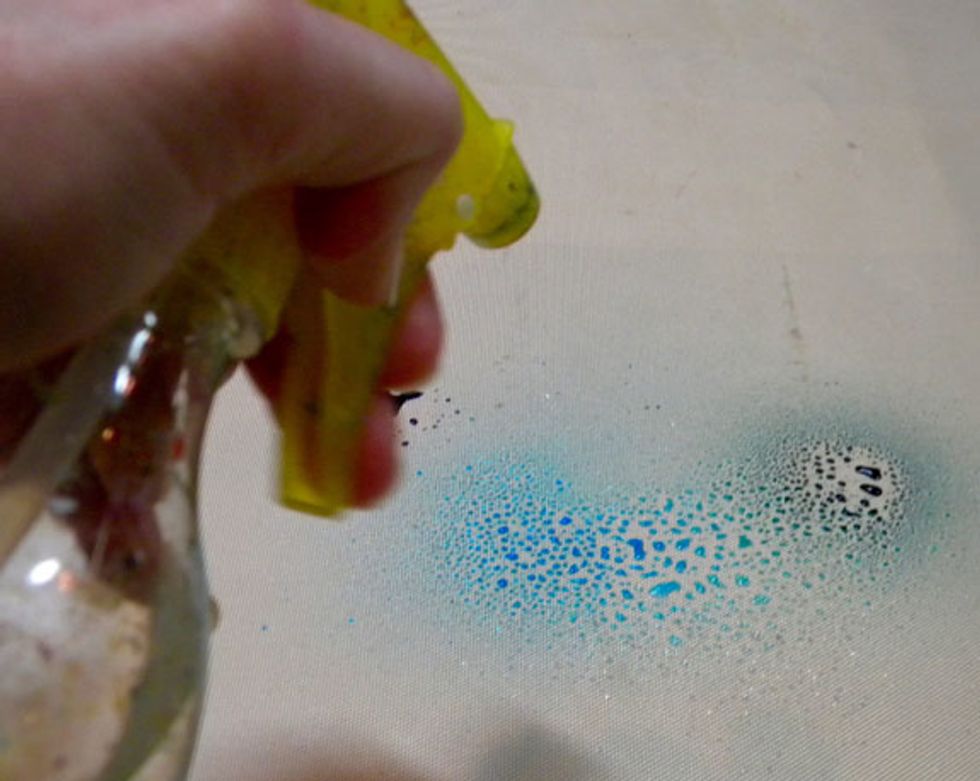
Spray a bit of water on top.
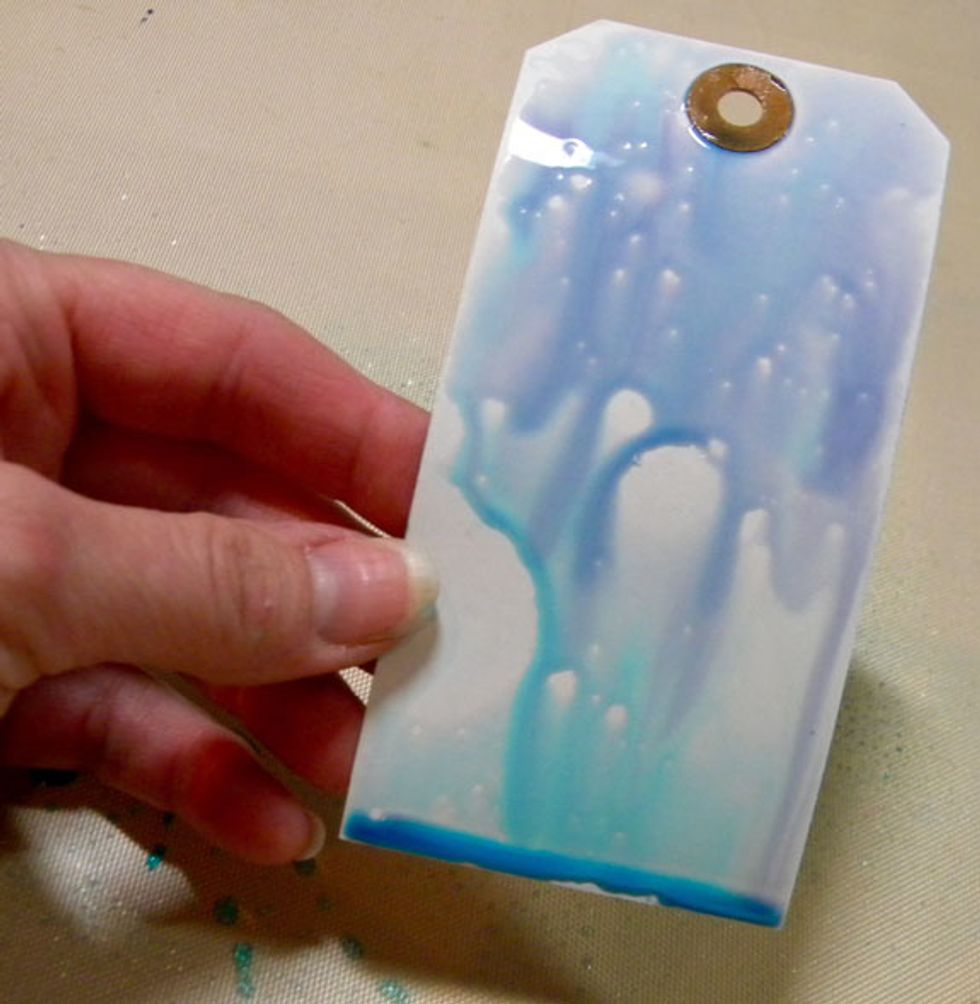
Swipe the tag into the spray and let it drip. Repeat till all the spray is gone.

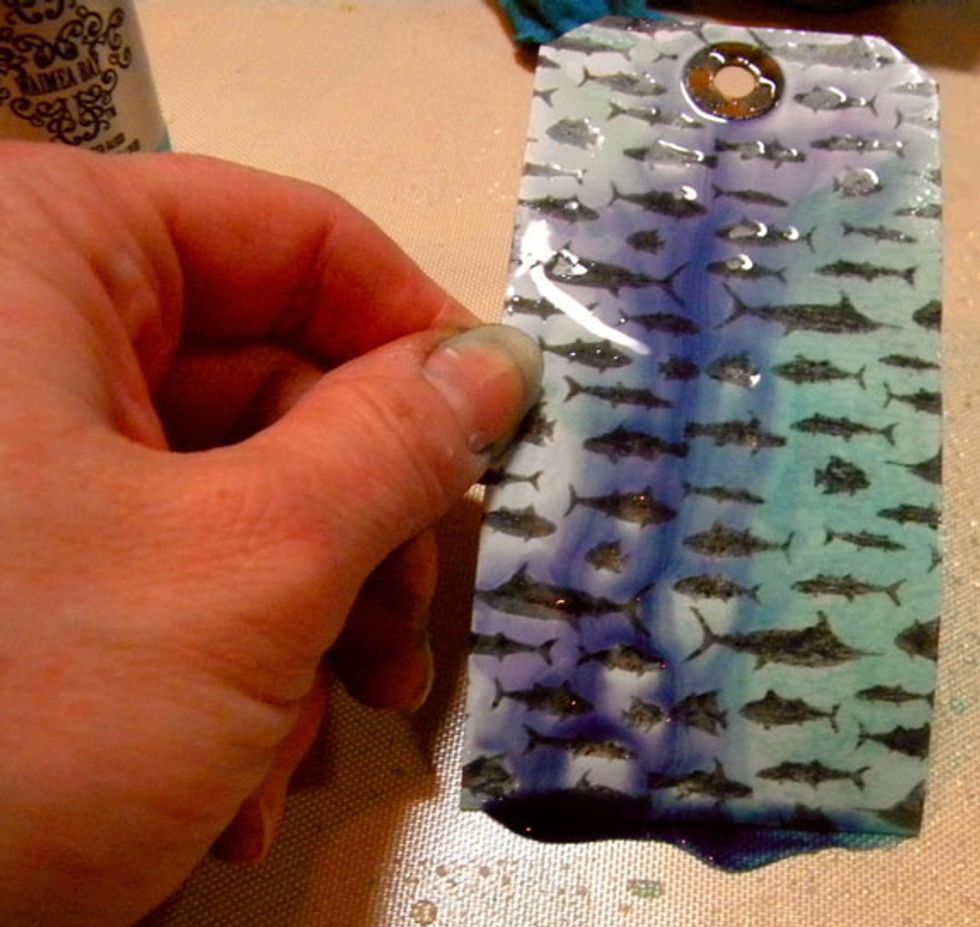
After stamping the image onto the tag, I added more Waimea Bay and Lark. By layering the colors, it makes them deeper and more intense.
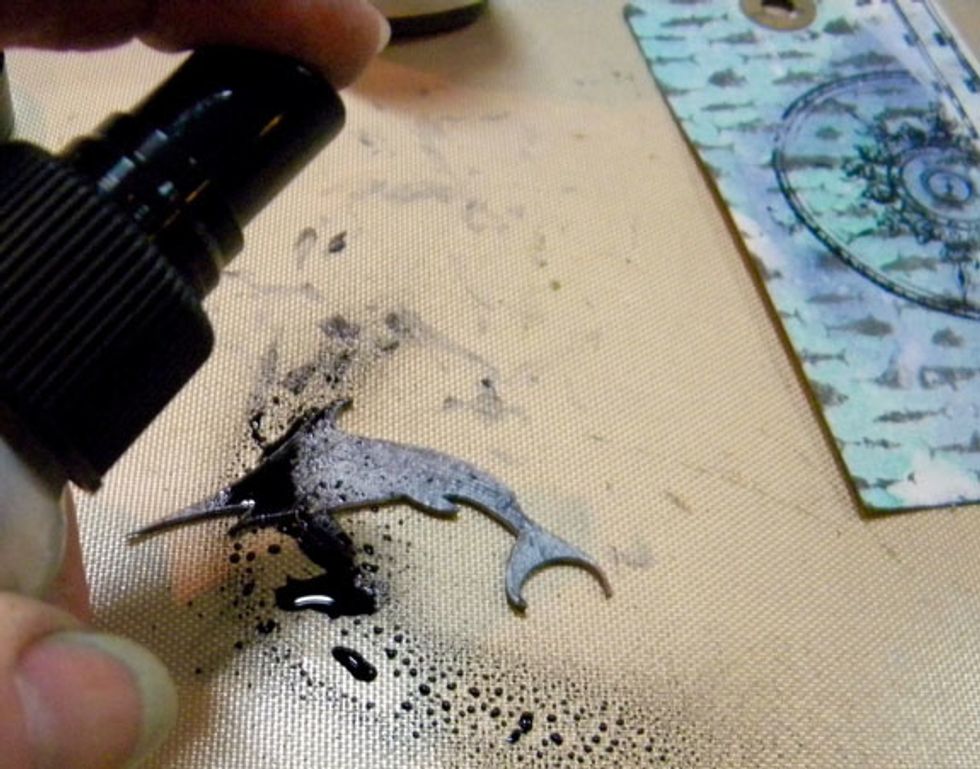
I had this cool word veneer fish from 7 Dots Studio and painted it using Ash Velvet paint. It wasn't dark enough so I sprayed it with Raider Colorations Spray and let it dry. Perfect!
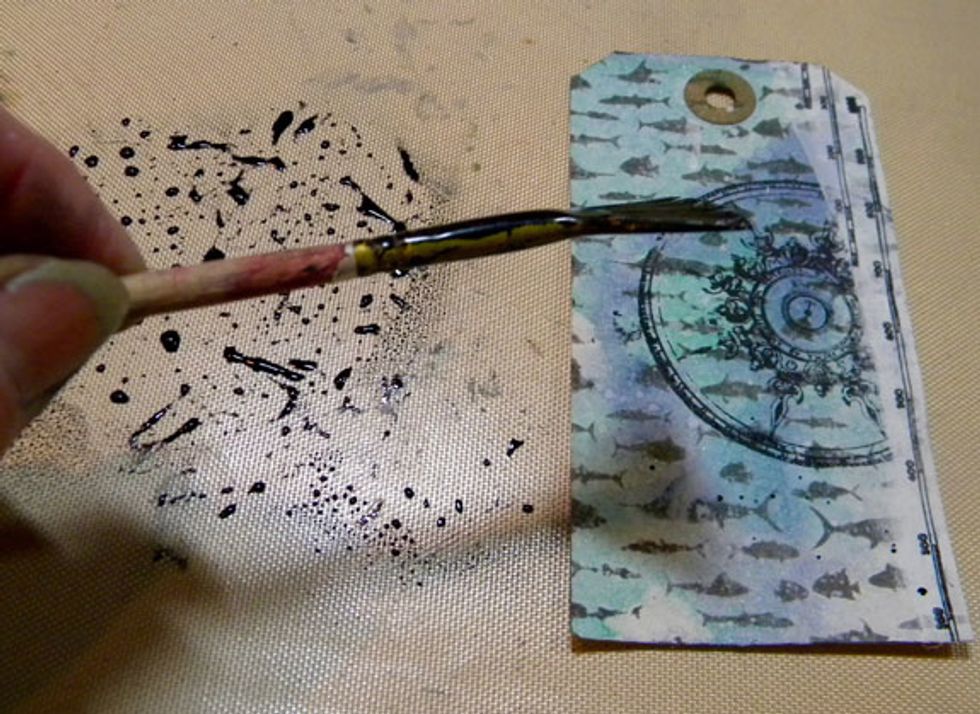
I added a bit of Velvet Cotton to the right edge and more stamps to the background. With the extra spray on the mat, I splattered some onto the tag using a fan brush.
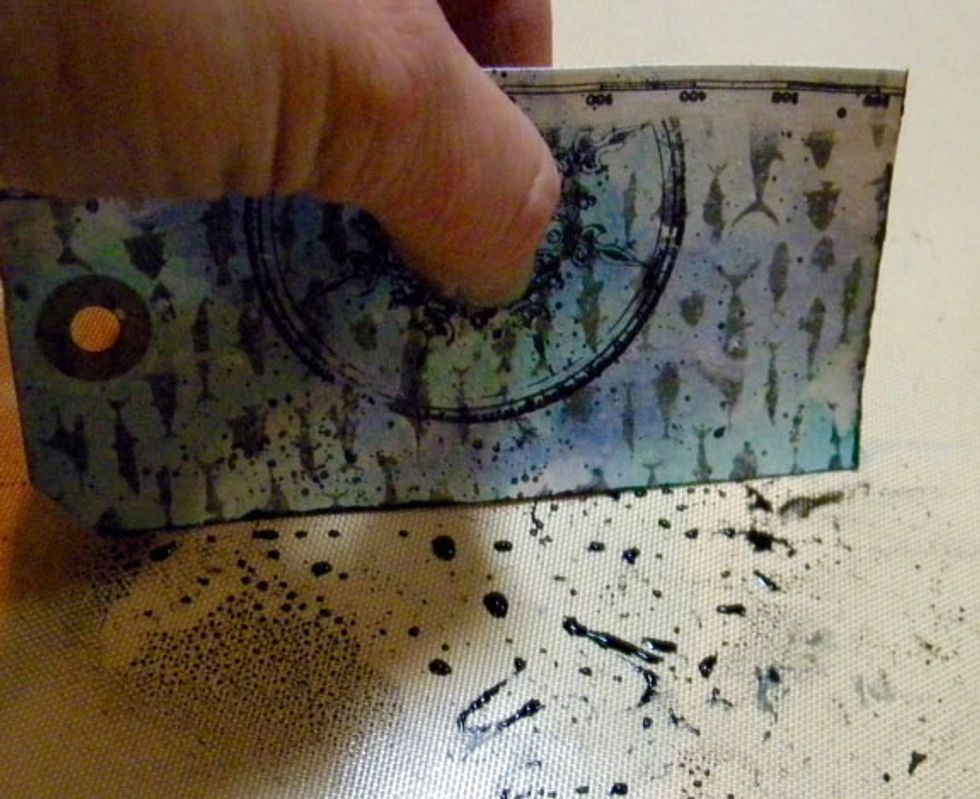
Then dipped the edges in it.
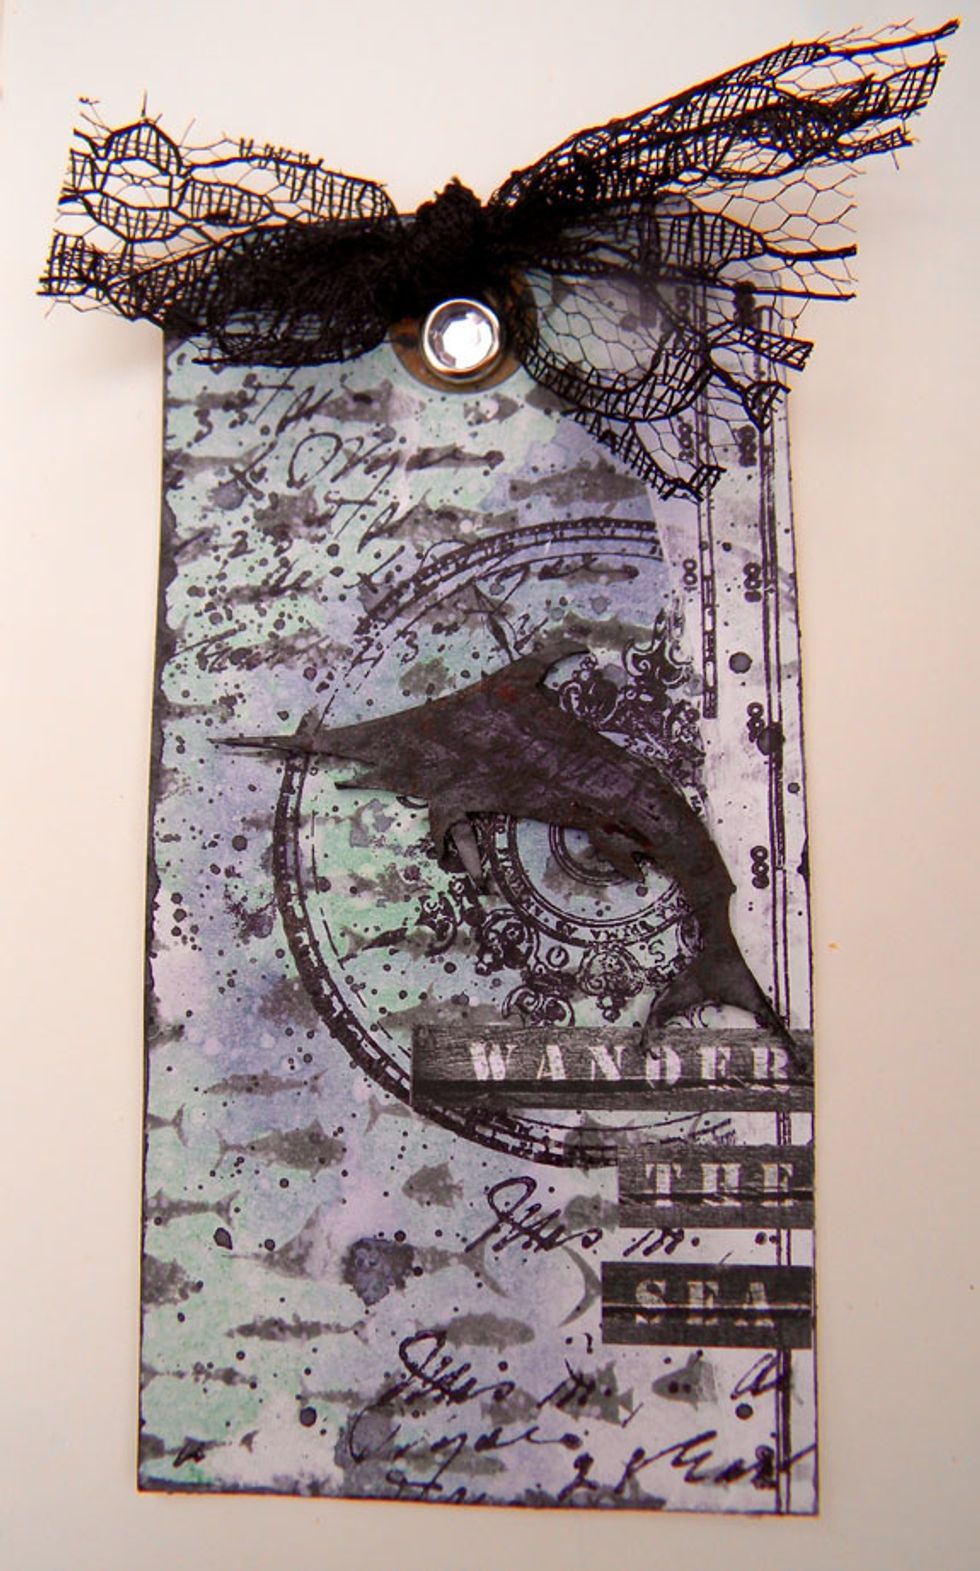
All the goodies on this tag came from 7 Dots Studio, Destination Unknown Collection, except for the background stamp with all the fish on it. I LOVE how this one turned out!

I have this problem with wasting spray, so I swiped more tags through the Raider Spray that was on my craft mat from the last tag.
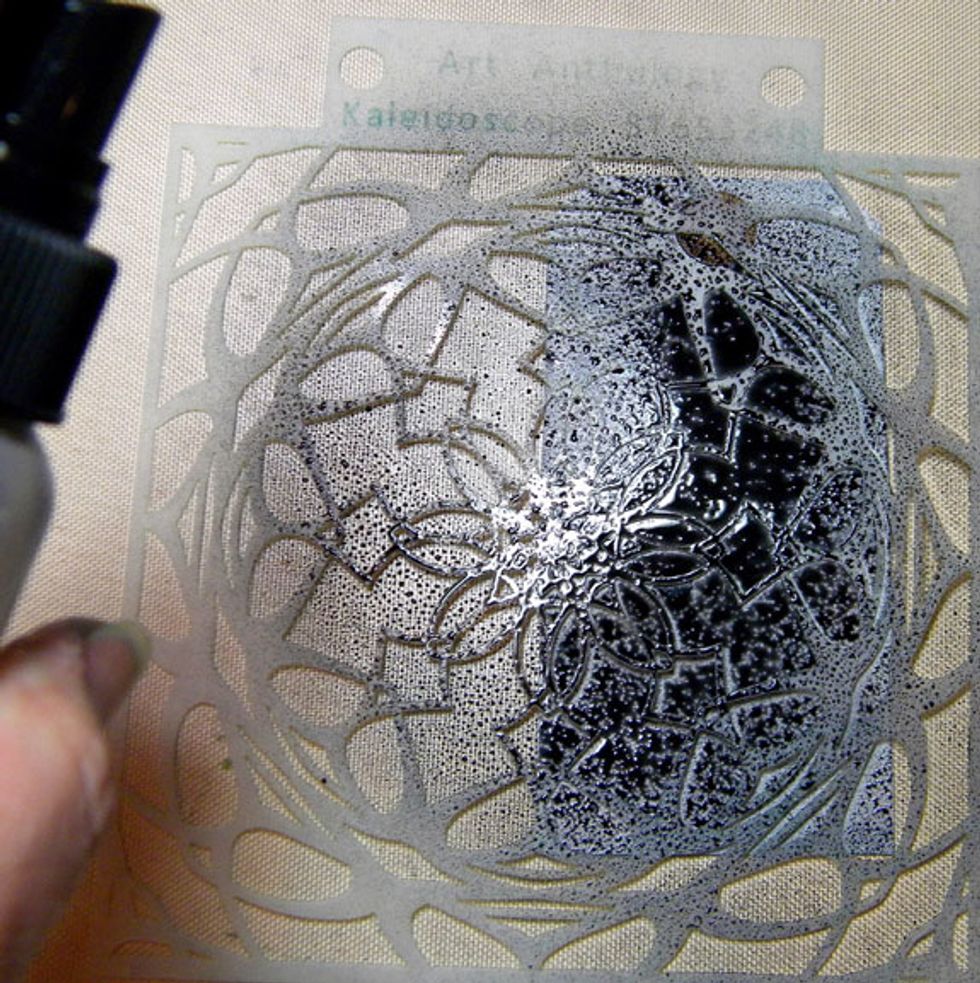
I placed the kaleidoscope stencil over one of the gray tags and sprayed more Raider over it.

After removing the stencil I turned it over and "printed" it onto the other gray tag. Cool results! See the final ones at the end of the blog post.

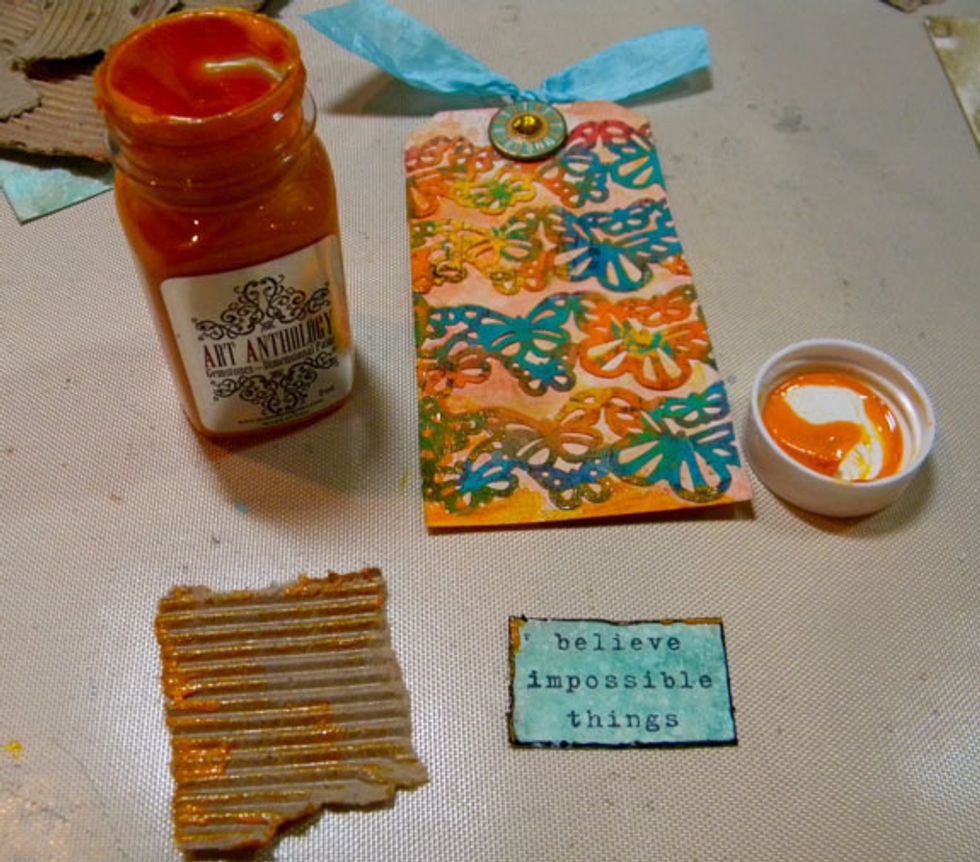
Next, I used 2 of the green tags and added Shamrock and Limeade Velvet, and Amber Gemstones through the Blossoms stencil.
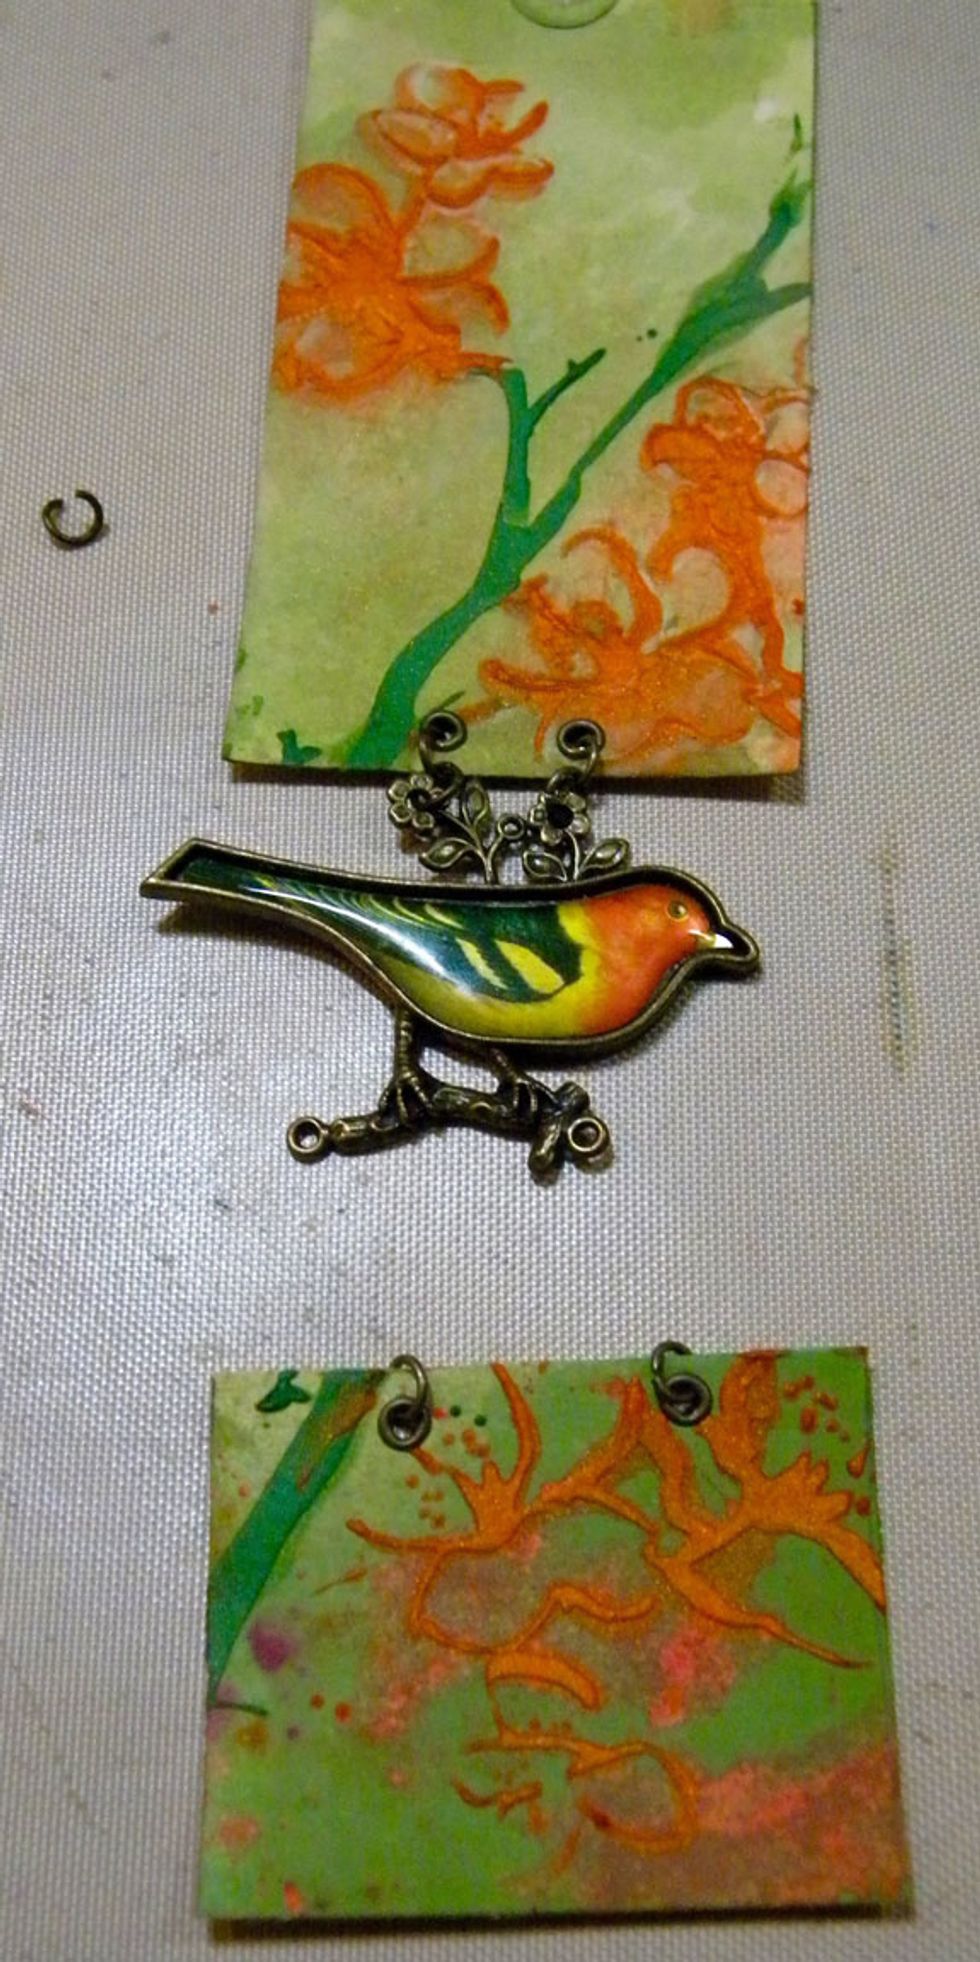
After the paint dried, I cut one of the tags smaller and added the bird to connect them using jewelry jump rings.
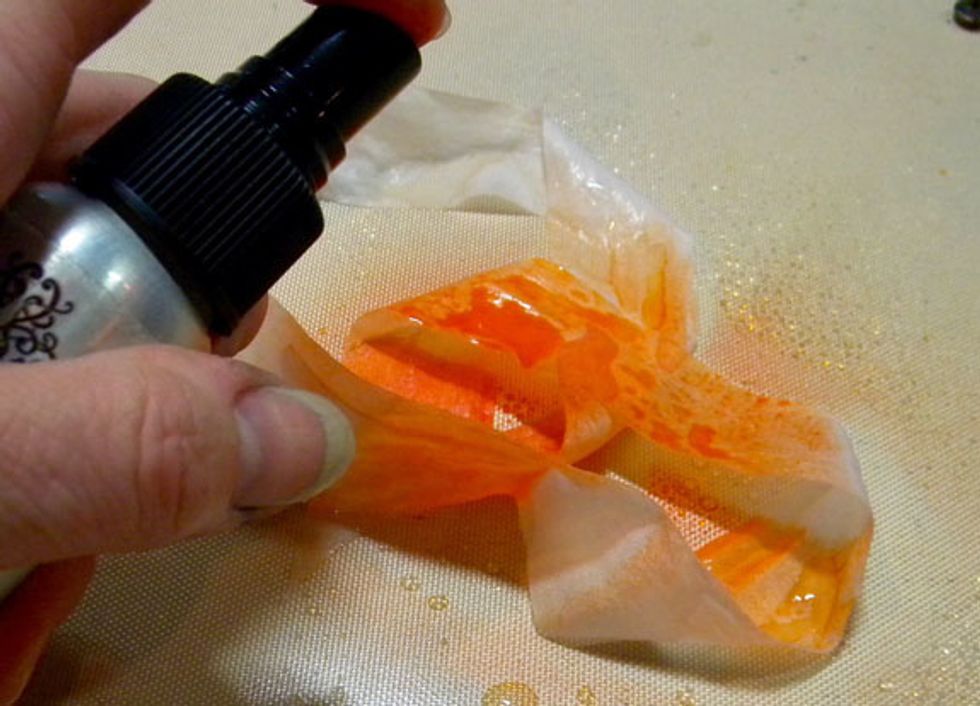
To colorize the ribbon, I sprayed Juicy and water on seam binding but I didn't get a bright enough result.
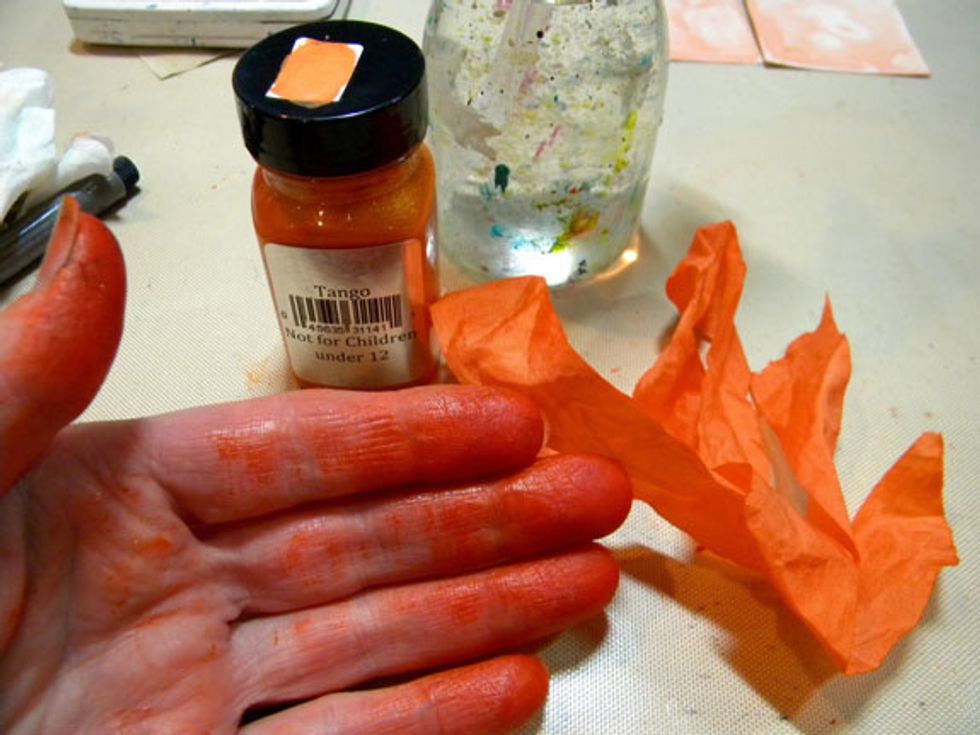
So I added Tango Velvet paint and water to the craft mat and wet the ribbon. Using my fingers, I smushed the ribbon around in the mixture. I dried it with a heat gun and it turned out perfect!
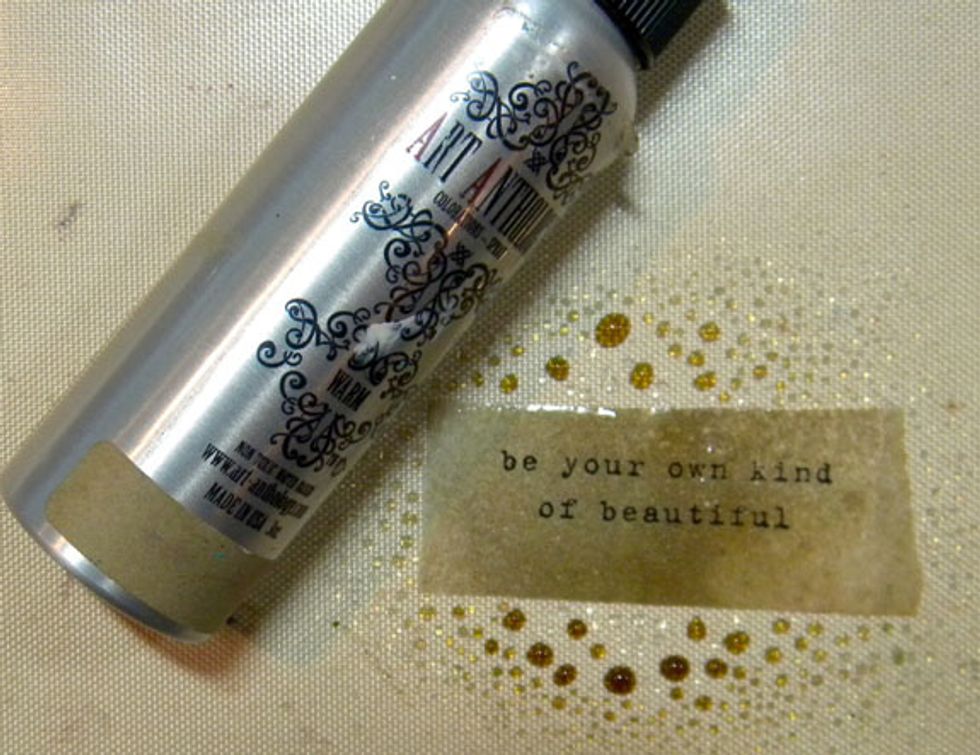
To age paper, spray with Warm or Sandcastle Colorations Spray and let dry.
For this tag, I adhered treasures from the hand painted drawer then added Amber Gemstones, stamp, ribbon and large eyelet.
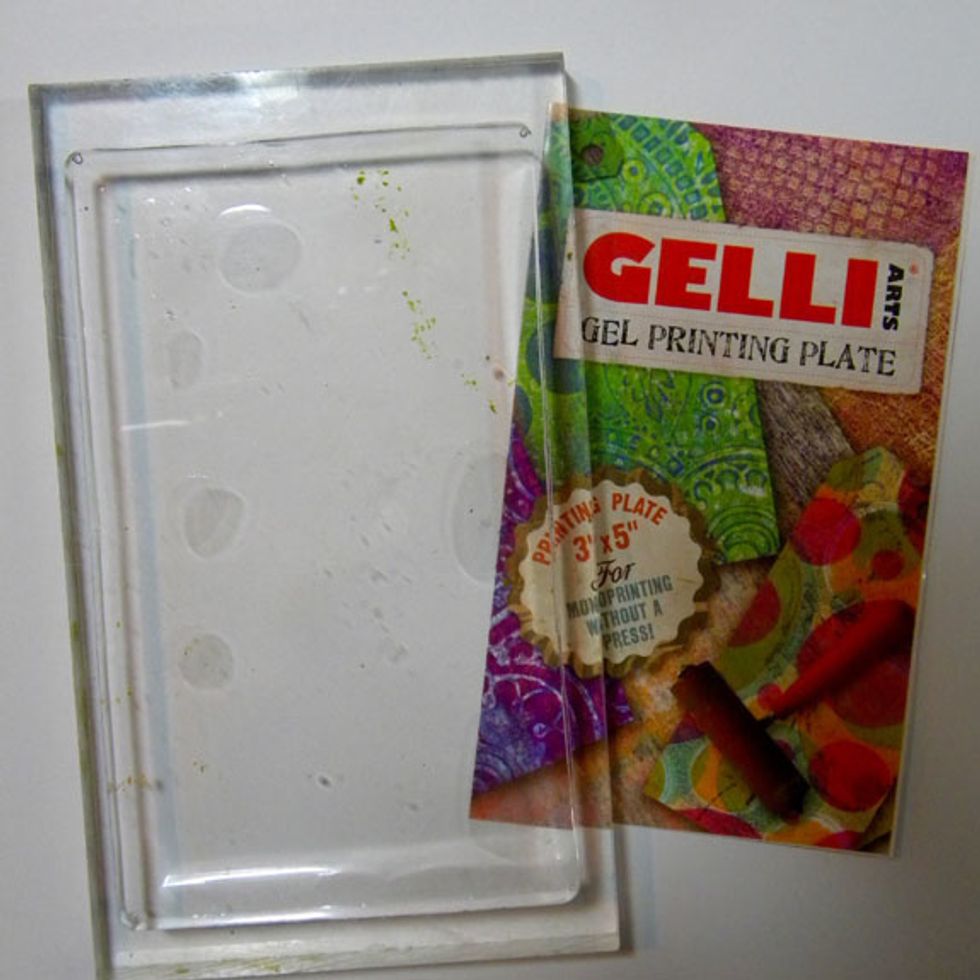
Recently I purchased this small Gelli Arts Printing plate. The reason I love this size is that you can put it onto an acrylic block and "stamp" with it.
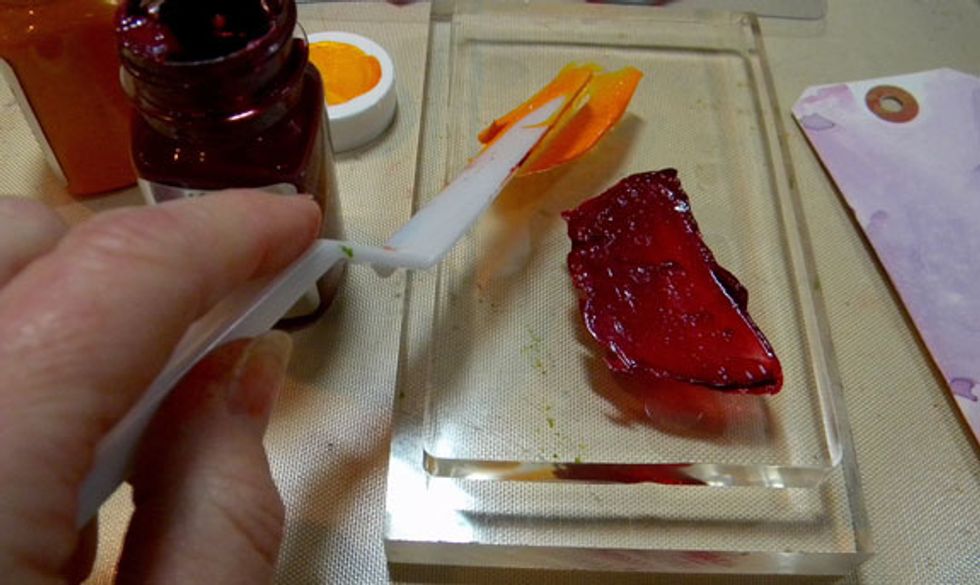
Apply Amber and Garnet Gemstones to the printing plate.
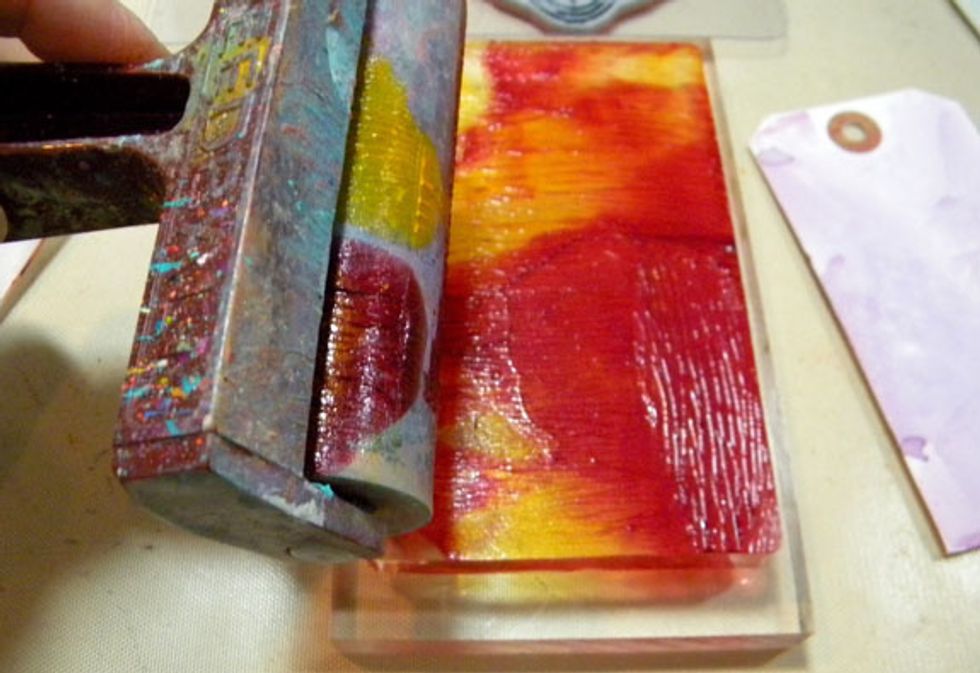
Use a brayer to spread out the paint to a thin layer, slightly mixing the two colors.
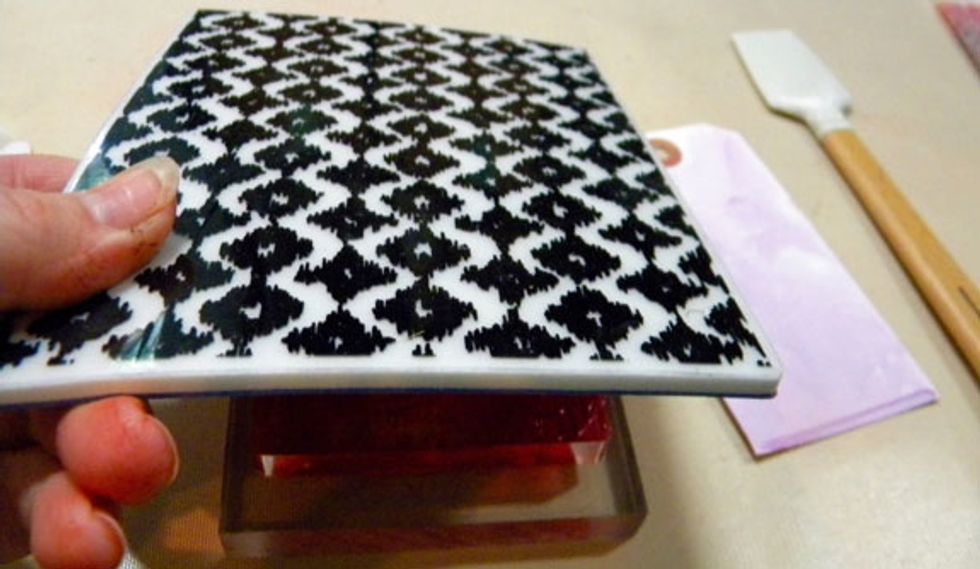
Stamp a large background stamp onto the Gelli plate. Make sure to clean the paint off of the stamp before it dries.

Here is what it looks like. Cool right?
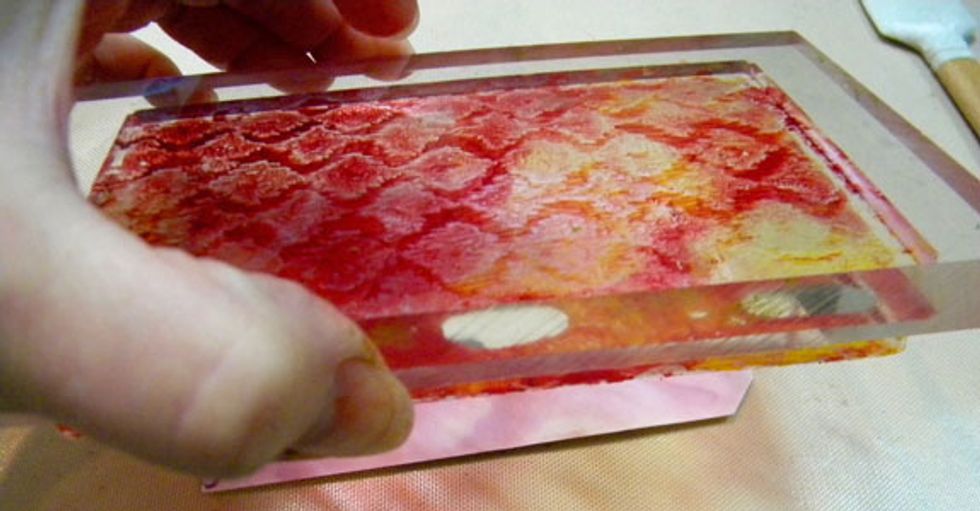
Then "stamp" the Gelli plate onto the purple tag.

I still had some paint on it so I stamped again on the other purple tag. Clean the Gelli Plate with a baby wipe or a rag.
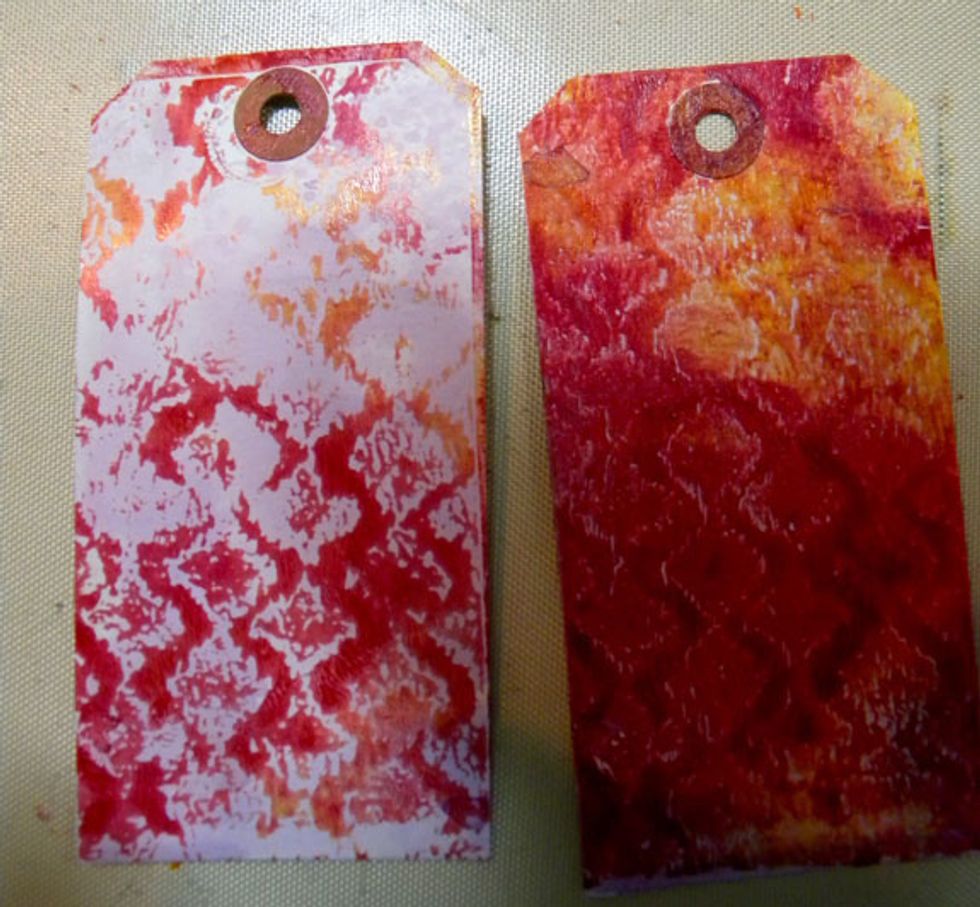
The right tag is the first print and the left the second. Art Anthology paints are perfect for this technique and I can't wait to see what else I can create using them with this Gelli plate!