How to create mixed media art journal cover
Create Mixed Media Art Journal Cover
1151
STEPS
TOOLS
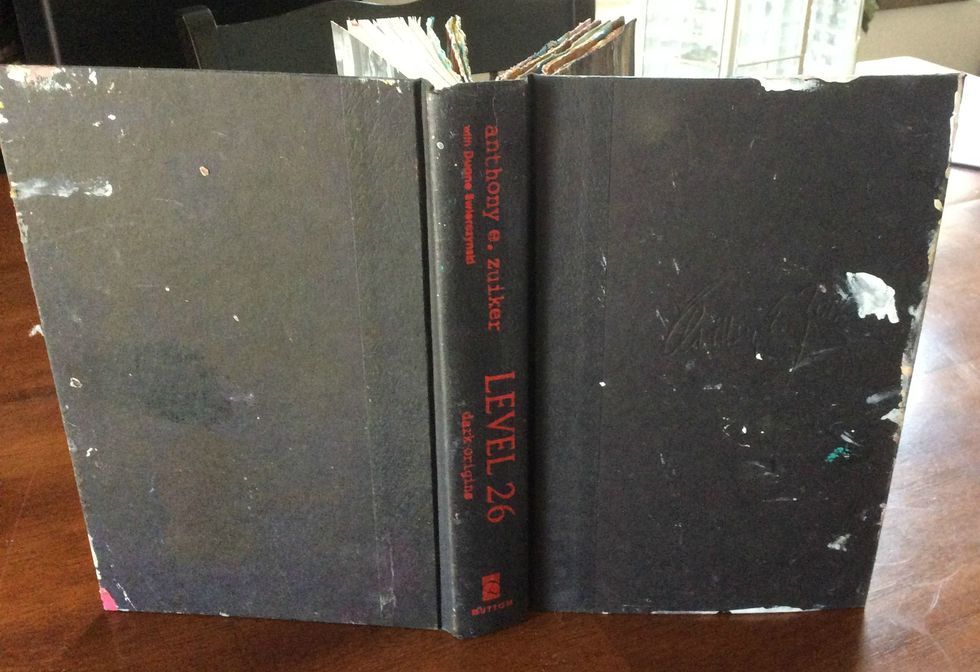
I bought this book at the $1 store, and it has become one of my art journals. But the cover needed a face lift.
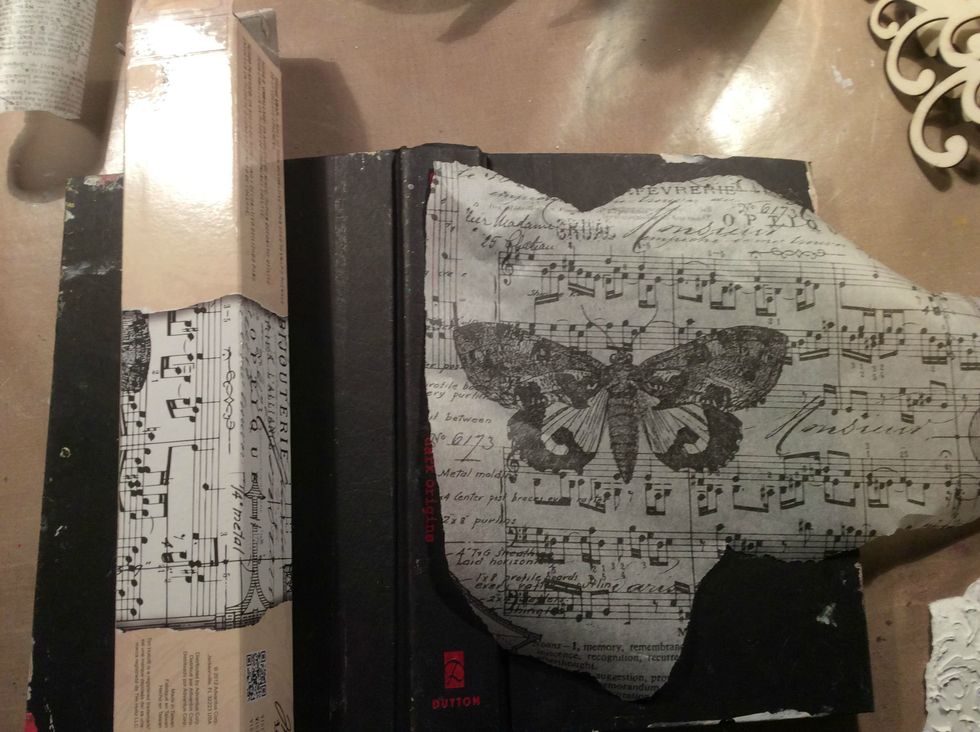
First up I decided to tear pieces of tissue wrap and apply with Glue N Seal. This step is optional as it really didn't show up too much, but I don't care because I know it's there... lol
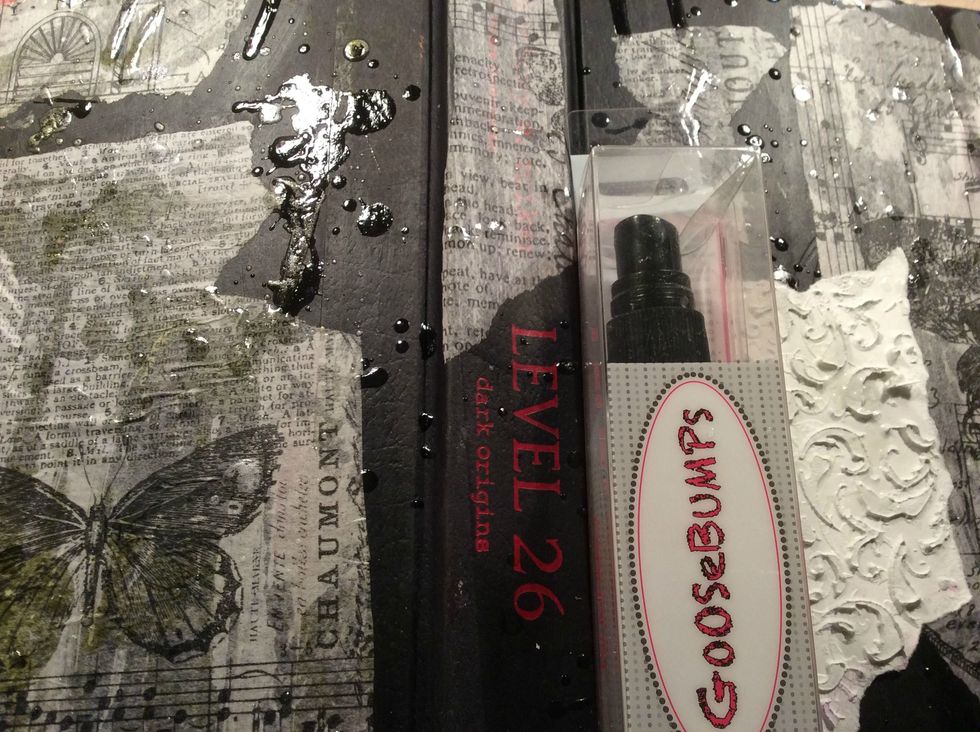
Goosebumps is a product that I've had forever and the nozzle was clogged so it didn't spray correctly, so I just splattered the product. Normally it would come out looking like goosebumps... Cute :)
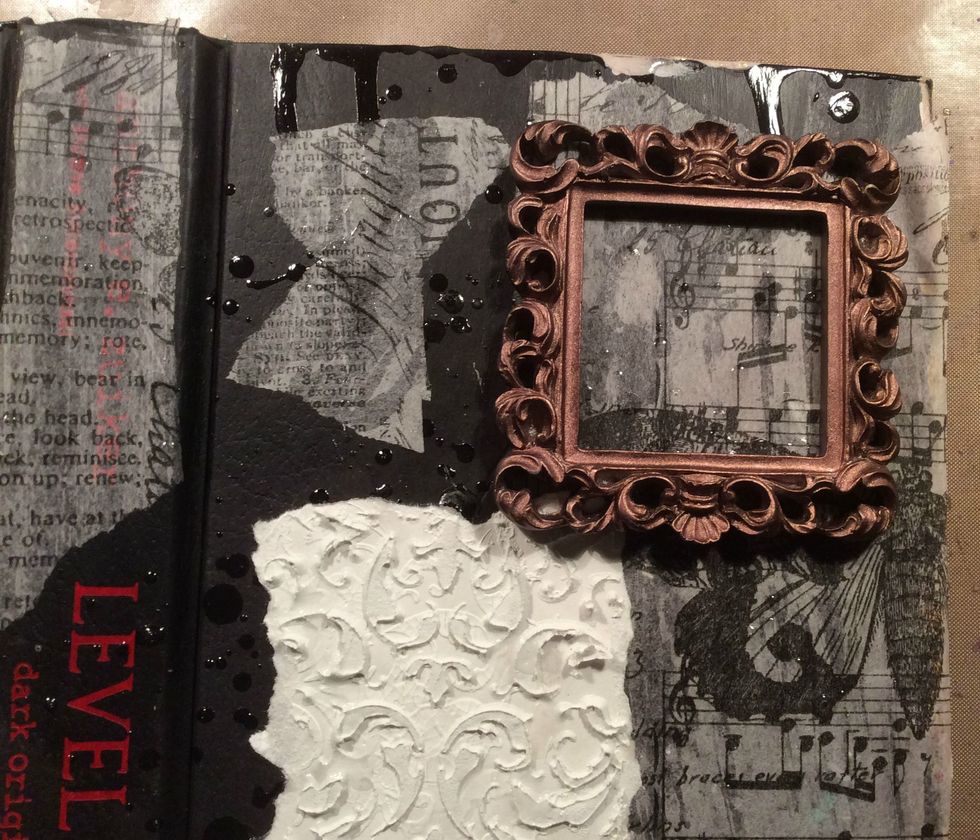
The textured piece is a piece of white cardstock that had been stenciled with modeling paste from an old project. I don't throw away anything. I just glued that on for added texture. Add your frame
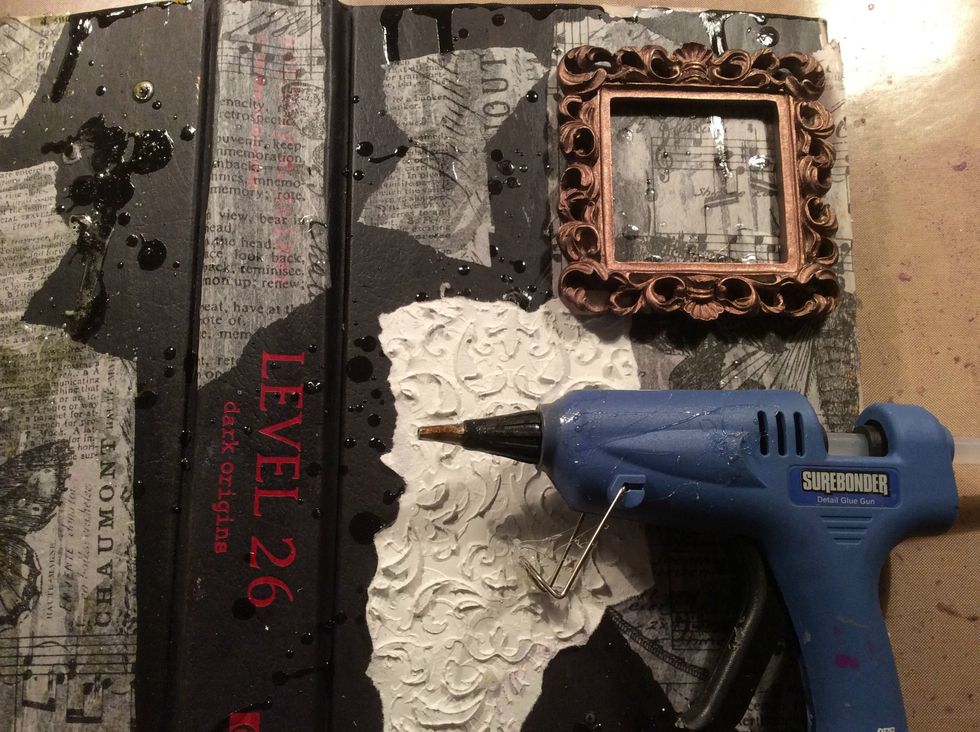
Using your glue gun, randomly draw squiggles, or tree branches or whatever you want on your cover. This is just for more texture. Go ahead and have fun with this. Allow to dry.
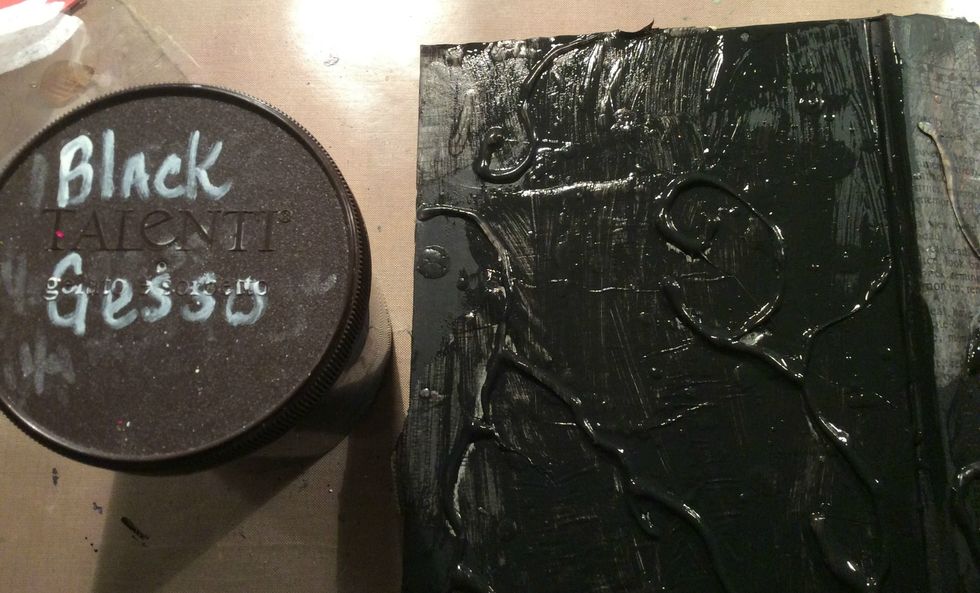
You can add cheese cloth, mesh, metal, whatever you want, I just wanted to keep it simple because it was the cover on the book. Cover everything with black gesso.
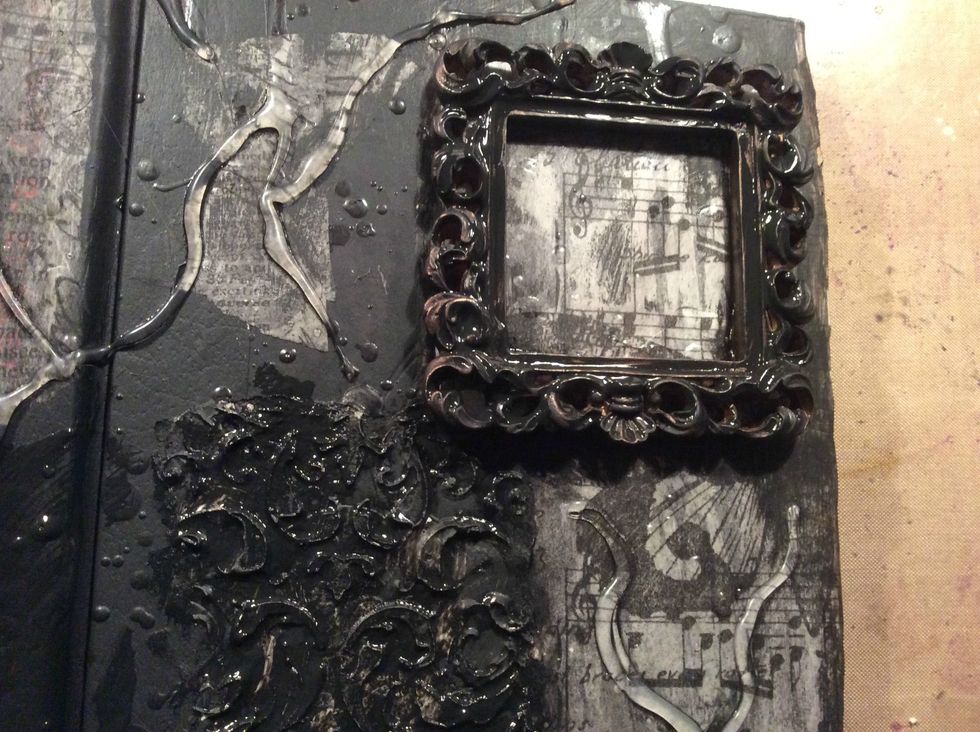
Take a baby wipe and remove some of the gesso over the tissue paper so it is exposed.
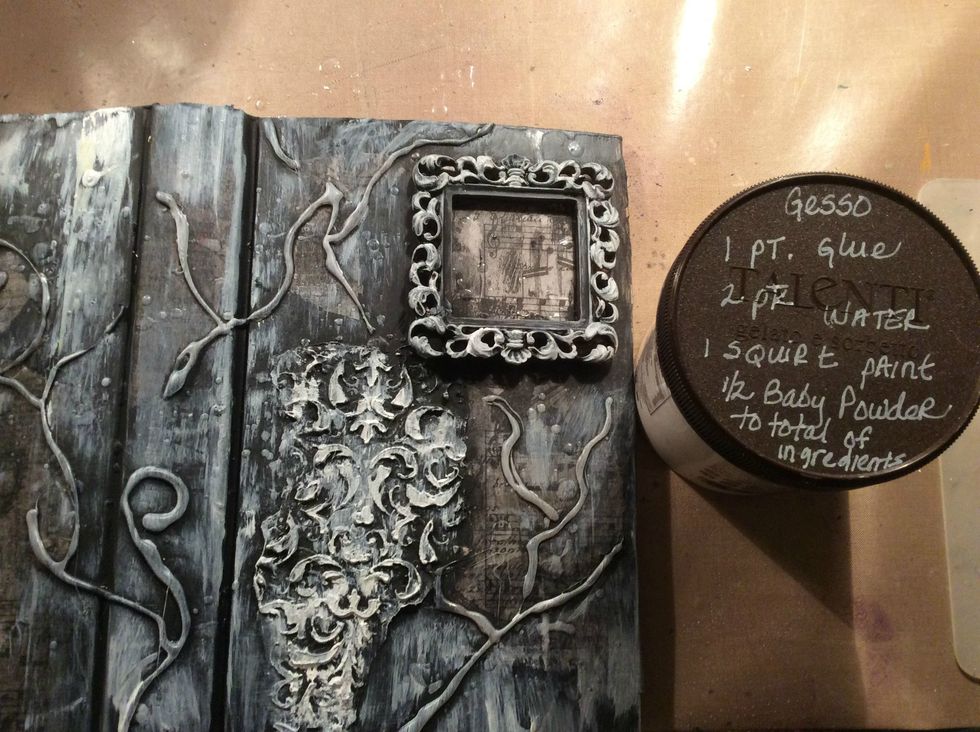
Add a light coat of white gesso to your cover. The white will allow for your paints and mists to pop. The gesso I used is homemade and the recipe is written on the lid of my jar.
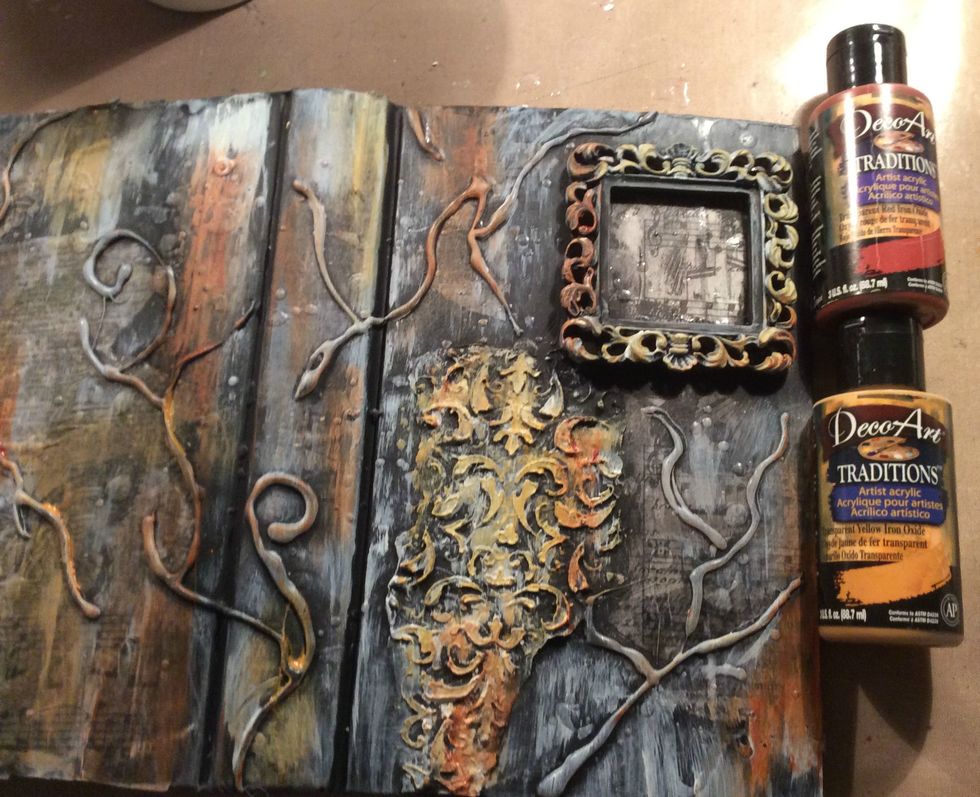
Using acrylics and my handy dandy finger I smeared paint here and there over the canvas and frame. Allow to dry.
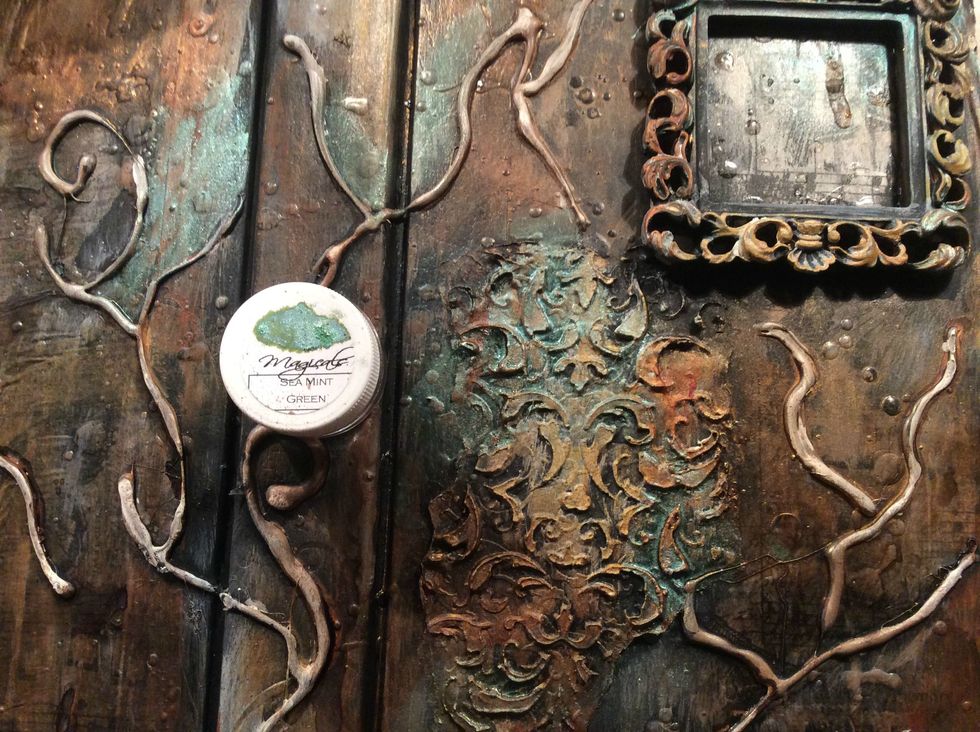
Apply Lindy's Magical Mica Sea Mint Green to your project for a beautiful glow.
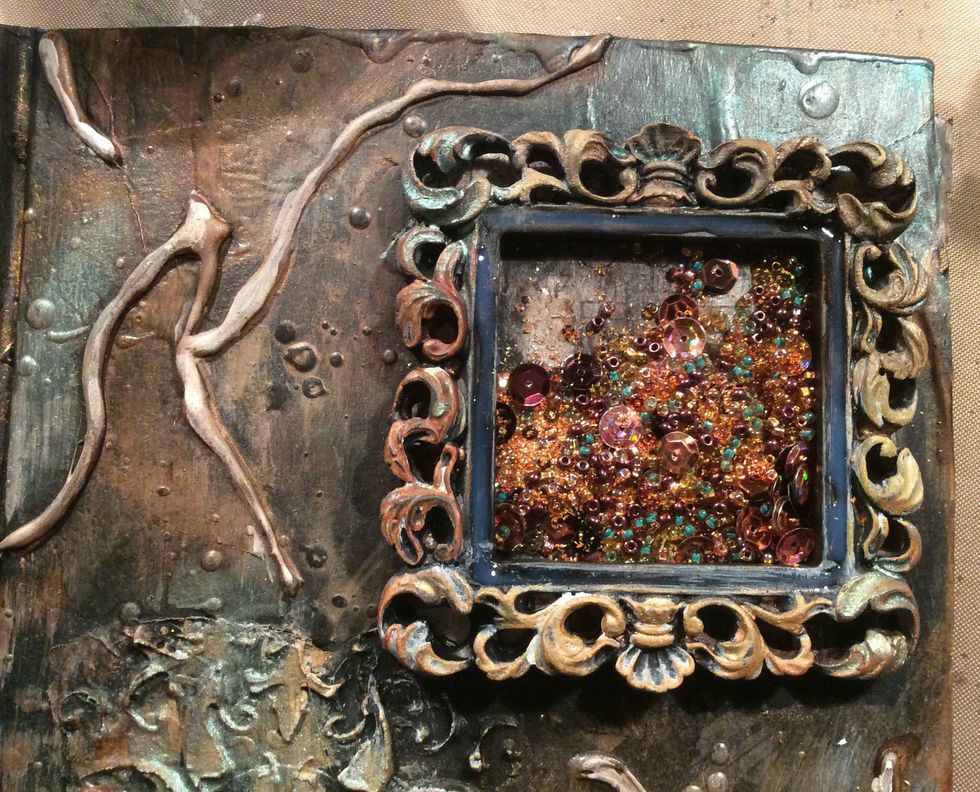
To create the shaker box I added sequins, seed beads, and German glass glitter to the frame, cut a piece of acetate and glued it to the front using Glossy Accents.
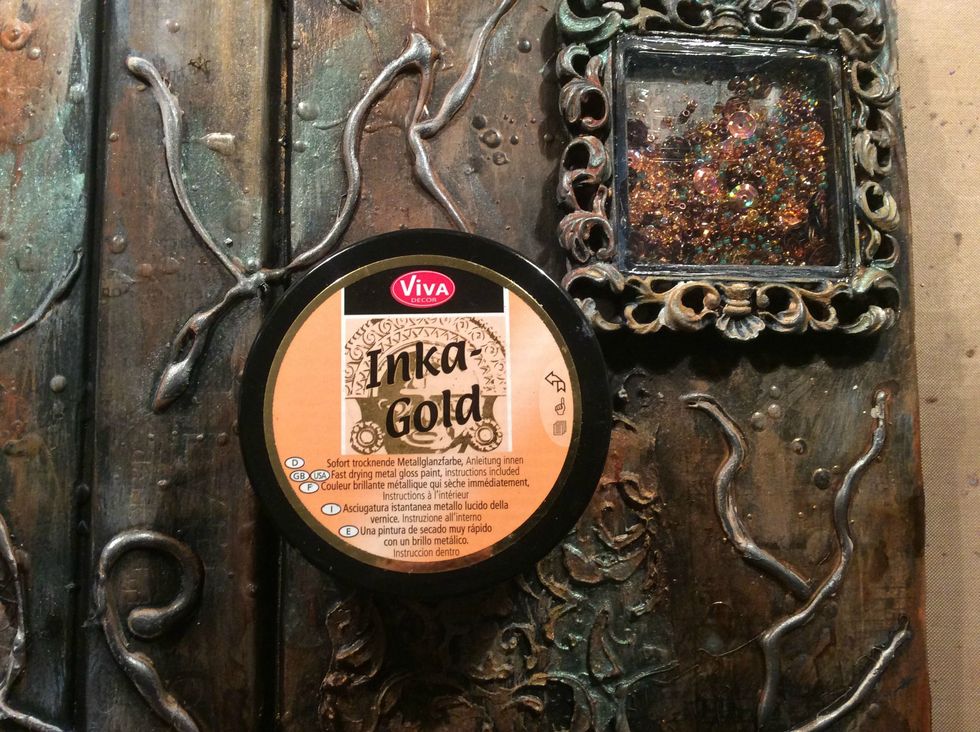
Using Inka Gold in Graphite I went over all the high spots on my cover. And then added a bit of Inka Gold in Gold
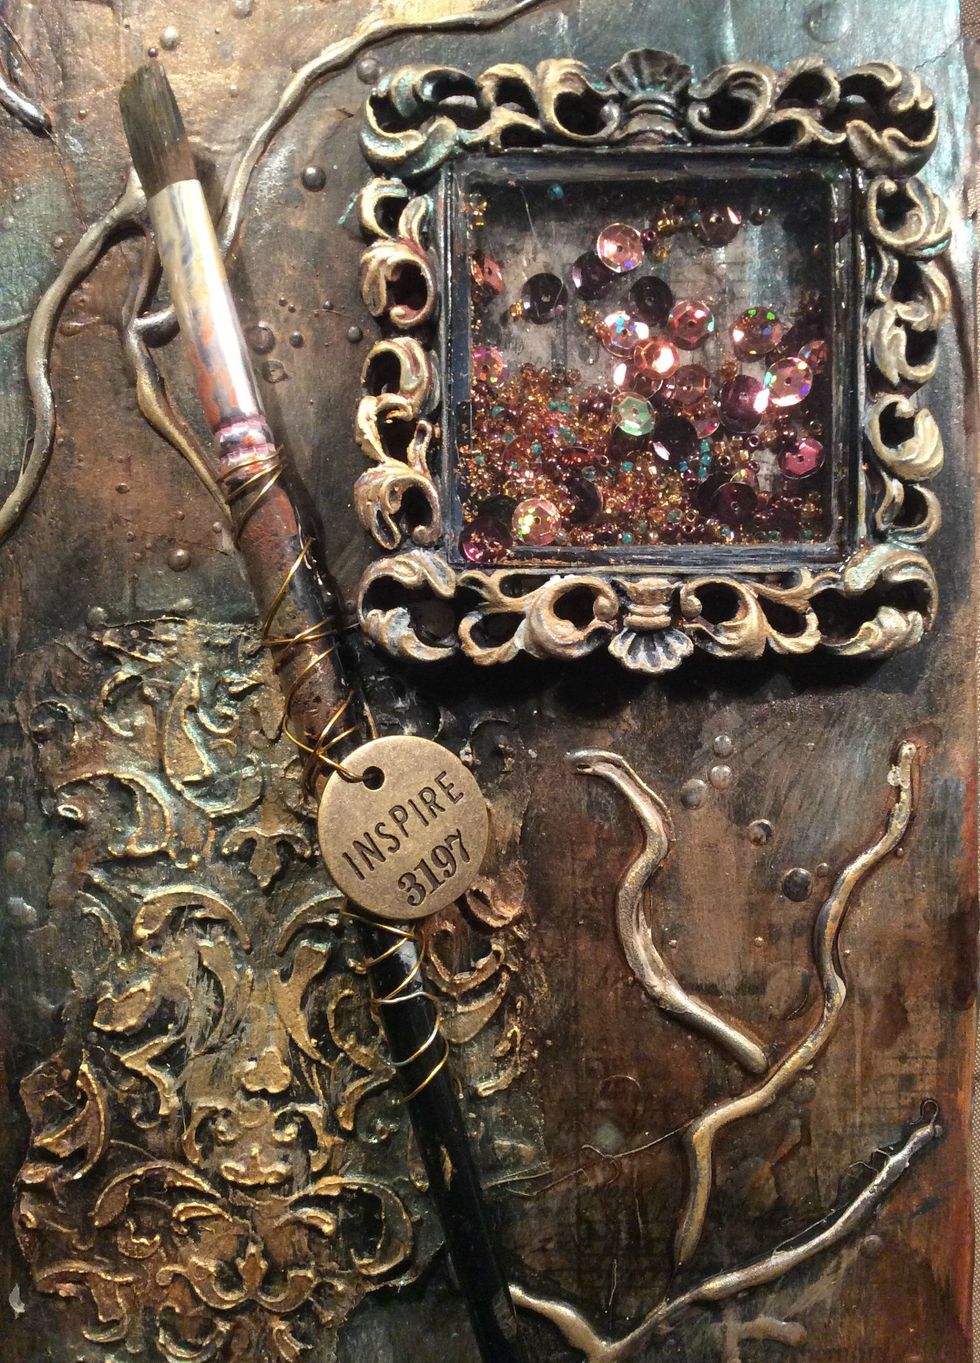
Wrapped wire and attached charm to my old paint brush. Glued this down using E6000 glue.
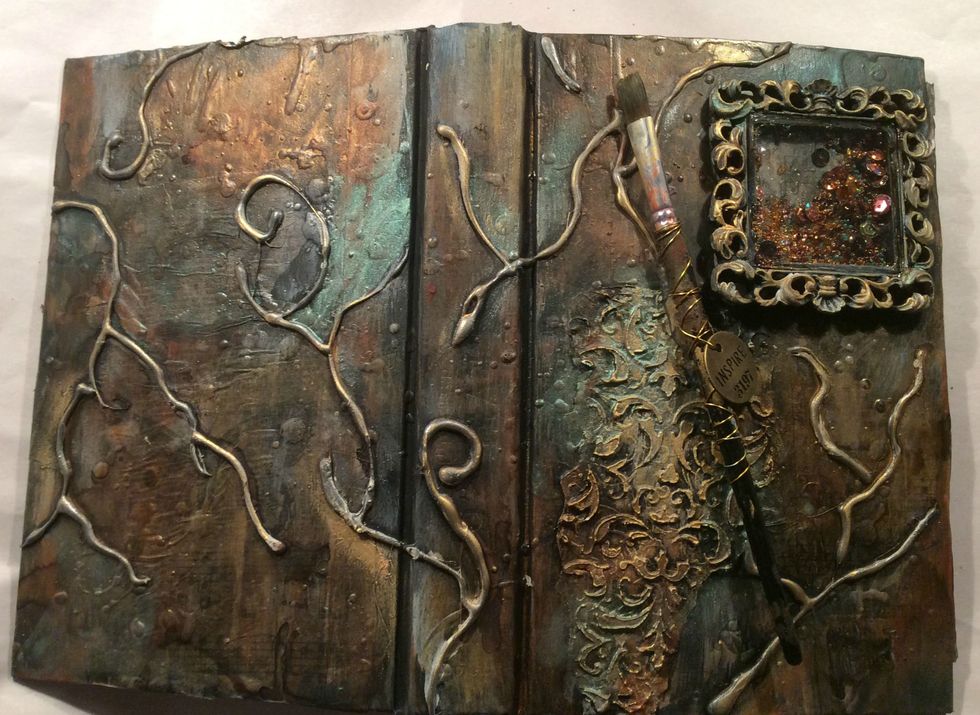
Using waterdowned white acrylic paint and a toothbrush, spritz the paint over the entire surface.
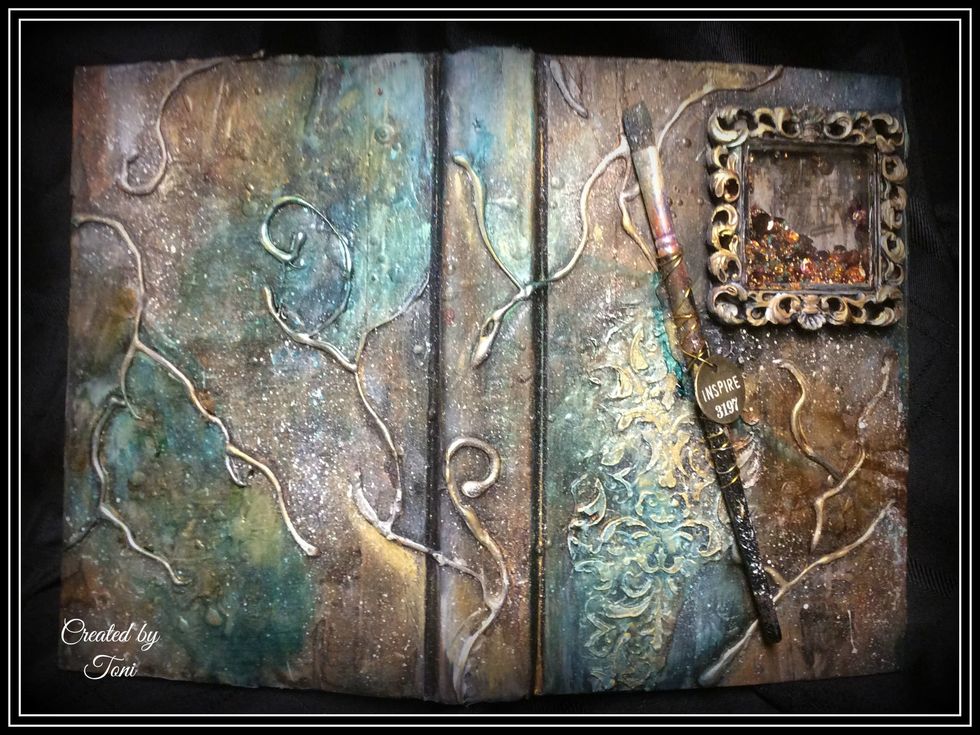
There... that's better, the white lightens up the entire project.
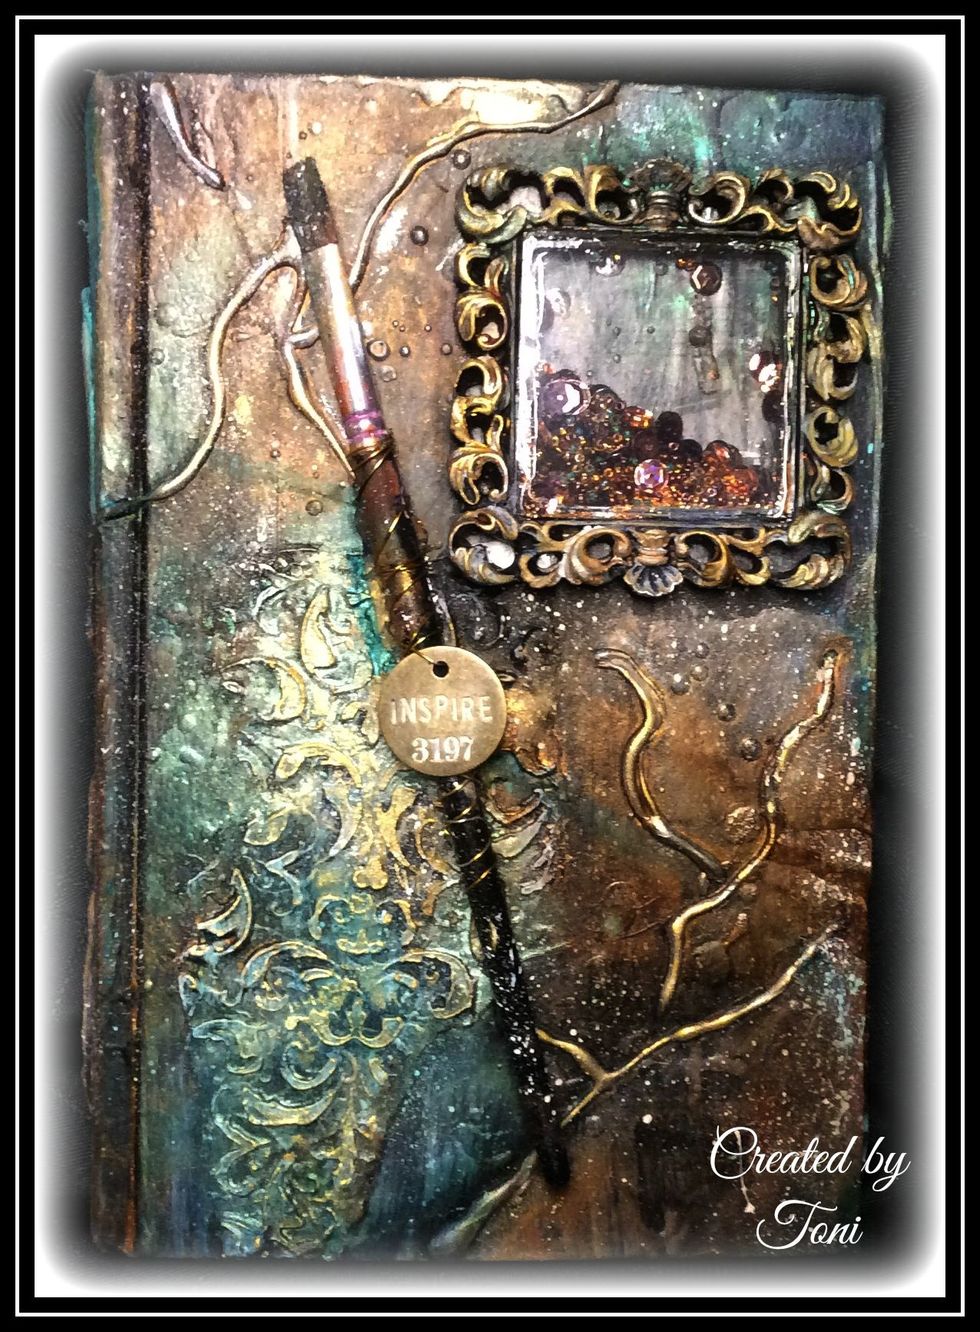
Use white paint over the top of the charm, then wipe away the paint on top to make your letters pop.
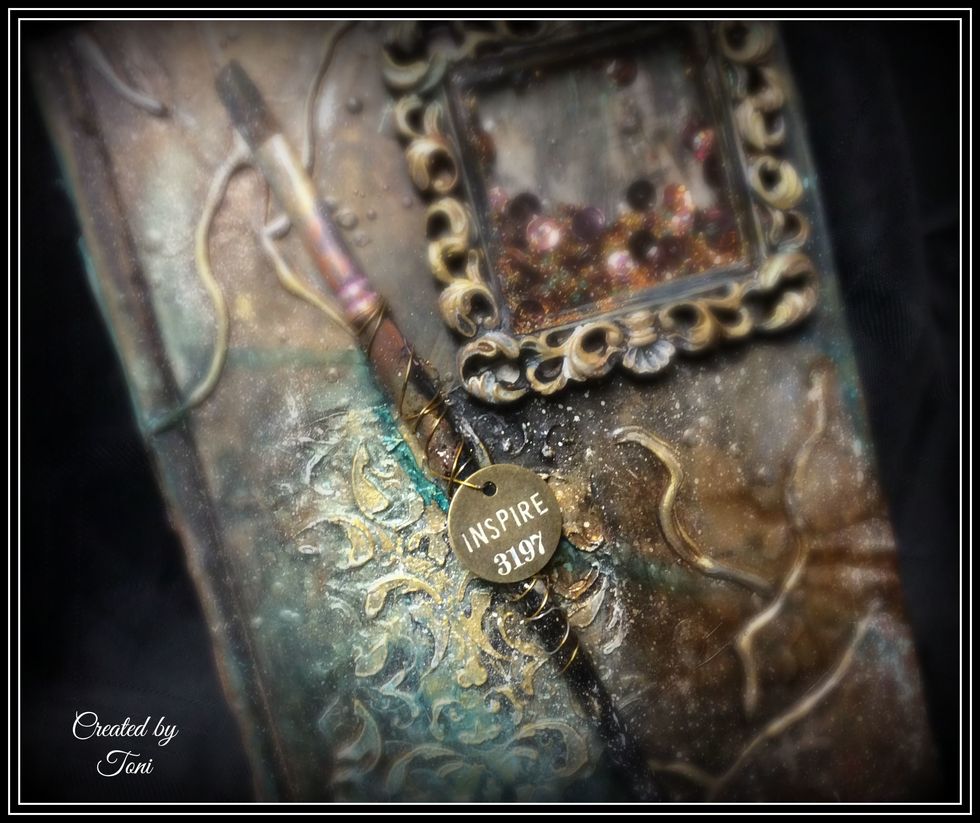
I hope you were inspired with this project. Creatively yours, Toni
- Art Journal
- Tissue Paper (Optional)
- Mod Podge or Glue & Seal
- Gesso
- Glue Gun
- Picture Frame
- Sead Beads, glitter, sequins etc.
- Assorted Spray Mists
- Acrylic Paint
- Inka Gold
Toni Burks-Grijalva
♥ getting messy with my inks & paints. I hope I can provide some fun tutorials for your creative journey. Visit my blog @http://www.toni-burks.blogspot.com/
Rancho Cucamonga, California
The Conversation (0)
Sign Up