The Conversation (0)
Sign Up
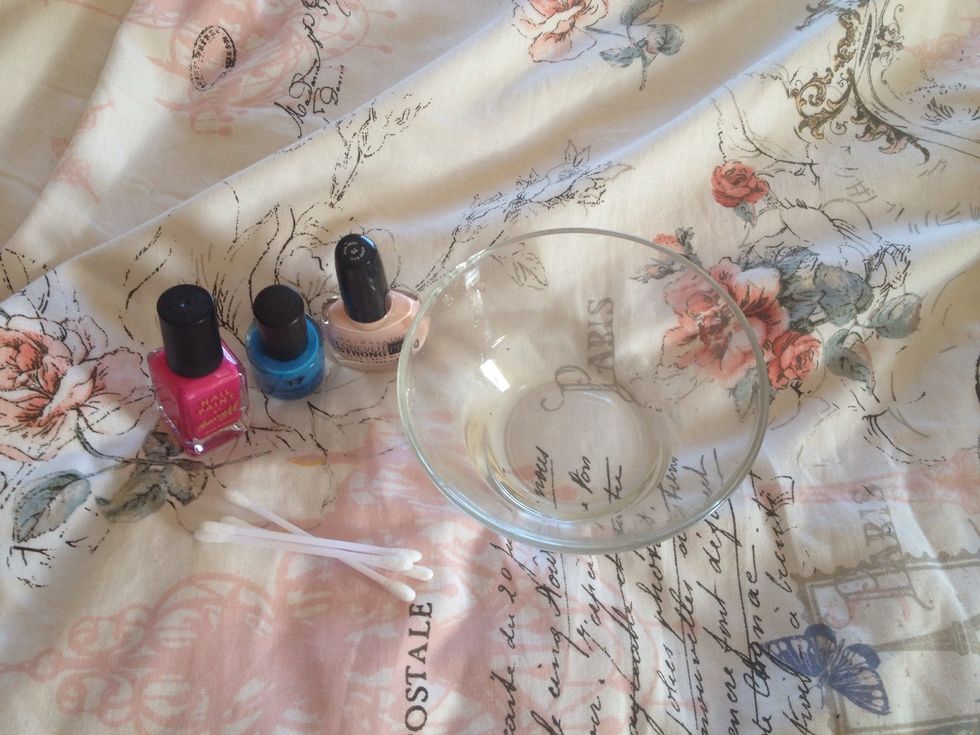
These are the supplies you'll need, plus some nail varnish remover!
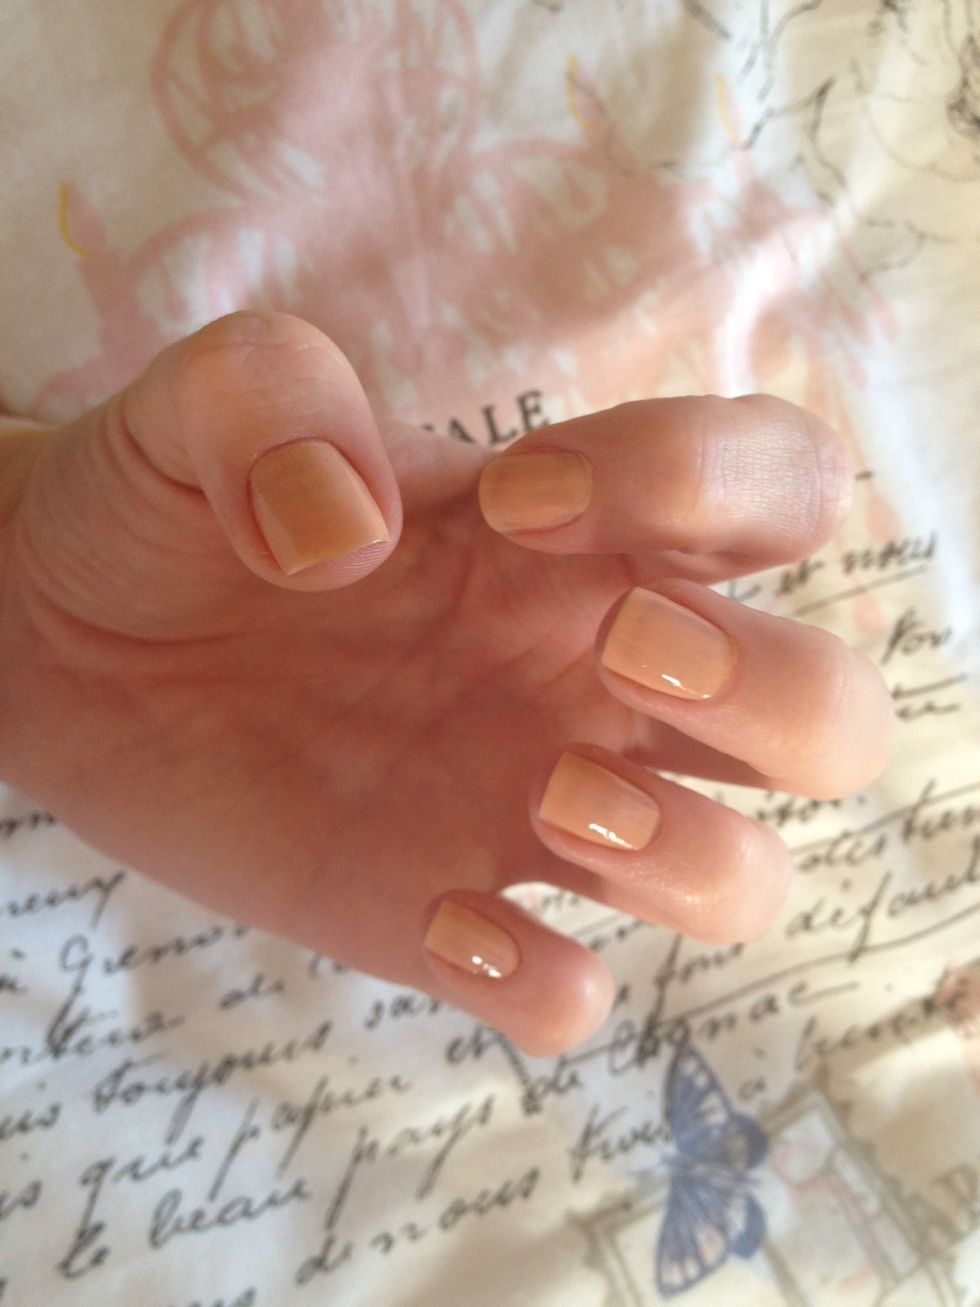
Start by applying your base coat, I've found that white or nude look best, or maybe a nice pastel colour!
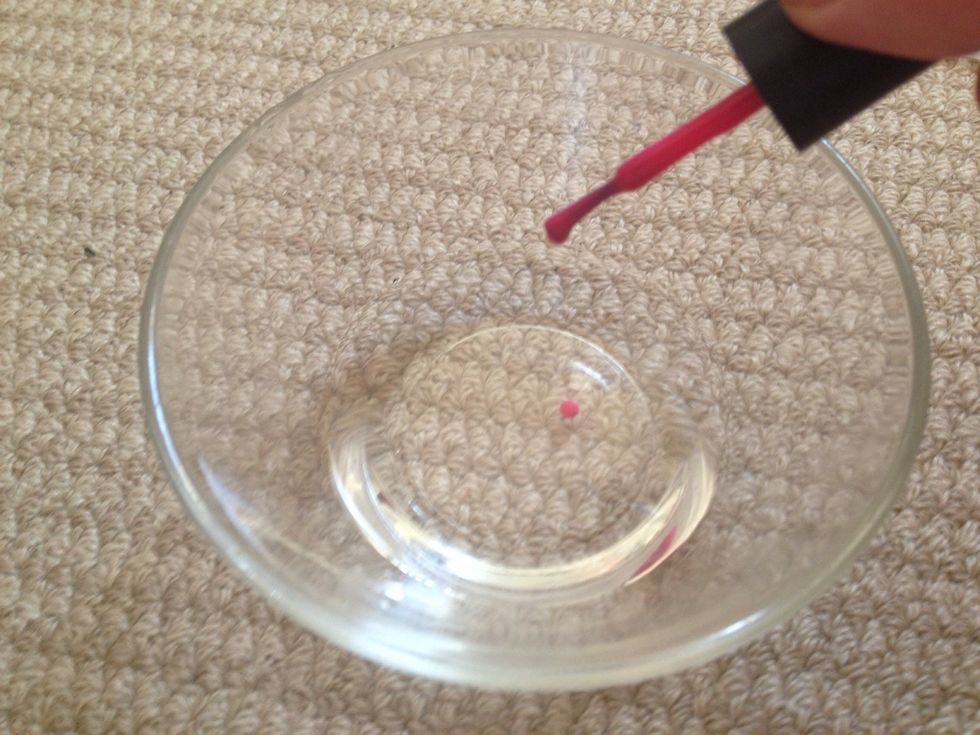
'Drop' a little of both of your other colour varnishes into the water. I've used blue and pink.
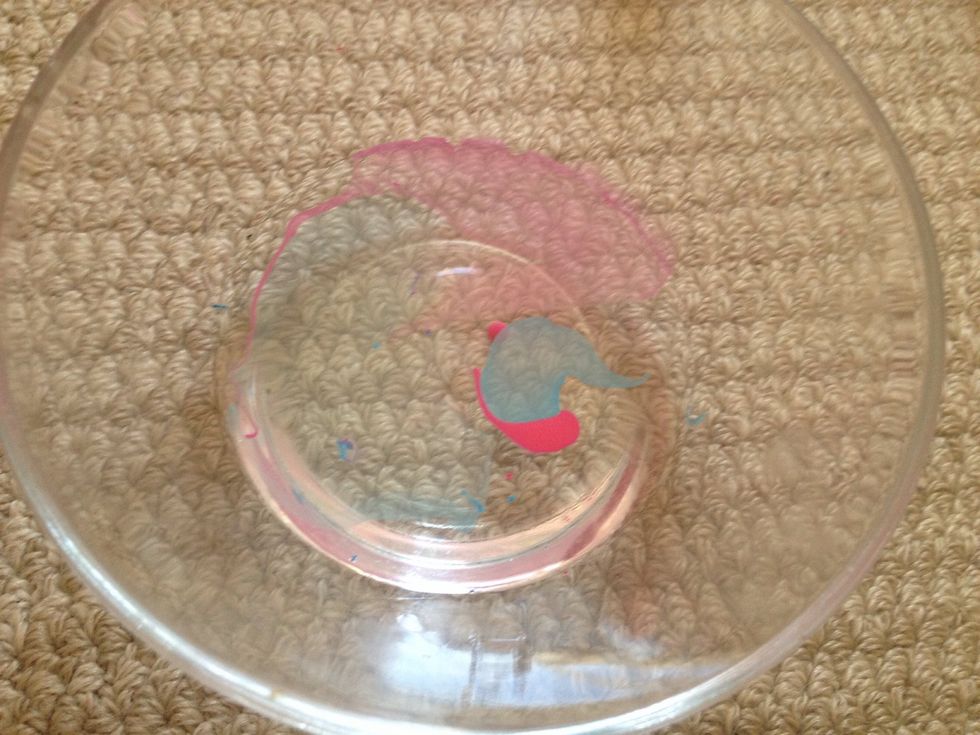
After a few seconds the varnish will start to spread across the surface of the water and turn into a kind of 'film'. It's important that you wait for this to happen...
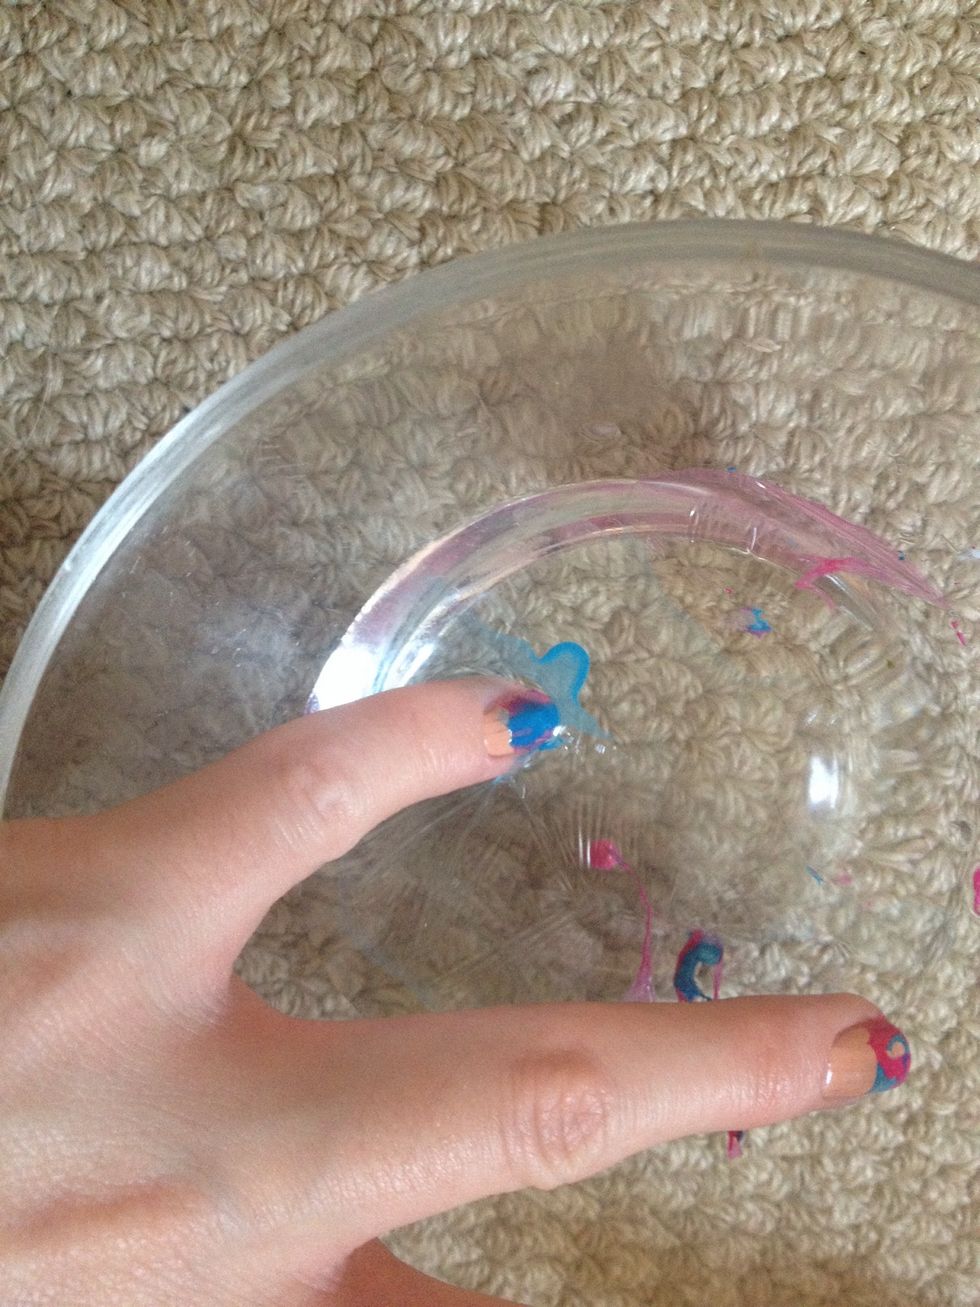
Dip your finger in so that the varnish grabs onto your nail. It can take a little practise and be a bit messy. So have some nail varnish remover handy! Wipe the excess from around the nail with q-tips
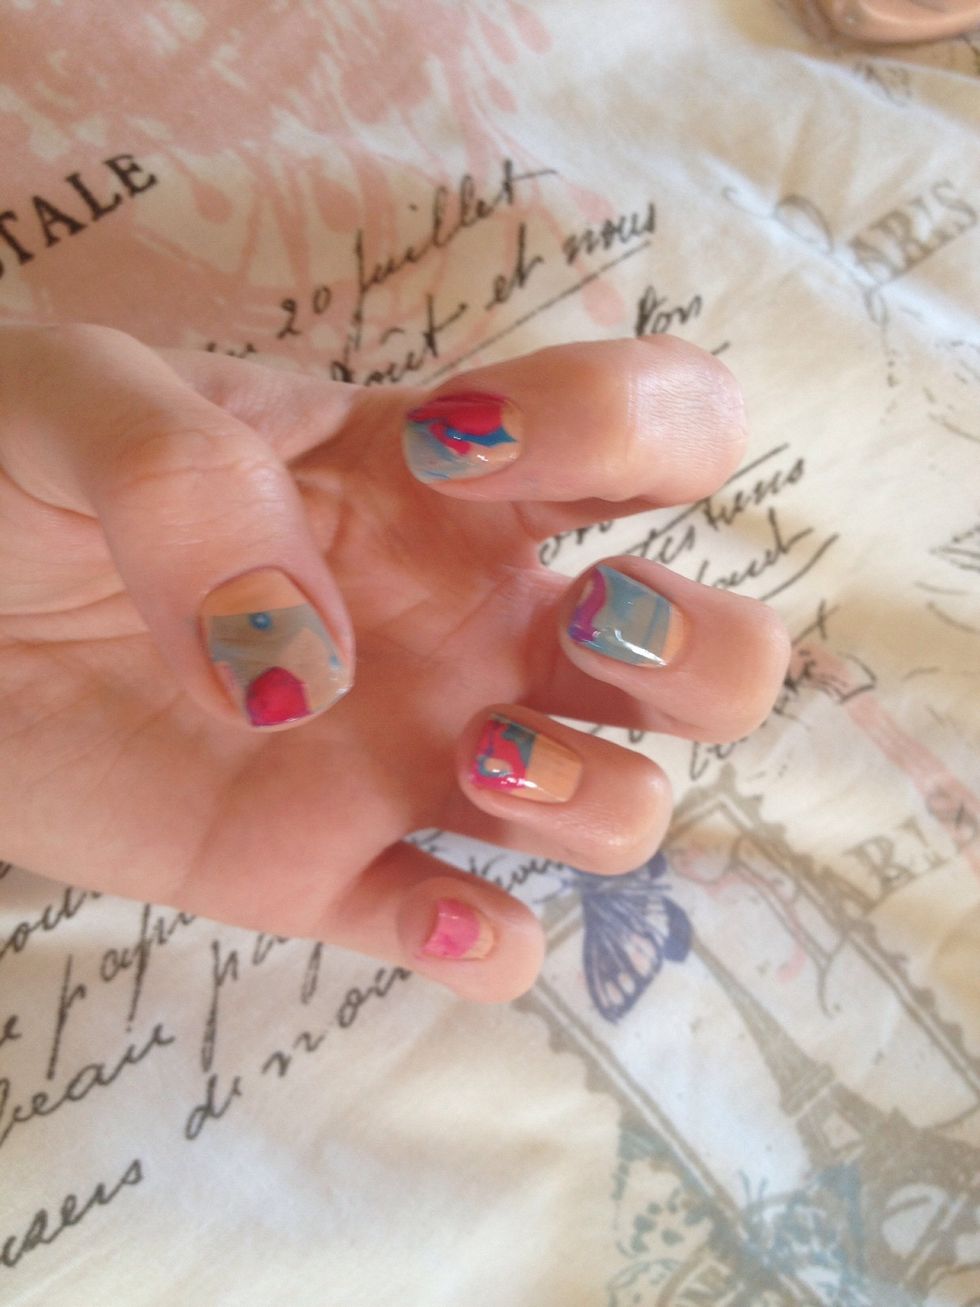
You'll end up with these marble effect nails. Finish with a top coat of clear varnish. I've found that pastel colours on top of a white base coat also look really cool... Have fun!