The Conversation (0)
Sign Up
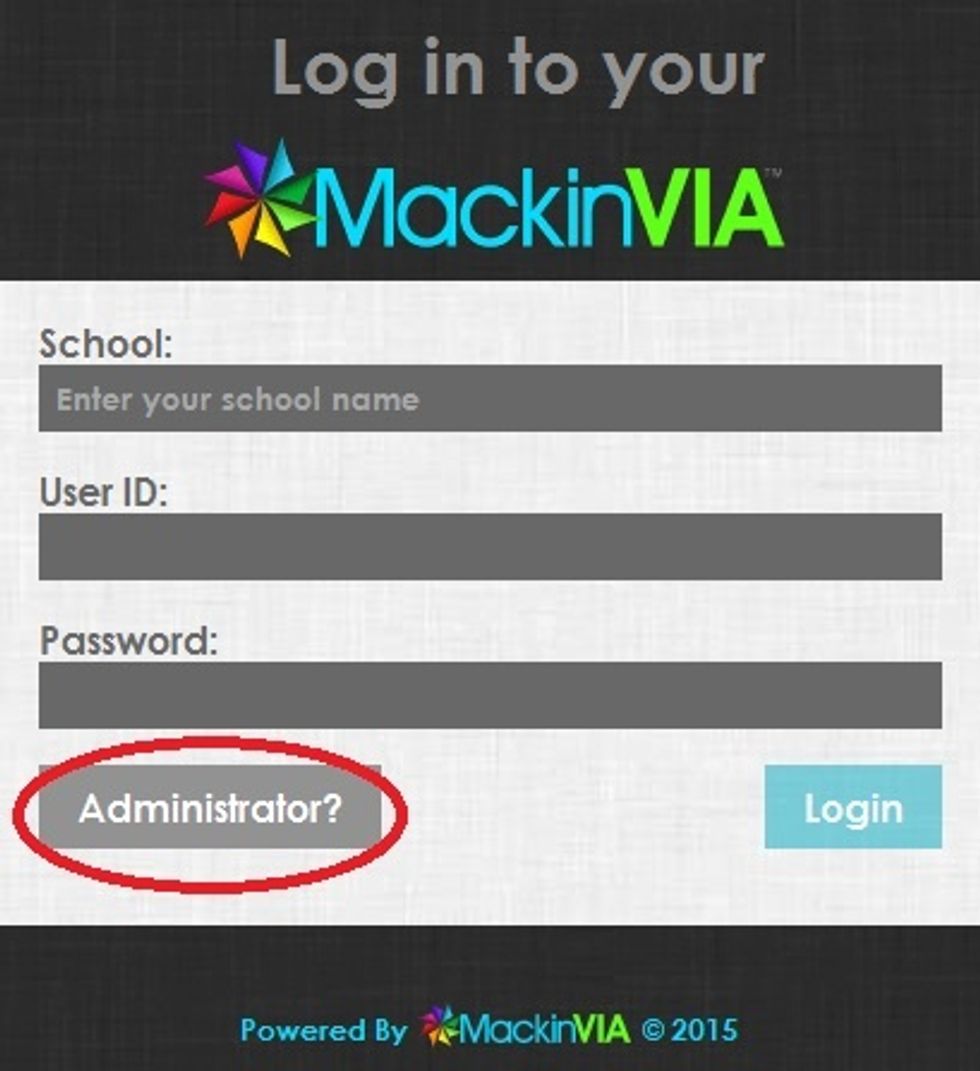
Log in to your MackinVIA Administrator account.
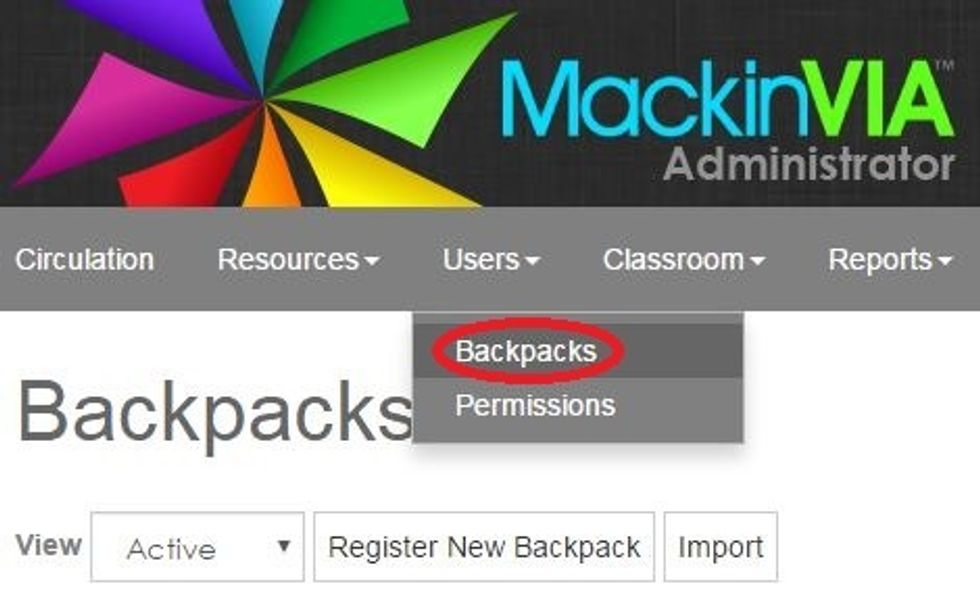
Click on Users and then Backpacks

To create multiple backpacks, click on Import.
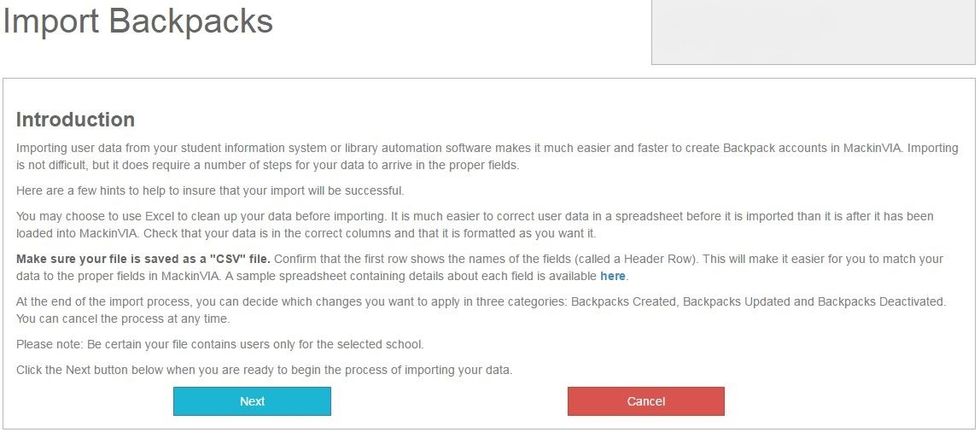
Follow the instructions for importing student information. You will need an Excel spreadsheet that lists all the students.
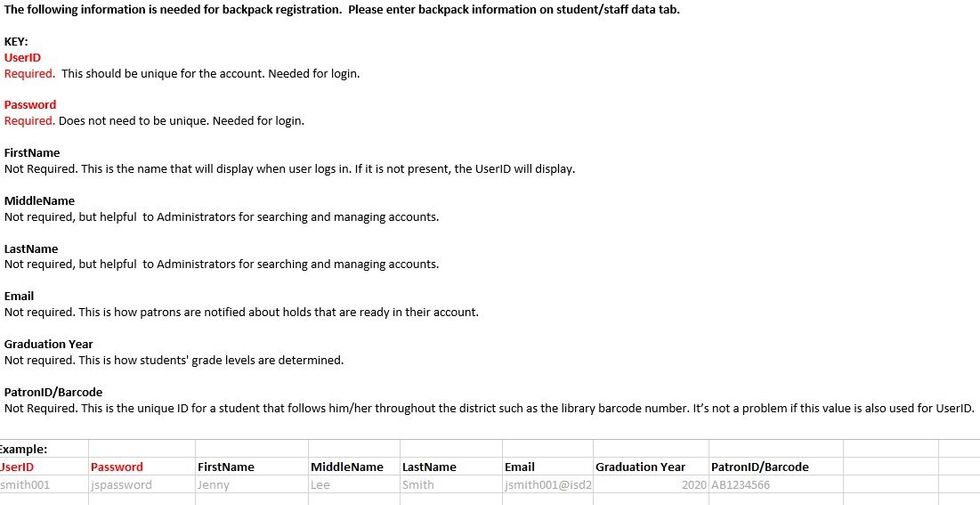
You can get the Excel spreadsheet from eSchool if you have an account or from your registrar. Make sure the data follows these specifications before uploading.
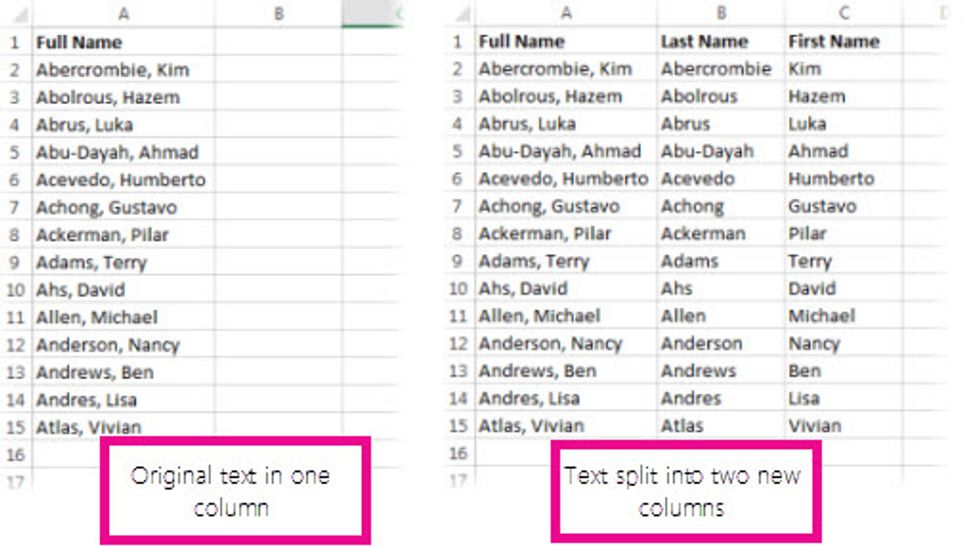
How to Split Text into Columns: https://support.office.com/en-us/article/Split-text-into-different-columns-with-the-Convert-Text-to-Columns-Wizard-30b14928-5550-41f5-97ca-7a3e9c363ed7.

Follow the instructions for uploading the file.

To create individual backpacks, click on Register New Backpack.
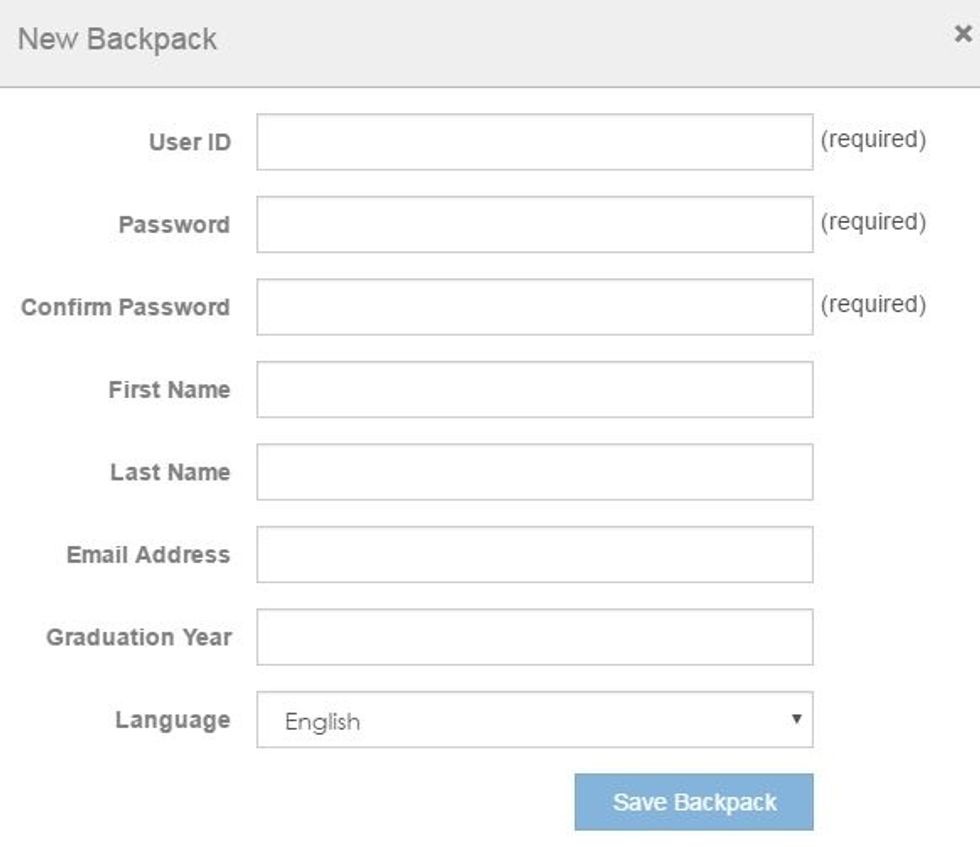
Fill in the required information to add individual students. This is convenient for adding new students, if you don't want to do a complete upload again.