The Conversation (0)
Sign Up

Start off by taking your clock apart and remove the glass on the front by loosening the screws on the top and bottom of clock. After glass is removed tighten the screws again.
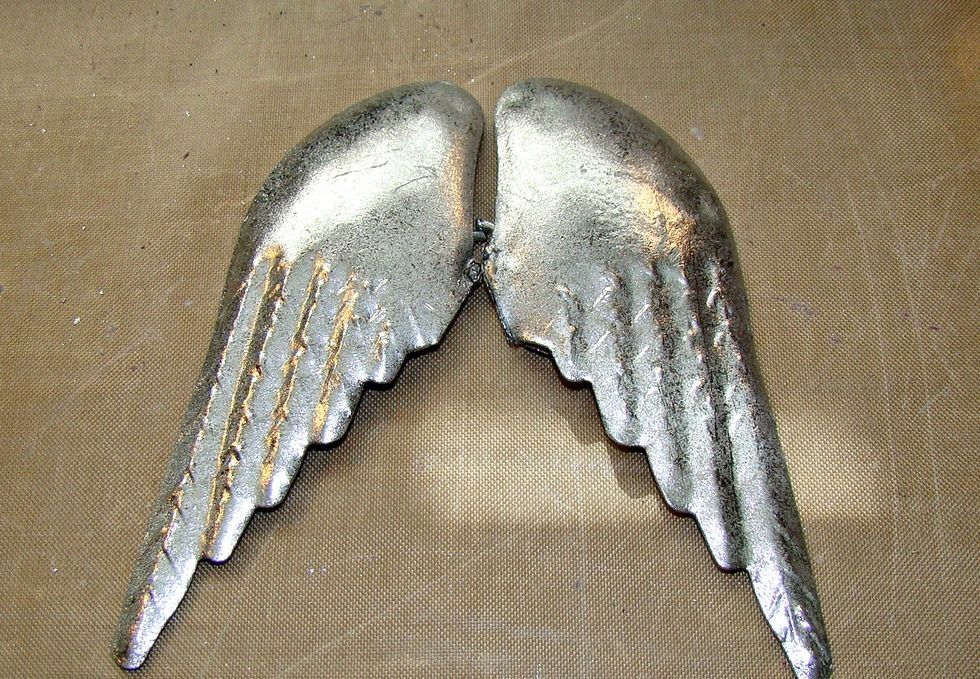
These are metal wings I bought at the craft store and I cut them apart.

Using E6000 glue to attach the wings to the sides of the clock.

Add texture paste randomly to the sides and inside the clock, this will look real pretty once you get the oxidized silver applied.
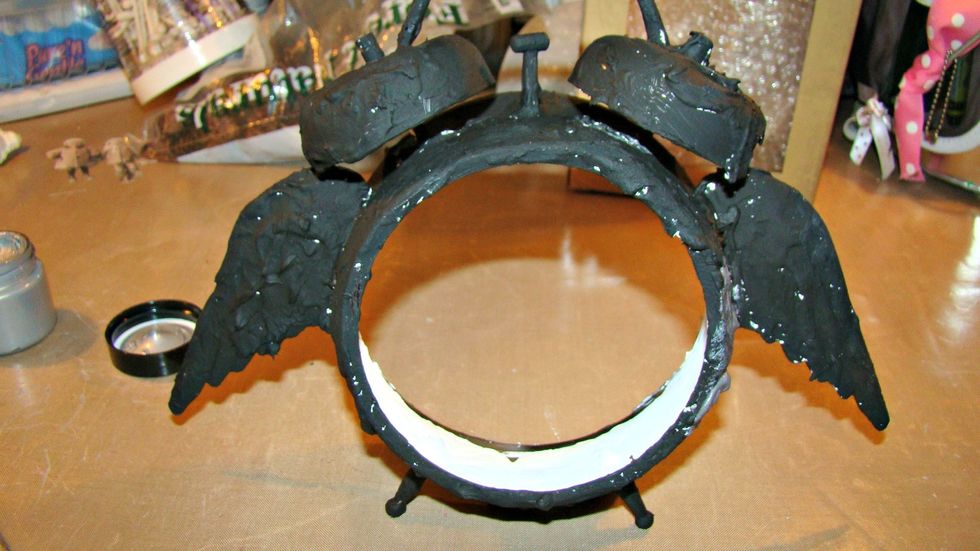
Give a nice coat of black gesso to the outside and white gesso to the inside.
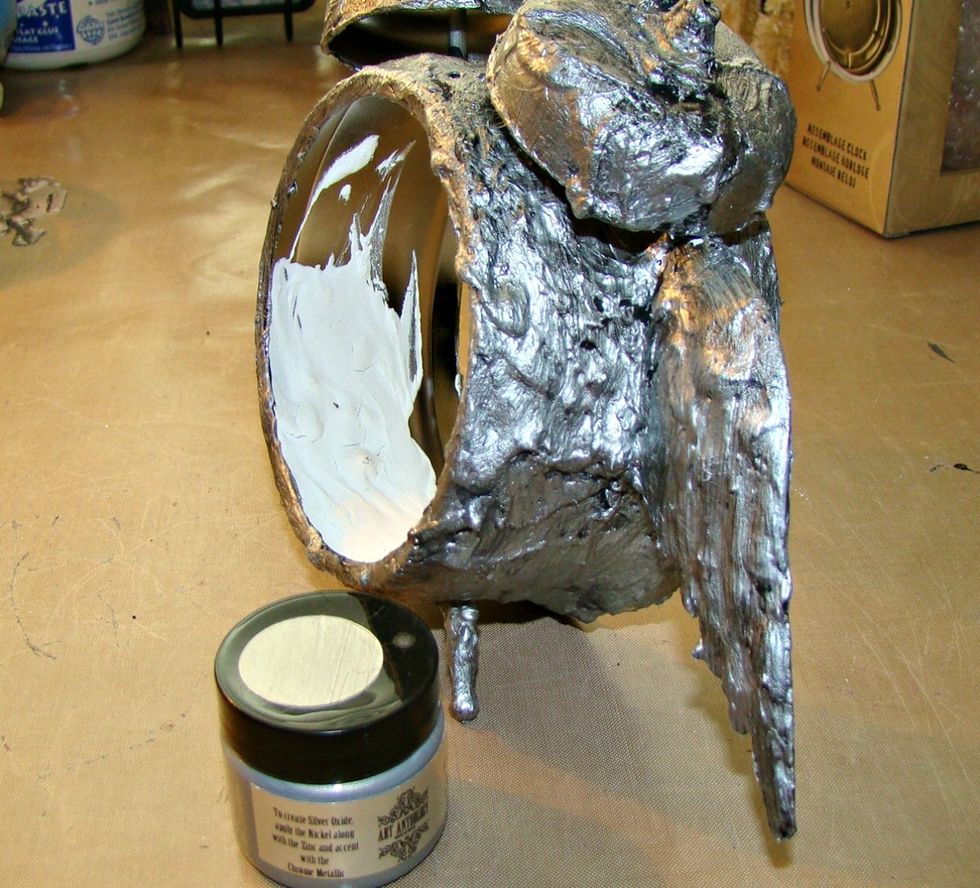
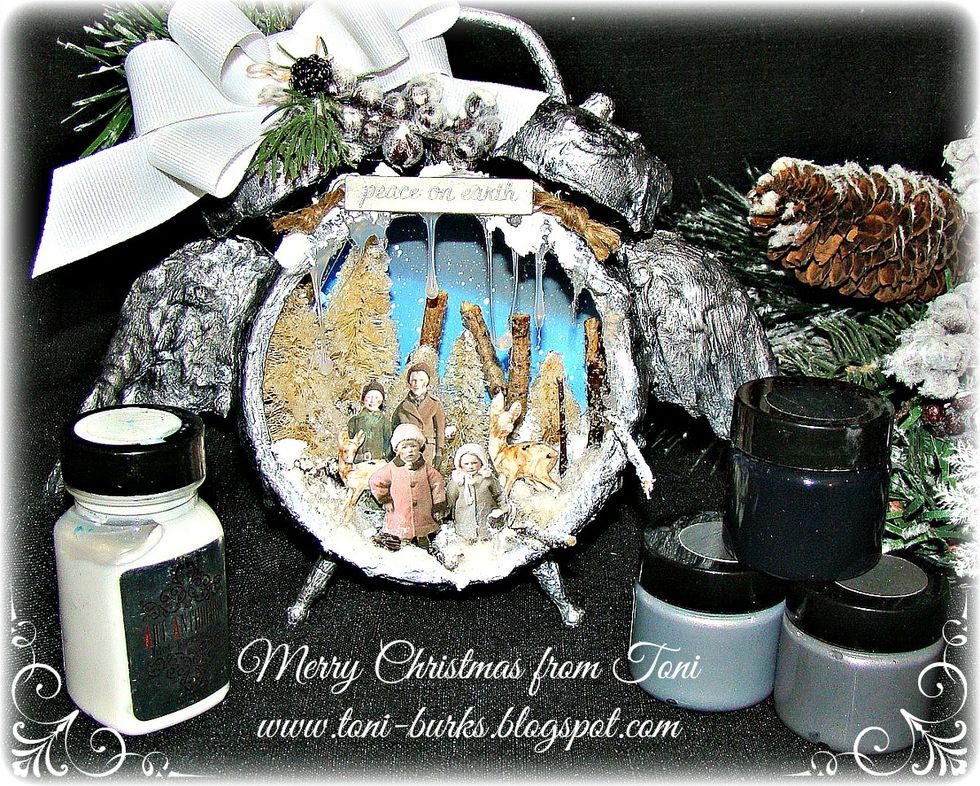
Add the lightest silver first and allow to dry. Then sponge on the medium gray here and there and dry.
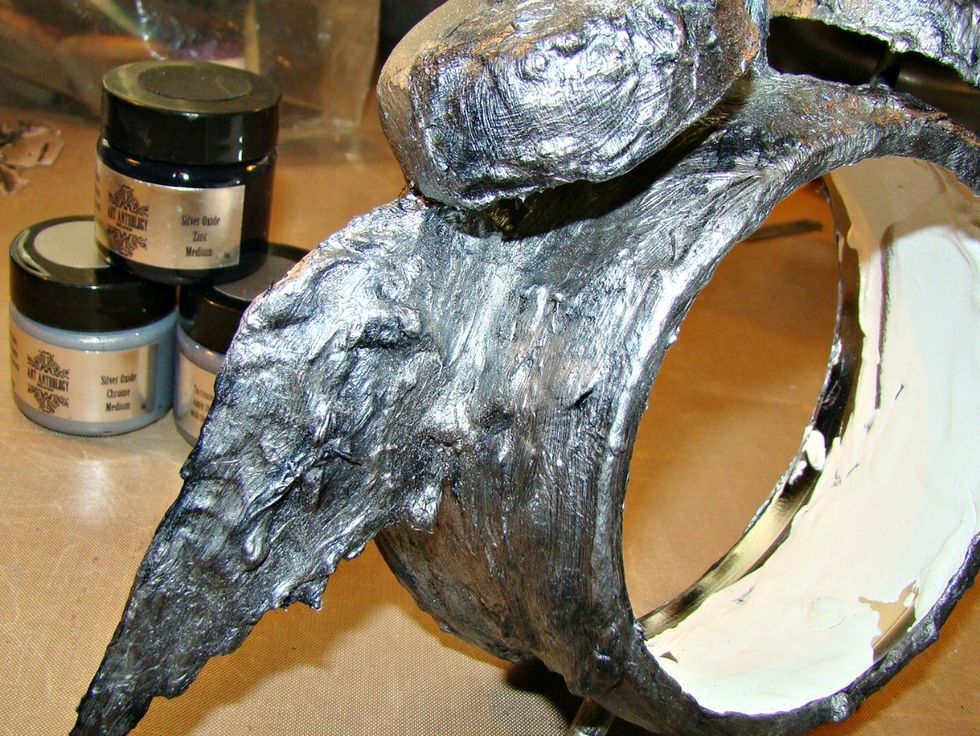
Take the black and apply with a dry brush and spritz water to blend. I used my finger also to smudge into the crevices.
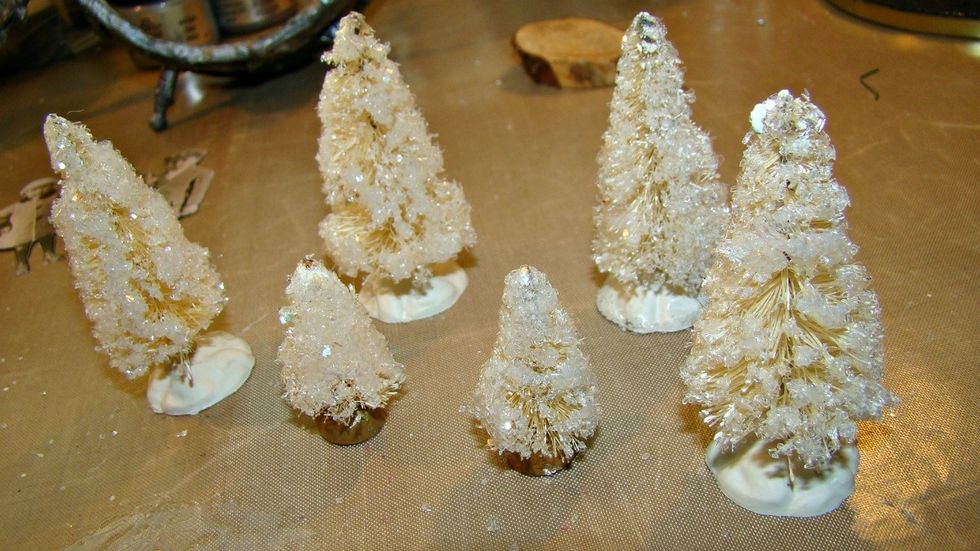
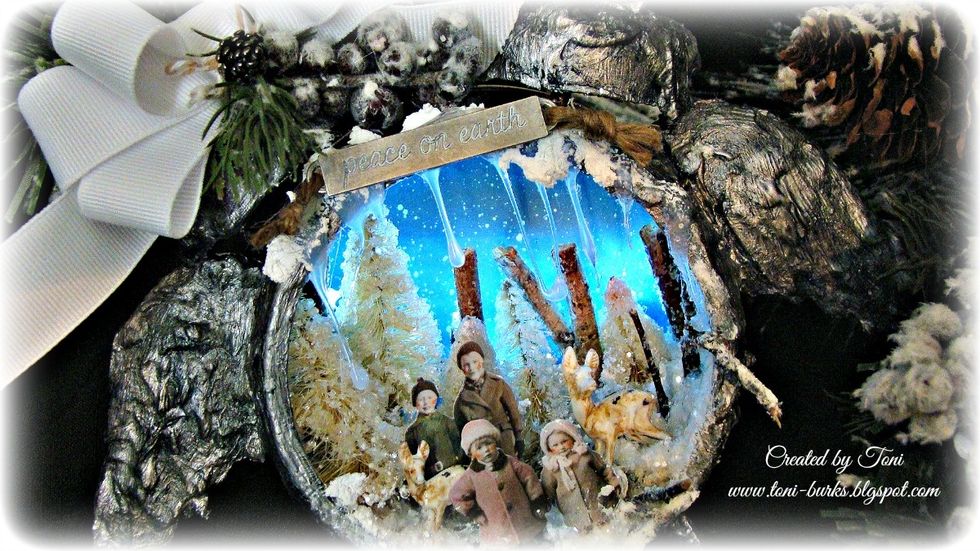
These trees were green and bleached out with equal parts of bleach and water and rinsed well then rolled in glossy accents and sprinkled with diamond dust.
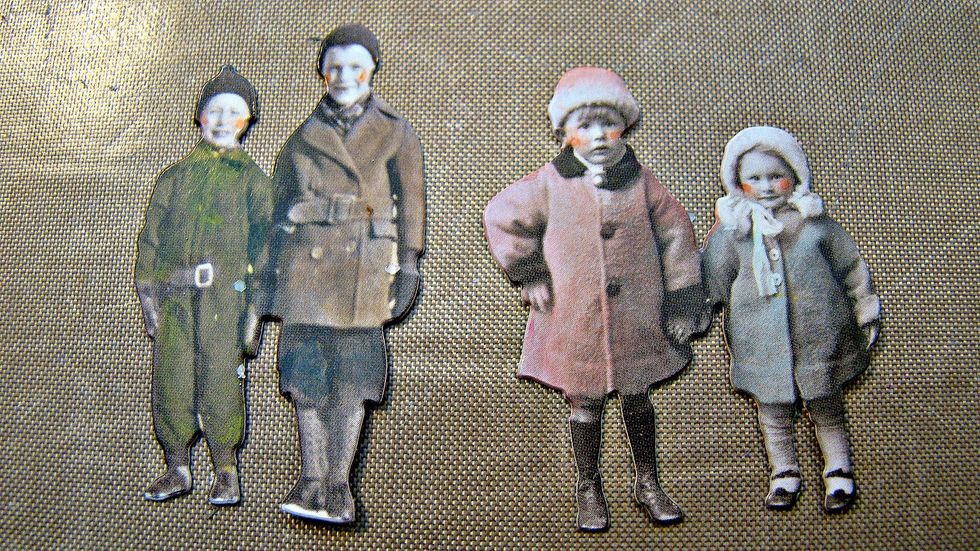
The paper dolls were smudged with different colors of inks to lightly color their clothing.
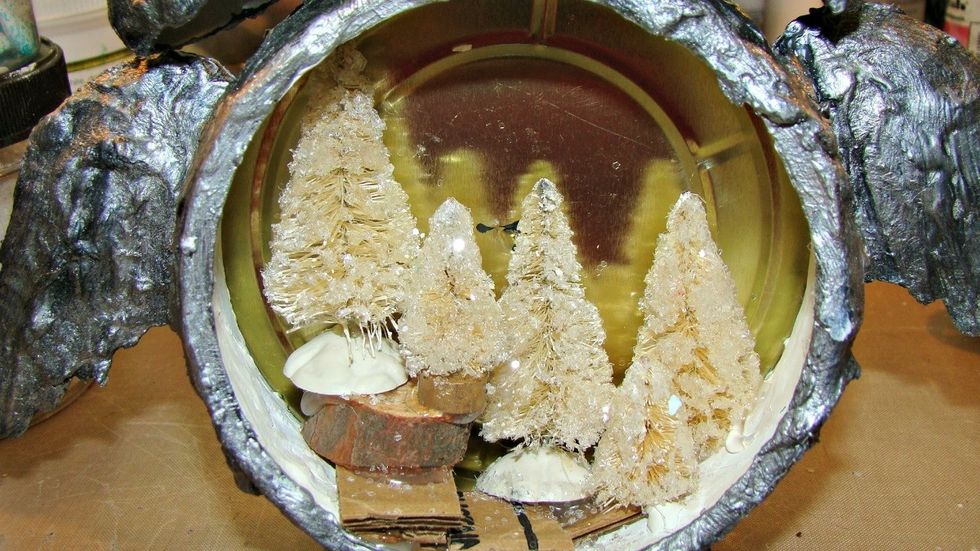
Start placing your trees using cardboard or wood pieces to apply height for different levels. Don't worry we will cover this all up with snow later, you won't be able to see any of this.
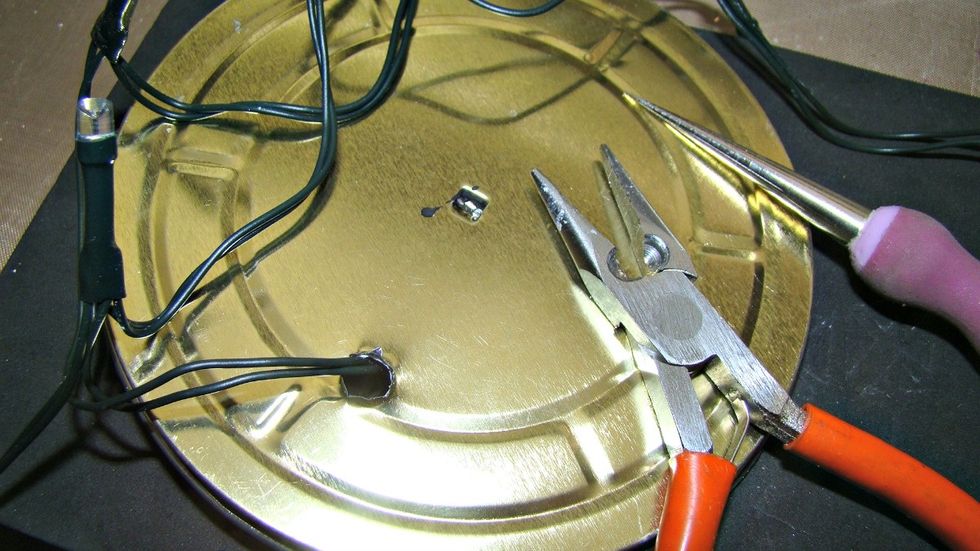
Using a awl and pliers I punctured a whole in the back of the clock in order to string the lights through.

For the sky take white card stock and blend this three colors then splatter white gesso for a snowy effect.
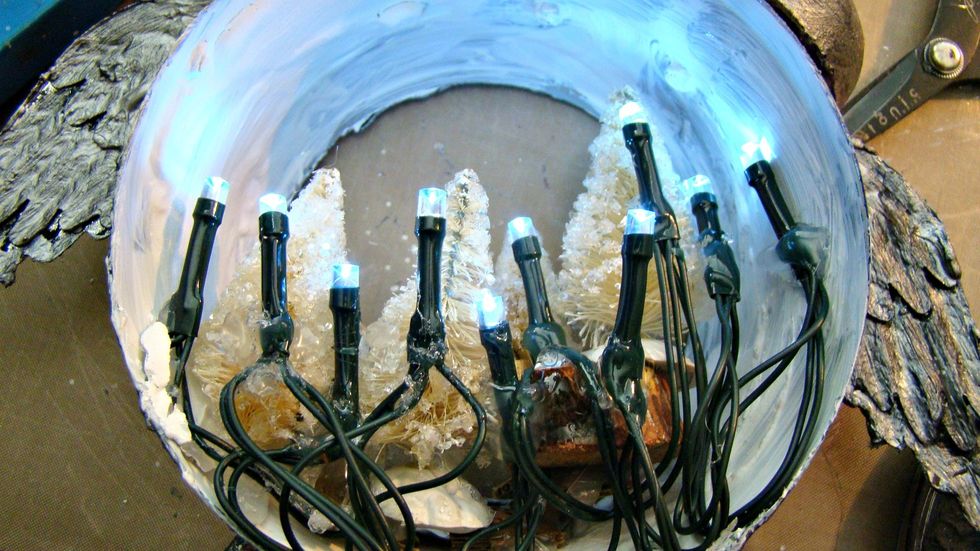
Now I know this looks like a mess but don't worry the effect is wonderful. Using hot glue place your battery lights where you want behind the trees.
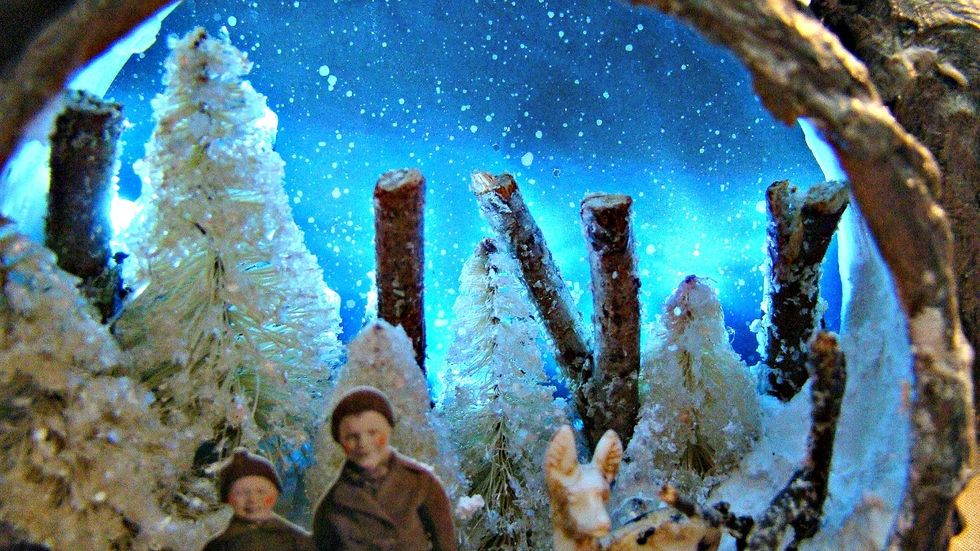
In order to cover up some of the bulbs I took small pieces of wood and glued them randomly, it looks like the forest. Don't the lights look pretty against the sky.
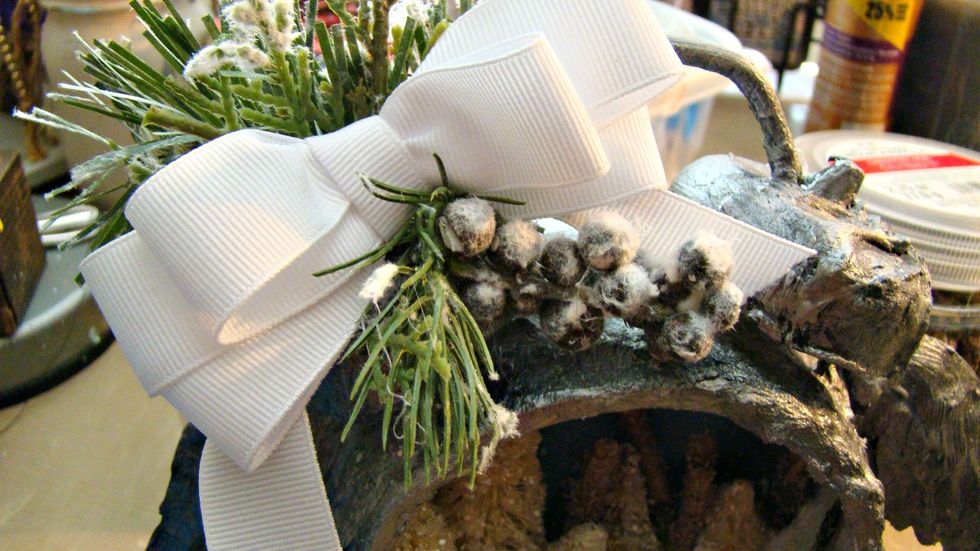
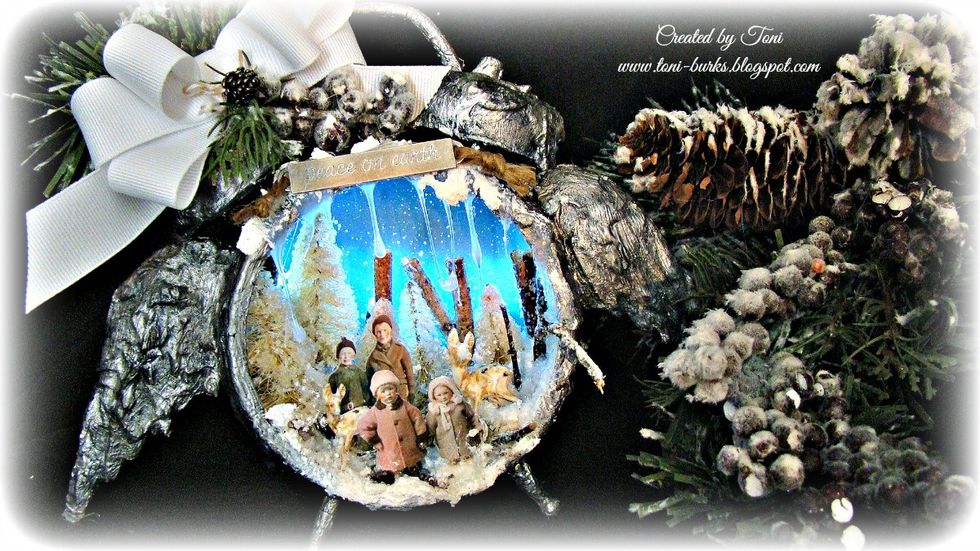
For the top I simply made a bow, added greenery and sprigs.
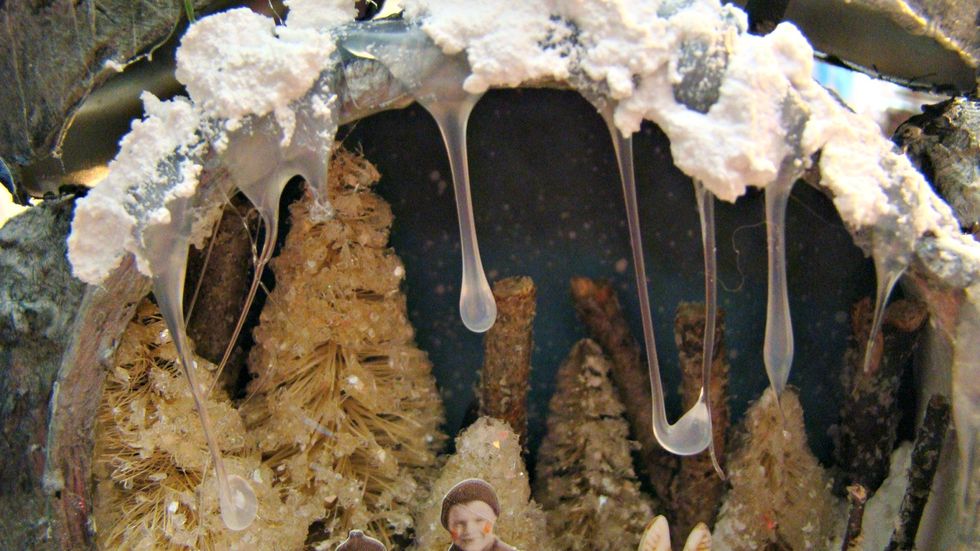
Taking your hot glue allow it to drip in the front of the clock like icicles.
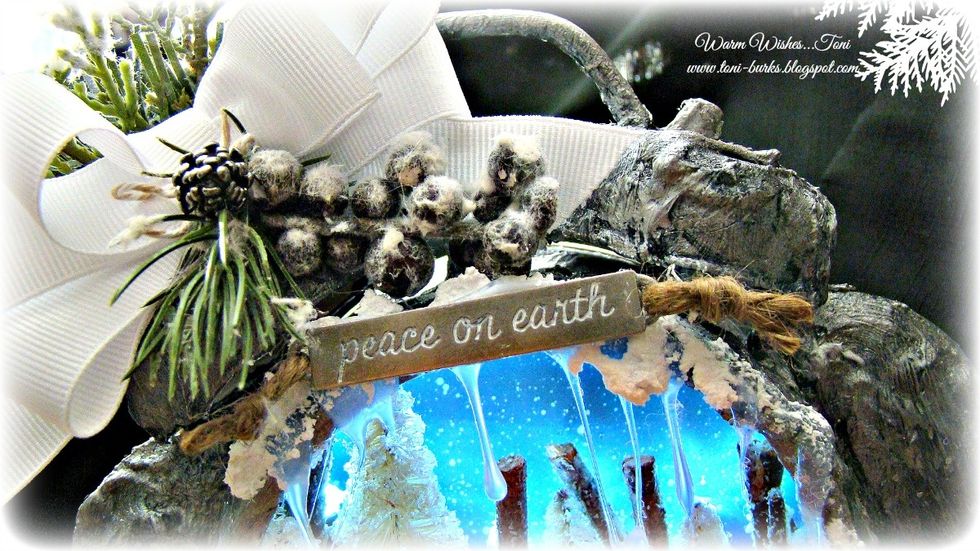
Smudge white paint on the top of your word band and wipe clean to fill in your letters and add twine to the edges. I also attached a Ideology pine cone with bakers twine
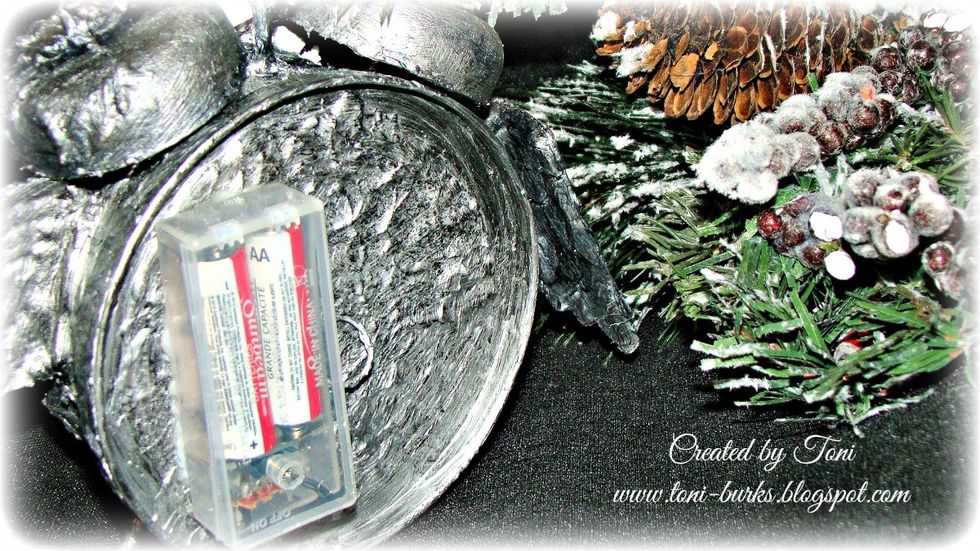
Photo of the battery pack glued to the back of the clock for easy access.
For products used with * in front of them, they can be purchased at our store here https://www.artanthology.net/
For more inspiration please follow us at http://artanthologyinc.com/blog/ https://www.pinterest.com/artanthology/
Be sure to follow us on facebook and post your projects so we can also be inspired by you https://www.facebook.com/Art-Anthology-392413134139071/

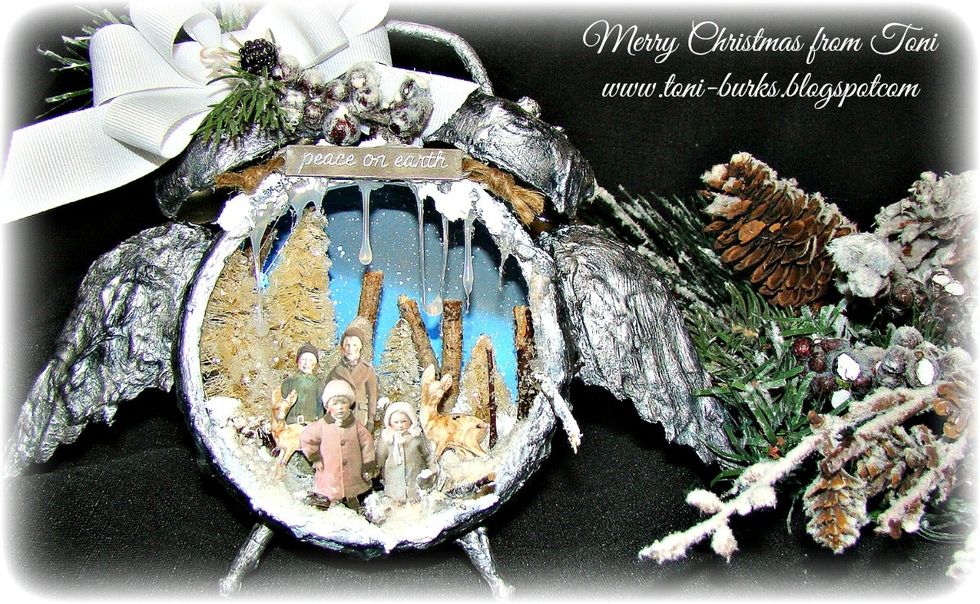
Wishing you a Christmas filled with peace and joy.