The Conversation (0)
Sign Up
This guide has been made on my iPad mini but is relivant for all iOS devices.
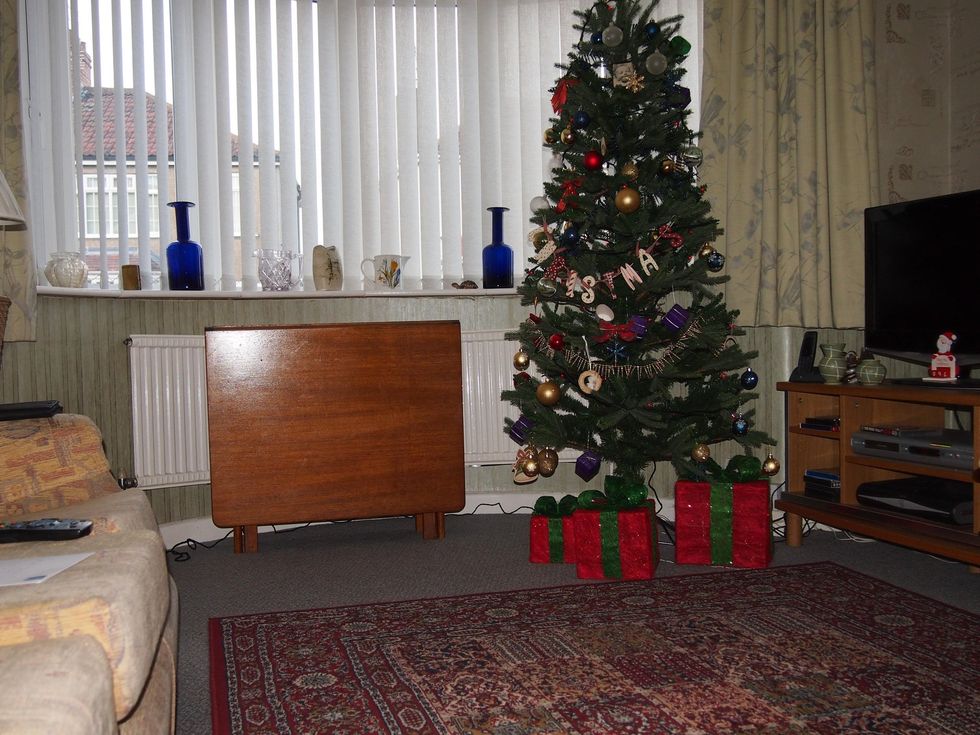
Take two pictures - the first is your base image this will be your background. Your subject will 'float' in front of this image.
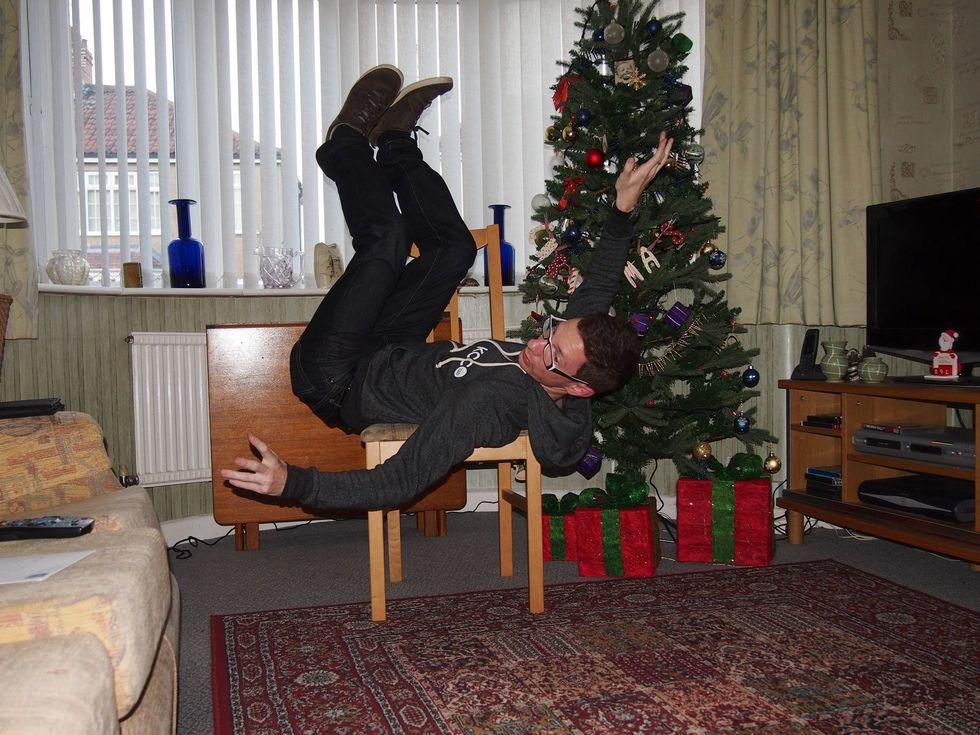
The second image is of your main subject. They should be on a chair, or item that is above ground level. We will then erase this item from the picture to achieve the required effect.

Now download Juxtaposer from the App Store - I believe it's a few $/£ in cost.
Open Juxtaposer and it'll ask you to load your two images.
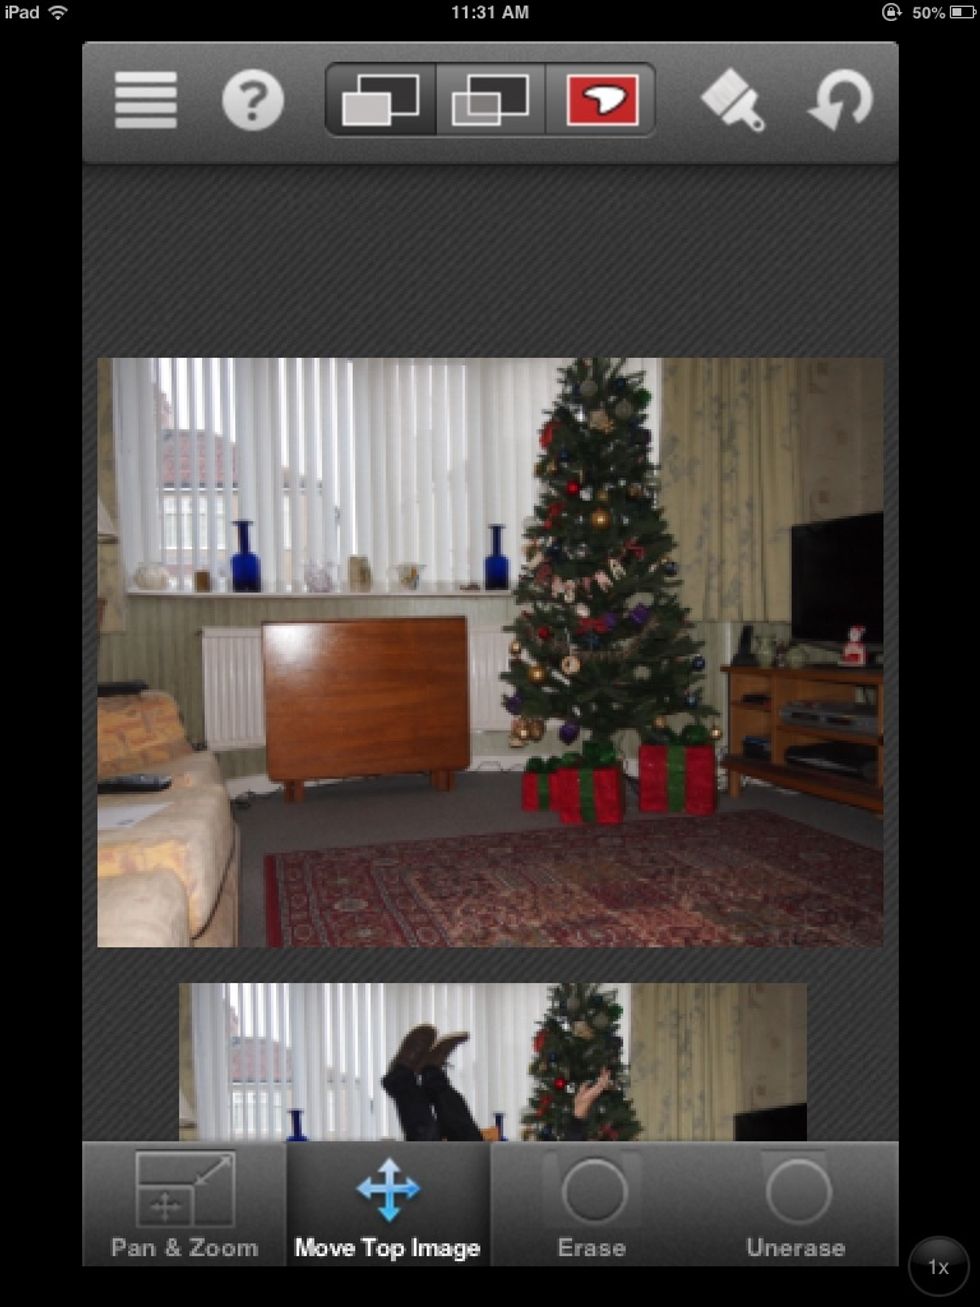
Your two images will be layered atop one another, I've separated them here so that you can see my base layer and main subject image below.
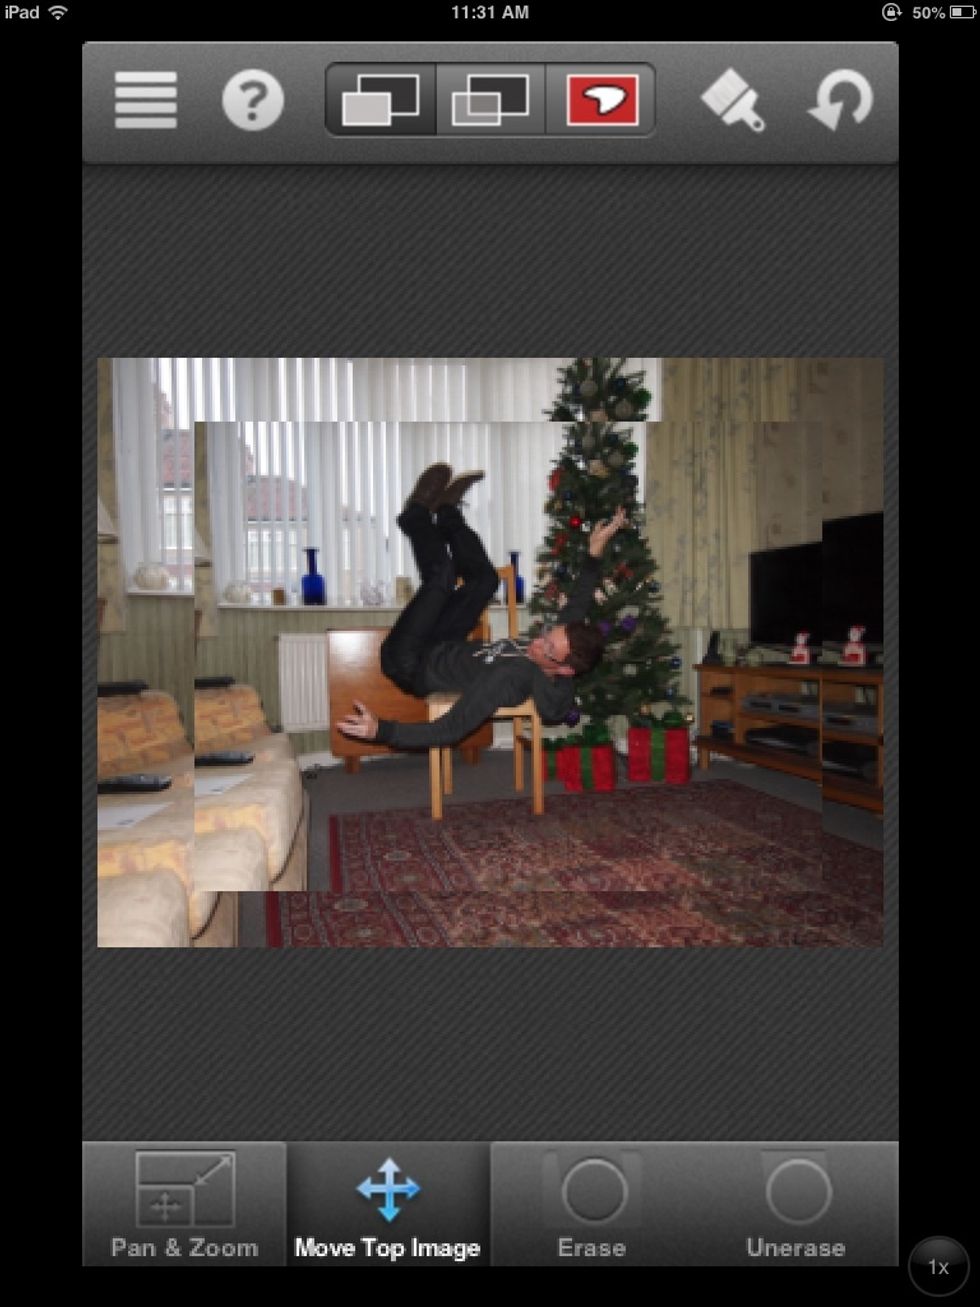
Here you can the two images atop one another. Notice how the top layer is of a small size. You can resize this image so that both lay exactly on top of each other.
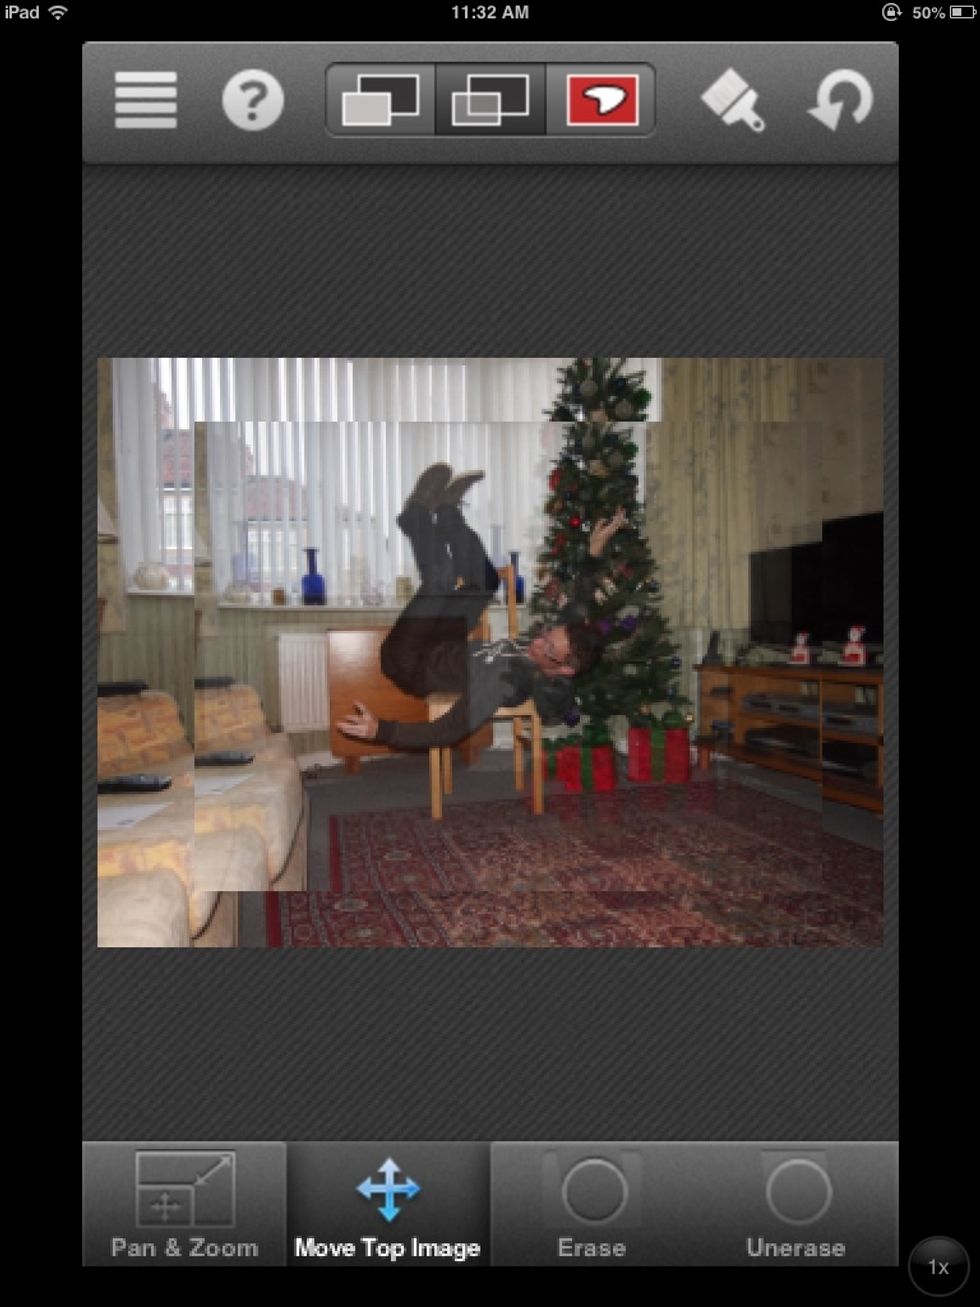
At the top of the screen is your view options. The middle button allows your top image to become transparent. This will enable you to move and resize your photographer easily.
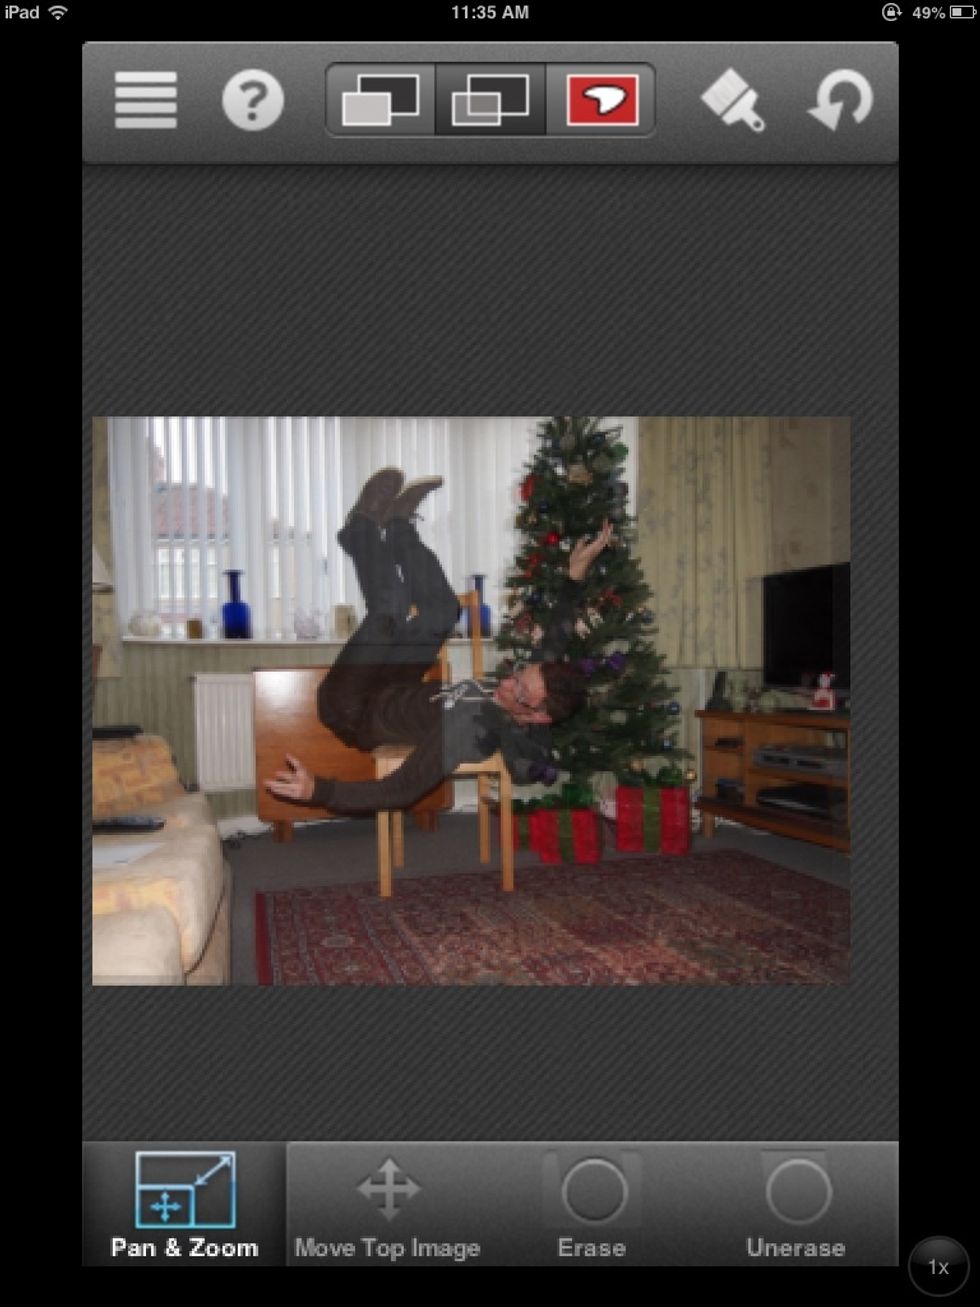
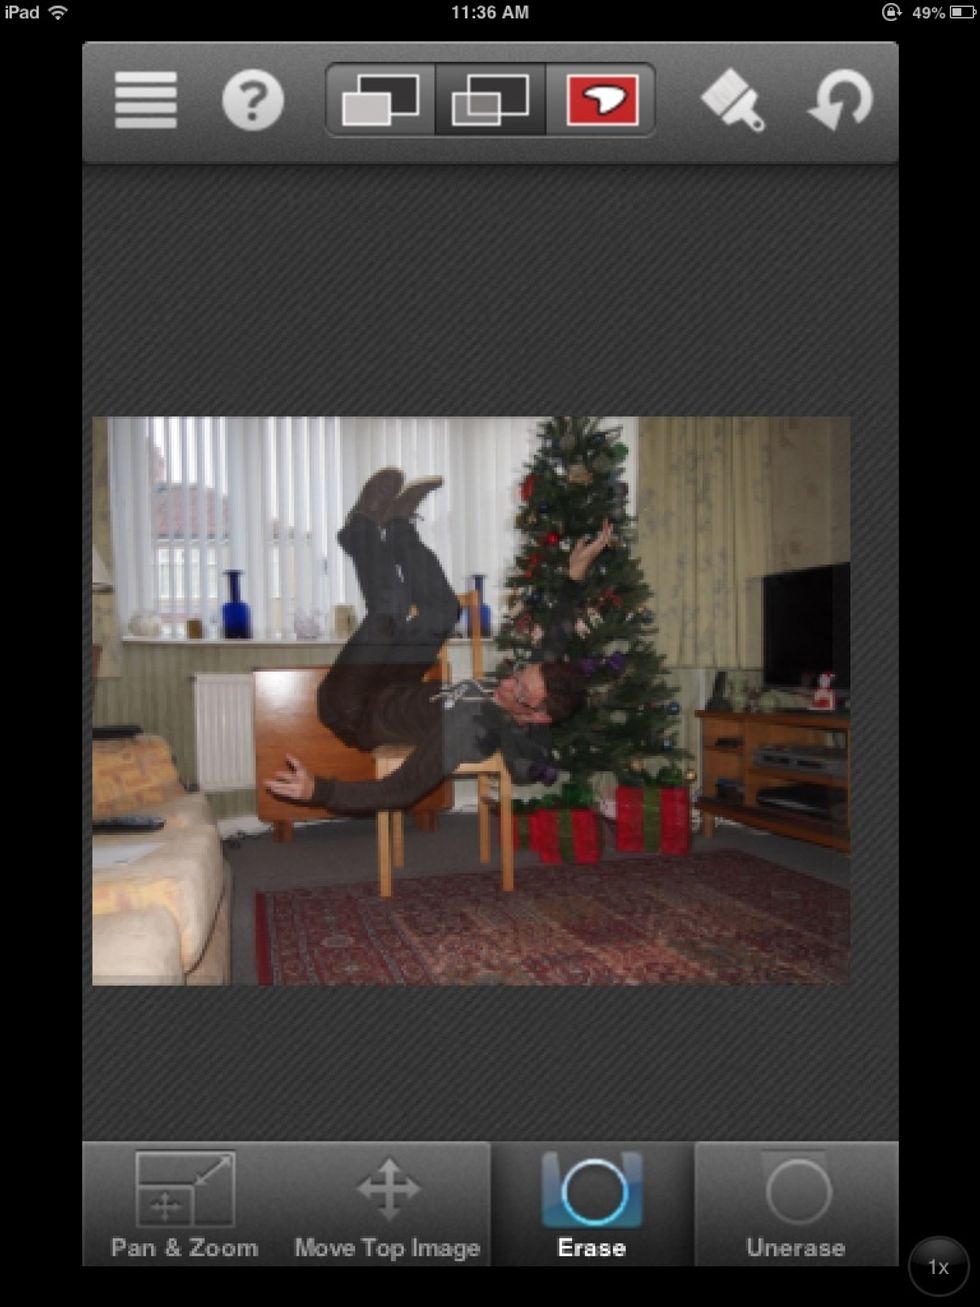
Here I have aligned my images and can now begin the erase process which is access through the buttons at the base of the page.
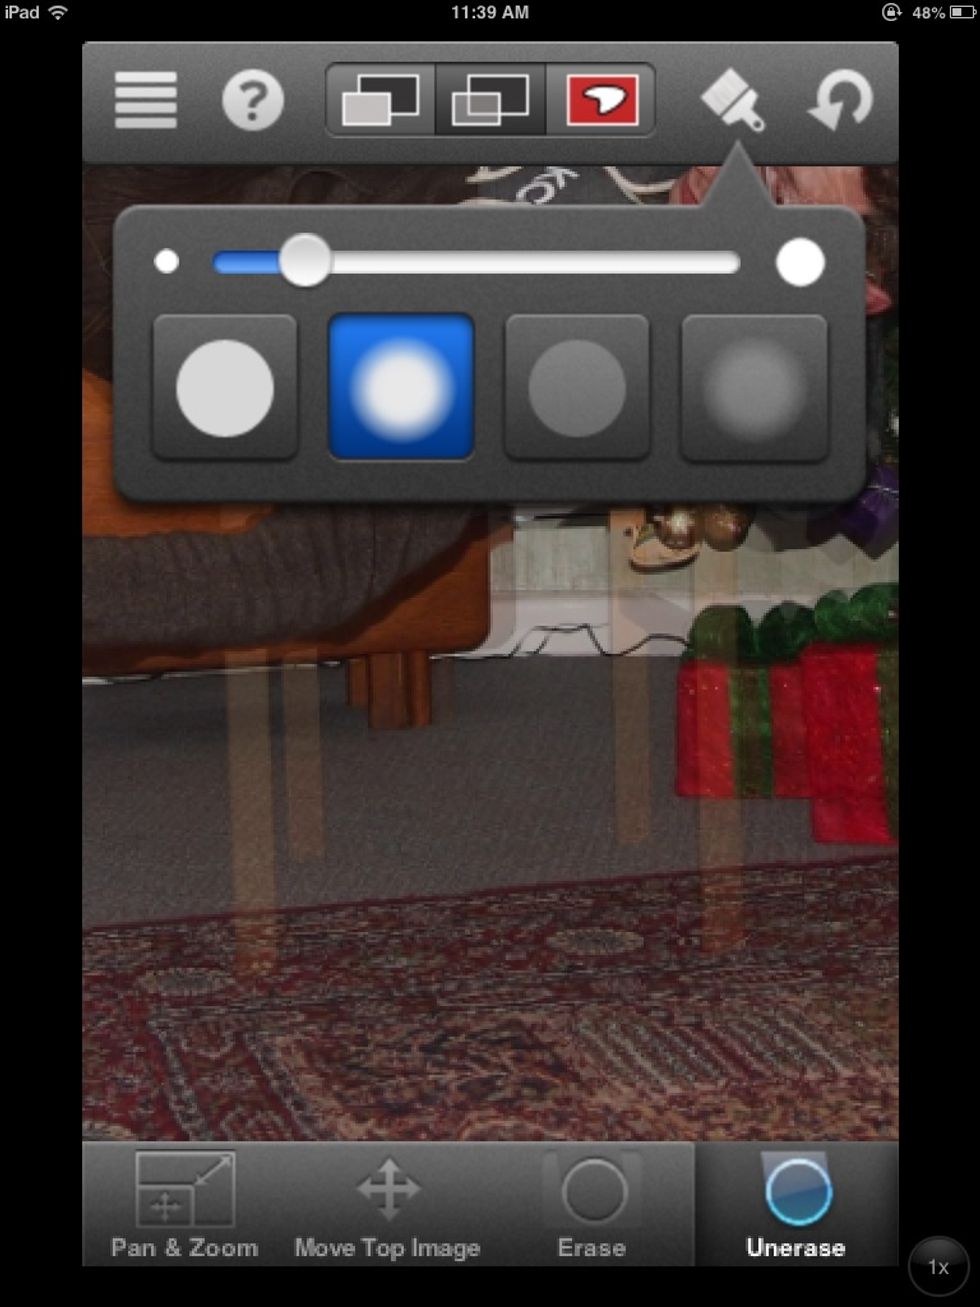
The paint brush button allows to resize the tool so that you may have a finer control of the areas you are erasing. You can zoom into your image to get into the hard to reach areas.
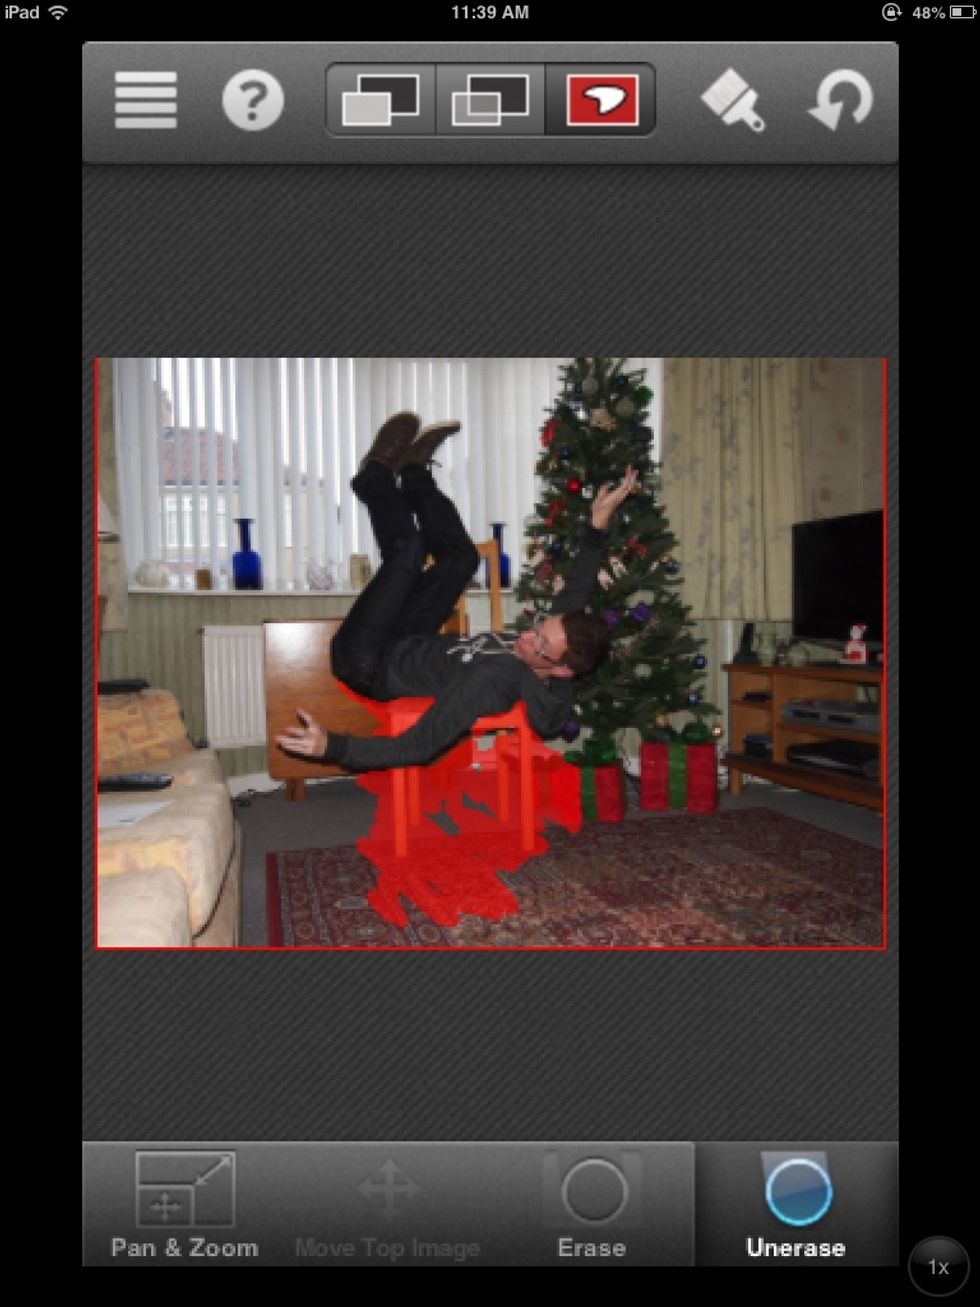
The third top button shows your brush strokes so you can see where you have been and what you have erased. Here I am erasing the chair, the base image is below and that is all that will be seen.
You also have the ability to undo and unerase too. At the top is a help menu and settings. It is here you will find further options and the ability to save your final image.
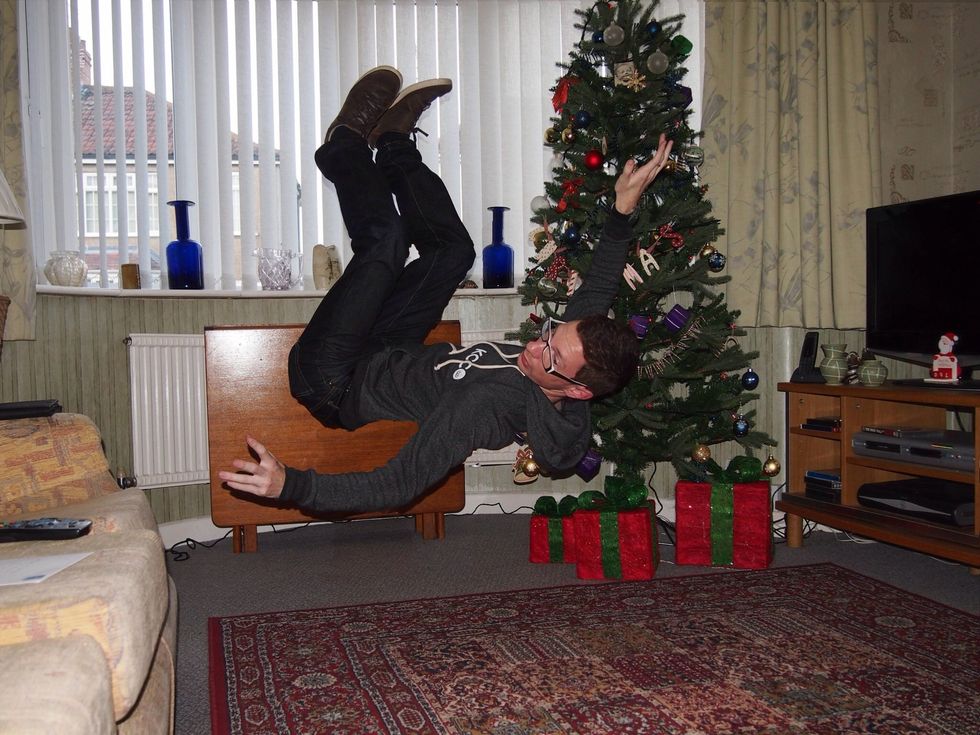
Once you have erased all of the chair or structure you can combine the two images and save your levitation creation. Share, enjoy and amazing others. Thank you.