The Conversation (0)
Sign Up
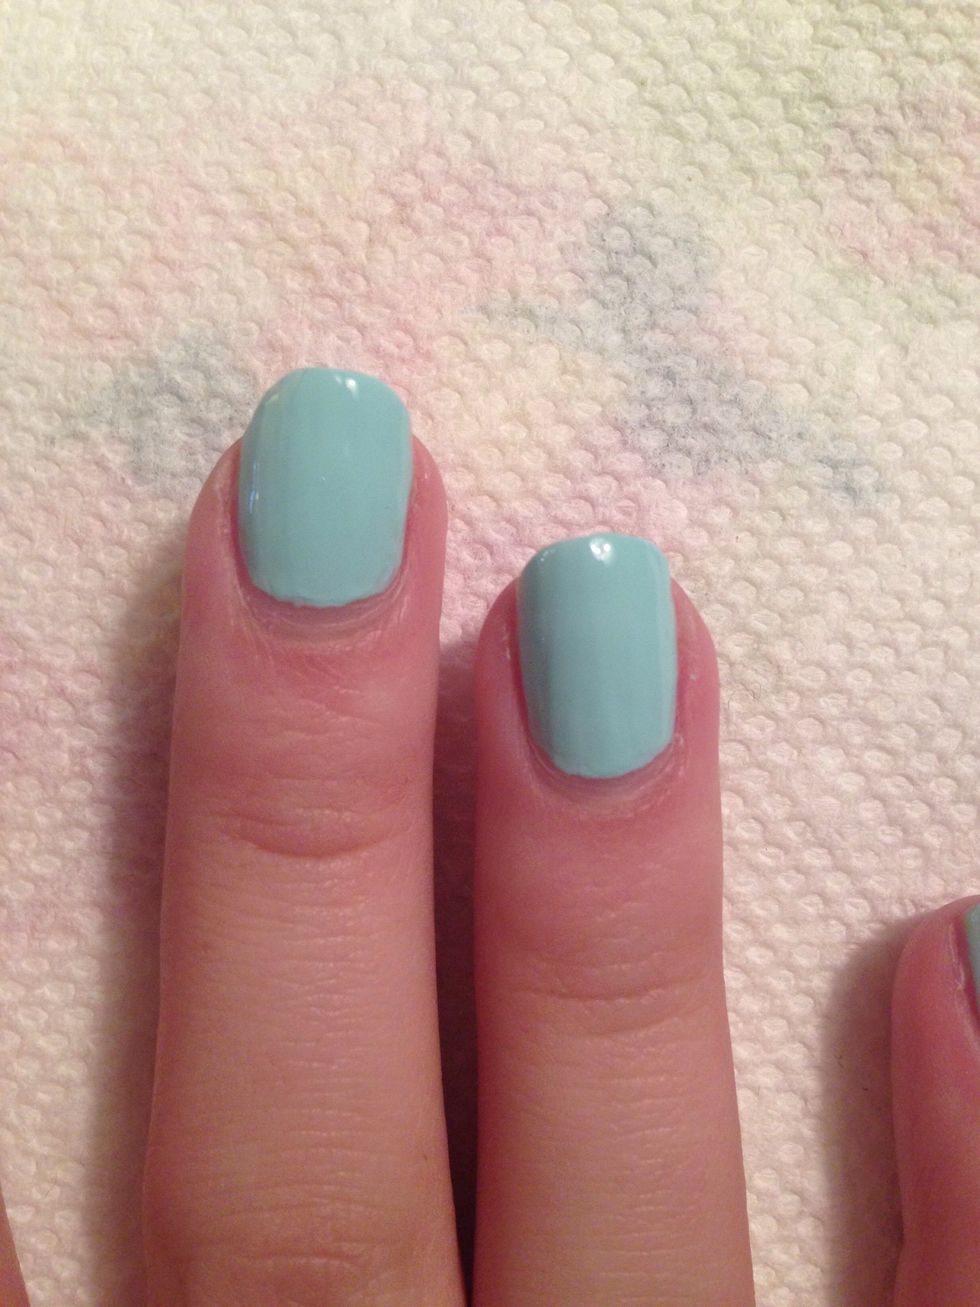
Step one: apply base coat and apply two coats of a polish. (Color does not matter but preferably something light so you can see the leopard design)
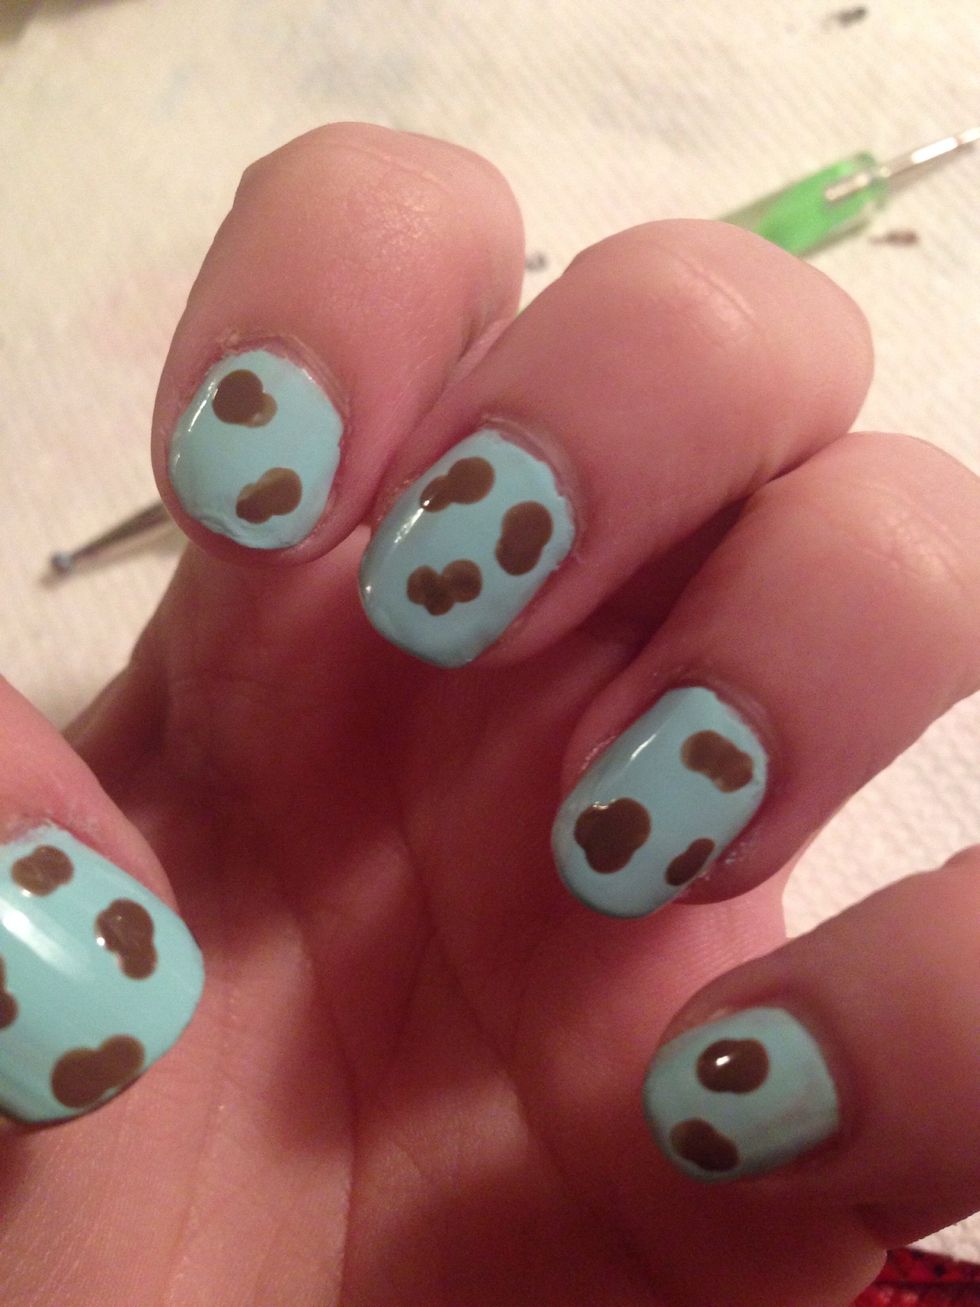
Step two: with a dotting tool (you can buy them on amazon.com) make a blob design. Remember to let the two coats of polish to dry a little bit before you make this design.
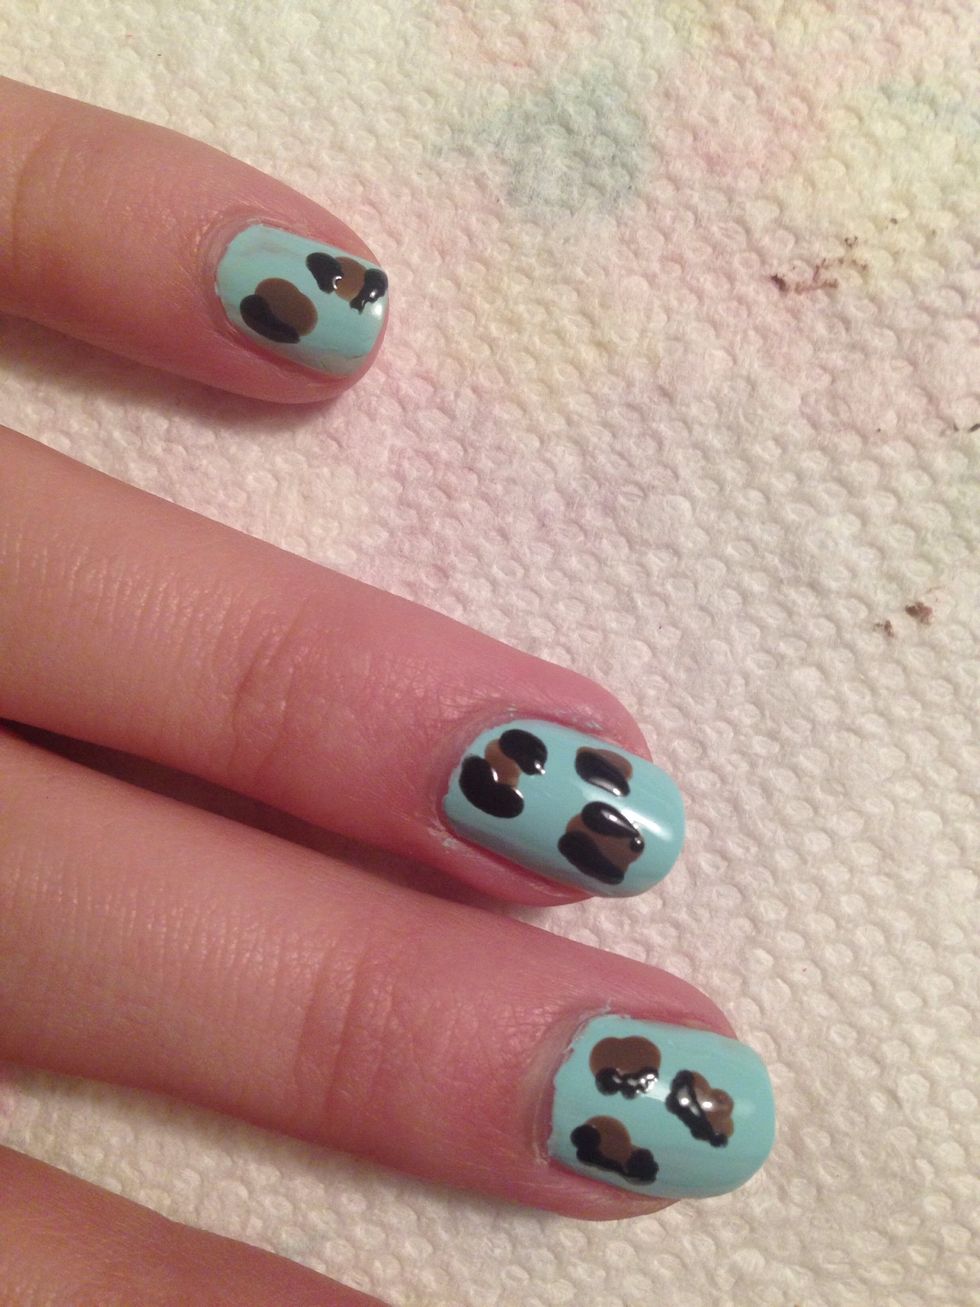
Step three: with the dotting tool, slightly outline the blob. Make each design different because leopard prints are not all the same.
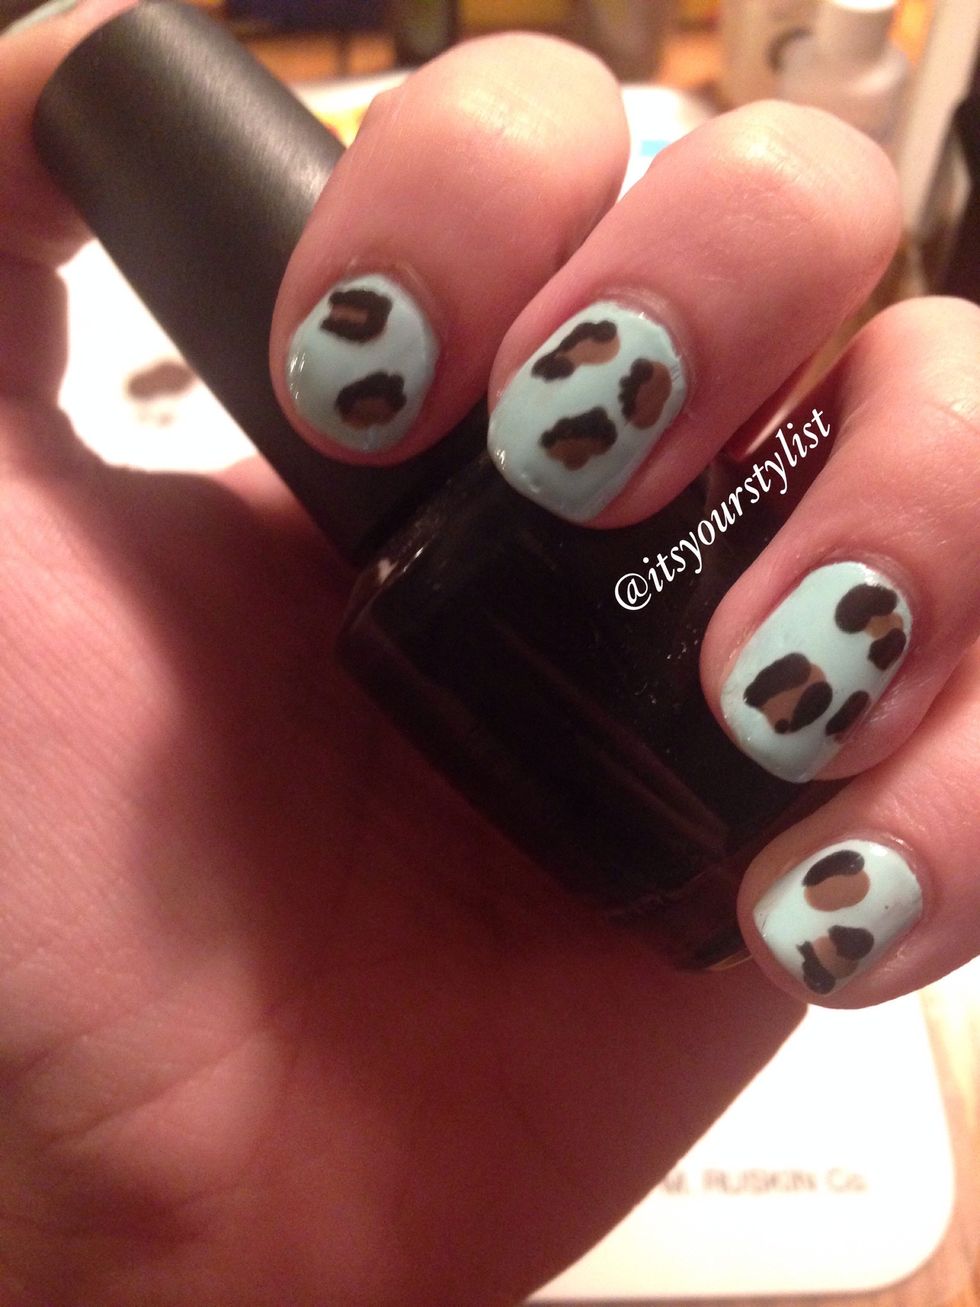
The finished product should look like this!
Thanks for looking at this guide! Have Instagram? Follow my profile for more nail and hair creations! :)