The Conversation (0)
Sign Up
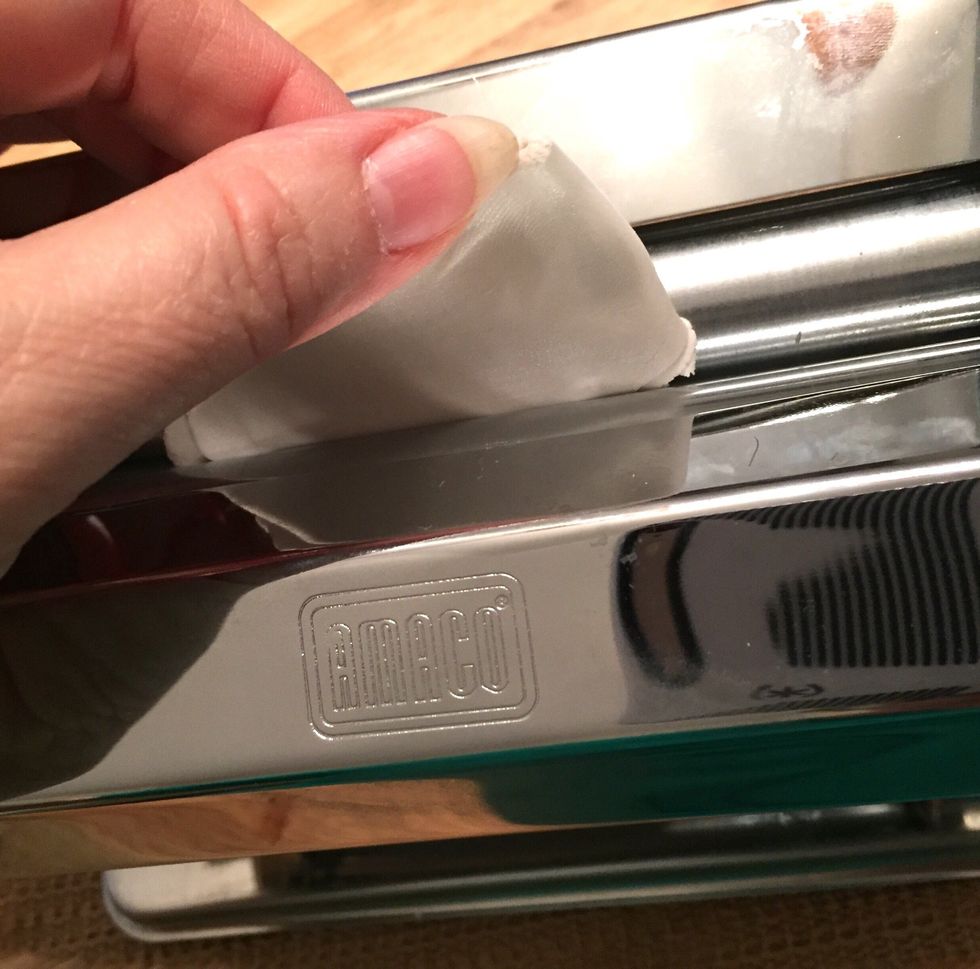
condition clay: take small pieces and run through craft clay machine. start at wider width working down to narrower; folding clay in half before reinserting. finished clay should be about 1/8" thick.
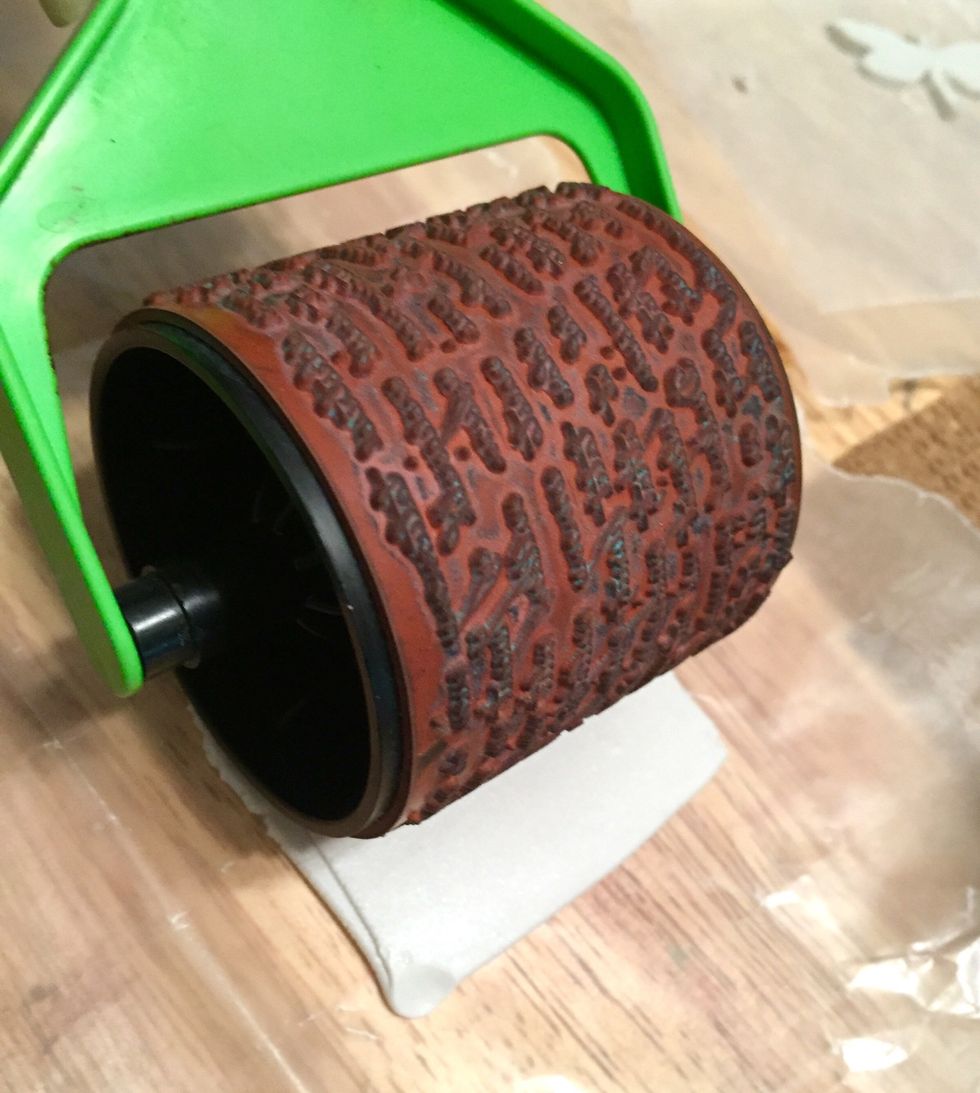
place conditioned clay on waxed paper and add design using Rollagraph Jumbo Wheel and Handle.

be sure you don't press TOO hard when you roll on design. you want the pattern deep enough to show, but not so deep it goes all the way through the clay.
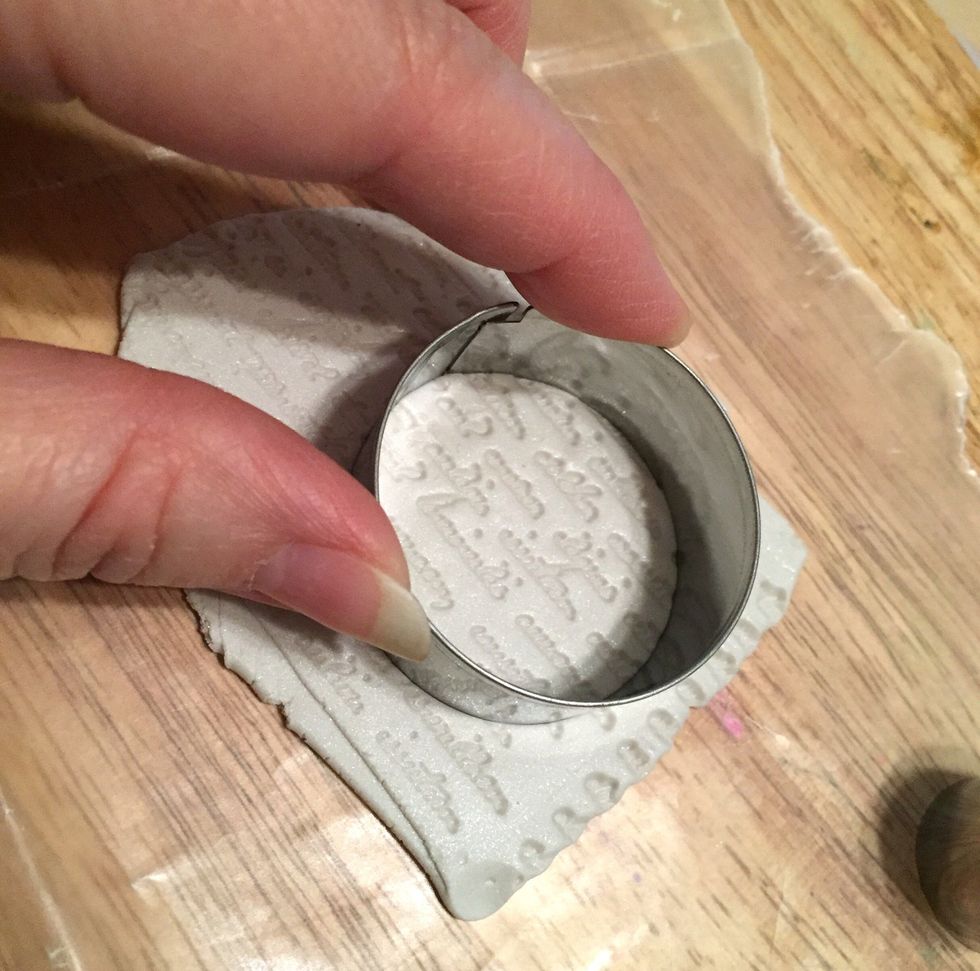
use 1 1/2" circle punch to cut out piece for pendant.
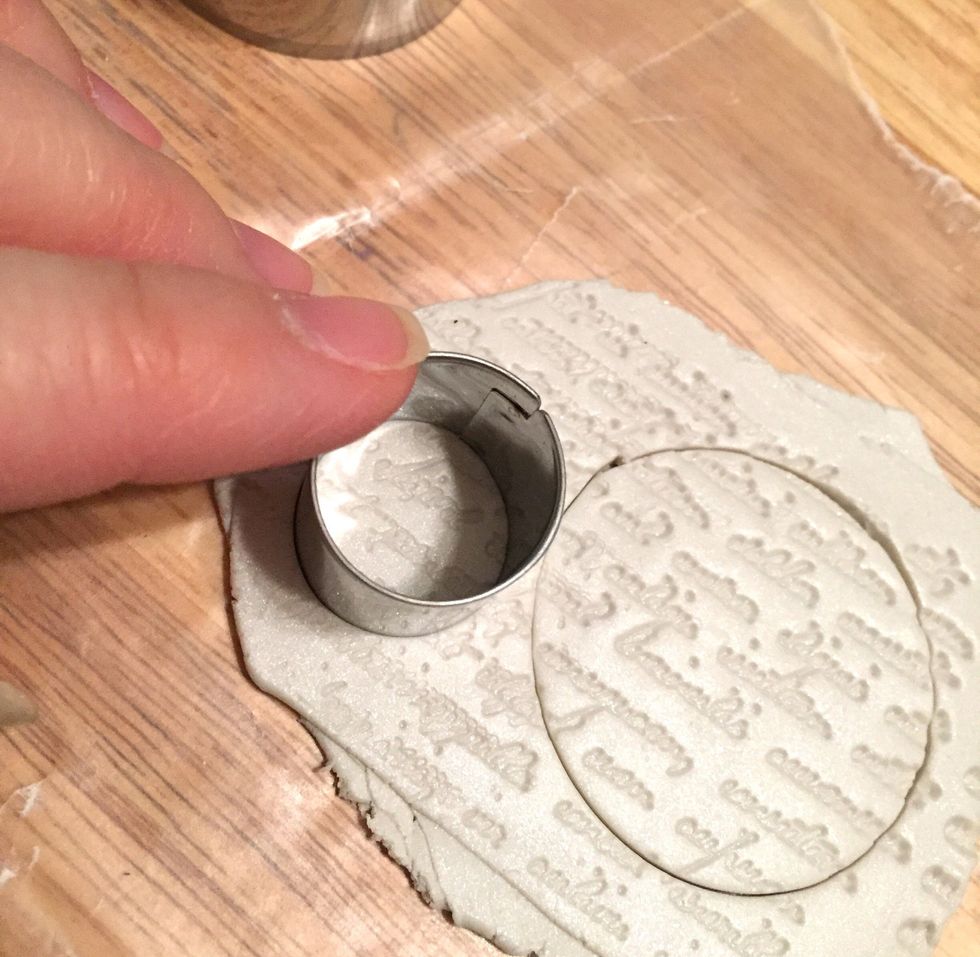
use 3/4" circle punch to cut out pieces for earrings.
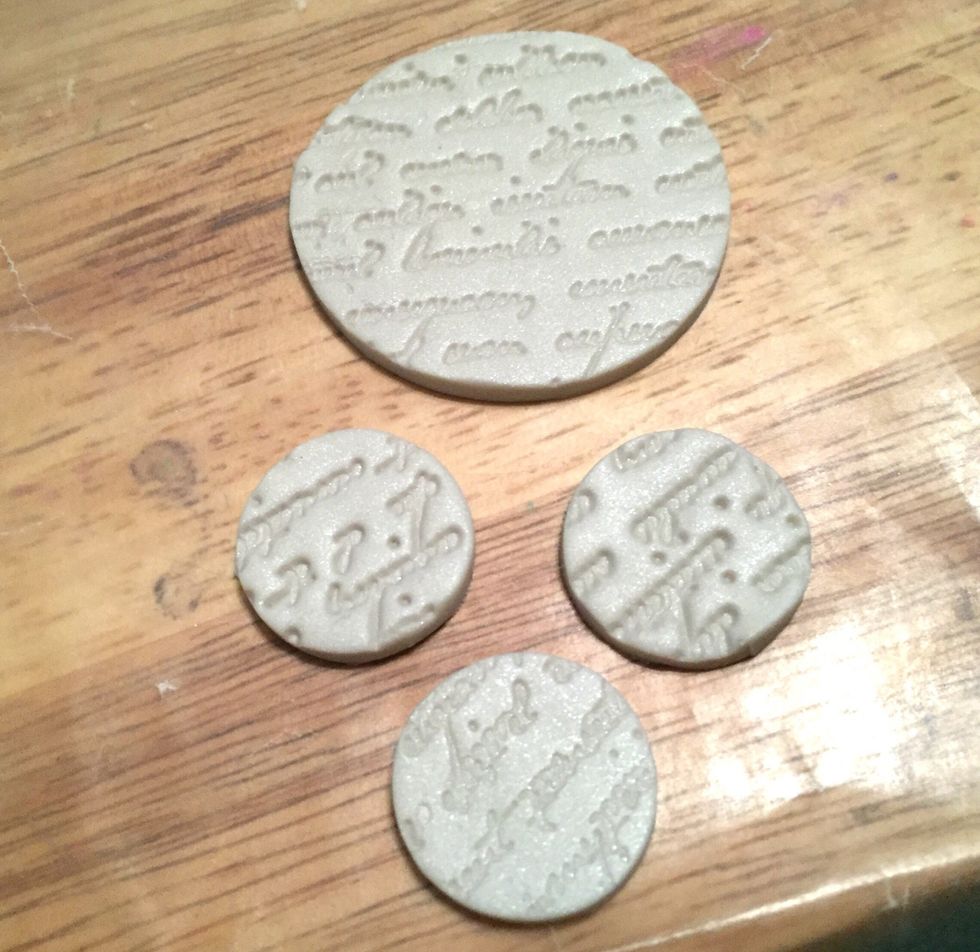
punched pieces. you may want to stamp extras to experiment with or to make multiple sets.
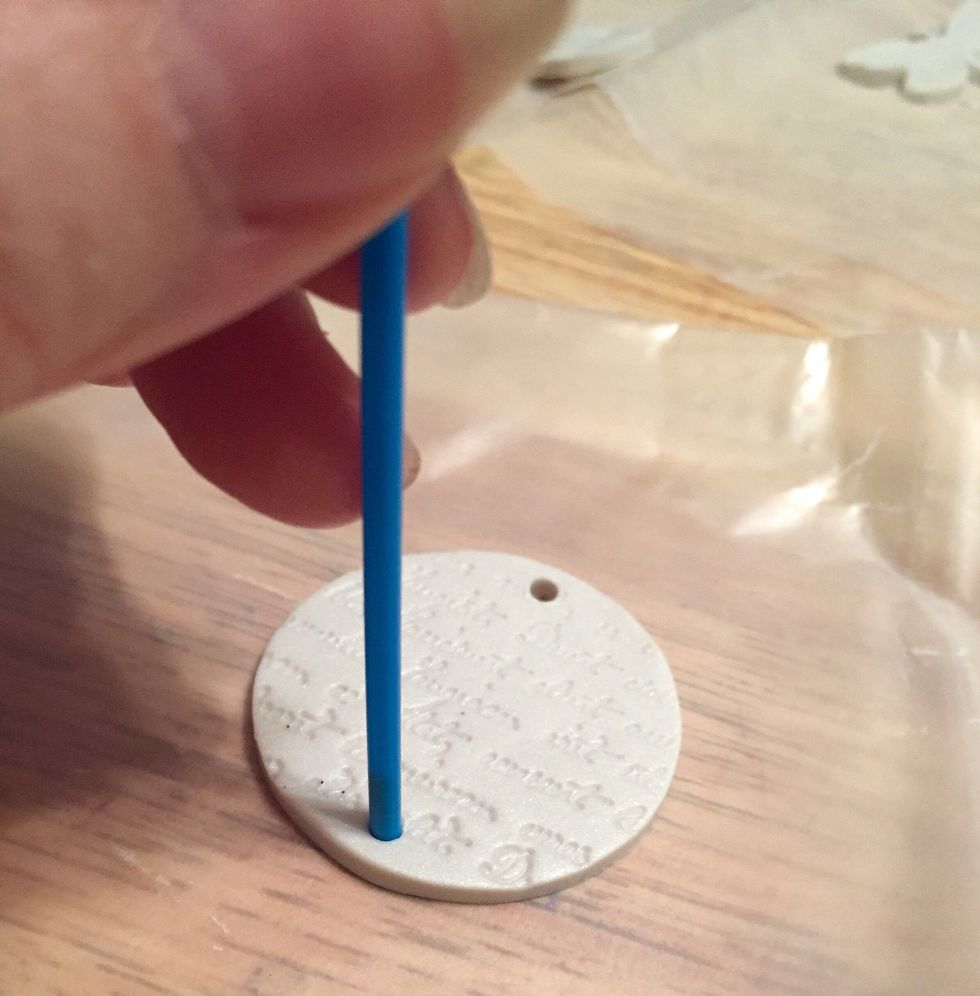
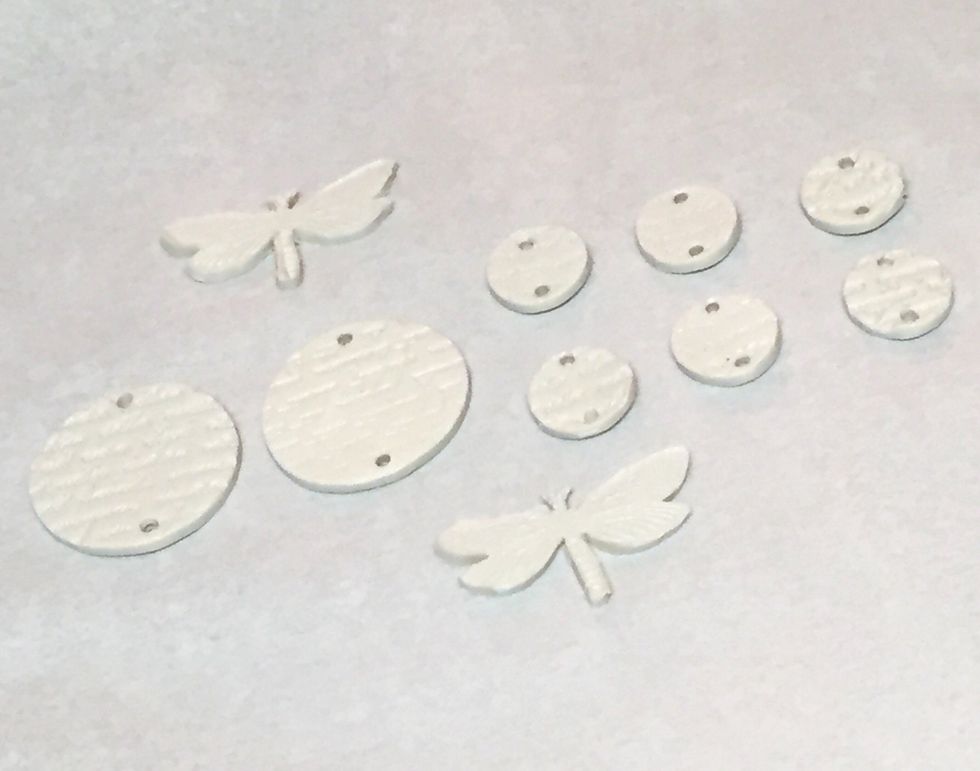
use tiny straw or skewer to punch holes at top and bottom of pendant piece.
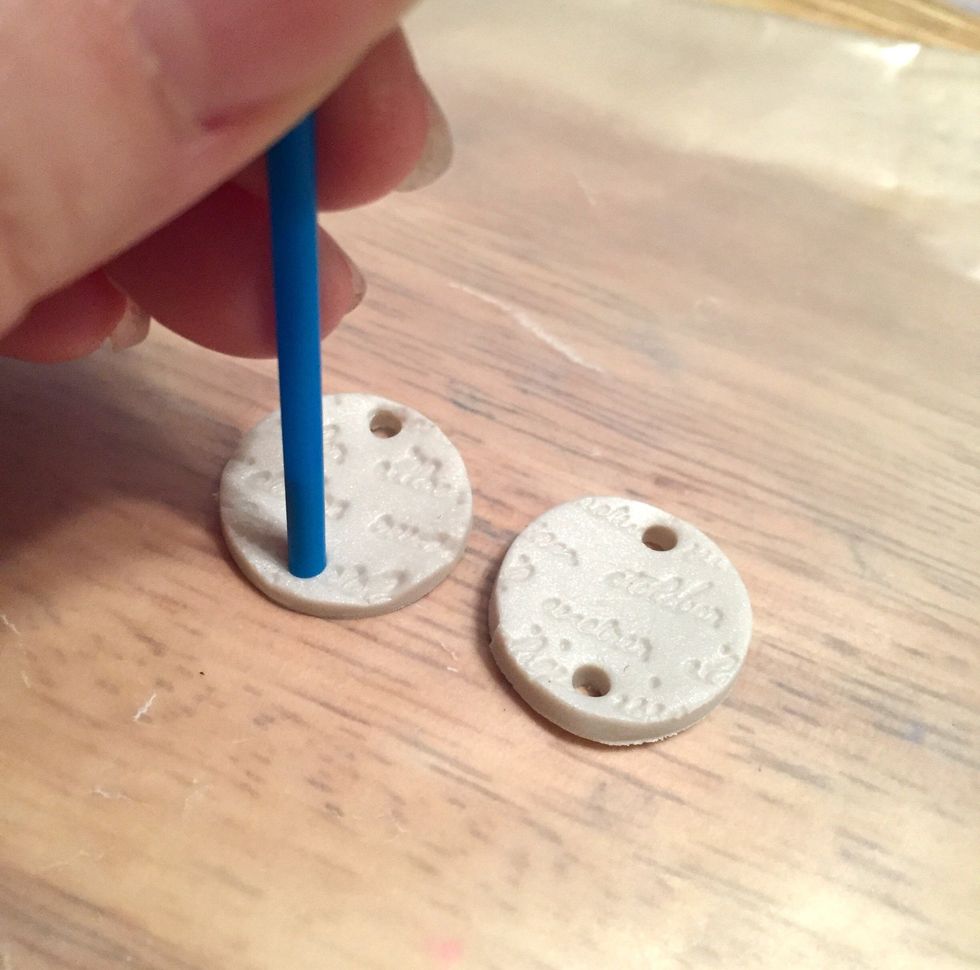
repeat to add holes to top and bottom of earring pieces.
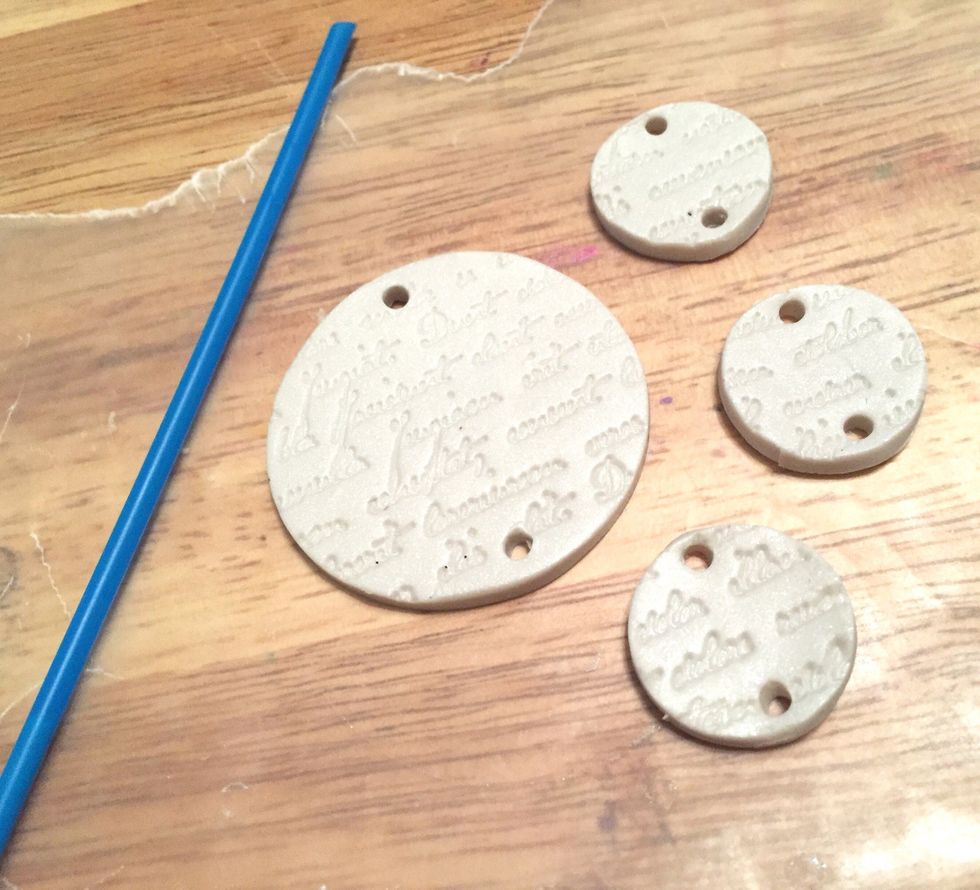
punched pieces. make sure you don't add holes too close to the edges.
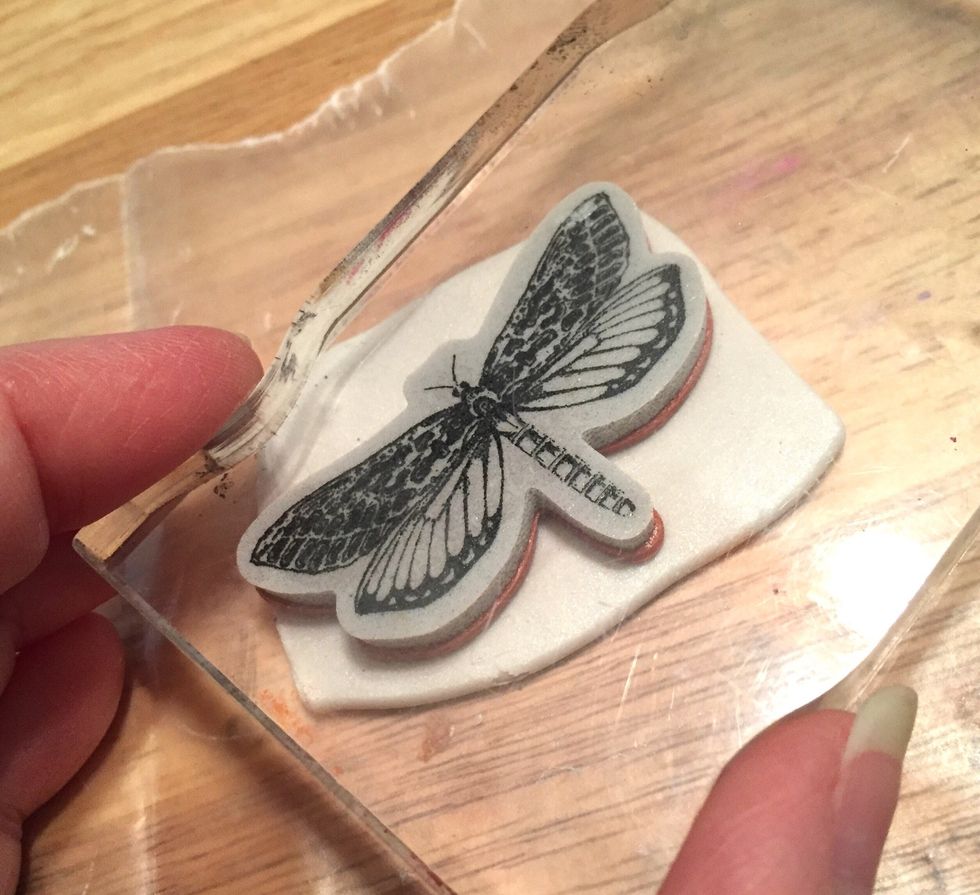
condition more clay and stamp with dragonfly stamp.

use craft knife (and mat) to cut out dragonfly.
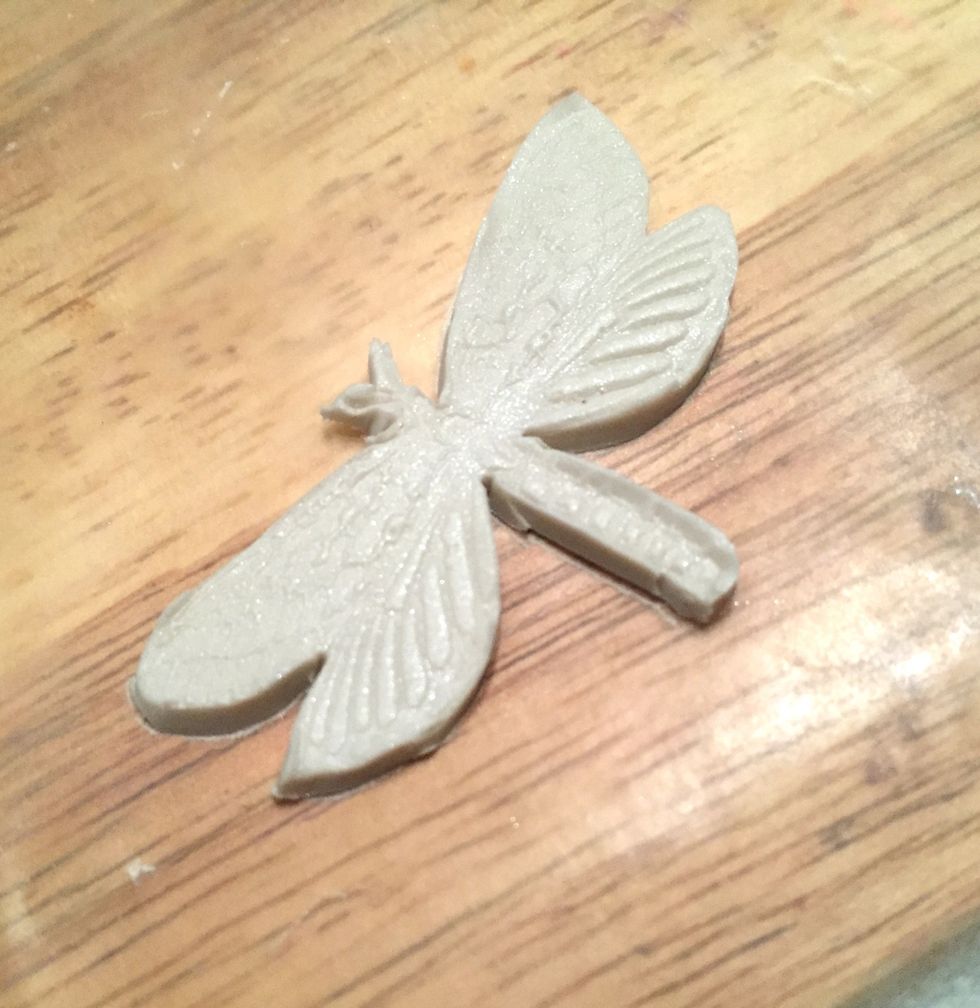
cut out dragonfly.
carefully transfer pieces to baking sheet lined with parchment paper. bake according to package directions. let cool completely before proceeding.
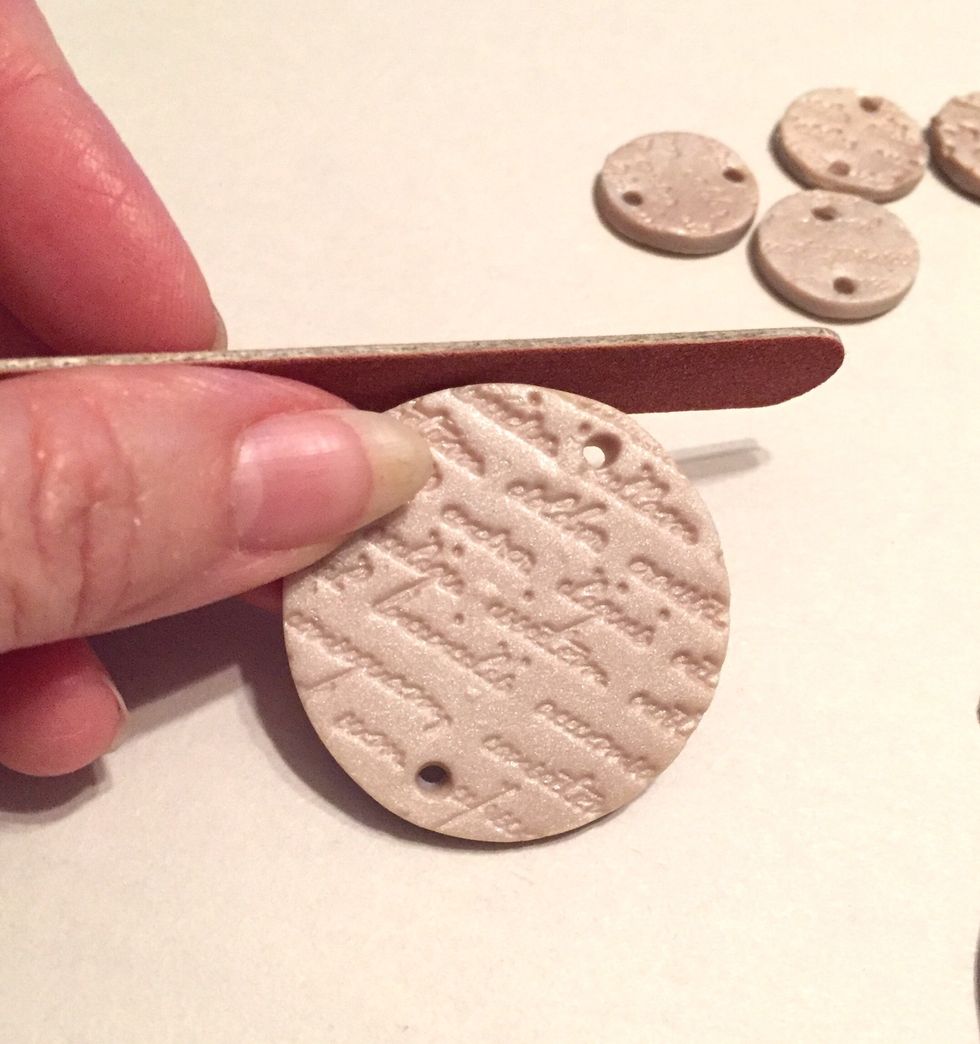
lightly sand any rough edges on all pieces.
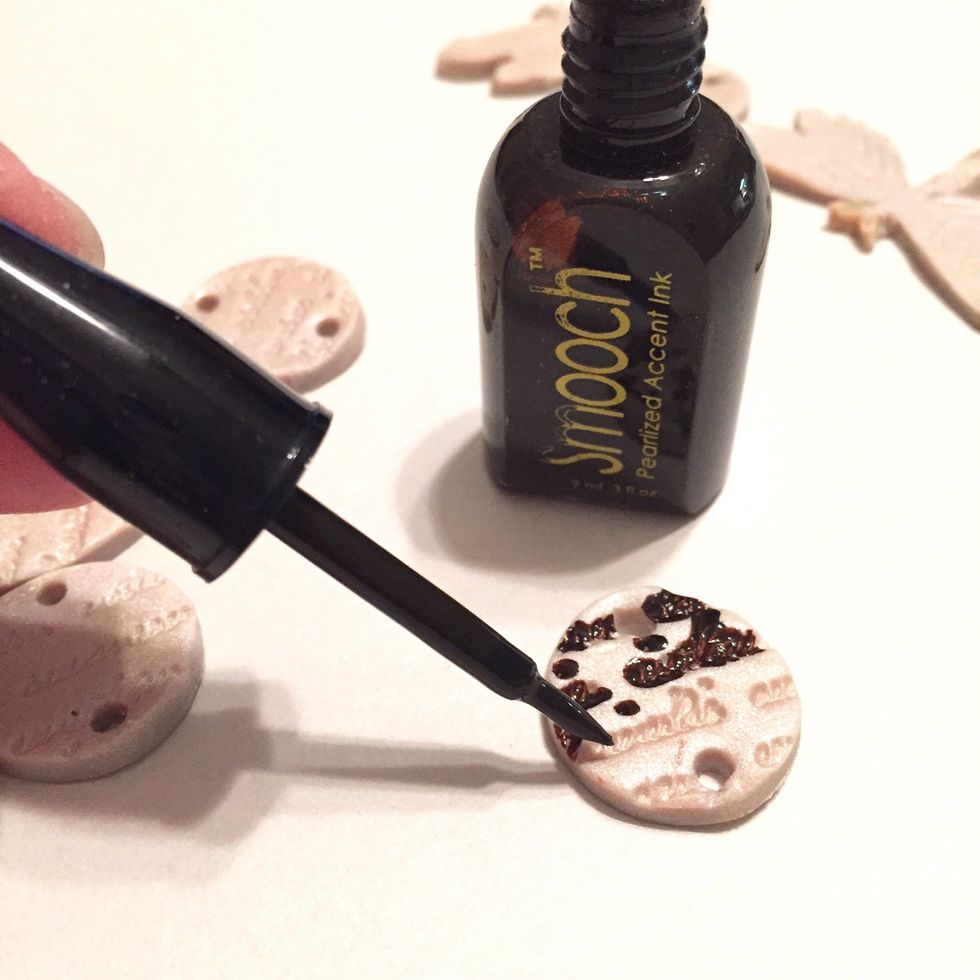
dab Molasses Smooch into the impressed words on a circle piece.
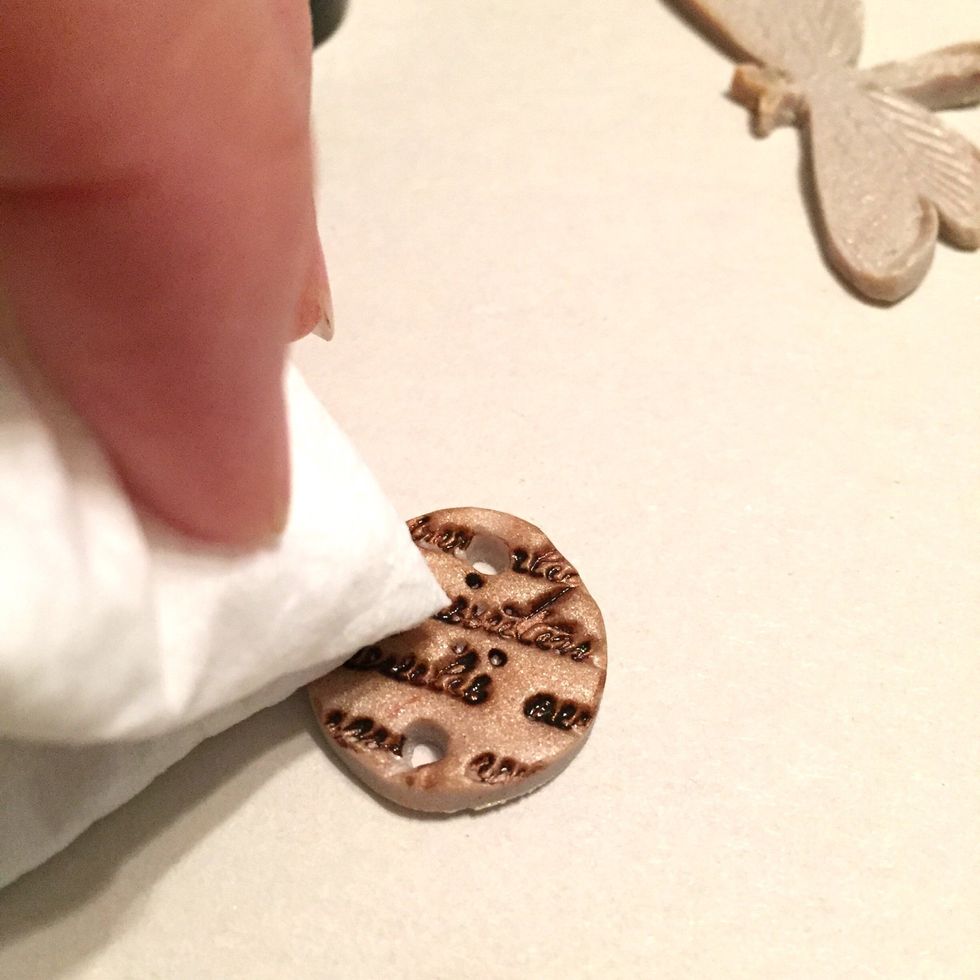
then gently wipe with a clean paper towel to remove excess ink and to antique surface. repeat on all other circle pieces.

for dragonfly, first ink top and sides with Glitz Gold Ink applied using Stylus & Tip.
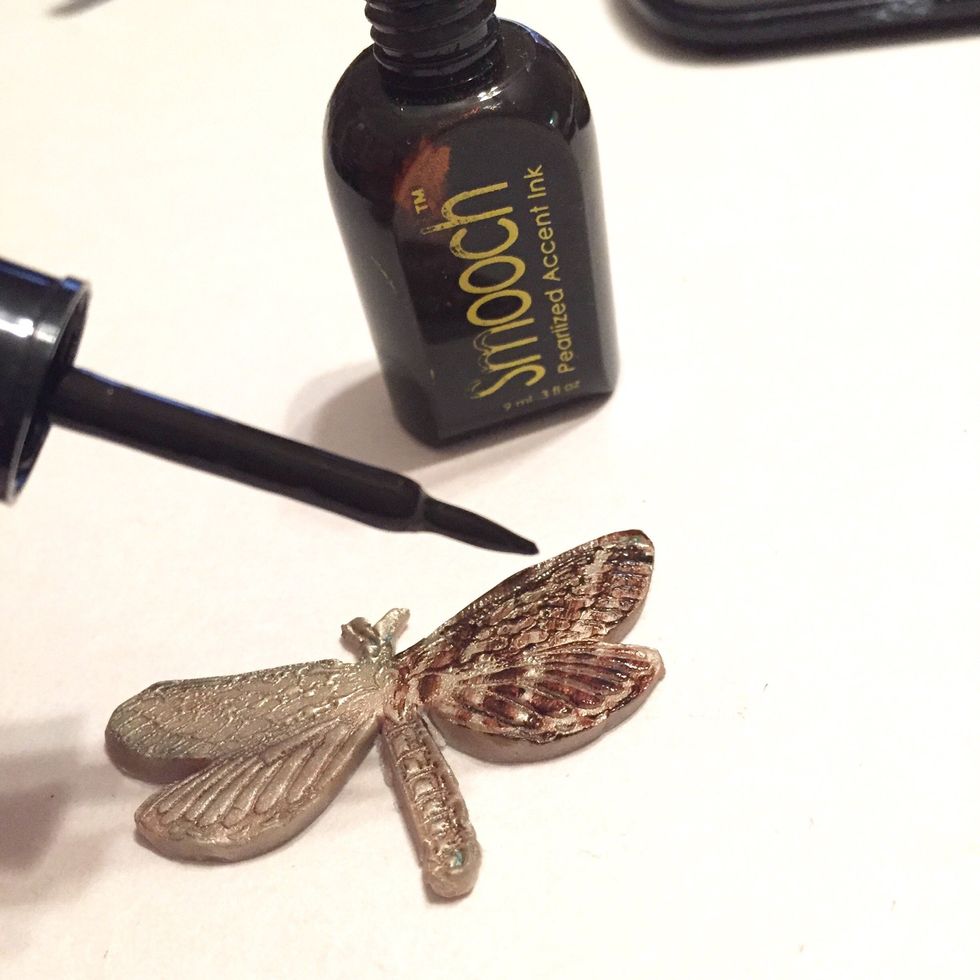
then repeat antiquing process using Molasses Smooch Ink.
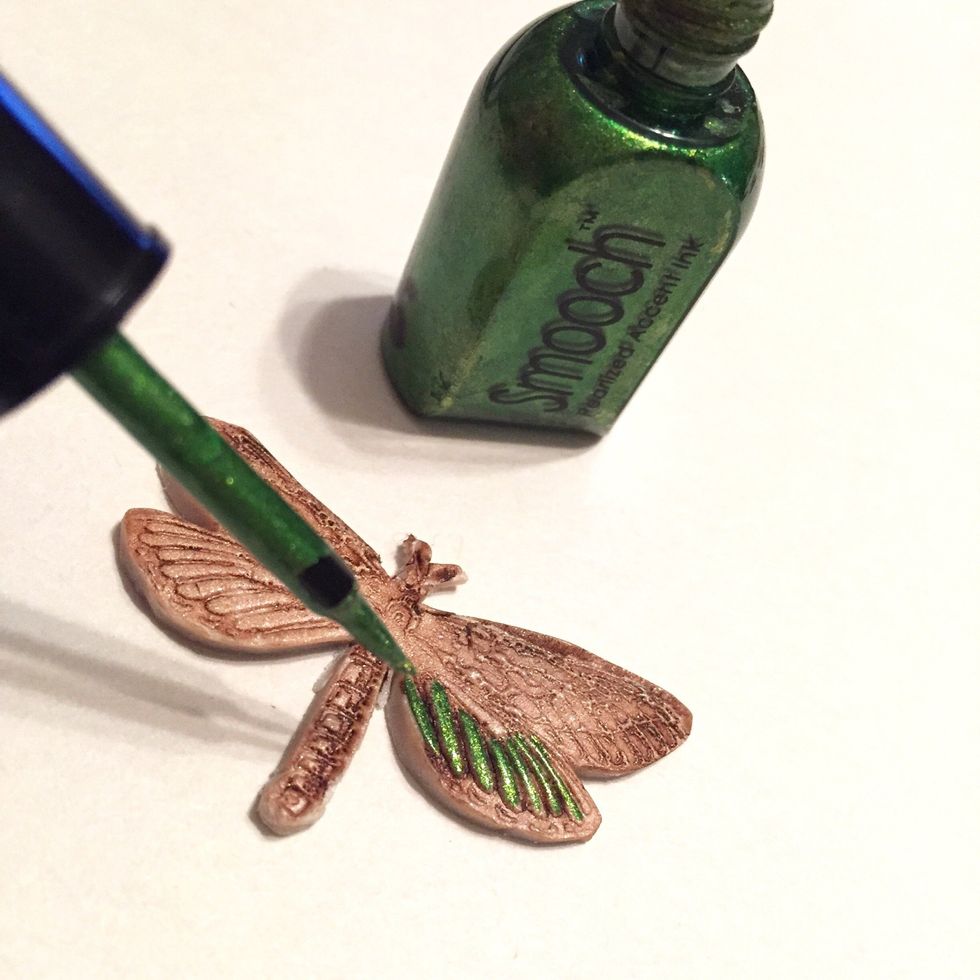
begin coloring in design with Smooch Accent Inks. here, Green Apple is used to tint the lower wings. if you get too much ink on piece, dab gently with paper towel. Smooch dries quickly!

add accents of Ocean Soul and Pumpkin Smooch Inks to the wings.
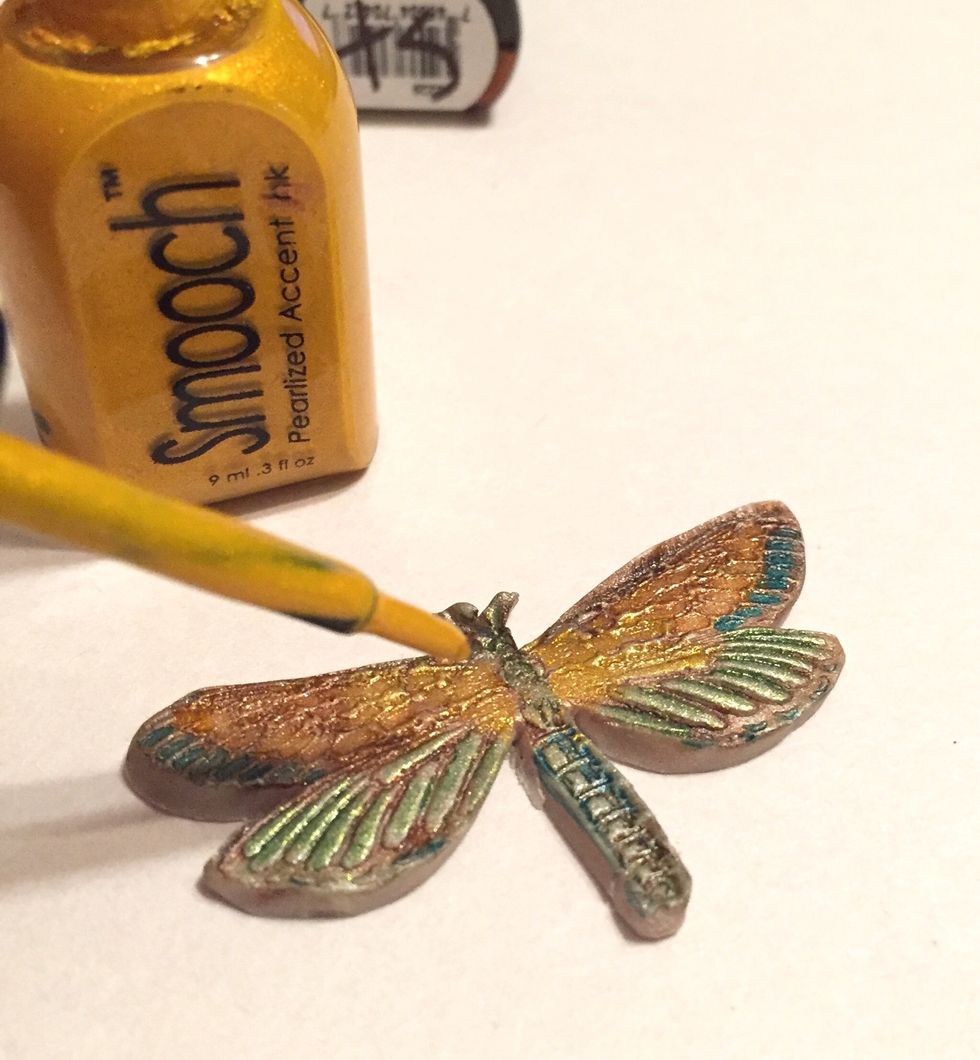
add Sundance Smooch close to upper body.

then add some Carrot Smooch to punch up the orange in between the Pumpkin and Sundance.
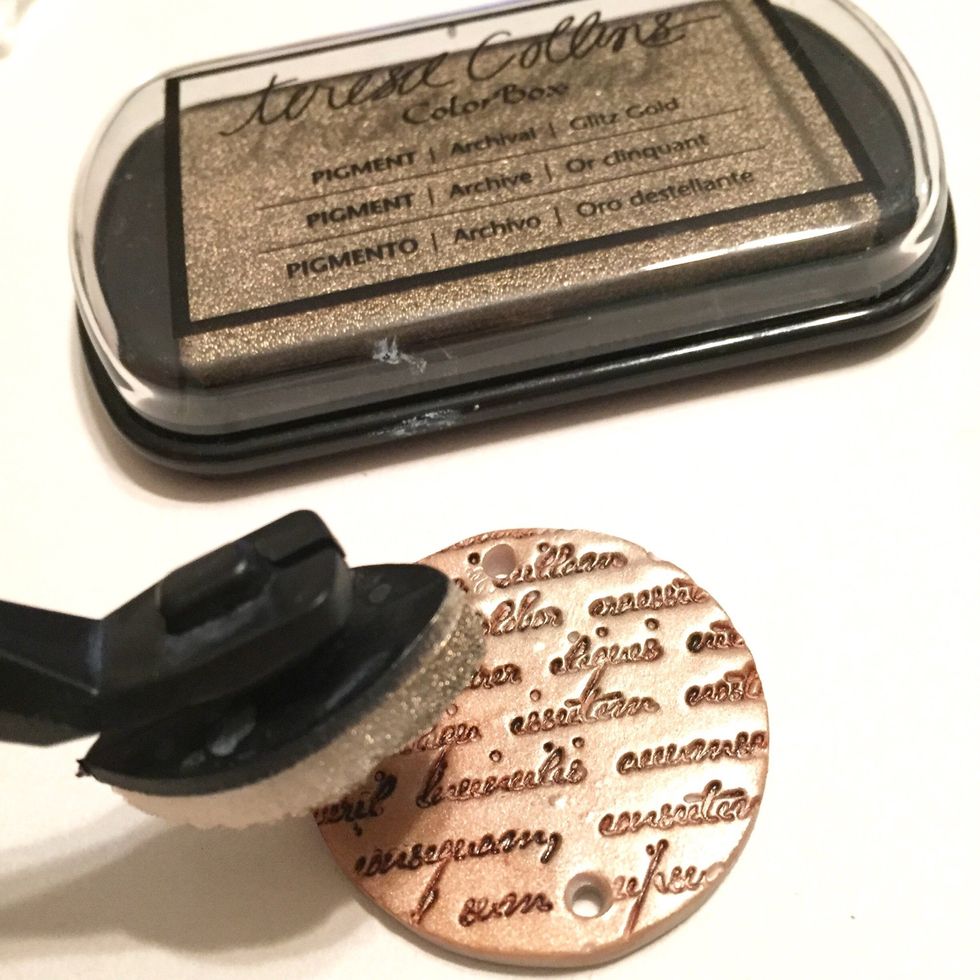
begin inking circle pieces with Glitz Gold Ink applied using Stylus & Tips. ink tops and sides. pigment inks dry fairly quickly on polymer clay, but heat set if needed.
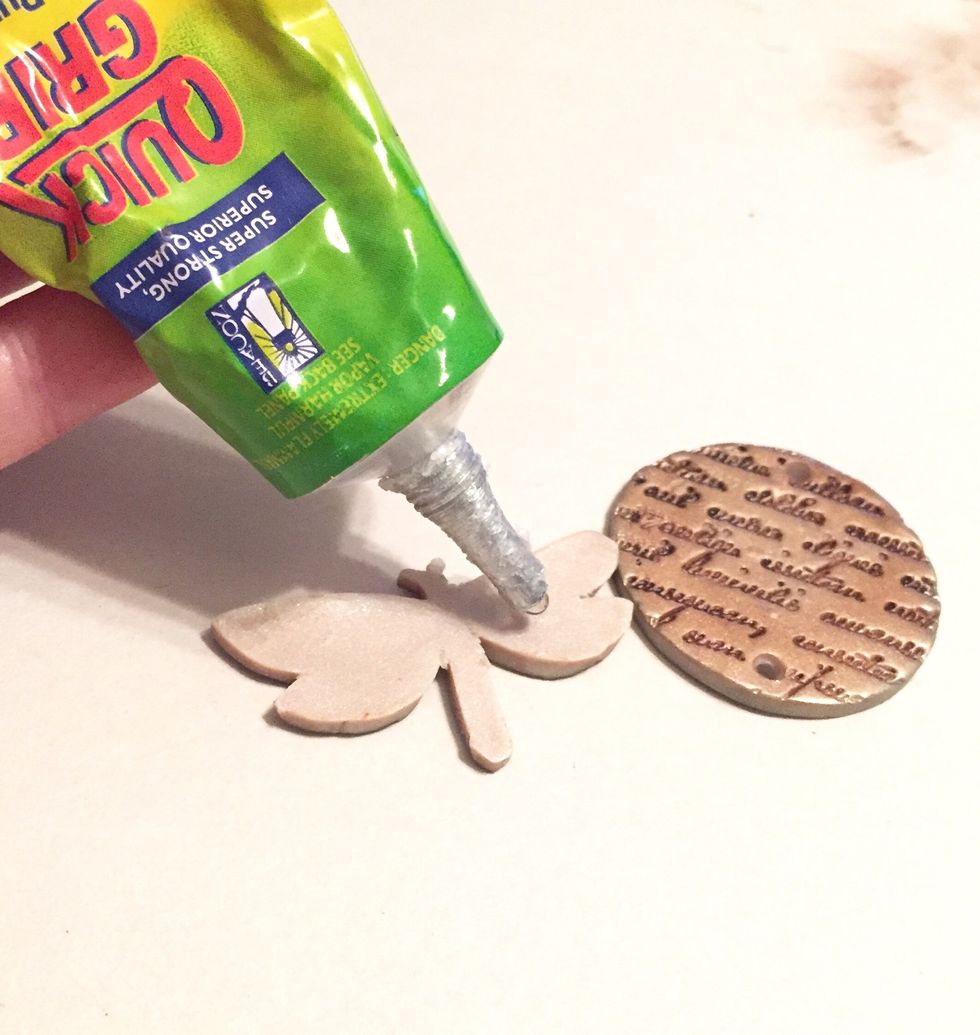
use Quick Grip glue to adhere dragonfly to pendant circle piece.
dragonfly attached to pendant.
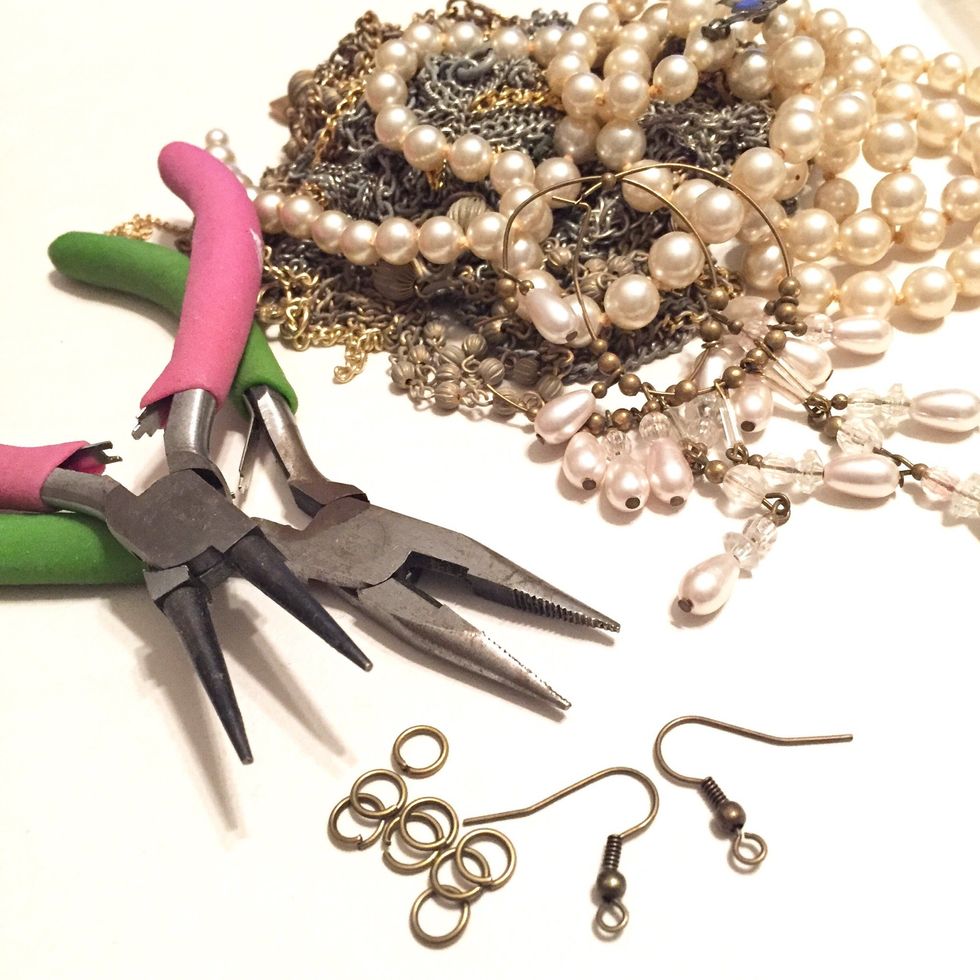
use jump rings to attach chain to pendant and ear wires to earring pieces. then use junque jewelry pieces to embellish both pendant and earrlings.
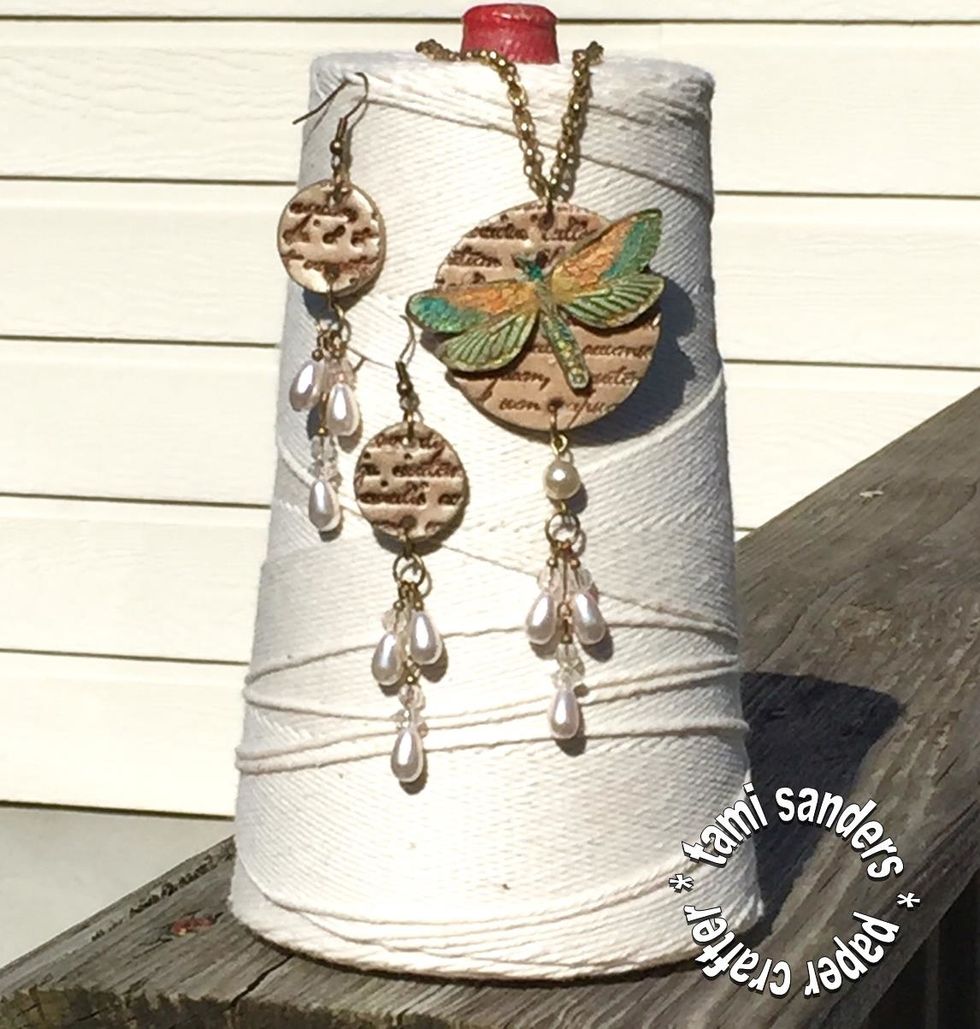
finished set.

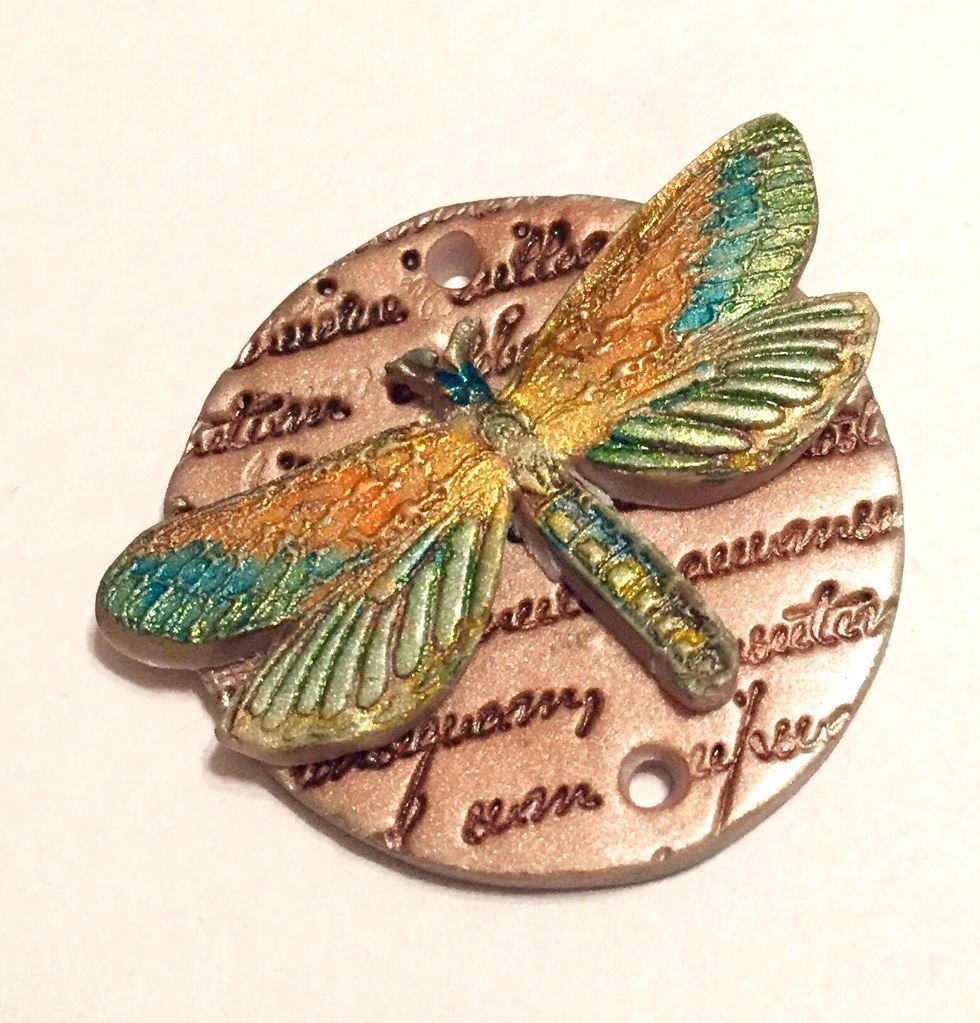
closeup of finished pendant piece.
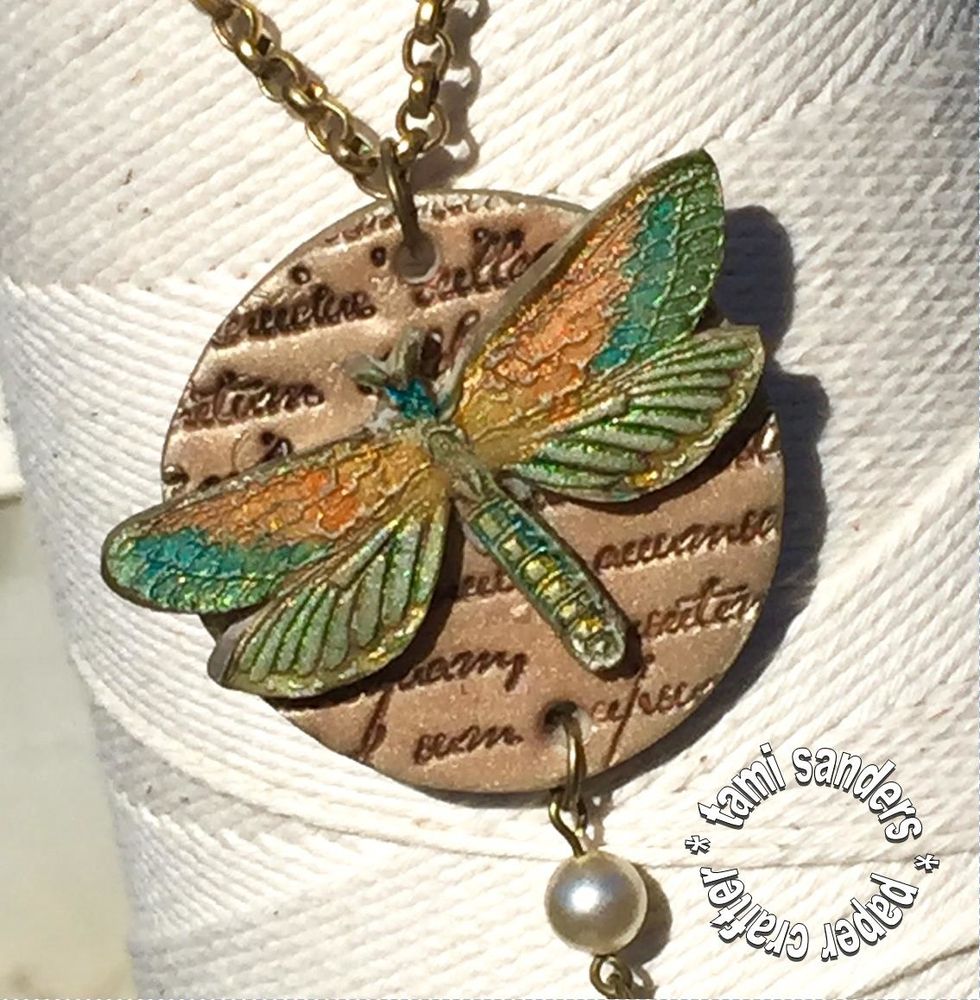
pendant gets LOTS of shine and shimmer thanks to the Glitz Gold Pigment Ink and Smooch Accent Inks!
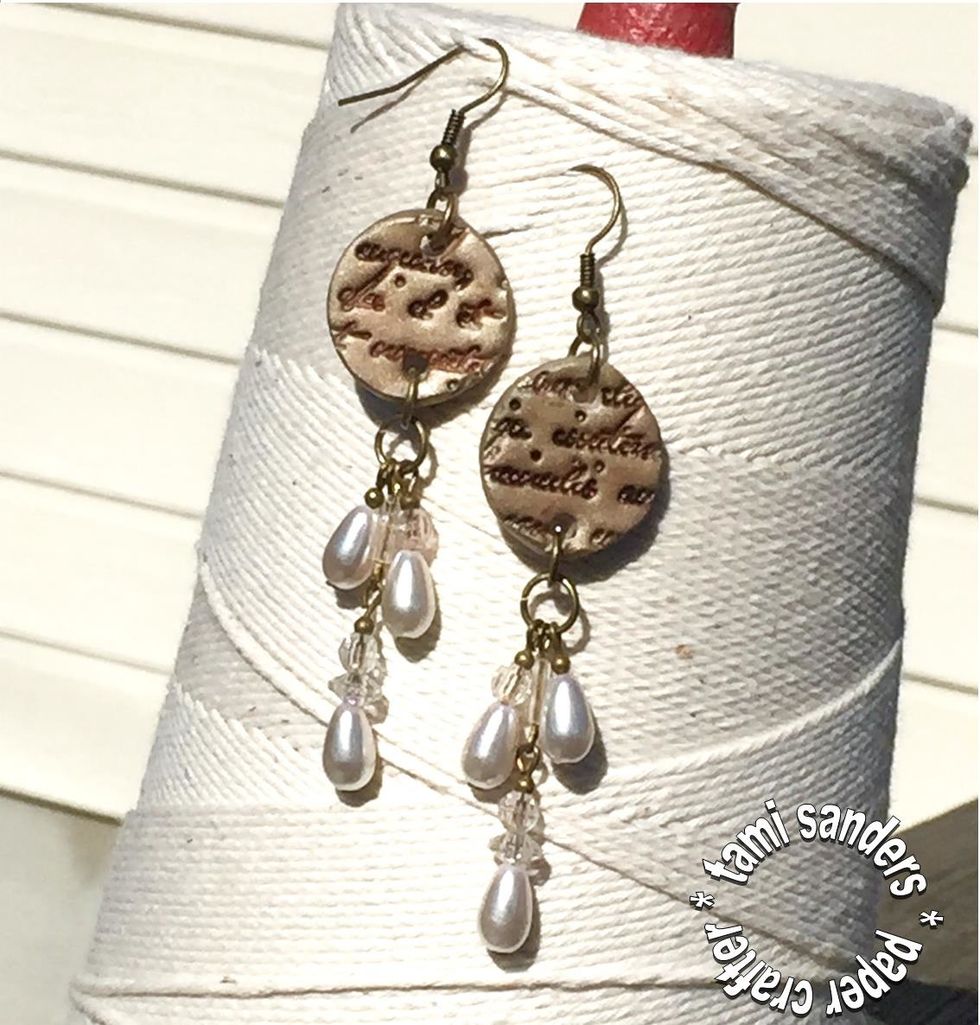
closeup of finished earrings.
thanks for viewing my guide! you can find more INKY projects on the Clearsnap Blog: http://blog.clearsnap.com/ * i post a card sketch there on the 13th of each month. find me at www.tamisanders.com