The Conversation (0)
Sign Up
This guide is for everyone who loves black & white photography and all who loved the look of my noir Instagrams. Here's how to create the look.
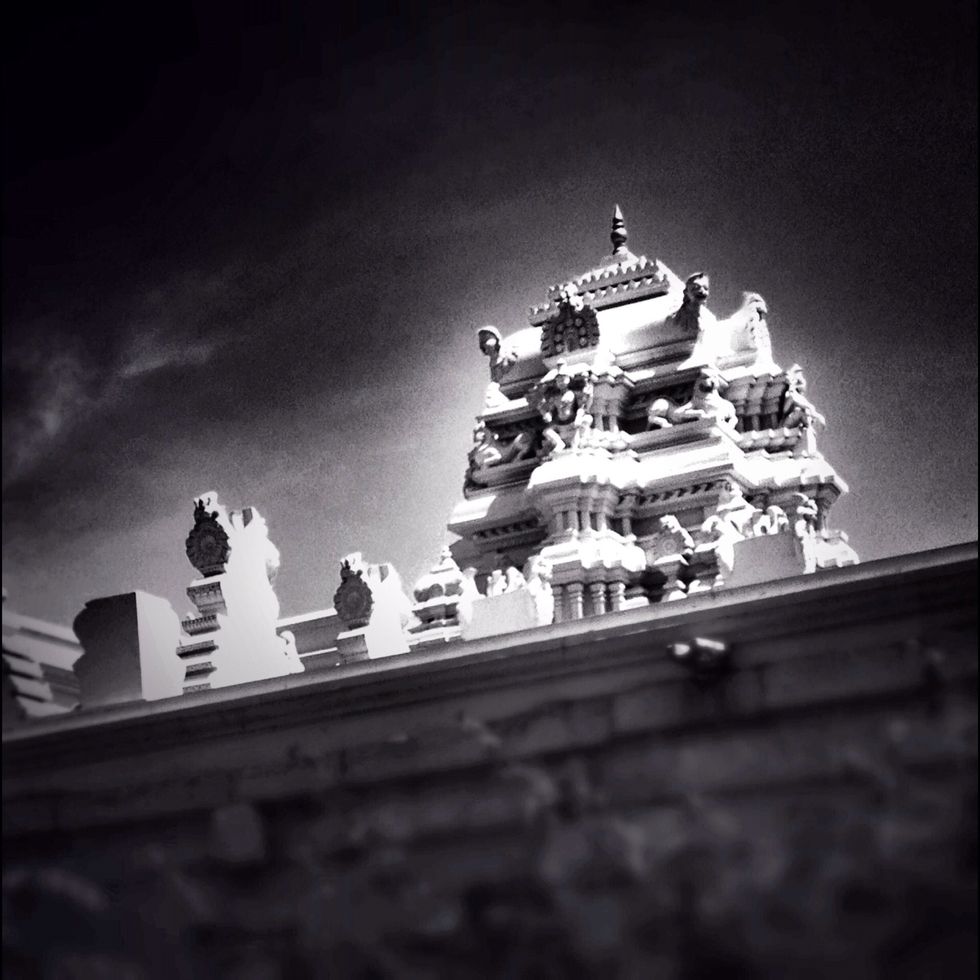
If you follow this guide till the end, you will be able to apply my signature 'Ianographic Noir' effect to your photos, which is made of HDR, B&W, Focused Vignetting and focus blur.
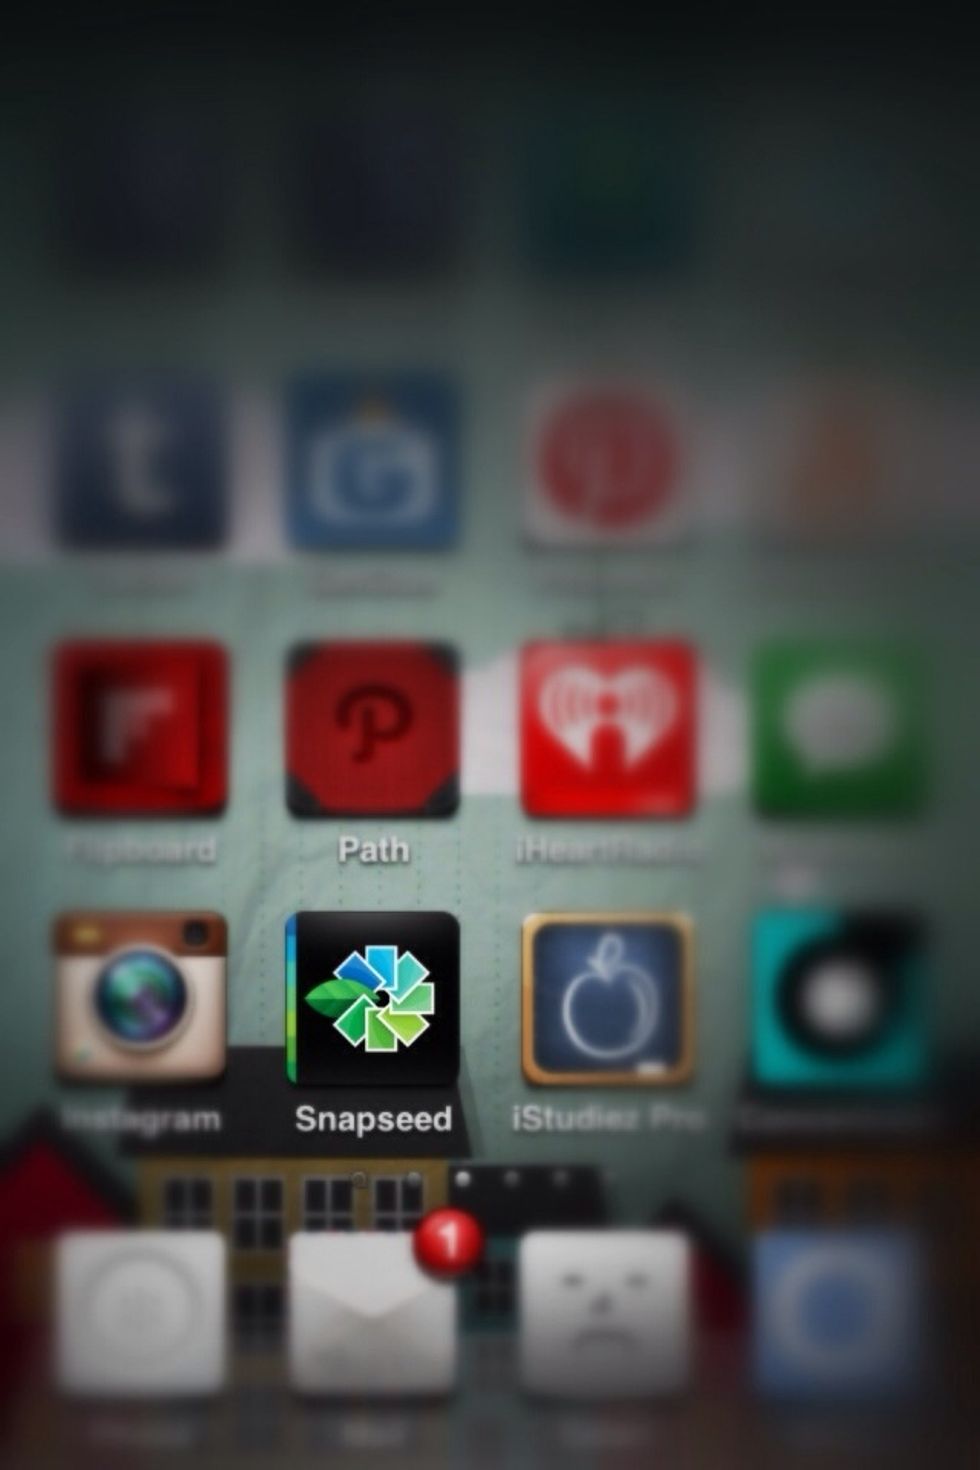
Launch Snapseed on your device...

Load the photo of your choice. I'll use this one.
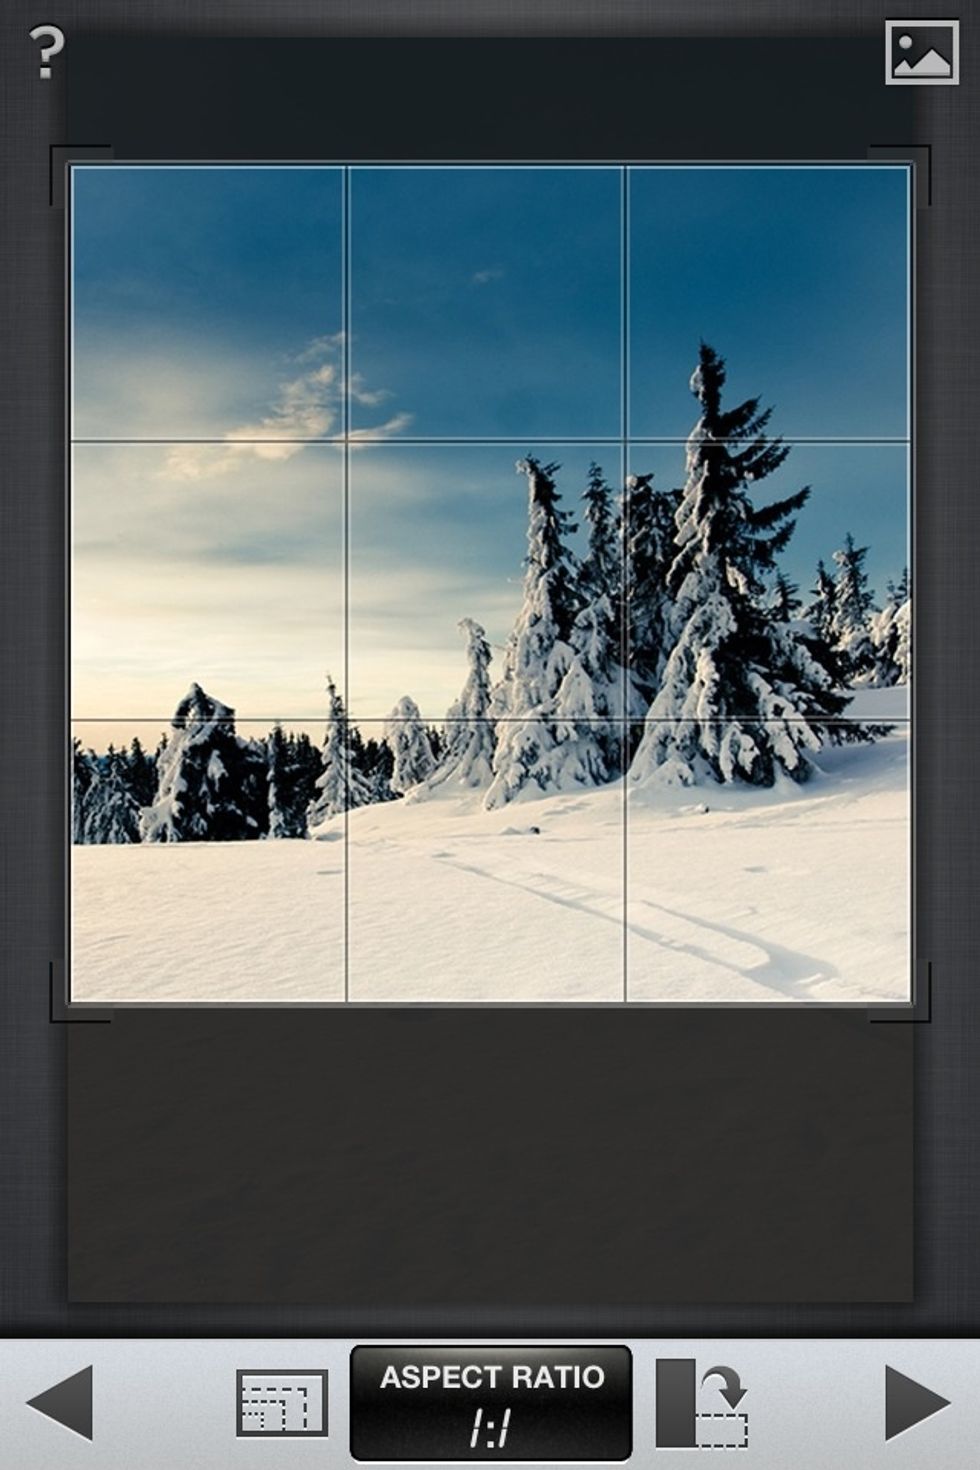
You can crop, align and straighten your photo if it needs to be. Use 'Crop' and 'Straighten' for all this.

Prepare your photo, helps create great shades. I like using the 'Automatic' filter. You can fix color correction & contrast, and tap the right arrow to apply. Let's move on to another filter.
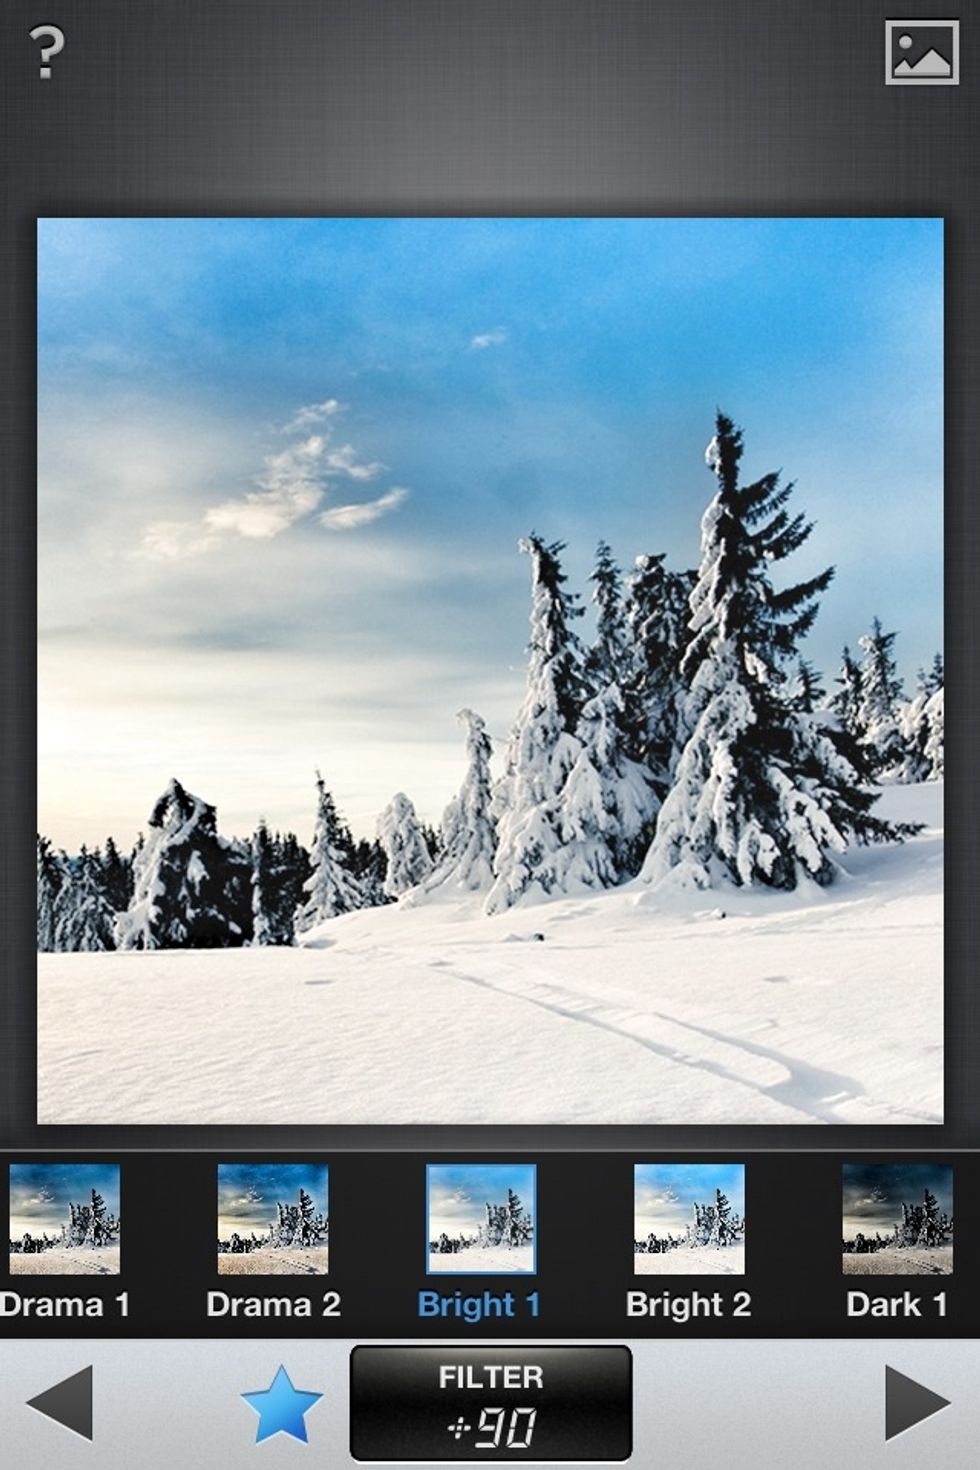
Use the 'Drama' filter to add an HDR effect, it helps bringing out detail & well, more drama. Use the Style menu within it by tapping the Star to choose a desired style. I'll choose 'Bright 1'.
Note: within the 'Drama' filter are several sub filters accessed through the Star. Drama 1 is ideal if you don't want an obvious HDR effect. Then tap the right arrow as usual to apply.
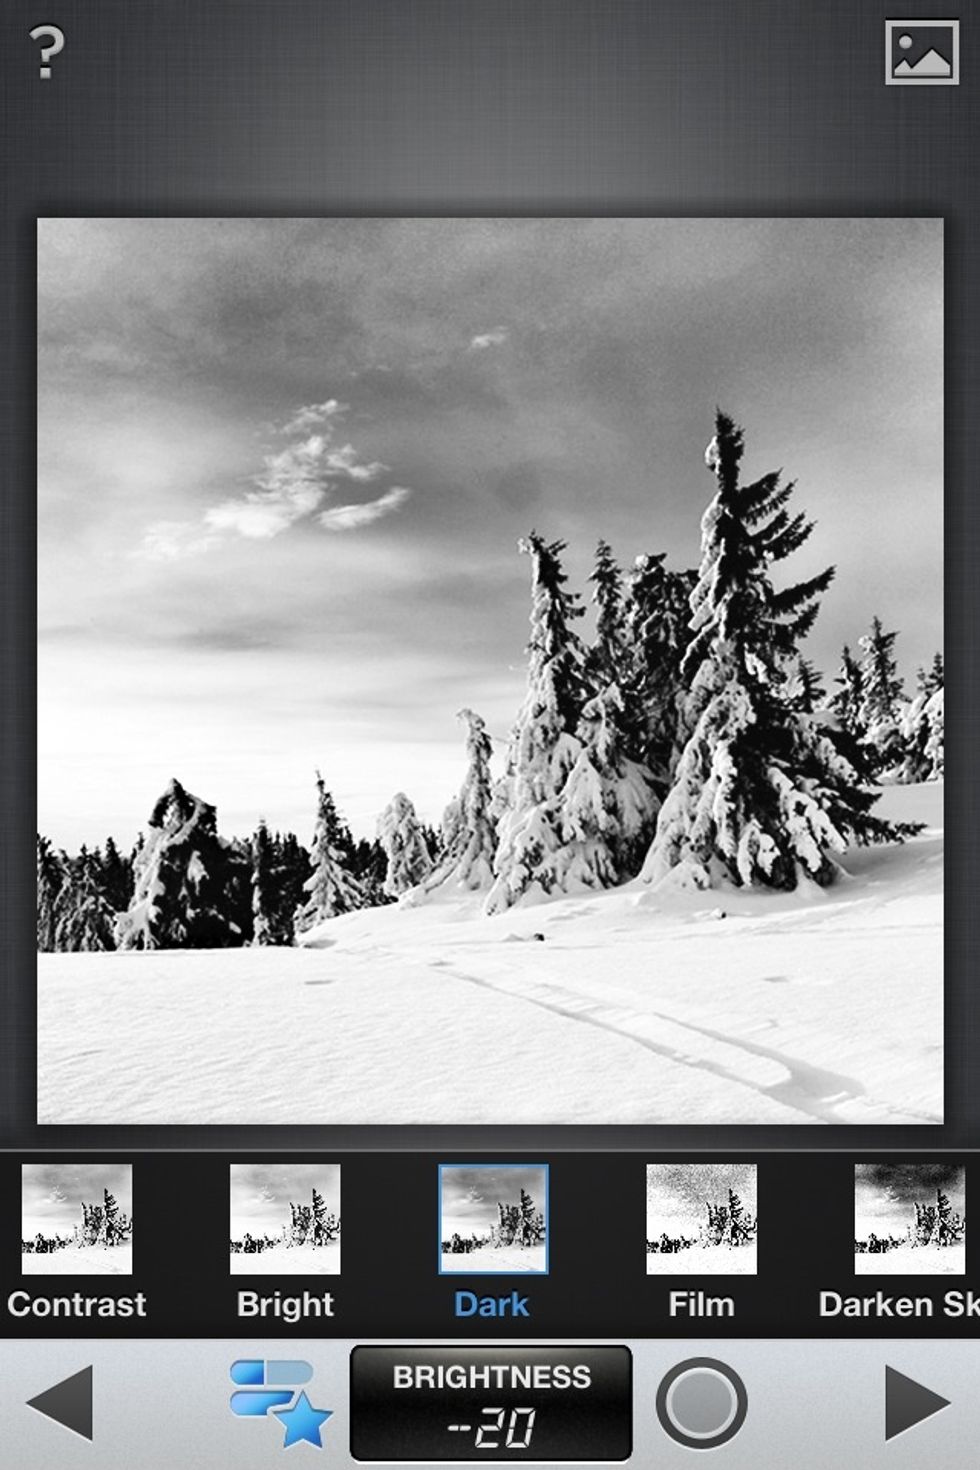
After applying an HDR filter, we'll now apply the 'Black & White' filter. For this one I used the new 'Dark' sub filter.
Note: Whatever sub filter you use here, make sure Grain is reduced to 0%, unless it's your preference.
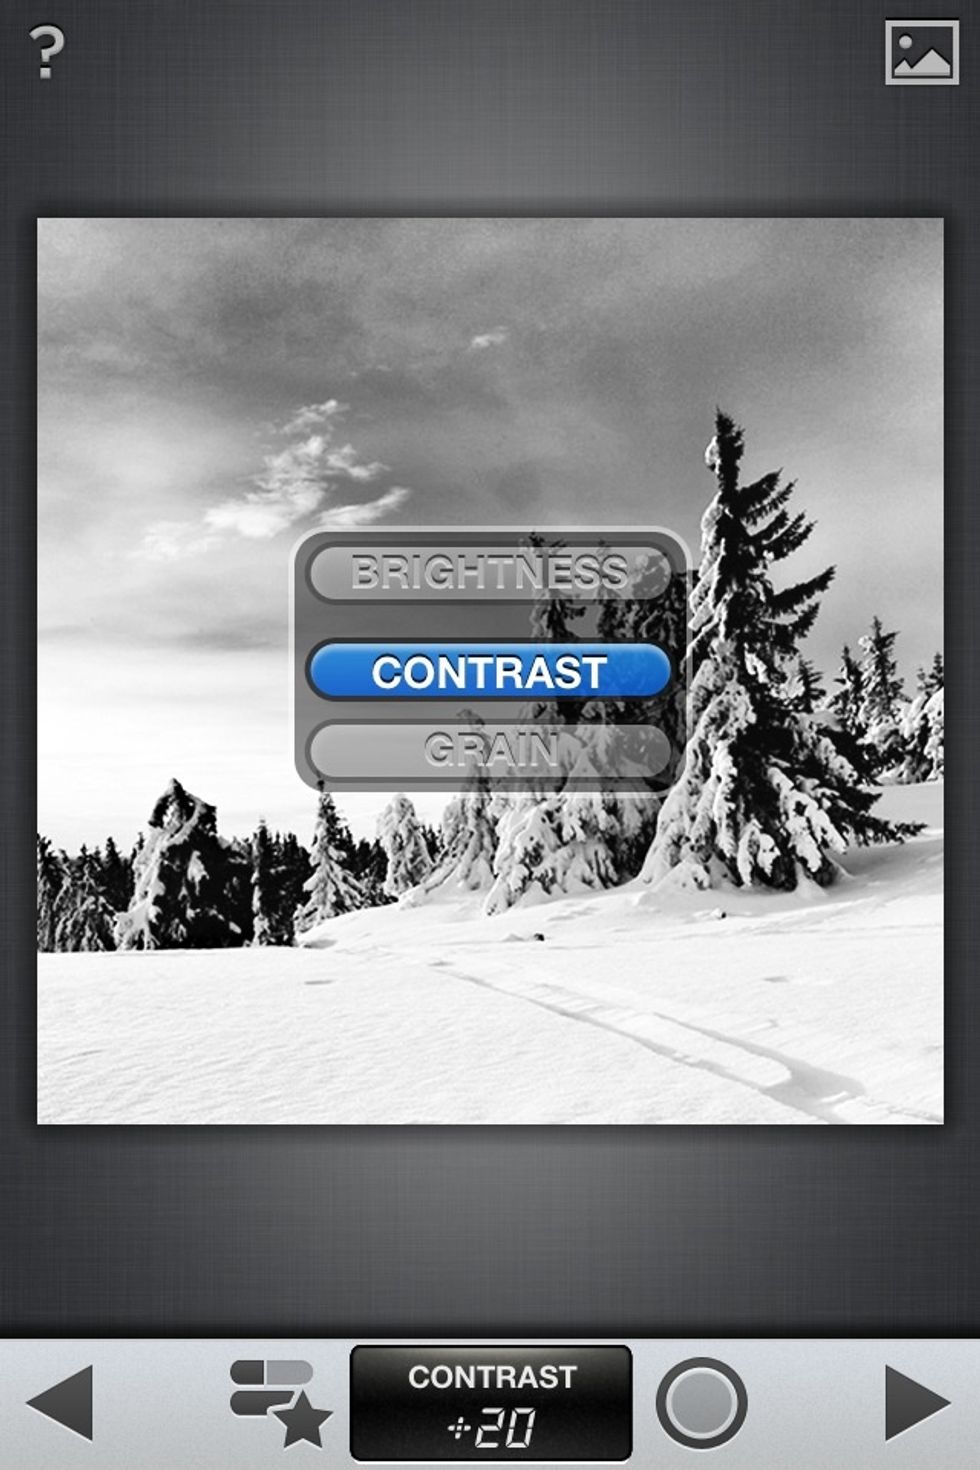
You can change Contrast & Brightness for better shades. Don't go too hard on here as you may still do that later on the 'Tune Image' of 'Selective Adjust' menus.
Tap the arrow to move on. NOTE: make sure you're satisfied with the look you created so far, because if you undo changes after applying your effects, your photo will be reverted back to the original.
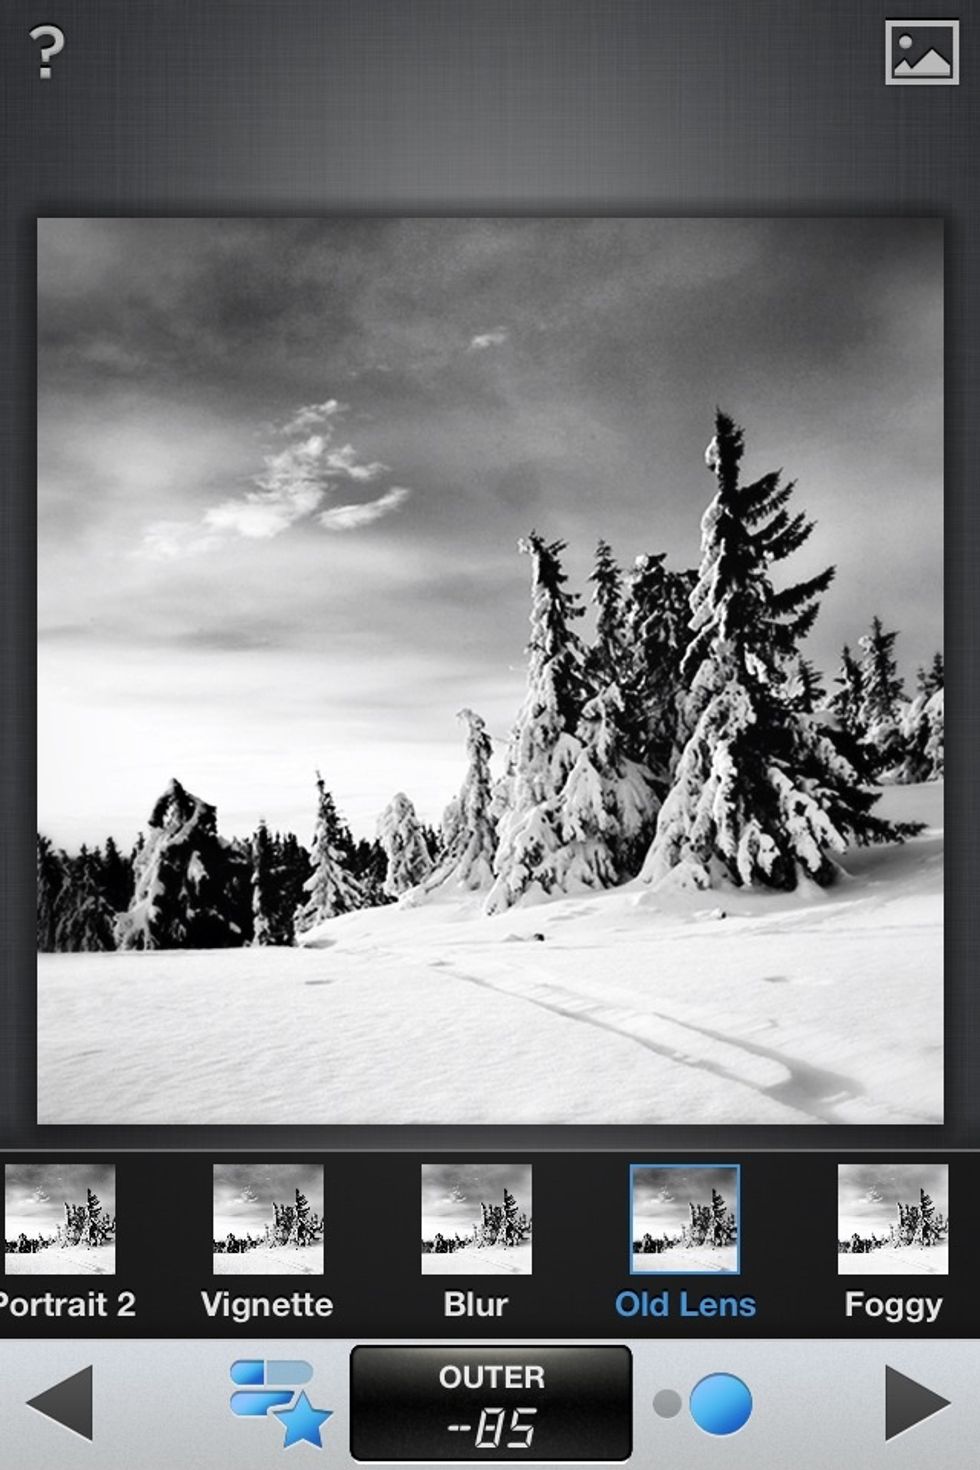
Now apply the 'Center Focus' filter. For this effect, I'll use the 'Old Lens' sub filter, ideal for Noir photos.

Tip: Make sure you reduce 'Blur Strength to 0%' - you can still use the Tiltshift menu for that later to avoid unexpected results.

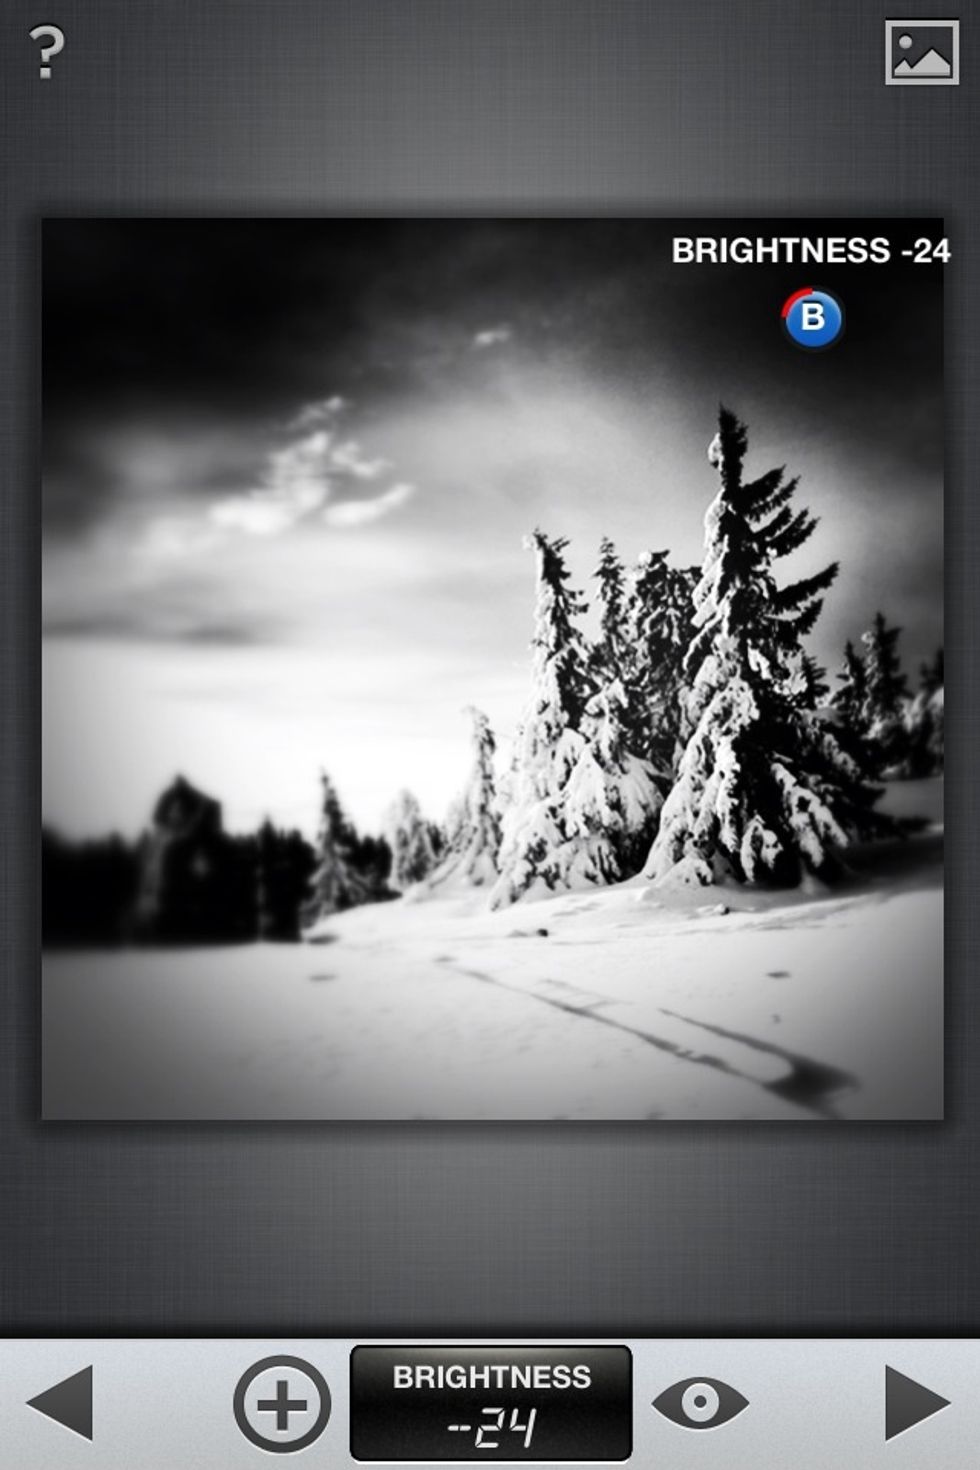
The magic happens here. Highlight 'Outer Brightness' and swipe left to reduce it.
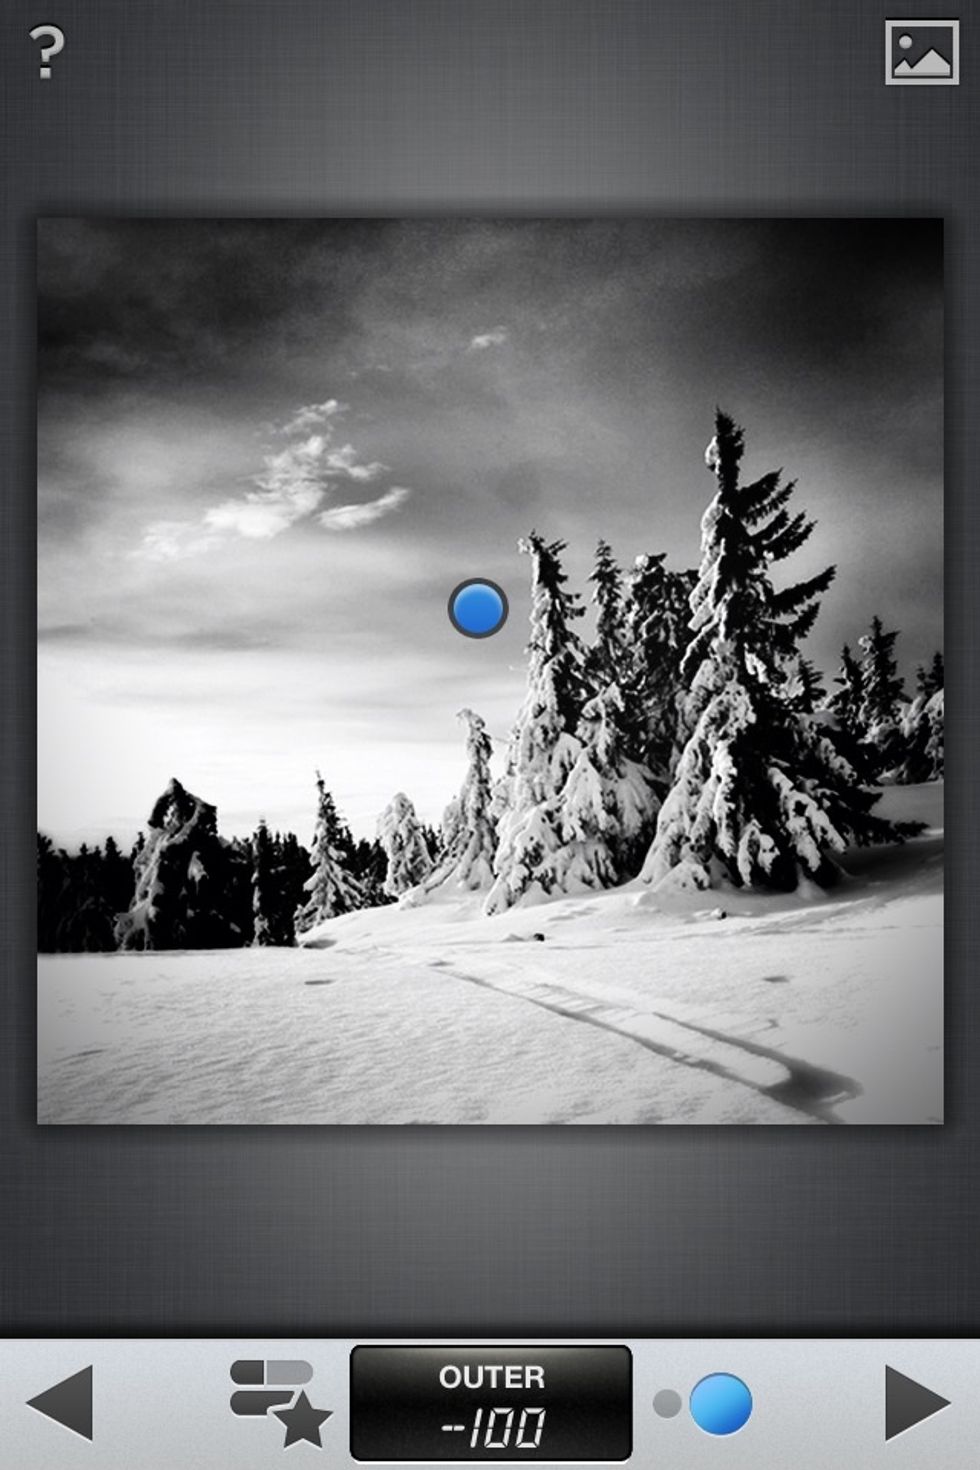
Also I'll suggest reducing it -100 when working with bright images like mine for more effect.
Use your fingers to pinch/spread to adjust the brightness/vignette intensity to your preference.
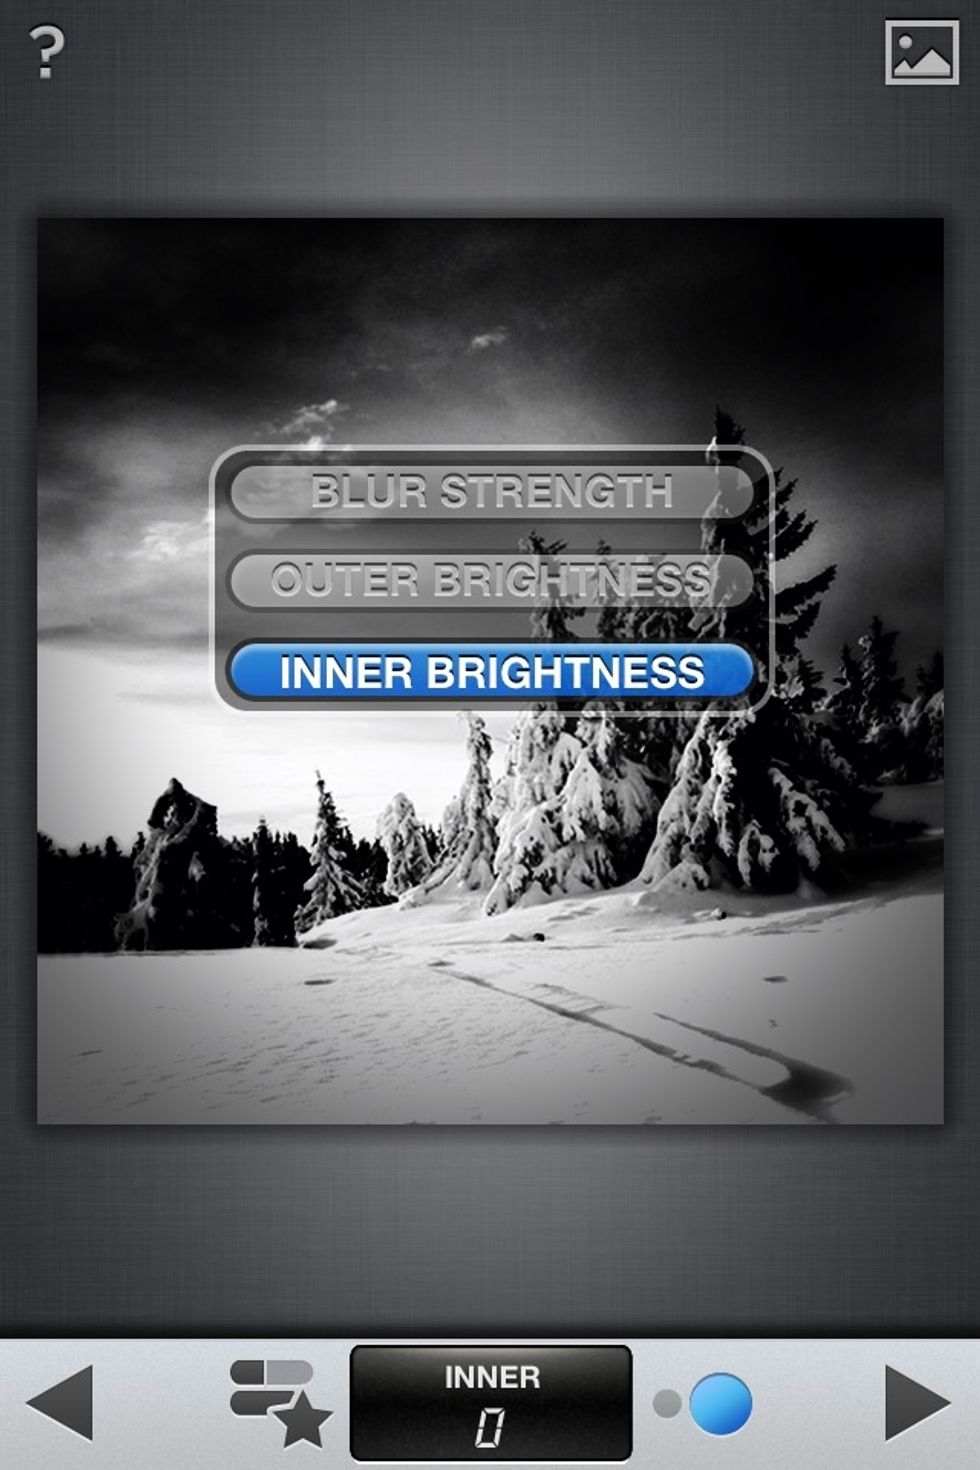
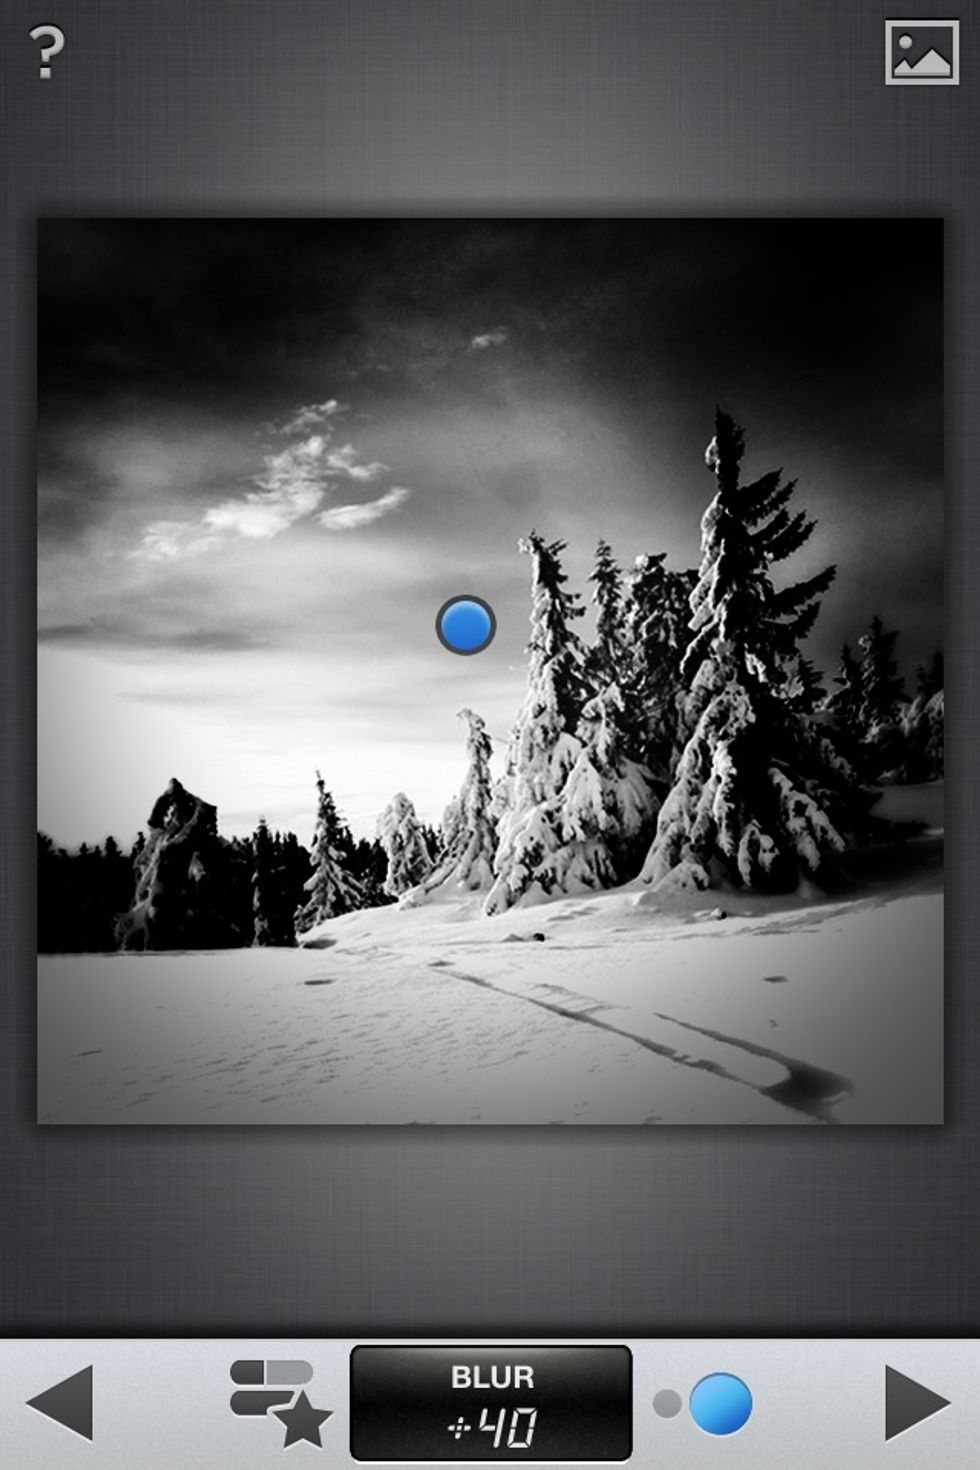
You can as well adjust the Inner Brightness to create a classic noir look. Often increase or decrease the percentage to your liking.
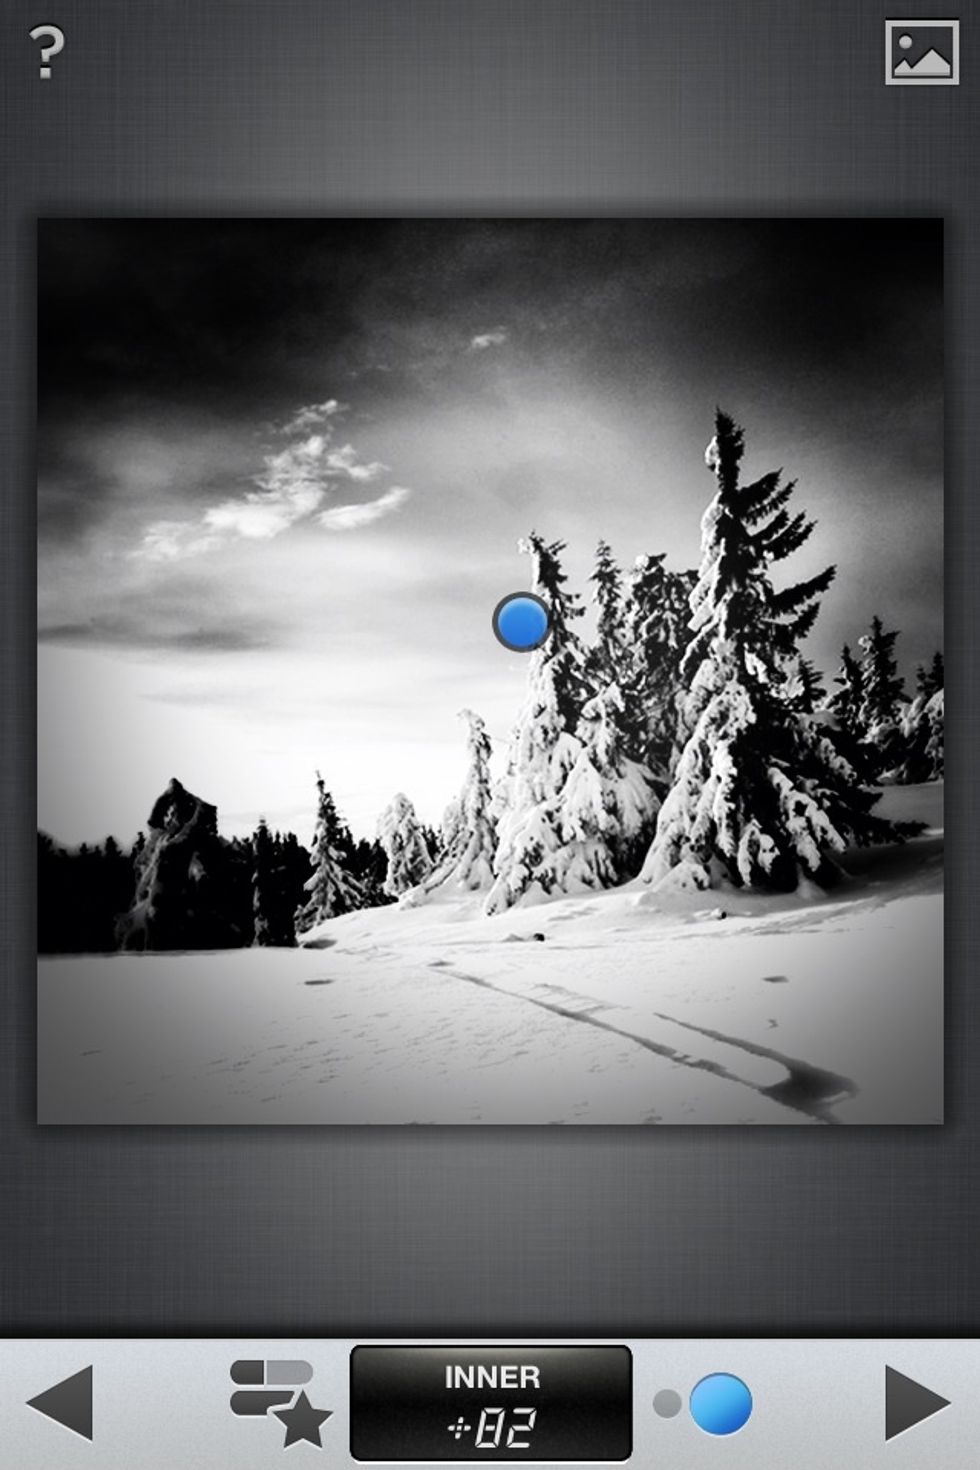
I'll fix mine a bit. Tip: this is the best place to focus your lighting. Tap and move the blue dot anywhere on the photo you want the lighting focused.
Next, Tilt-shift. You can skip this if you don't want the effect on your photo. But I normally use it on my signature effect.

Now add 'Tilt-Shift'. It adds some perspective. Tap the star to choose the type of tilt-shift you want. Use your fingers to shape the Elliptical blur perfectly.

Control blur strength, with the help of Transition to create a more realistic or just cool blur effect. Then apply.
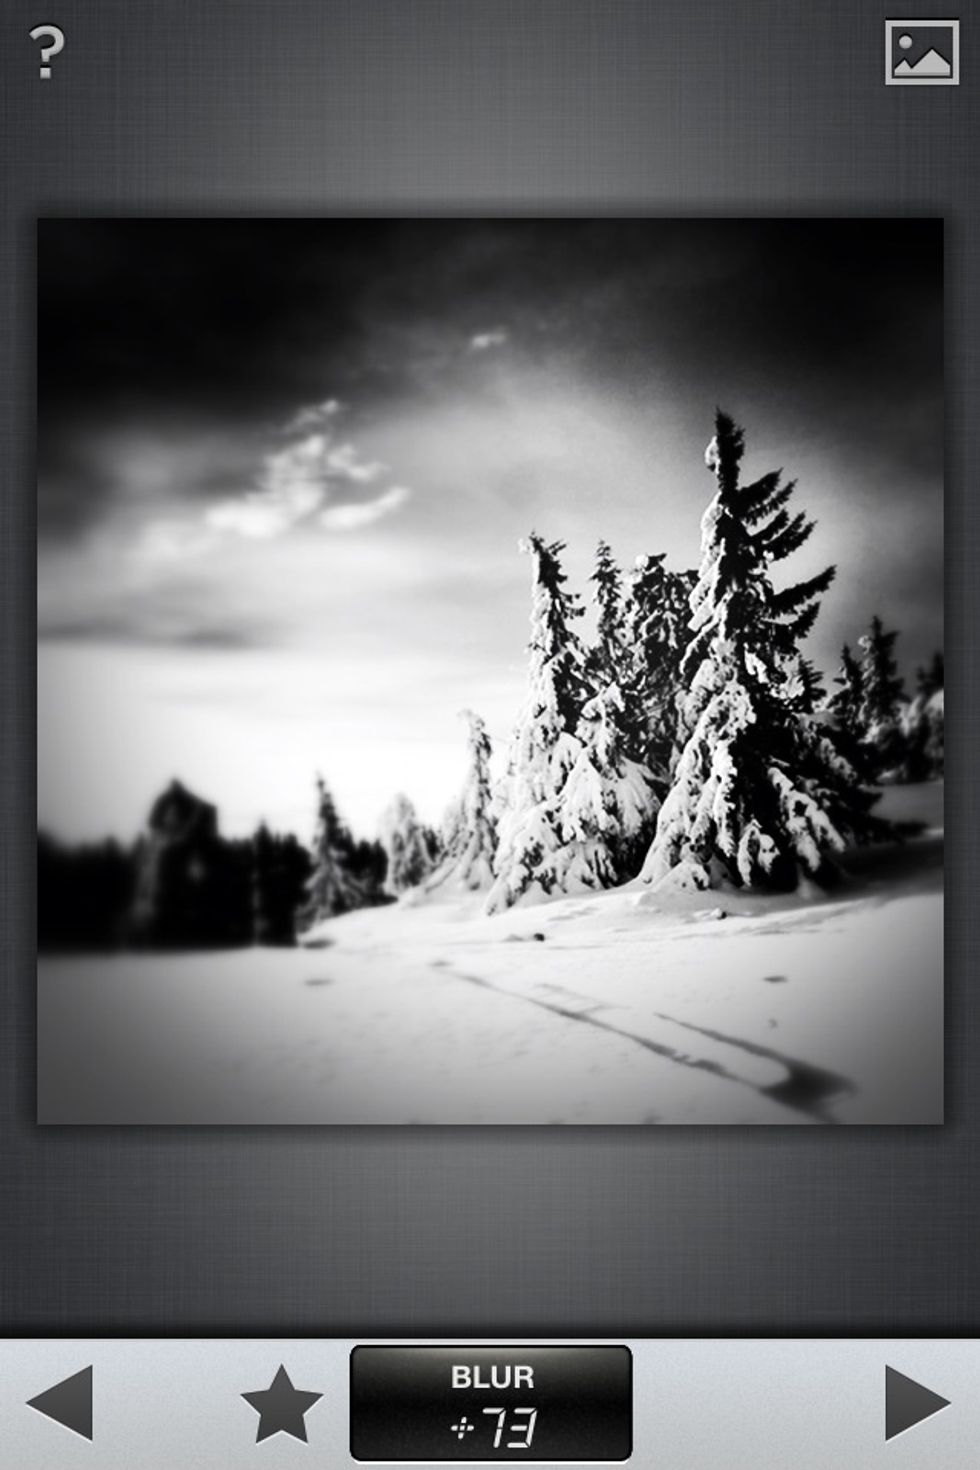
And here we are!. For now, you can save your image in you phone & share. Hungry for more? Here's dessert!.....continue for some extras!
Extras: You can furthermore edit your photo, but don't overdo it though.
TIP: You can also crop your image into the size you want after editing it. Though I suggest cropping BEFORE as guided. This is effective for full vignetting for noir photos.
Create a full blown Noir effect using the 'Selective Adjust' filter and add adjustments by tapping the + then tapping areas you want darkened or lightened by reducing/increasing brightness.
Congratulations! Now you know!. You can share with me what you have made, new tips you've learned or made something unique out of this. Ill be happy!!. Post it at ianography.tumblr.com/submit.
So far, you now can create amazing & powerful Noir photos on your iDevice. Remember some great photos get ruined if you overdo :) I'm @ianography on Instagram. Happy Snapseeding!