The Conversation (0)
Sign Up
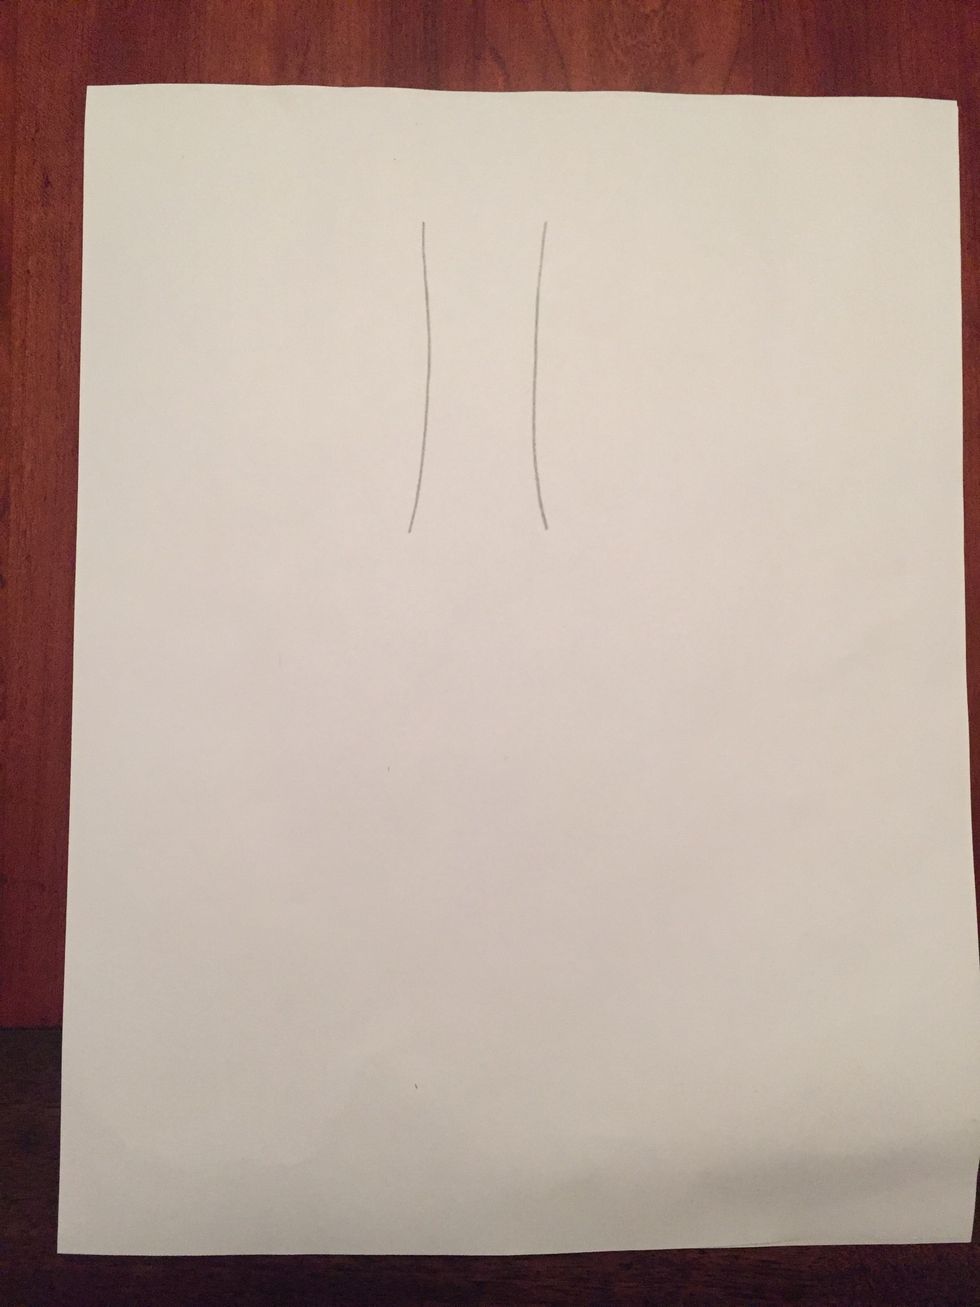
Draw two parallel lines towards the top of your paper for the neck of the bottle.
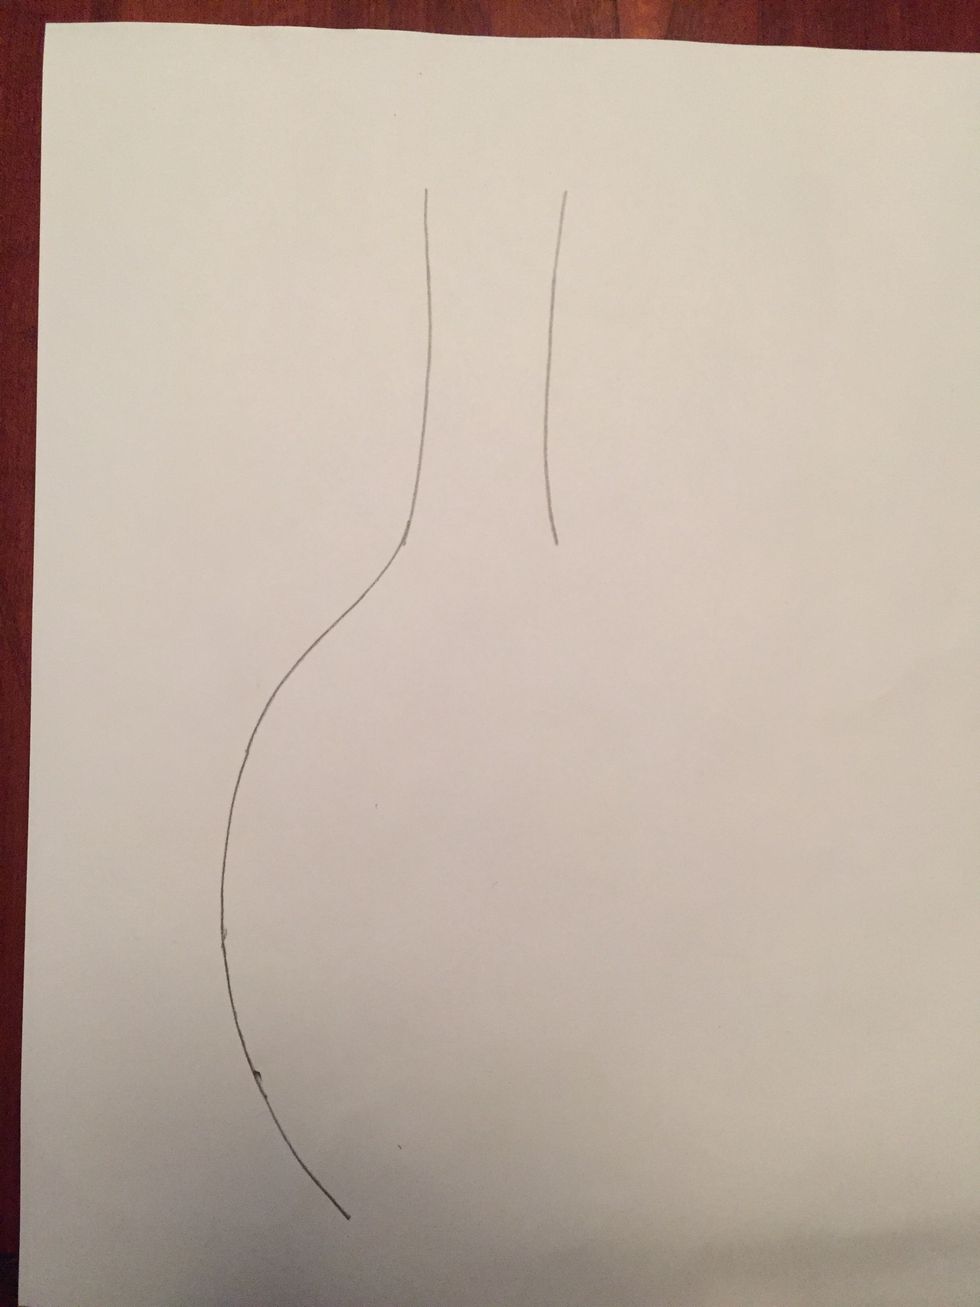
Draw the left side of your bottle using a curved line. It doesn't have to look like mine. There are all shapes of bottles.

Draw the mirror image (exact opposite) for the right side of your bottle. It doesn't have to be perfect (it's more interesting if it's not!).
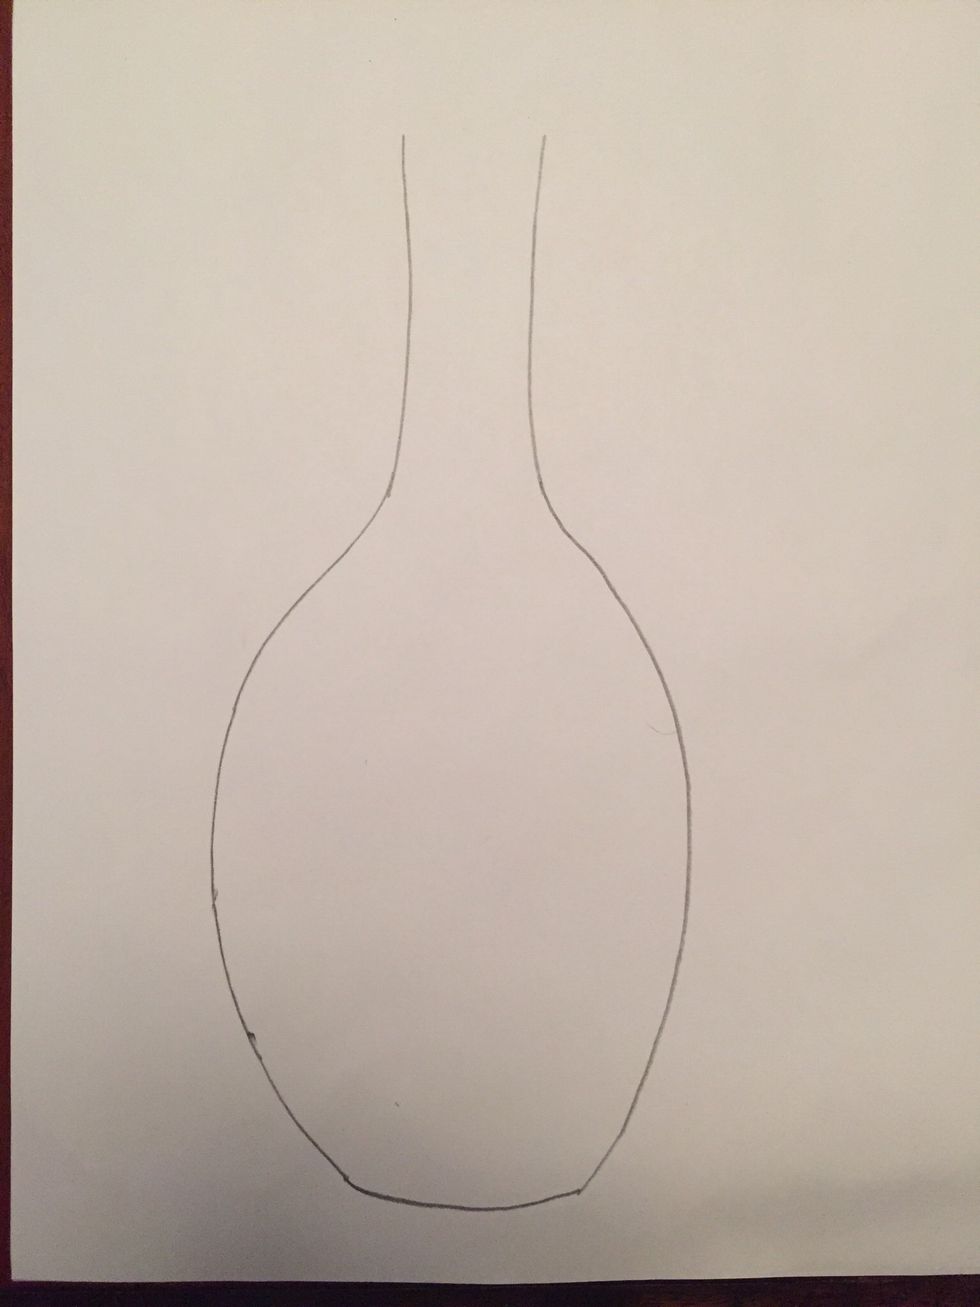
Draw a curved line for the bottom of your bottle.
Draw a curved line for the top of your bottle.
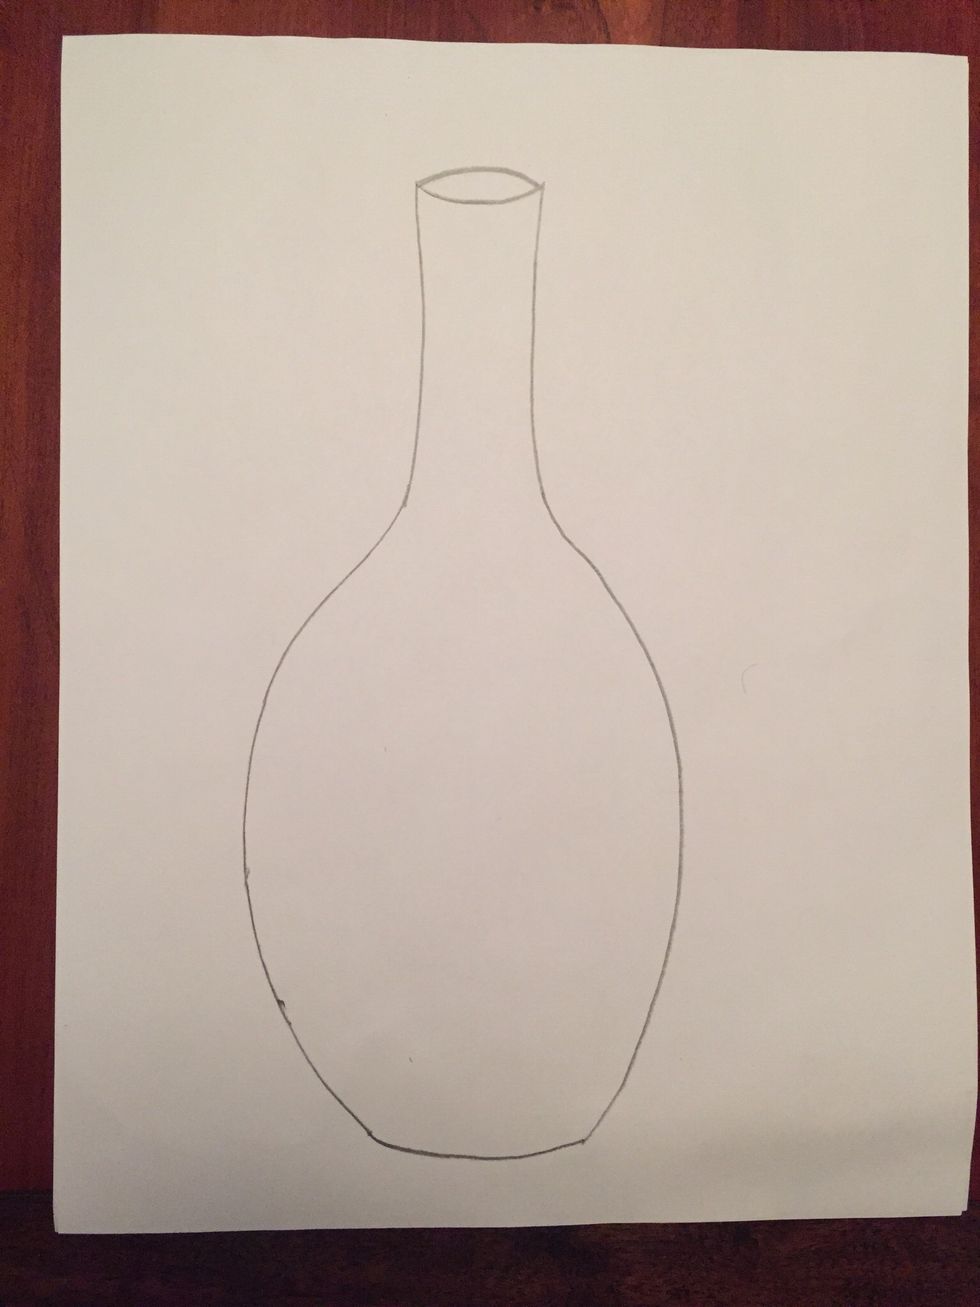
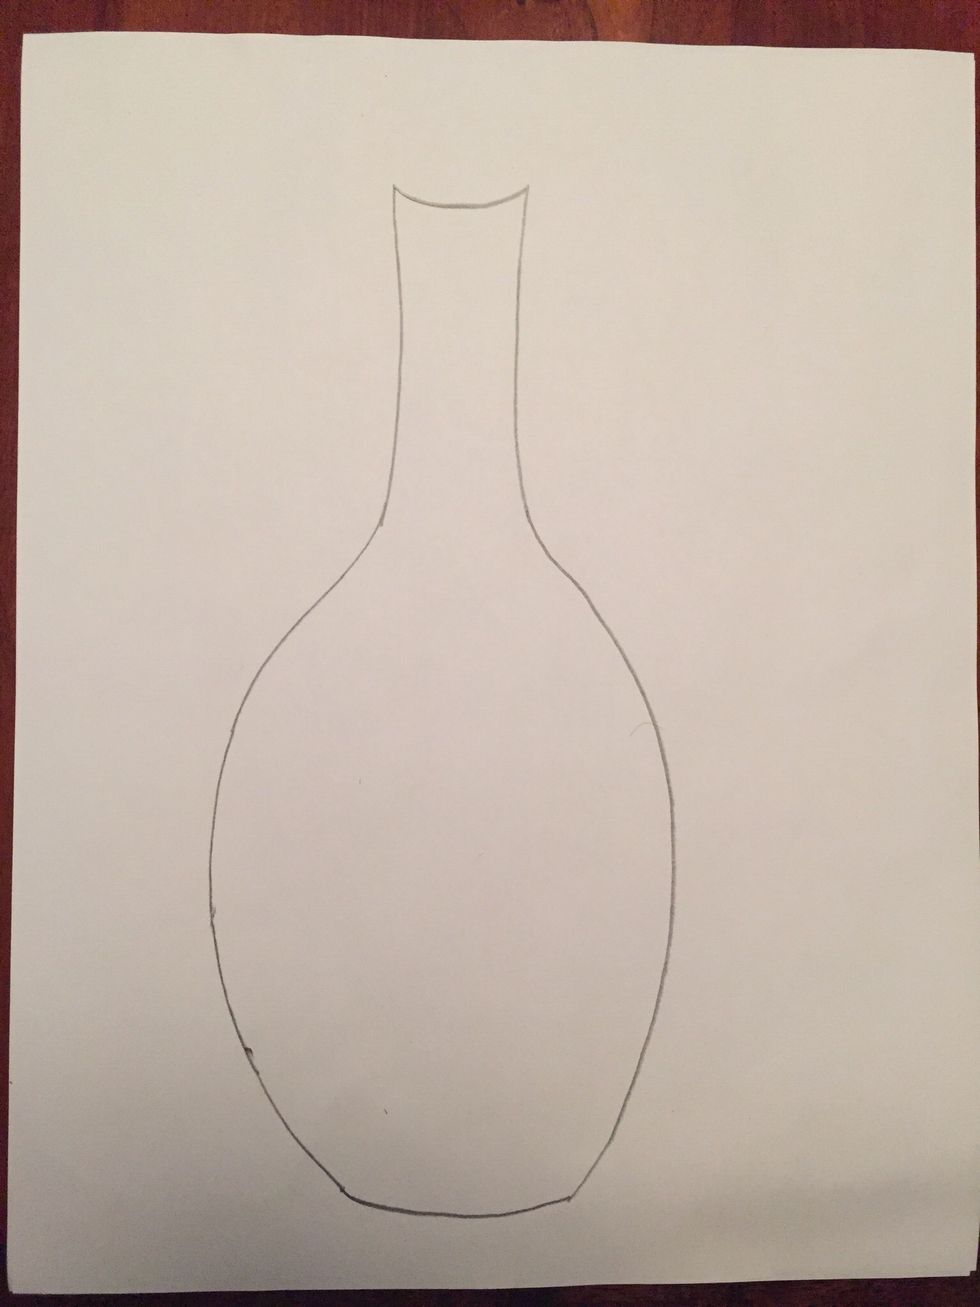
Draw an upward curving line for the opening of your bottle.
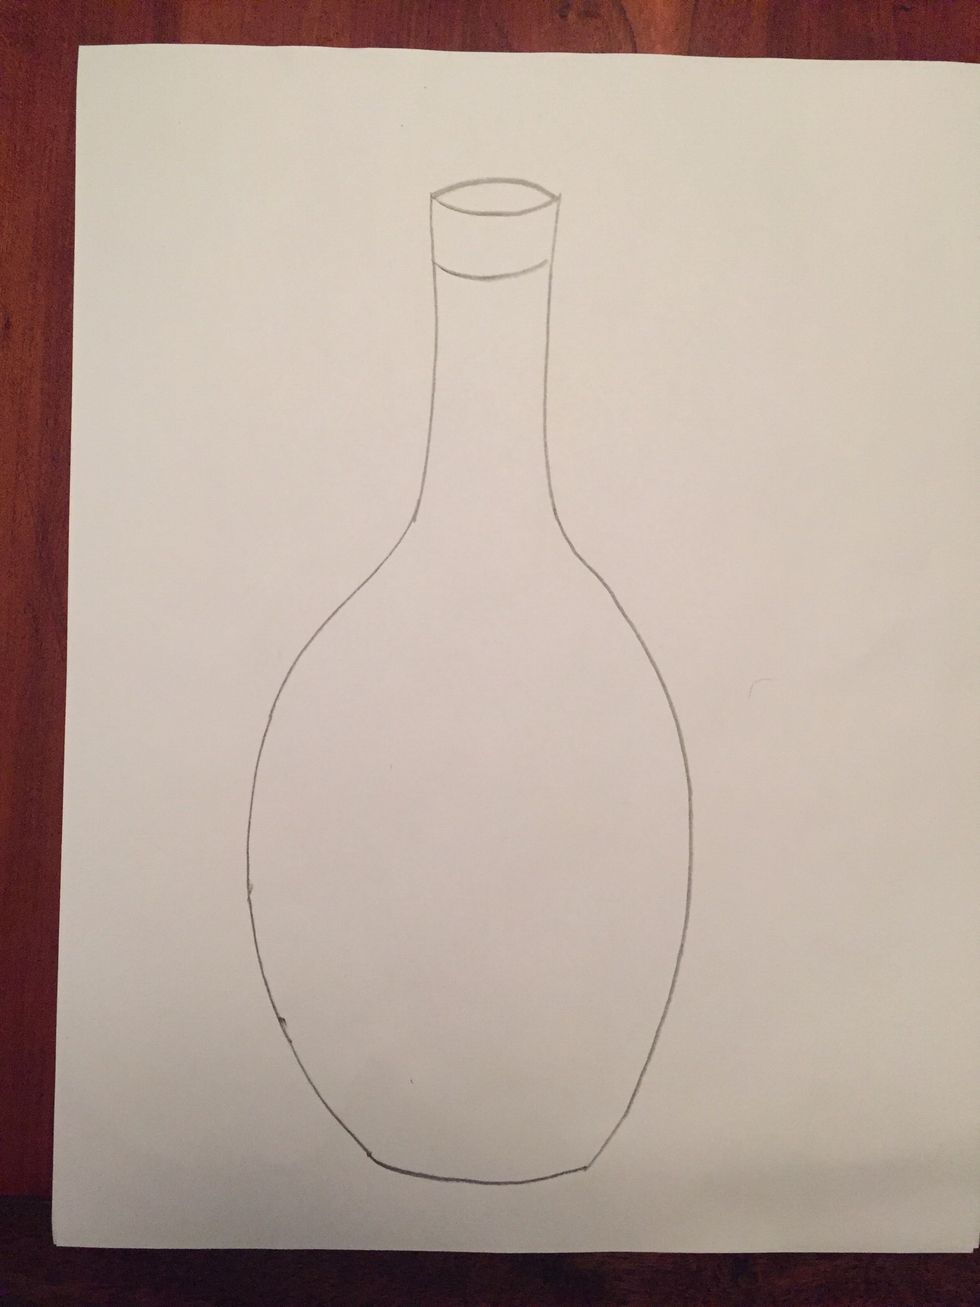
Draw a curved line on the neck of your bottle. This makes it more interesting.
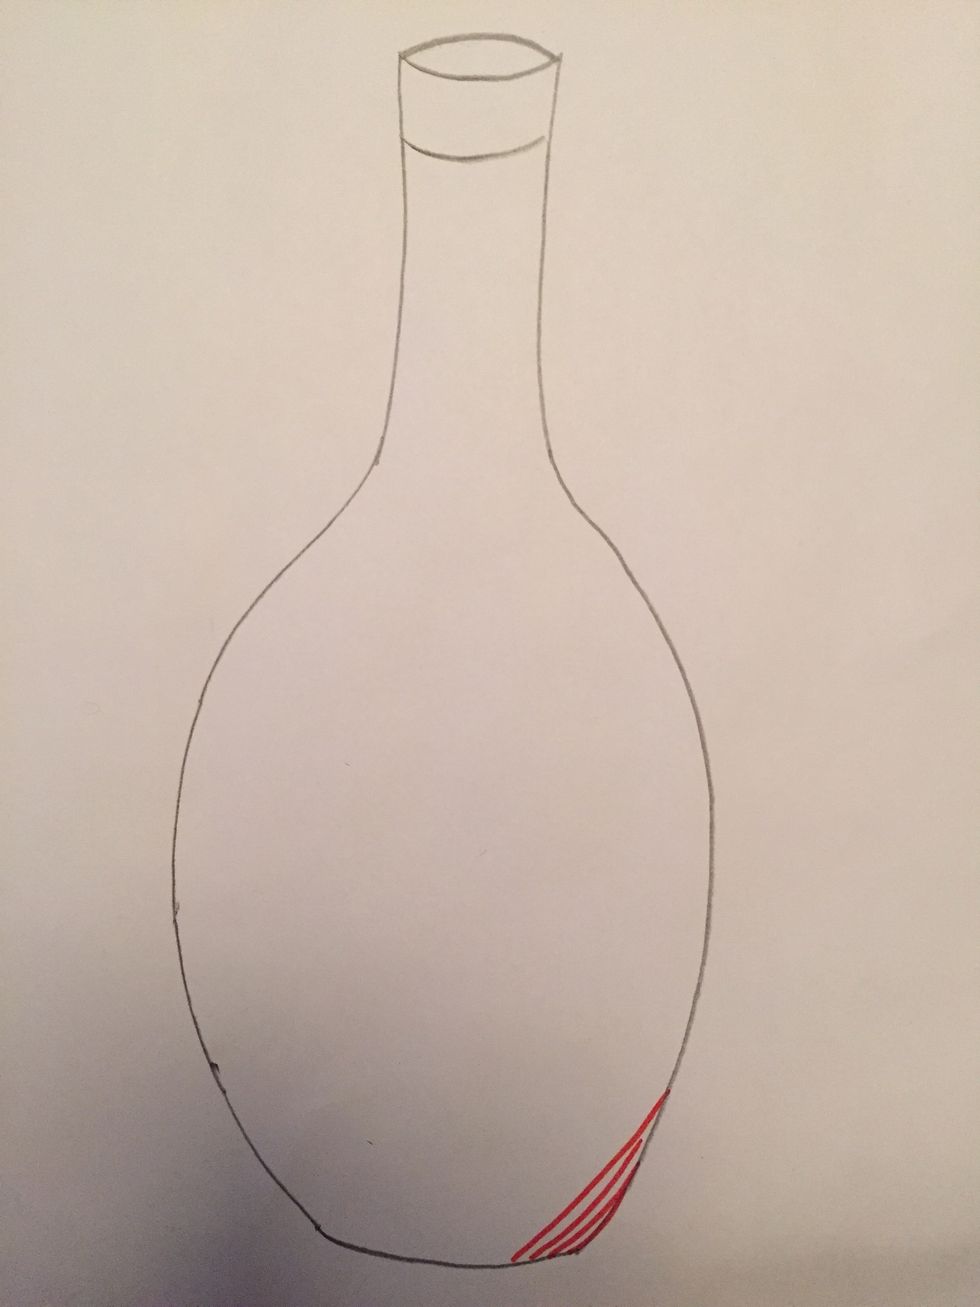
The pen and ink technique you will be trying is called cross hatching. You will begin by creating value with long lines first. These lines should curve like the edge of your bottle.
Continue drawing curved lines close together up the right side of your bottle.
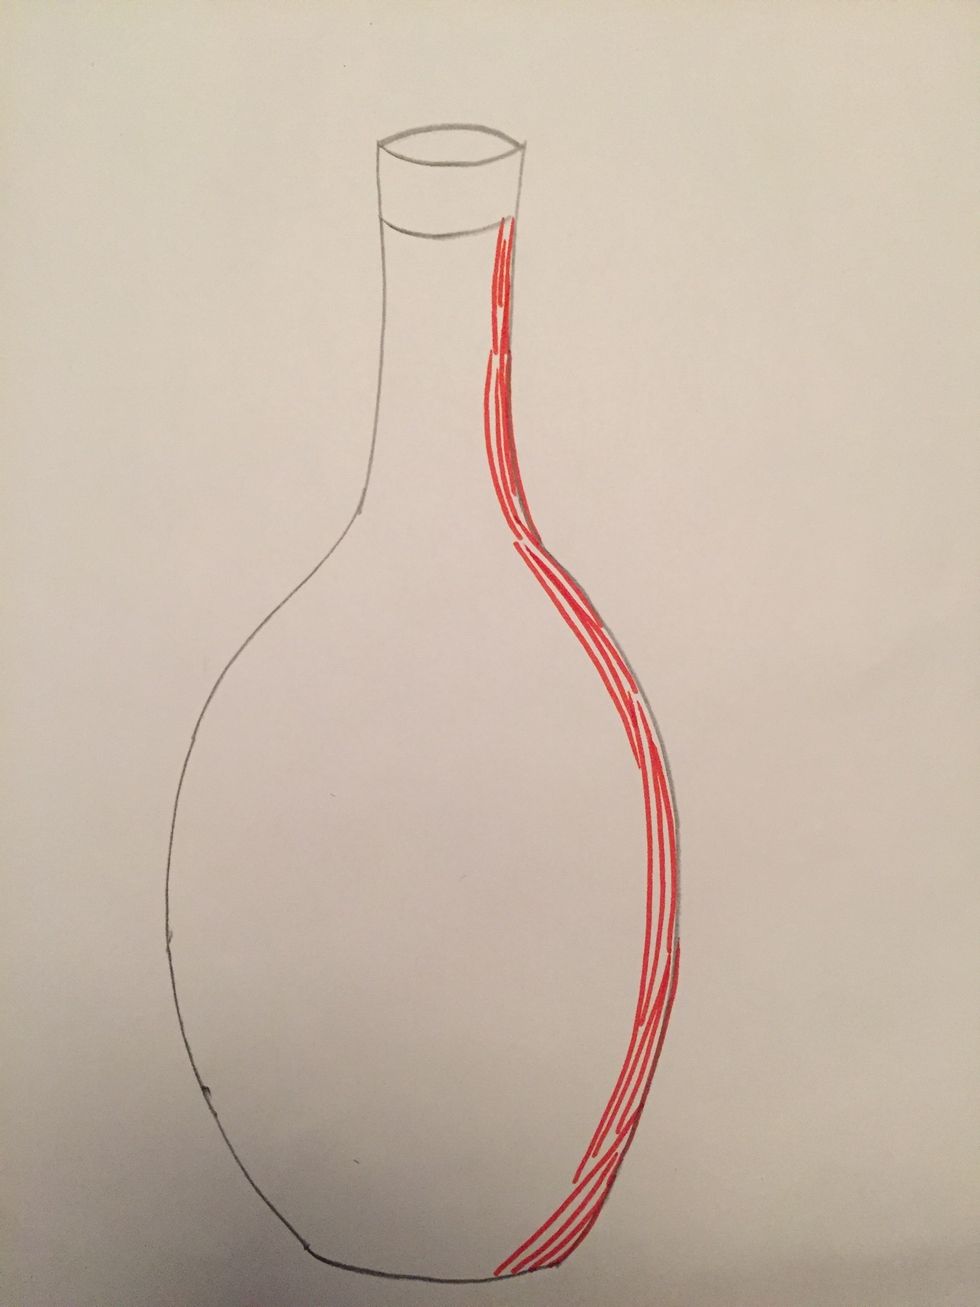
Stop when you reach the line in the neck of the bottle.
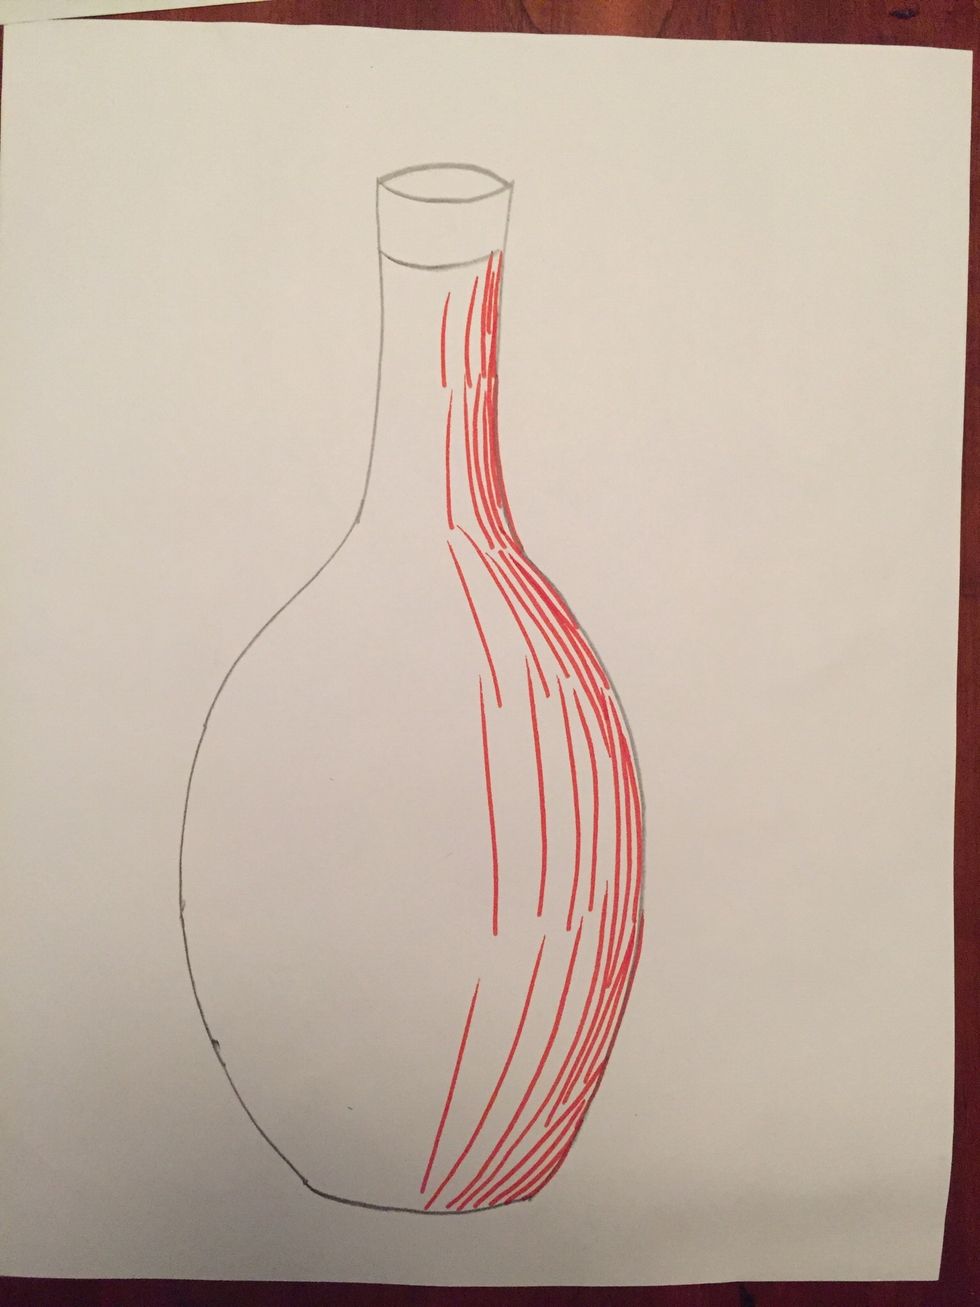
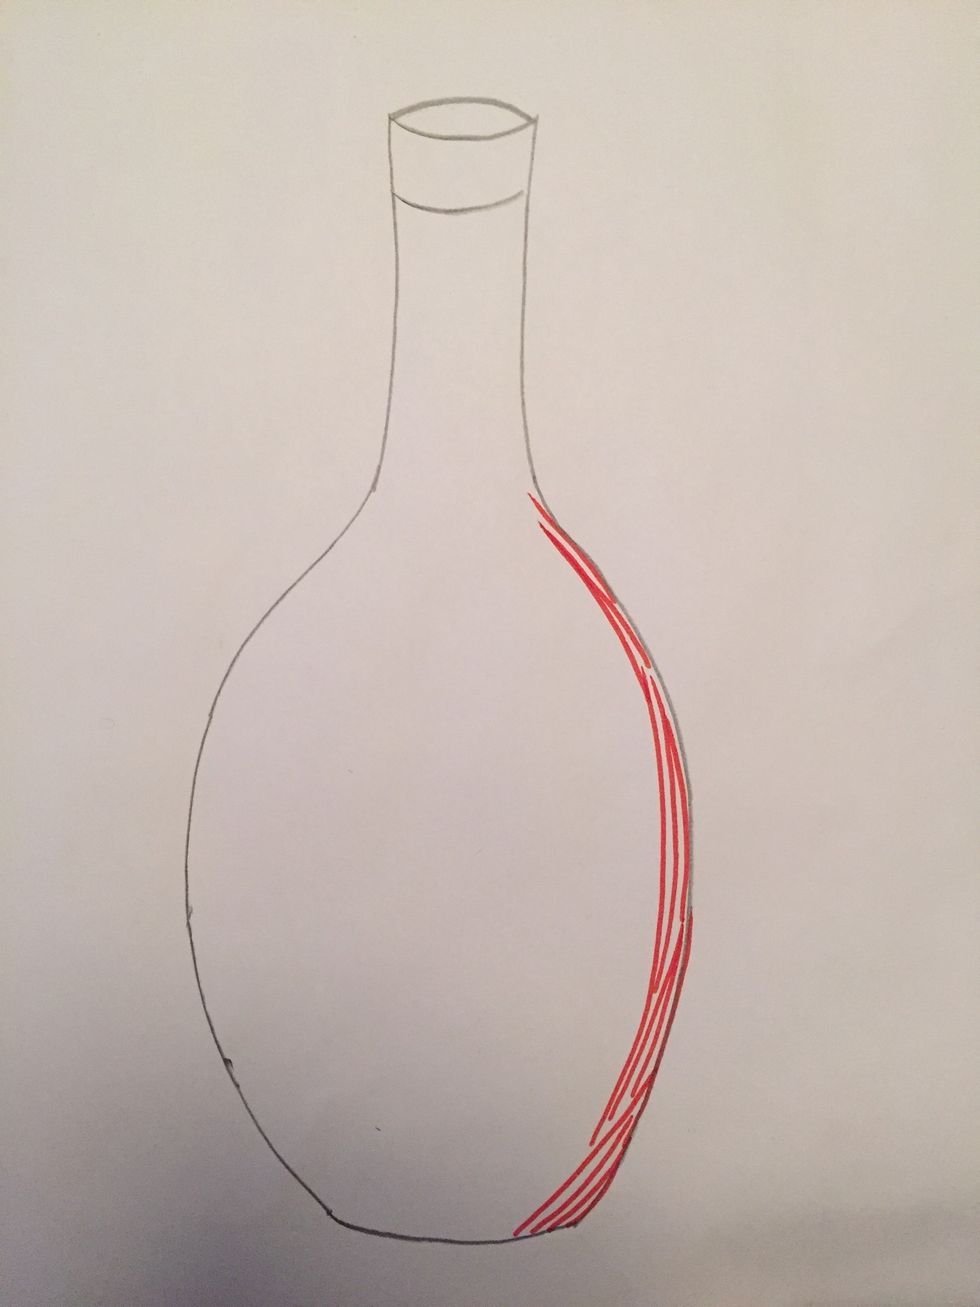
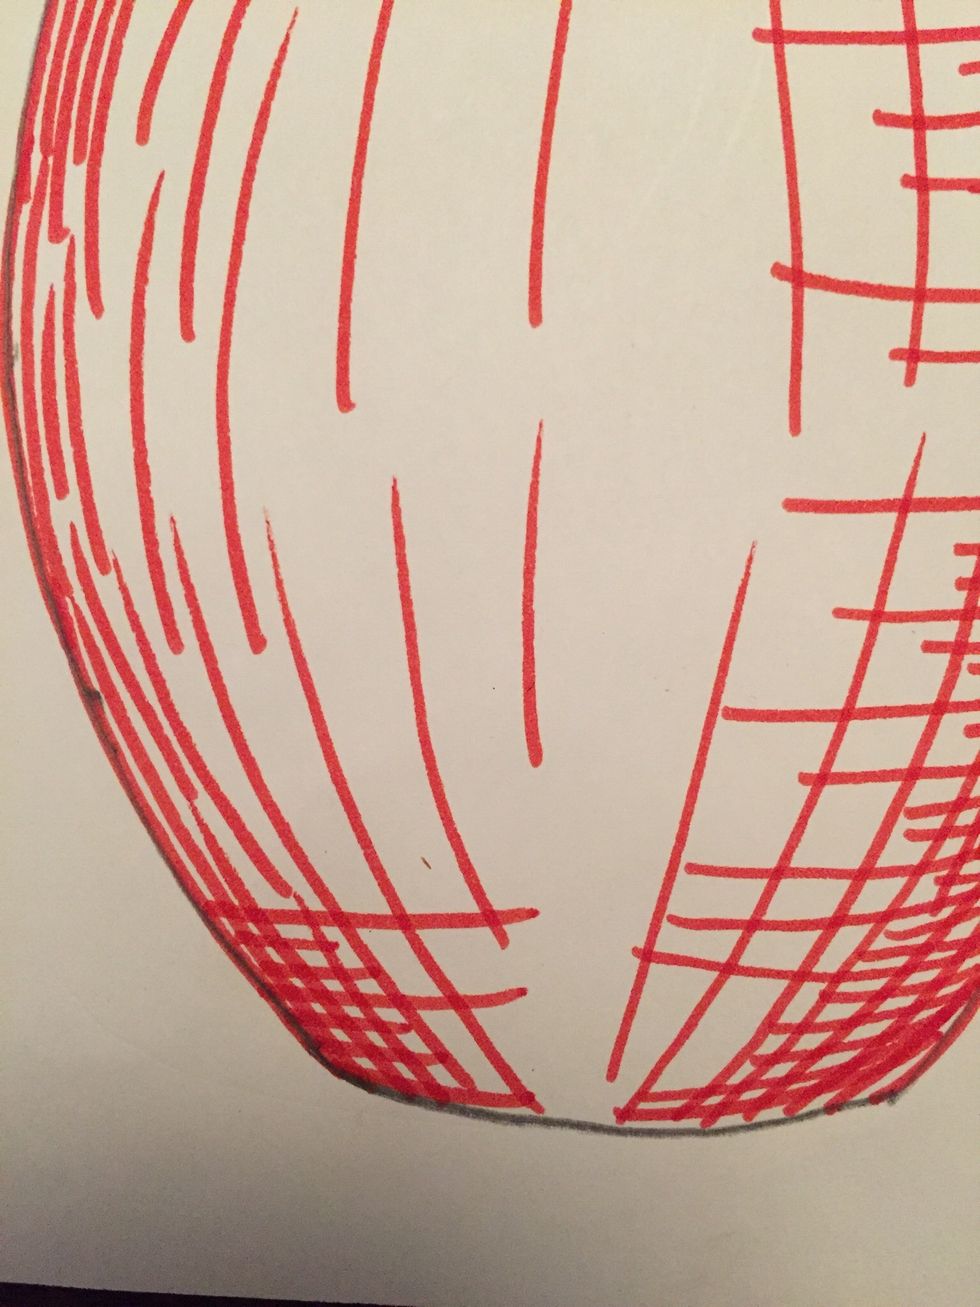
Begin creating value by spreading the lines further apart as you go in to your bottle. The lines should slow get straighter.
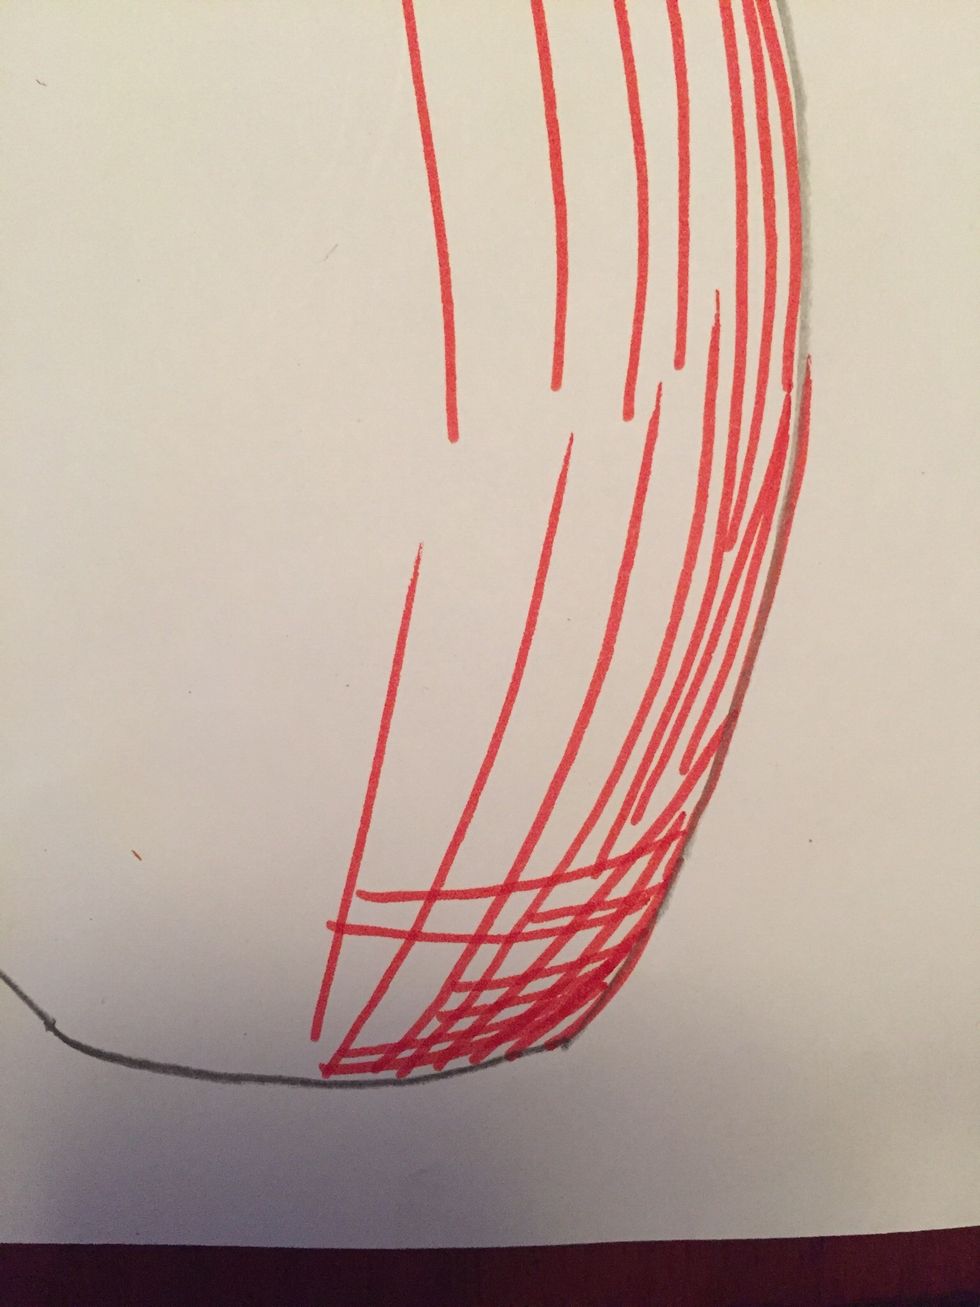
Begin creating the CROSS hatching. You will draw lines over your first set of lines, this time going in the opposite direction so they CROSS. Vary the length of the lines to make value (long, short)
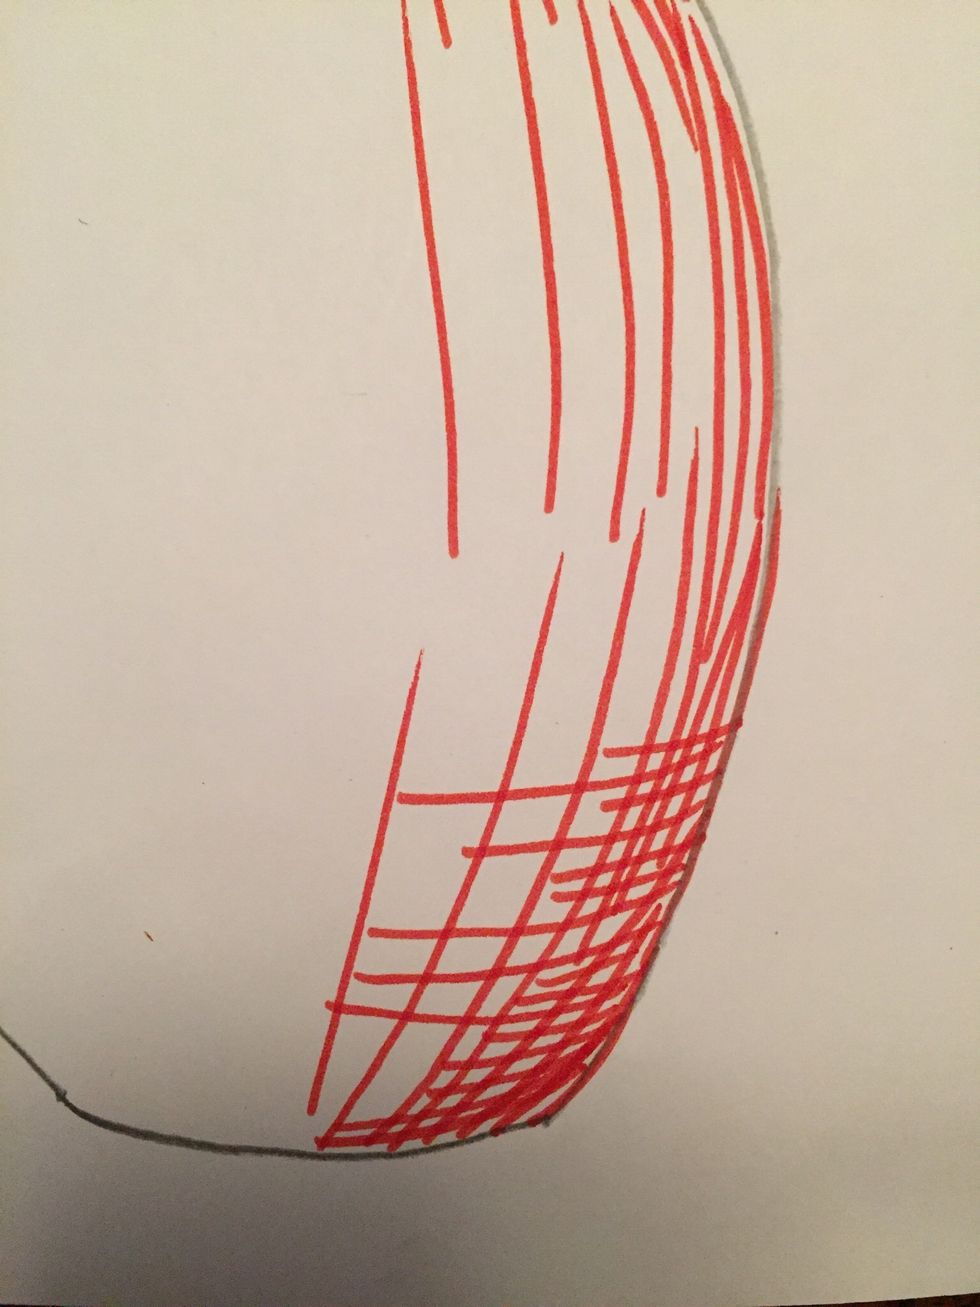
Continue up the right side of your bottle. Vary the lengths: long, medium, short.
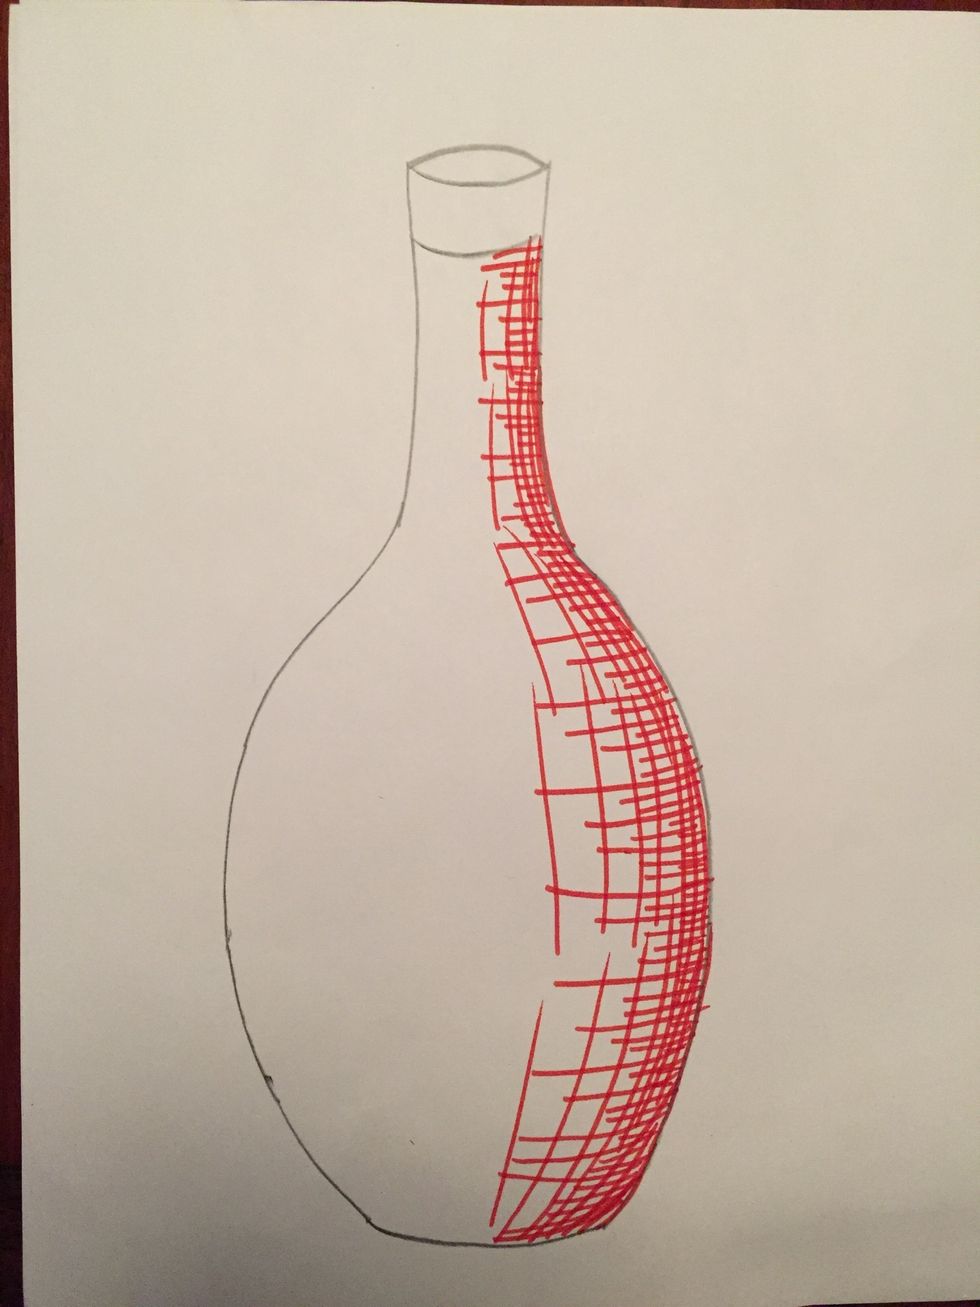
Finish the right side.
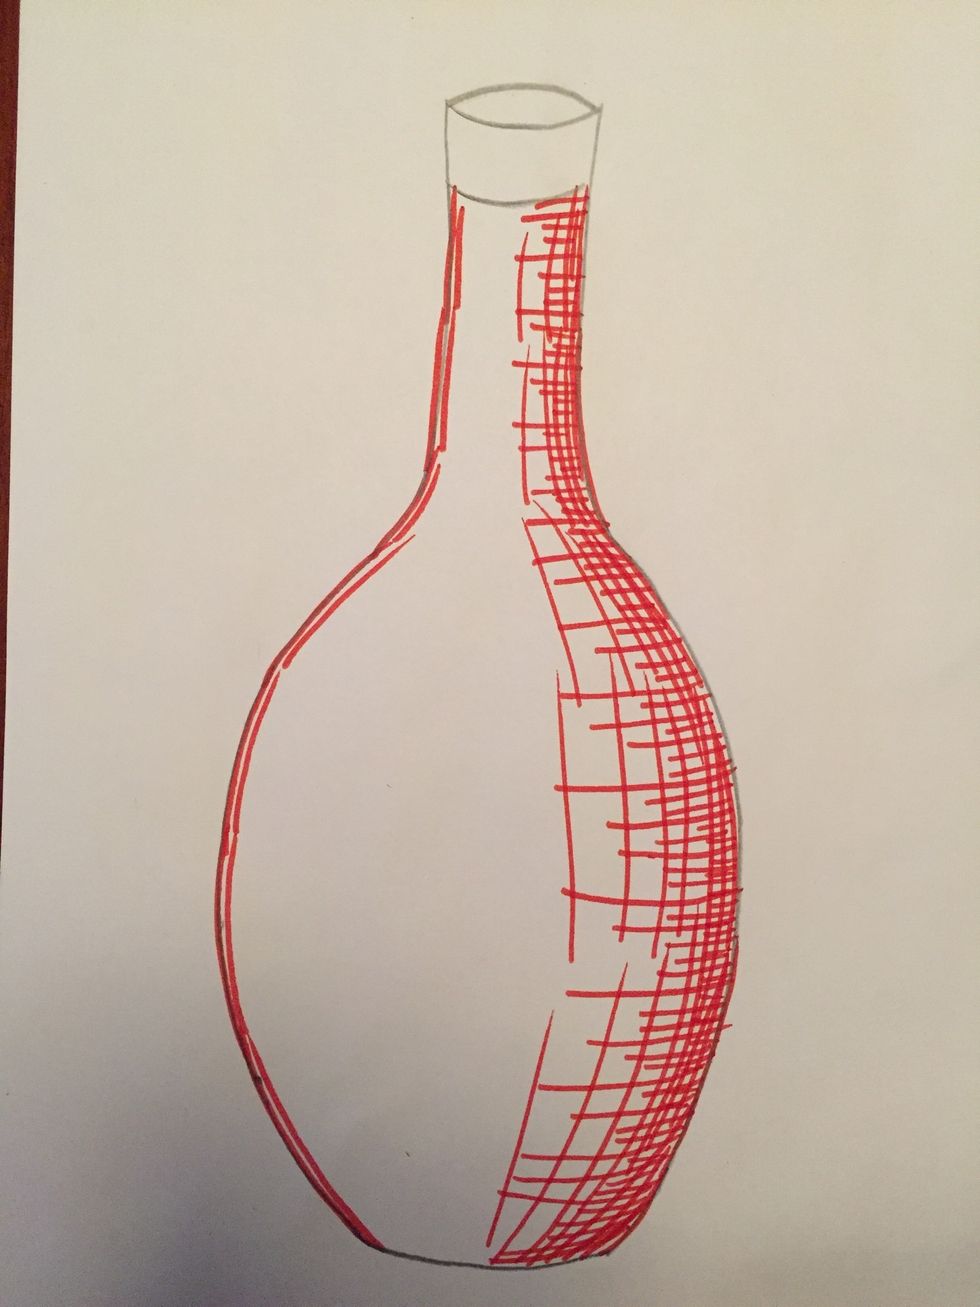
Begin drawing long curved lines on the left side. Your lines should be close together.
Spread the lines apart slowly and begin to straighten them as you move in to the bottle.
Begin adding your cross hatches. Vary the lengths: long, medium, short.
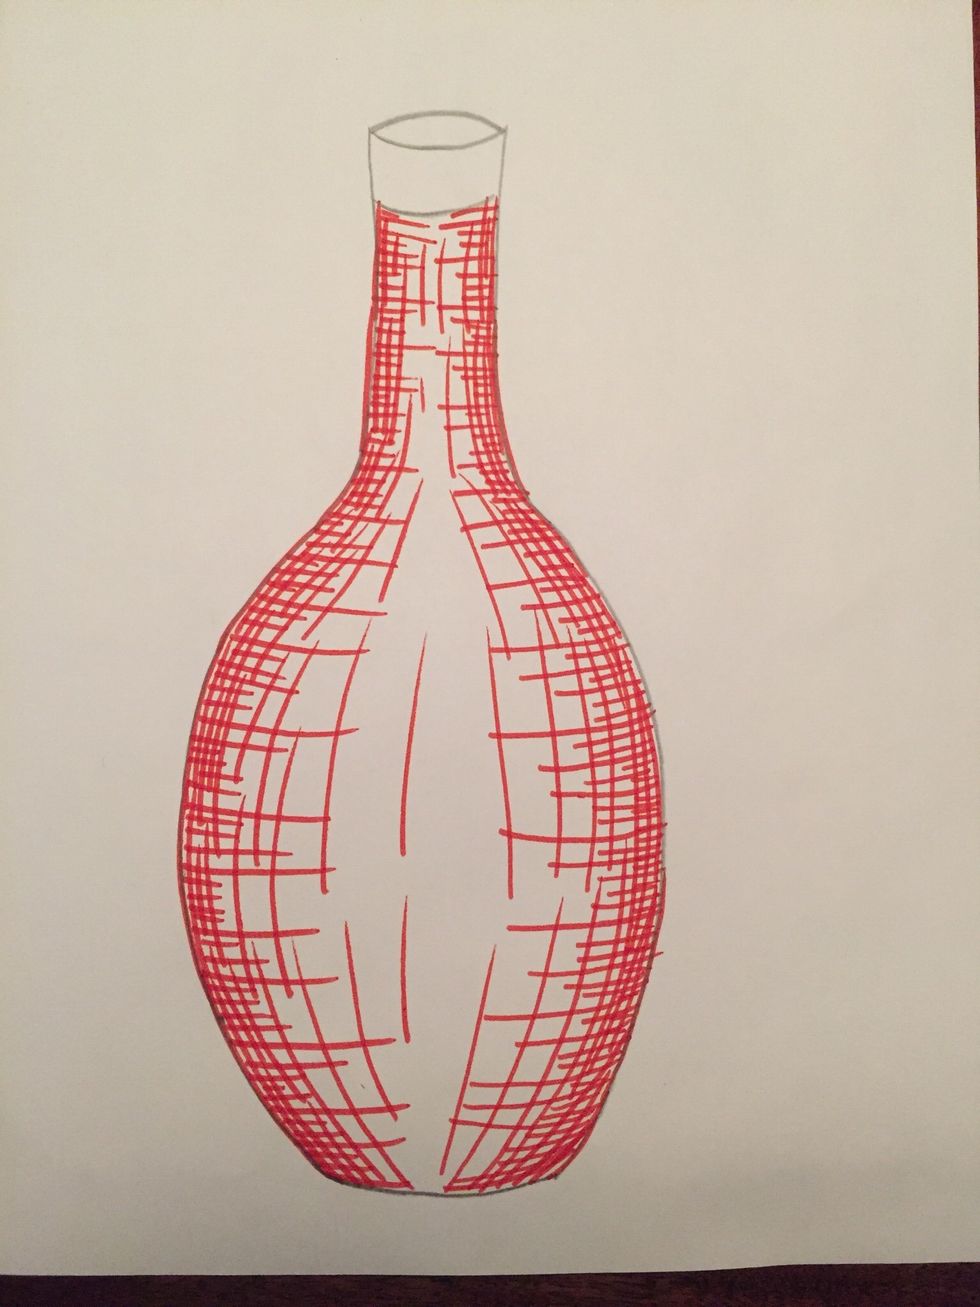
Finish the left side.
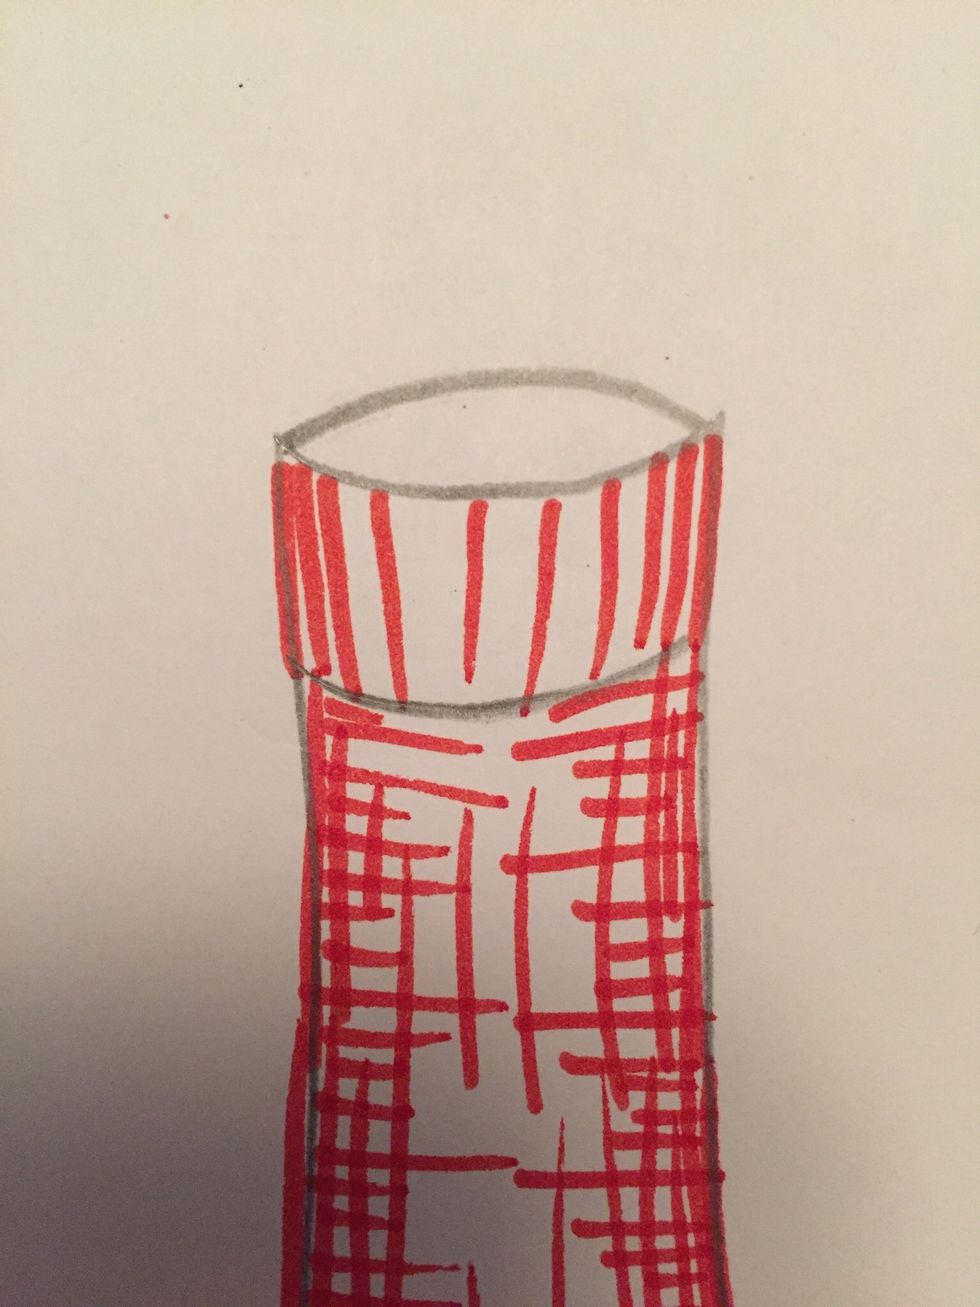
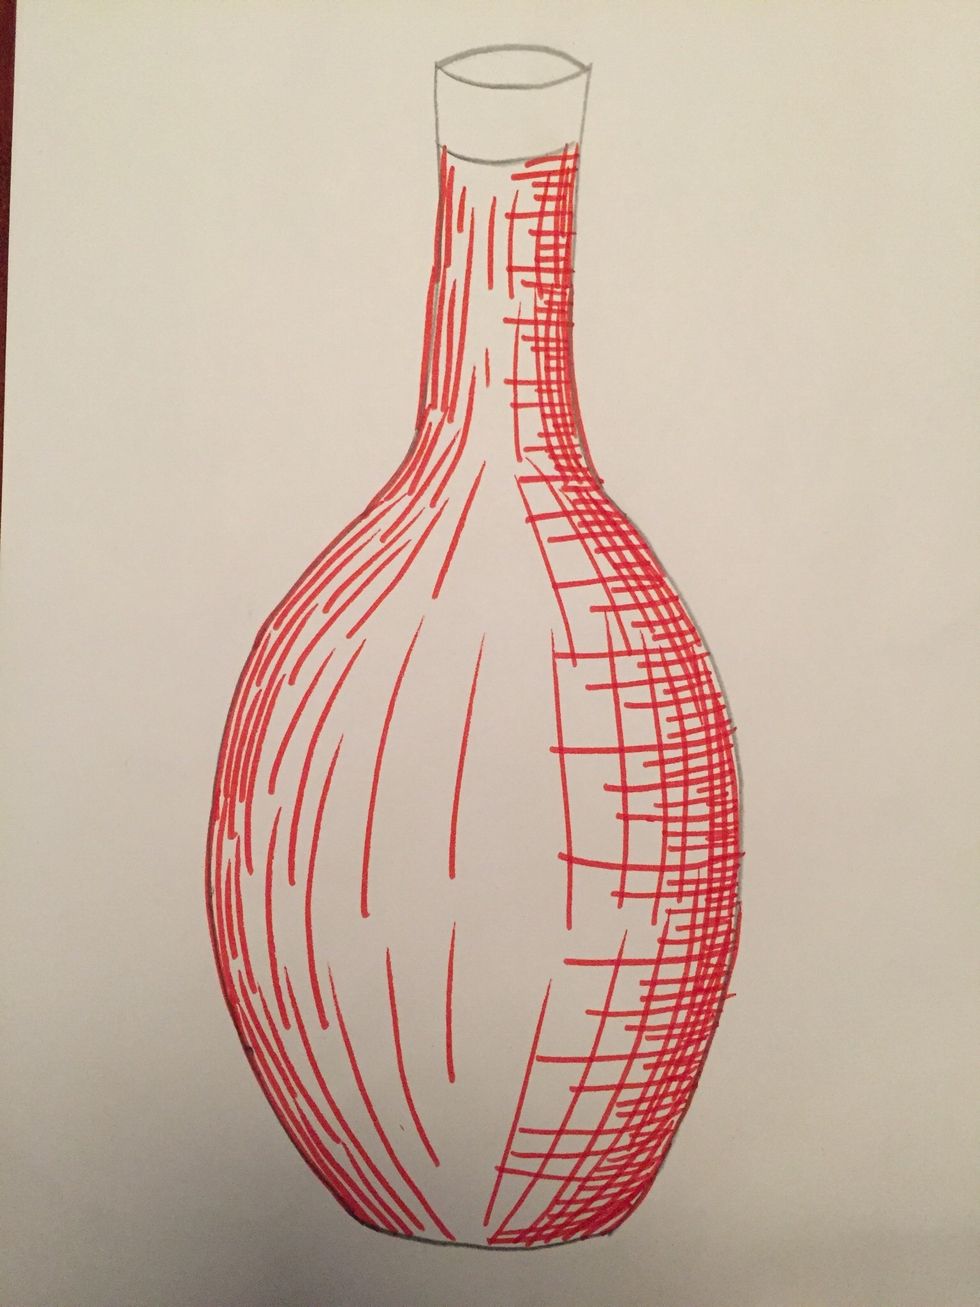
Fill the top section of your bottle with lines. Close lines on the edges, spread apart in the center.
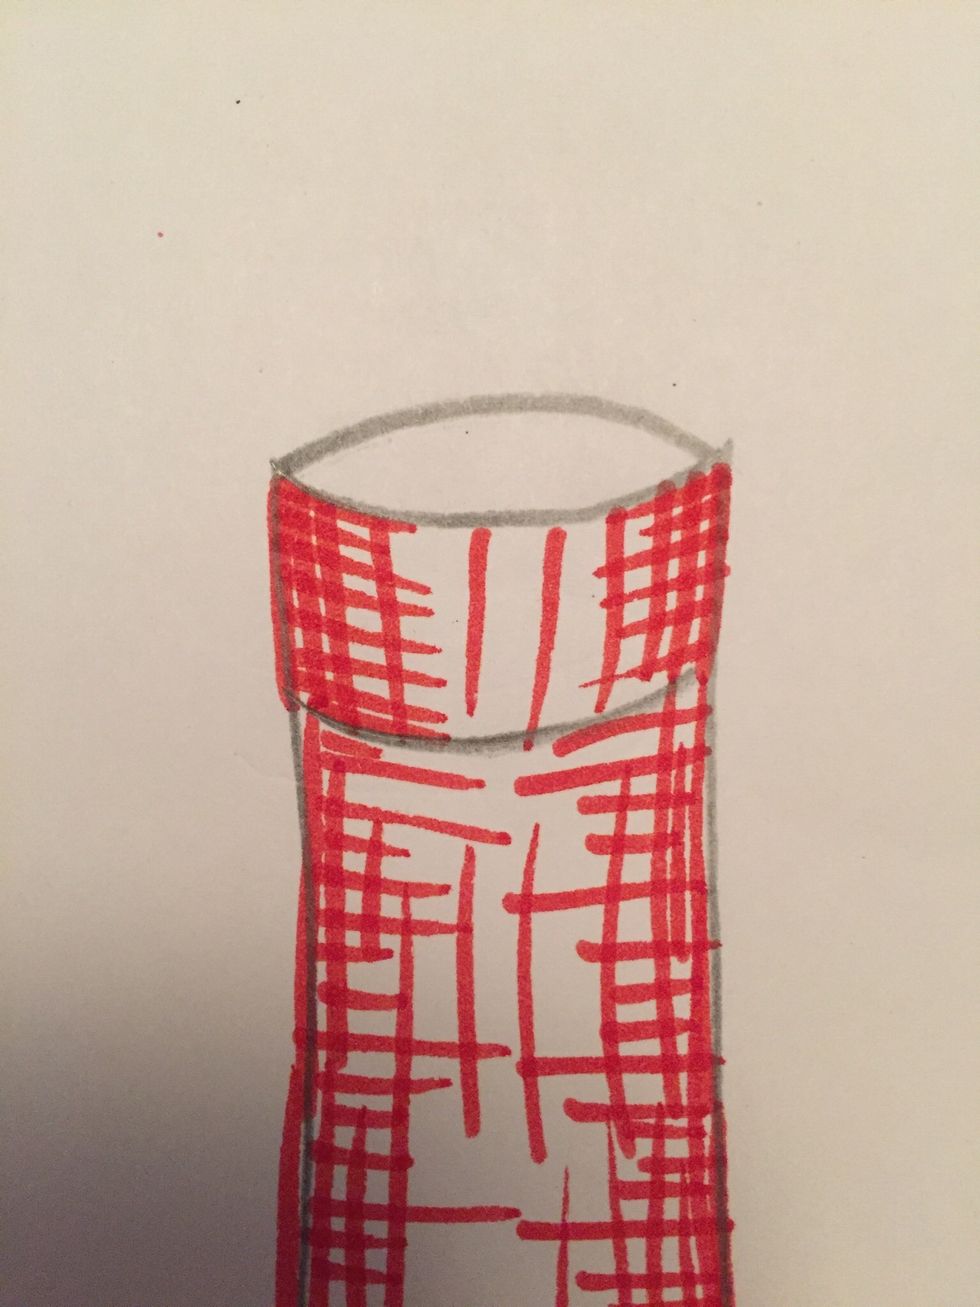
Add cross hatches on the edges.
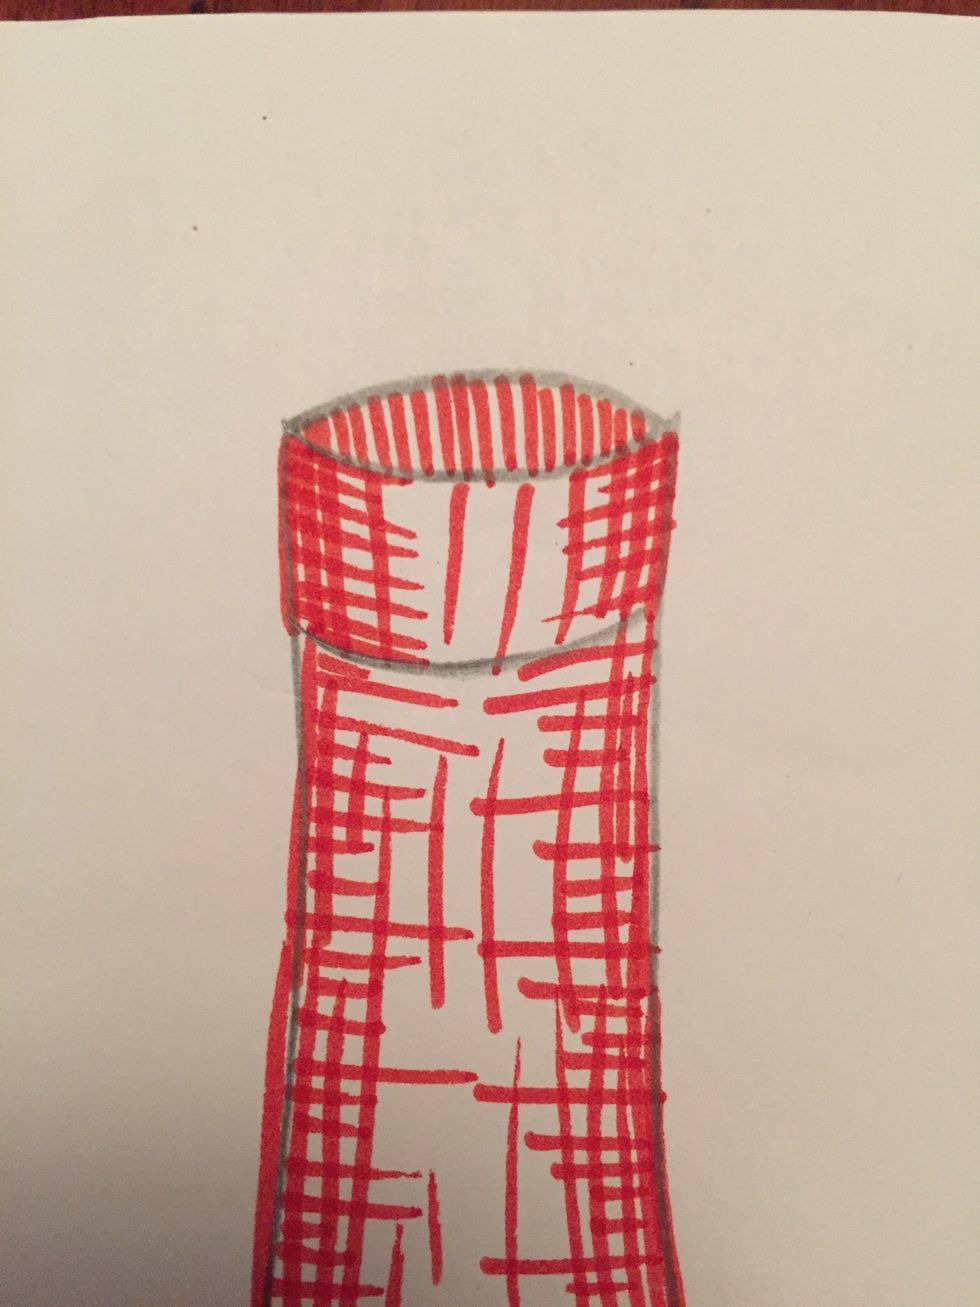
Add close together lines in the bottle opening. It's all shadow, it should be dark value.
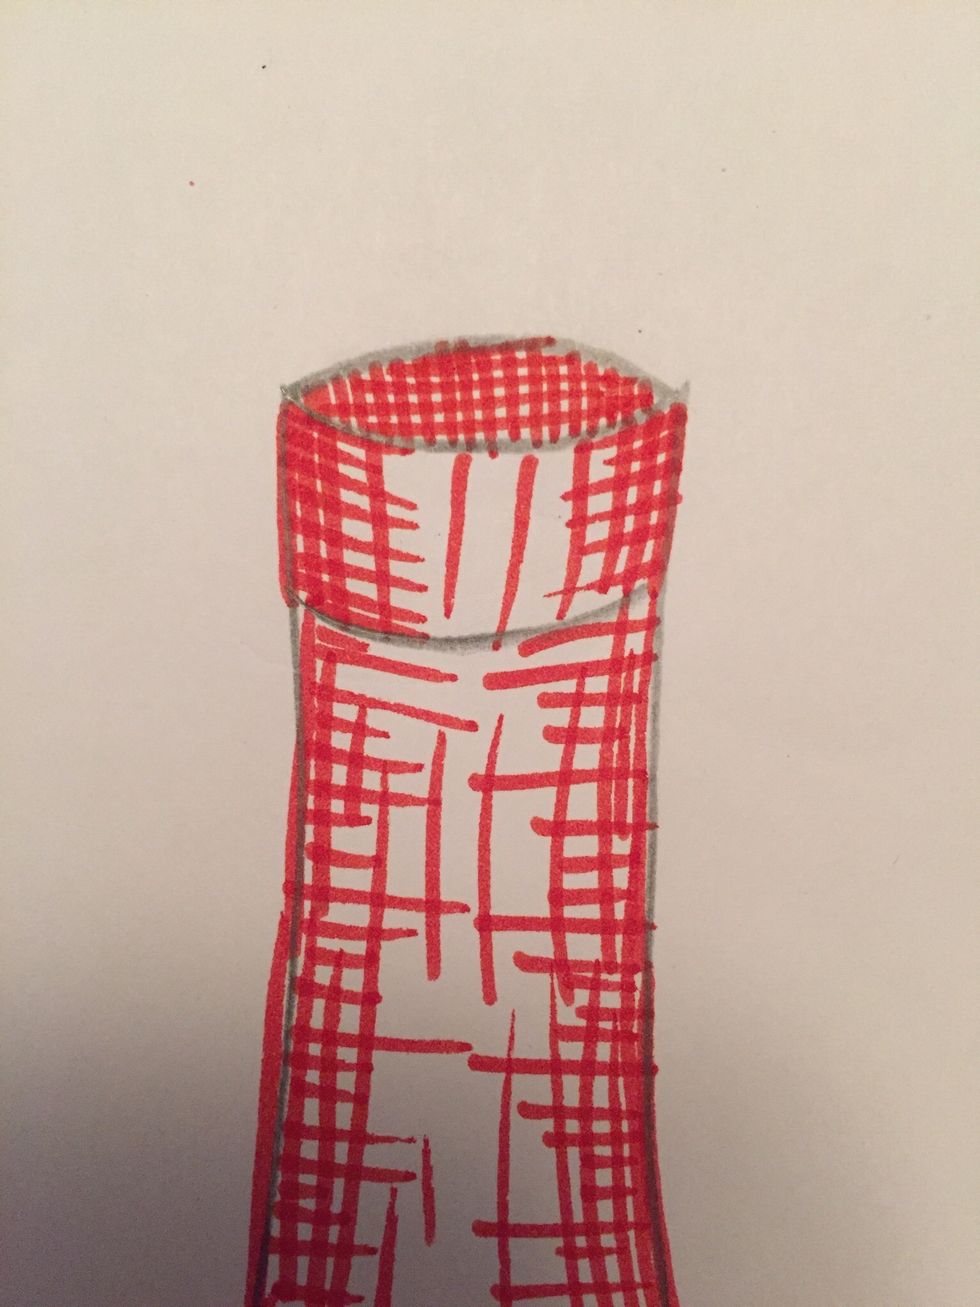
Add cross hatches close together.
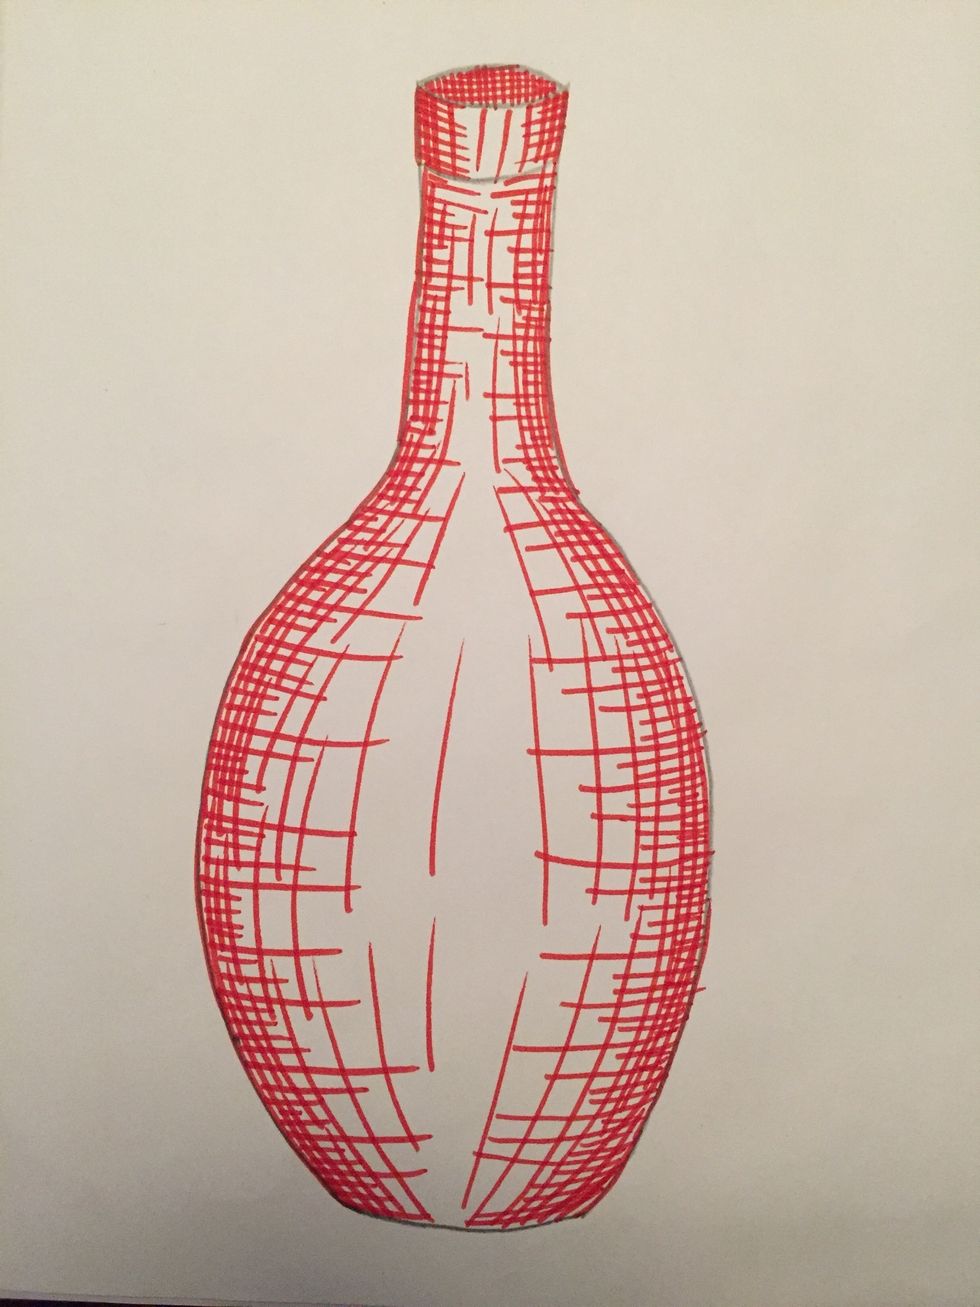
Hold your drawing away from you to let you eyes adjust. Congratulations! You created form with cross hatching!