The Conversation (0)
Sign Up
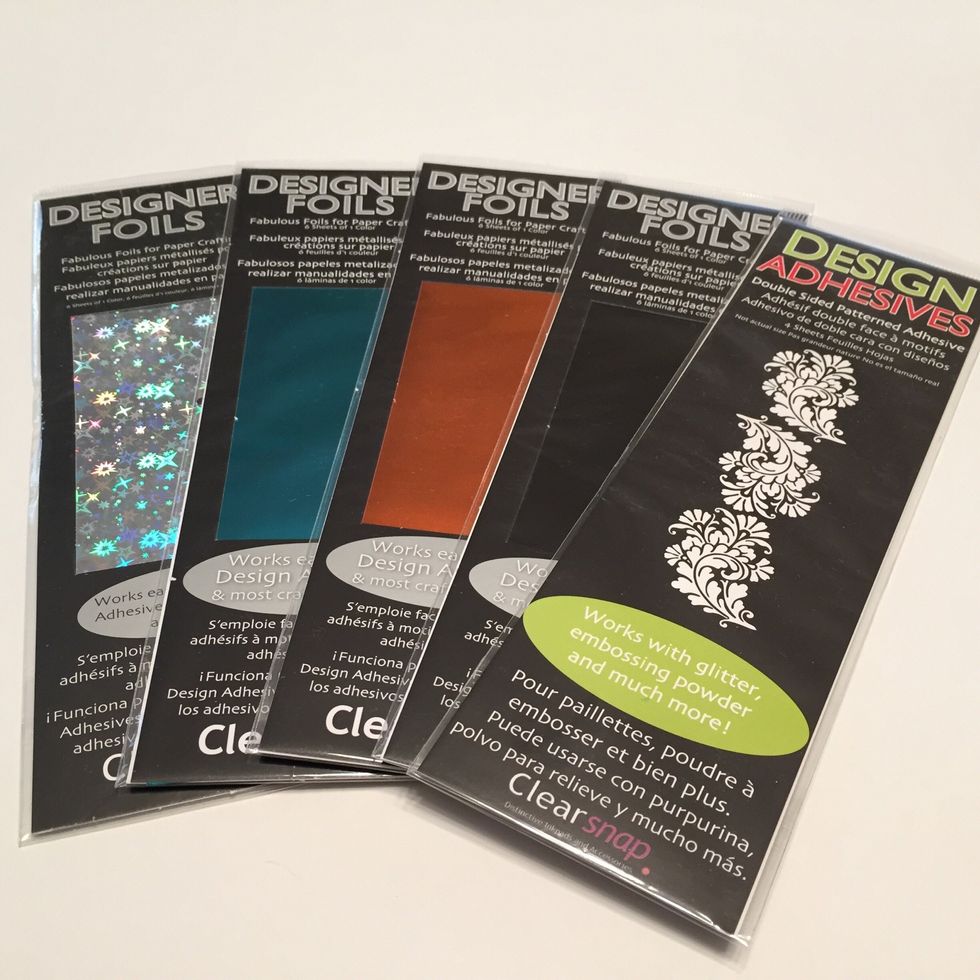
Designer Foils & Design Adhesives from Clearsnap come in lots of designs and colors.

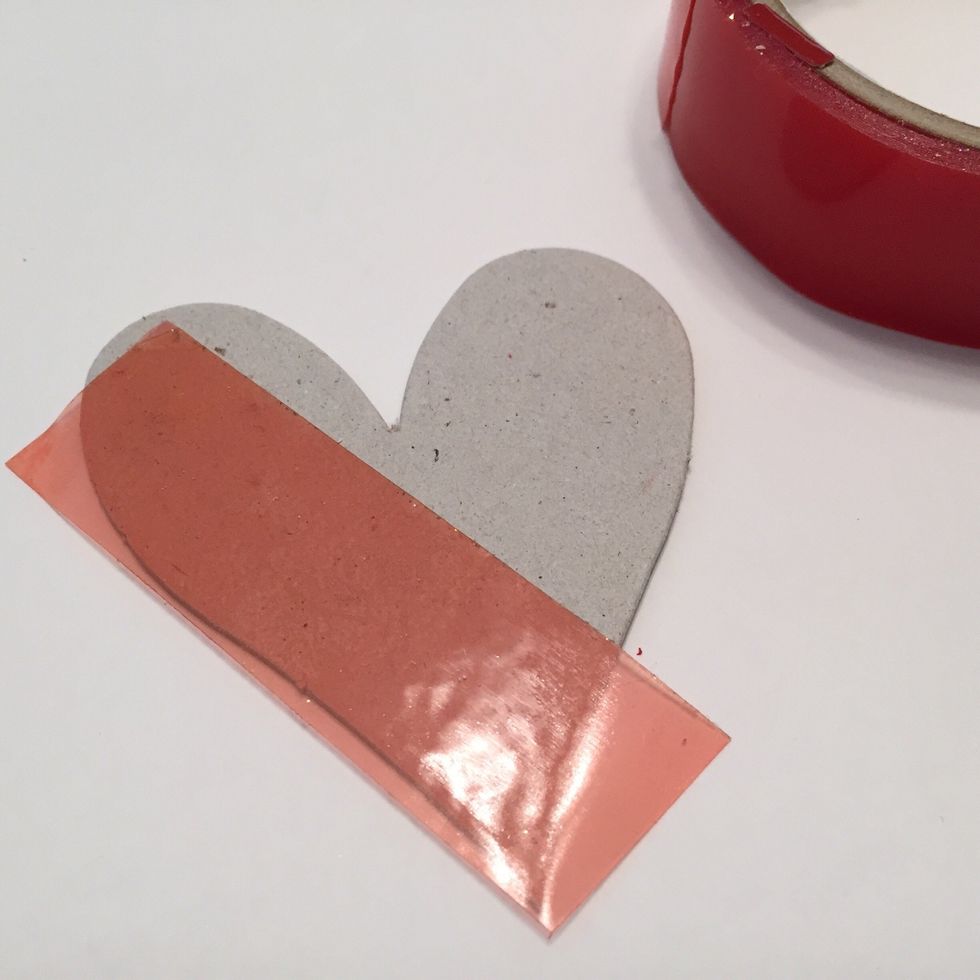
TECHNIQUE #1: using dry adhesive to adhere foil. cut a square of dry adhesive and apply to heart.

remove backing to reveal adhesive.

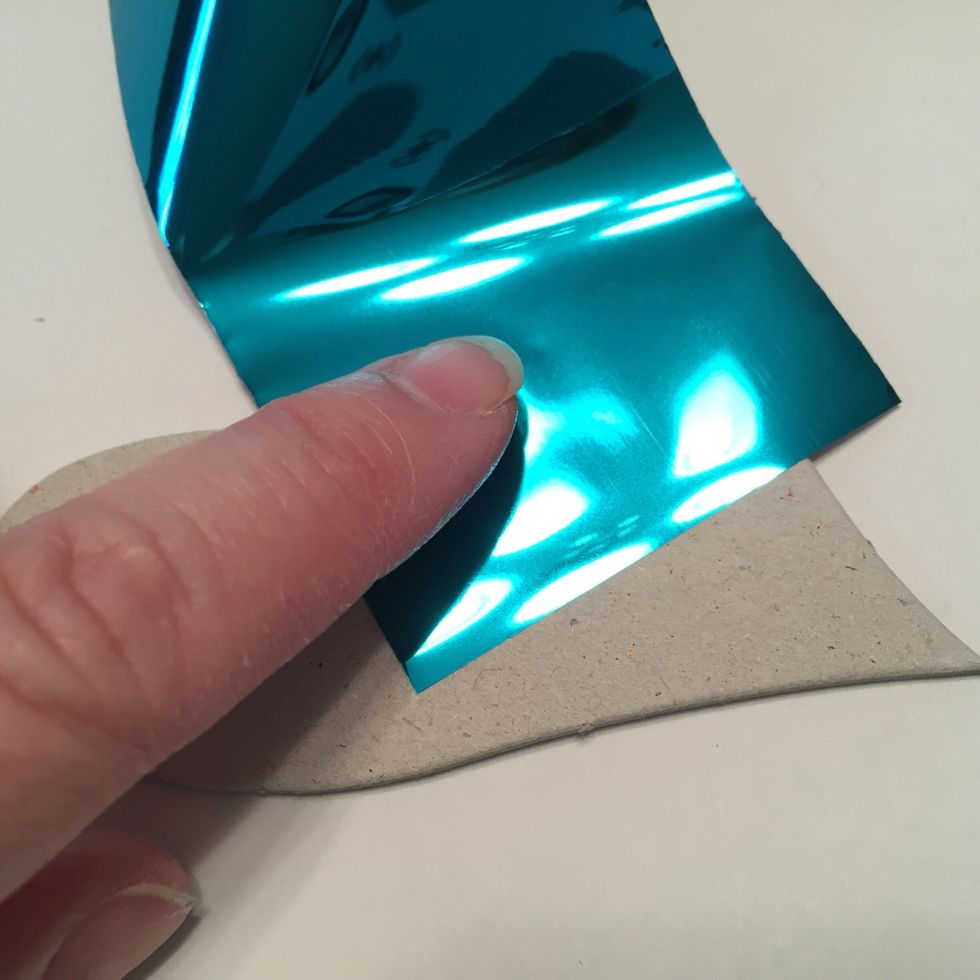
lay foil over adhesive and burnish with your finger.
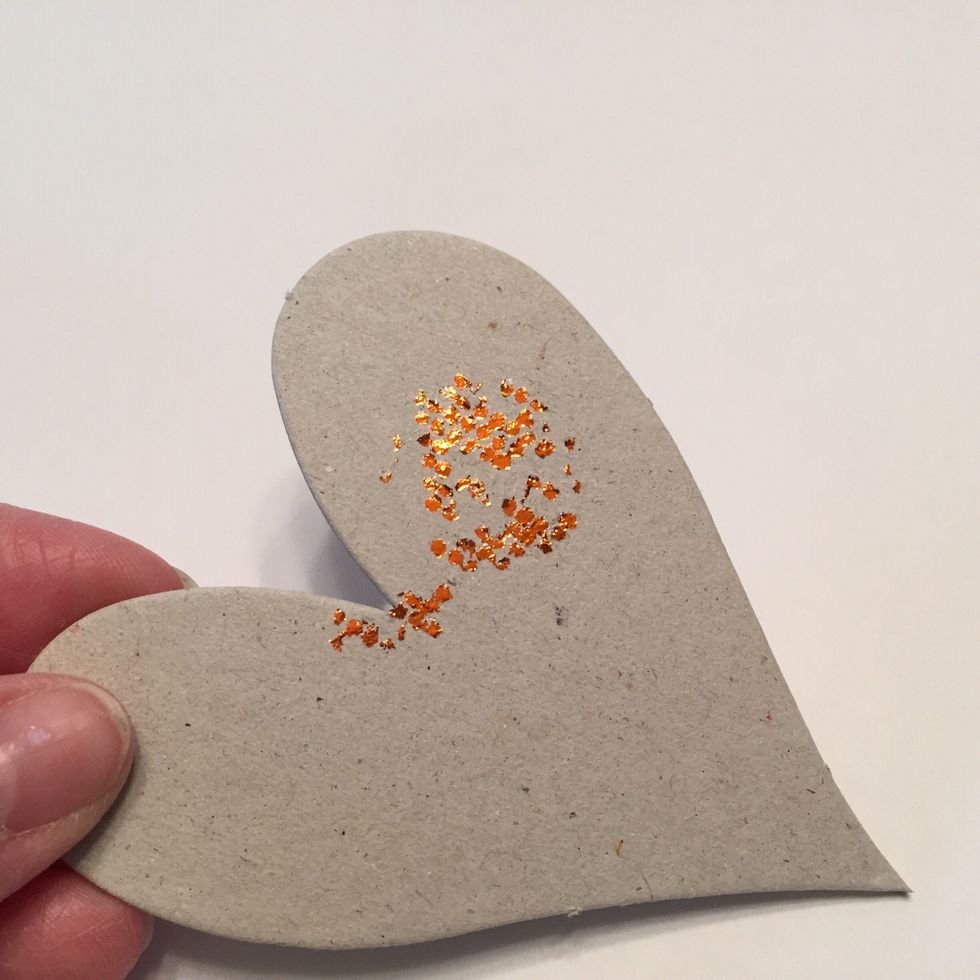
foil transferred. this particular dry adhesive has a pattern of small dots which i think adds texture.
keep placing adhesive and layering and burnishing foil.
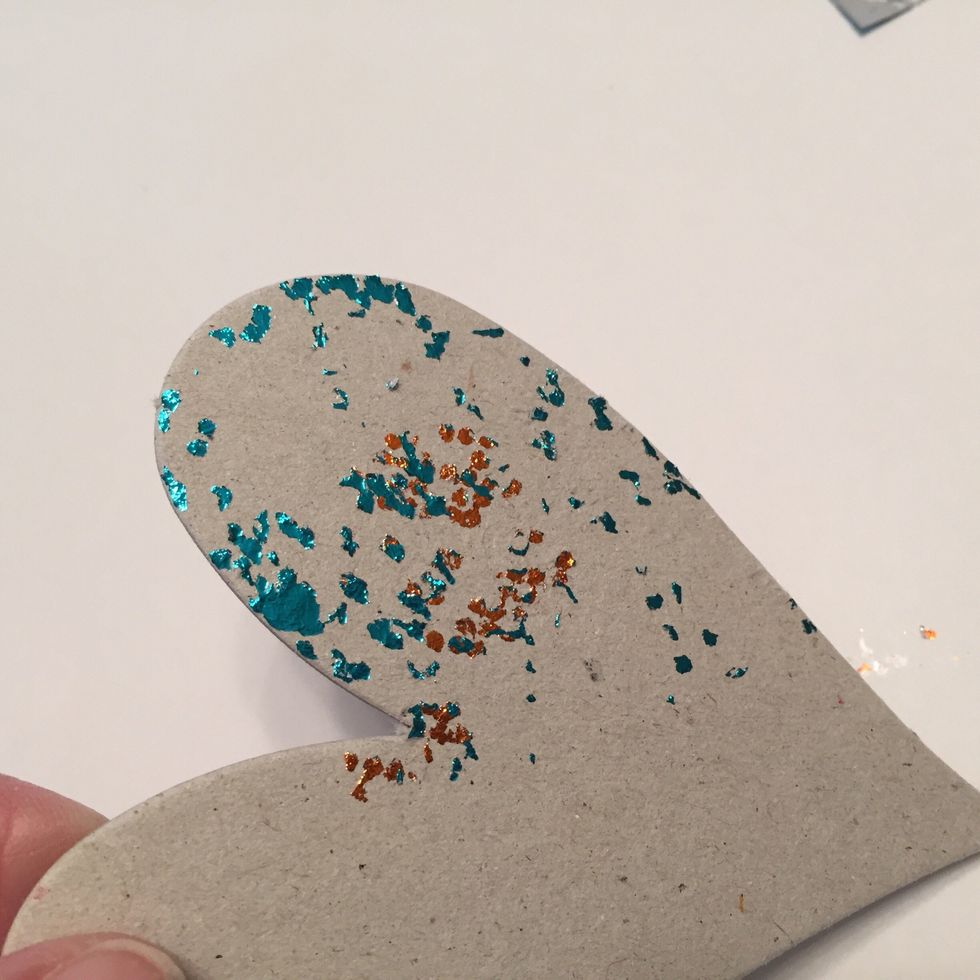
heart with 2 colors applied.
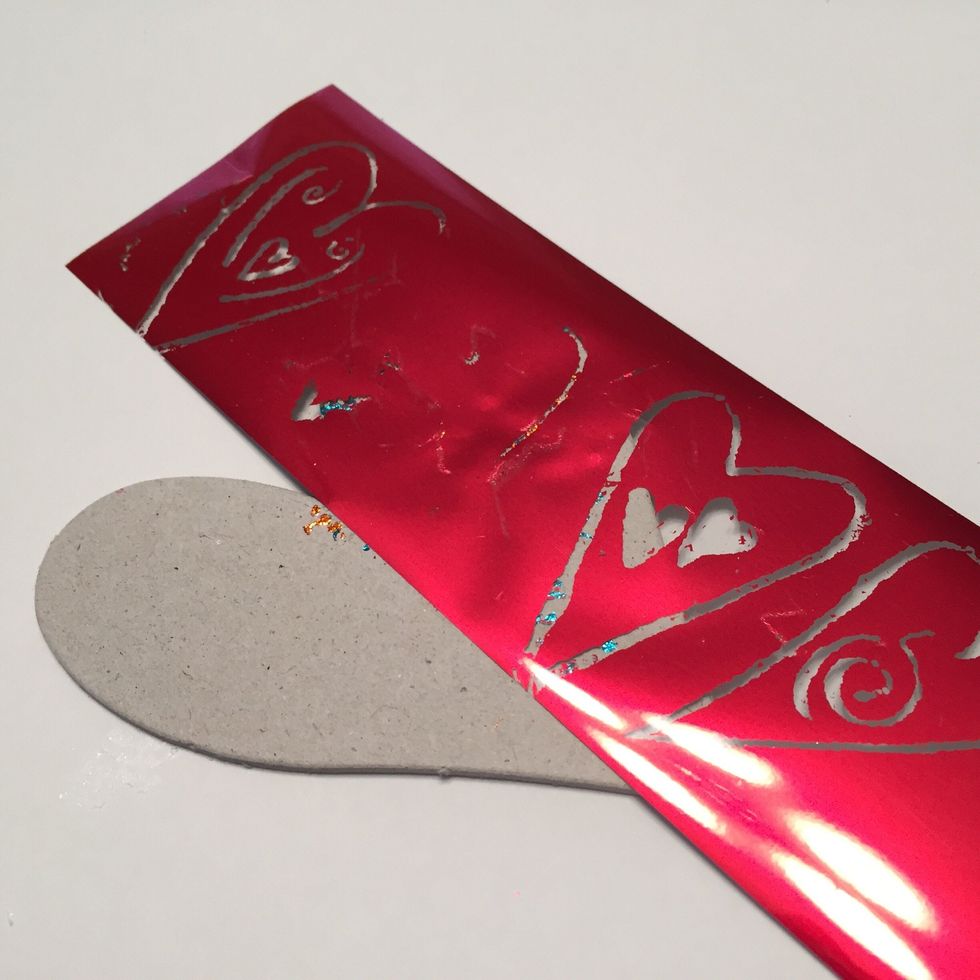
you can use every BIT of your Designer Foil sheets. here, this Cherry Pie has seen LOTS of use, but it can still be used to apply foil, just use the red spots.

right corner of heart with all colors of foil on it.
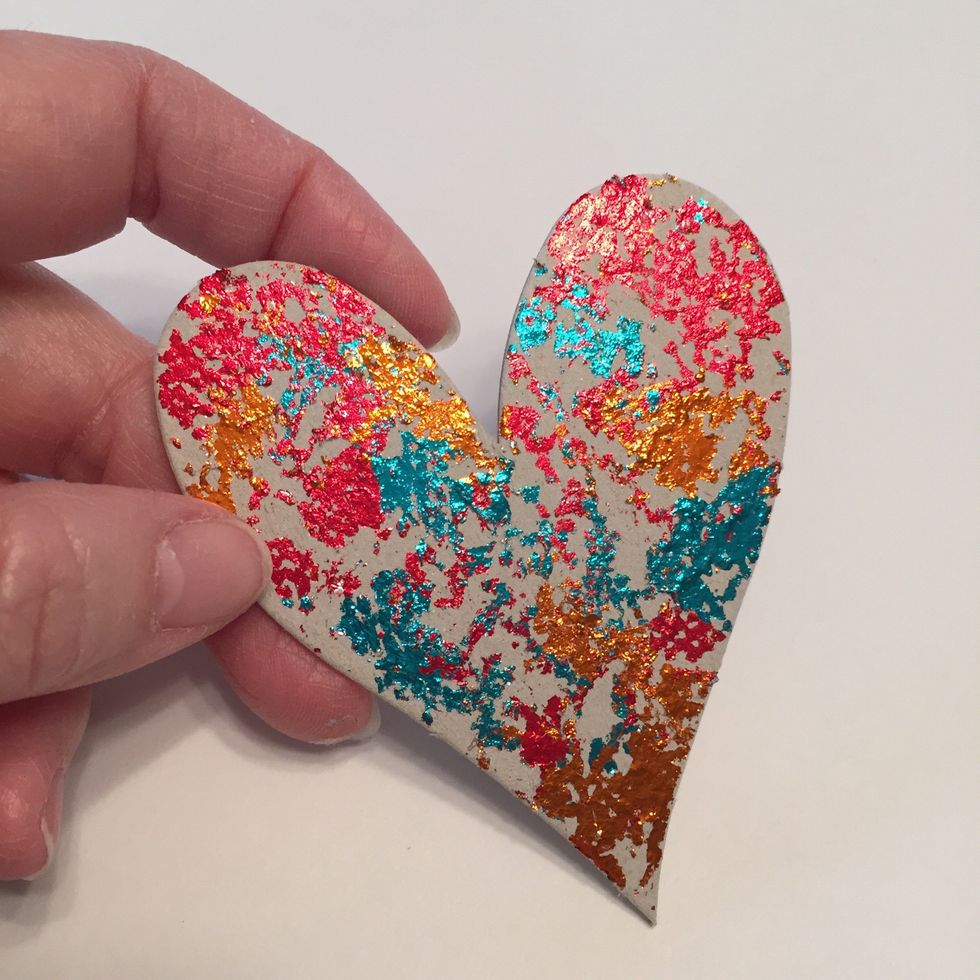
finished foiled heart.
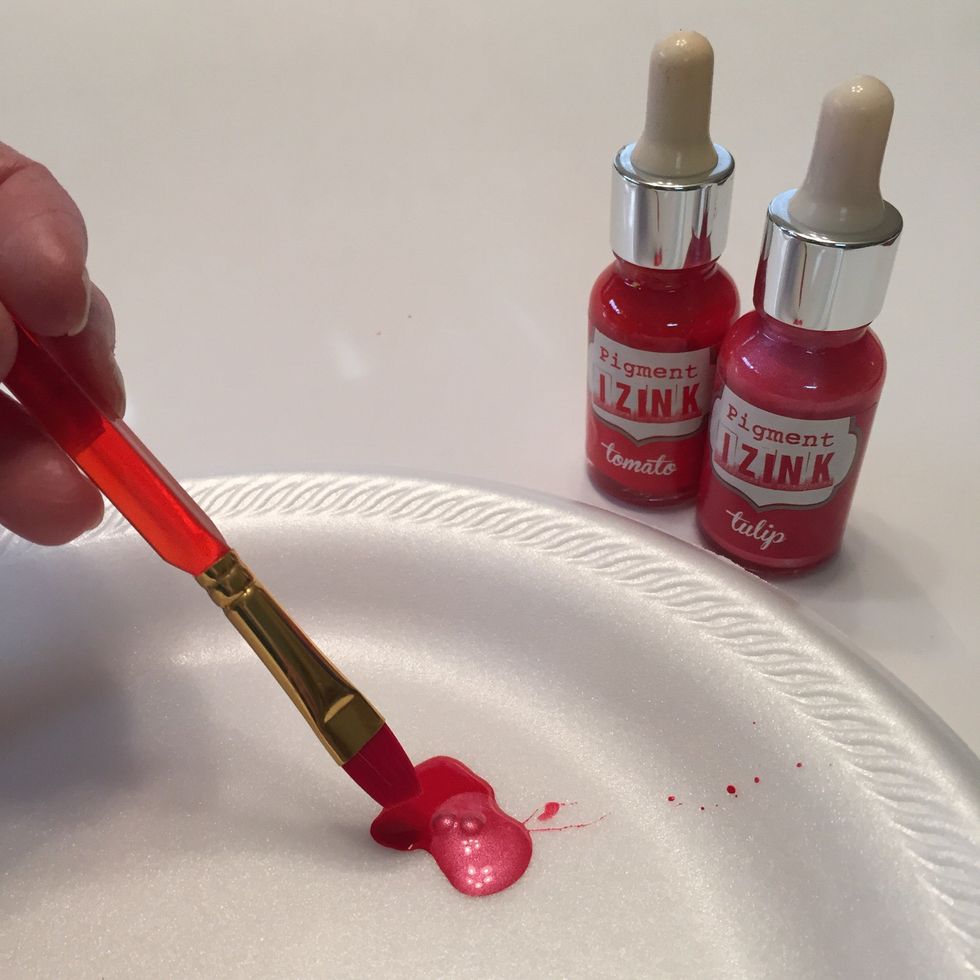
TECHNIQUE #2: using Design Adhesives and Designer FOILS to embellish chipboard letters. *** start by painting letters with a mix of Tomato and Tulip Izinks.
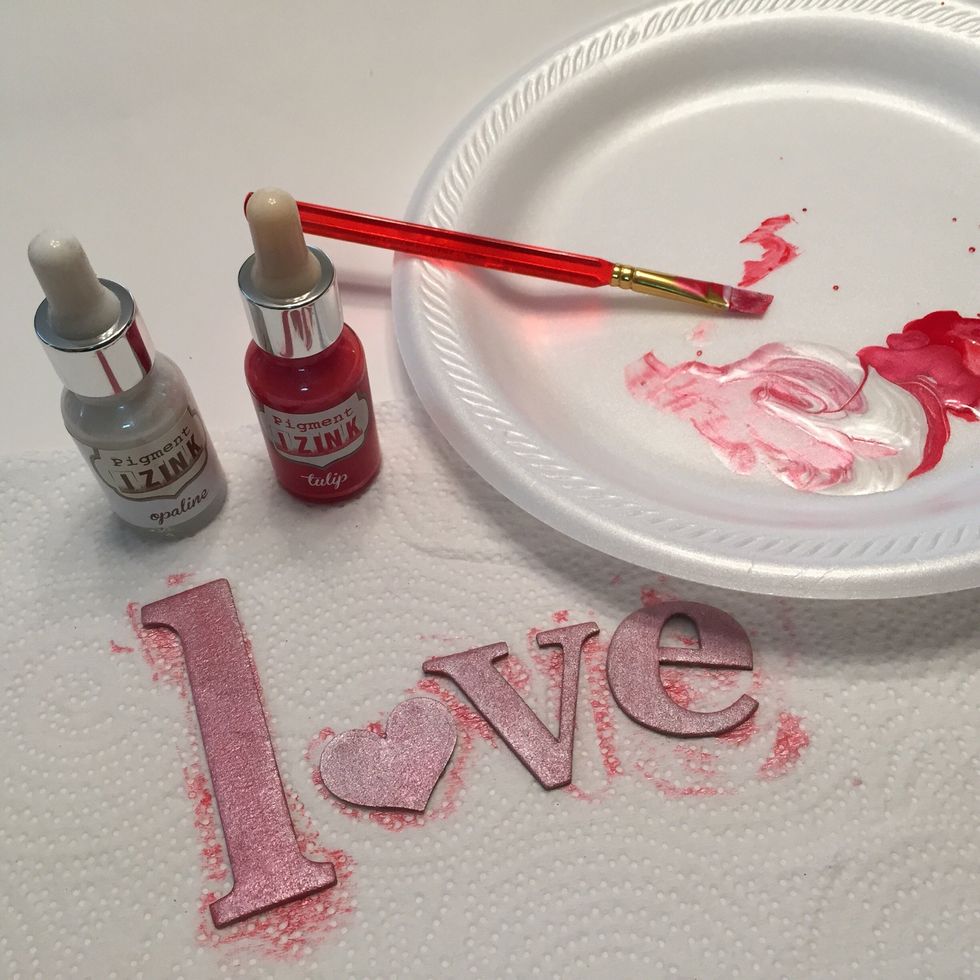
painted letters. set aside to dry COMPLETELY.
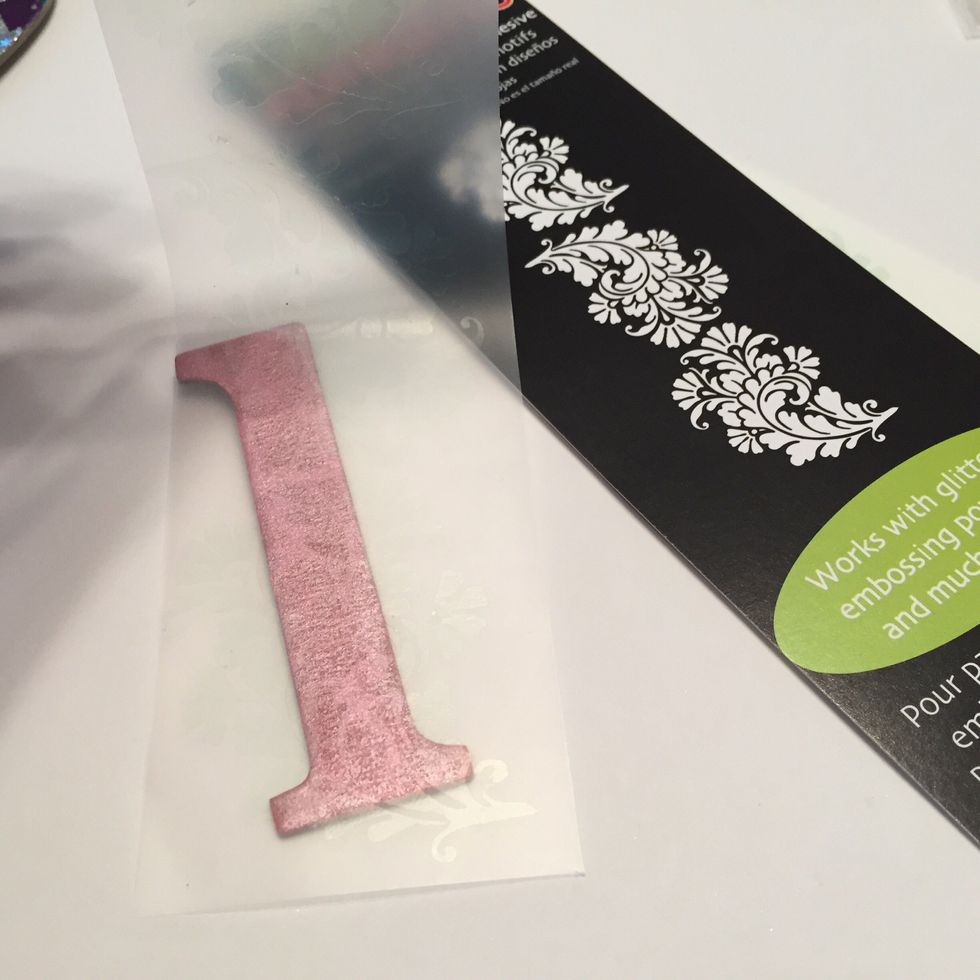
apply Design Adhesive over letters and burnish to transfer design.
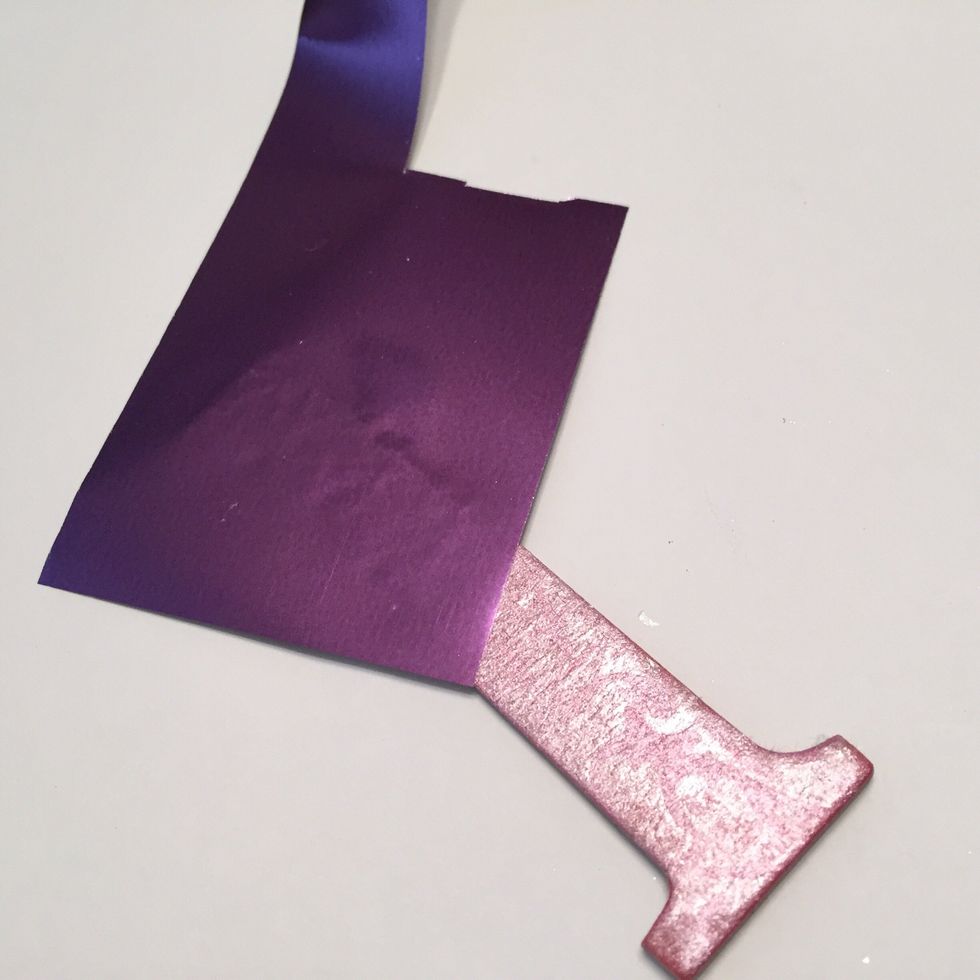
top with foil and burnish with finger or bone folder. move foil around until all designs on design adhesive are covered.
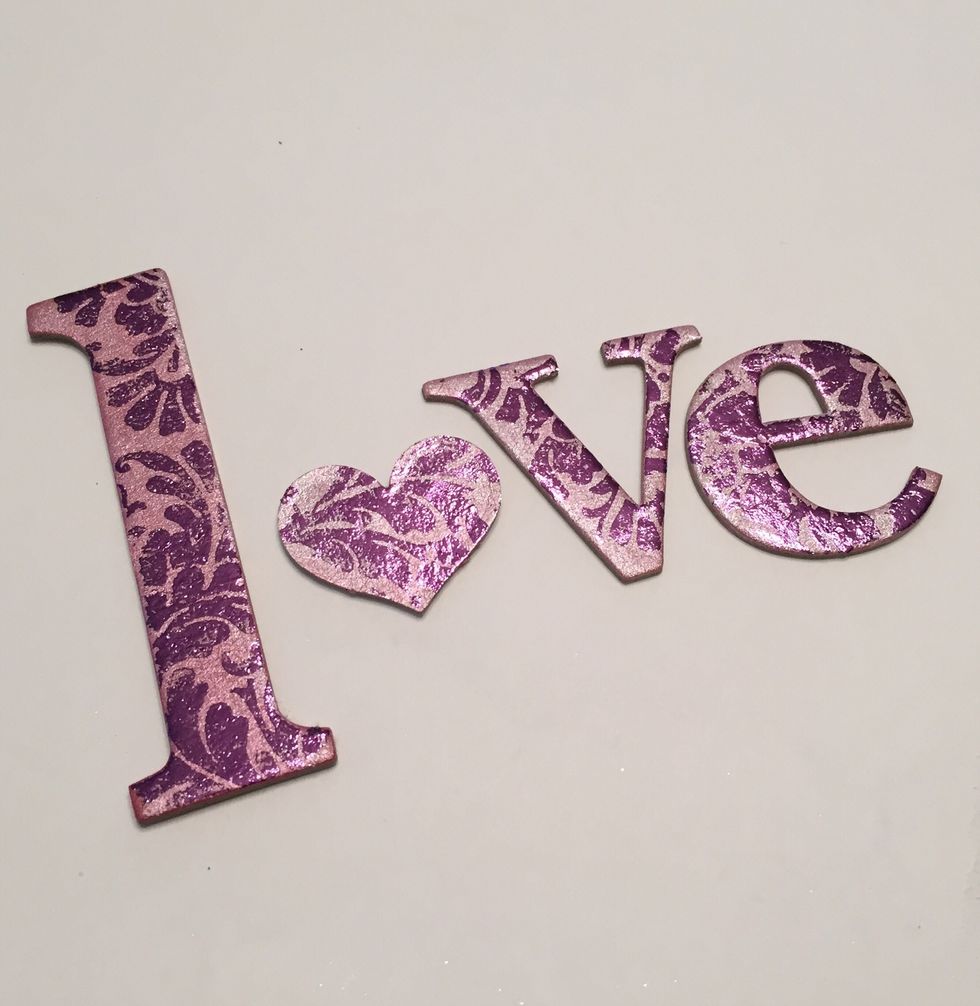
finished letters.
TECHNIQUE #3: use double sided tape to add plaid pattern to chipboard heart. *** use wide double sided tape to completely cover front of heart.
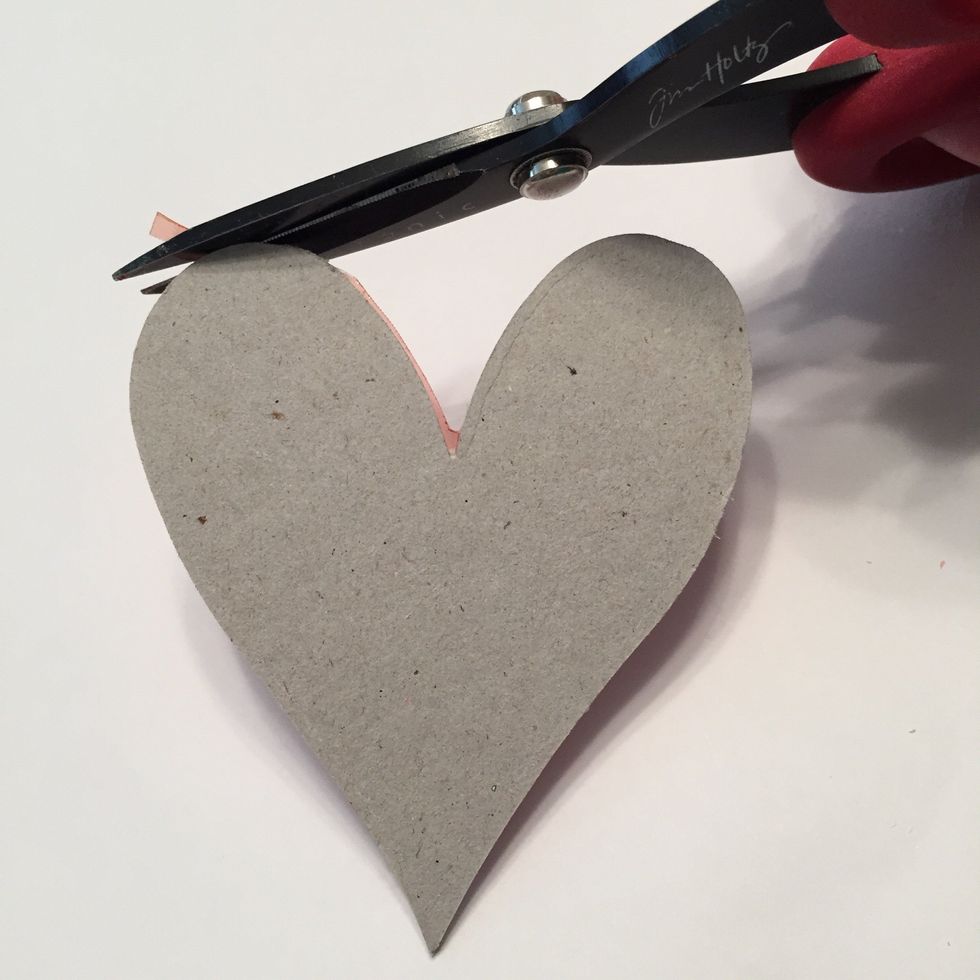
trim excess tape from around edges.
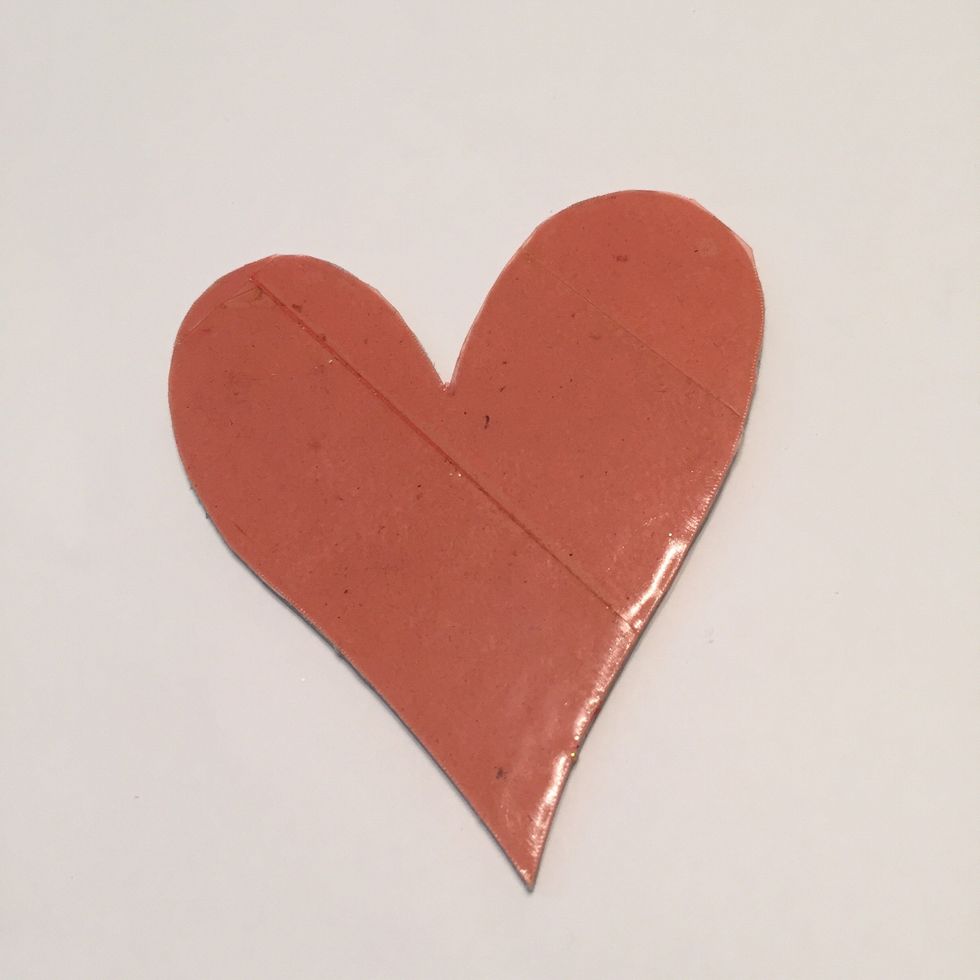
taped heart.
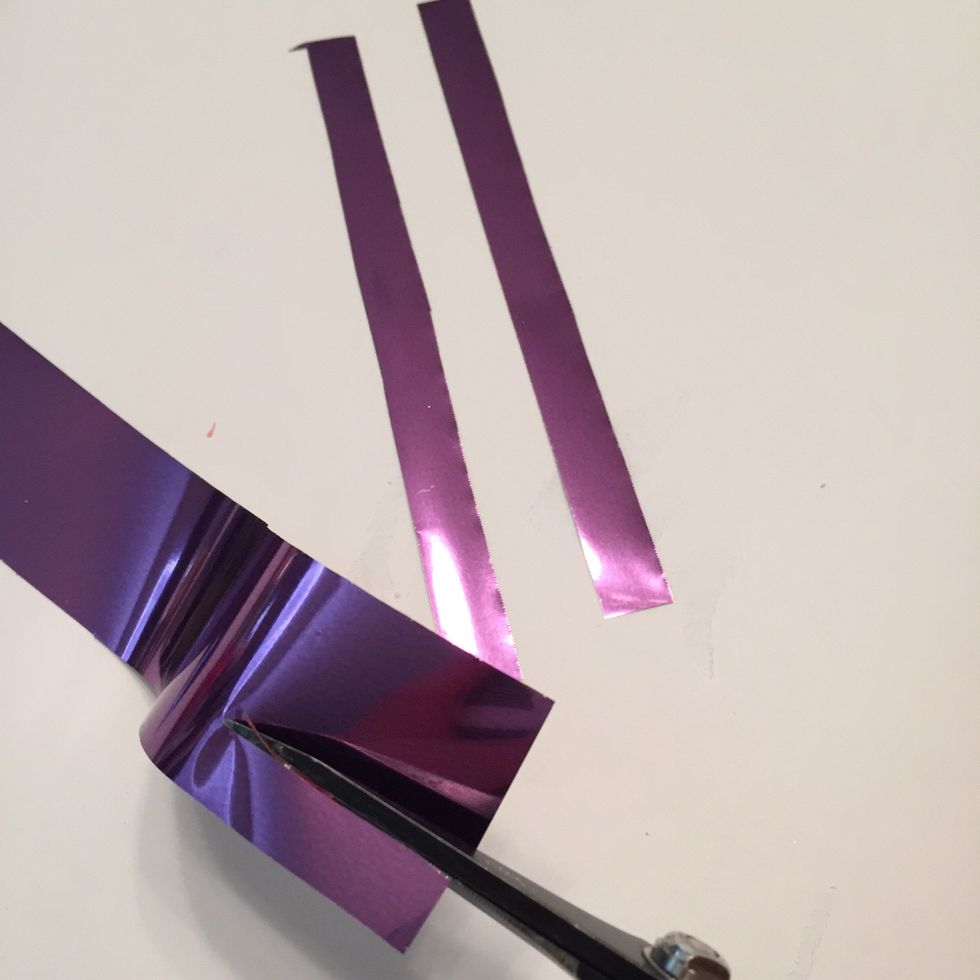
cut strips from Plum Crazy, Silver Fog and Lagoon Designer Foils, varying the widths.
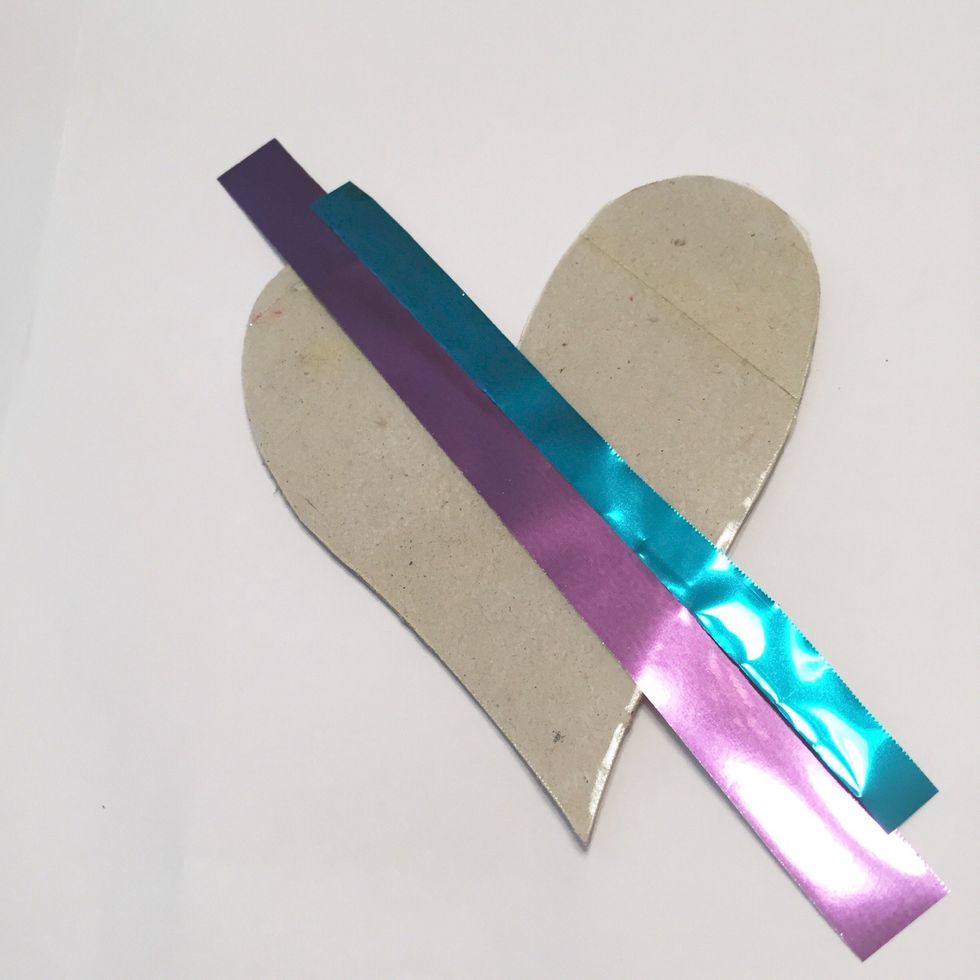
remove backing from tape and begin adding foils on a diagonal, slightly overlapping them at the edges.
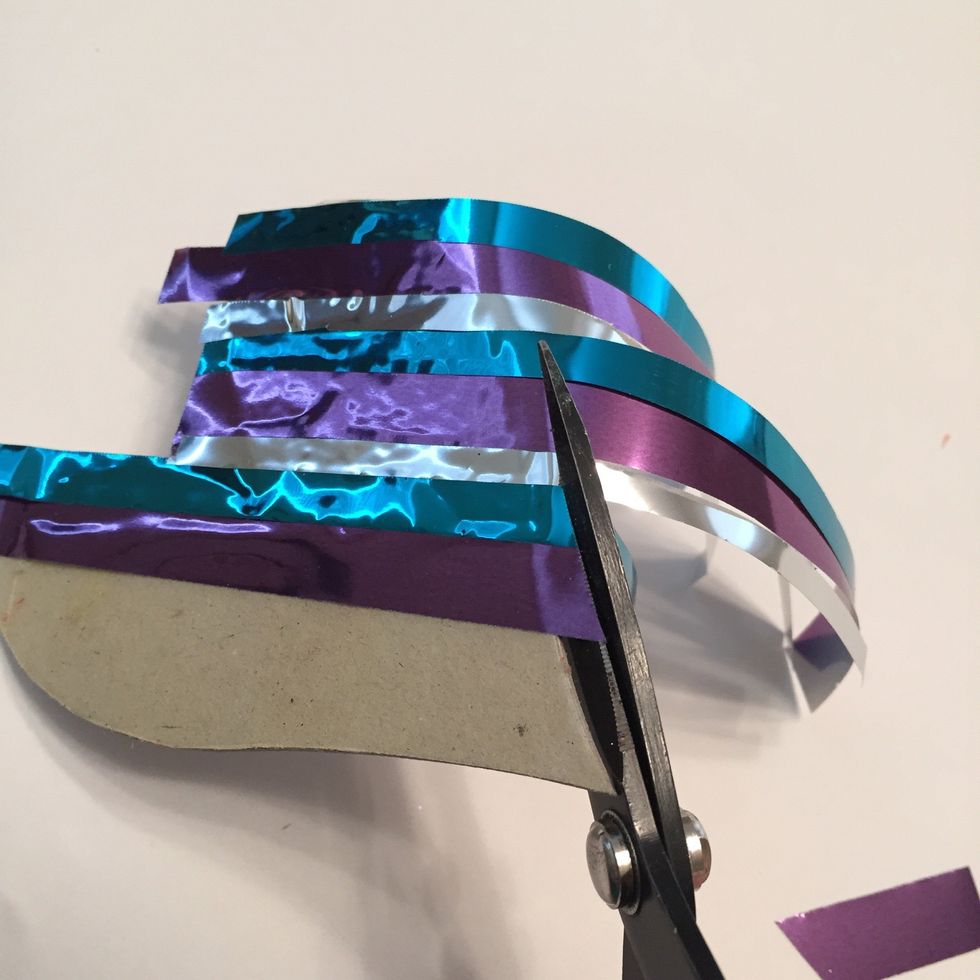
trim excess foil from edges and use to finish applying foil to heart.
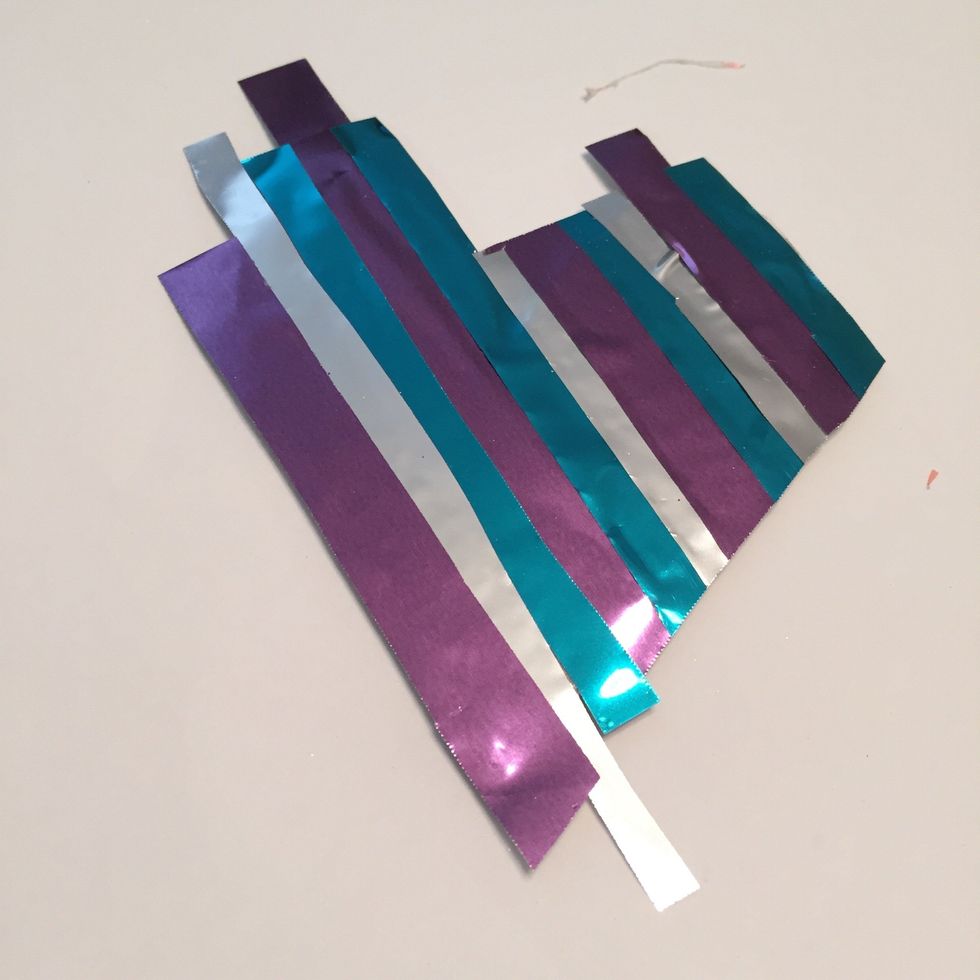
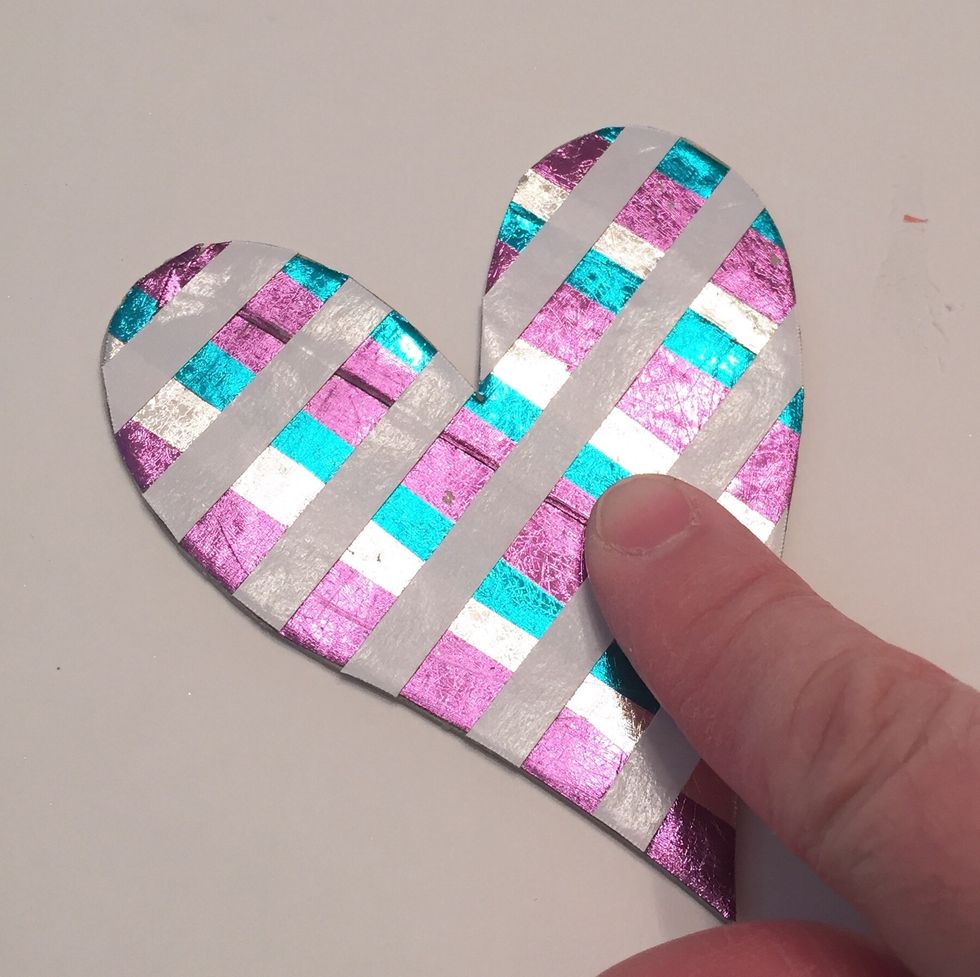
heart with foil strips applied.

burnish foil on with your finger or a bone folder.
remove backings to apply foils.
trim excess foil from edges.

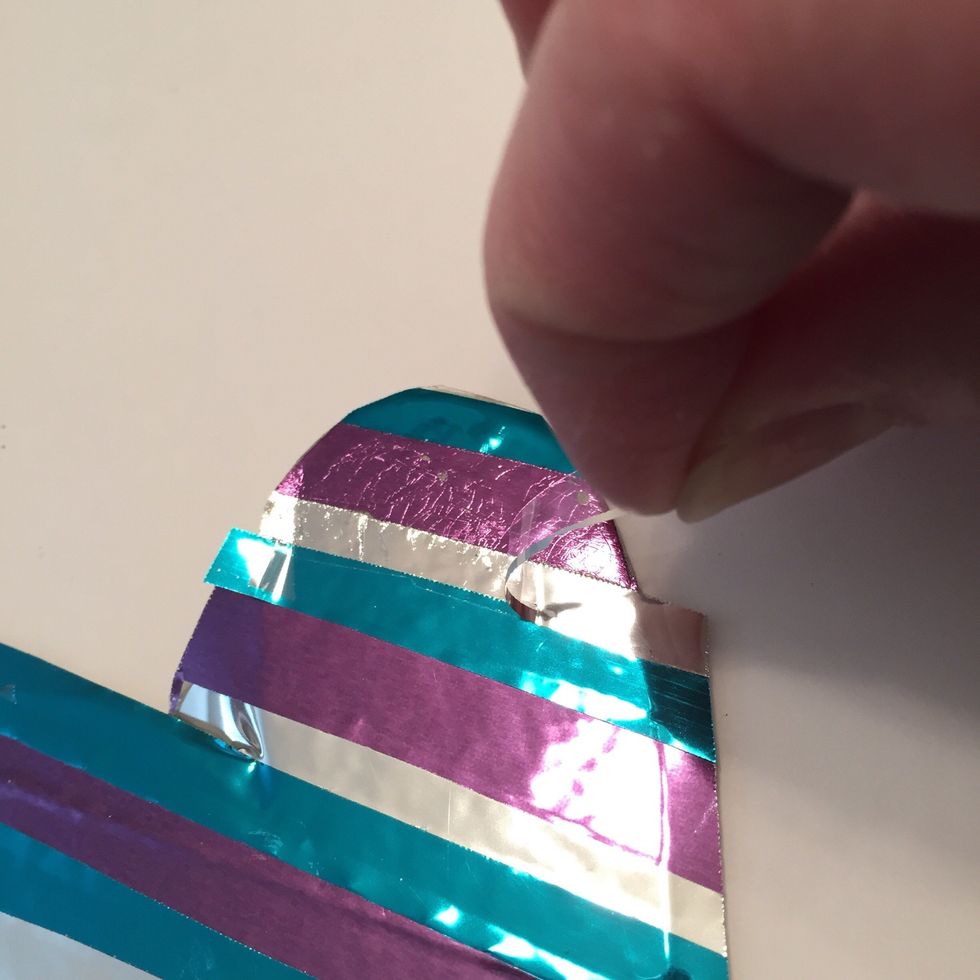
apply strips of a narrow double sided tape diagonally in the opposite direction of the first strips.
be sure that double sided tape in applied completely.
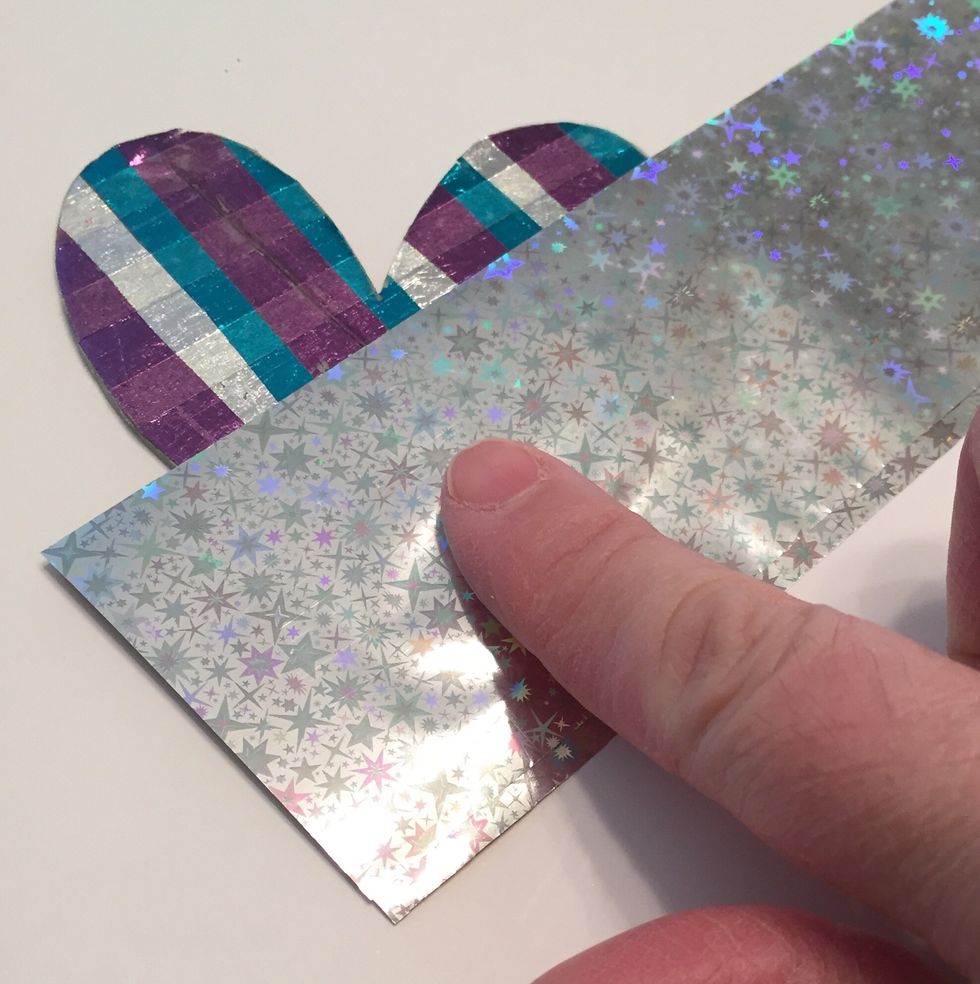
remove backing from tape strips and apply Winter Sky Foil over them, burnishing it on using your finger or a bone folder.
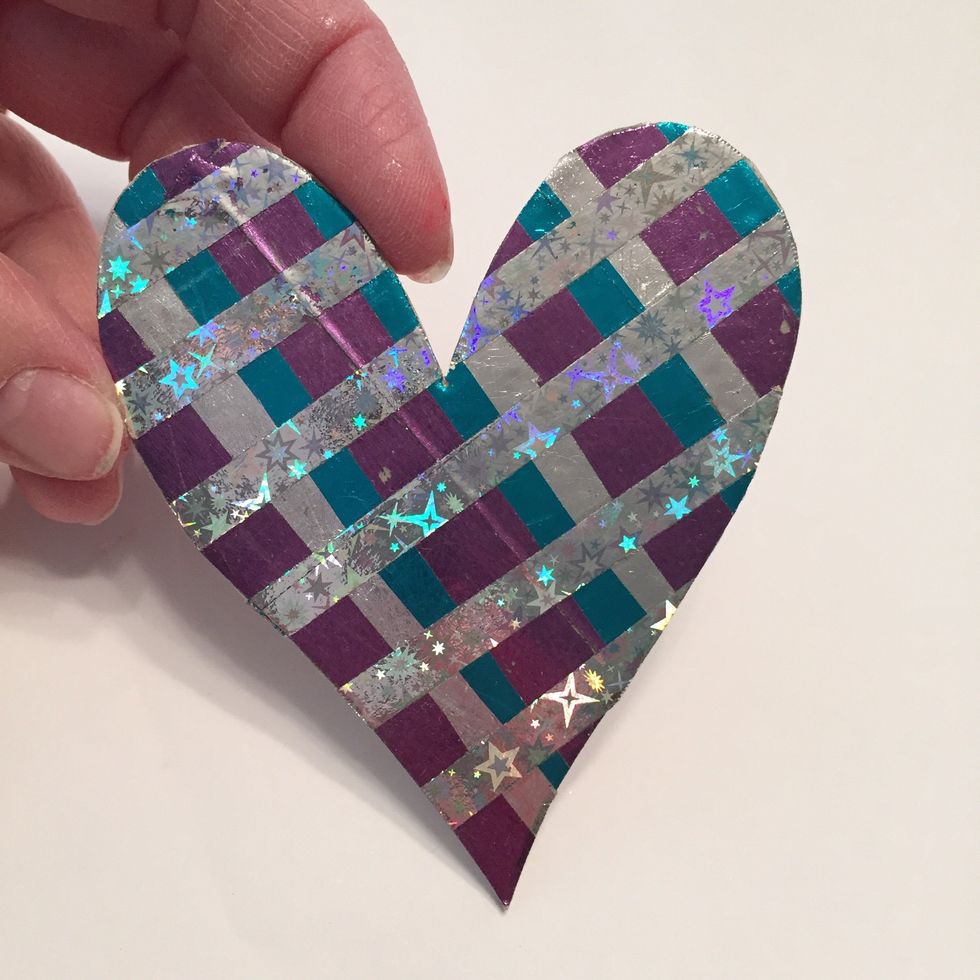
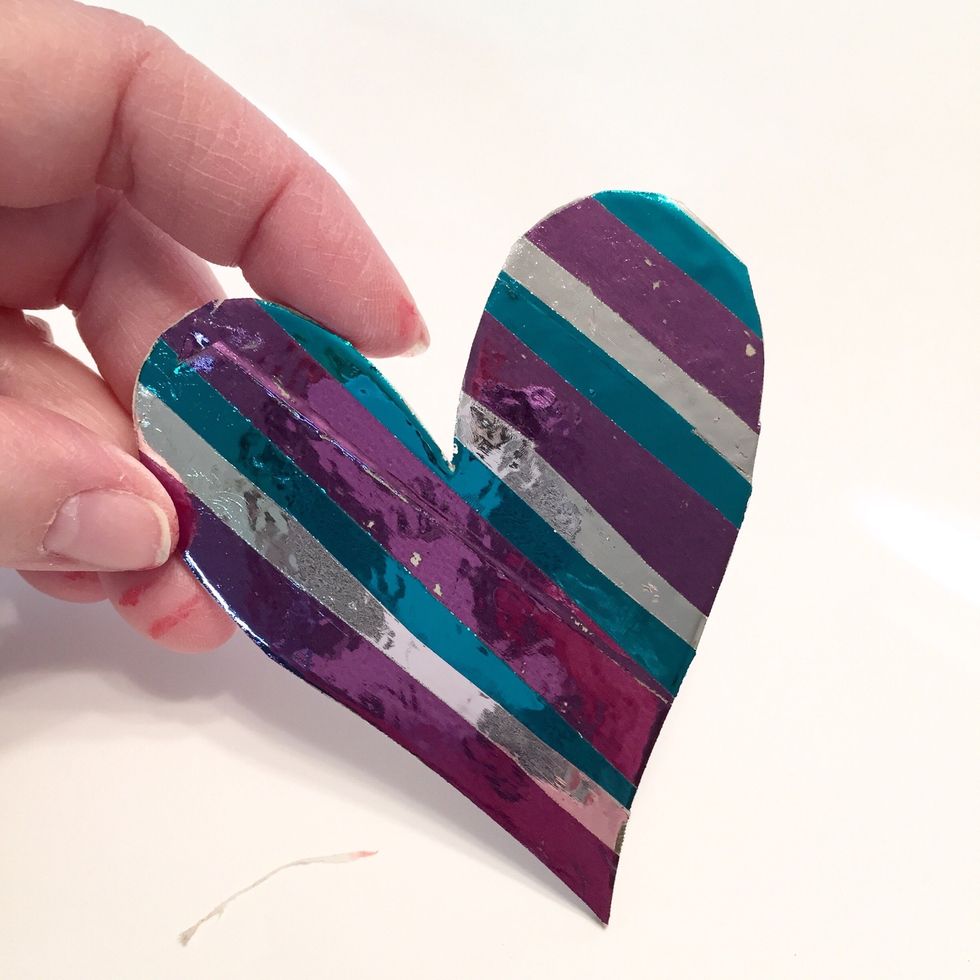
finished plaid foiled heart.
another snapguide shows you how to embellish a frame using the foiled "love" letters: https://snapguide.com/guides/make-a-foil-accented-frame-for-valentines-day/ *** www.tamisanders.com