The Conversation (0)
Sign Up
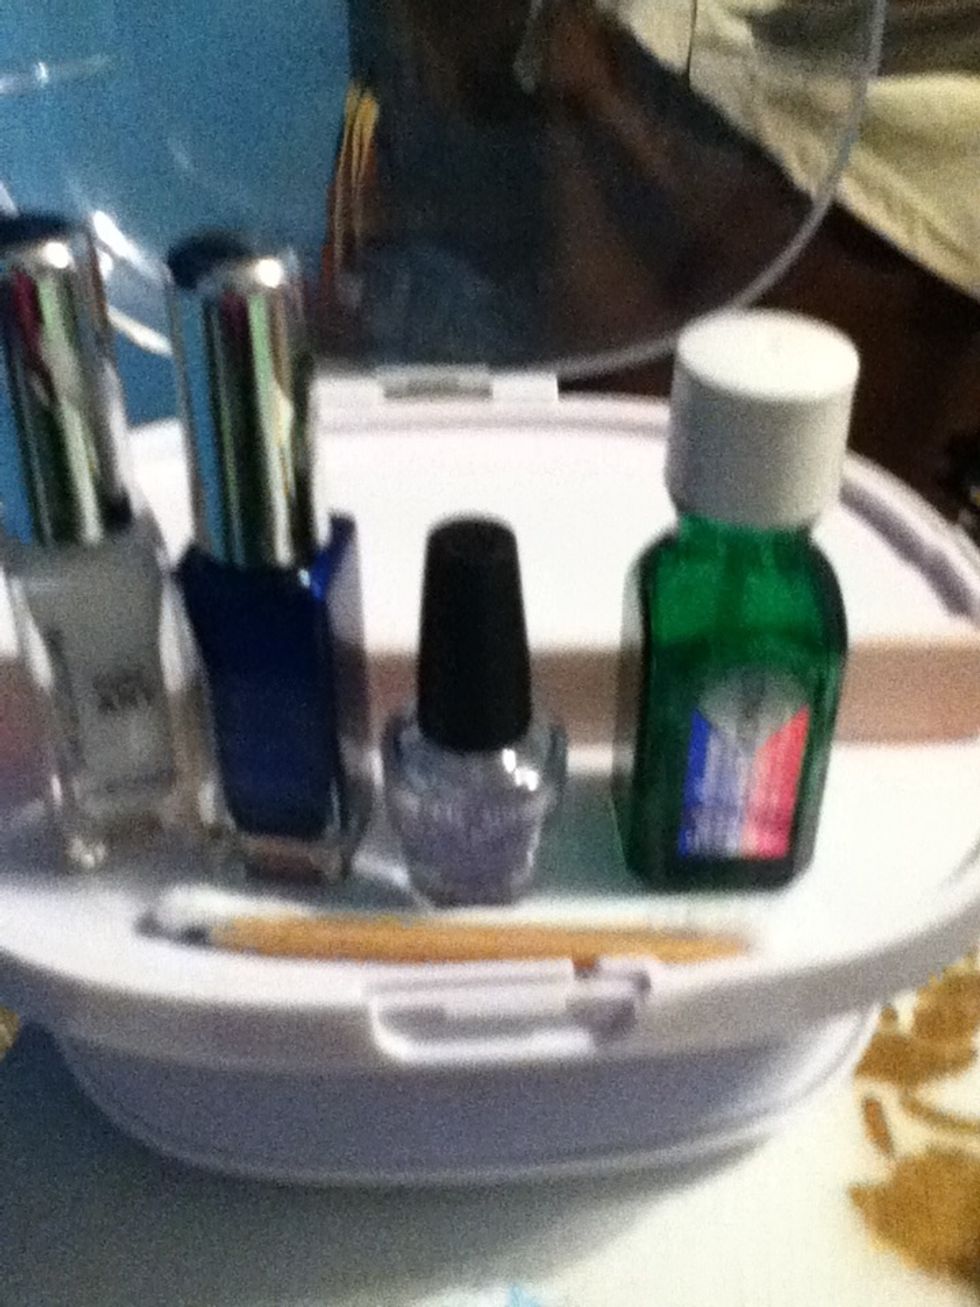
All the supplies you need
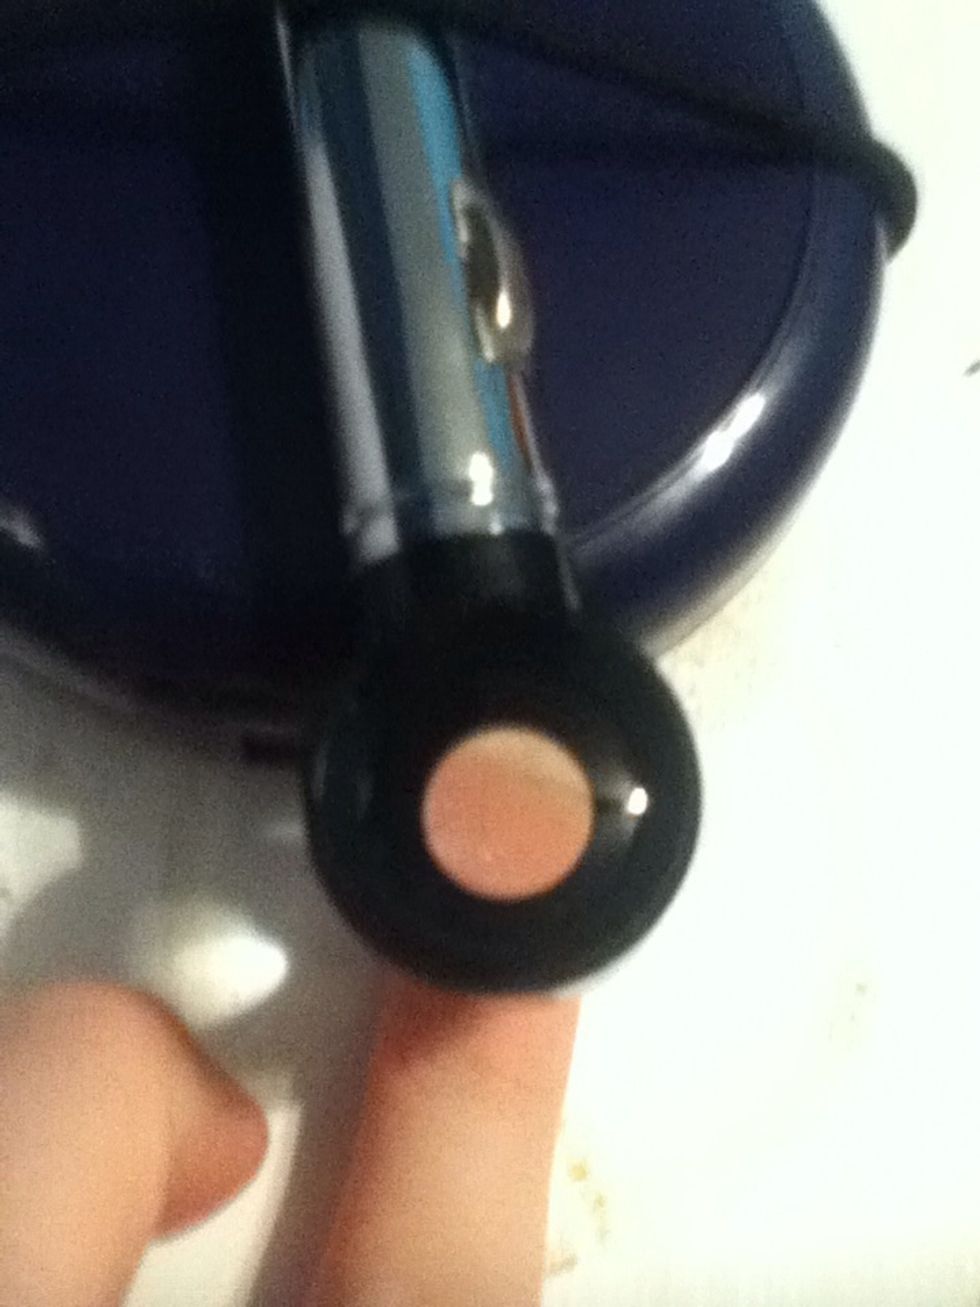
This my magnifying station to make detail work cleaner and easier, you might want to use a bigger magnifying glass.
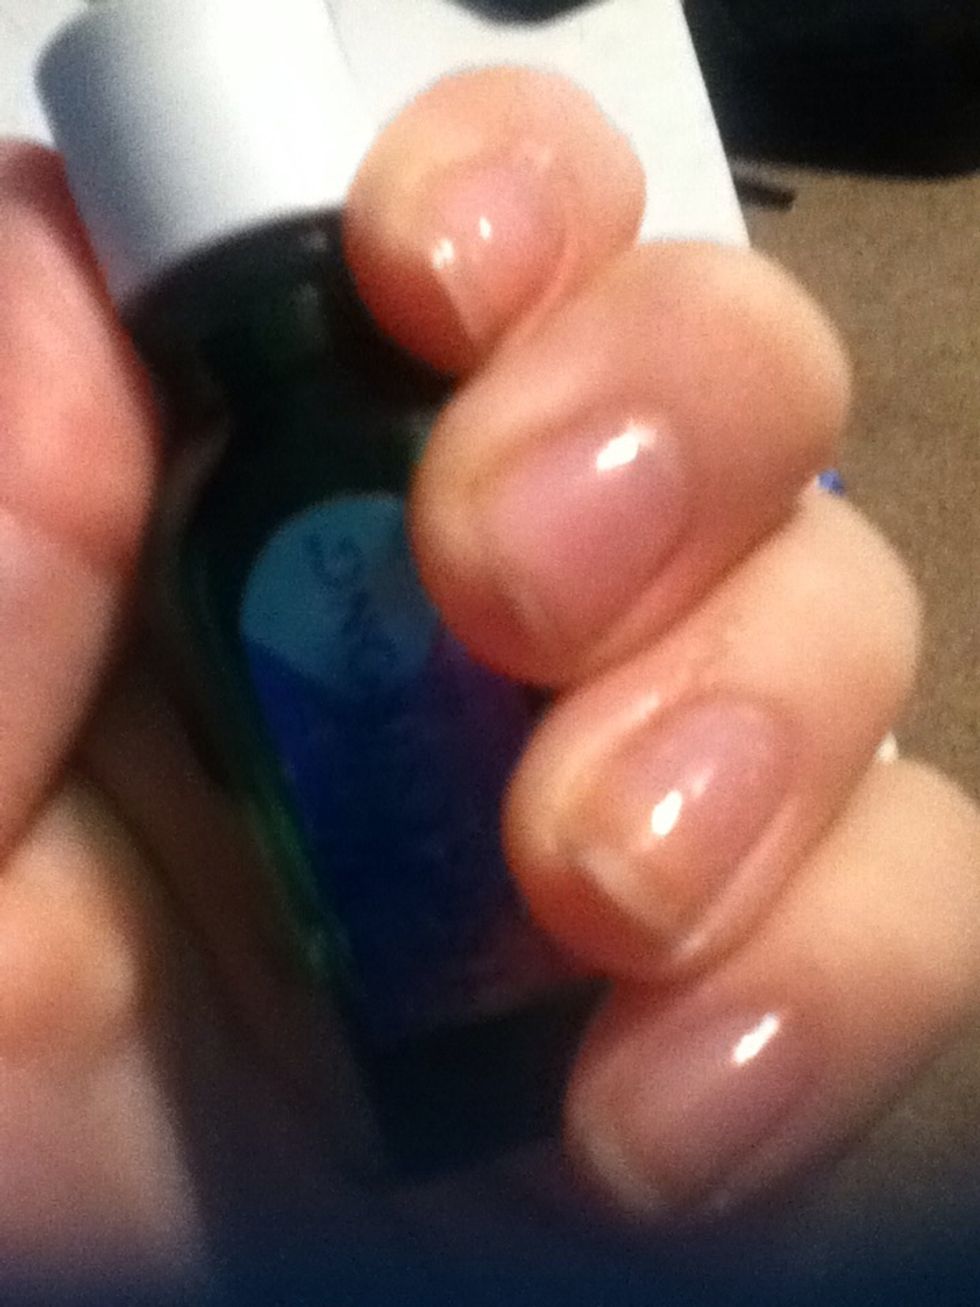
I have already filed my my nails and put on nail strengthener. You can use clear coat or colored polish.
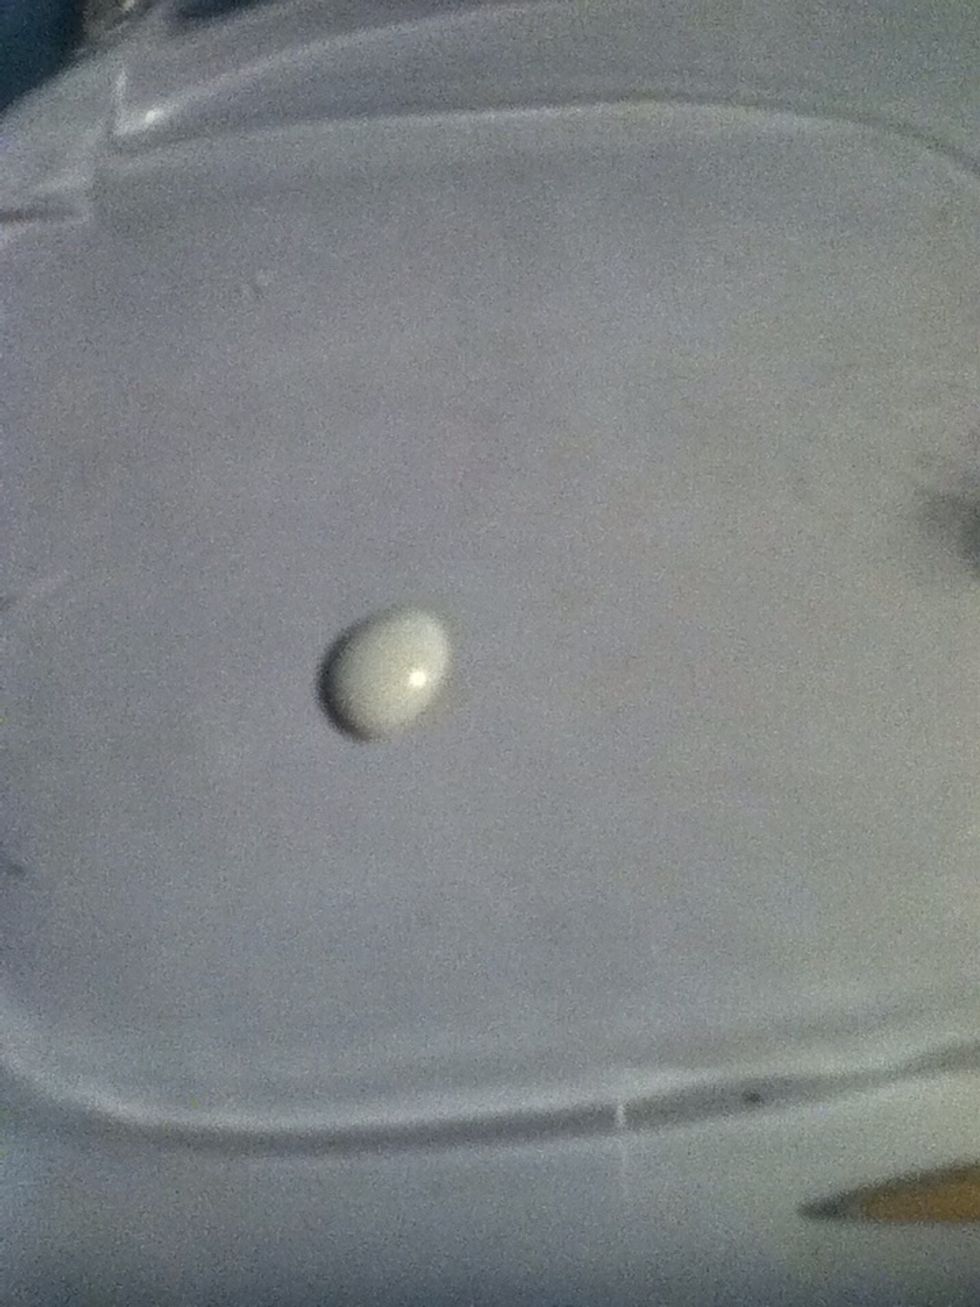
Get the "middle of your flower" color ready
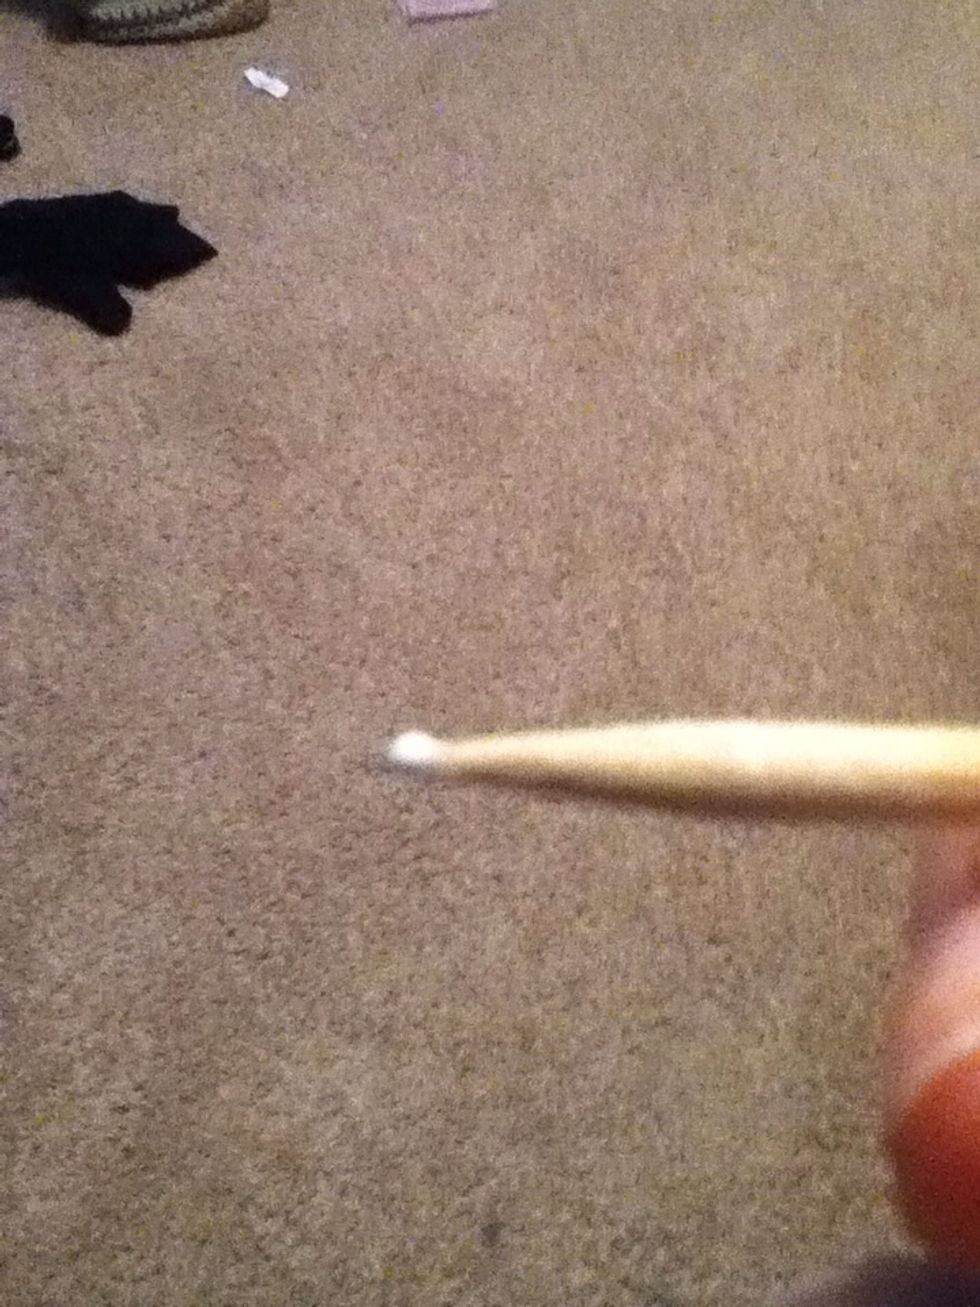
Pick up some of it on your designer stick
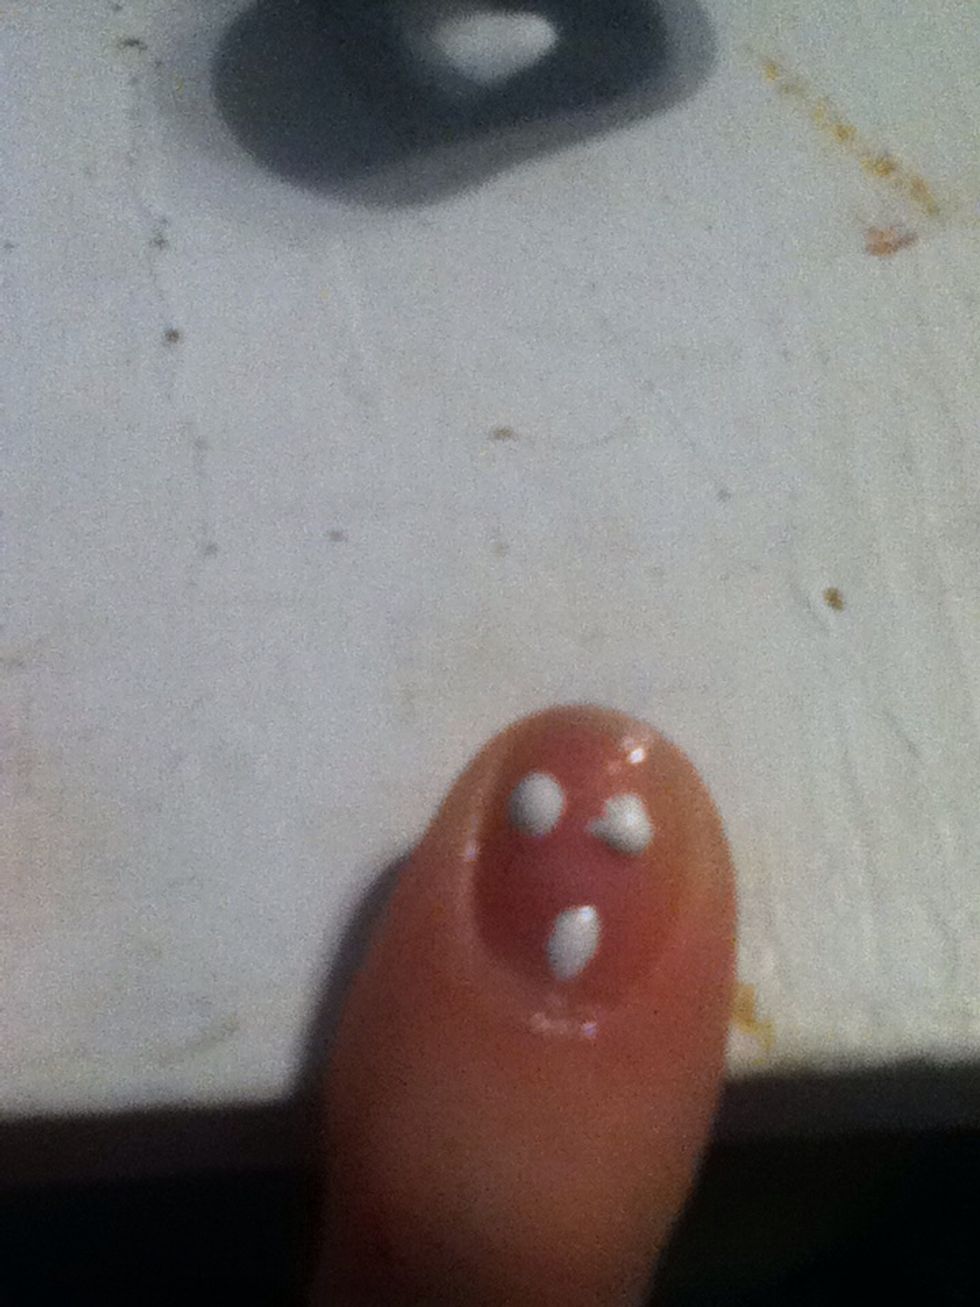
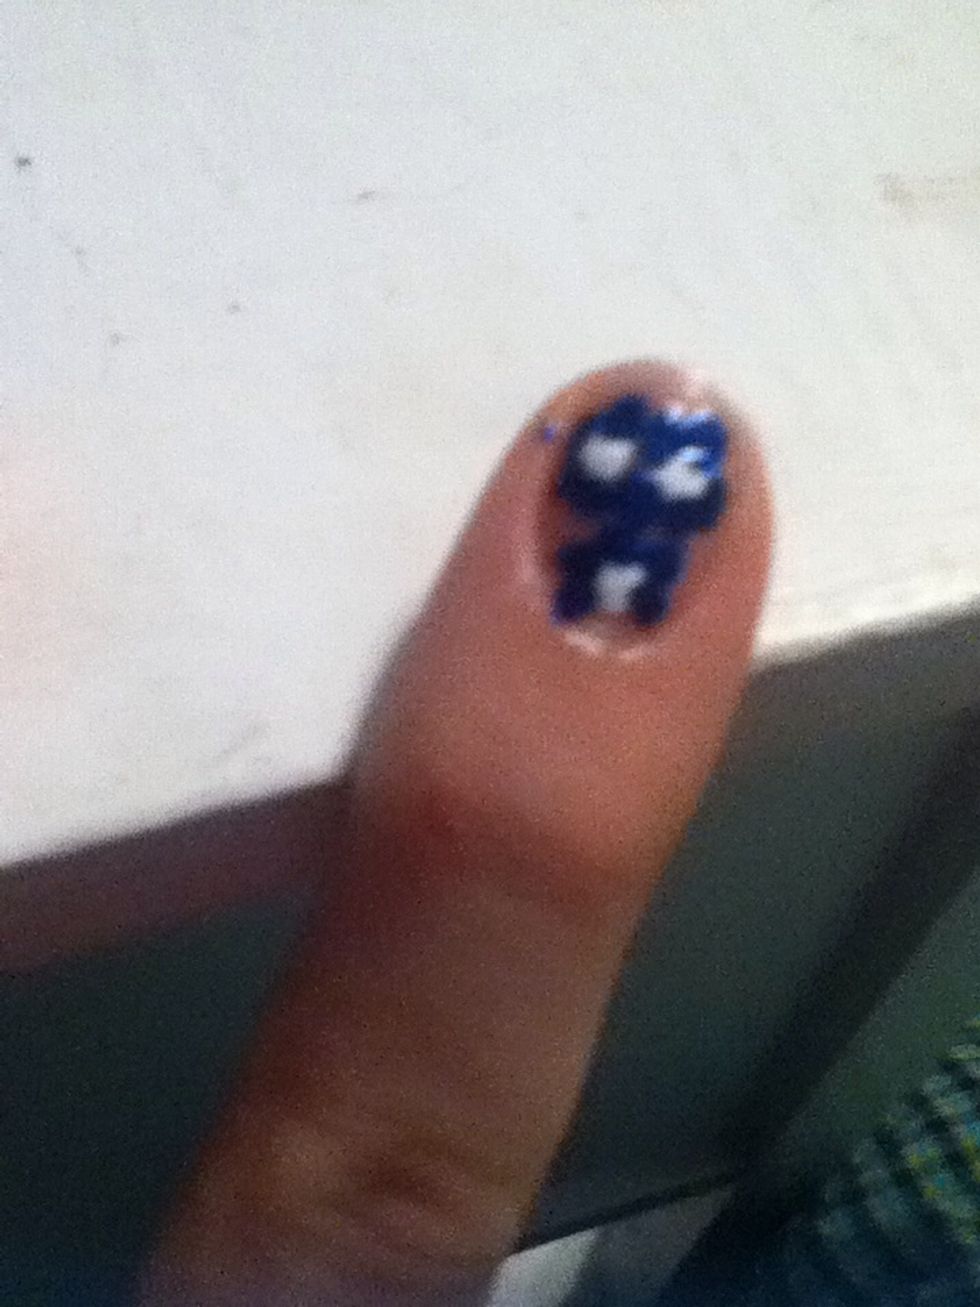
Apply to your finger. I wouldn't put them as close as I did
Finish hand and dry almost completely.
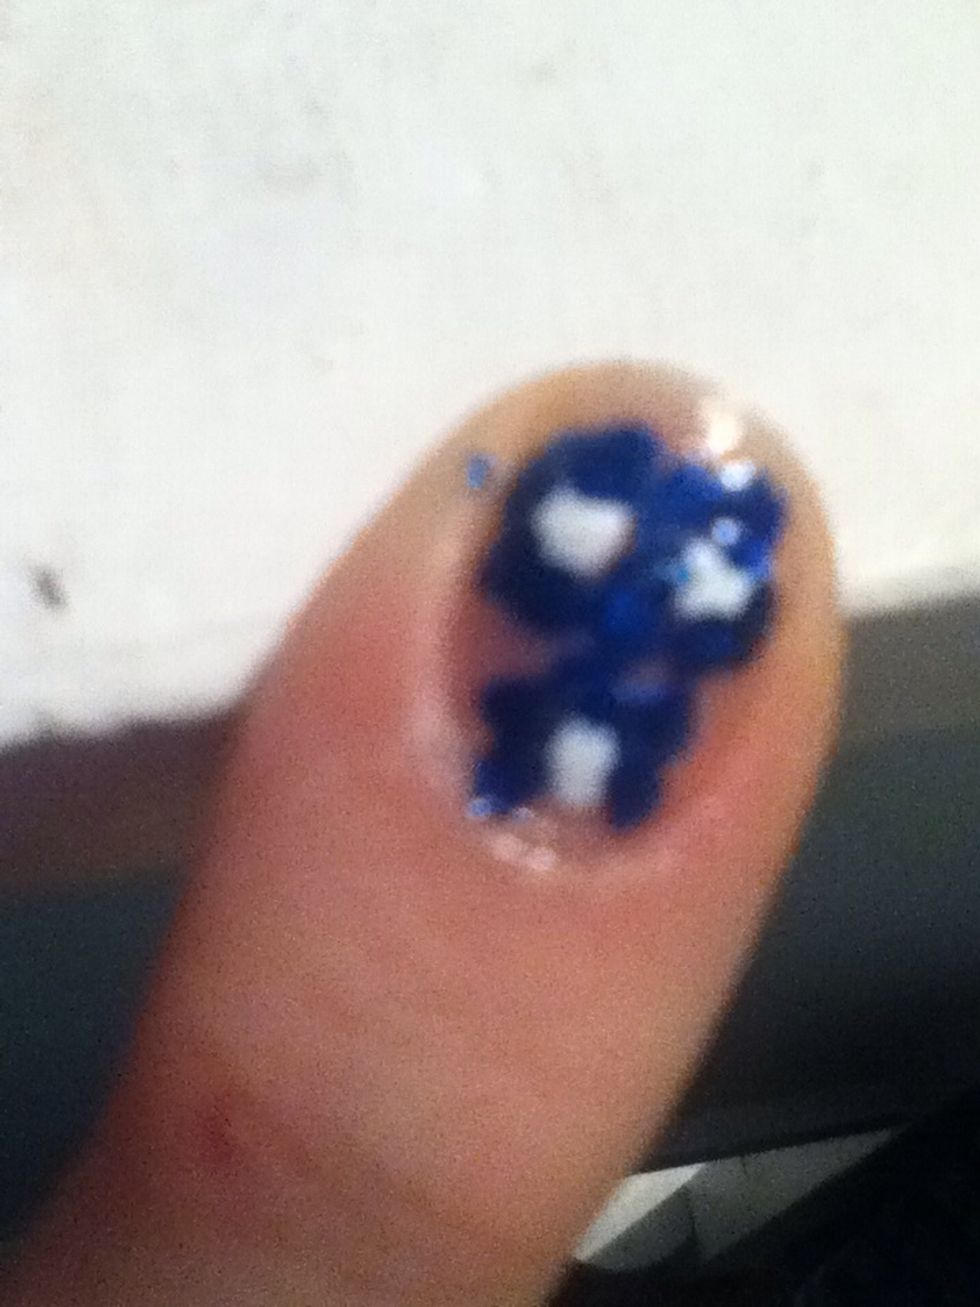
When it is still squishy to the touch but not wet, press down each dot with your finger
Get the petal color ready
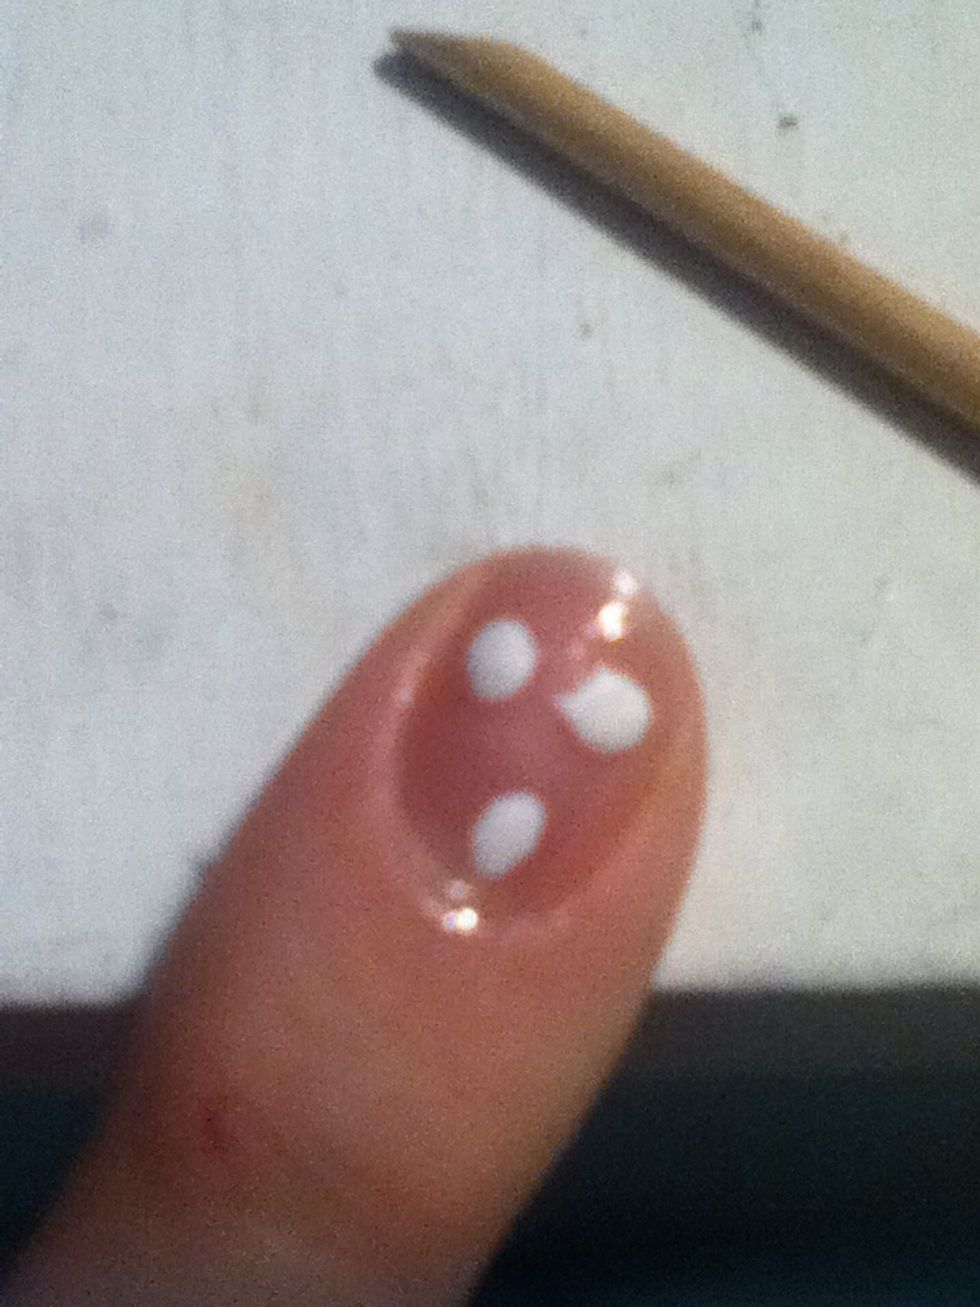
Add dots around your the center
Take a toothpick or your nail design stick and blend petals around center of the flower
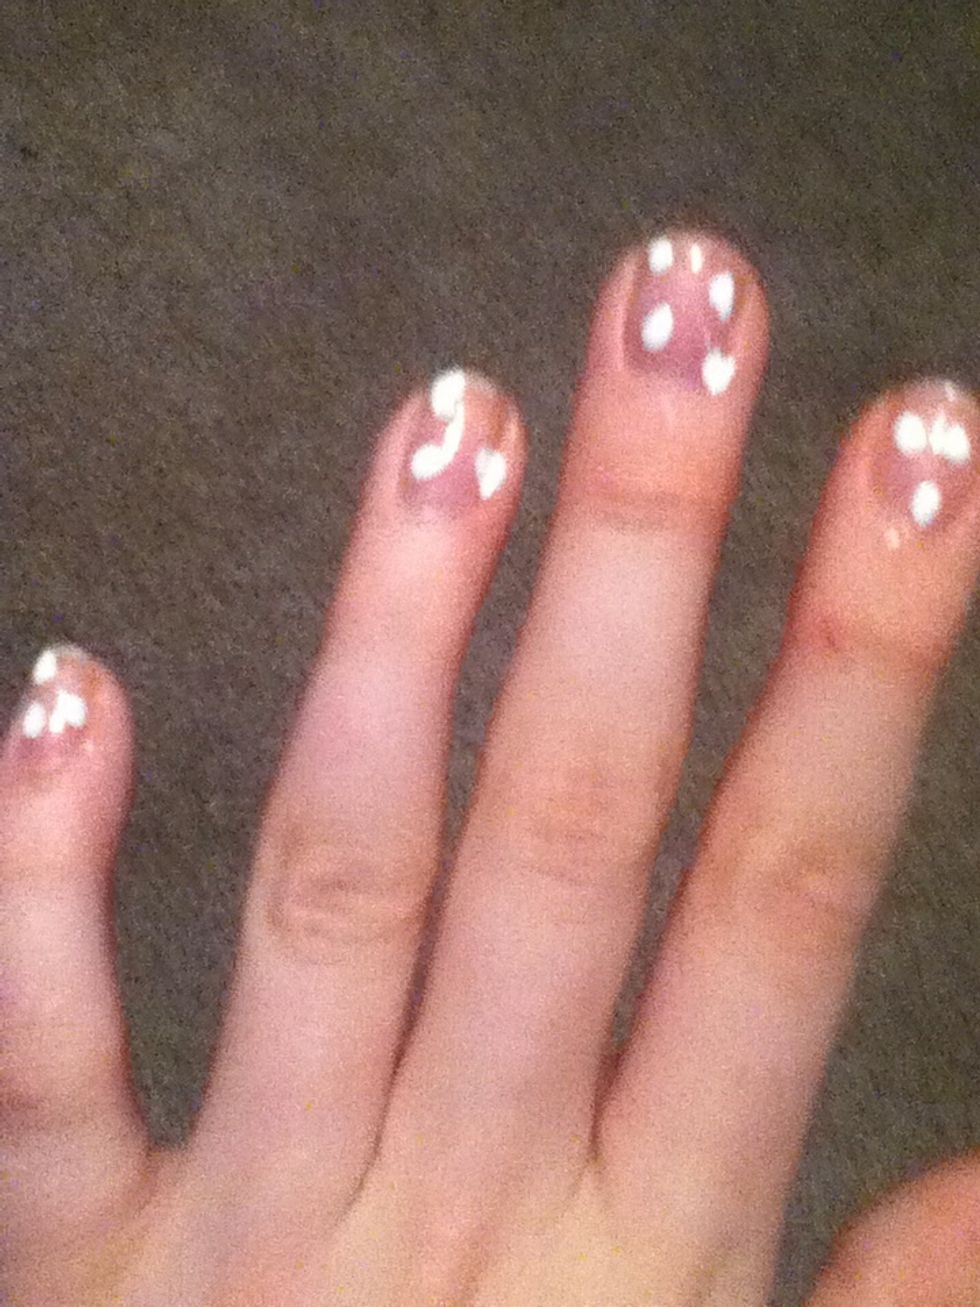
Repeat last 2 steps for whole hand
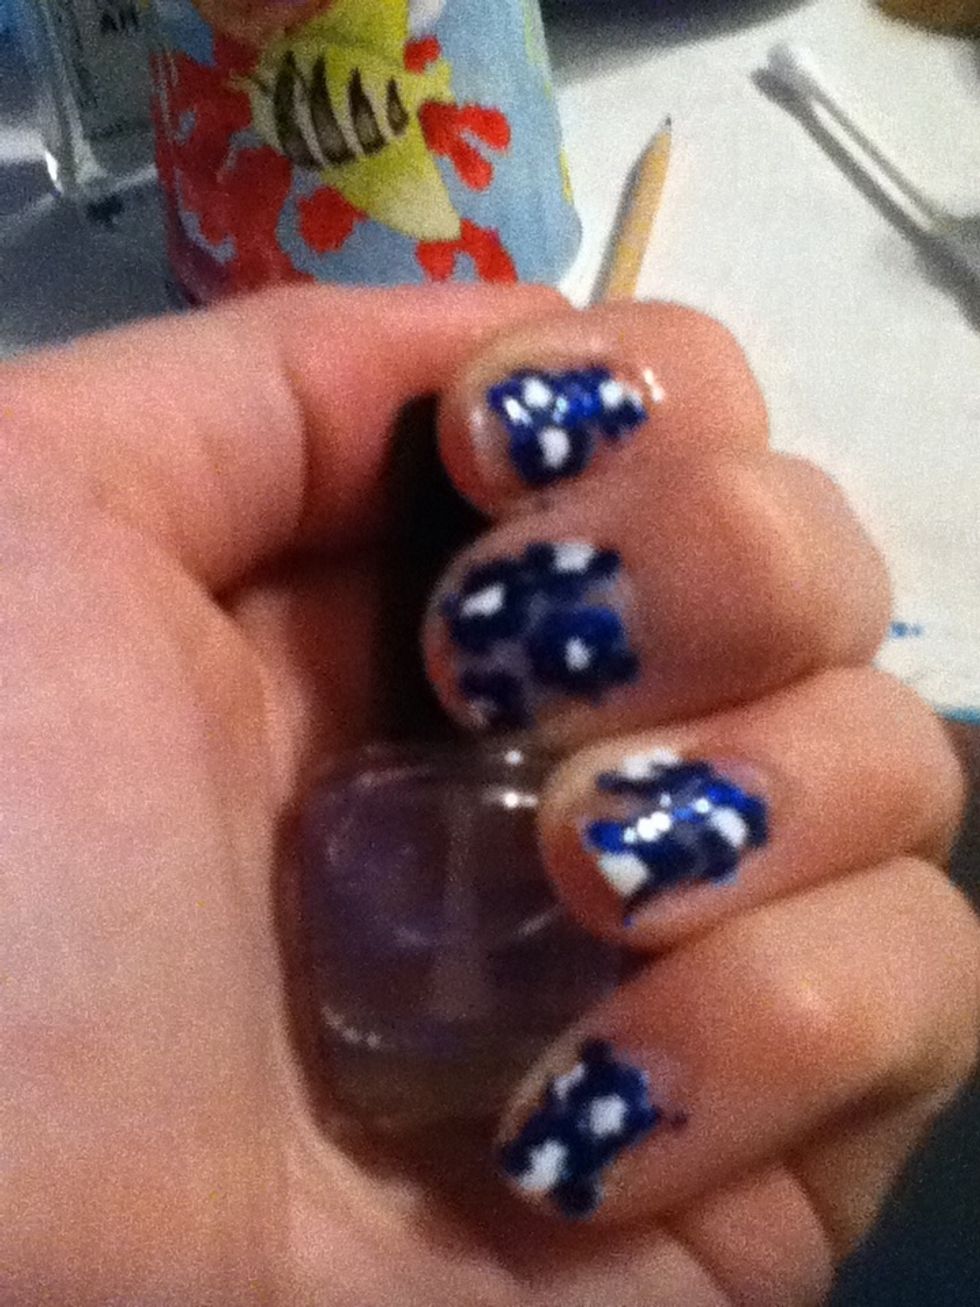
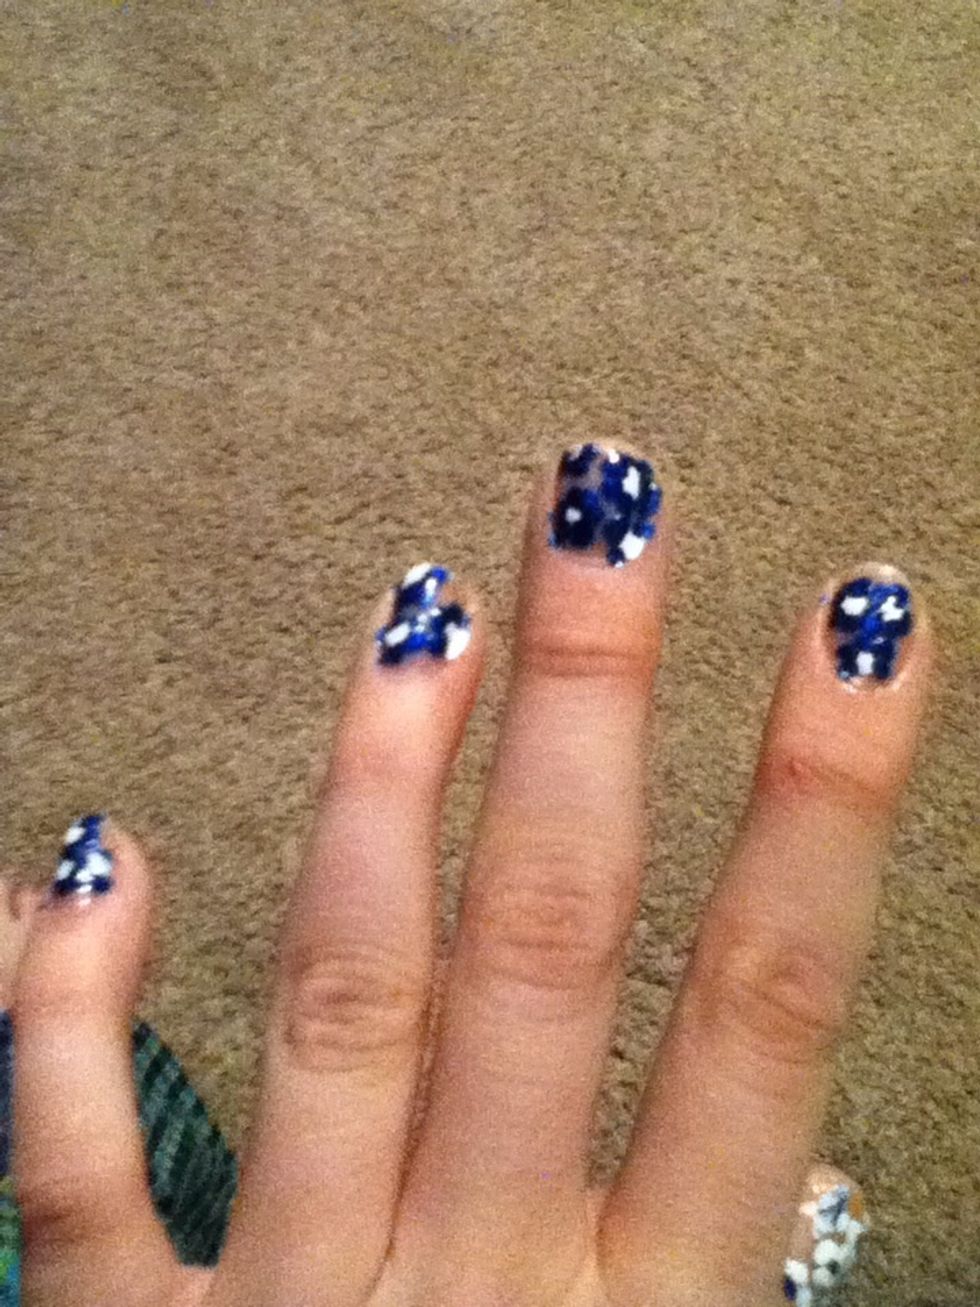
Apply a clear coat to top

All done. I made my thumb reverse colors. Feel free to experiment with different options. Happy Painting! :)