The Conversation (0)
Sign Up
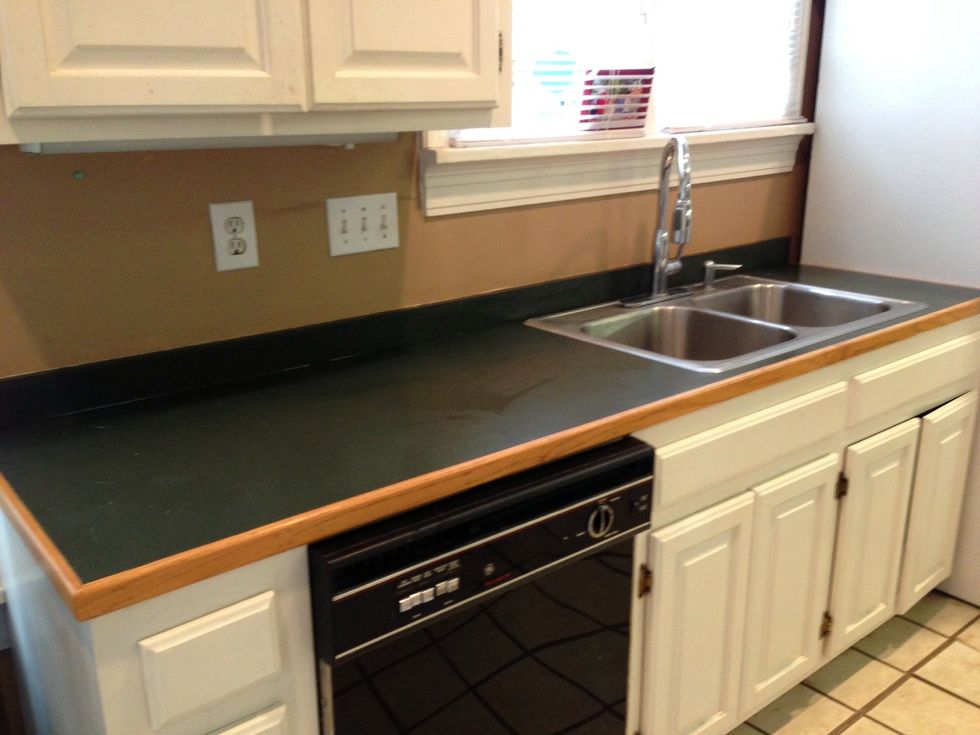
Counter before the project began!
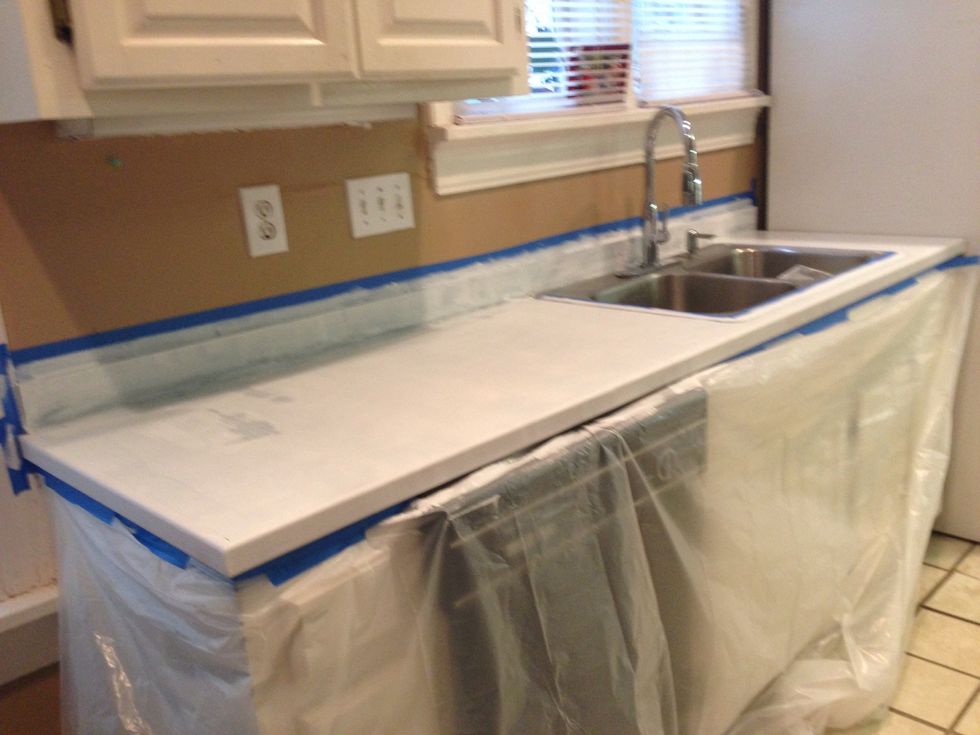
Protect everything with plastic sheeting and painters tape. Apply bonding primer. Using bonding primer eliminates sanding altogether
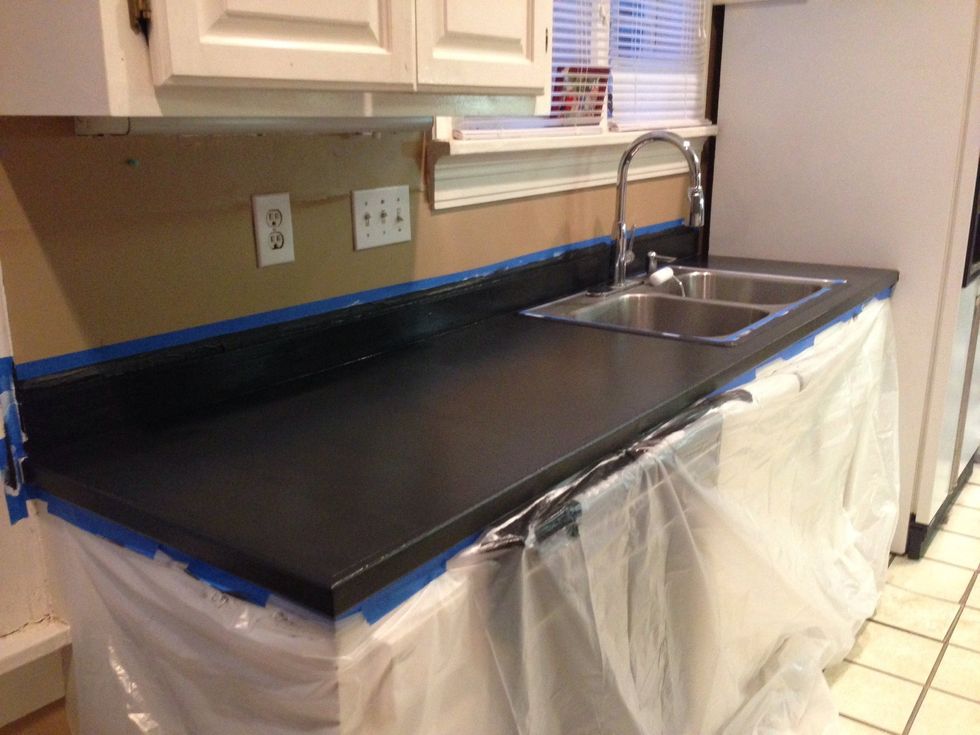
Paint entire area your color of choice. I used valspar tuxedo tie in flat. I applied 3 coats after letting each coat dry first
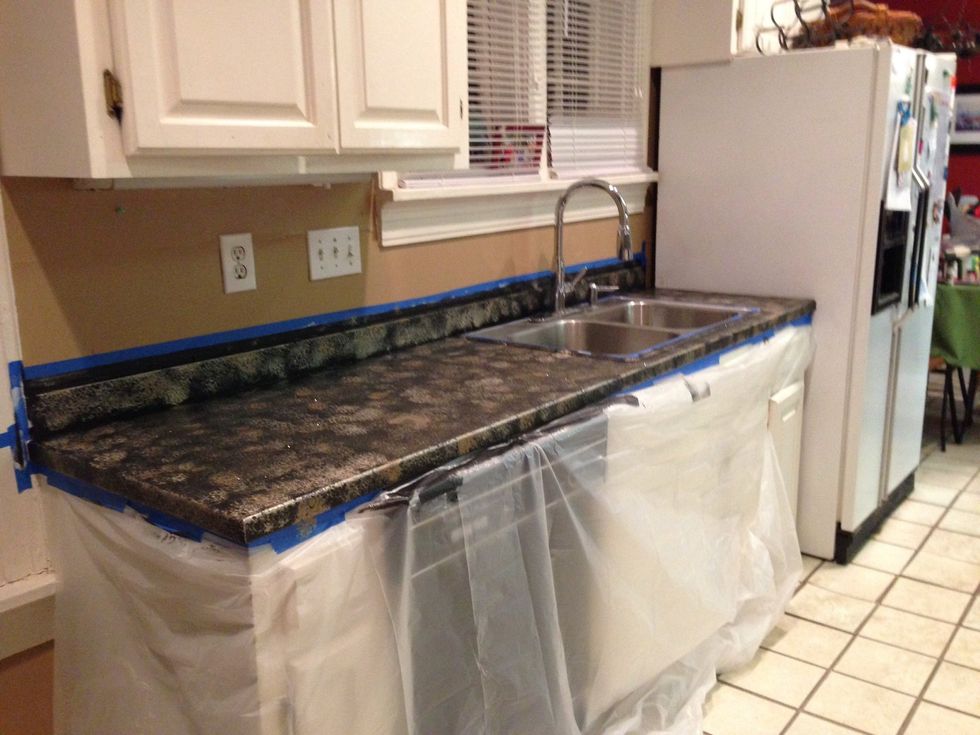
Next sponge on your accent colors. I bought two similar metallic golds. They were the little bottles for $1.87 at Hobby Lobby in the acrylic paint section. You'll use an actual sponge for this

After your accent colors dry, sponge on the original color you painted the entire counter in (tuxedo tie for mine). You can go as light or as heavy as you want with this.
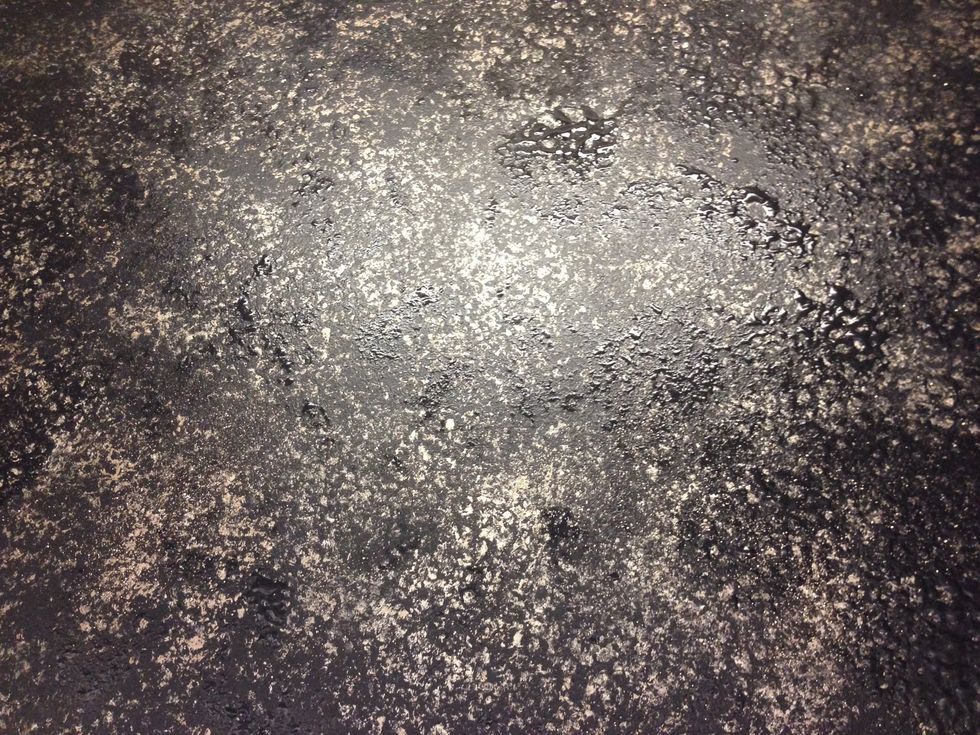
It's hard to see, but I sprinkled champagne colored Martha Stewart glitter on the black sponged paint while it was still wet. It catches the light and makes it sparkle
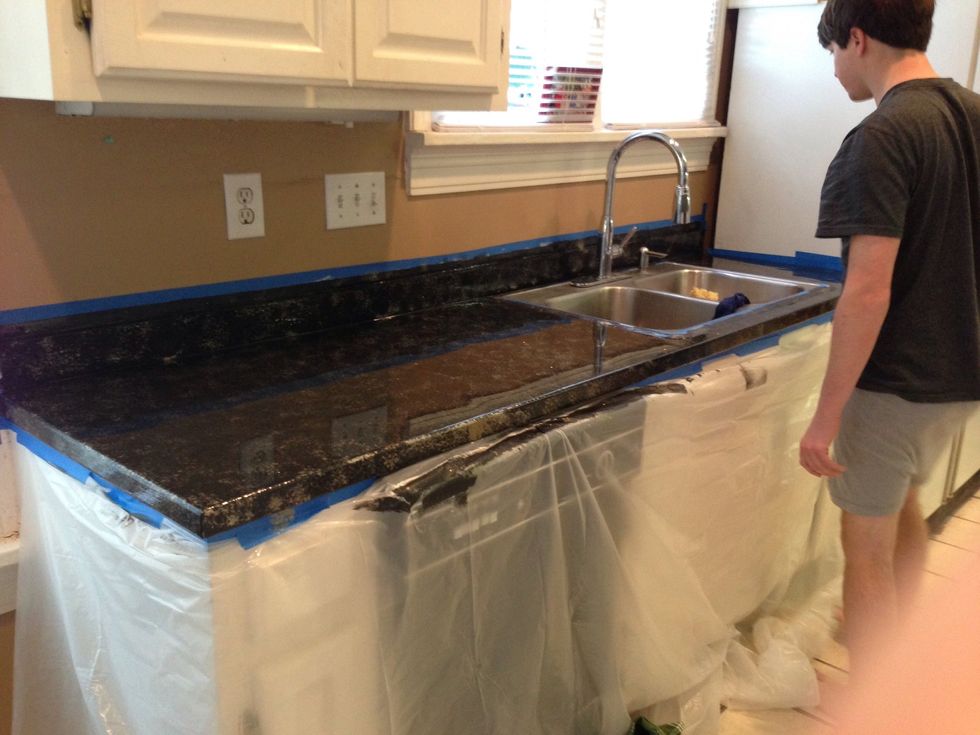
Last you mix and pour the polyurethane. It's super sticky and kinda hard to see where you pour, but it's so worth it! Just make sure you cover everywhere completely where you want it. Dbl check!
Let it dry for 3 days before putting anything on it or using it

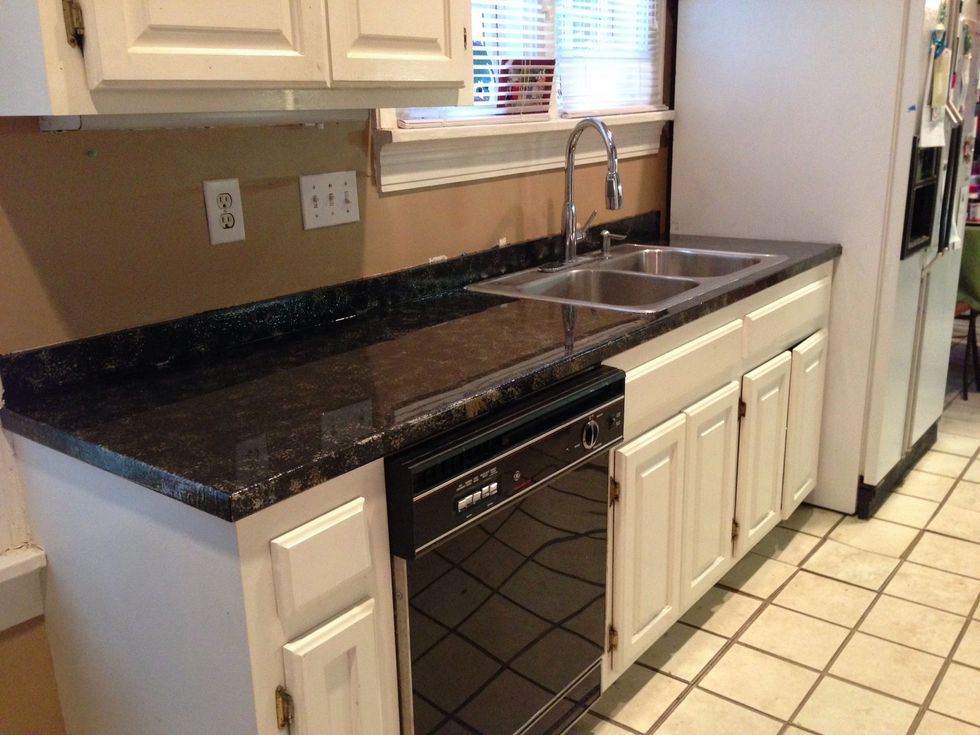
Final product! It cost me about $150 total for the entire project and we couldn't be happier!
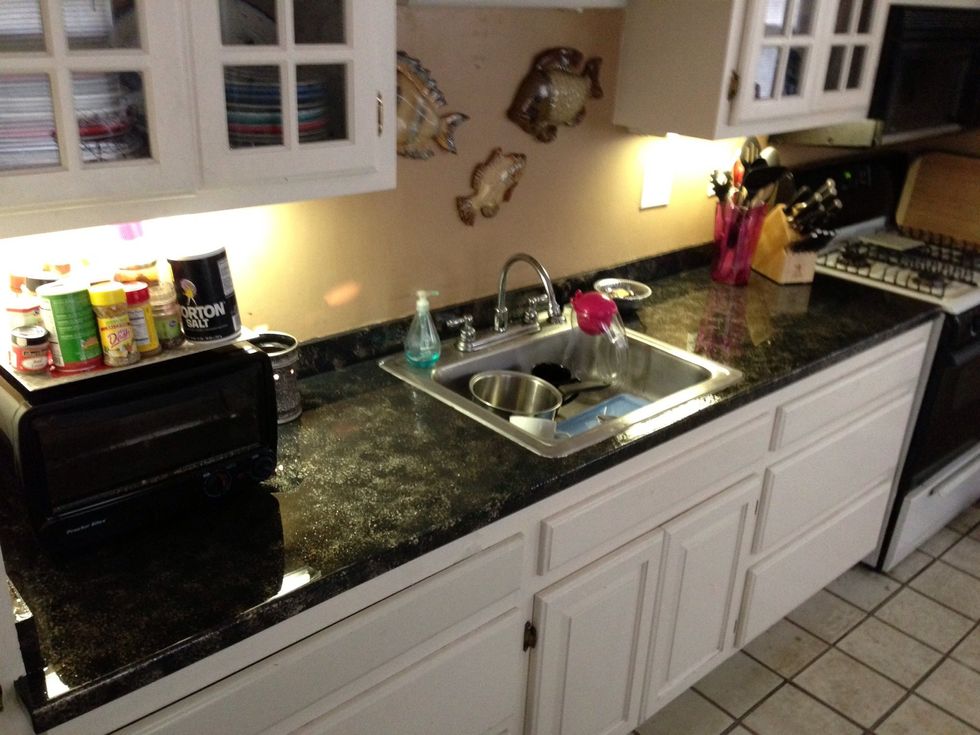
Picture of the other side in better light. Please excuse the dirty sink!