The Conversation (0)
Sign Up
Colorique Paints by Lisa Marie Jimenez: Ruby Slipper, Verdigris, and Pacific Ocean~Ann Butler Crafter's Inks: Berry, Limelight and Aquamarine~Rita Barakat Stamps: Fairy Garden Background & Fairy Magic
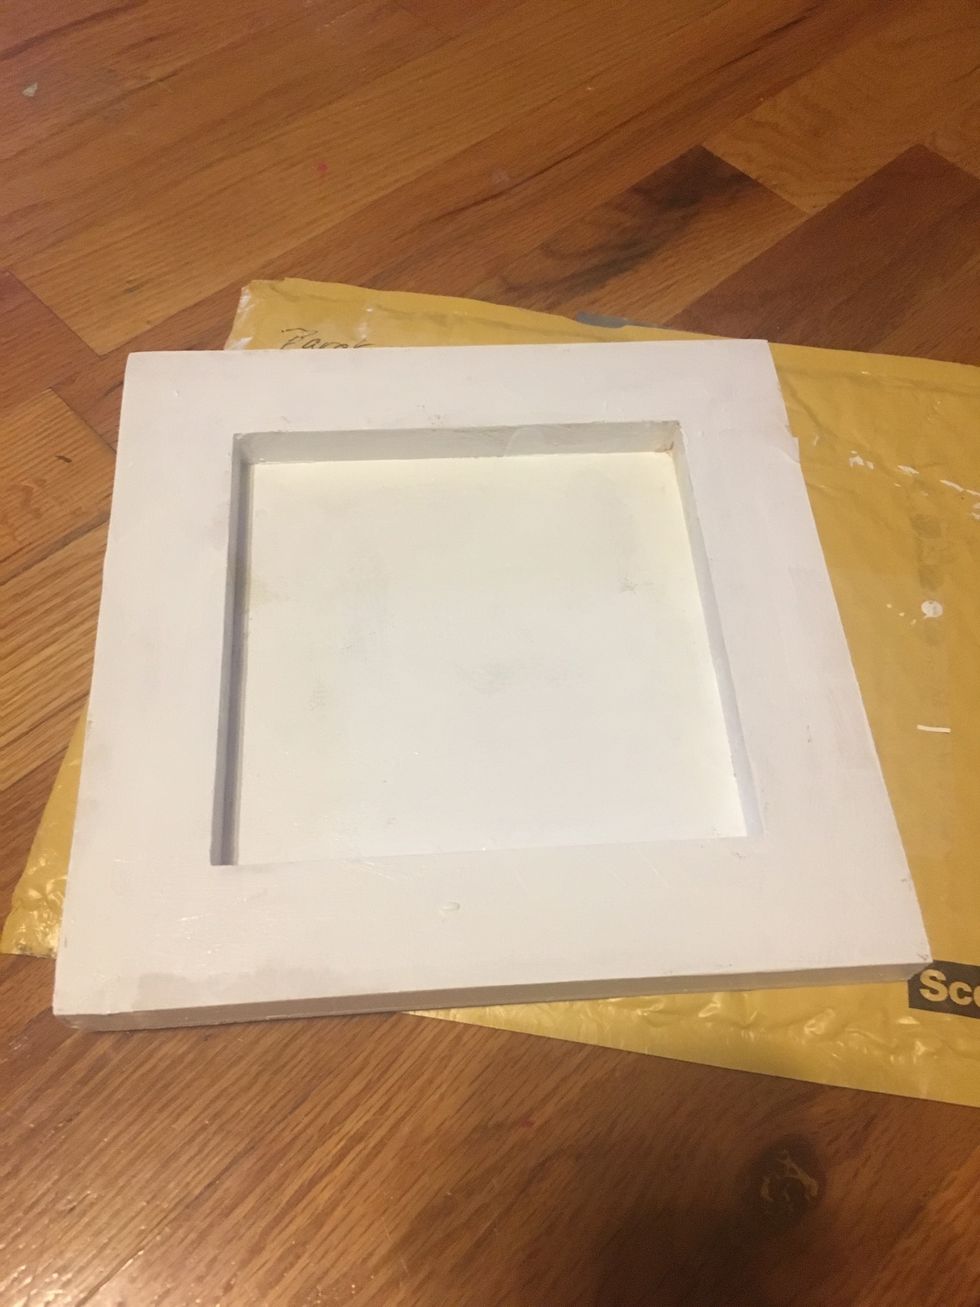
Start by gessoing the the whole wooden canvas, making sure to flip it around. We will be using the back cavity as our "box"
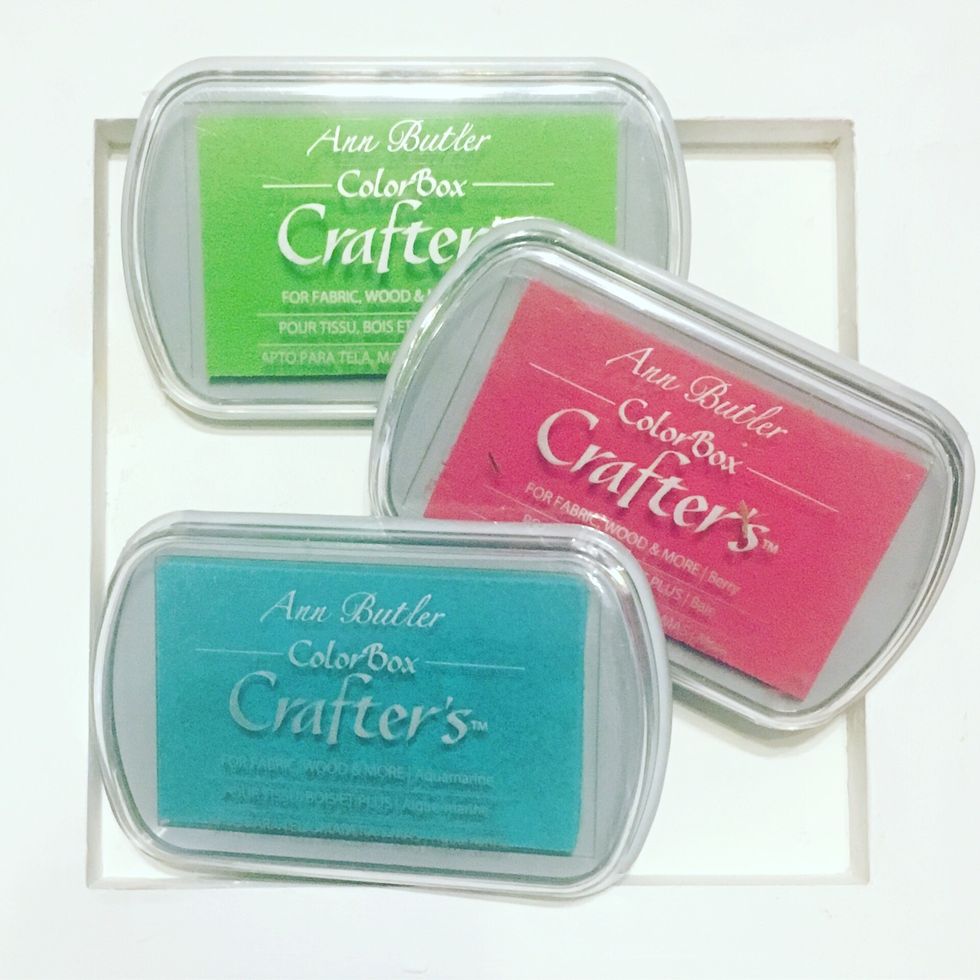
Grab your Ann Butler Colors: Berry, Limelight, and Aquamarine. Use your favorite color and stencil to add a pattern to your frame.
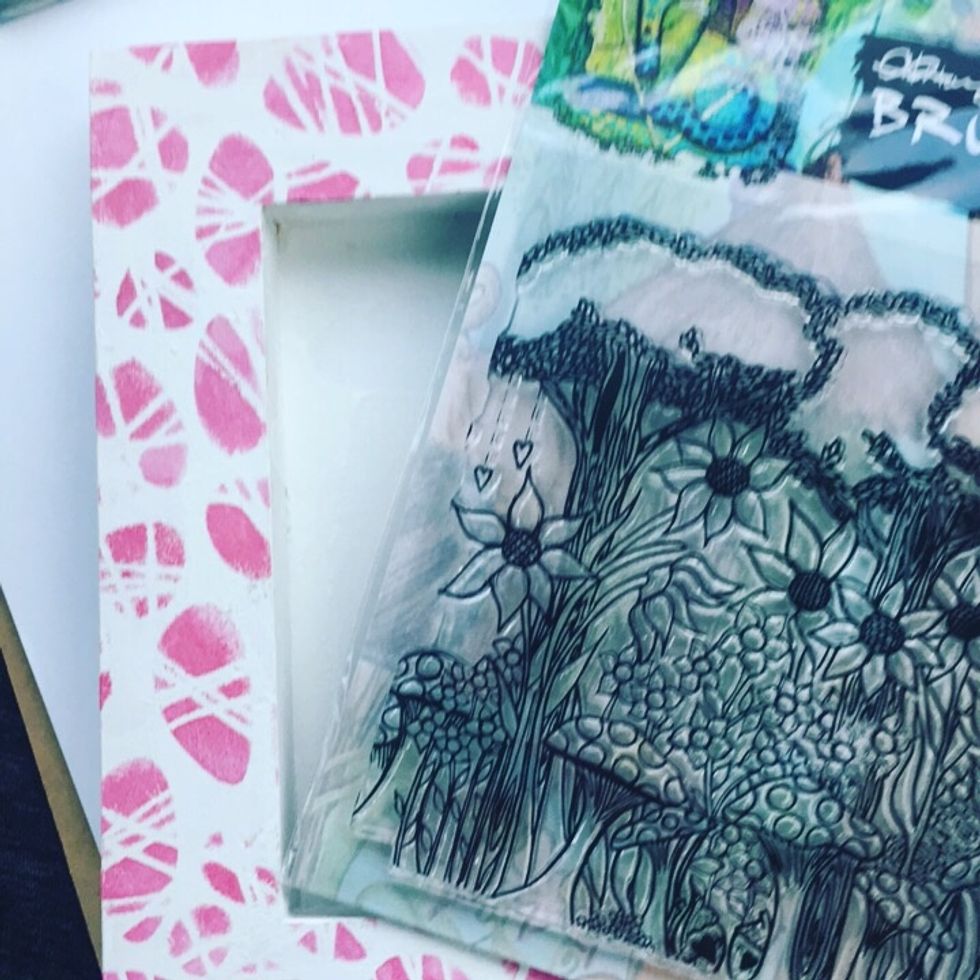
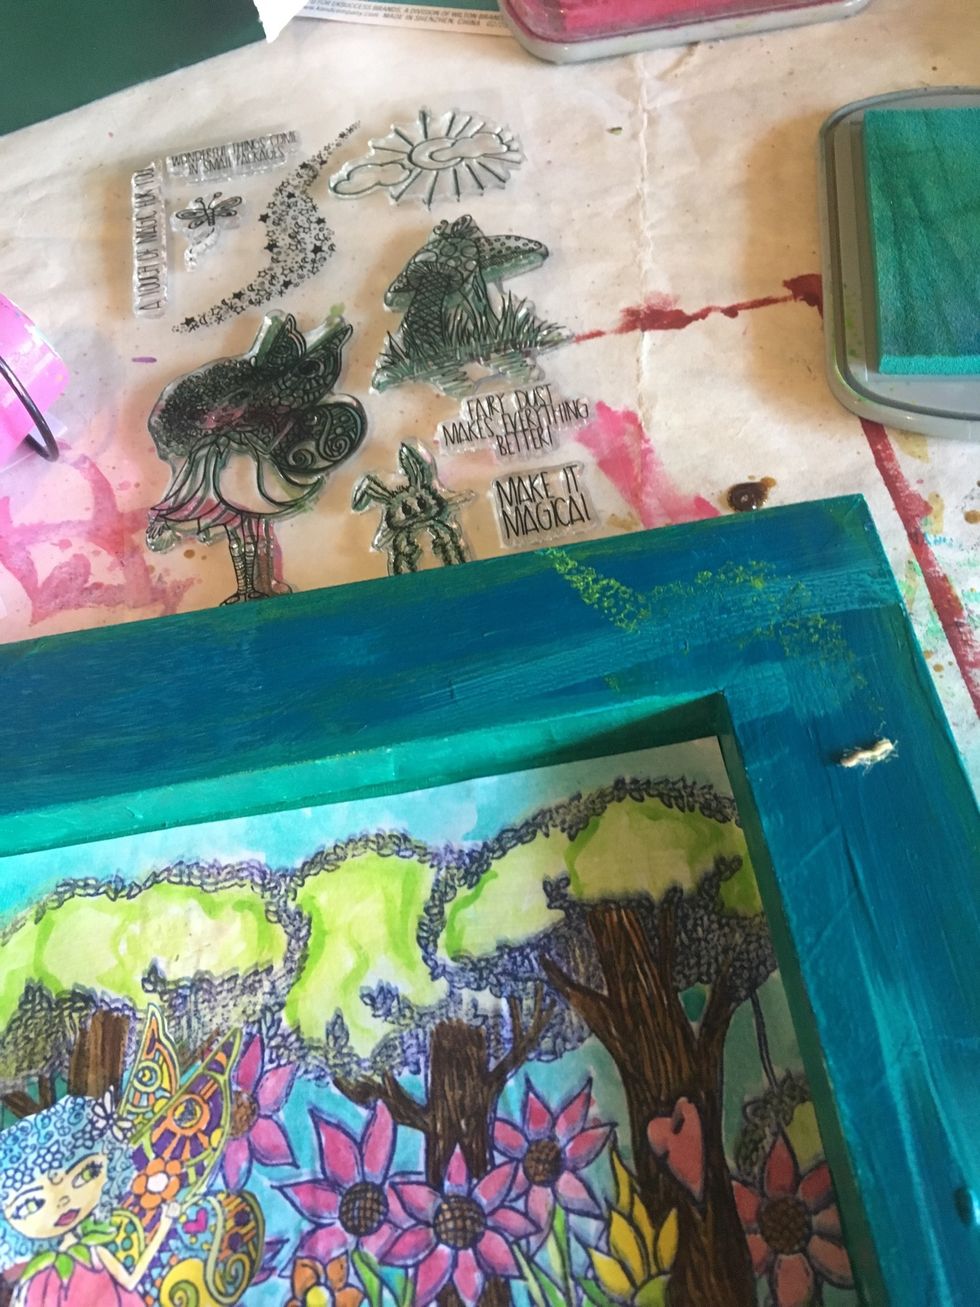
Here is my frame. I used a The Crafter's Workshop stencil. Use this time too to stamp your Fairy Garden Background and Fairy magic stamps onto copy paper.
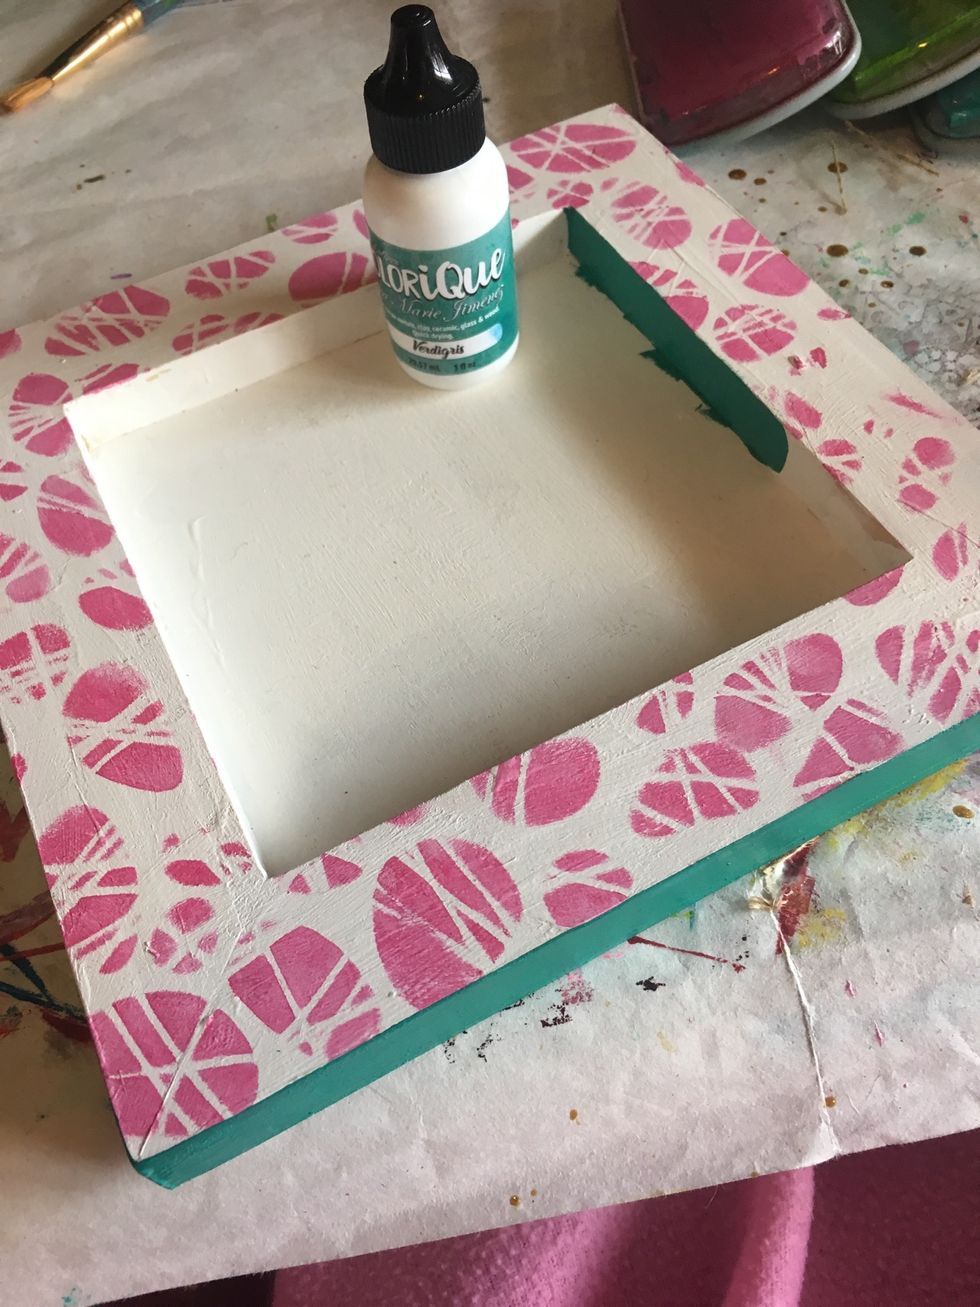
Using Verdigris Colorique, edge your frame and the inside edge.
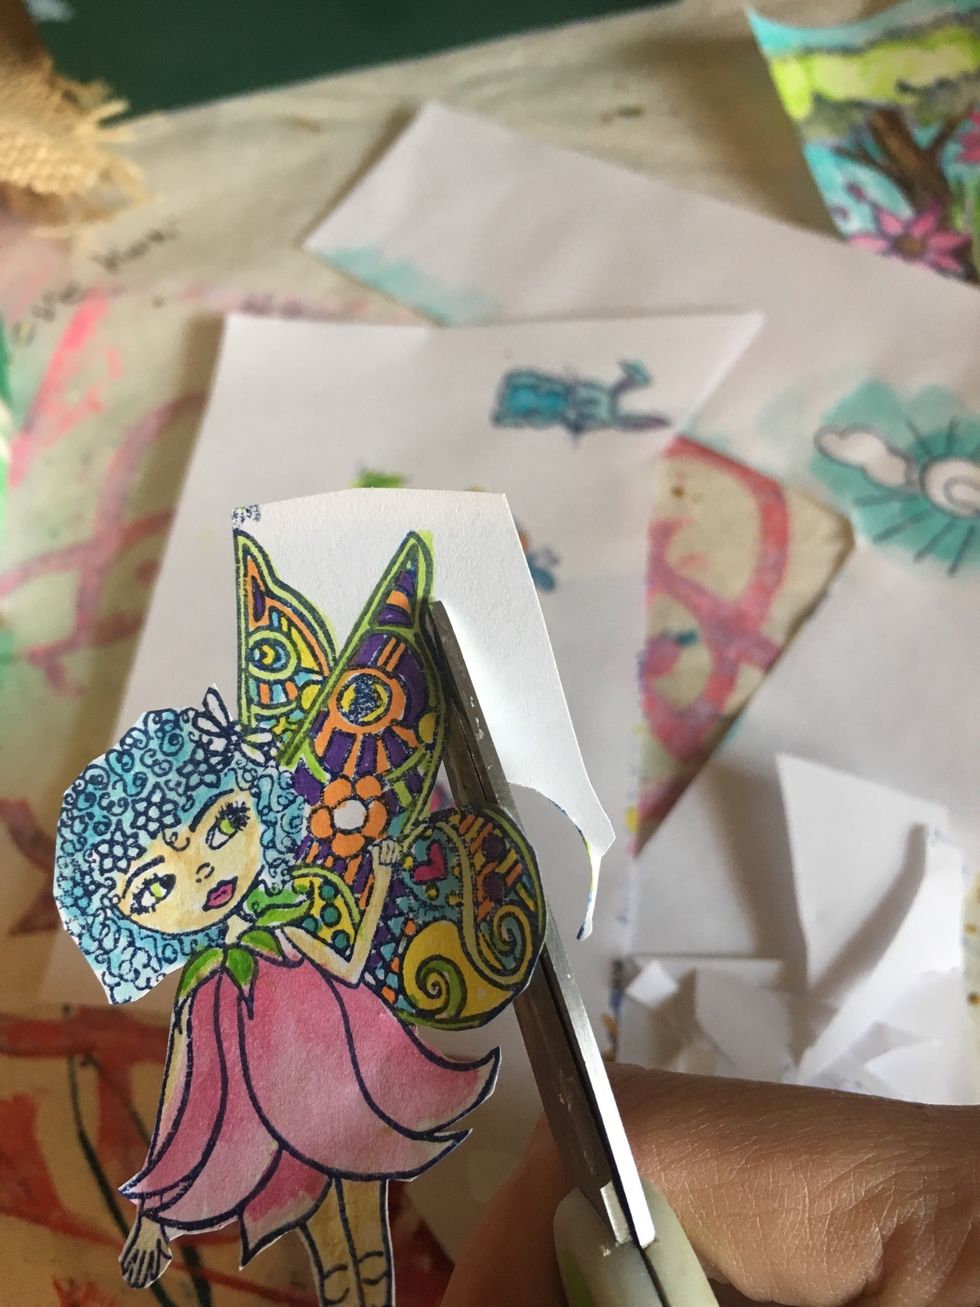
Have fun! Use your Ann Butler Crafter's Inks as watercolors to paint in your background and pieces. Add additional colors with whatever markers you have on hand. Cut them all out.
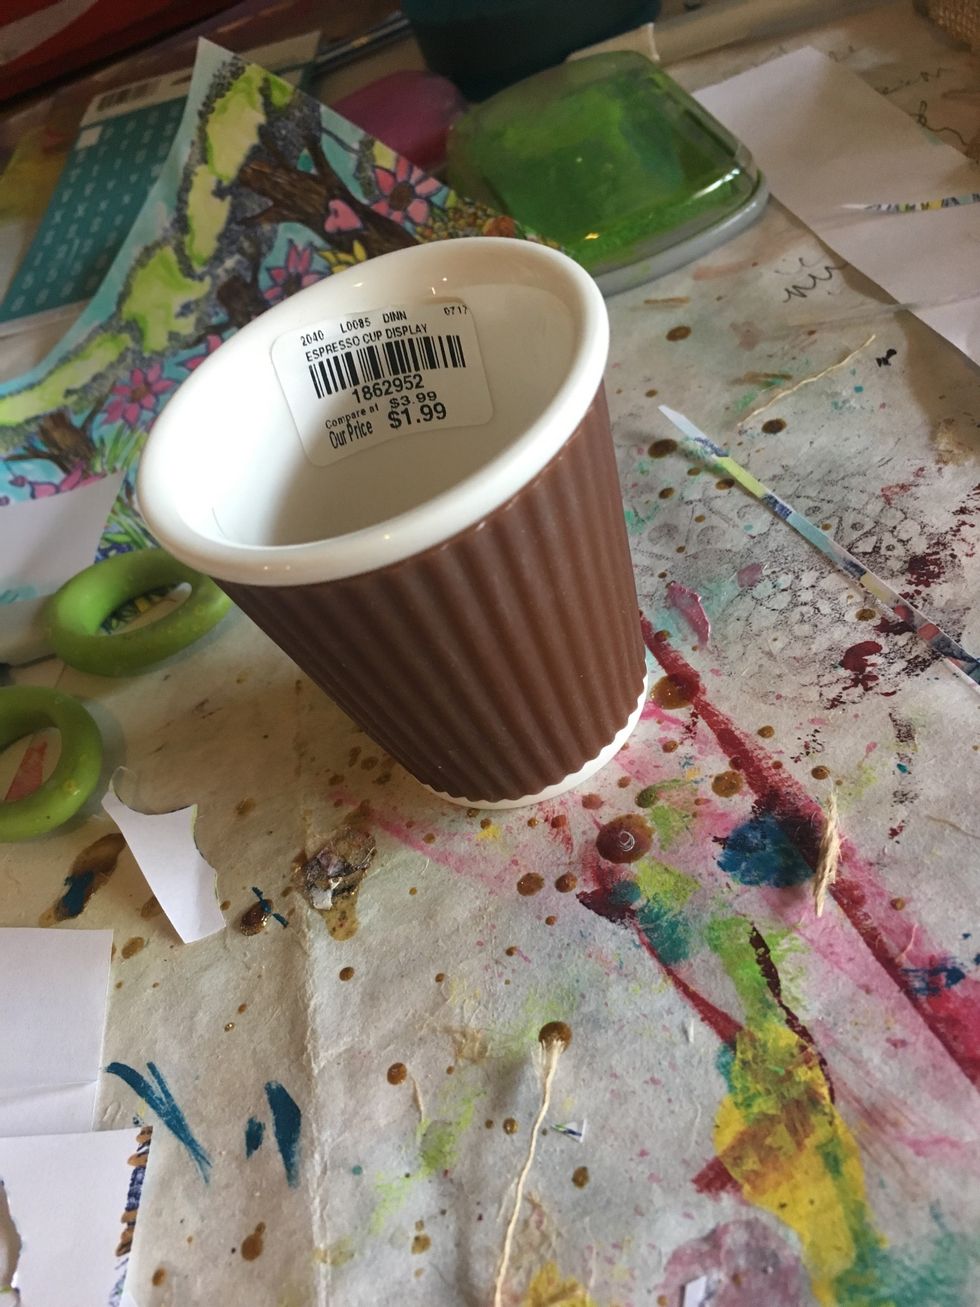
I found this little thing at Tuesday Morning and decided it would make a perfect stand for my shadow box.
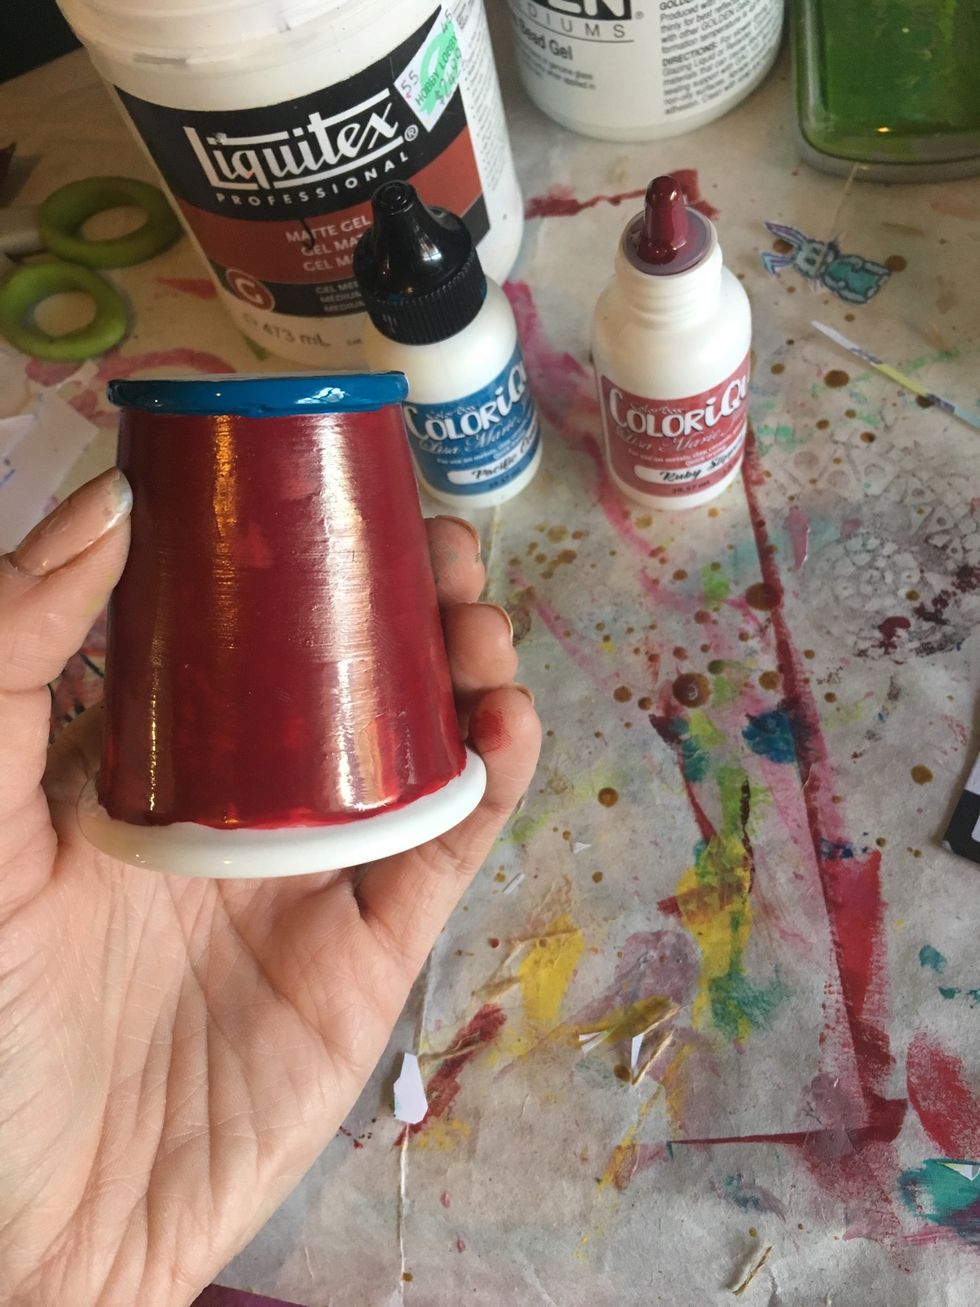
I used my Colorique Paints in Ruby Slipper and Pacific Ocean to match my "cup" stand to my project. (I removed the brown plastic wrap.)
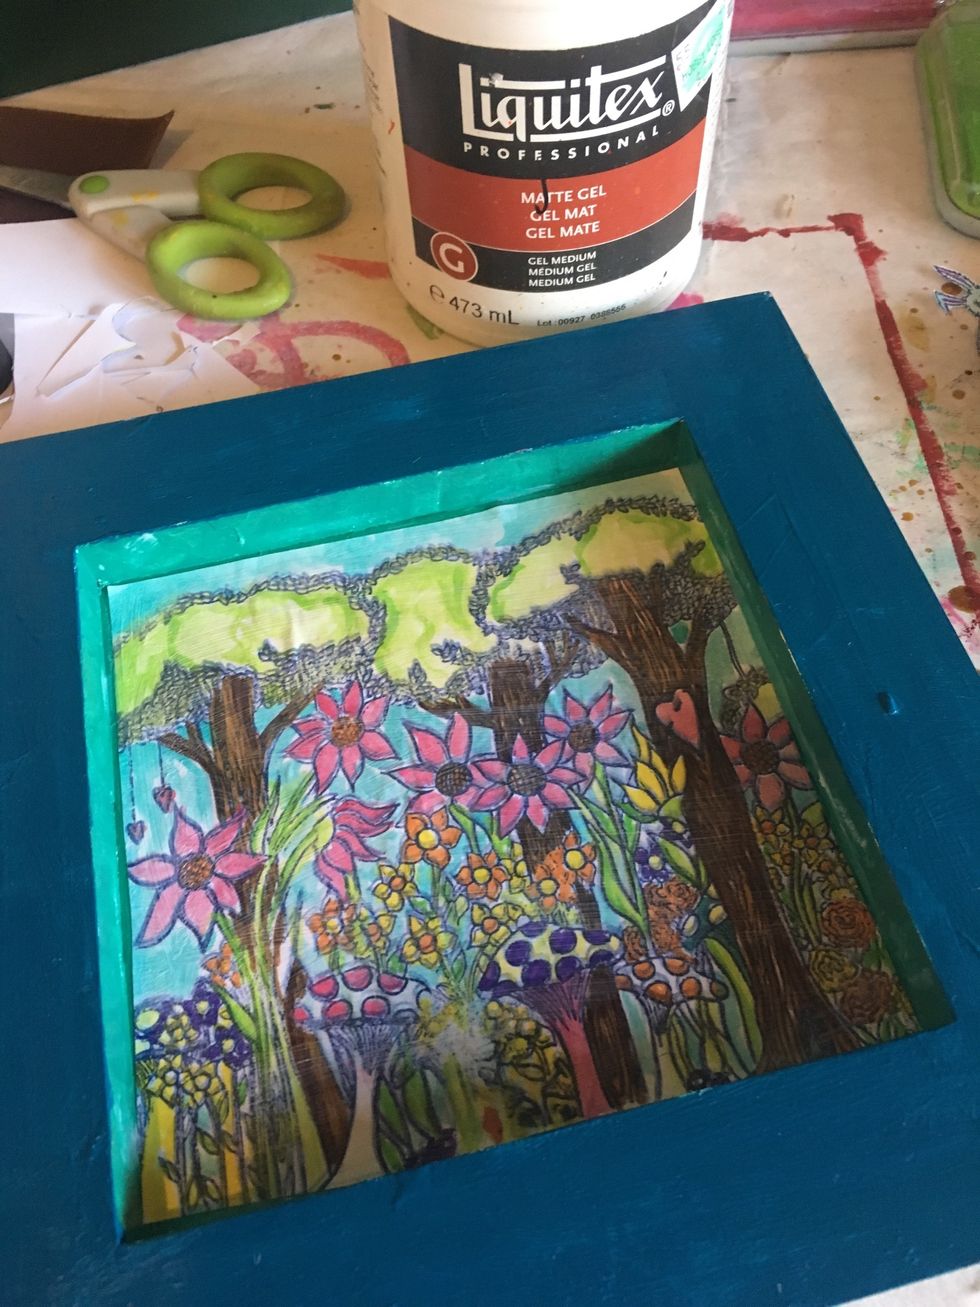
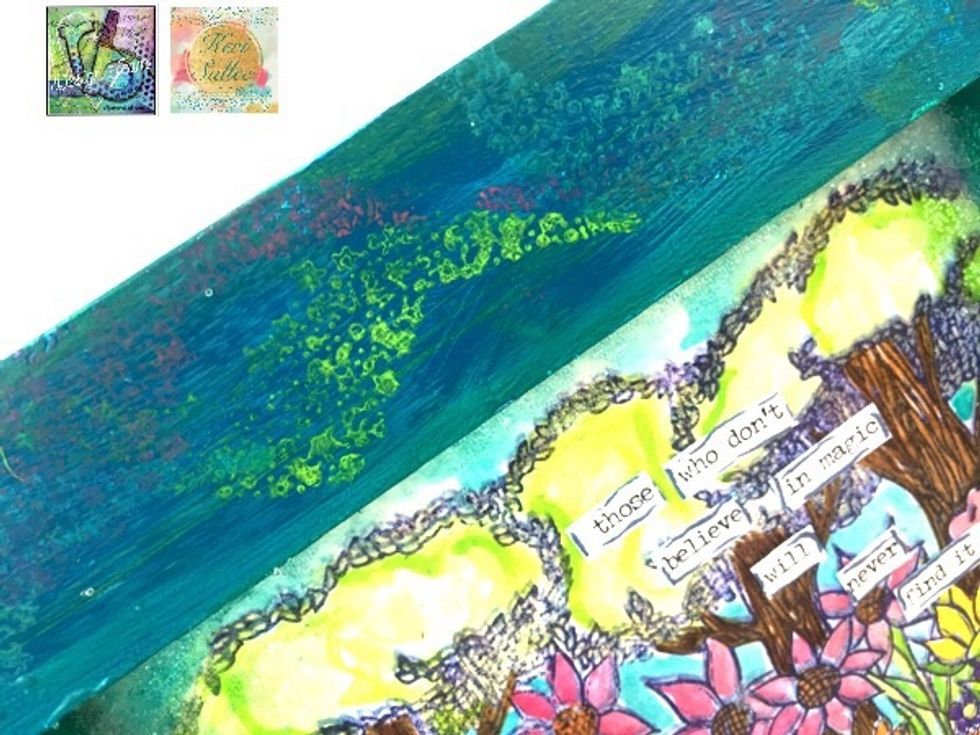
While that is drying, I finished coloring in my background. I also decided I wasn't loving my frame, so I painted over my pink stenciled images with my Pacific Ocean Colorique paint.
To add more Fairy Magic, I used the starry trail stamp and all 3 of my Crafter's Ink colors around my boarder.
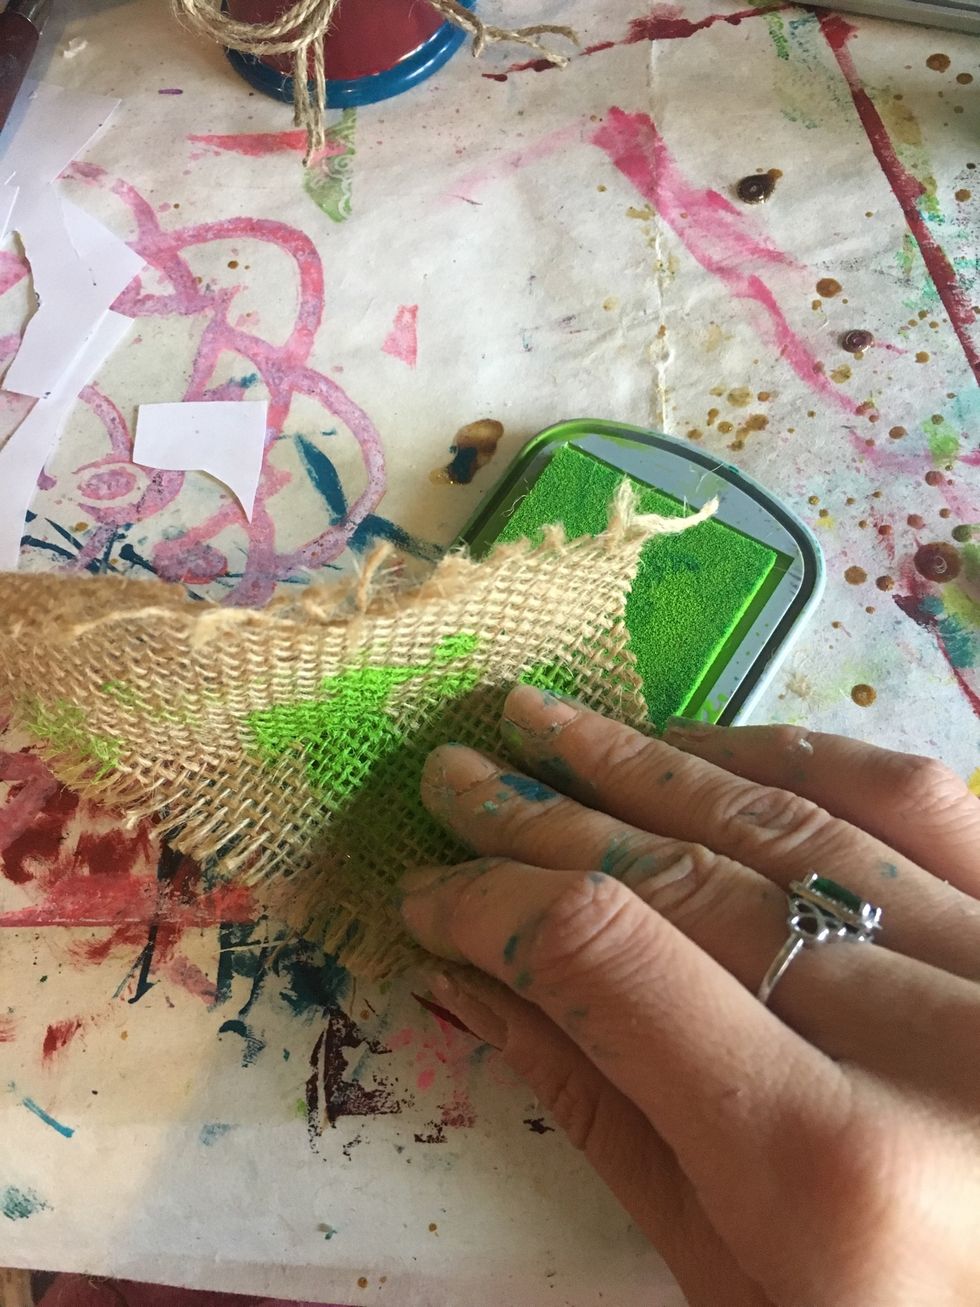
To make my "grass" I colored burlap with my Limelight crafter's ink before I shredded it into individual strands.
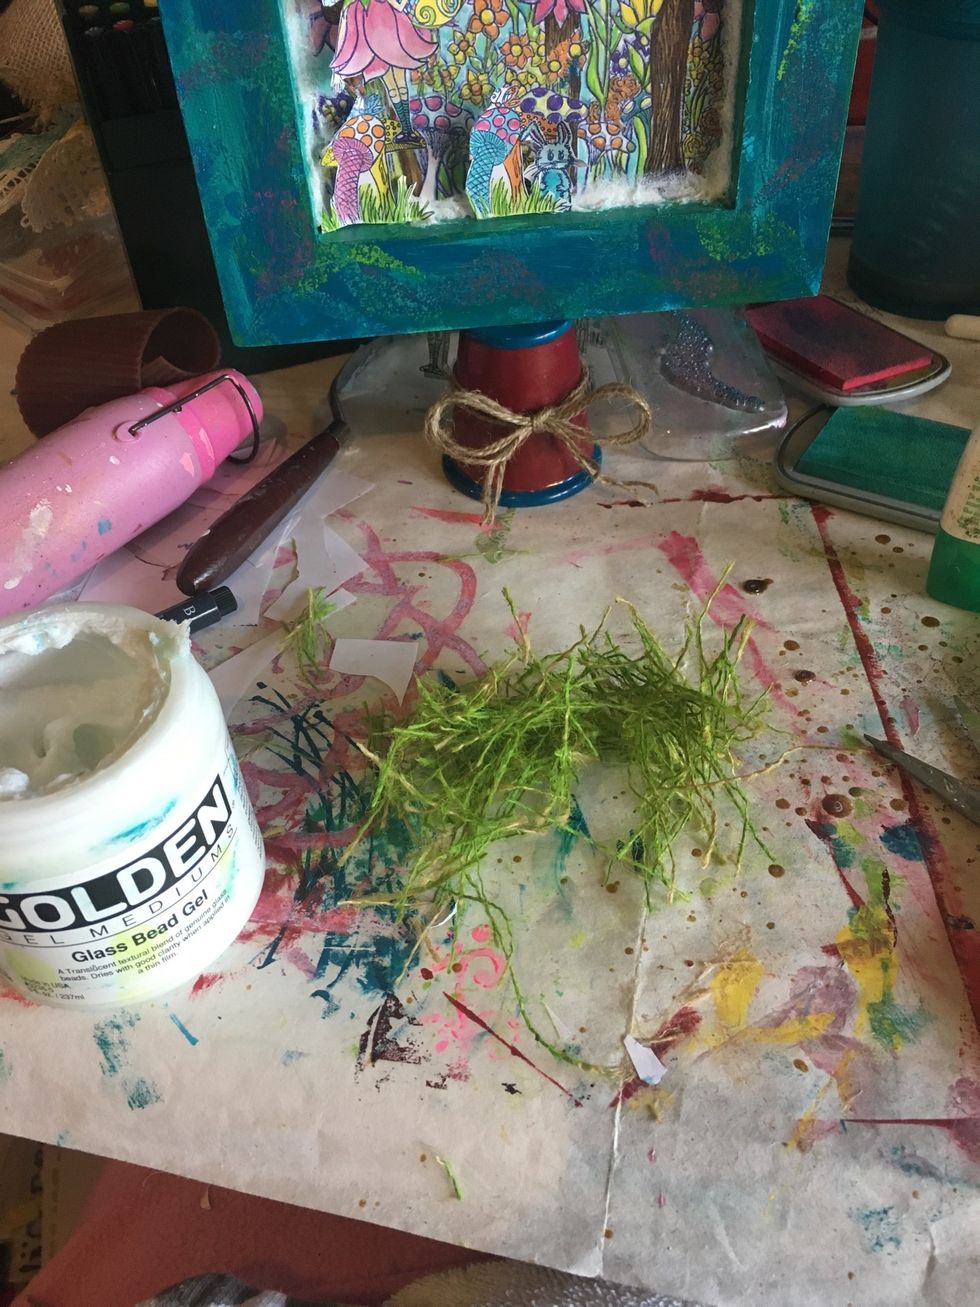
It looks just like easter basket filler, doesn't it!? You can see in the background that I layered in my individual stamped pieces, using pop-dots to give them individual depth.
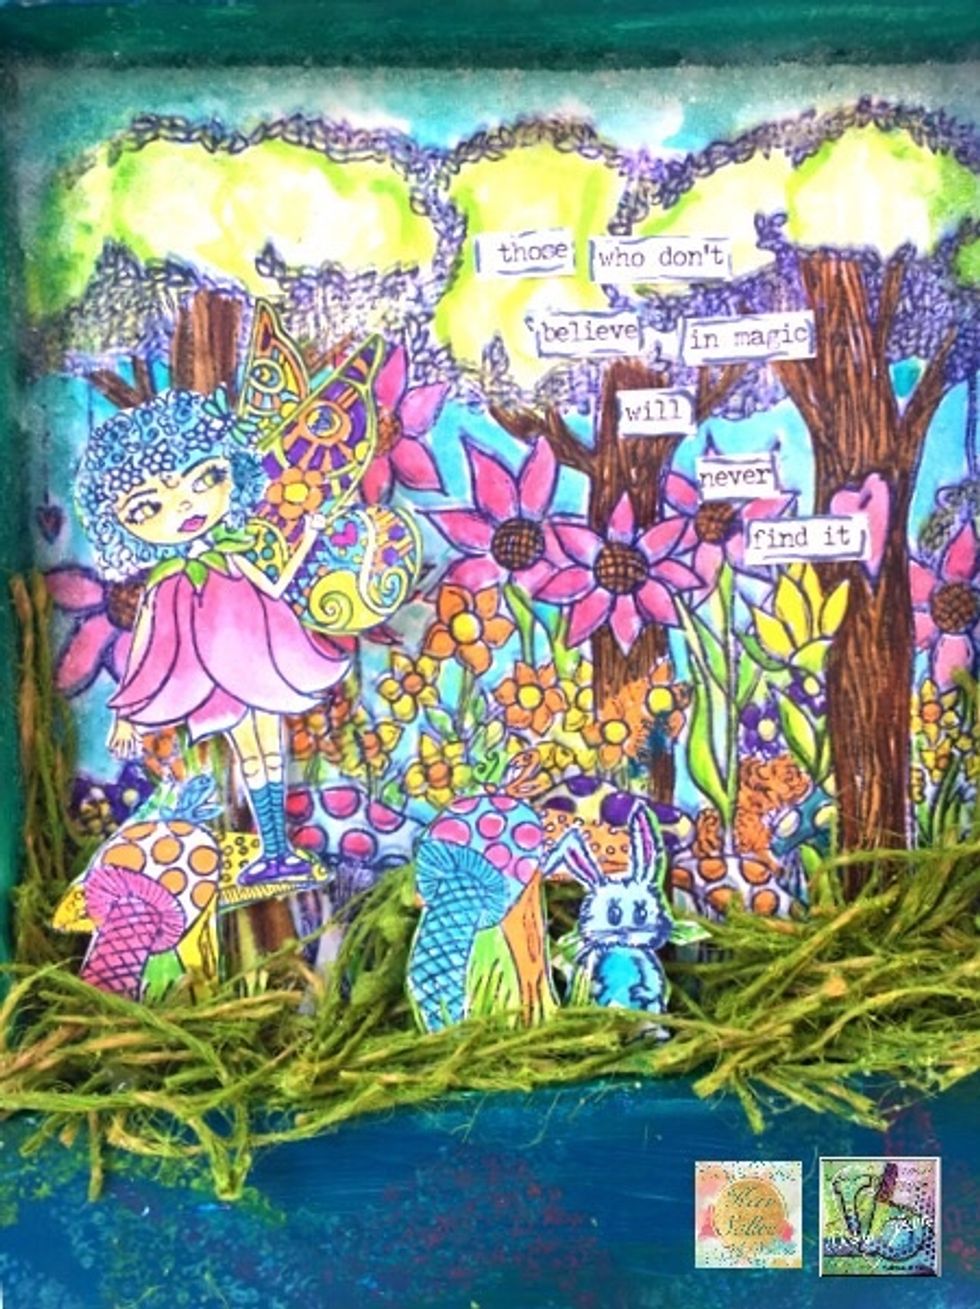
Here's a close-up of my "grass" and my little fairy scene!
Added Fairy Magic stamp!
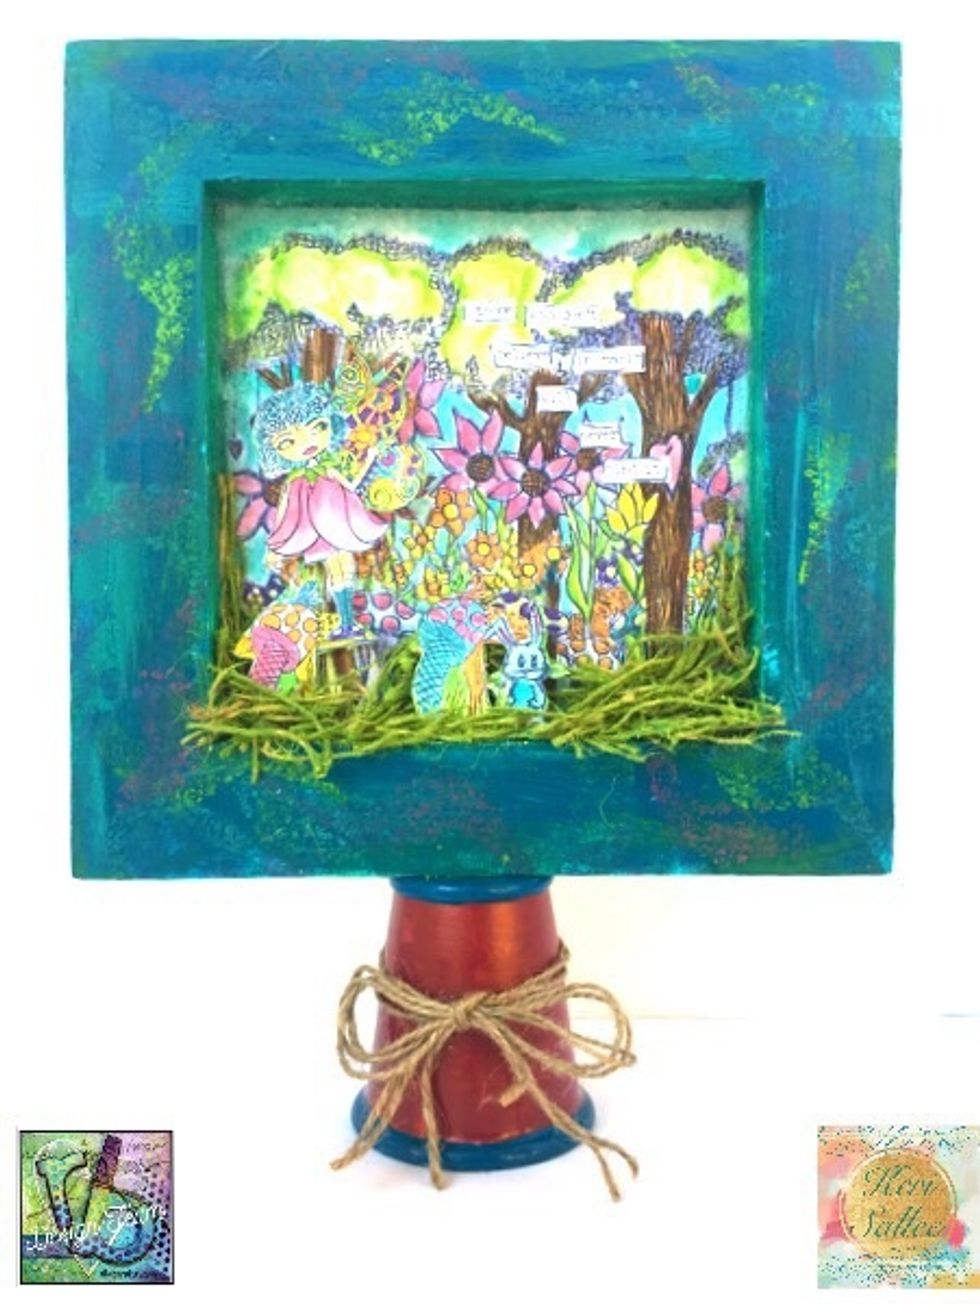
Finished project! I hope you enjoyed today's project!