The Conversation (0)
Sign Up
I have tried a million different methods on how to do ombré nails. I like this one the best because it's super easy and you don't have to start with a white base coat. Let's get started!
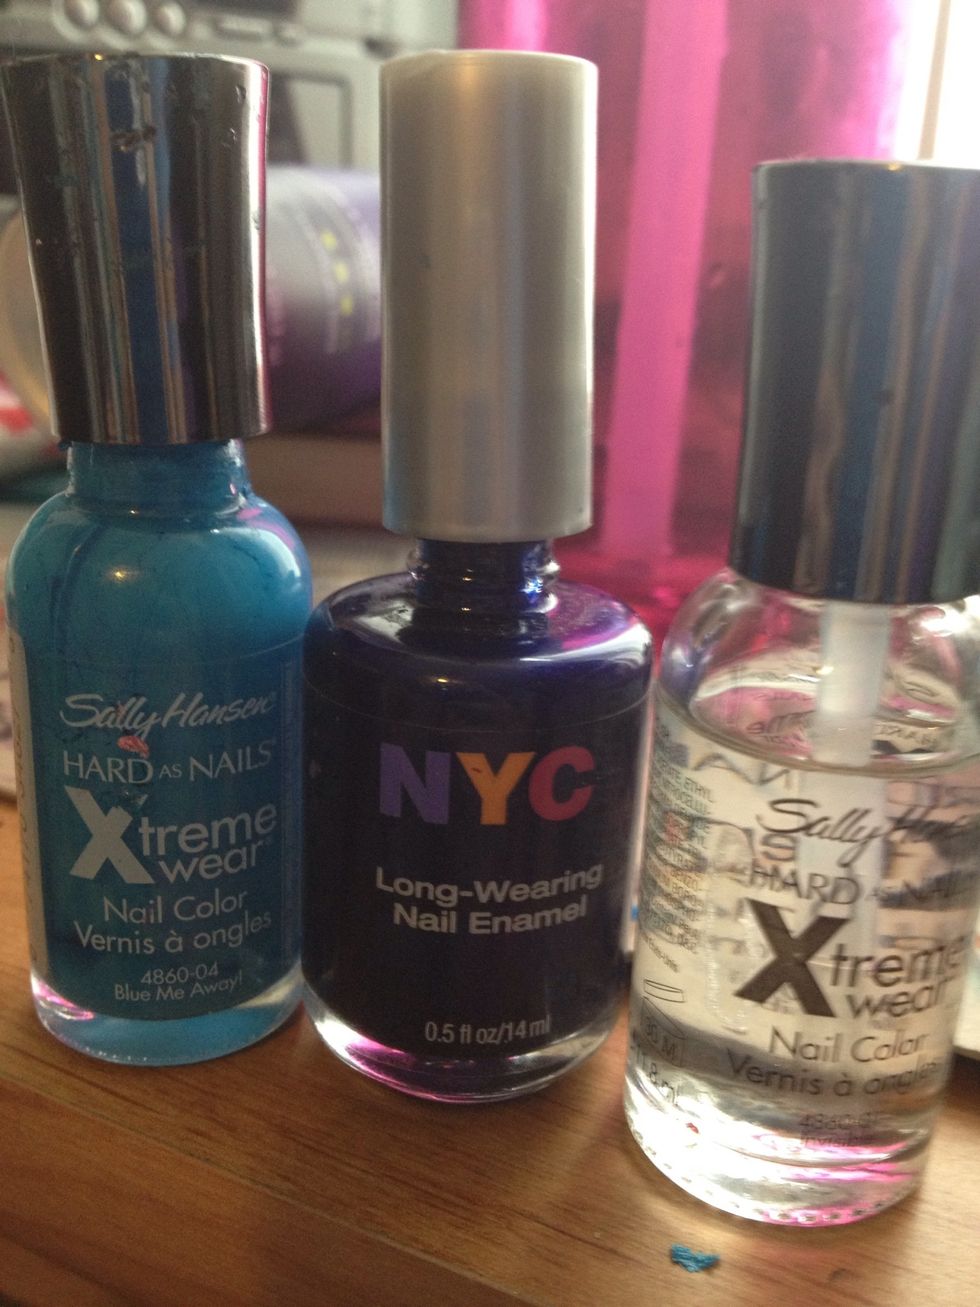
Gather polishes. You can use up to three colors, but I'm lazy and just chose 2
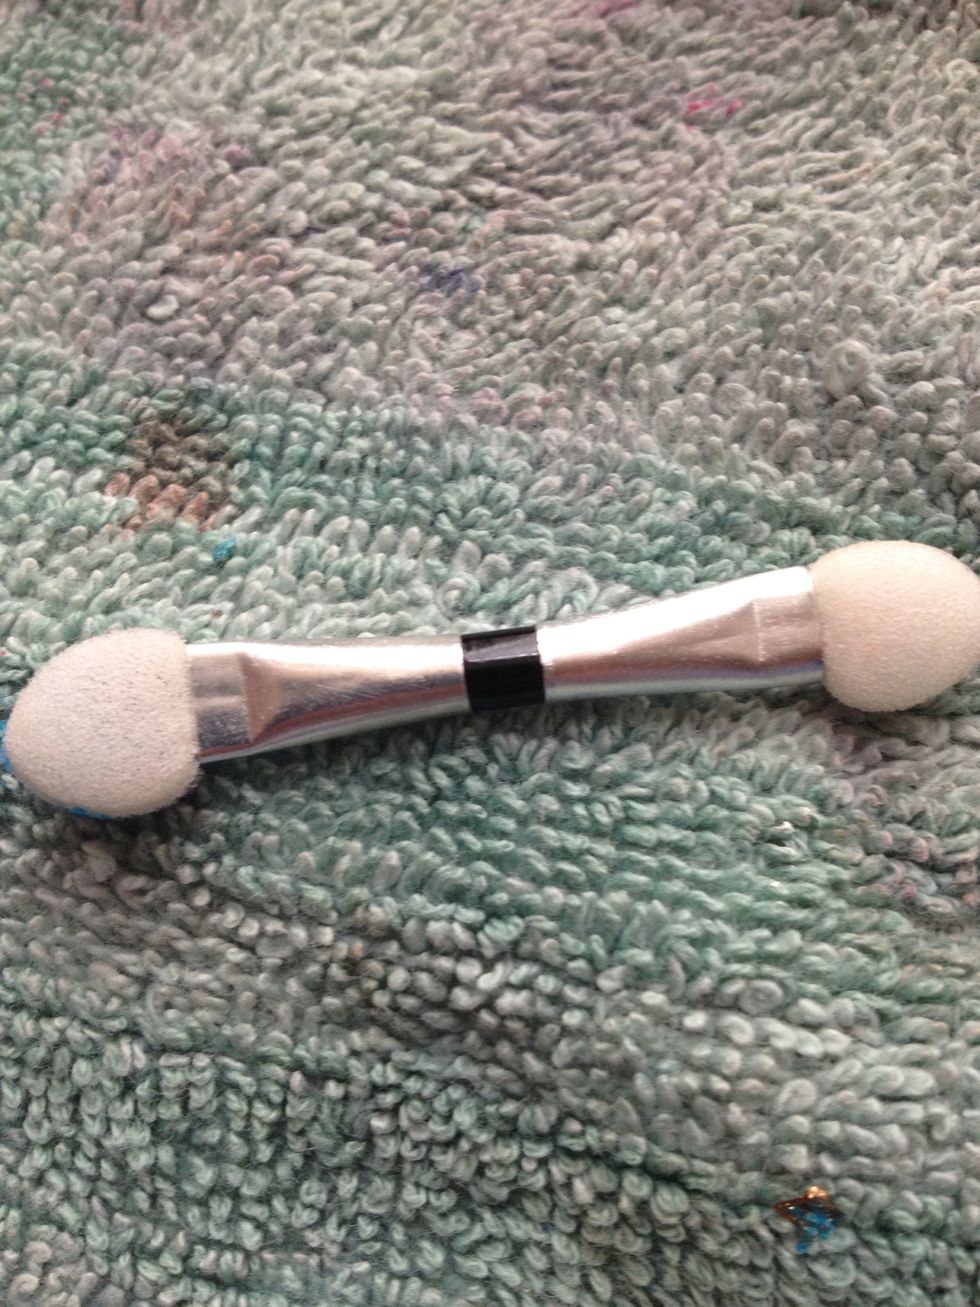
This is the big secret: an eyeshadow sponge! I have a million of these, and I don't even use them. It works perfectly, and you don't have to wet it down to start.
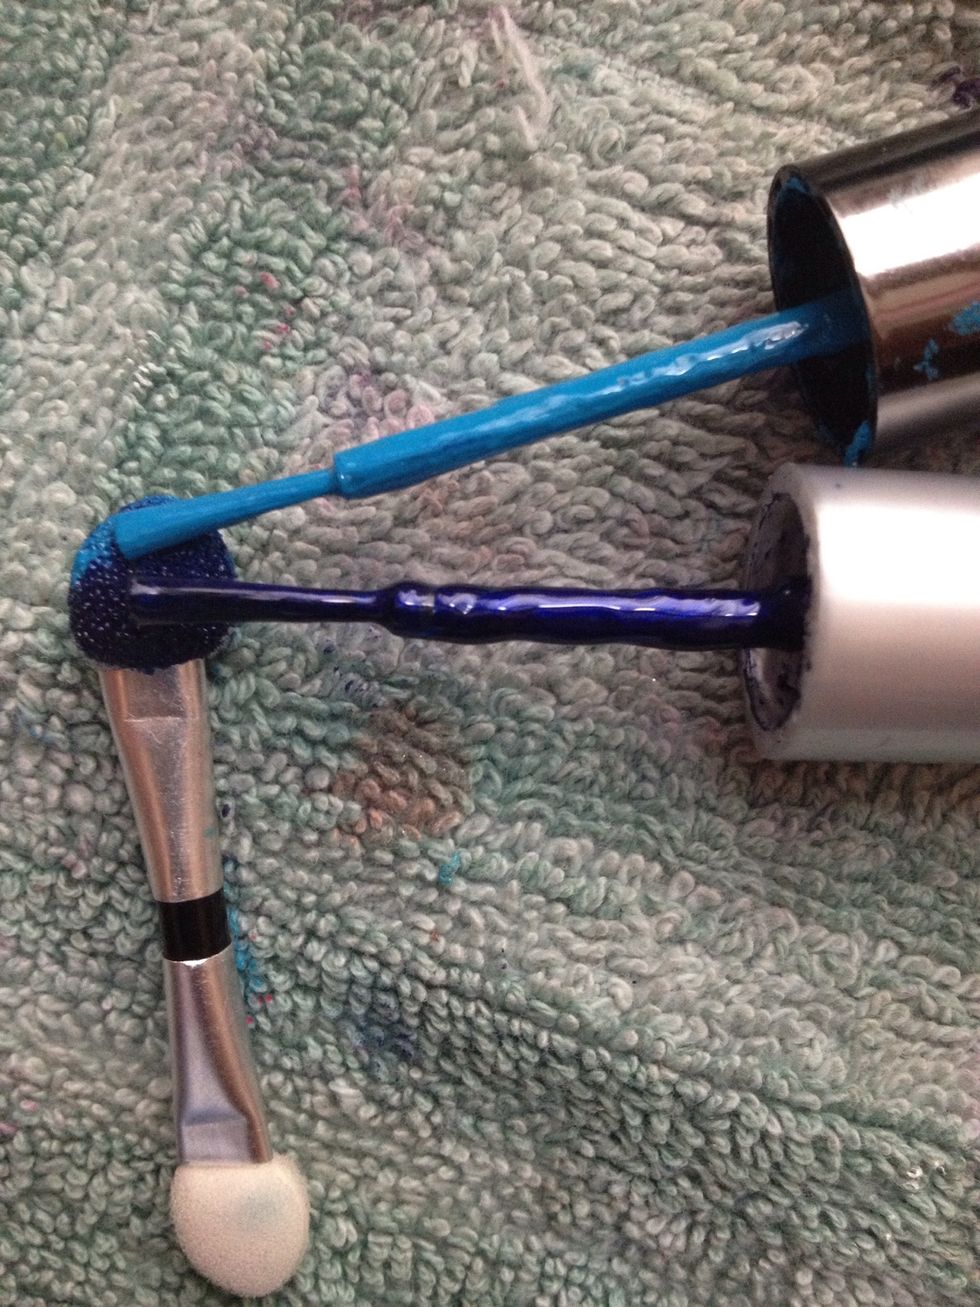
Paint the polishes directly onto the sponge. Keep in mind: the color on top will end up at the root of your nail.
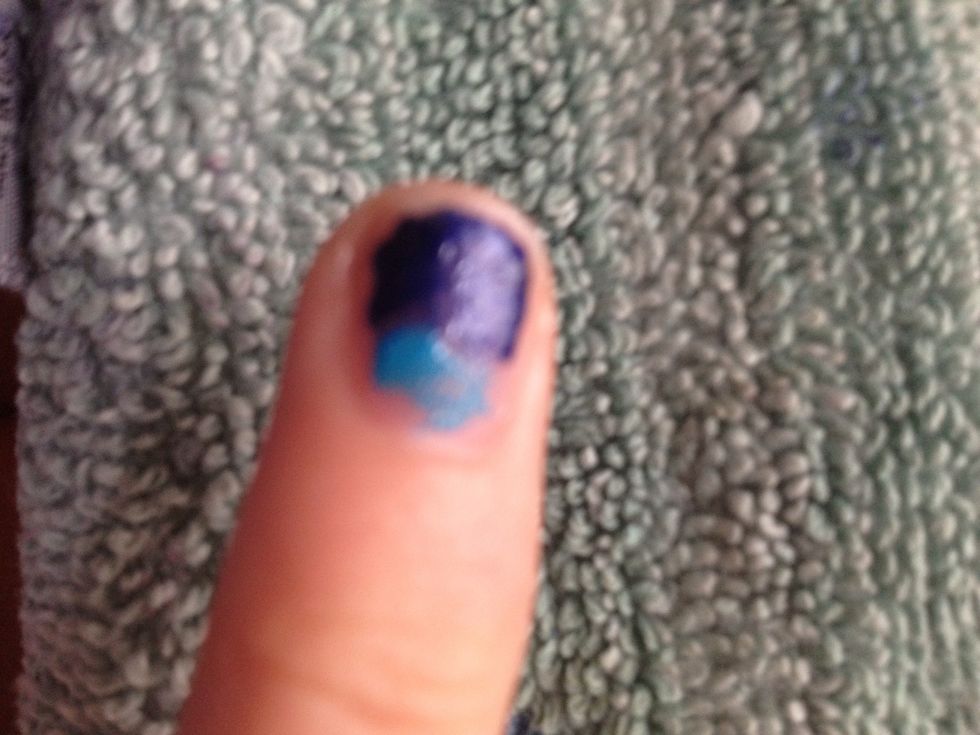
Press it on.
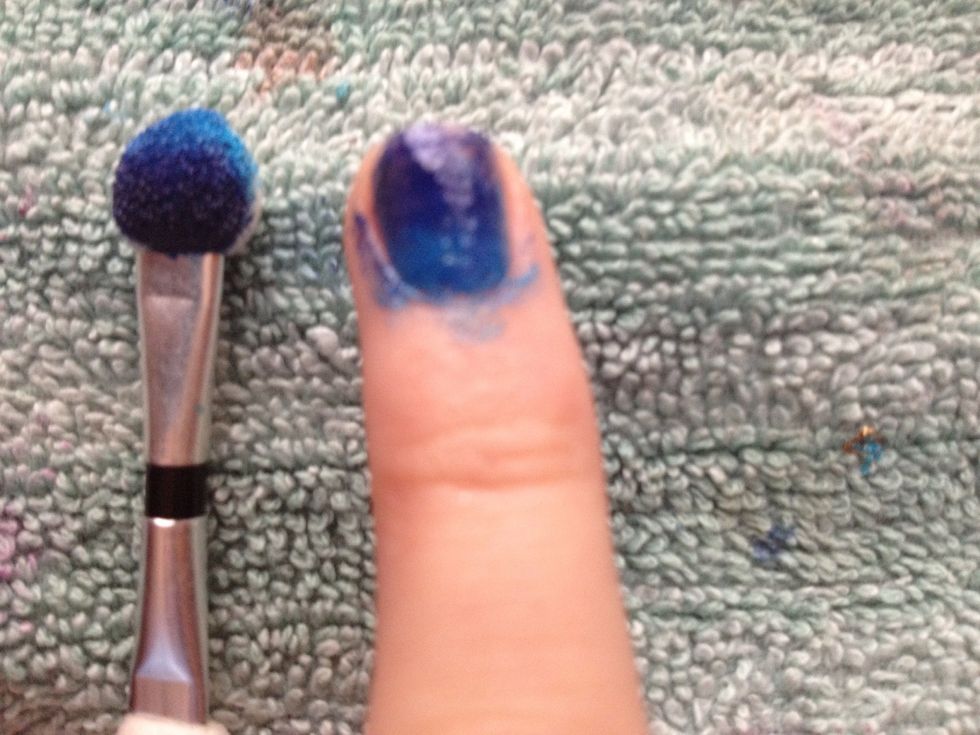
You obviously need to dab it around your nail a little bit until you have the color and ombré effect you want.
Here's a tip: to get the nail at the very bottom of your nail, put extra polish at the very end of the sponge and dab it straight where you want it!
Then you wait for your nails to be semi-dry and go over them one more time.
Add top coat

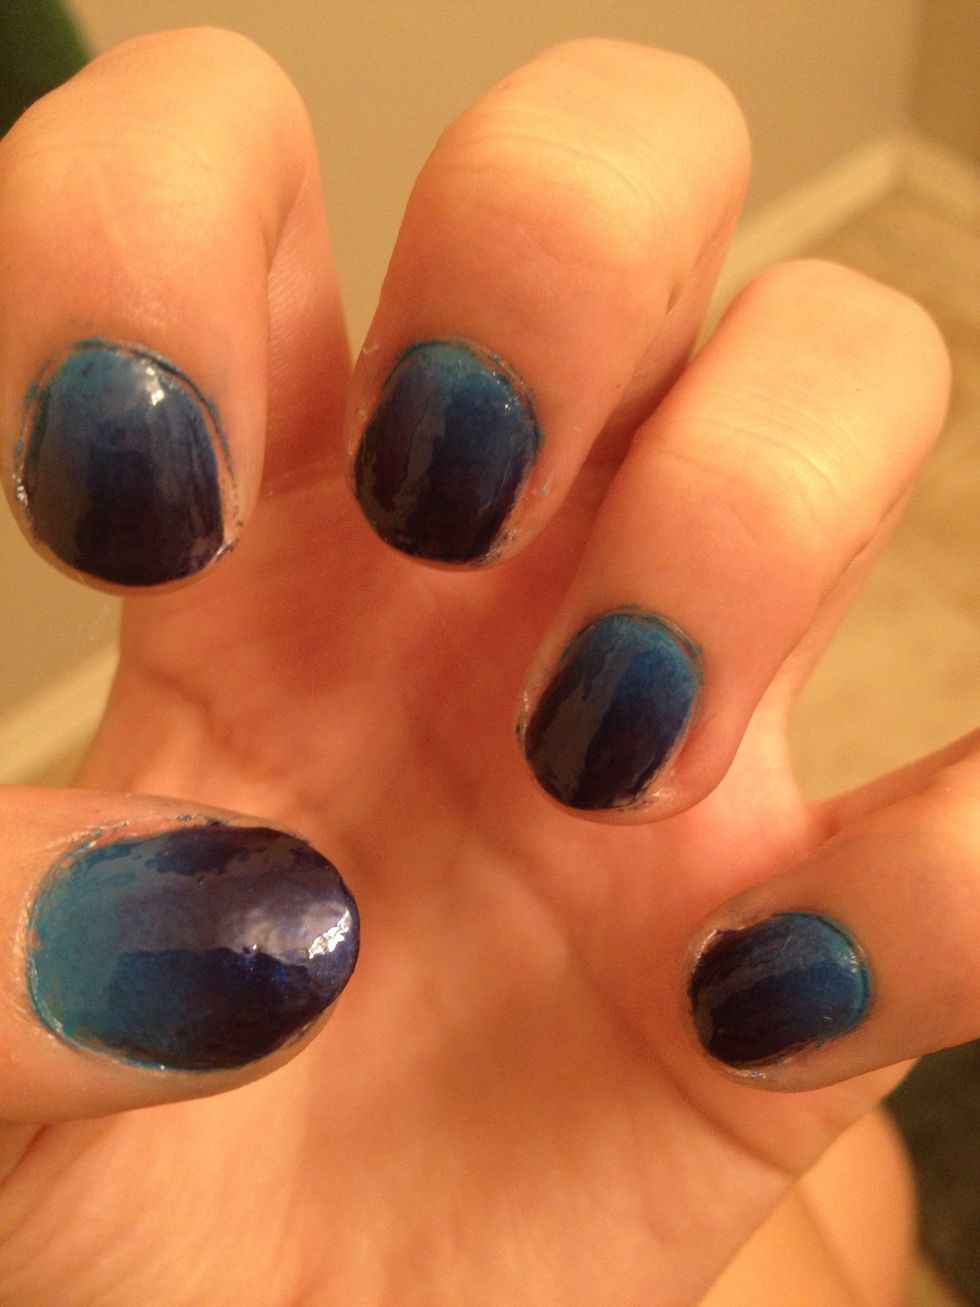
Ta- dah!! Beautiful :). But how do you remove the excess nail polish?
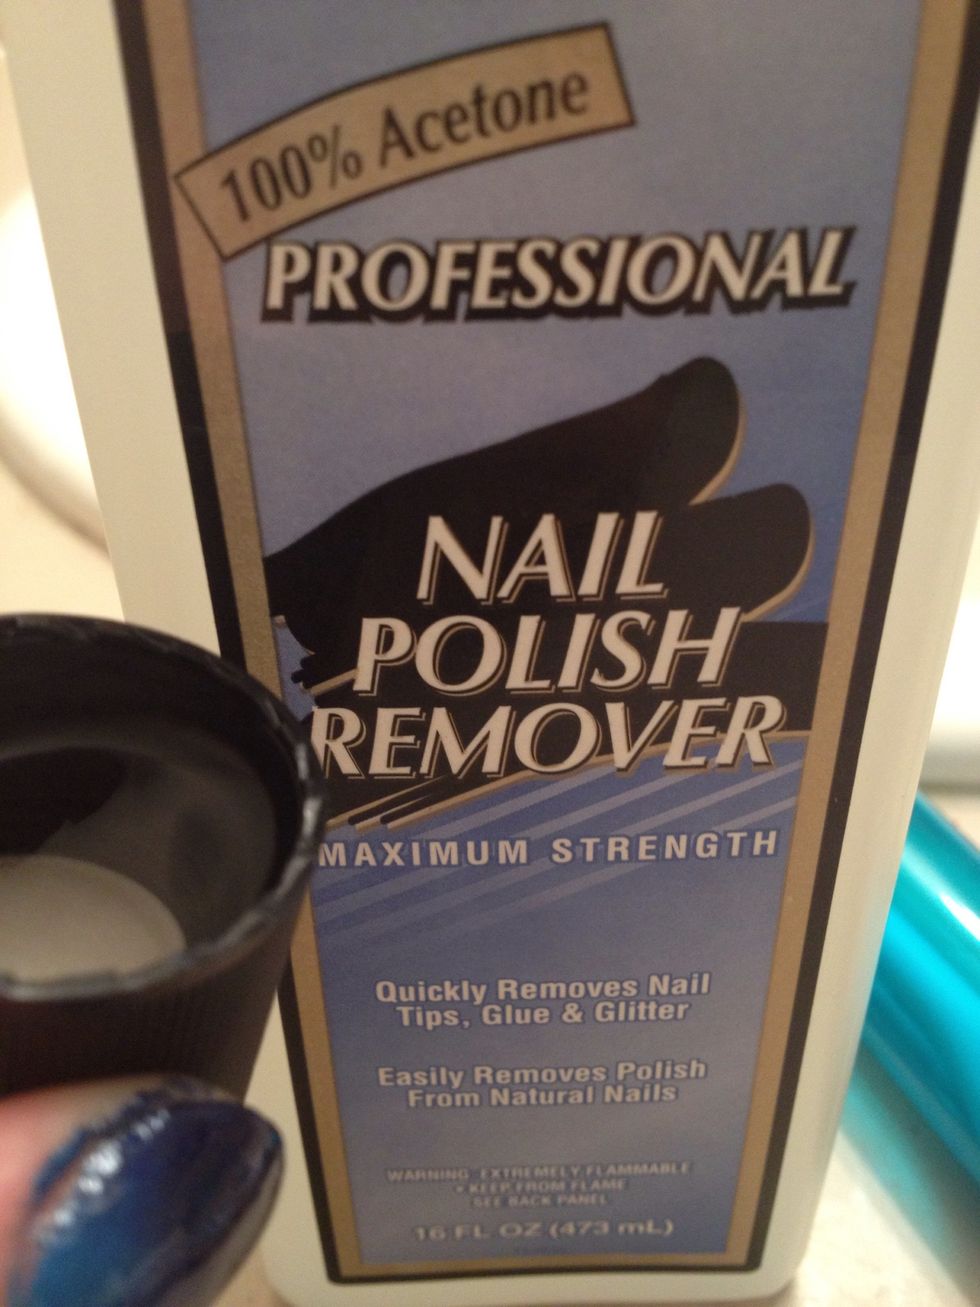
Pour nail polish remover into the cap
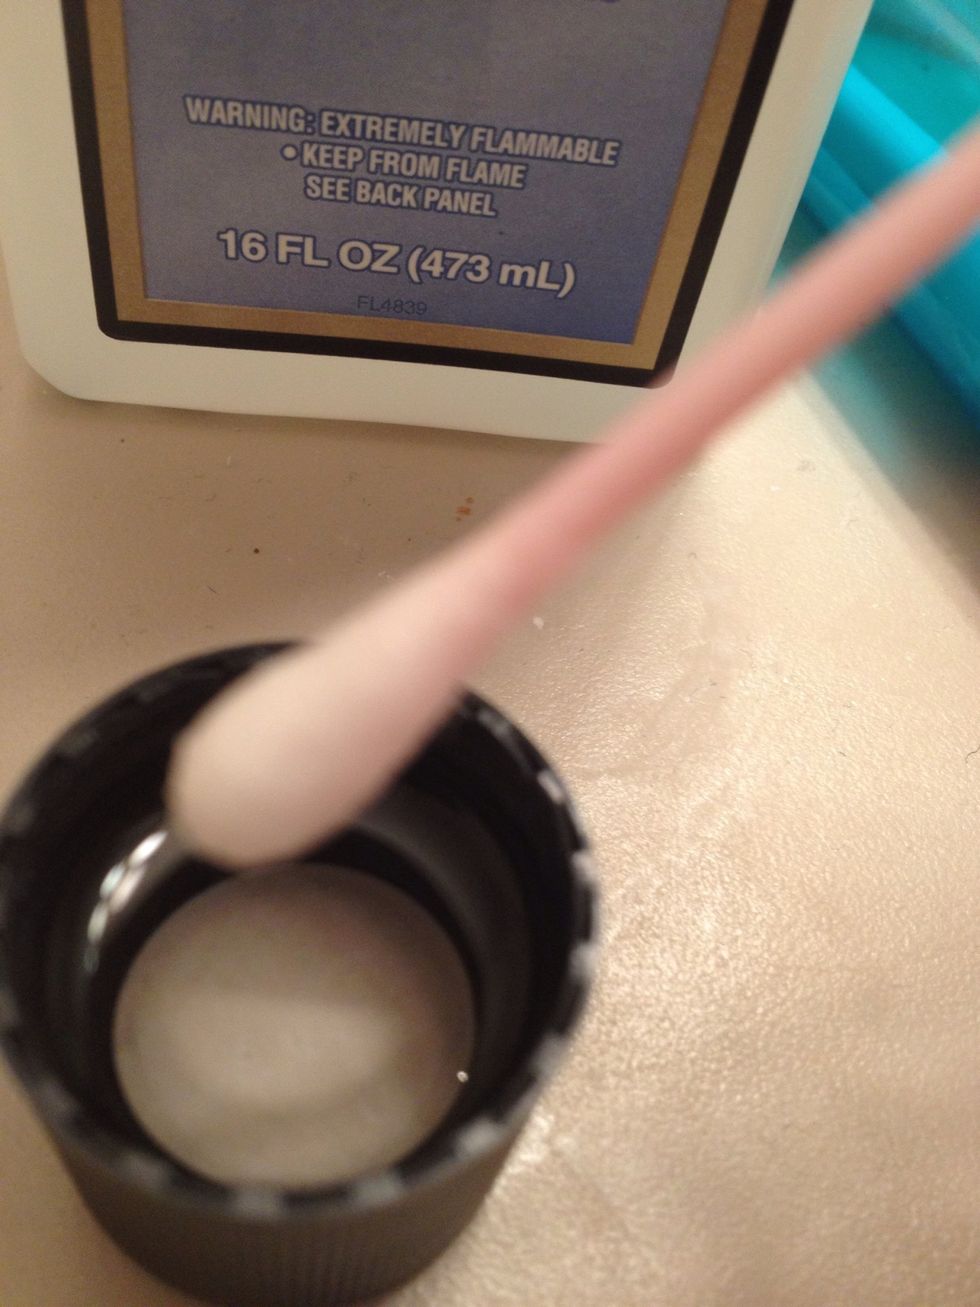
Dip a Q-tip into the cap
Rub the Q-tip onto the skin by your nail, being careful not to touch your nails themselves. (I'm really sorry about the bad quality photo)
And viola! I hope you enjoyed watching!