The Conversation (0)
Sign Up
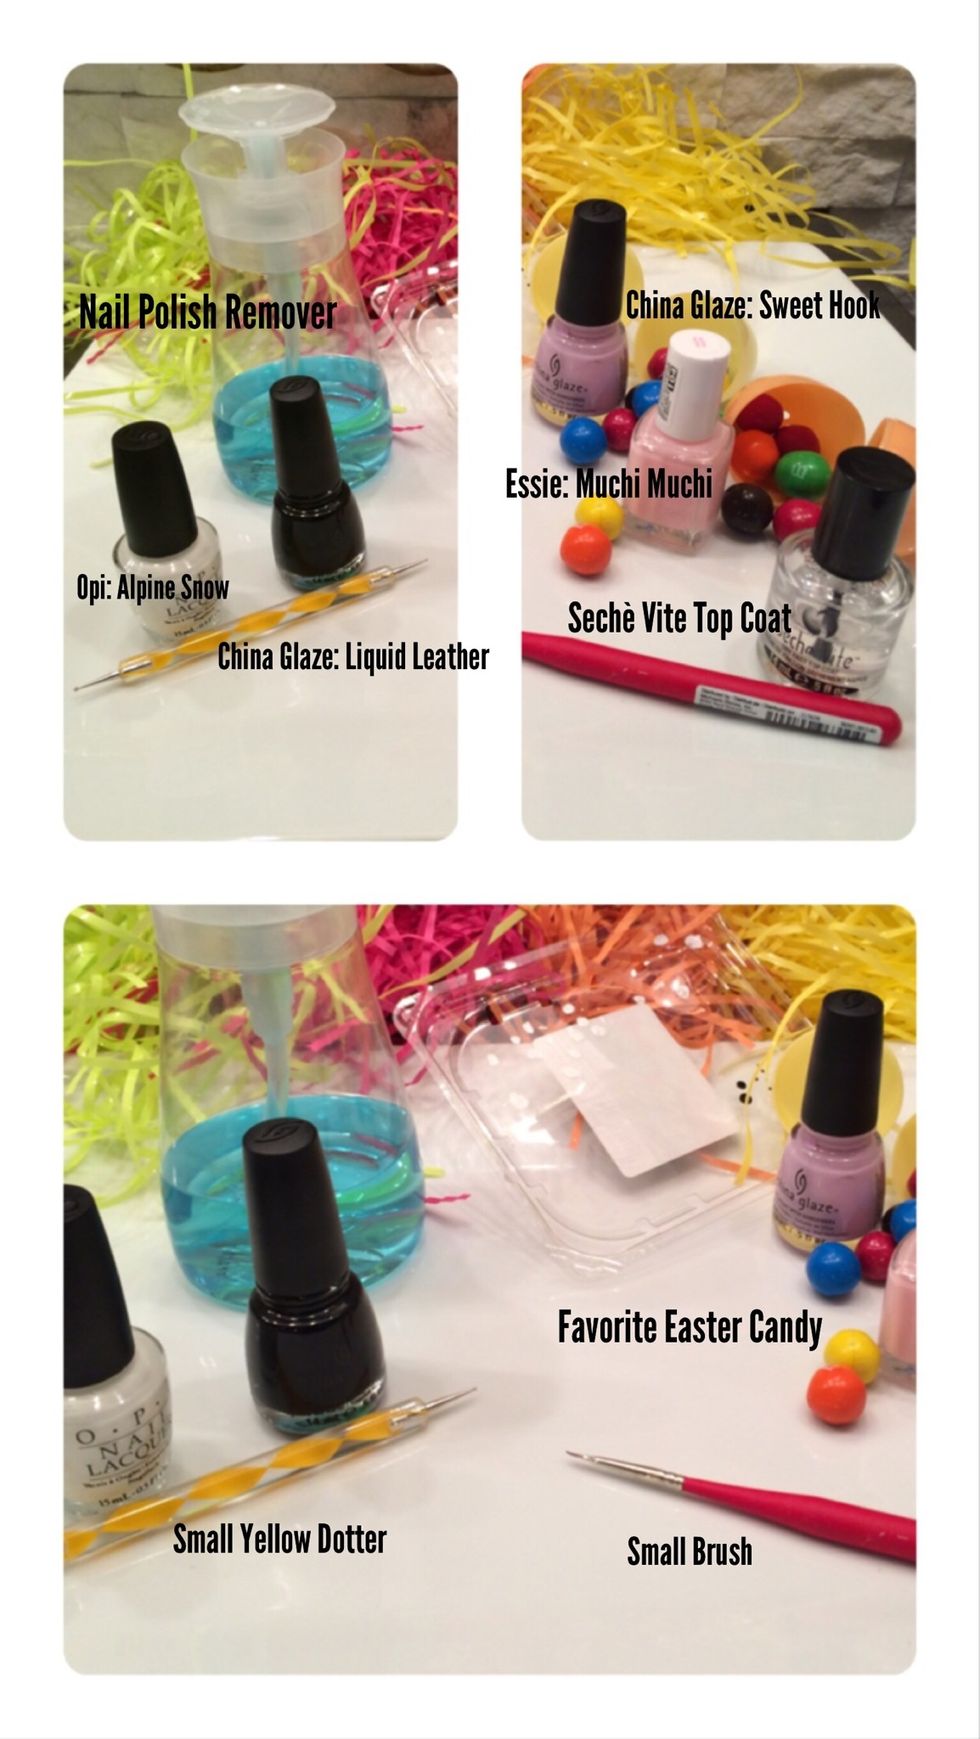
Supplies needed. The candy is for eating while your nails drying. 😜 (tap picture to see full view)
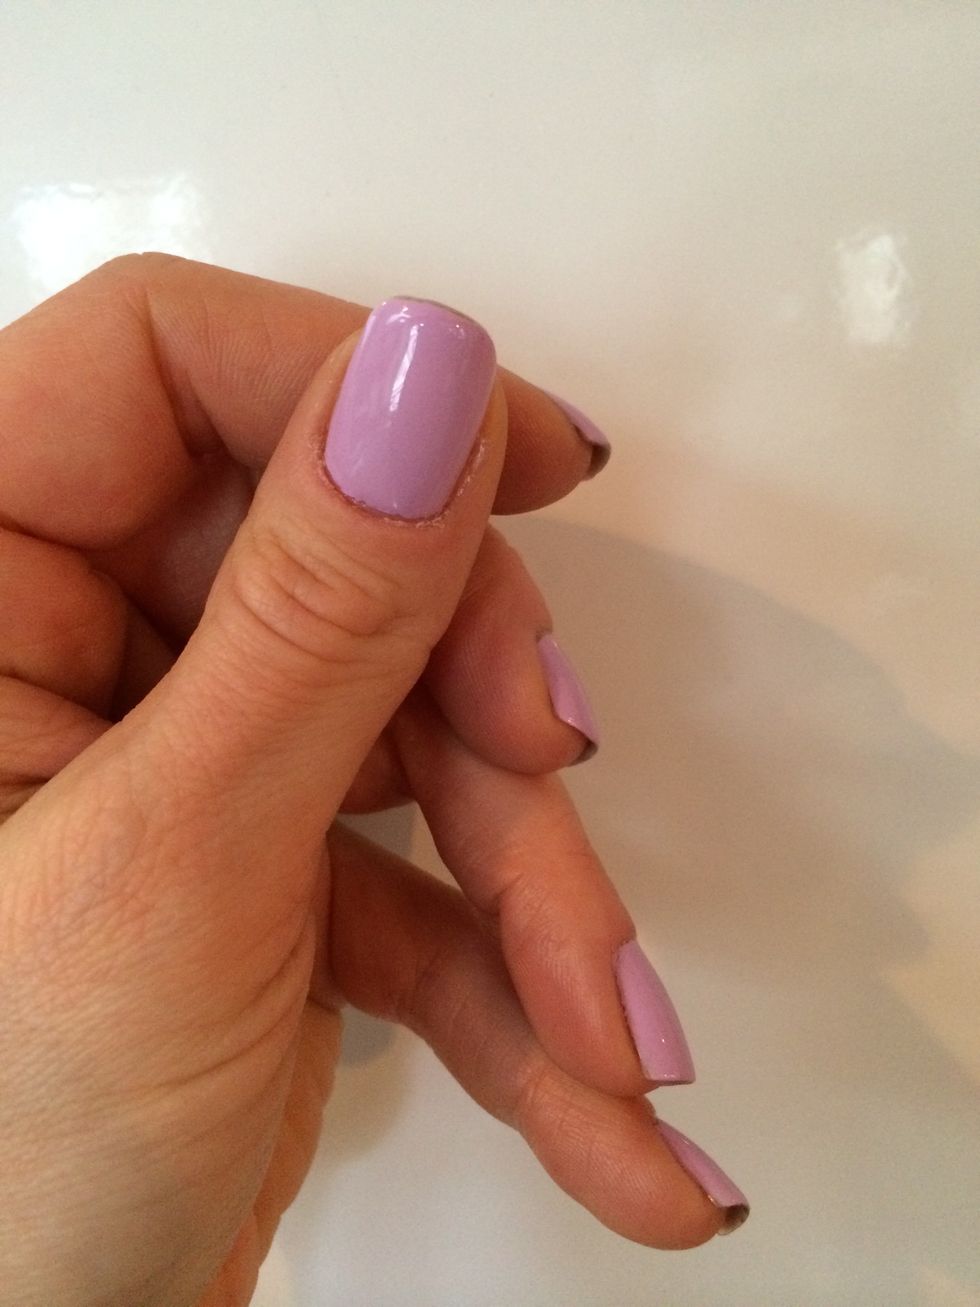
Paint nails two coats lavender or a chosen pastel. Finish with clear top coat. Usually I don't add top coat until the end, but I find the design goes on a bit more smoothly with it.
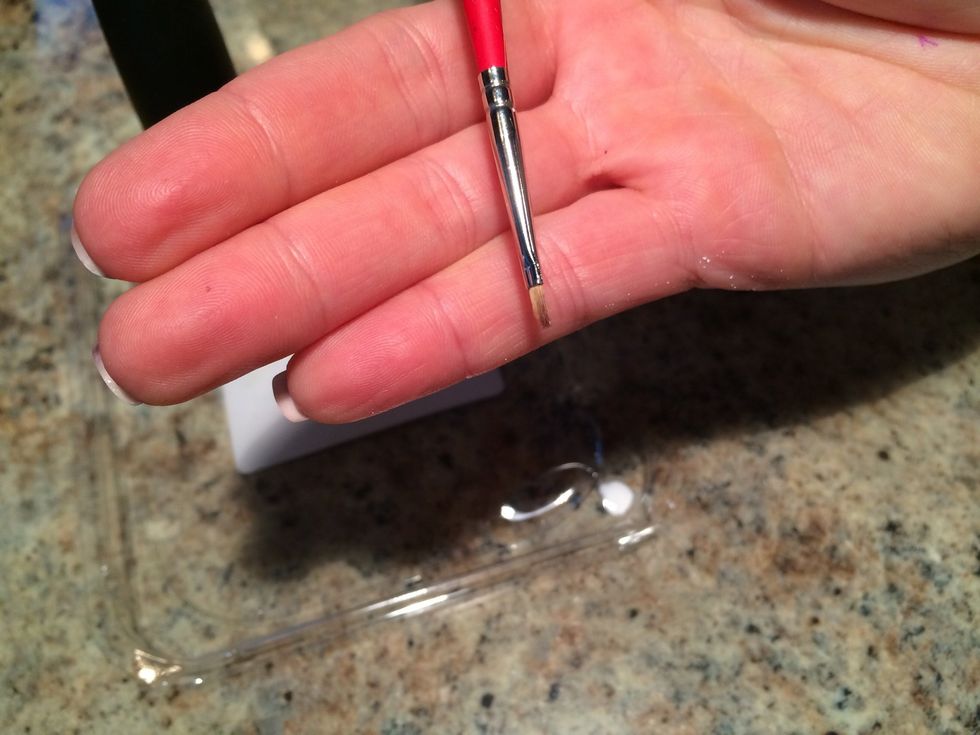
Use a small art brush. This one is a called a flat shader.
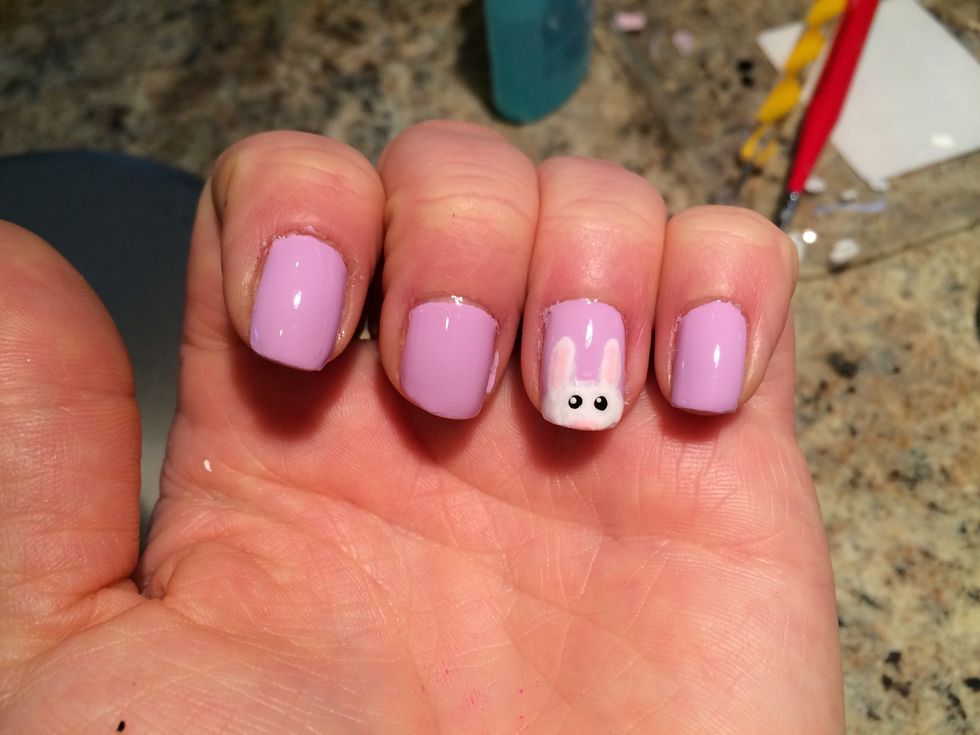
Finish your bunny with a top coat and let it dry thoroughly. Now would be a good time to eat your candy. 😛
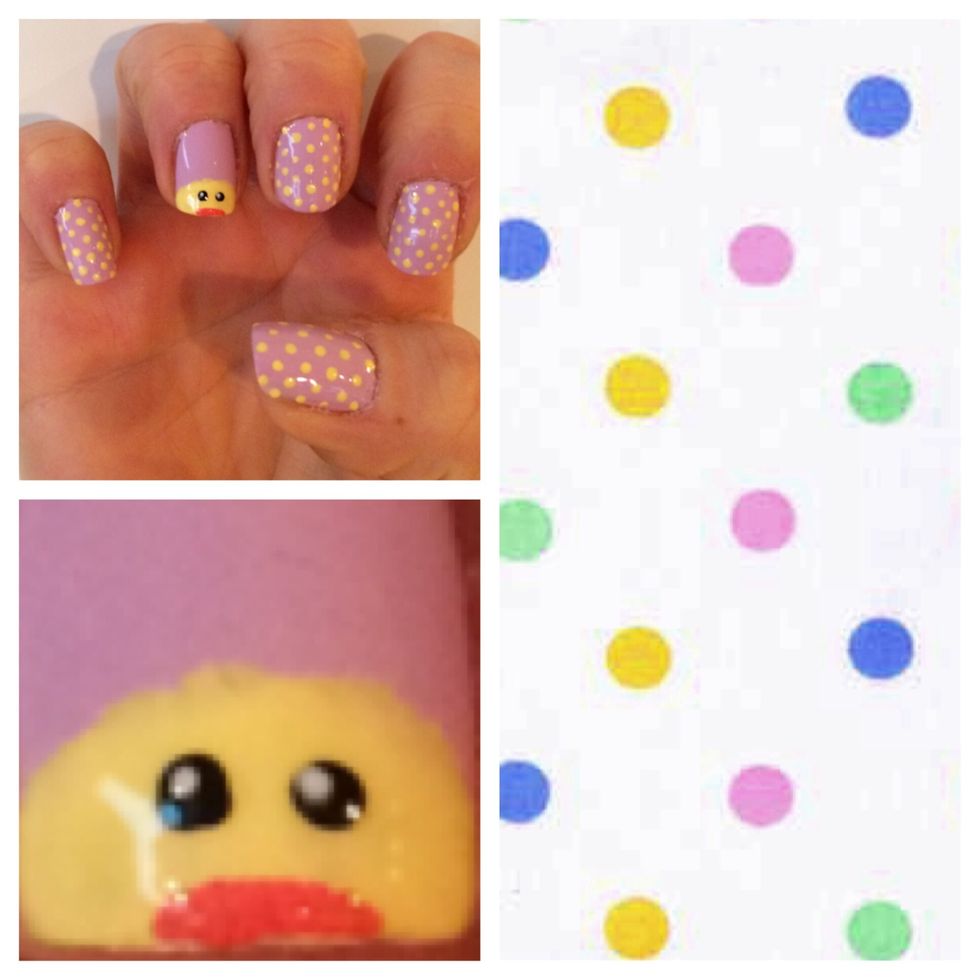
I added a chick on my right hand with yellow polka dots. Not super happy with the yellow/purple dot contrast, but I like the chick.
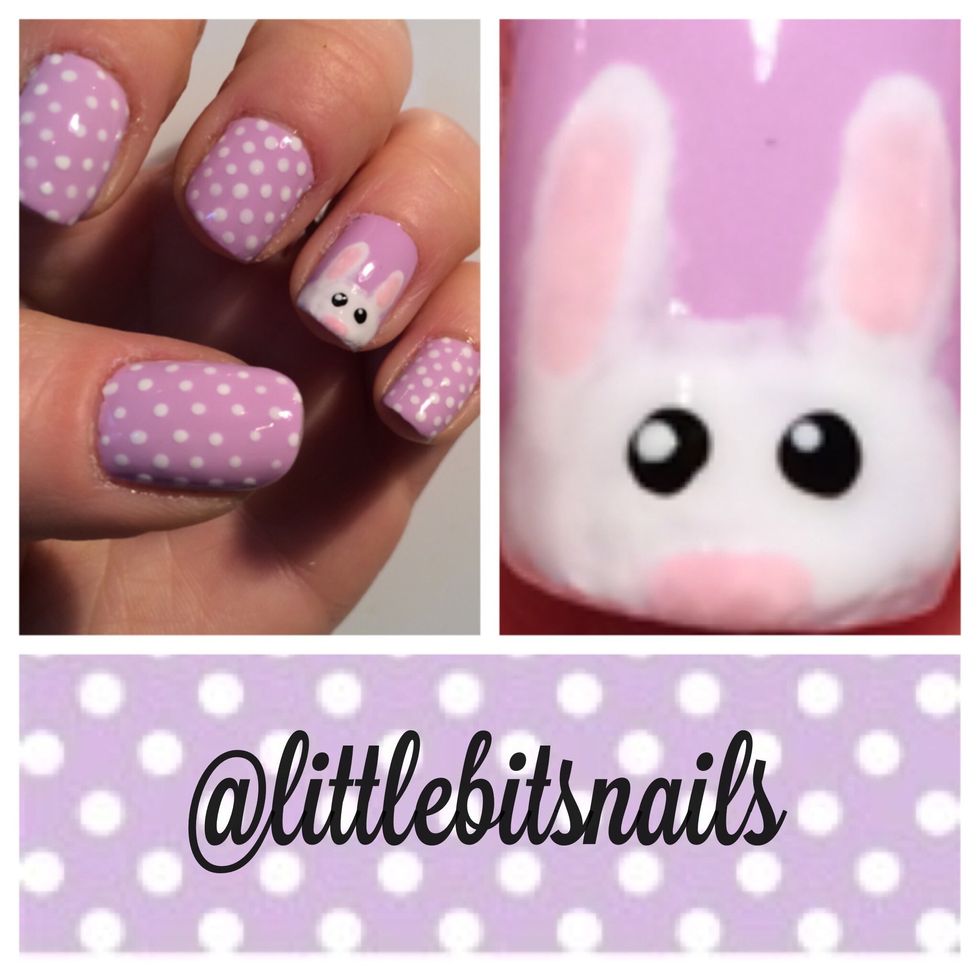
Happy Easter!💐🐇🐣