The Conversation (0)
Sign Up

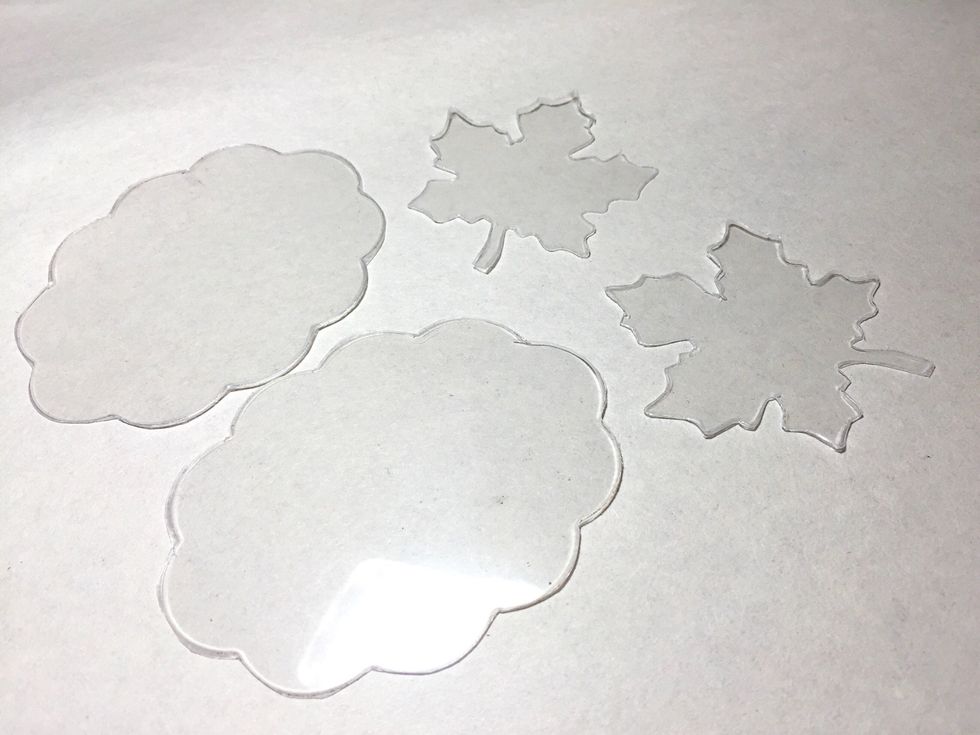
use Shrink Film in Clear...
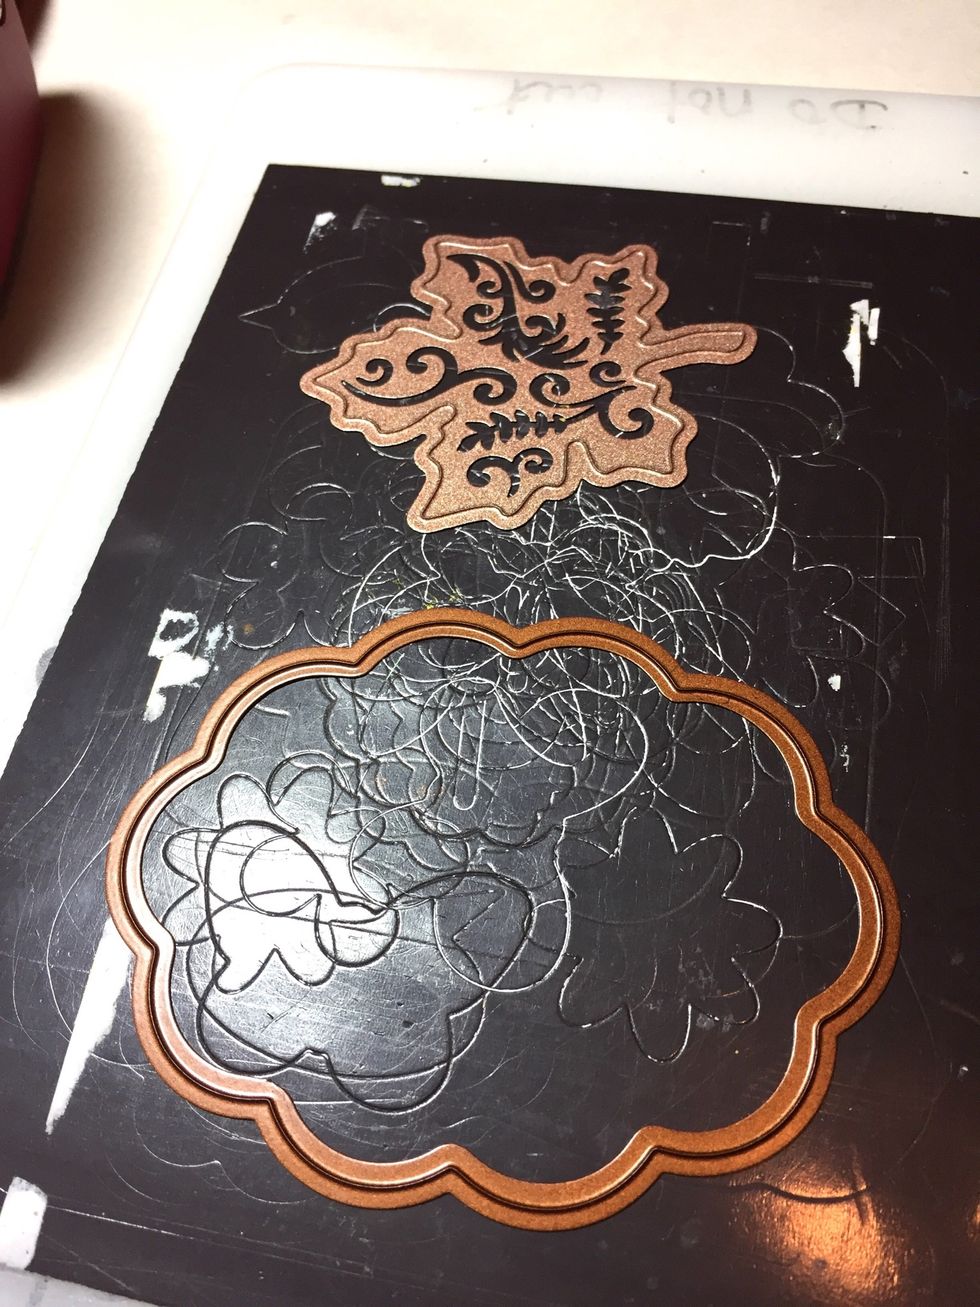
select and set up your diecuts according to your machines directions. *note: fine details, like the filigree patterns on the leaves will not be cut out due to the thickness of the Shrink Film.
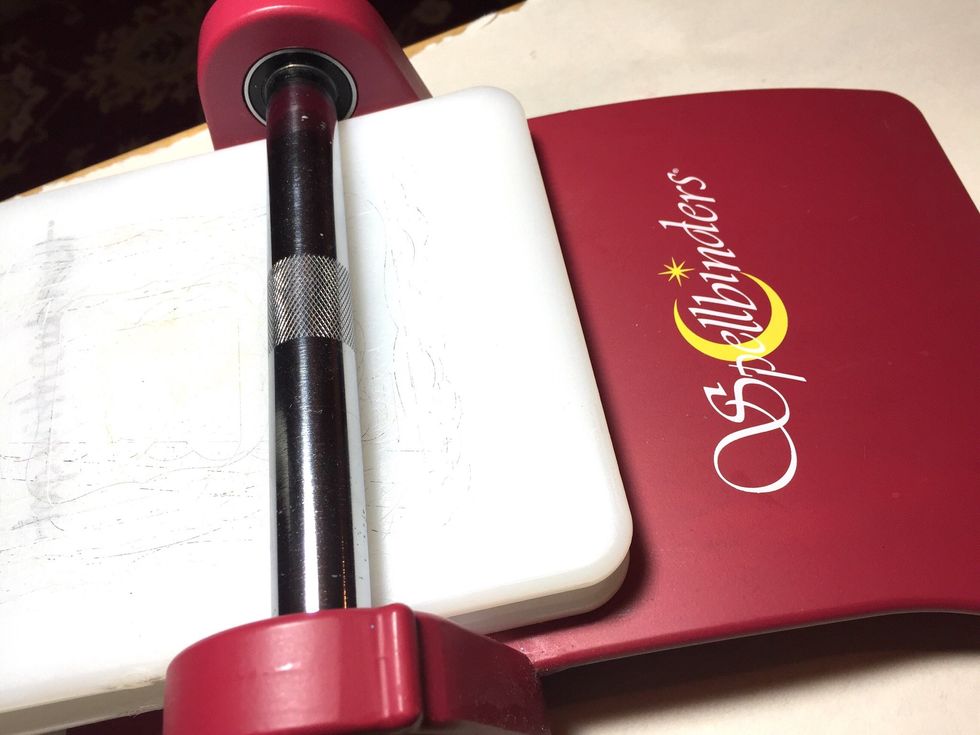
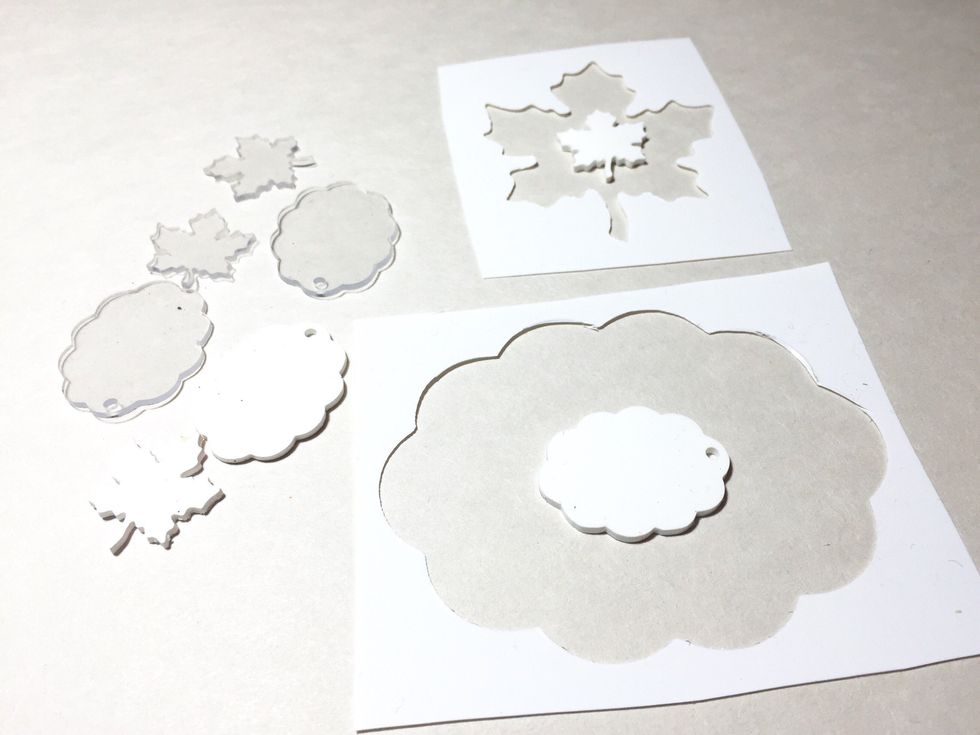
run through your machine to punch out shapes.
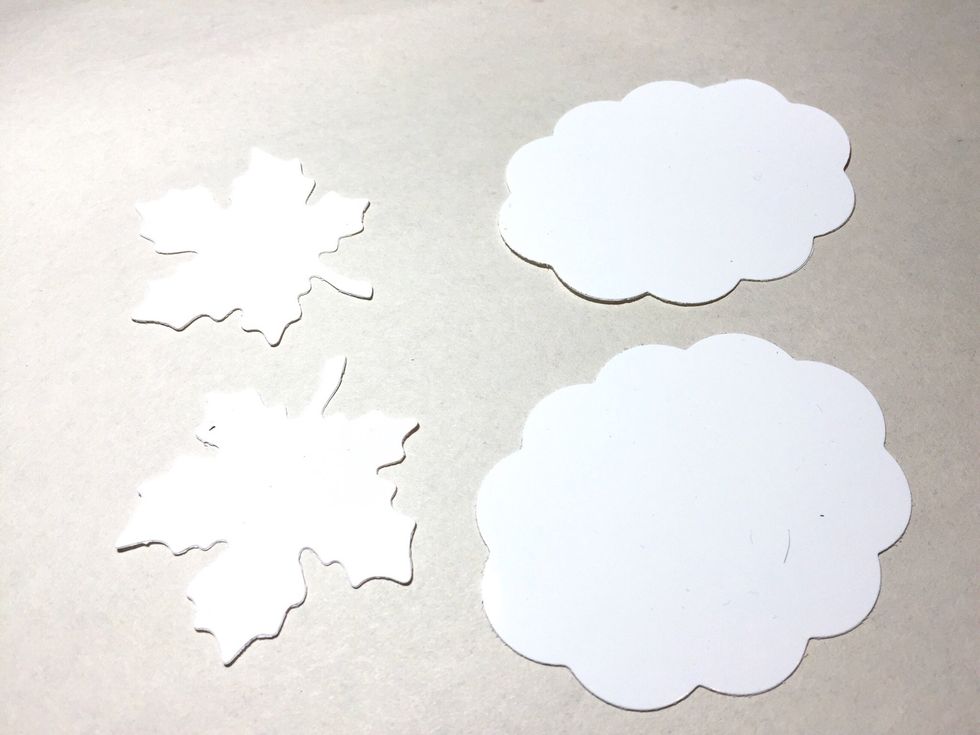
you will need 2 of each shape.
i cut out one set from white and one set from clear, so i could decide how i wanted to layer them.
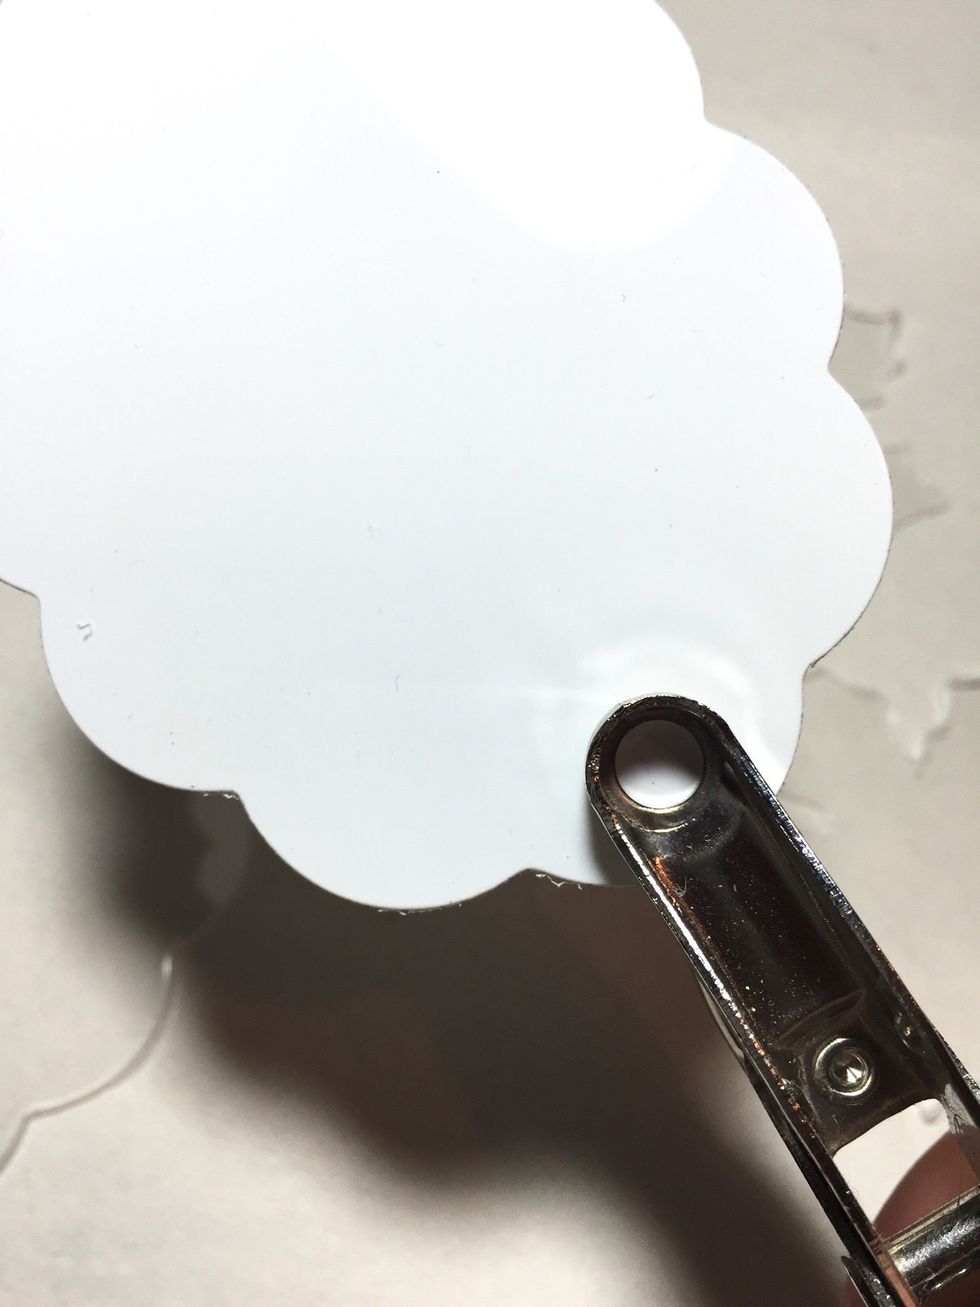
punch holes in the top of the oval pieces.
bake and shrink pieces according to package directions before inking them. i use a parchment lined backing sheet to shrink mine.
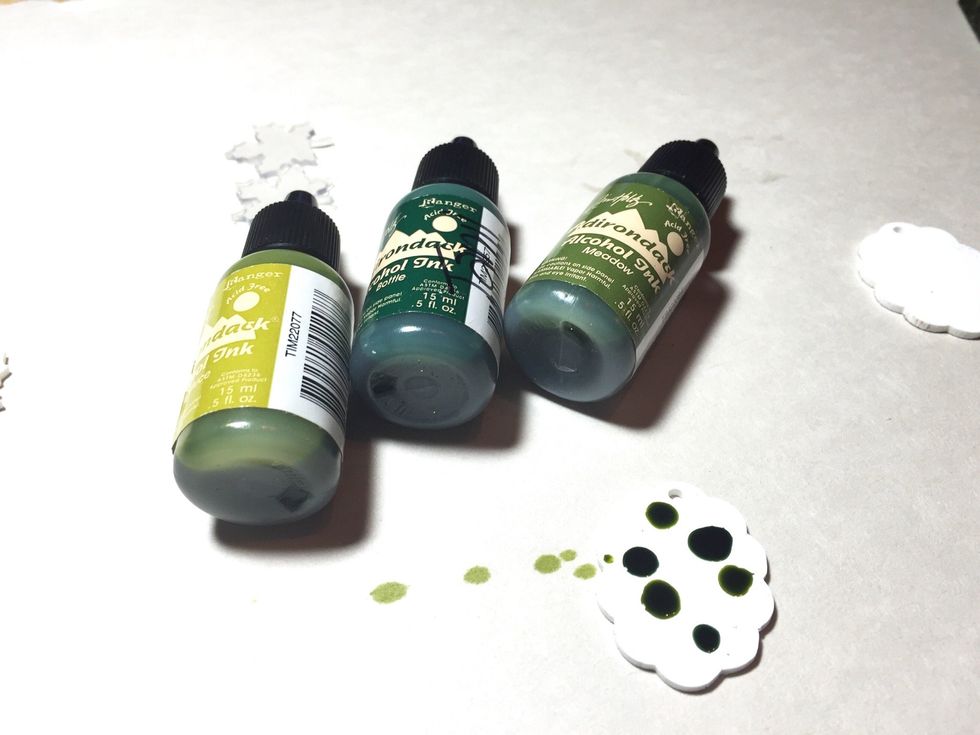
working on one piece at a time, add drops of the different green inks on the oval pieces.

then dab using the Color Blender to gently spread and blend the inks. don't overblend.

after you have applied your background color, dribble drops of ink on the pieces and let them "bloom".
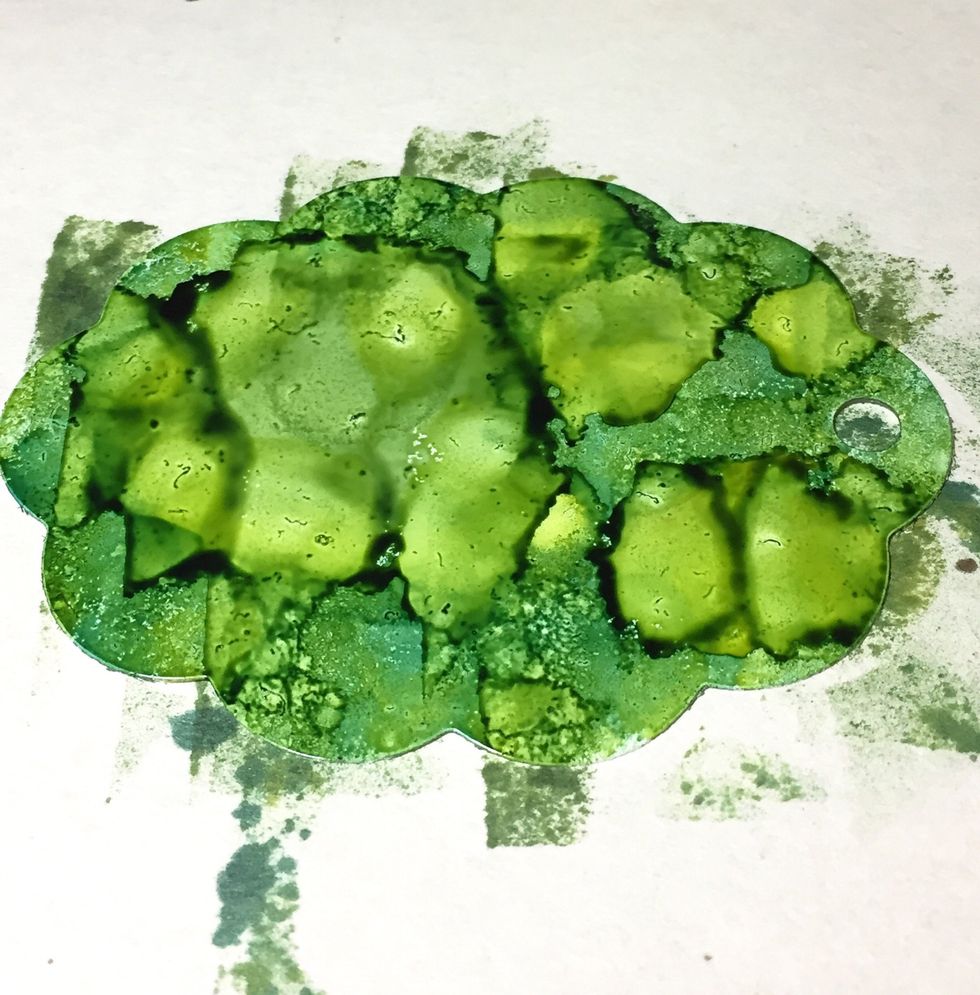
keep adding drops of ink until you are happy with the pattern.
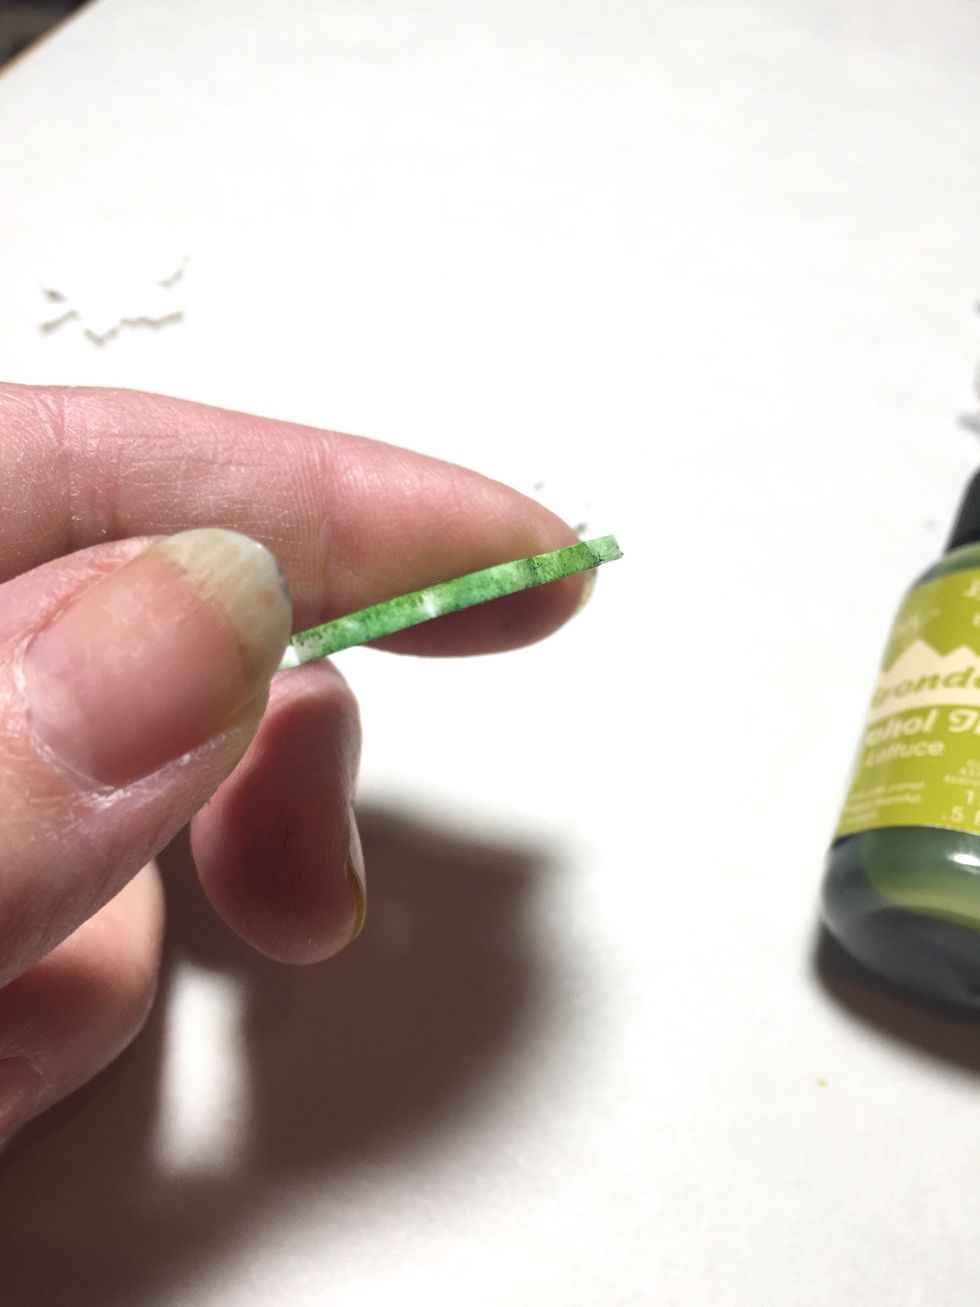
also ink the sides of the pieces.
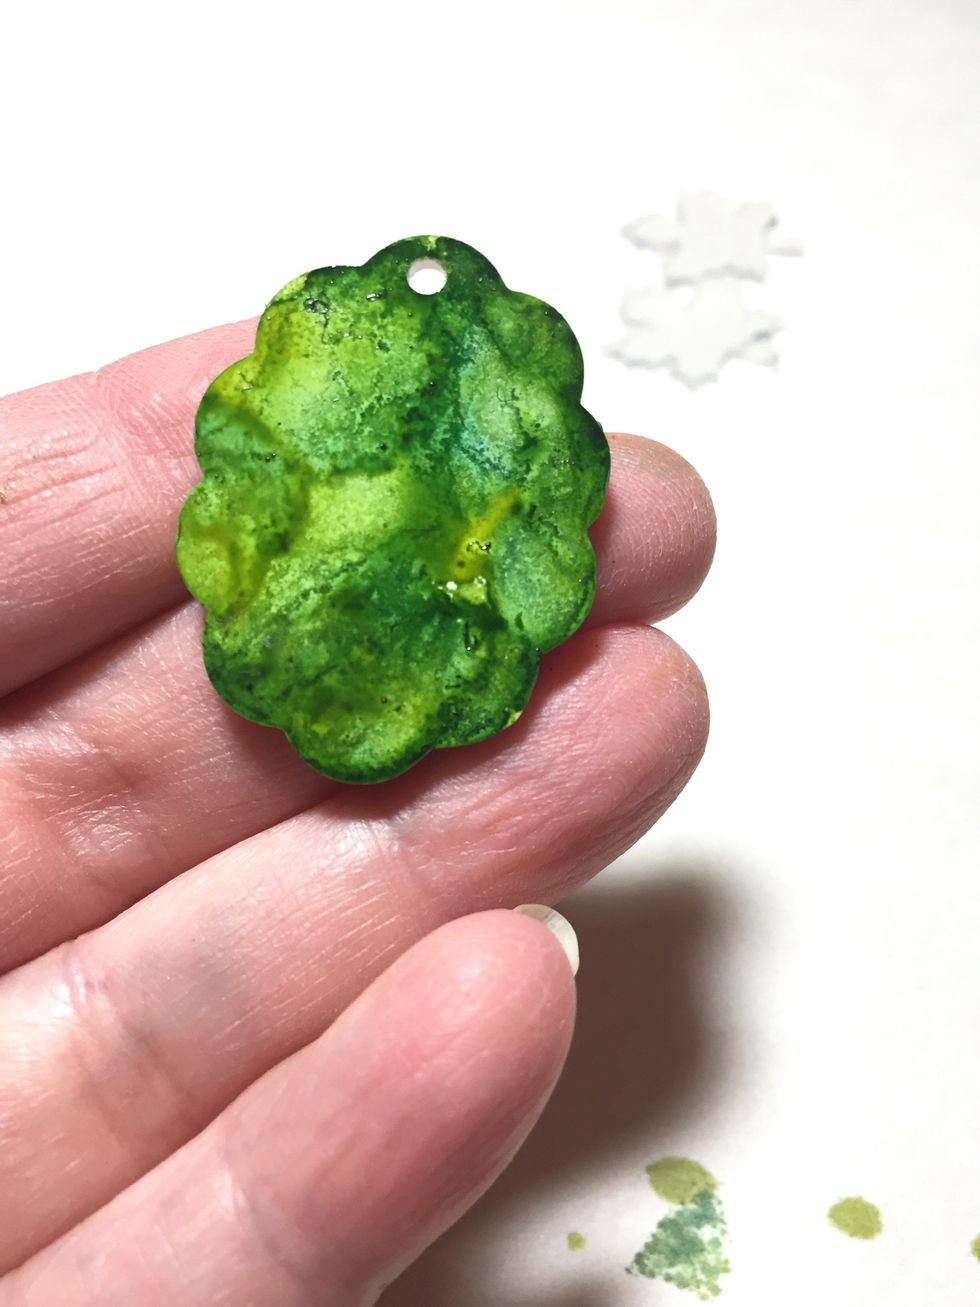
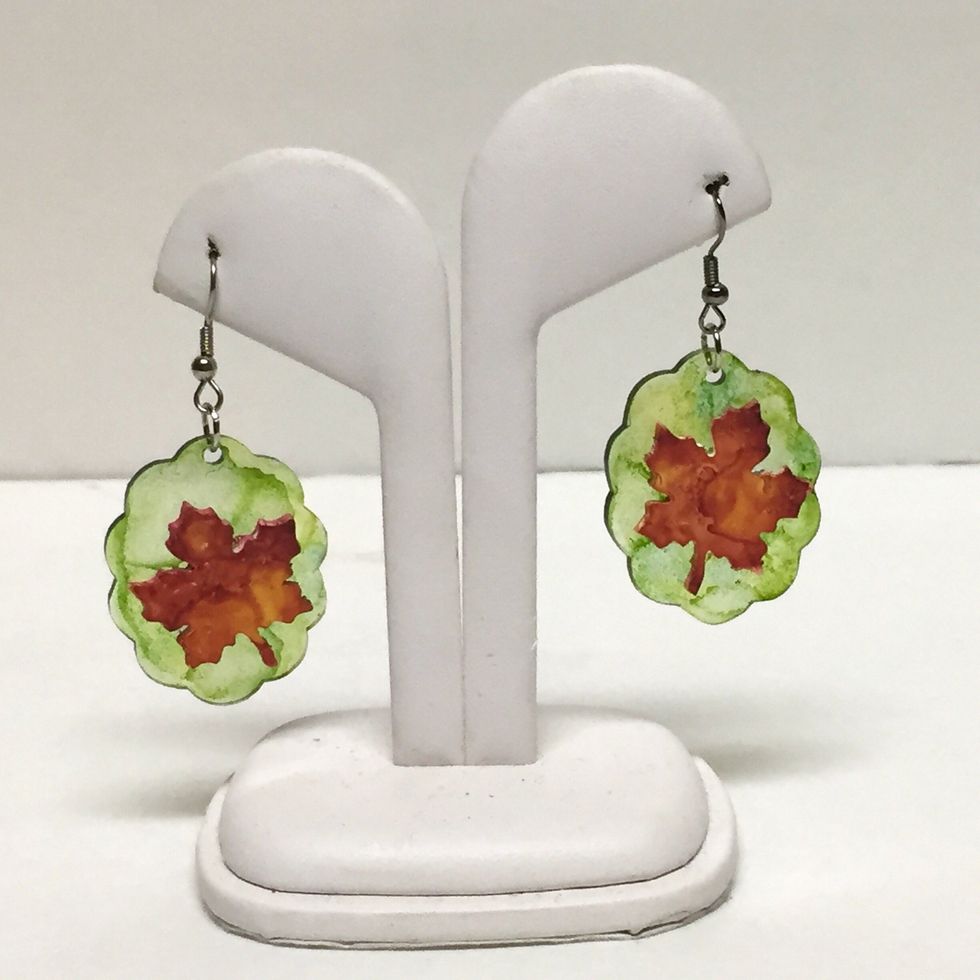
finished piece.
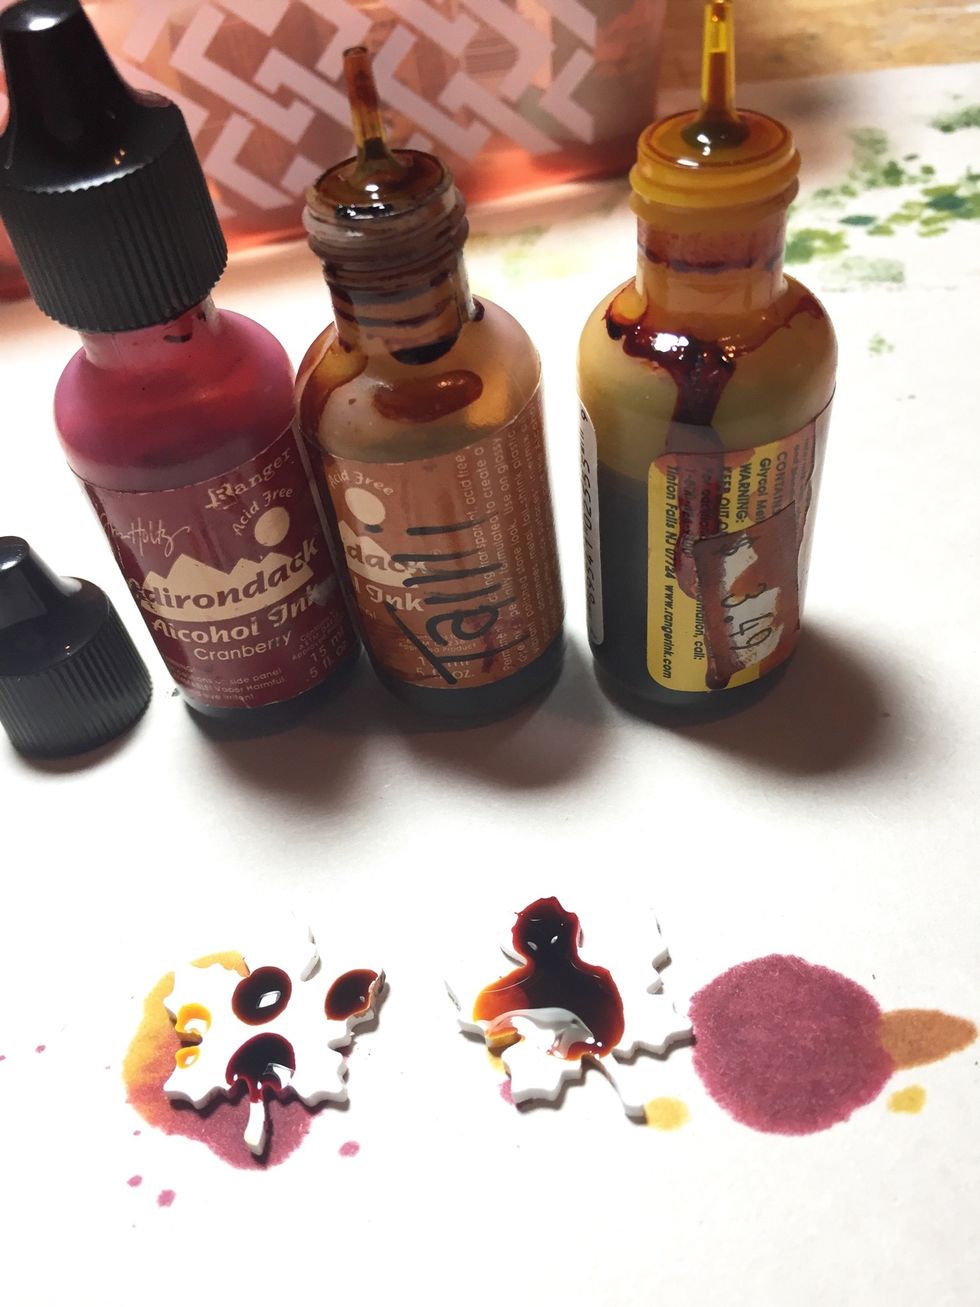
repeat the process on the leaves using the orange, red and brown inks.
use Beacons 3-in-1 Glue to adhere leaves to ovals. i decided i liked the white Shrink Plastic leaves on the clear backgrounds the best.
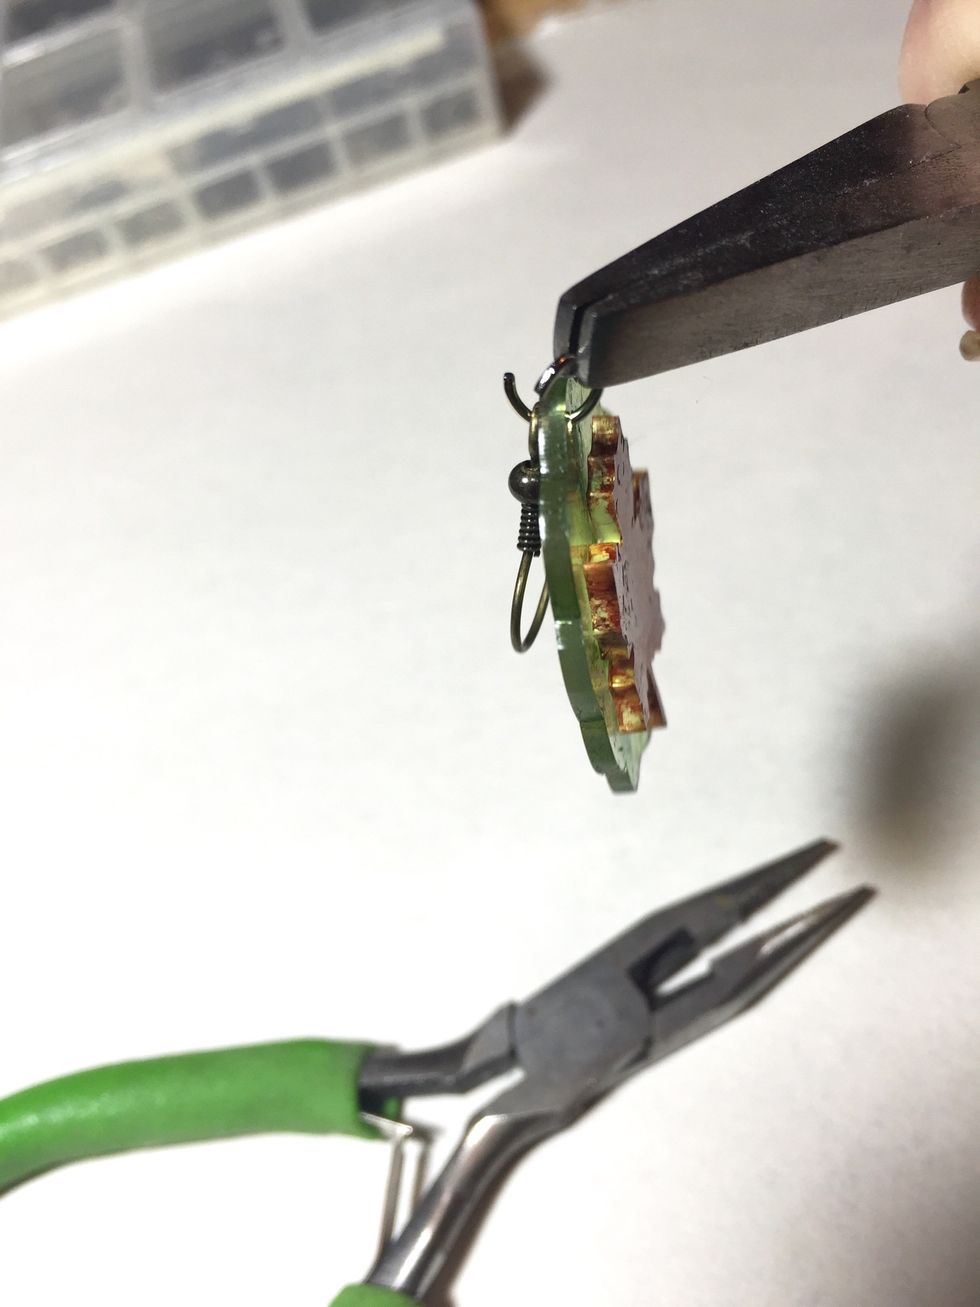
once glue has set, attach ear wires using jump rings.
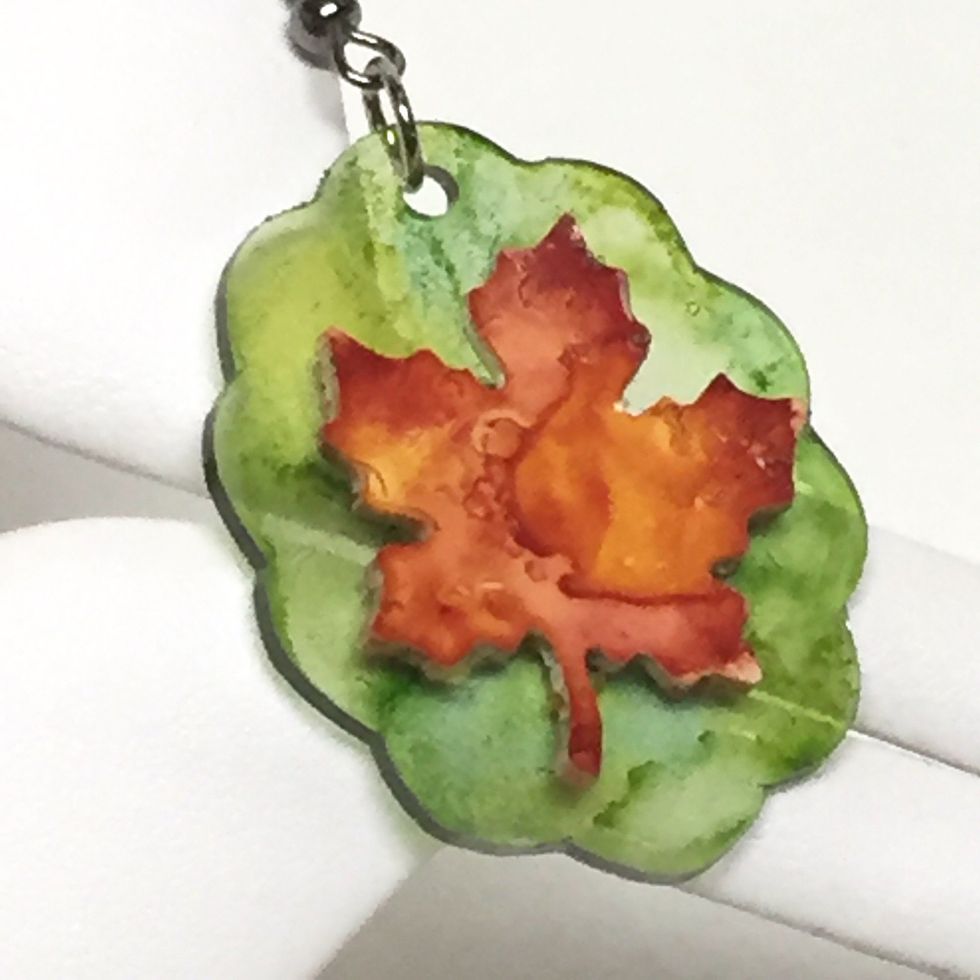
closeup of finished earring.
experiment with your diecuts and punches to create your own unique jewelry.
i hope you enjoyed this project. you can get more great project ideas by visiting the GRAFIX website and blog www.grafixarts.com you can find me on my blog www.tamisanders.com