The Conversation (0)
Sign Up

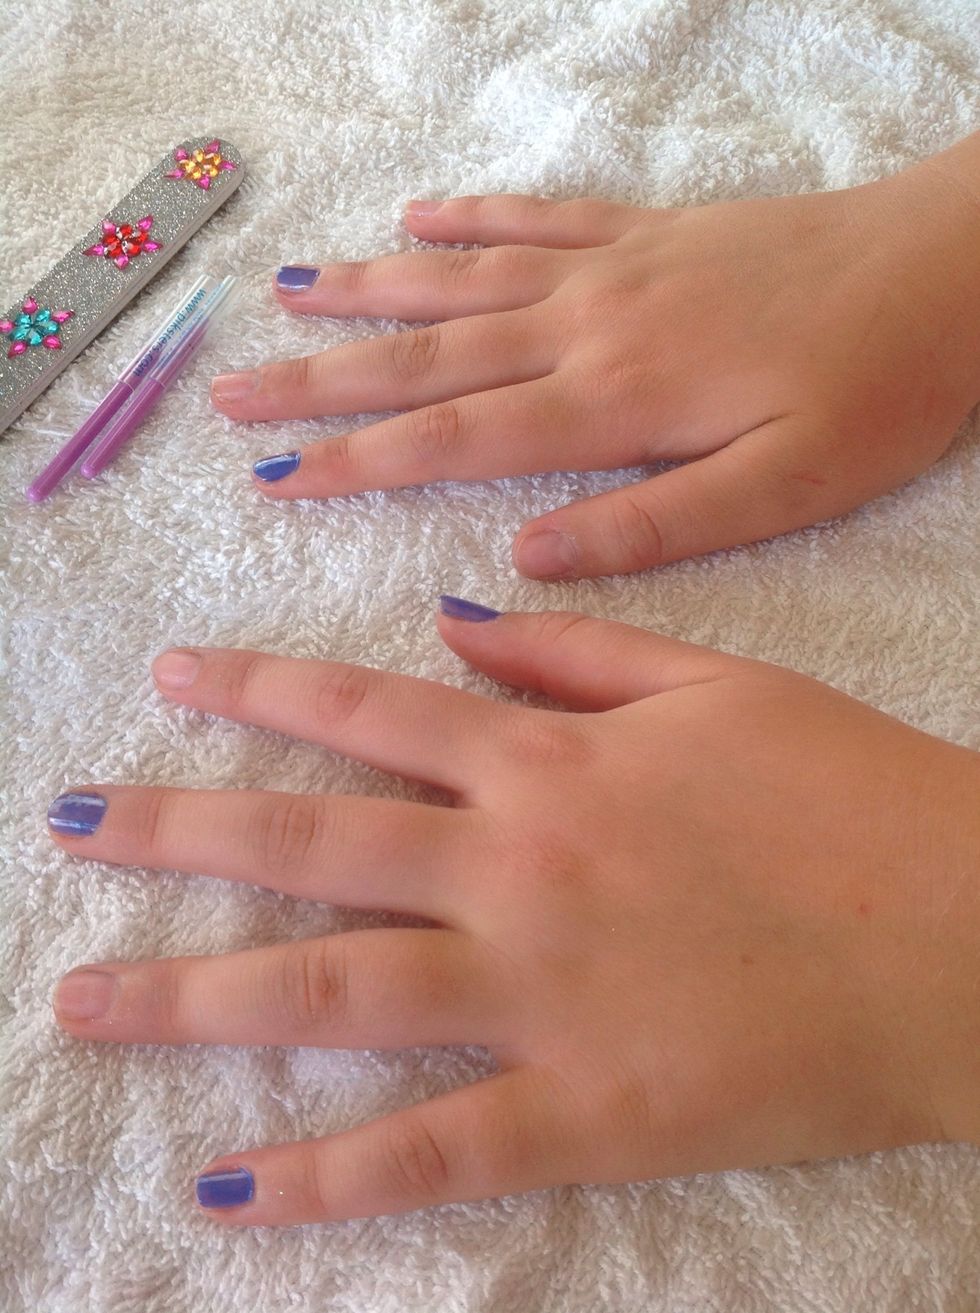
Wipe off any old nail polish.

This is what you'll need.
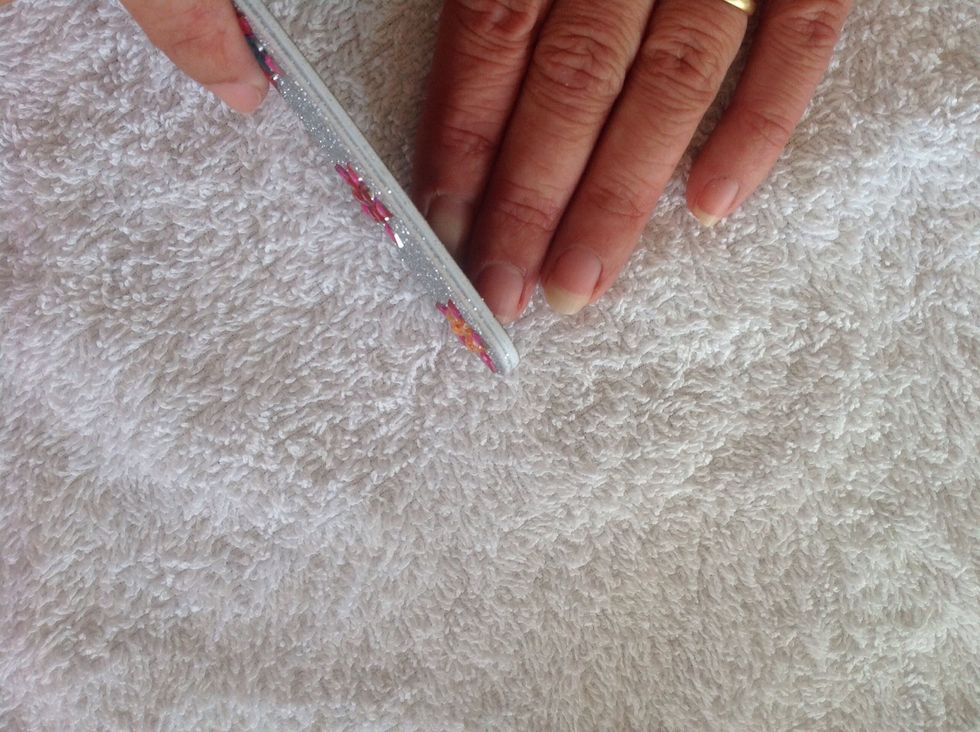
To keep your nails healthy and in a nice shape, file them. Don't take your whole free edge off to ' keep it healthy' just take just take like a millimetre.
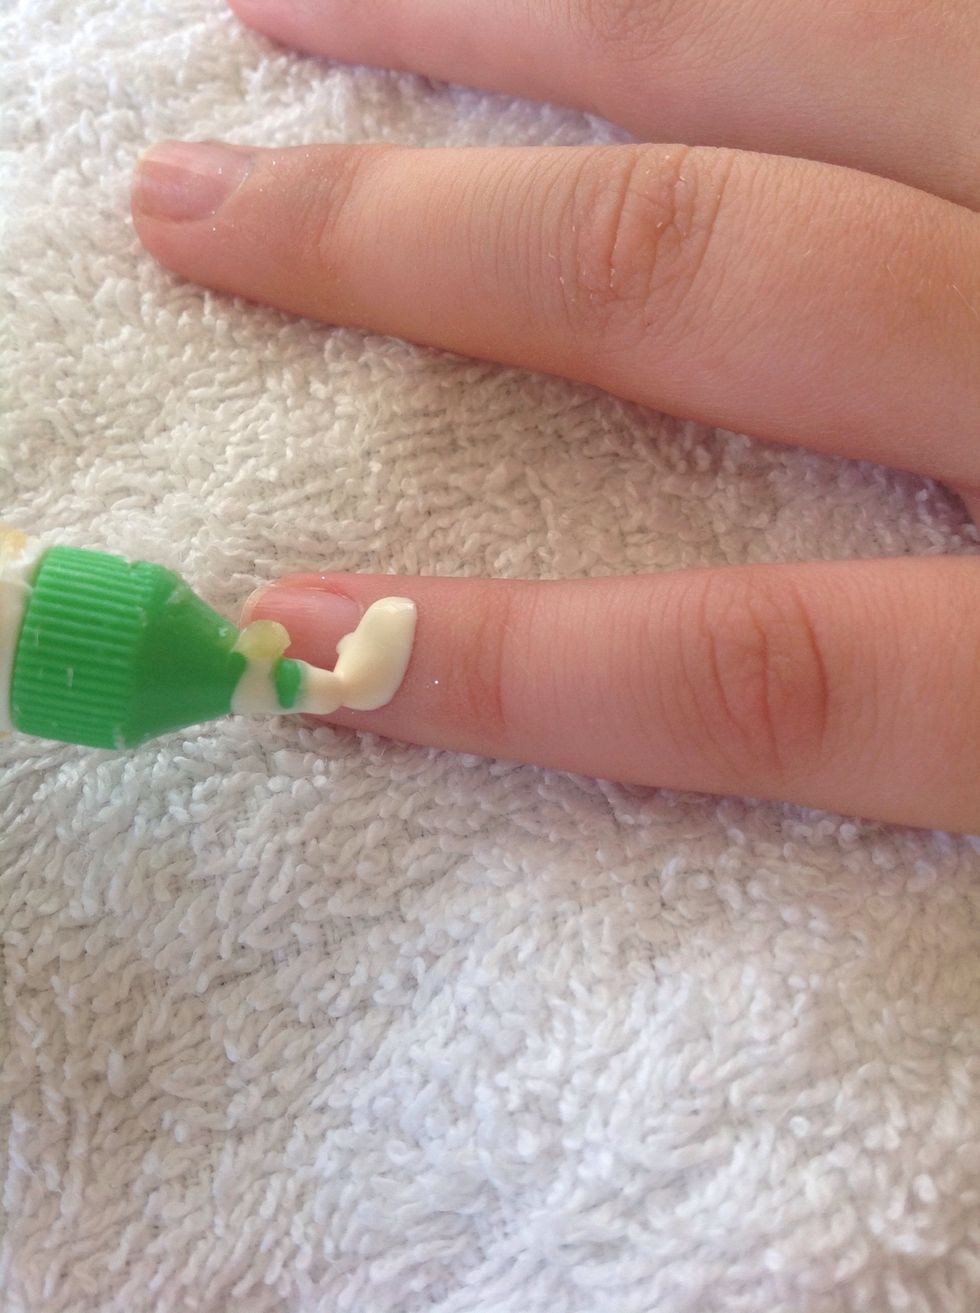
Now for the glue you can put a thin layer around the nail. When it drys if you get nail polish of you nail area you just peel it off. Or there's a much easier way I'll show you with Q tips.
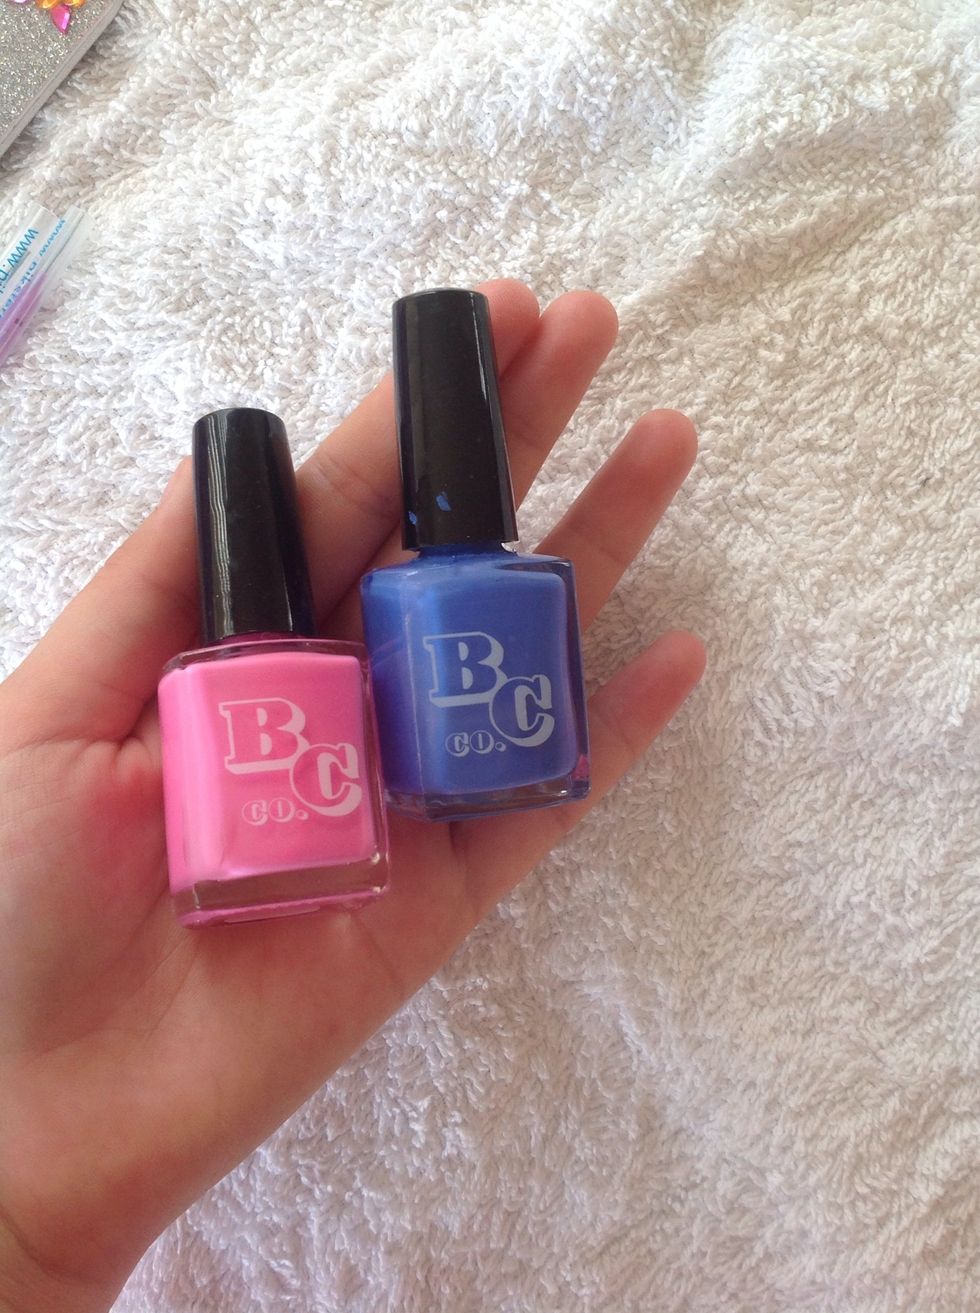
Choose 2 colours that you want to use. If you want you can go the classic black and white. But I think it looks good in any colour.
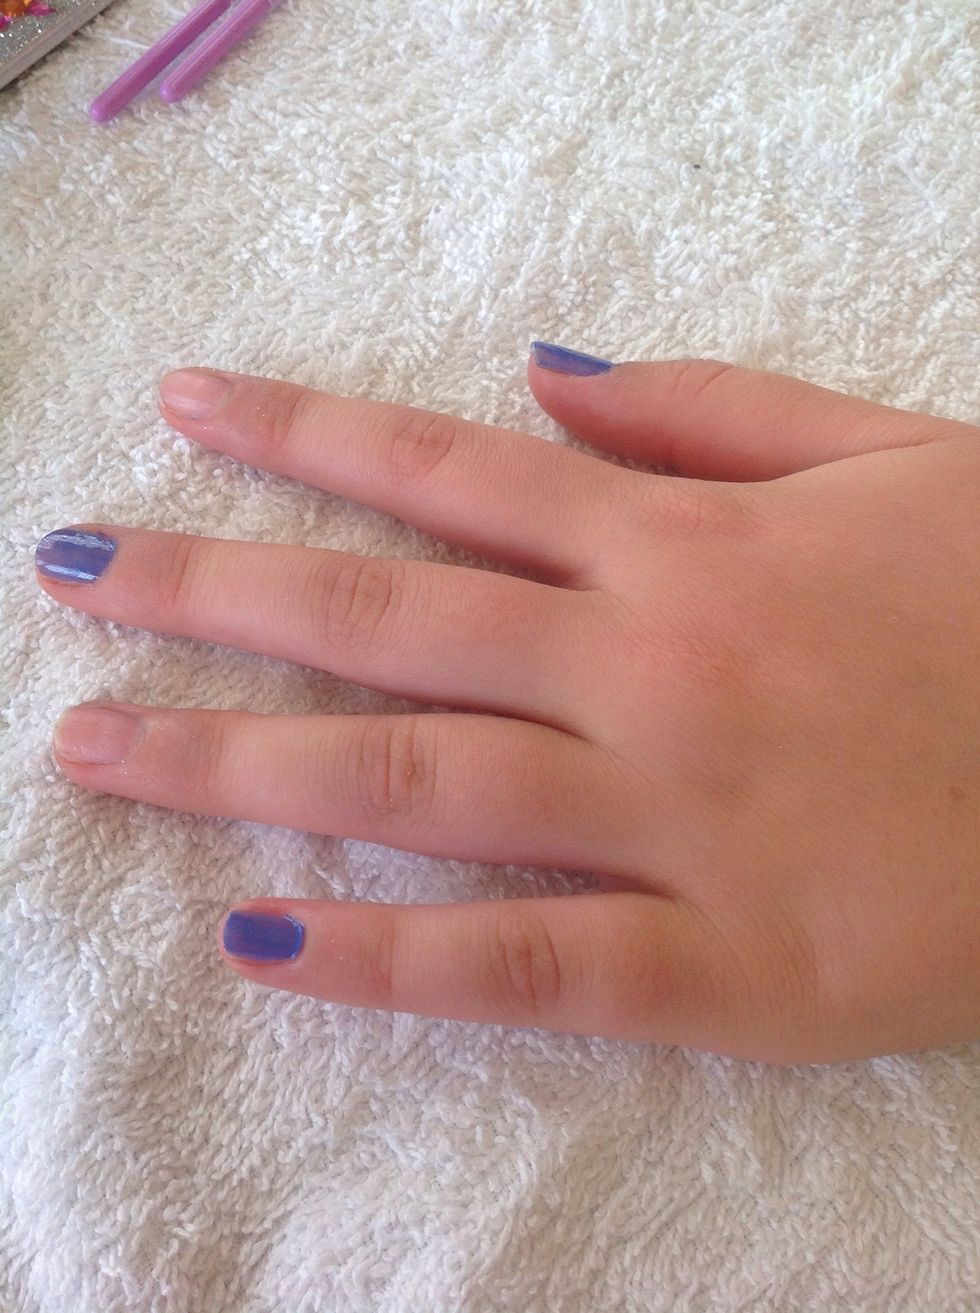
Start by choosing your first colour. Paint 3 of the nails, make sure to leave a blank nail between each one.
This is what it should look like once you've done both hands with your first colour.

Get your second colour, mine is pink.
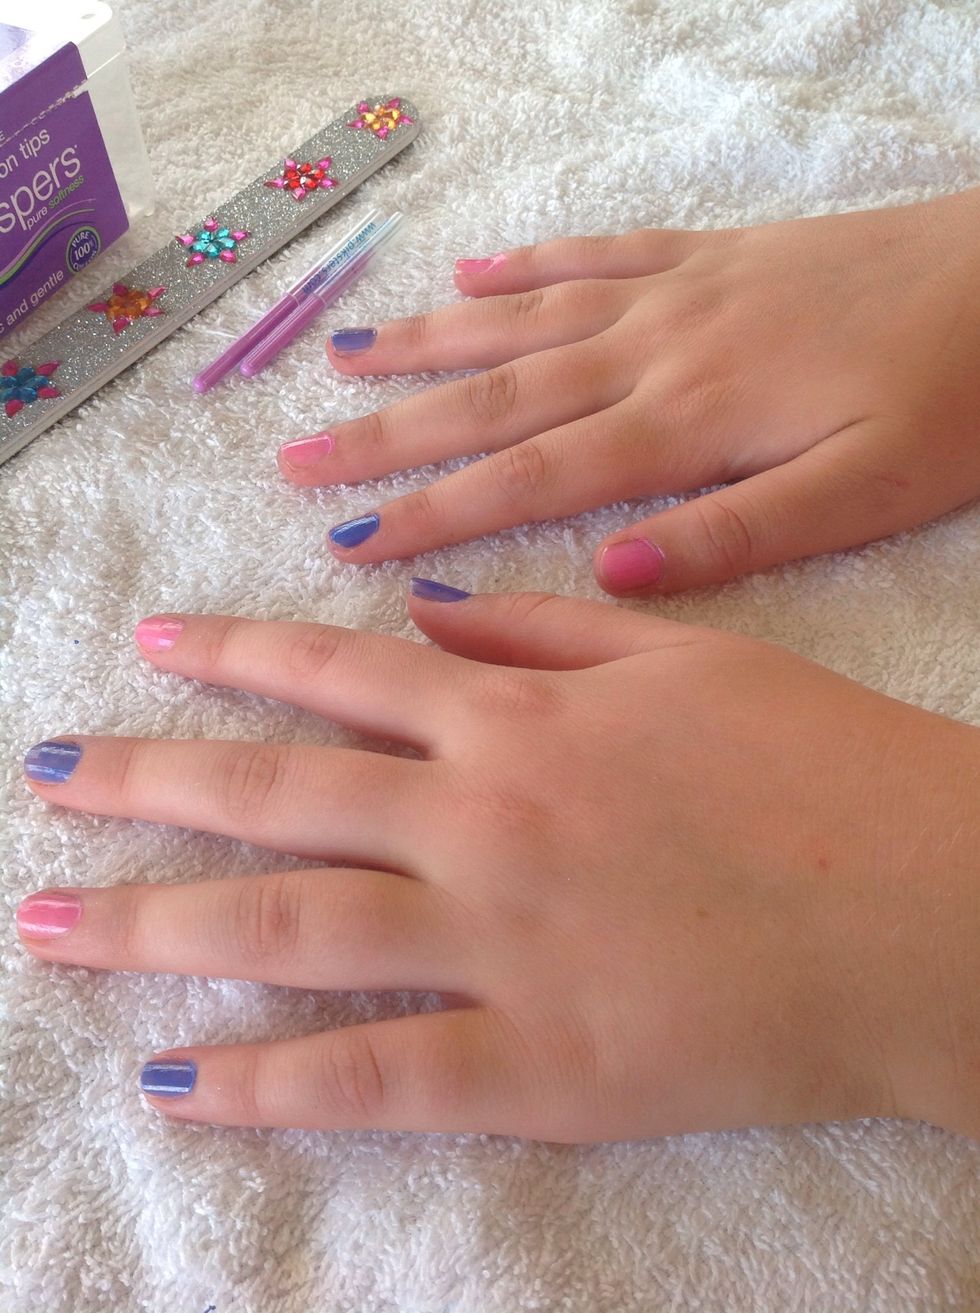
Paint the remaining nails with the pink. It should look like this.
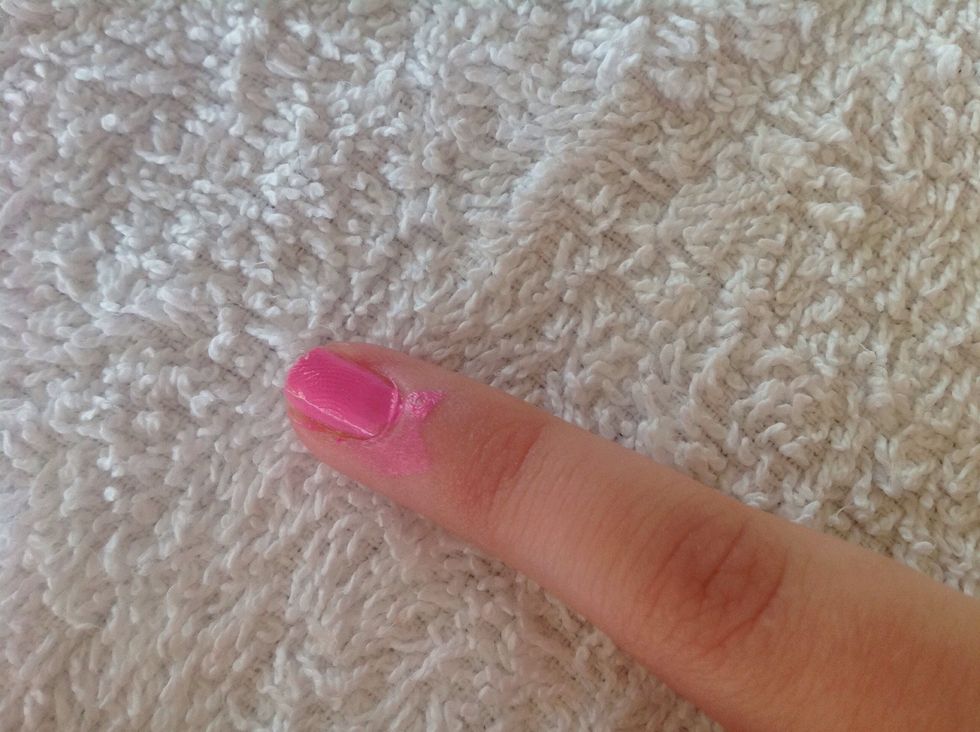
Now here's were the Q Tip trick comes into it. Because we all get nail polish on our skin on the side of our nails, or on top. I purposely made this smudge so I could show you all.
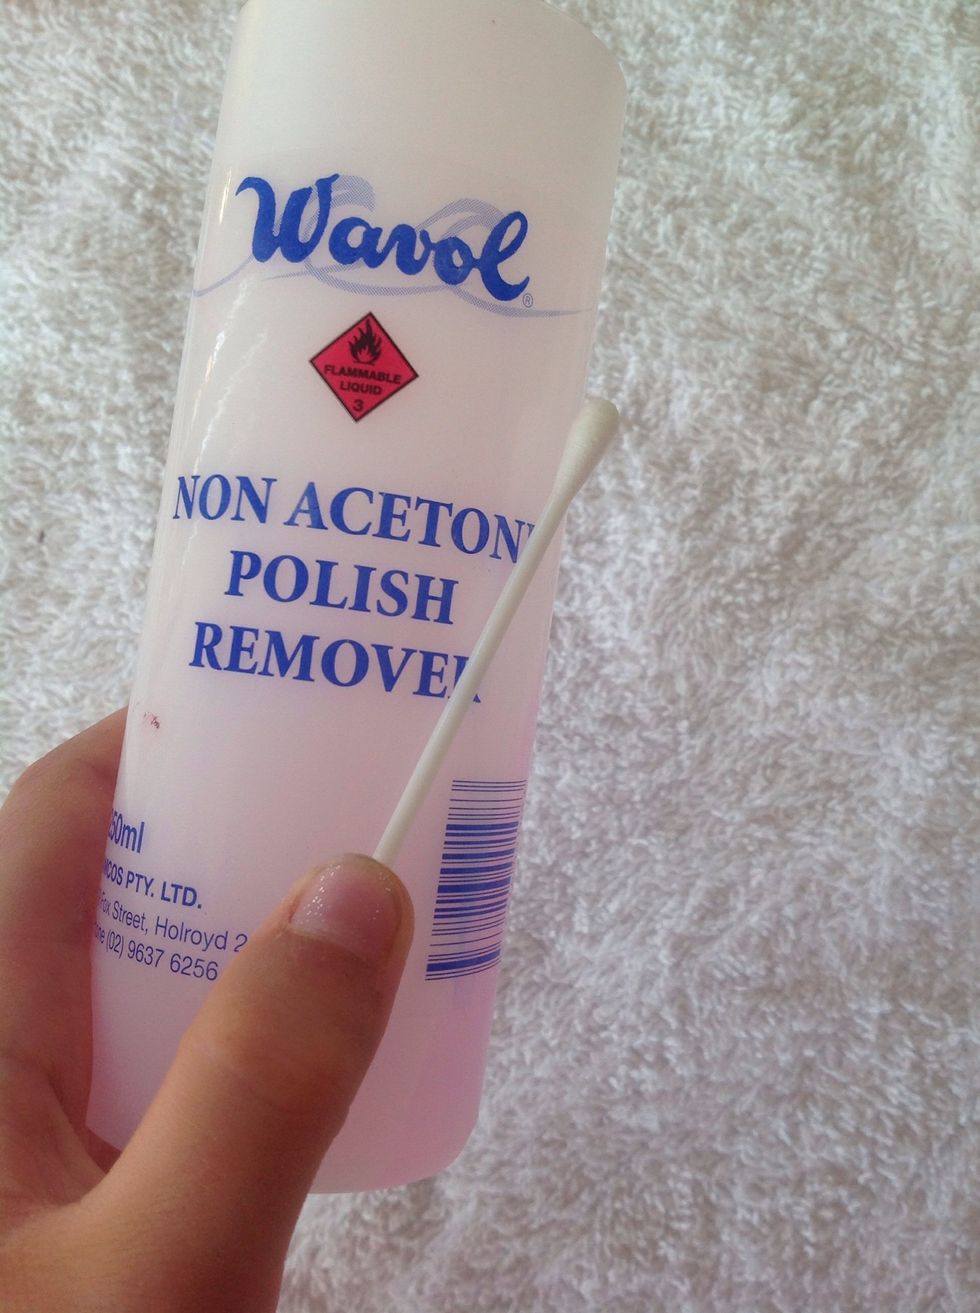
Get your Q Tip and nail polish remover.
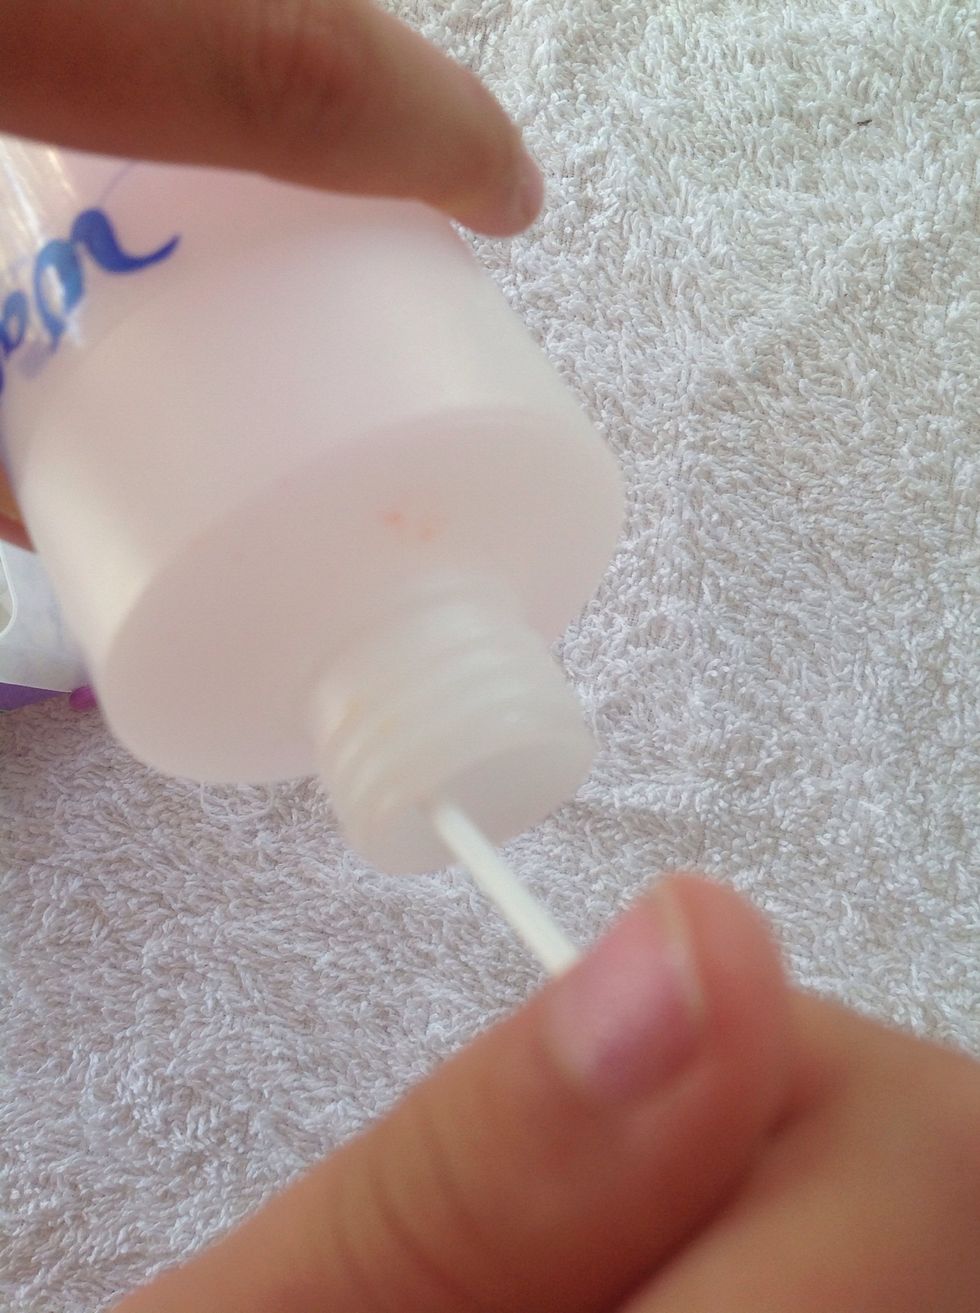
Dip your Q Tip into your nail polish remover.
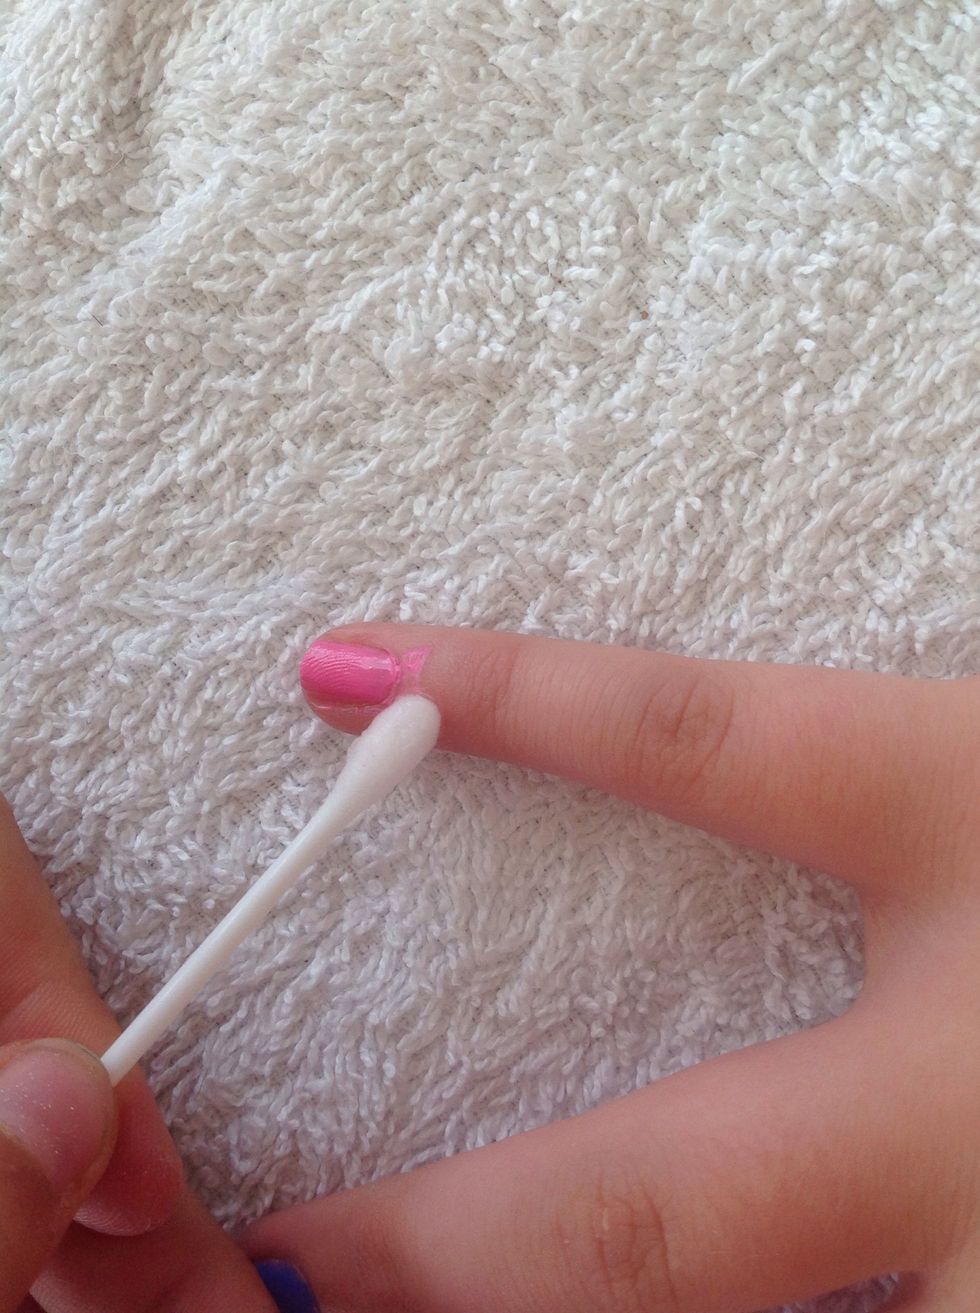
With your wet Q Tip gently and carefully wipe around the area the smudged nail polish is.
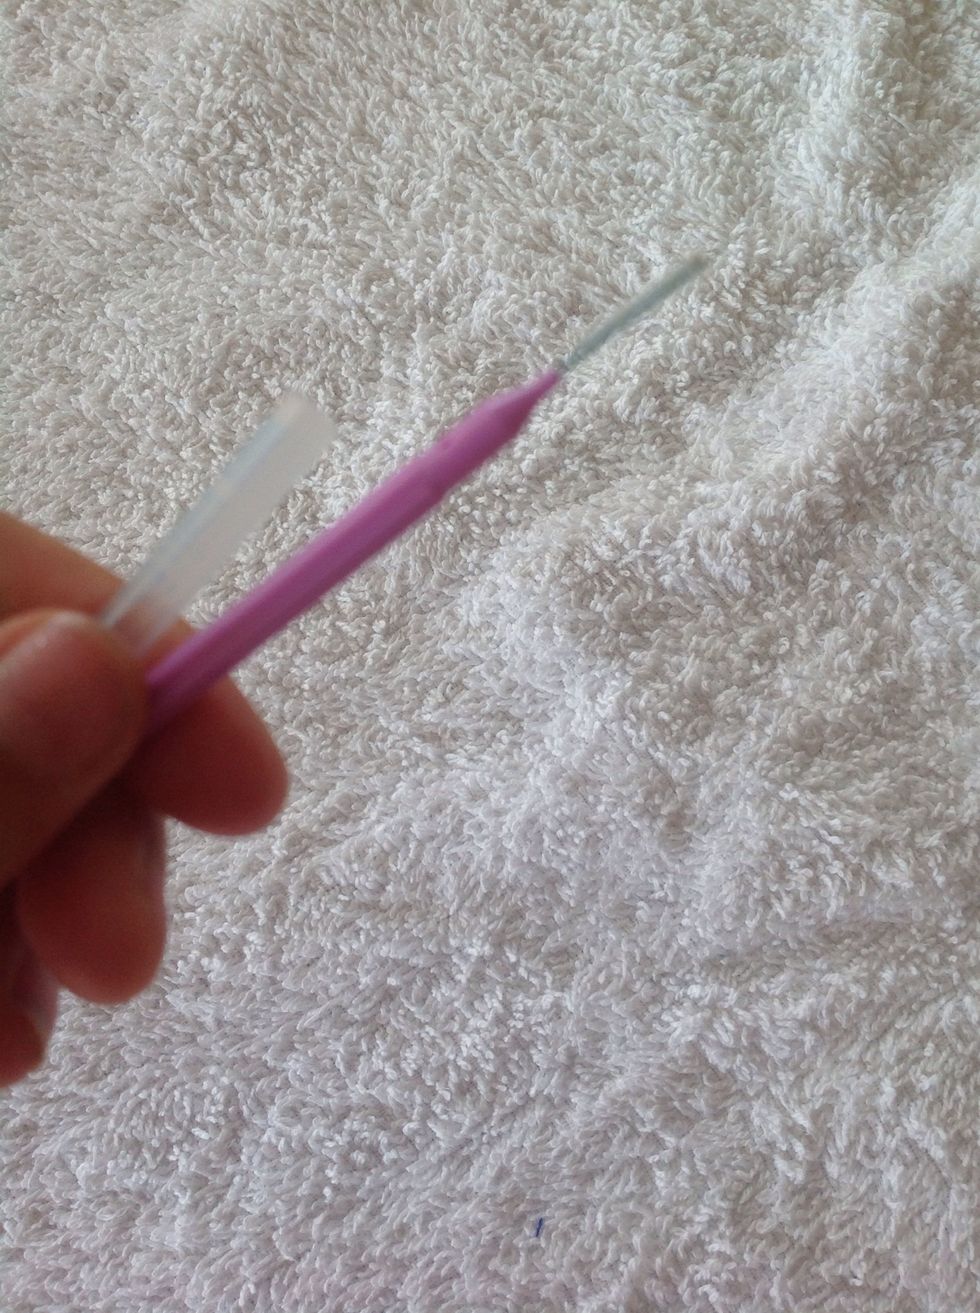
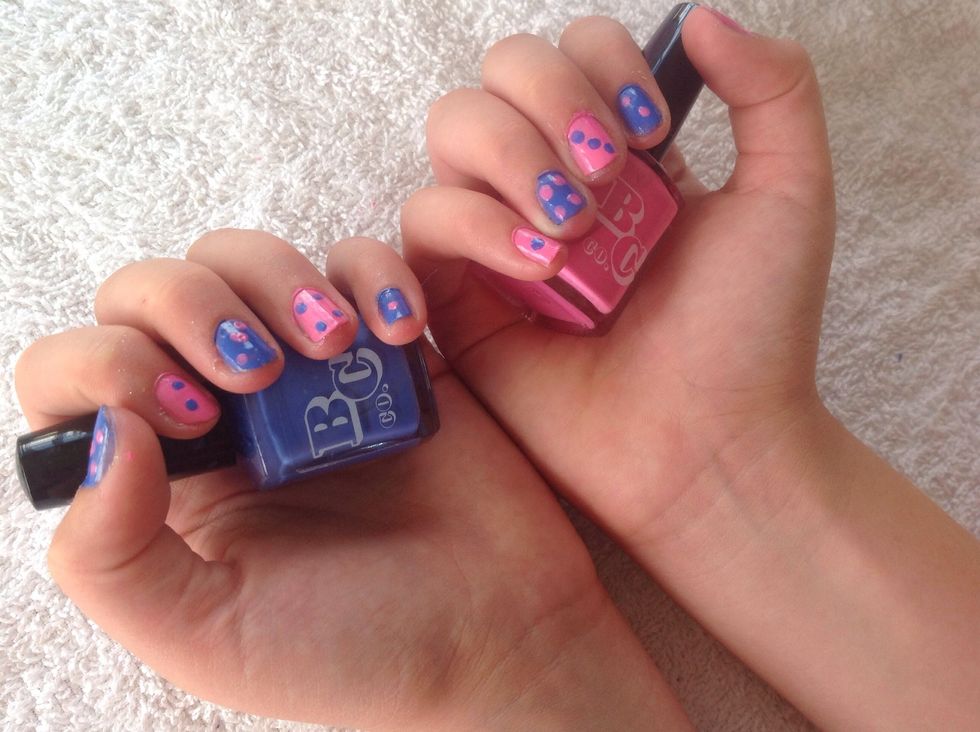
Get your tooth pick and dip the bottom into the opposite colour of the nail your doing.

Make sure to get a pick for each colour. Use the end to create a dot.
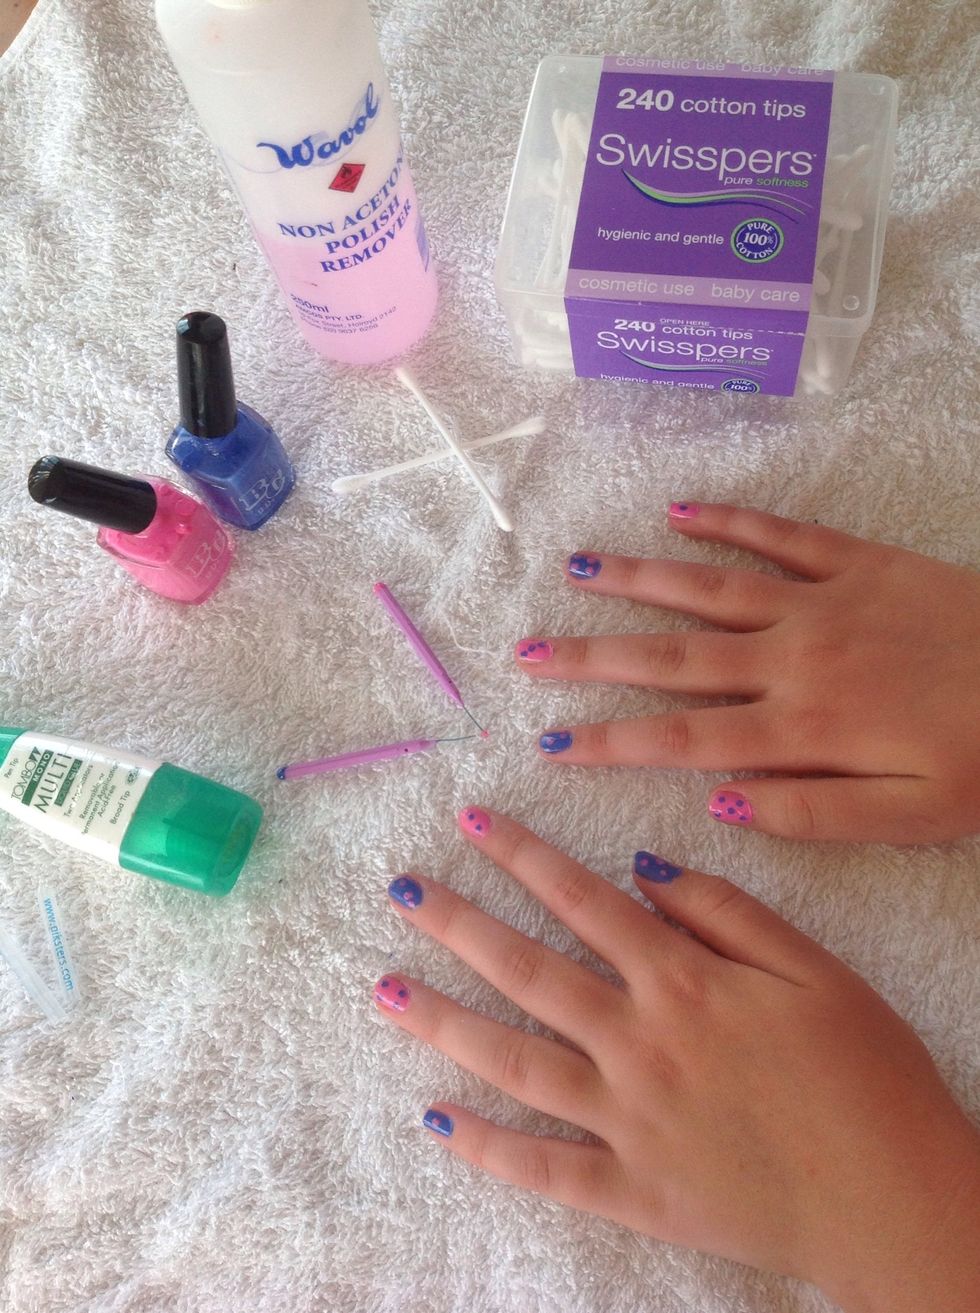
This is what the end result looks like thanks for reading ☺️
💅
Thanks @Tara I for being my model