The Conversation (0)
Sign Up
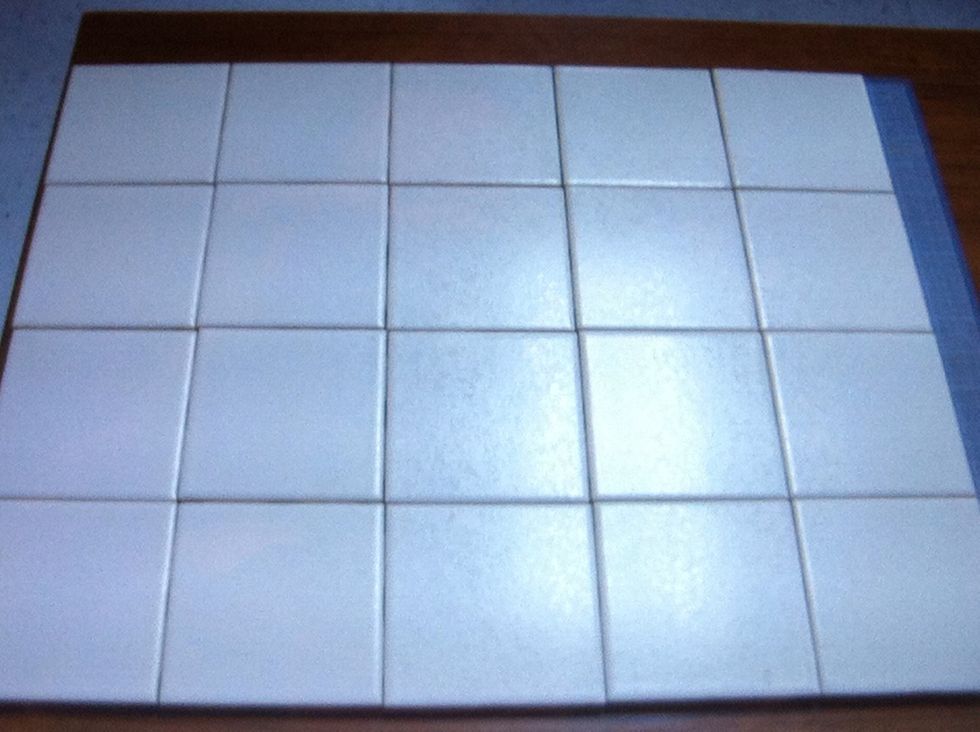
Lay out your tiles. Unglazed tiles are easier to work with and I love how the tumbled ones look, but these plain white glazed tiles were super cheap, so I made them work. Make sure they are clean.

For your supplies, you will want a variety of pigment inks. I used scrapbook inks. I also used a scrapbooking/card making stamp. If you don't have this, you could free hand drawings or use a stencil.
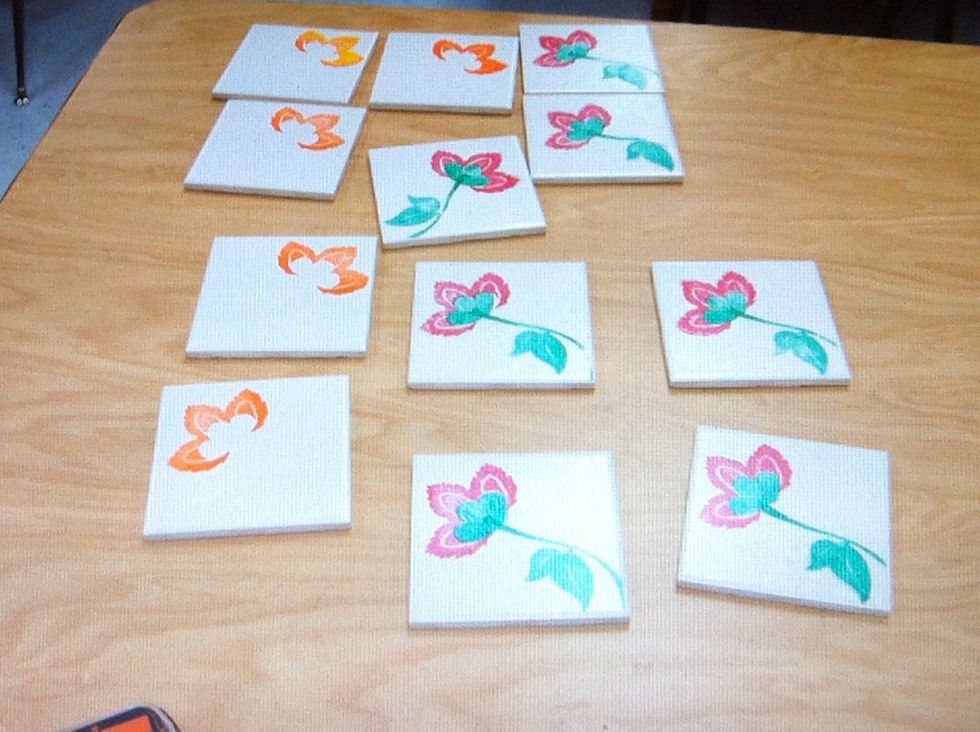
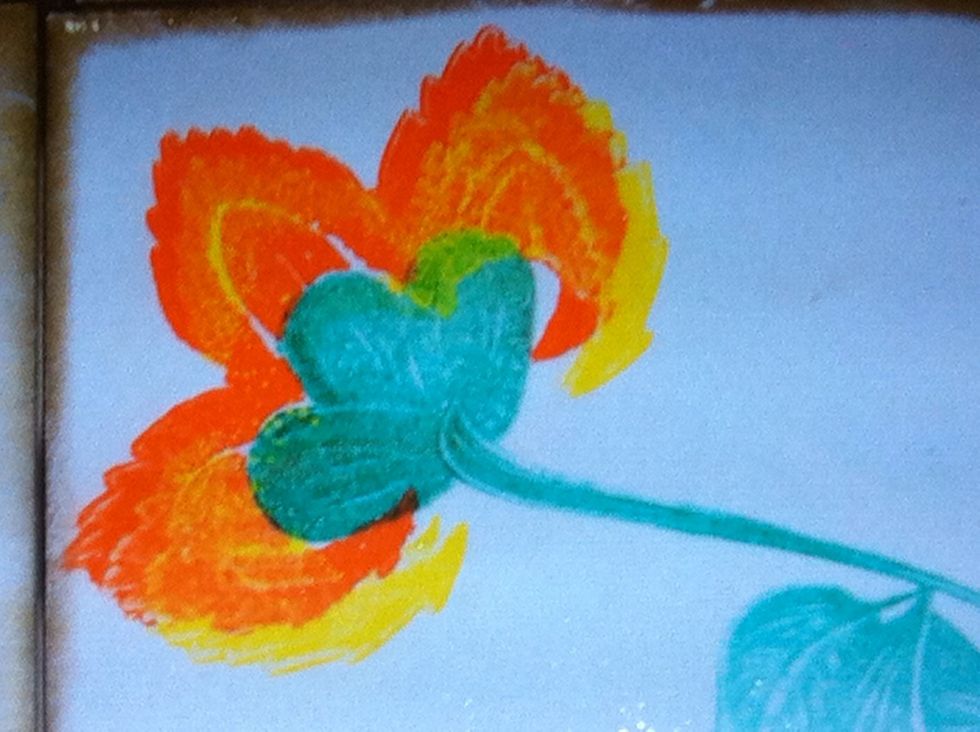
Stamp your image onto the tile. I overplayed the colors on purpose to get some color mixing and shading. Be careful because the inks will smear very easily at this point!
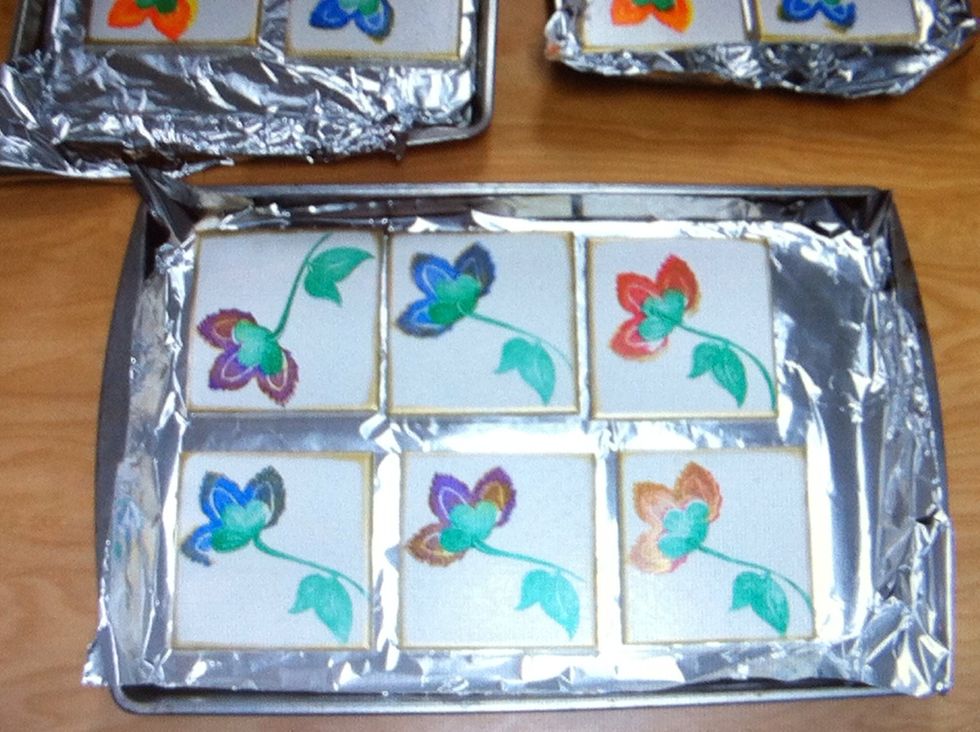
Rub gold or silver around the edges of the tiles and place on a foil lined baking sheet.
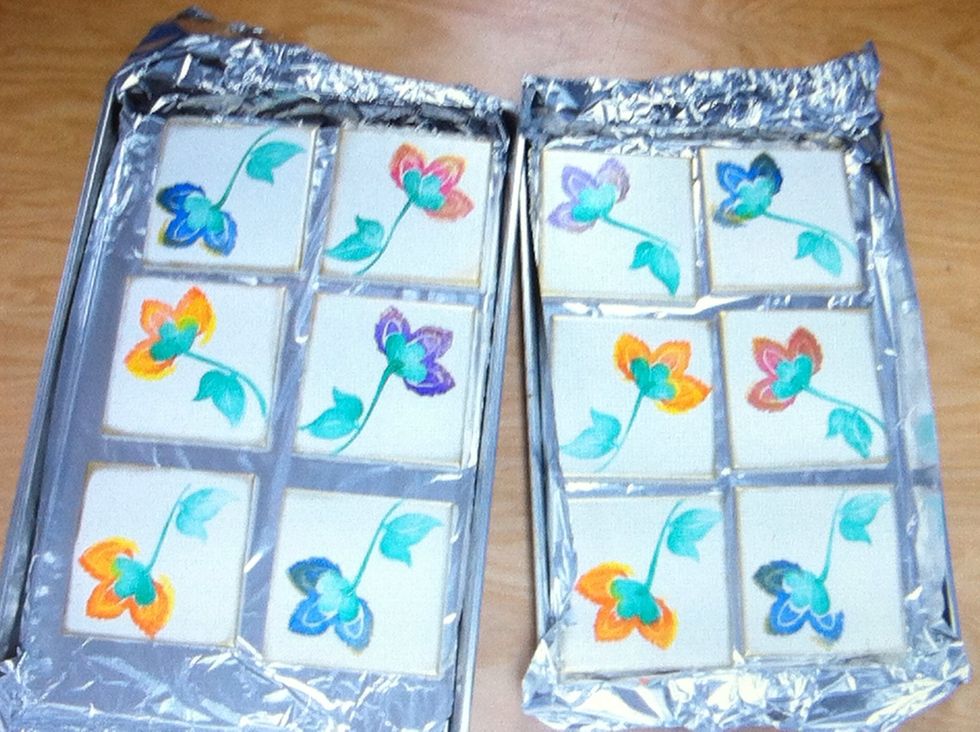
This step is optional. I do it, but its because I am impatient to let it dry on its own. So I bake the tiles in the oven at 325 for about 15 minutes. If you don't want to bake yours, just let them dry

Once completely dry (or cool in my case) set the tiles out and spray with a sealer. I like Krylon's Clear Sealer. You can choose satin or gloss finish. I choose glossy for these tiles.

Make sure you allow time to spray on three light coats of sealer.
When the sealer is dry, flip over the tile and press on felt feet in each corner. Sorry, no picture of this step!
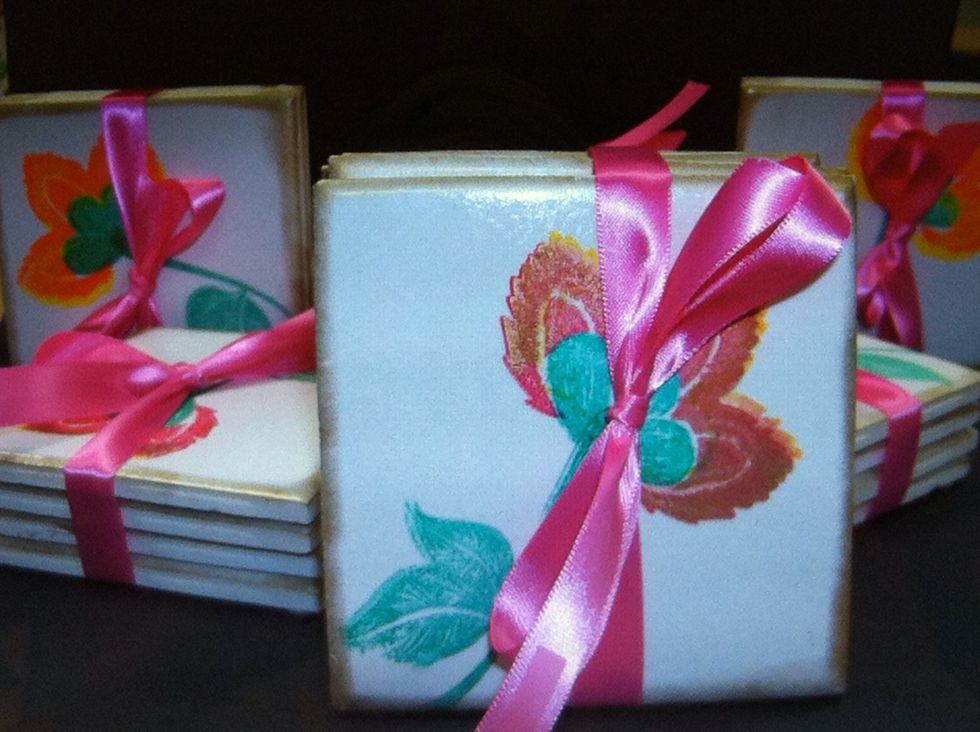
After the sealer was dry, I took one of each of the four different tiles and stacked them up and tied a bow.
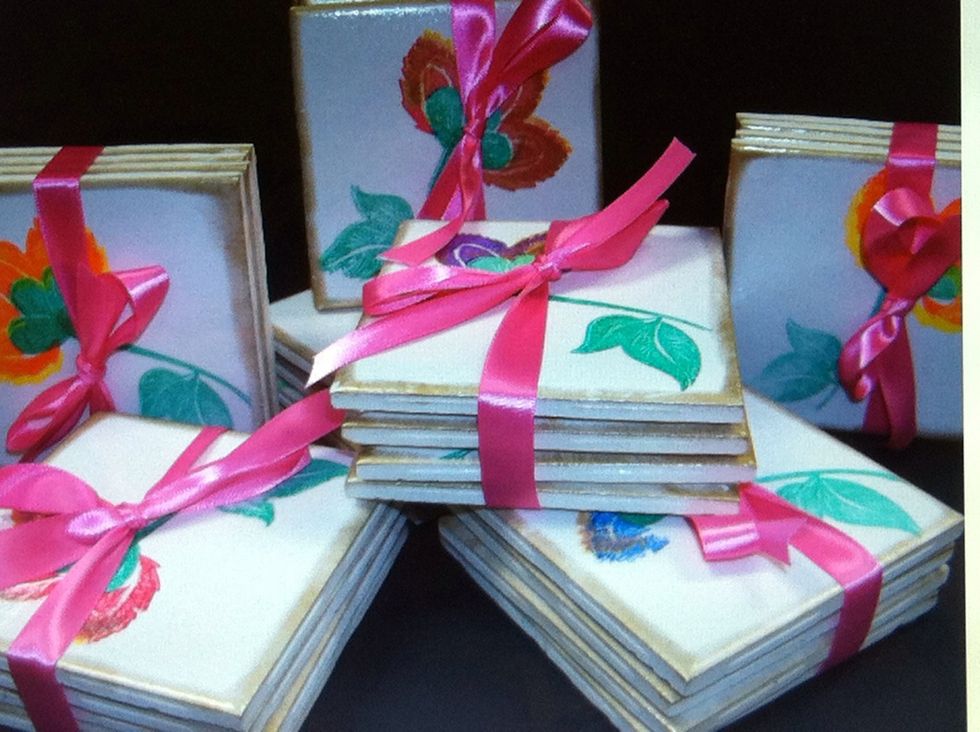
Done!