The Conversation (0)
Sign Up
Choose a vase and a few colors of acrylic paints. I used the cheap craft paints that I had on had to begin with and then purchased more at the discount store. I also used my leftover florist vases.
Drip or pour the paint color of your choice down the side of the vase. Let it pool at the bottom and then turn the vase on its side and let gravity pull the paint around the vase.
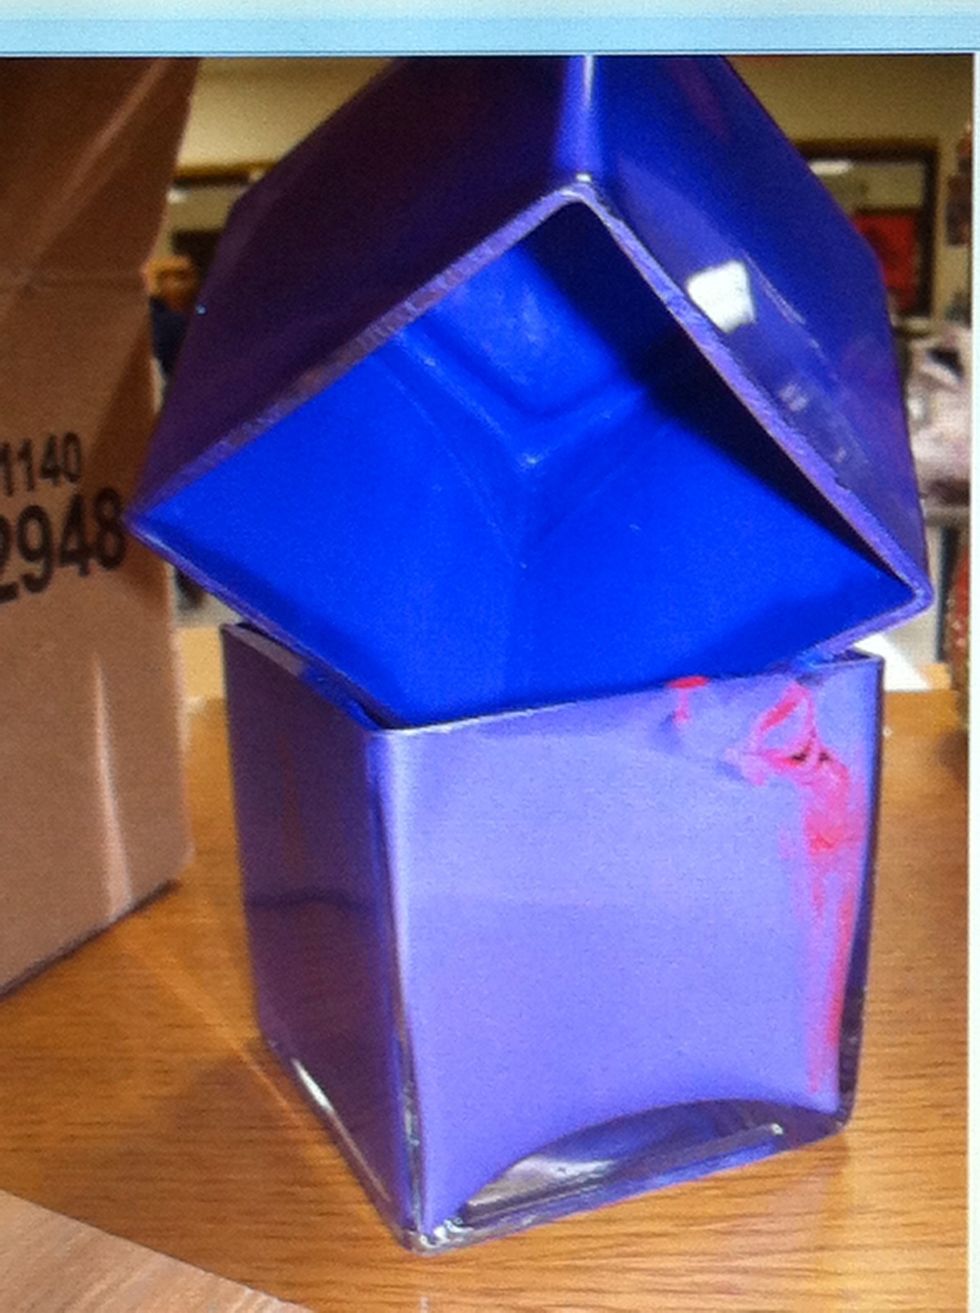
When you have coated the vase, turn it upside down on top if another vase and let the paint run out into the next vase.
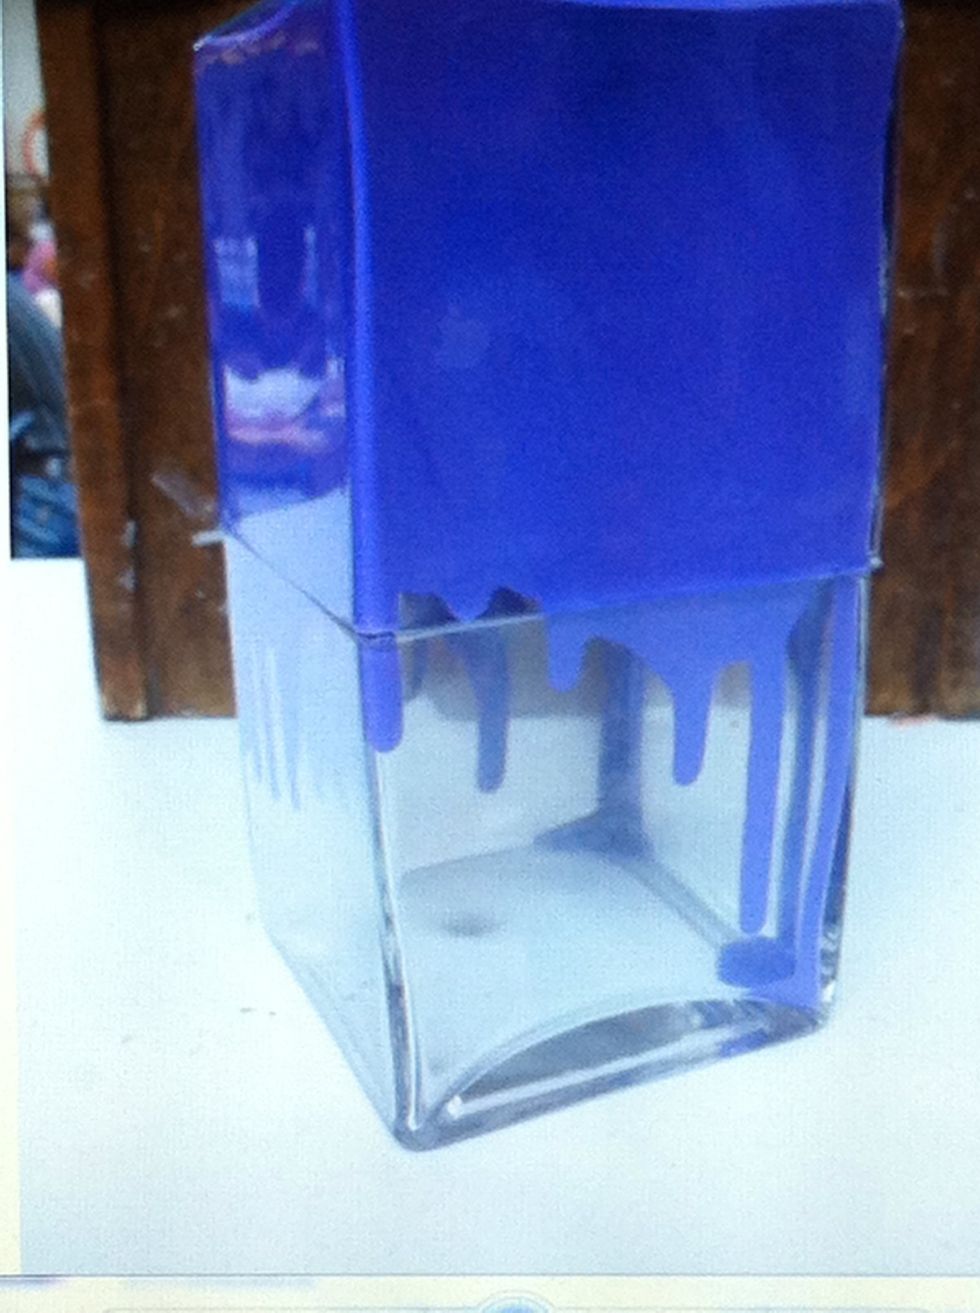
This vase is all one color.
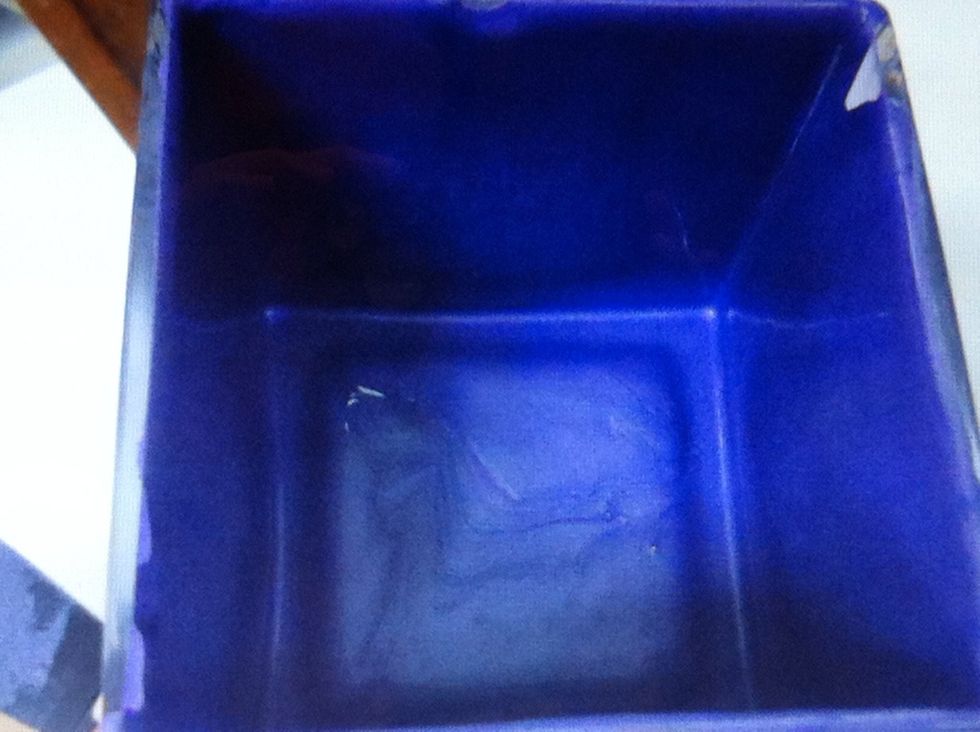
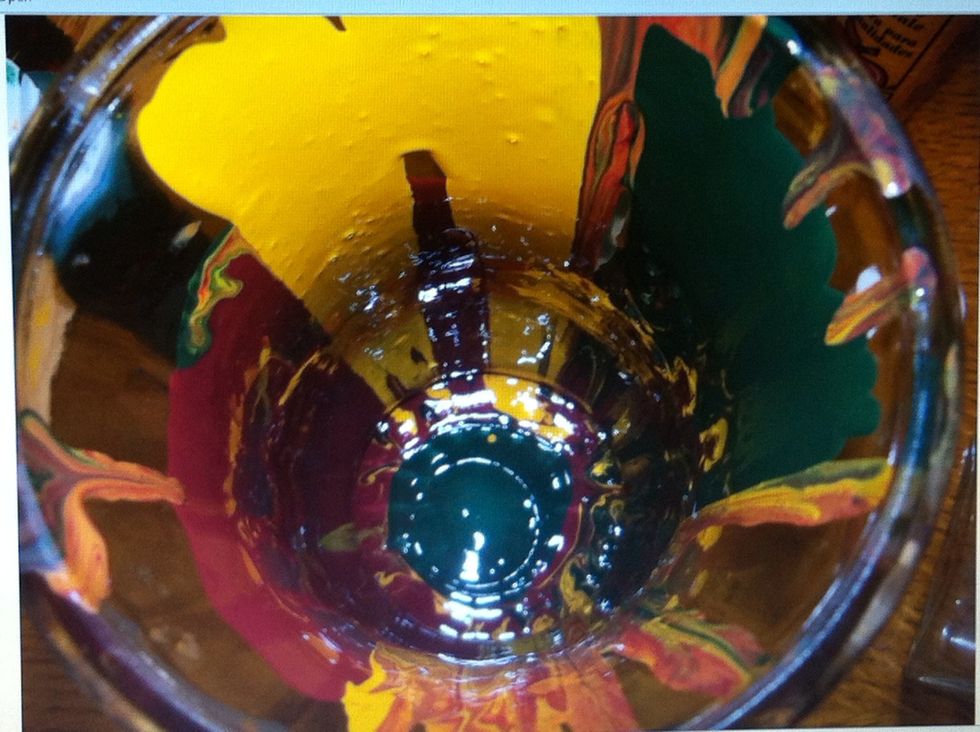
What it looks like inside.
There is a ton of paint that needs to drip out of the vase. Don't waste this, use it on the next vase!
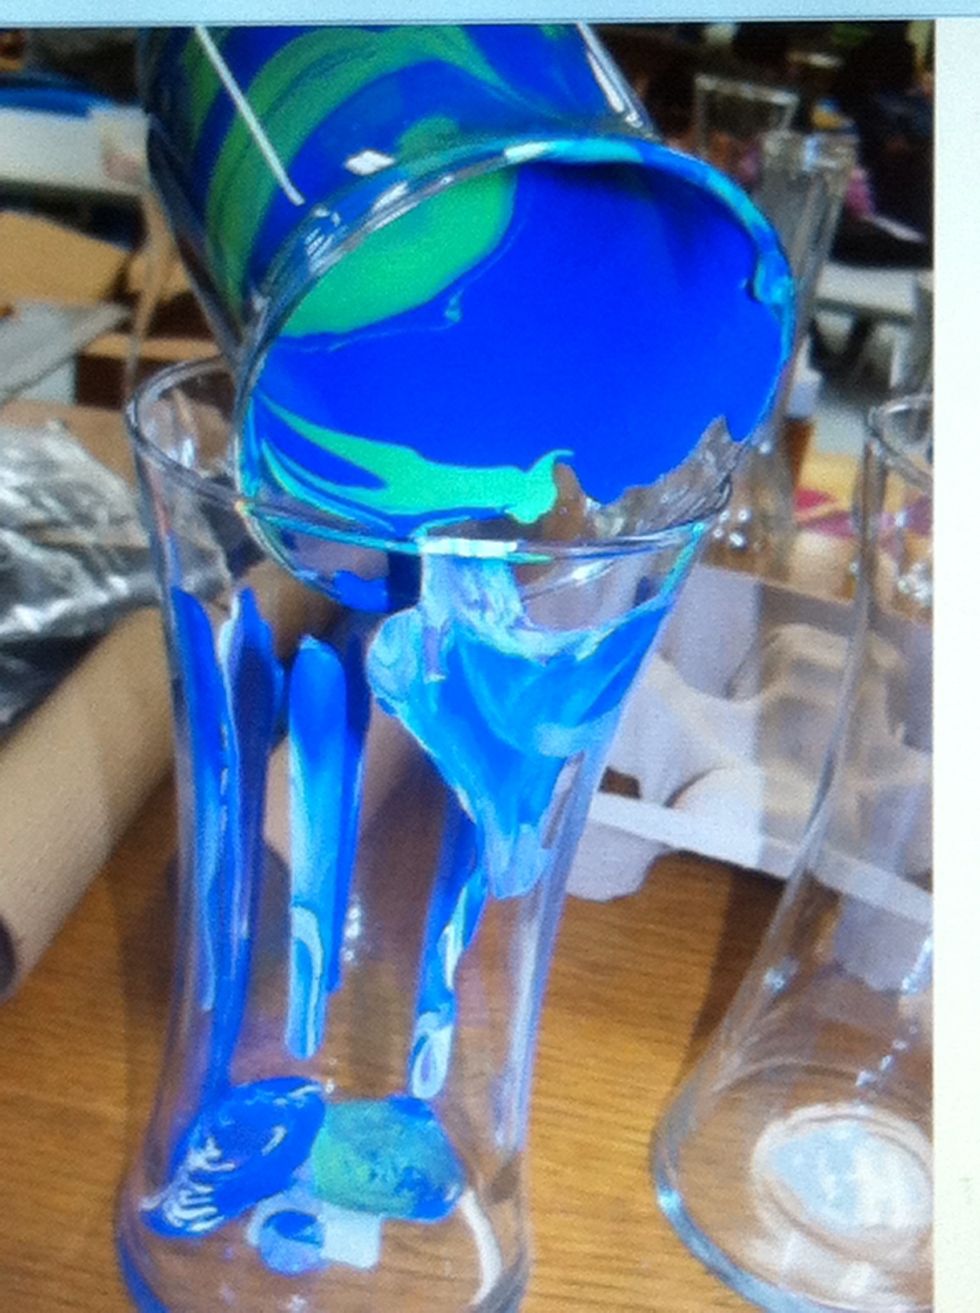
Dripping in action!
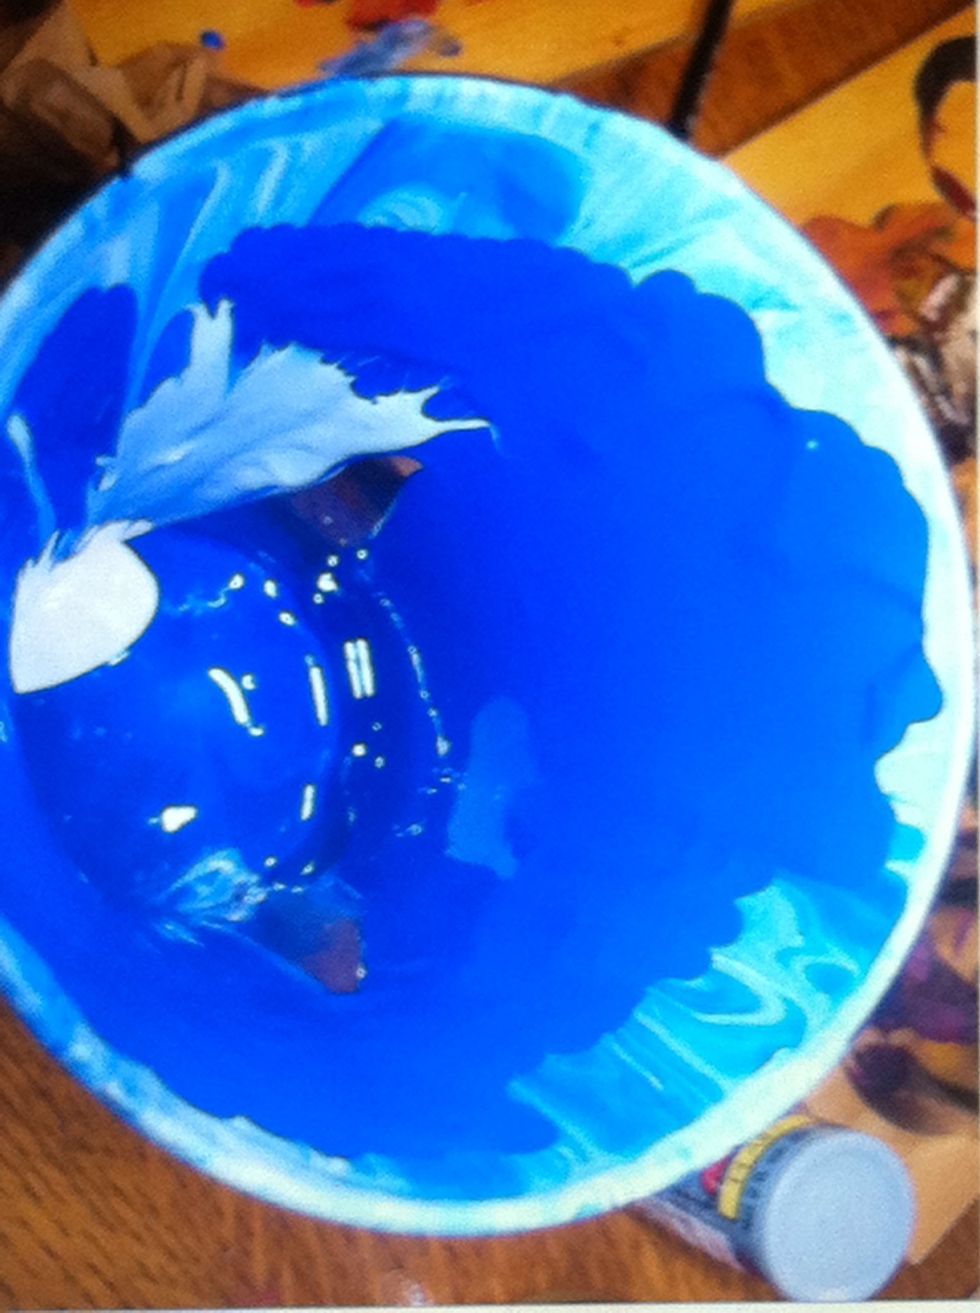
You can add layers of paint as long as it is still wet.
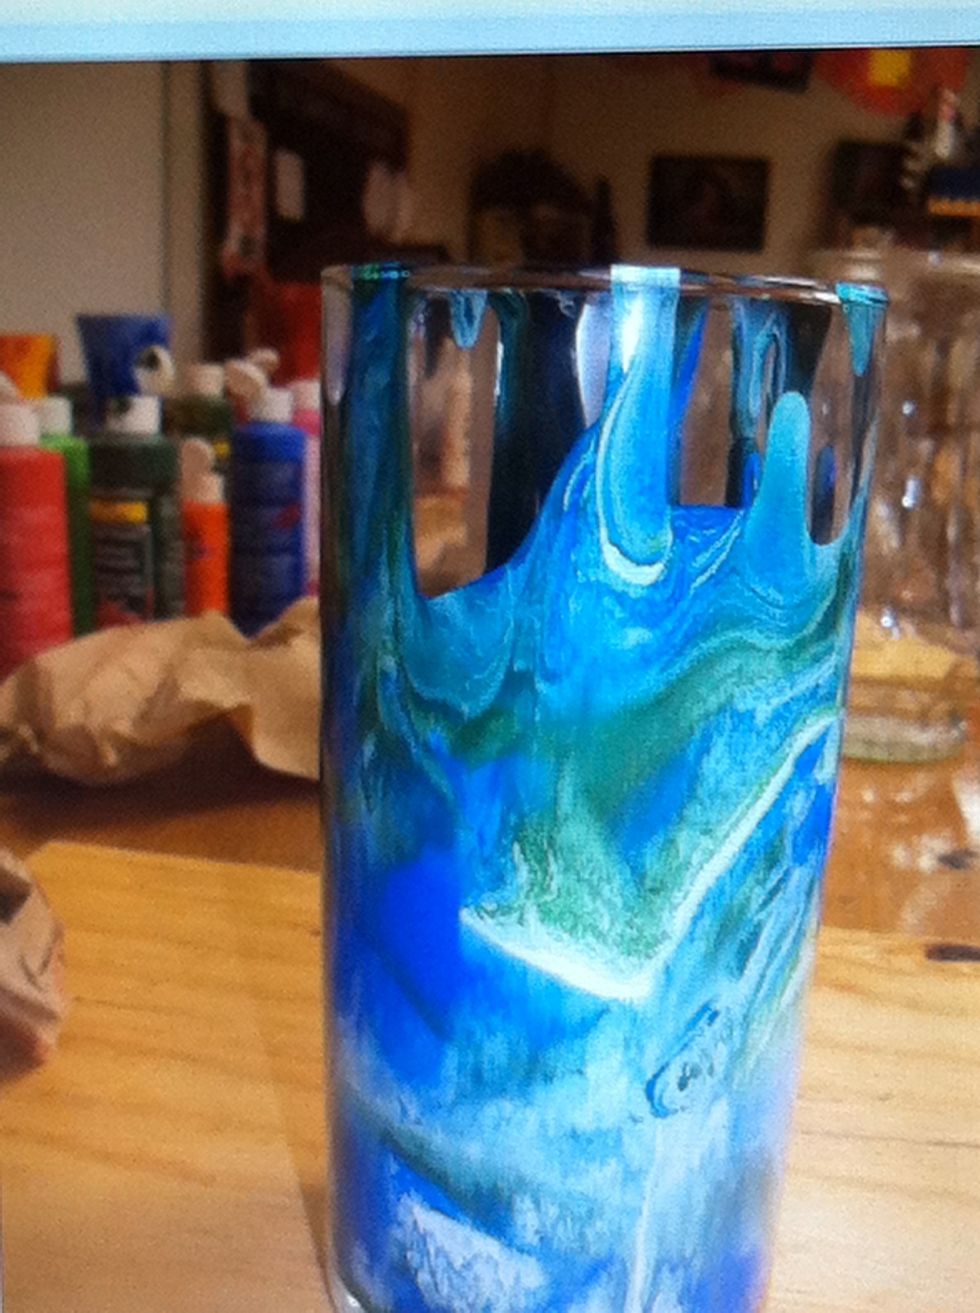
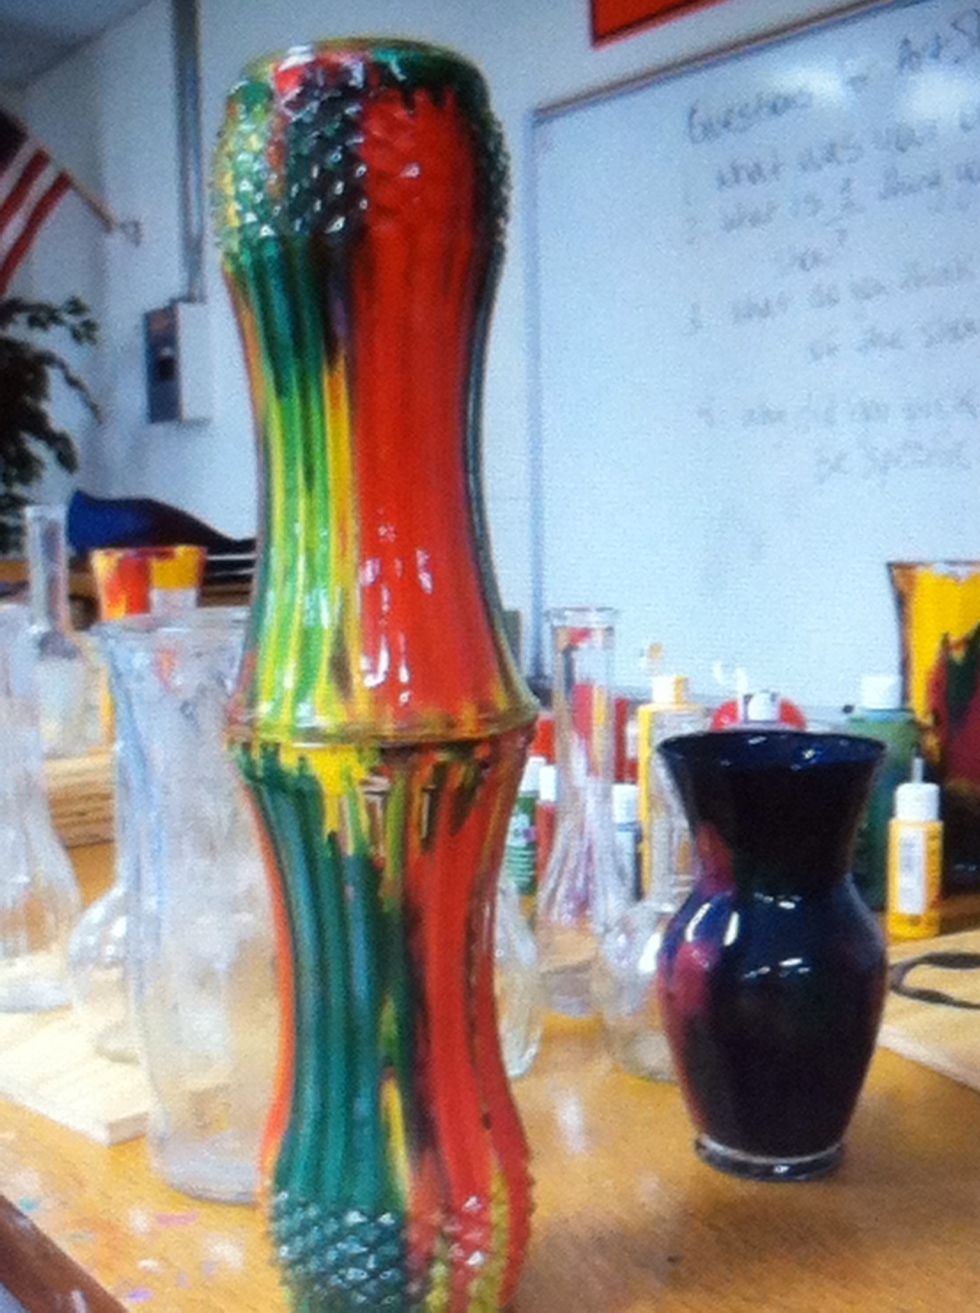
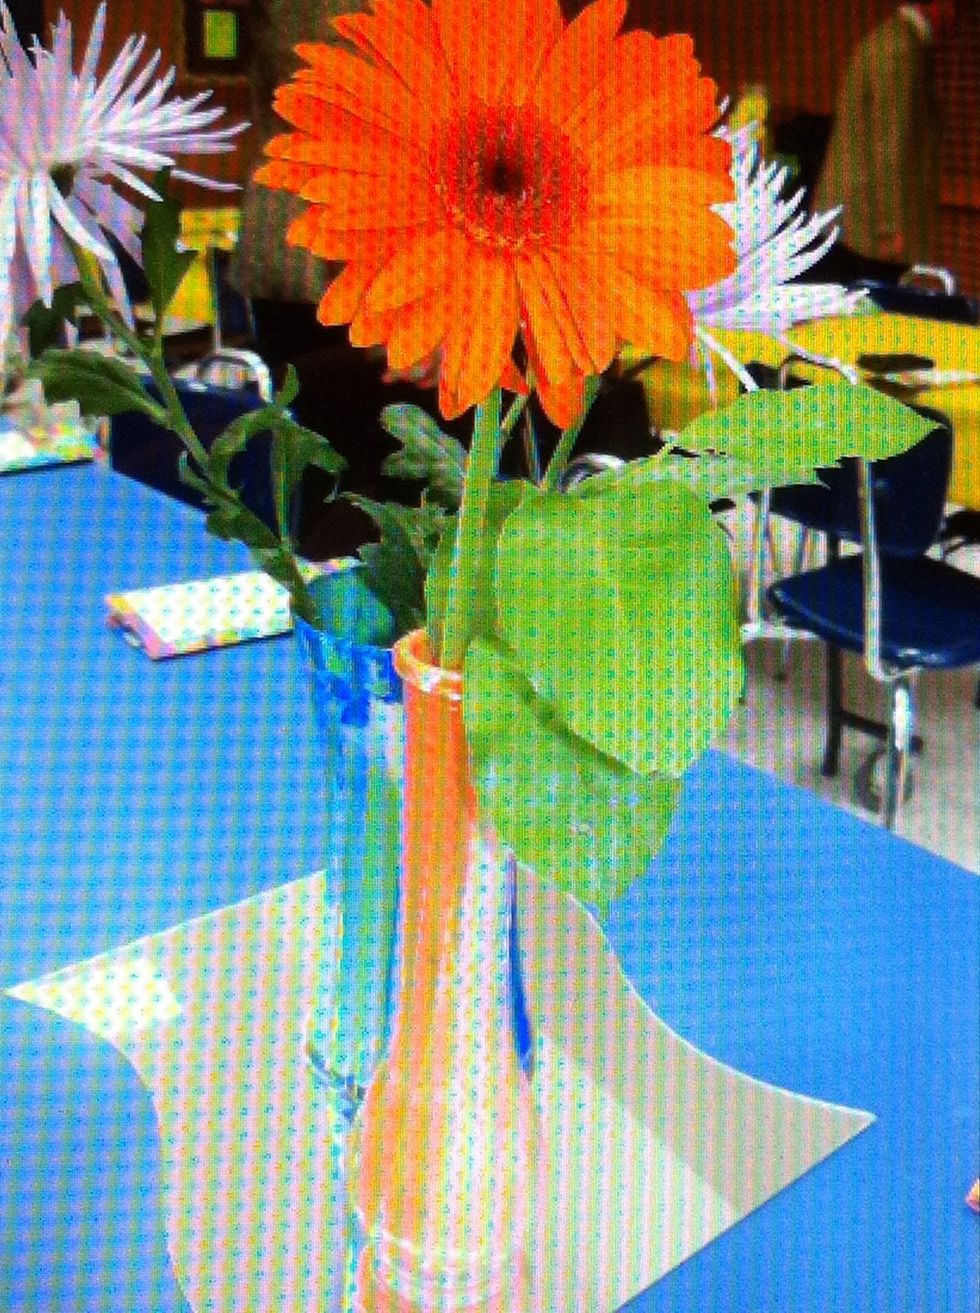
As gravity pulls the paints, the colors will mix!
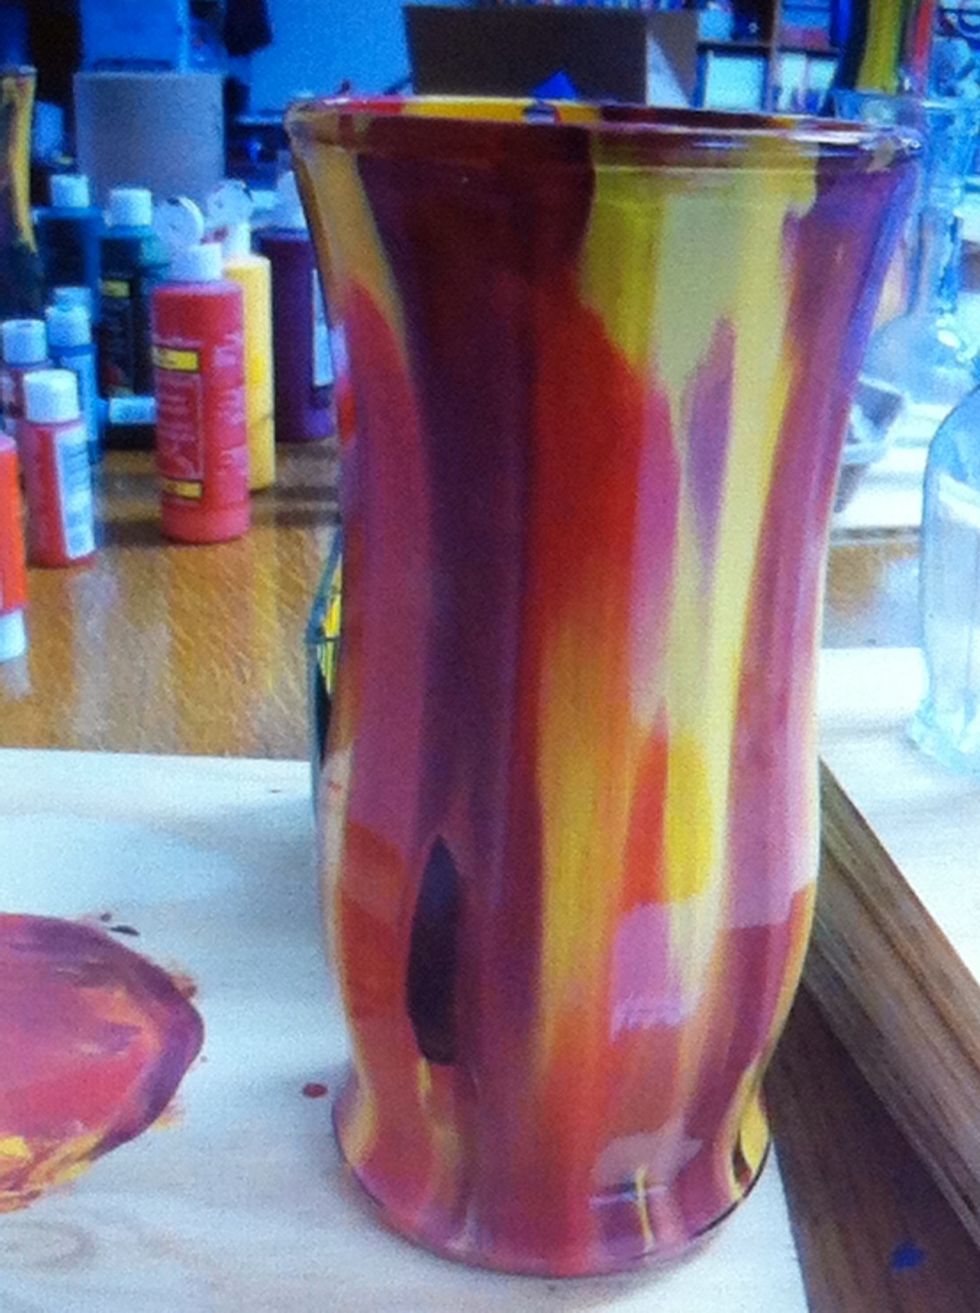
You can be deliberate and make stripes. Or just be random and let the paint go as it pleases.

Once you have let the paint drip out, put them somewhere safe to hang out a couple of hours to settle.
After the vases have had time to sit and start to dry, I turn them upside down onto paper towels and leave them overnight (at least).
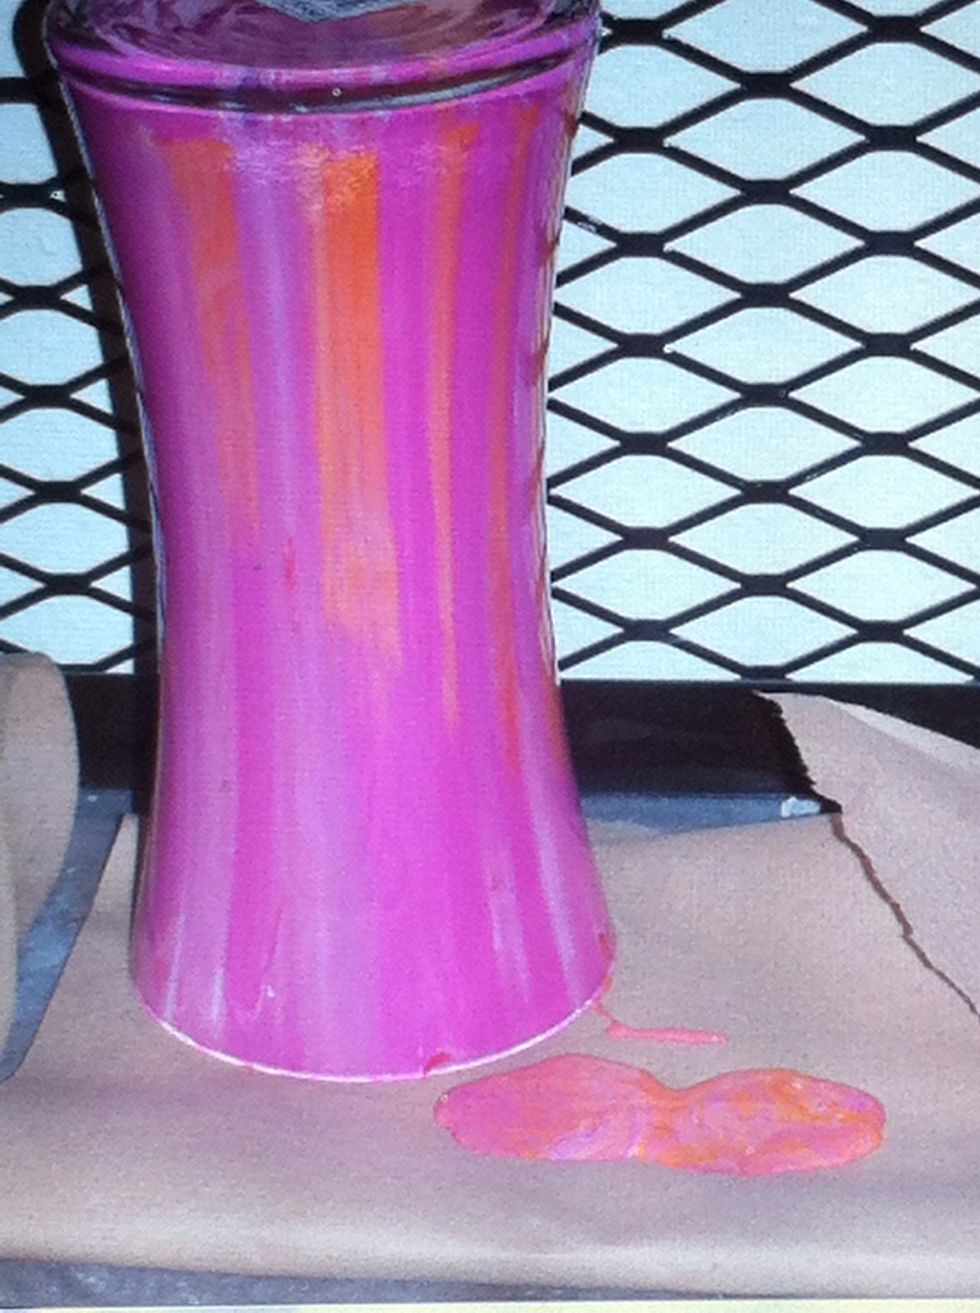
Even though I had drained the paint into another vase, the puddle next to this vase shows how much run off you will still get while the vase is drying.

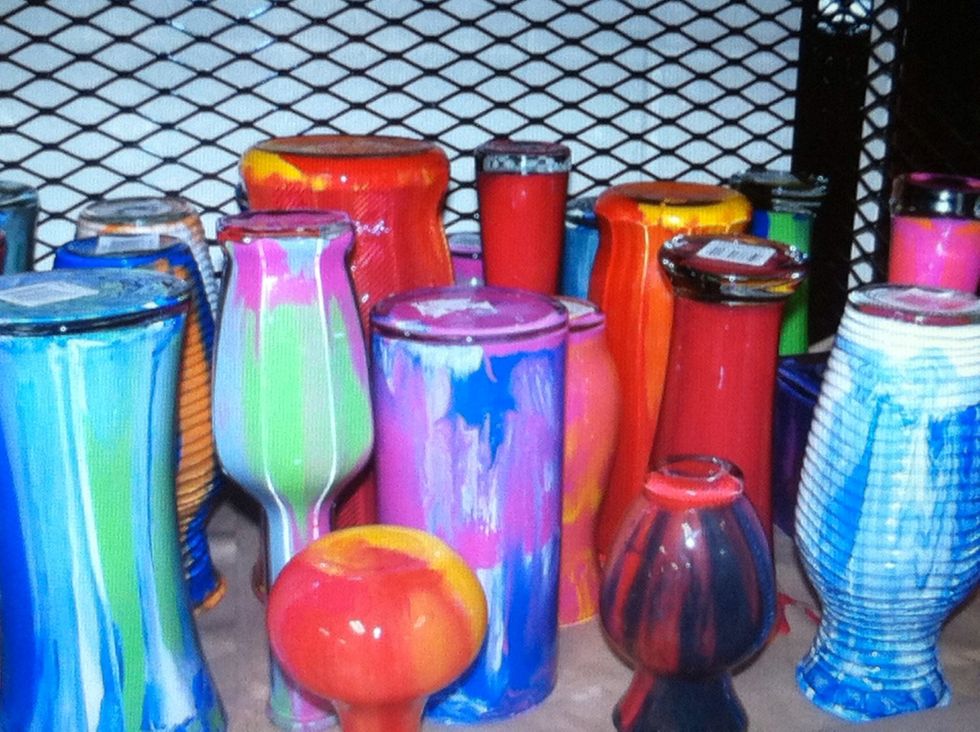
Lots of drying vases!
After the vases have dried for at least overnight upside down, turn them back over to finish drying. This could take a while. At day 3, the inside was still wet. I could have heat set them probably...
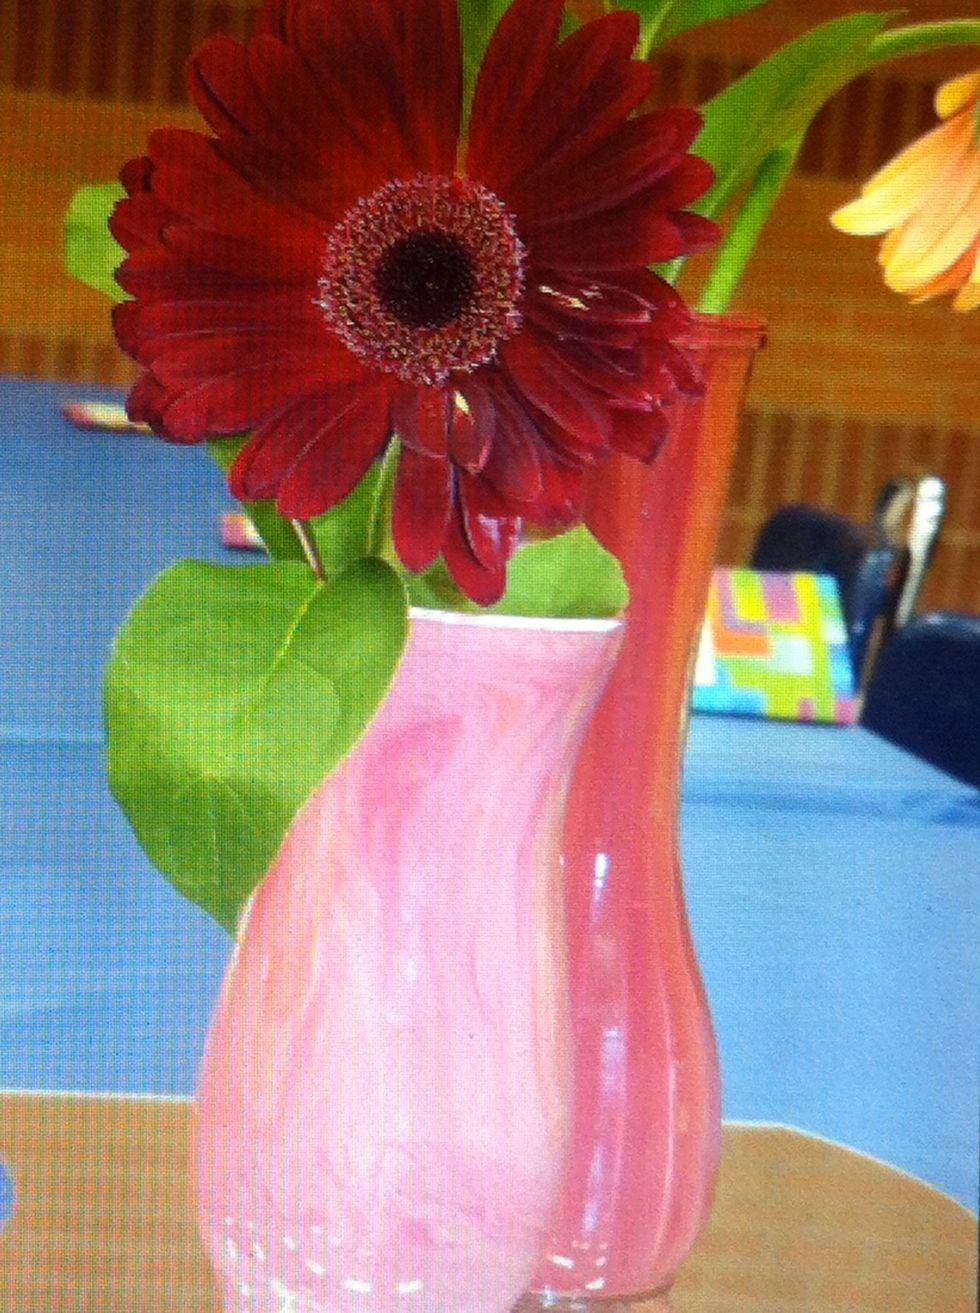
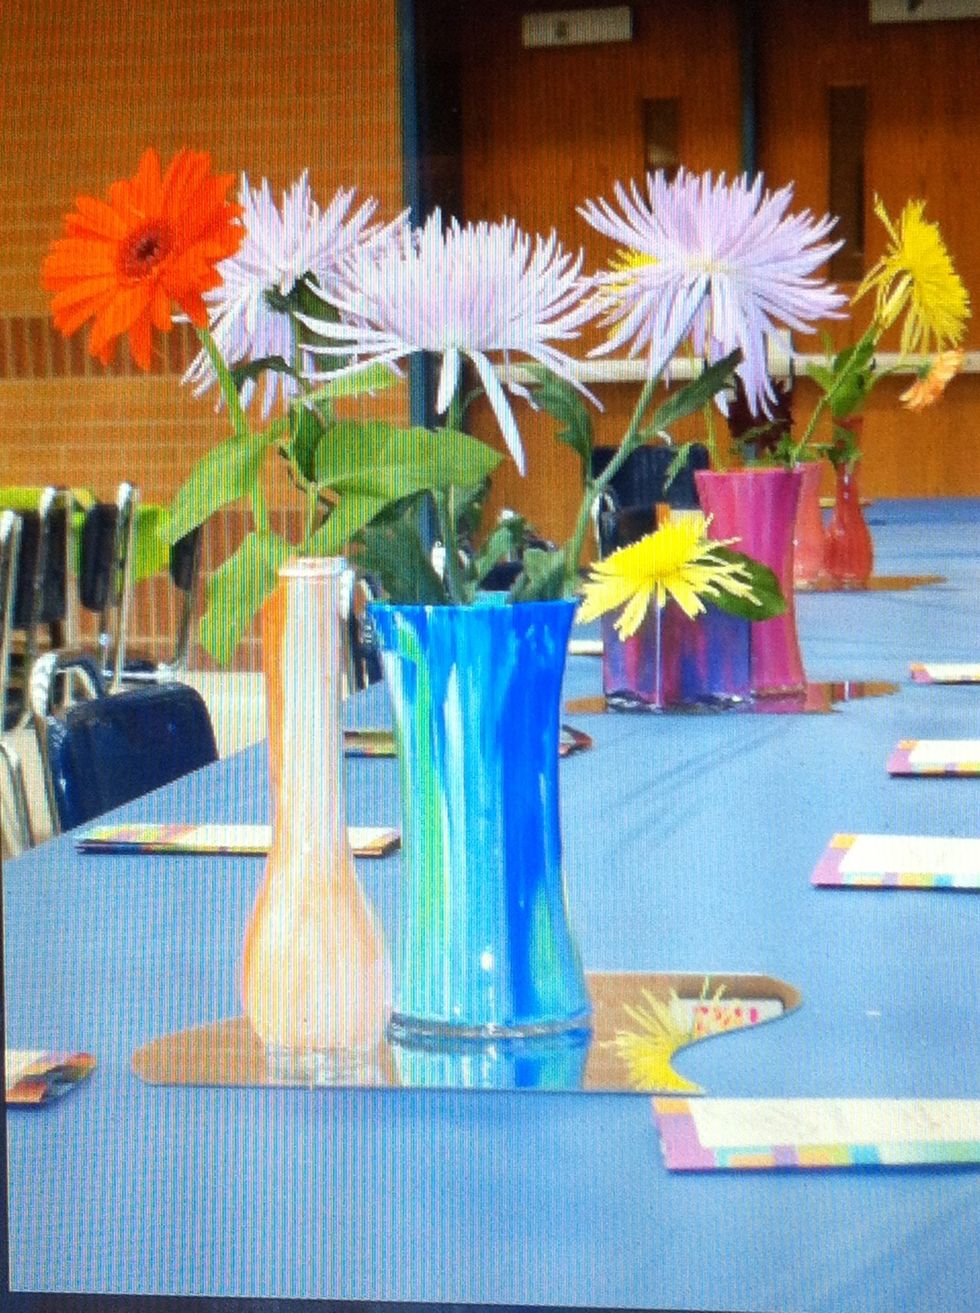
We used these as table decorations. WATER WAS NOT USED!! These are just decorative!!
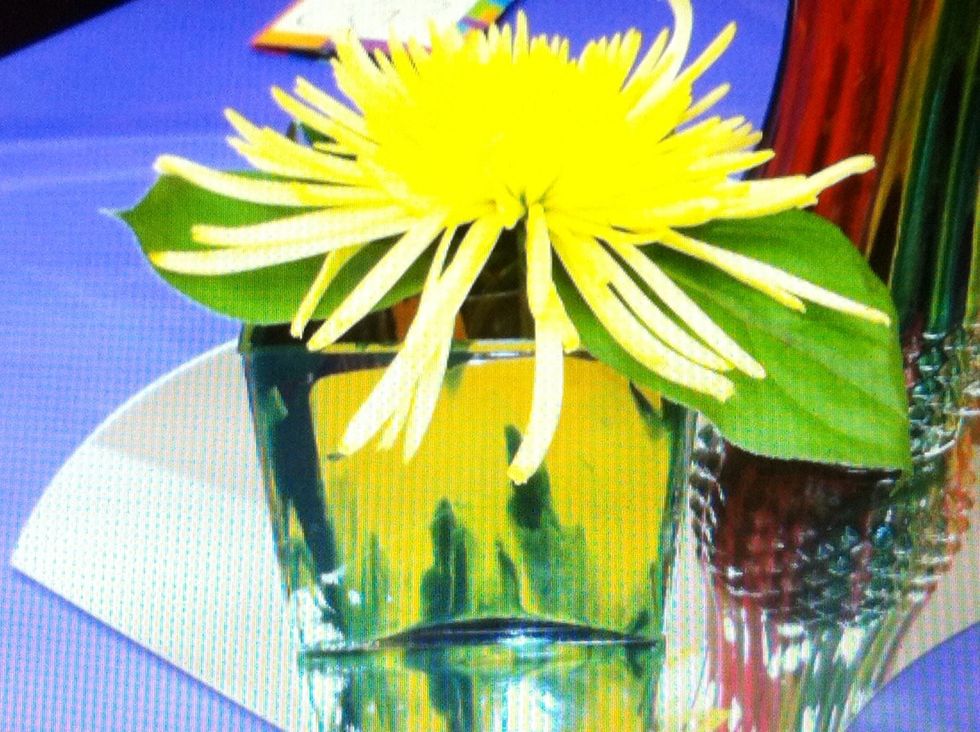
But aren't they great!
Enjoy! www.faithhopeandart.blogspot.com