The Conversation (0)
Sign Up
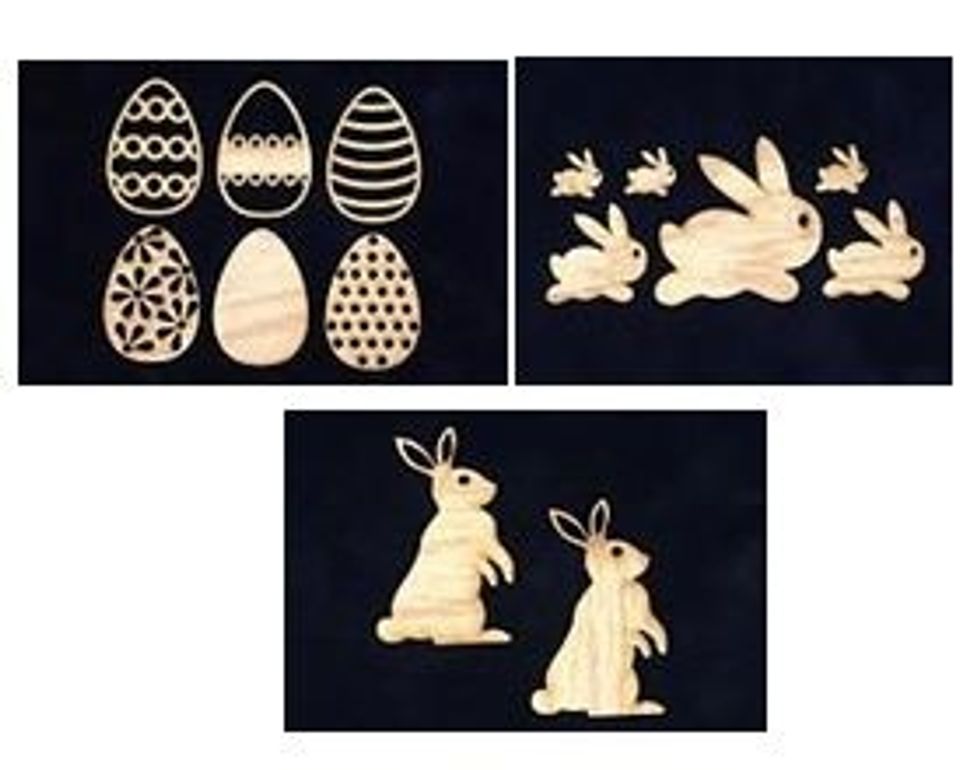
Wood products used are from Unique Laser Designs in Easter Eggs (6 pc set), Bunnies ( 6 pc set, used med size in project), and Rabbits (2 pc set).
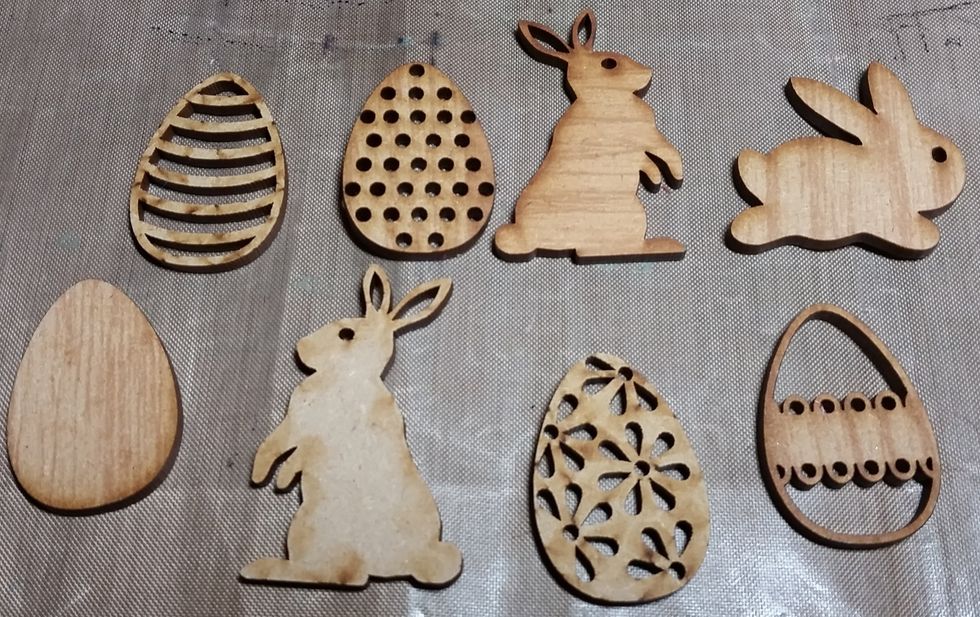
I stared with ULD wood shapes in eggs and bunnies to fit an Easter theme.
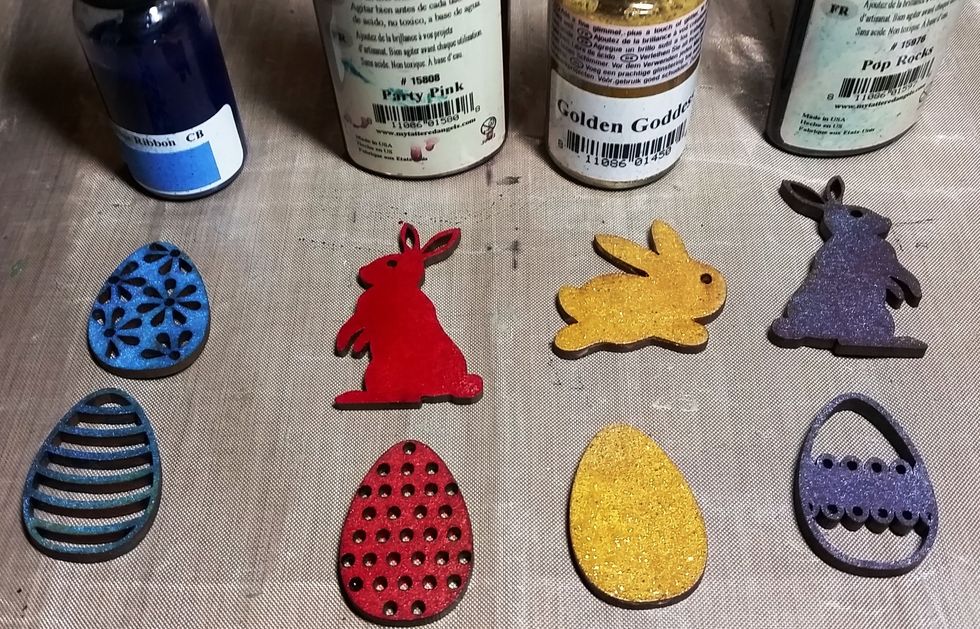
I then spray or painted each wood item in TA Party Pink, Golden Goddess, Blue Ribbon, and Pop Rocks to fit with the Easter bright colors. Let dry Completely.
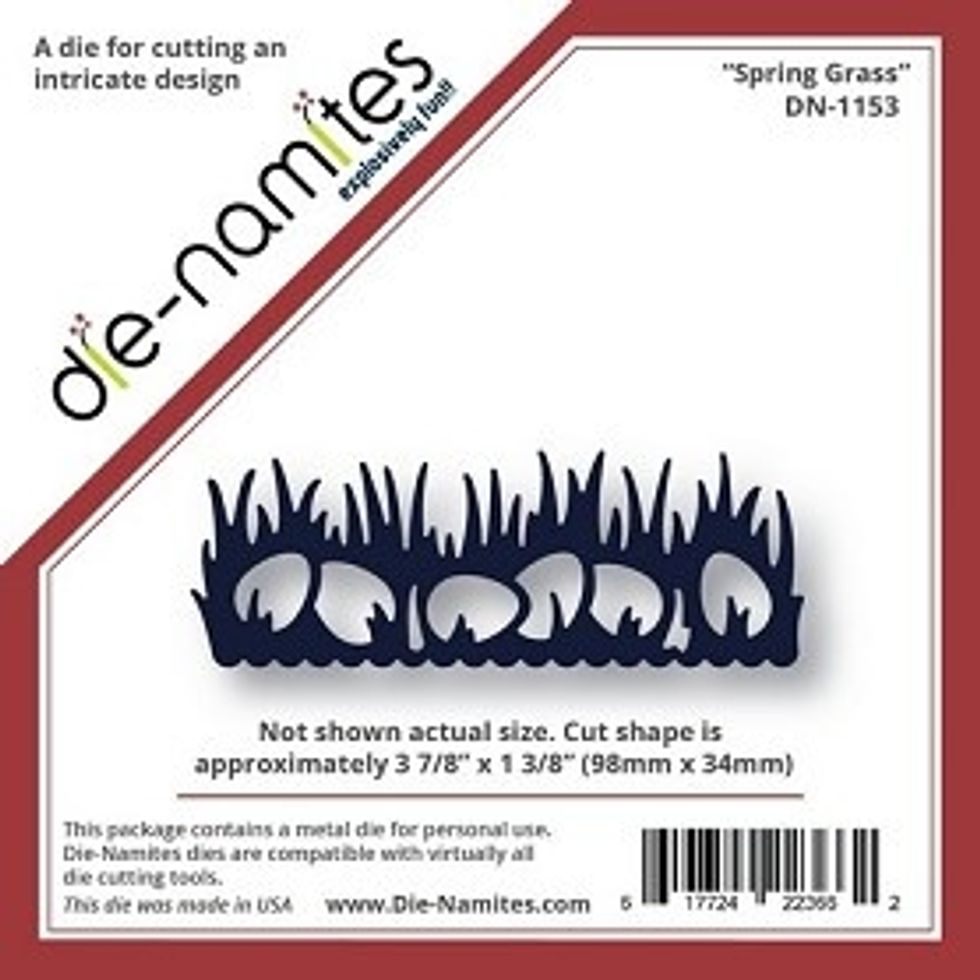
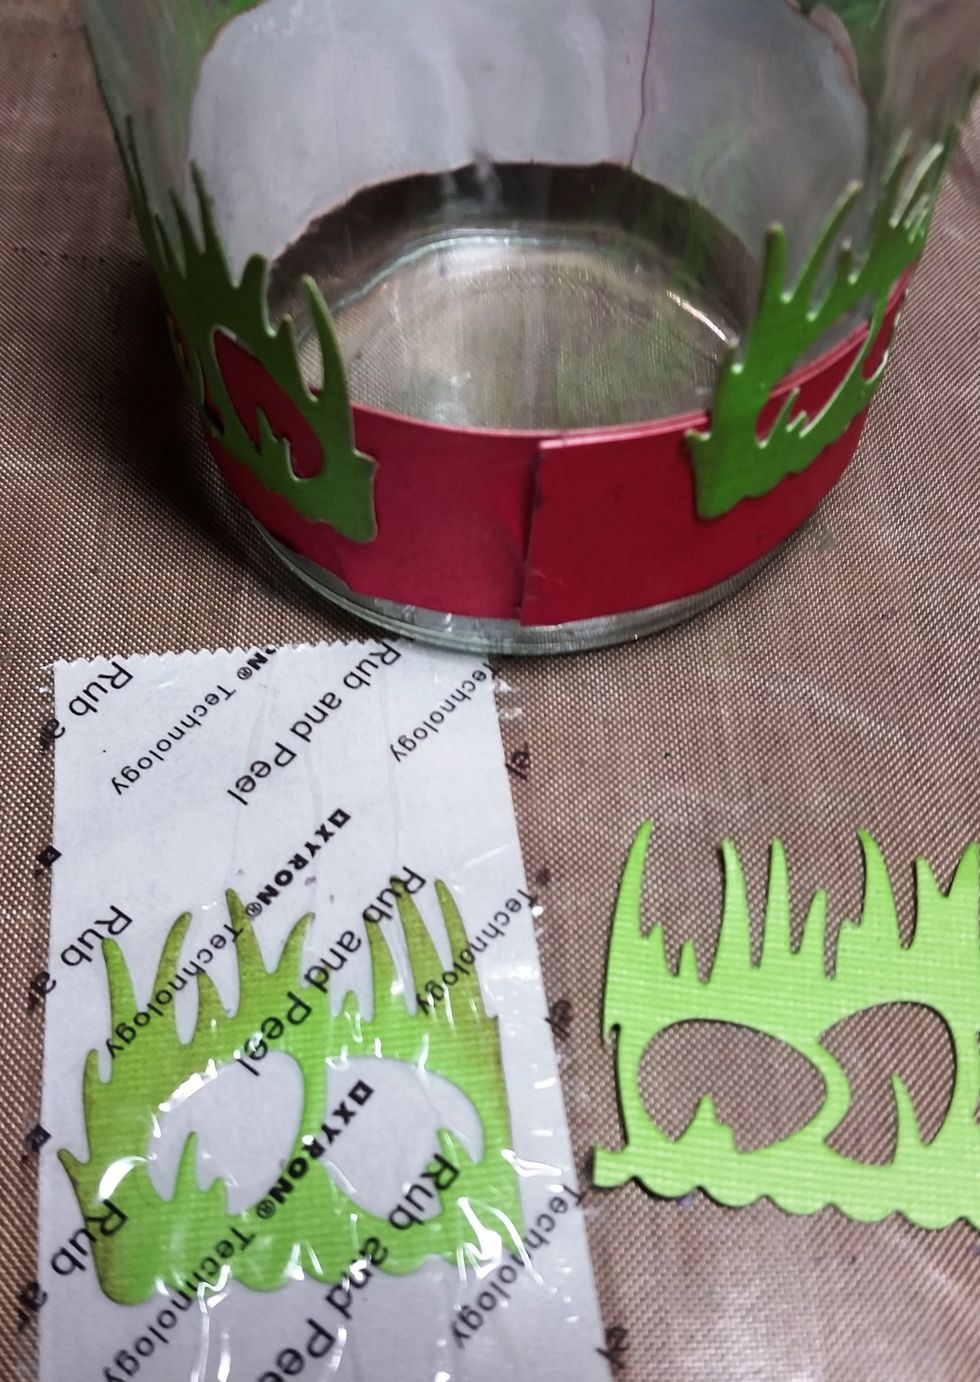
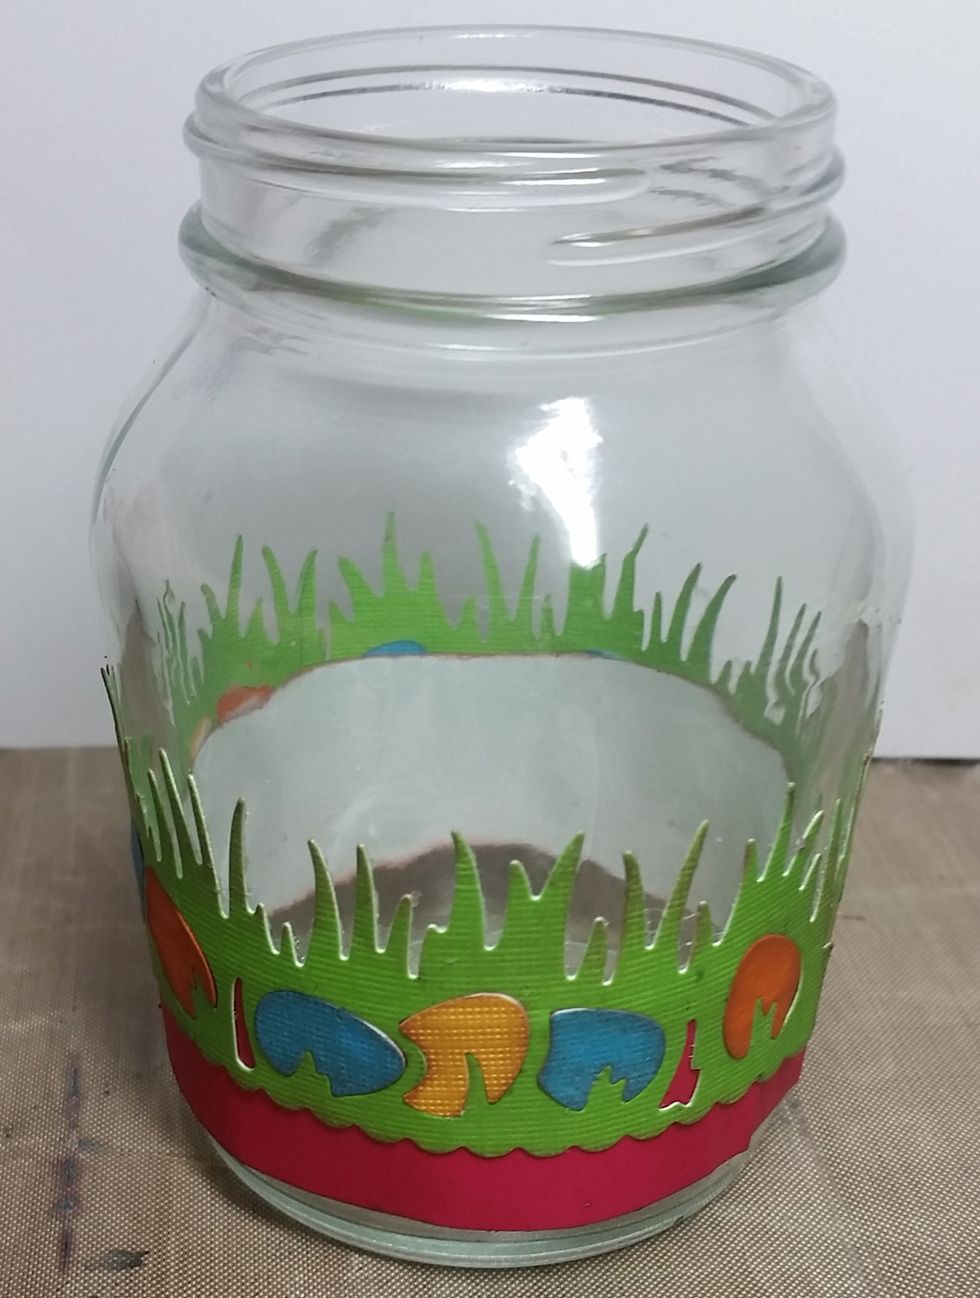
Die is from Die-Namites Dies in Spring Grass, cut with a Cuttlebug and the A, B, and C templates.
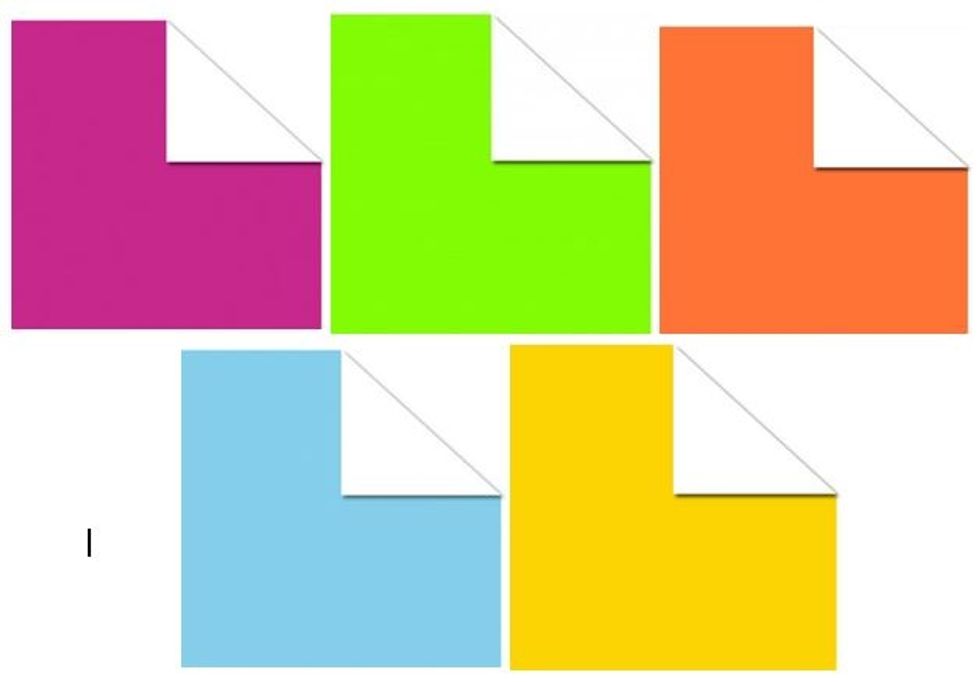
I used the Canvas Home Basics cardstock papers in Lime, Hot Pink, Orange, Yellow, and Turquoise for this project.
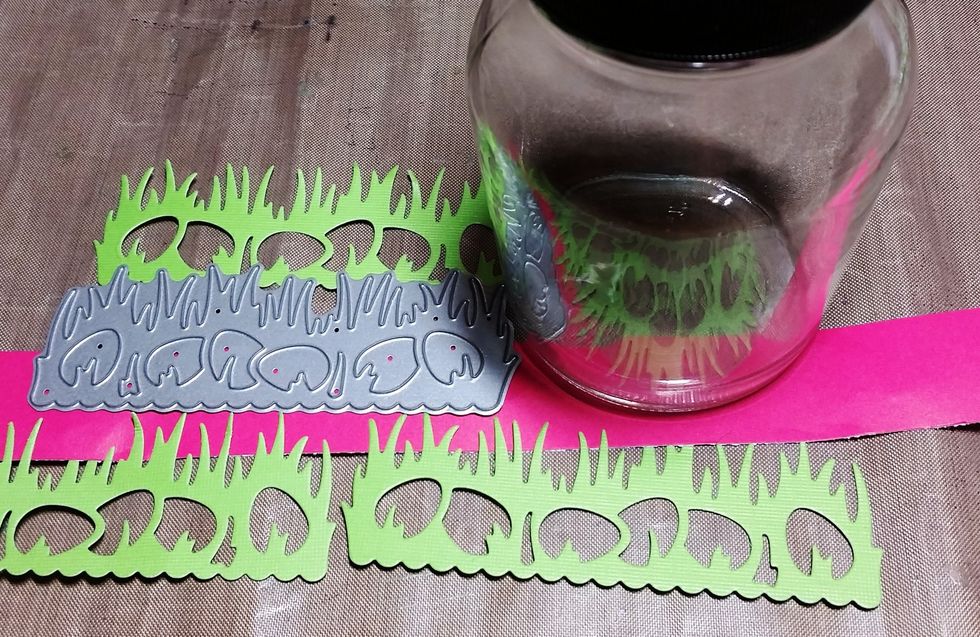
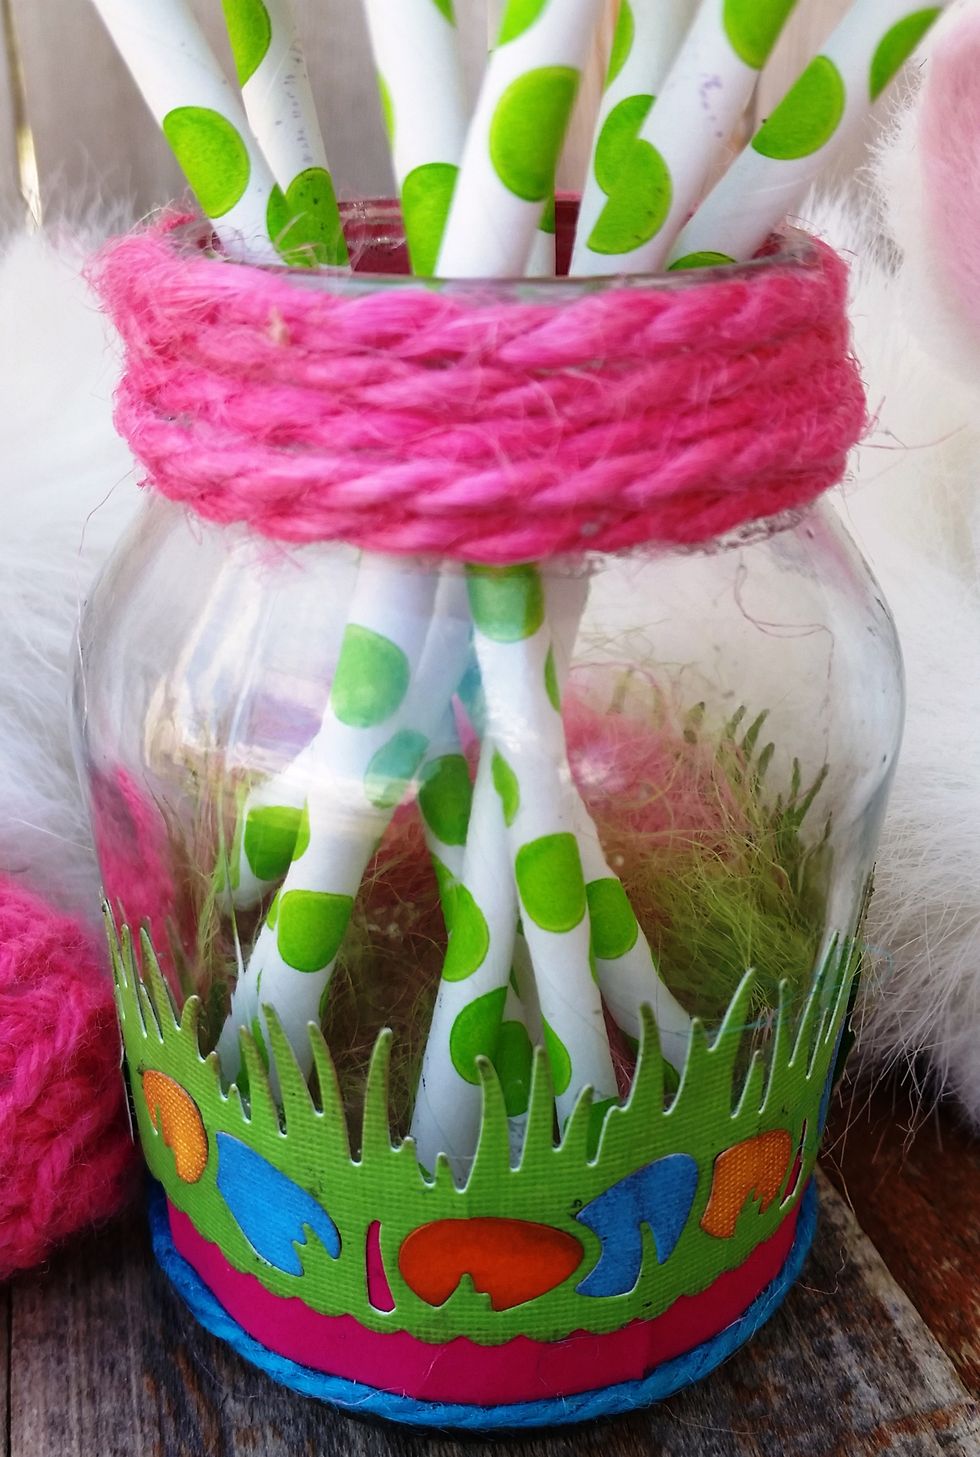
While the wood parts were drying I cut 3 spring grass sections in Lime cardstock and a 1x12 inch strip of Hot pink cardstock. I ink the edges of all the papers in light brown.
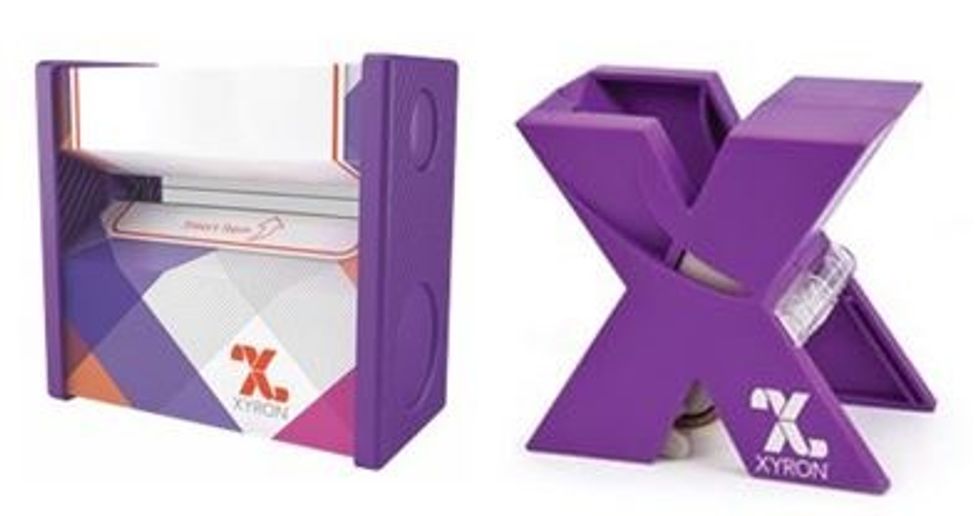
I used the Sticker Maker in both the 3 inch and 1.5 inch from Xyron for the papers and rope to stick them to the jar.
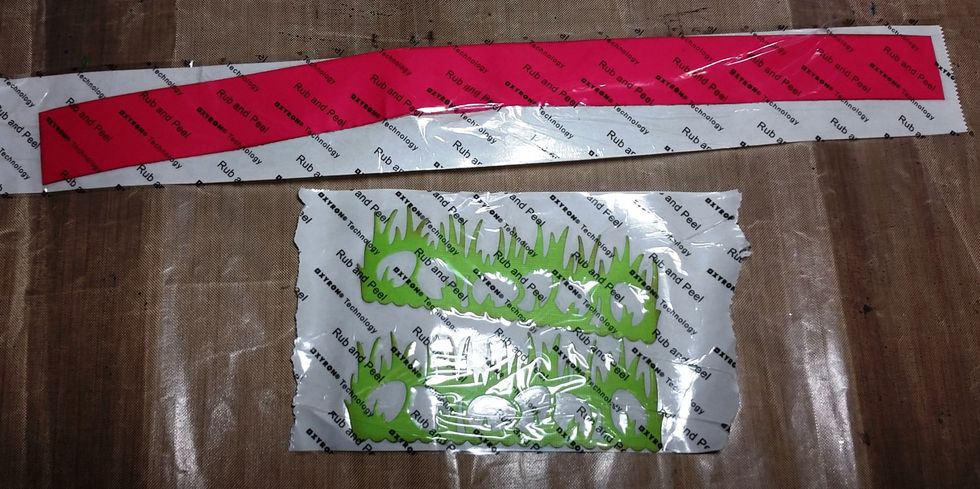
I ran 2 sets of die cuts in the 3 inch sticker maker and the 1 in strip of pink paper in the 1.5 inch sticker maker. The die cut pieces are perfect with the sticker maker due to all the cut outs.
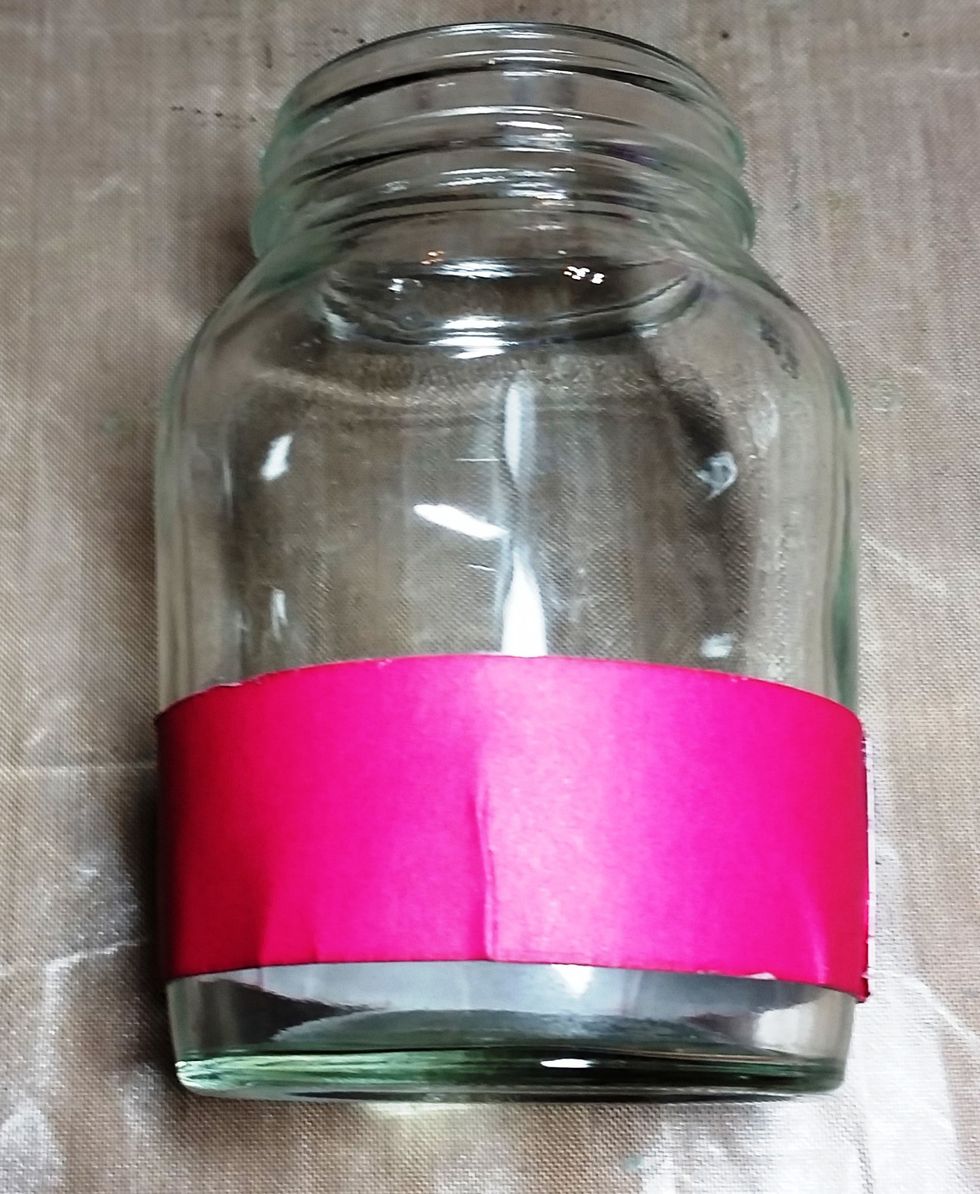
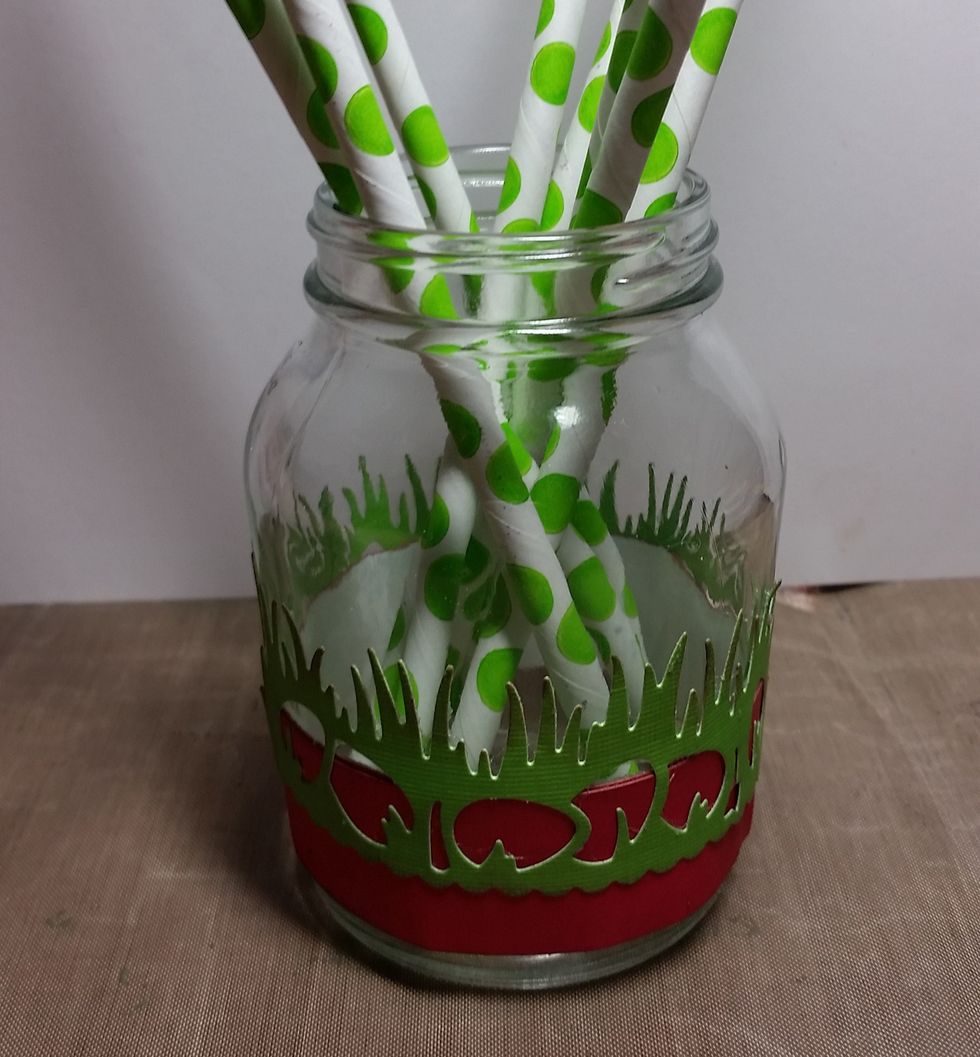
I used an old mustard jar cleaned out very well and removed all labels. I then stuck the pink paper around the bottom after inking all the edges in brown.
Two die cuts were just short of wrapping around the jar, so i cut a section of the 3rd die cut and filled in the gap.
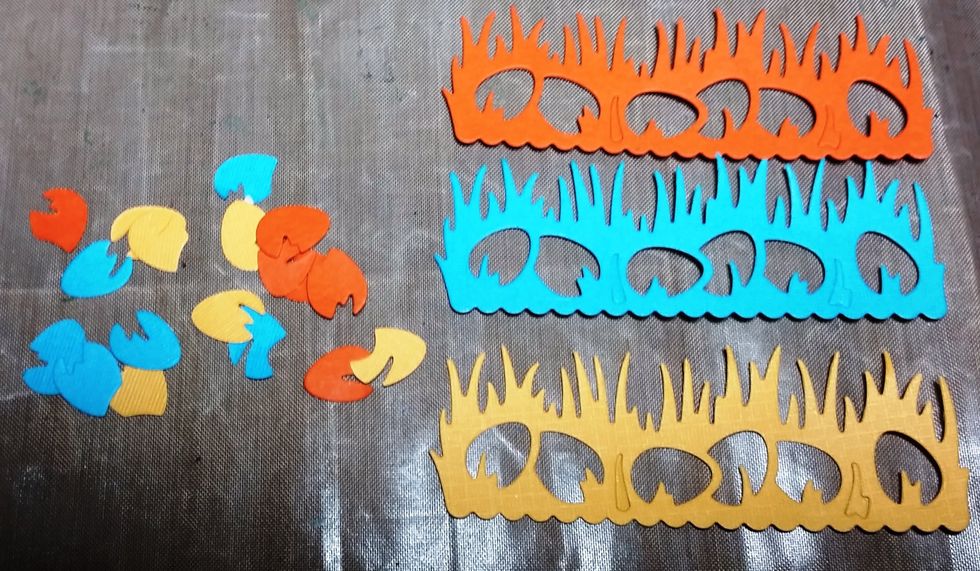
I die cut 3 more strips in orange, turquoise and yellow and just kept the colored eggs portion.
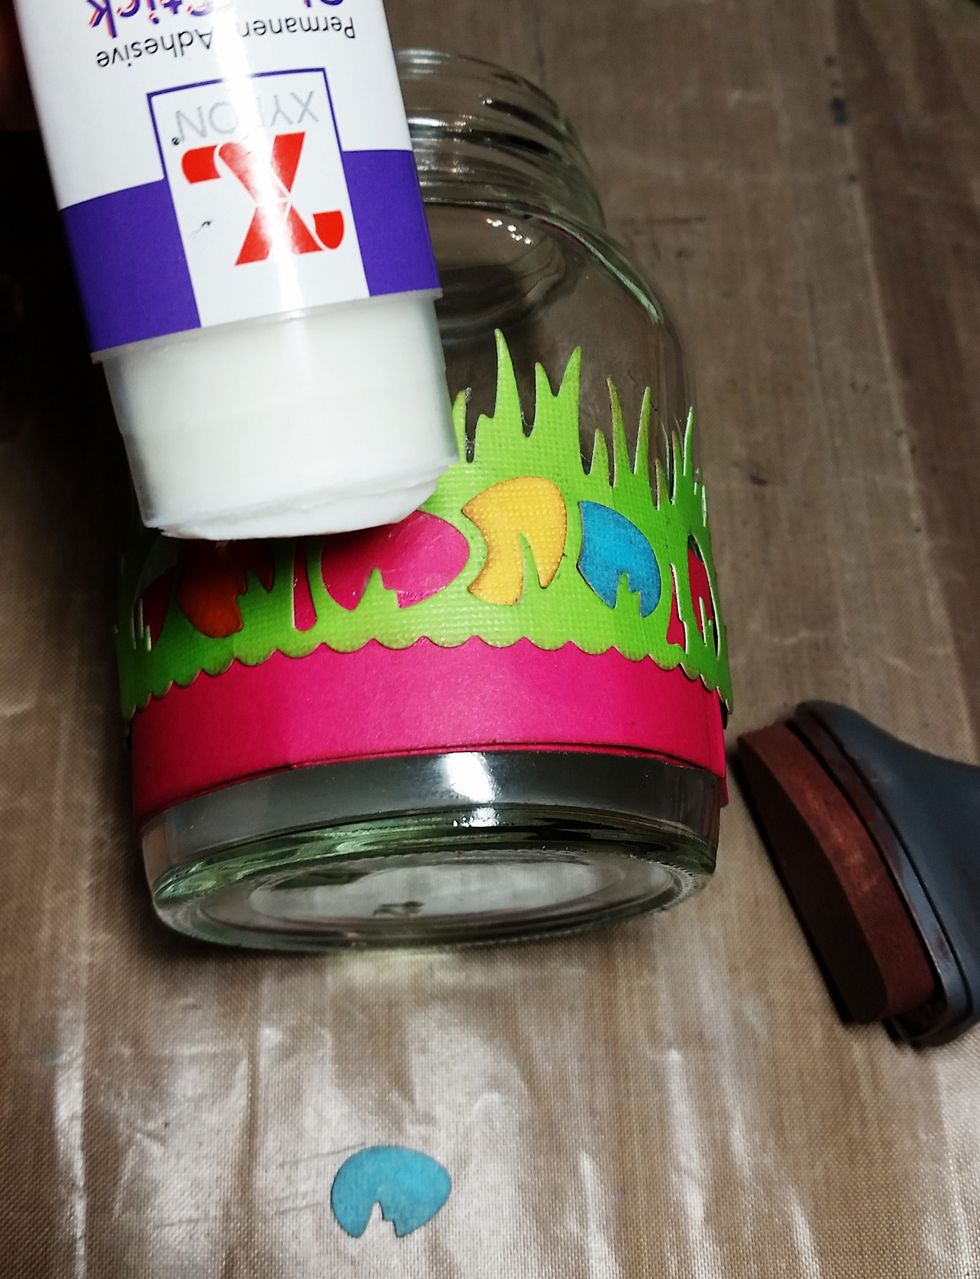
Using the Xyron glue stick I applied a light coat of glue in the egg holes of the die cut and inserted the turquoise, orange, and yellow eggs (inked in brown) in the spaces.
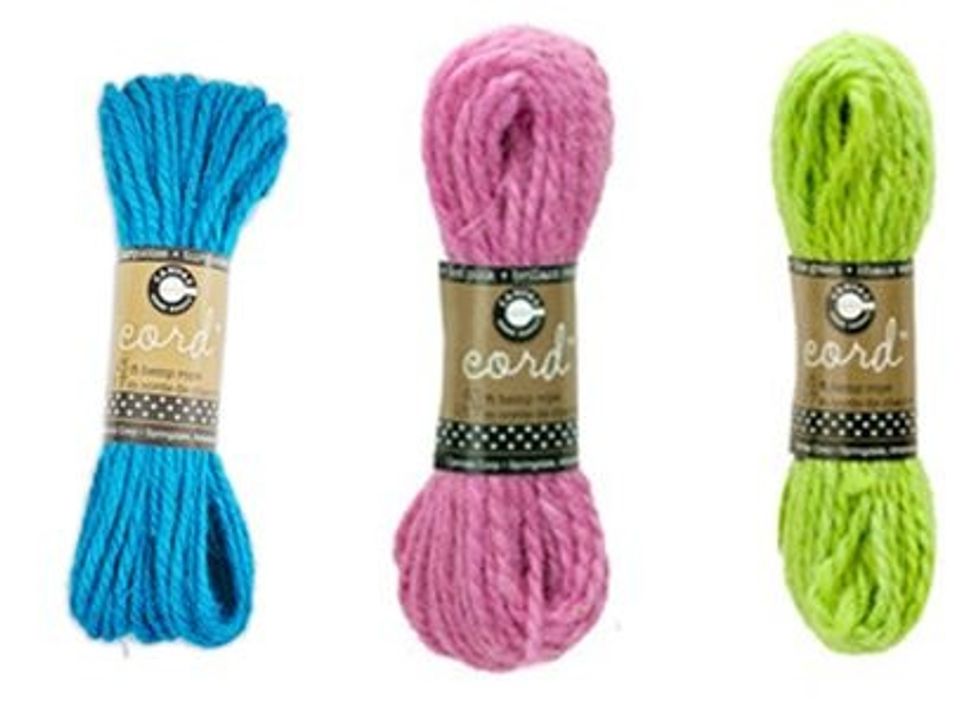
I used 3 colors of Hemp rope from Canvas Home Brands - Hot Pink, Turquoise, and Lime Green.
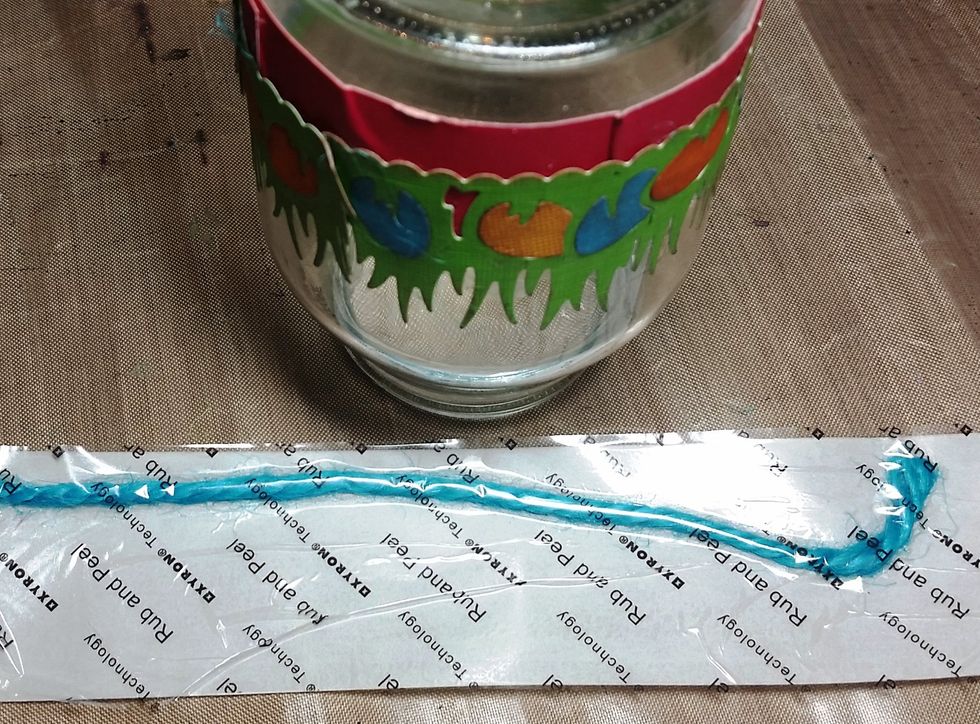
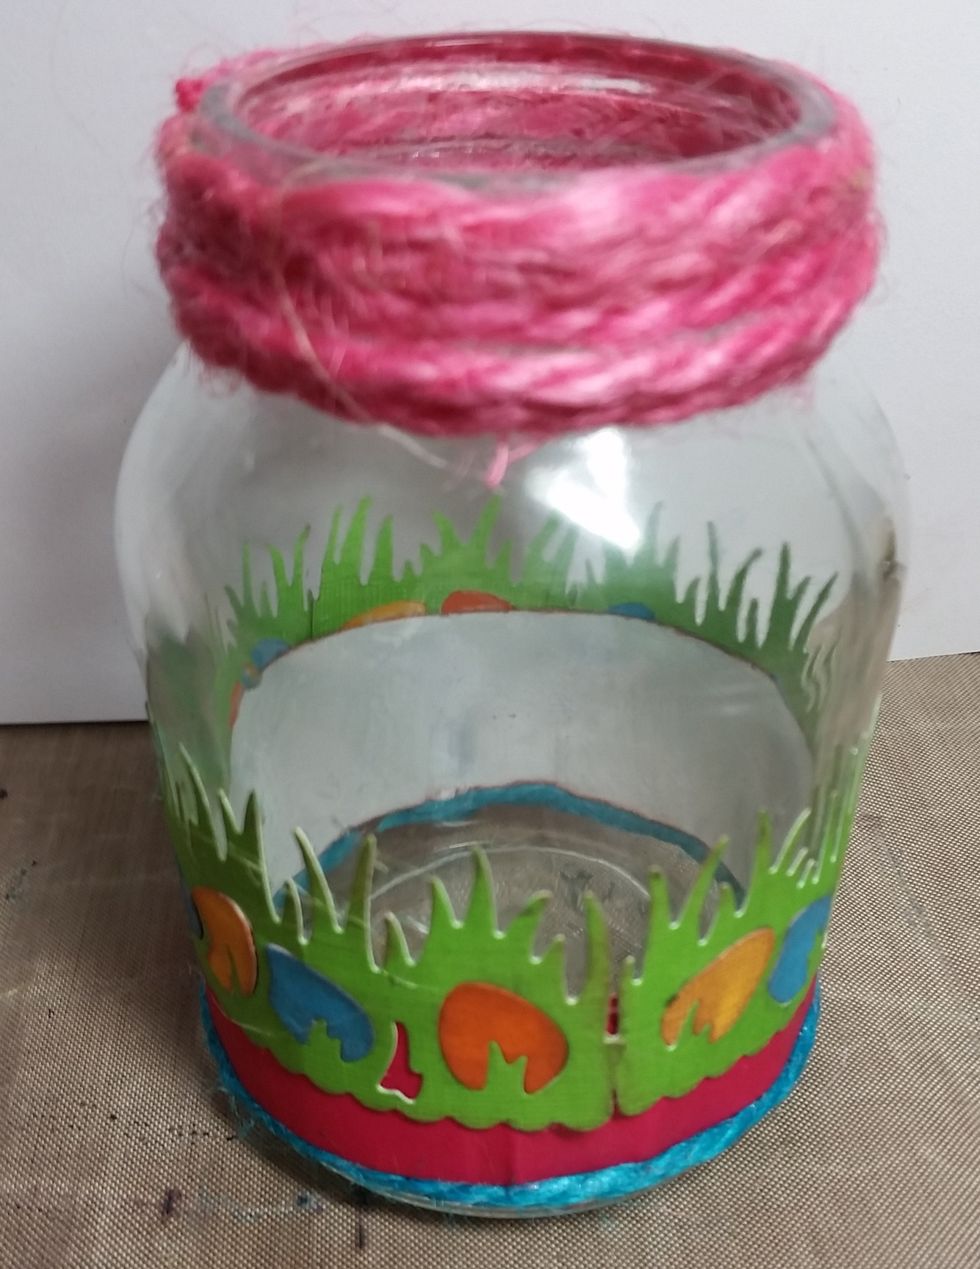
I cut out a section of turquoise rope to fit the bottom of the jar and used the 1.5 sticker maker to adhere it to the jar. I did the same to the top of the jar with the pink rope.
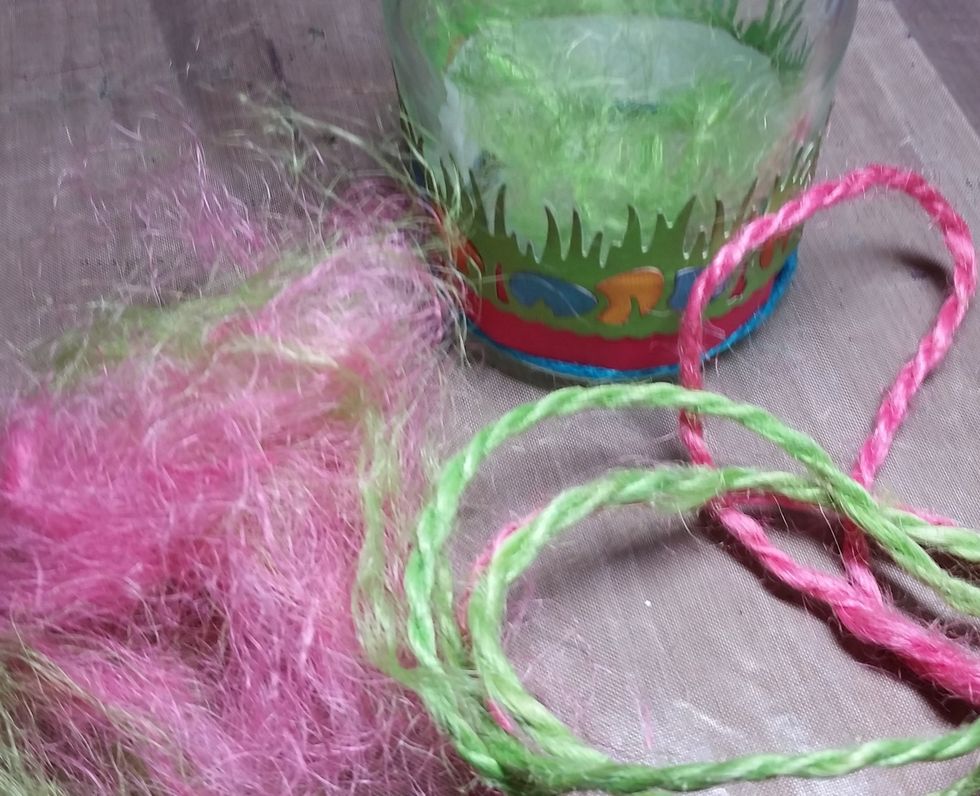
I used sections of the green and pink rope pulled apart as "grass" inside the jar.
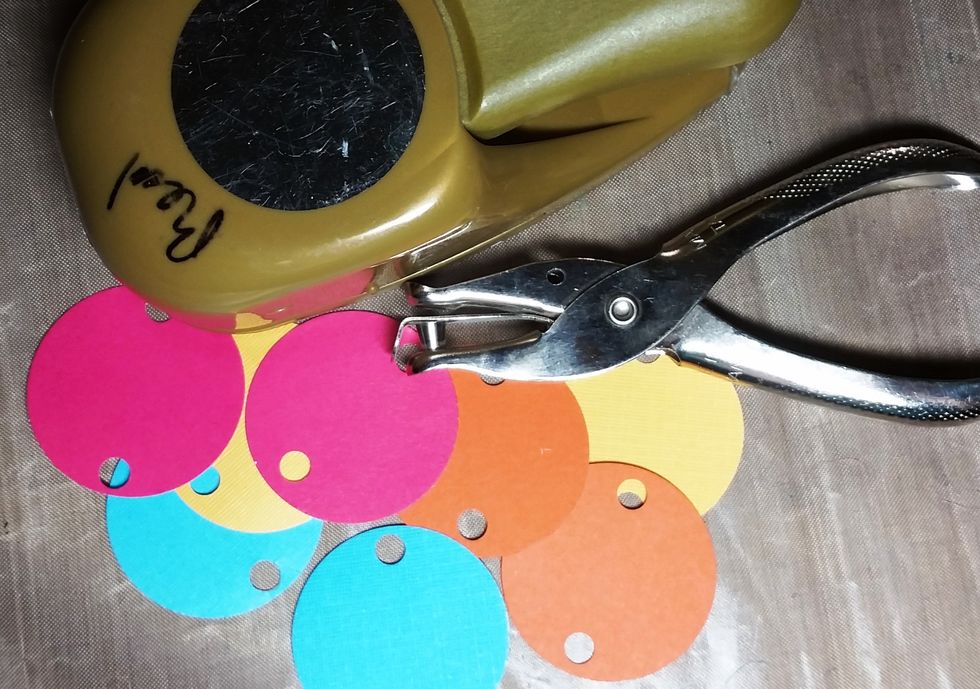
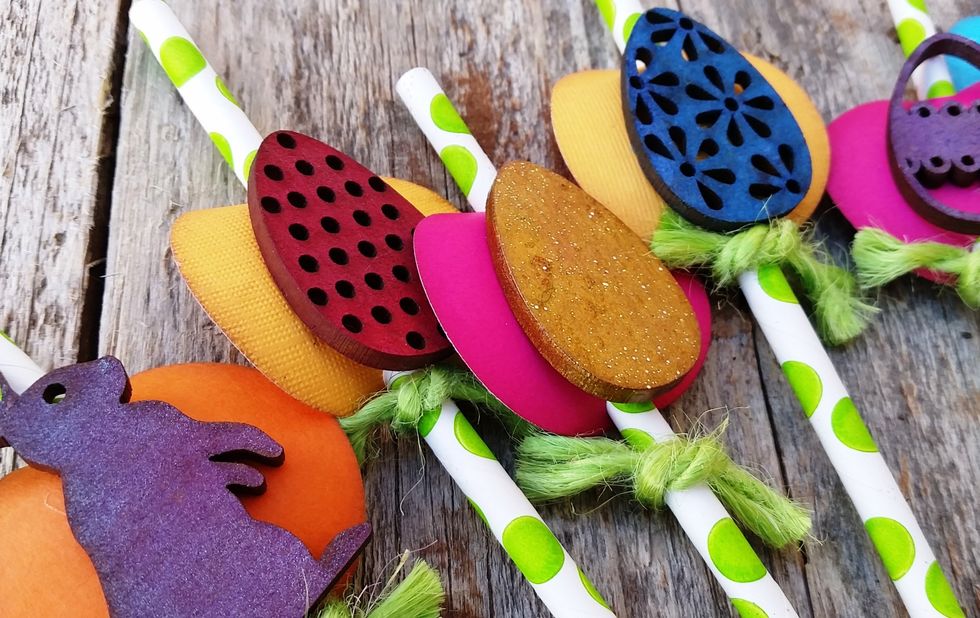
I punched out 8 1.5 inch circles in pink, yellow, orange, and turquoise and using a hole punch punched 2 circles (at the top and the bottom) of each circle. I also inked all of these in brown ink.
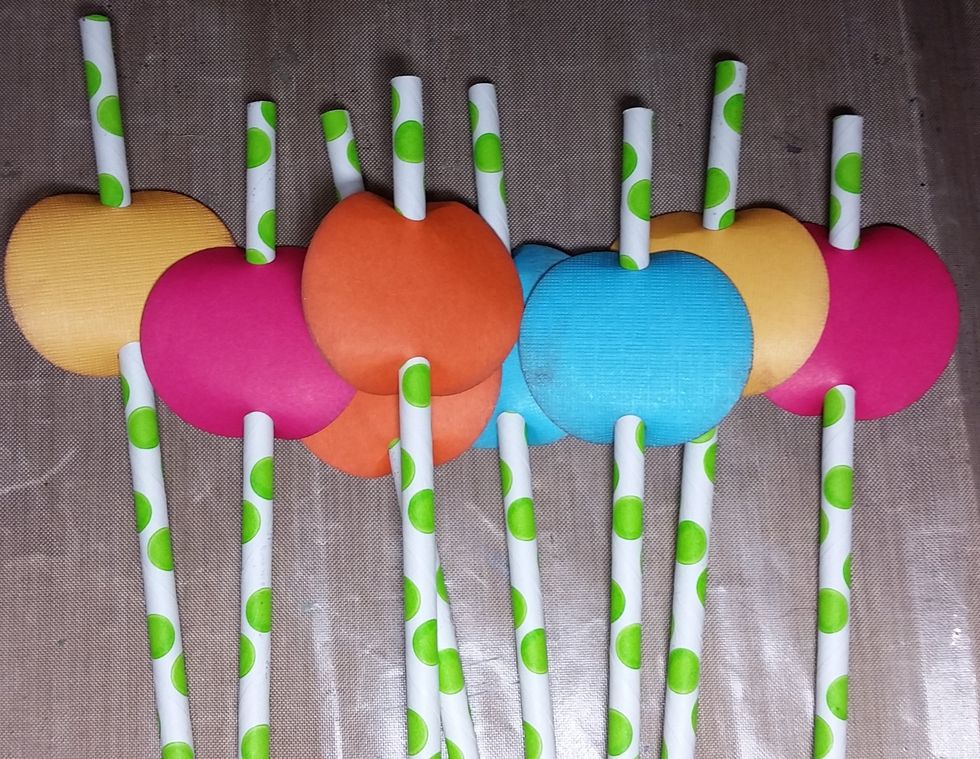
I slid each of the circles into the paper straws (bought a Michaels).
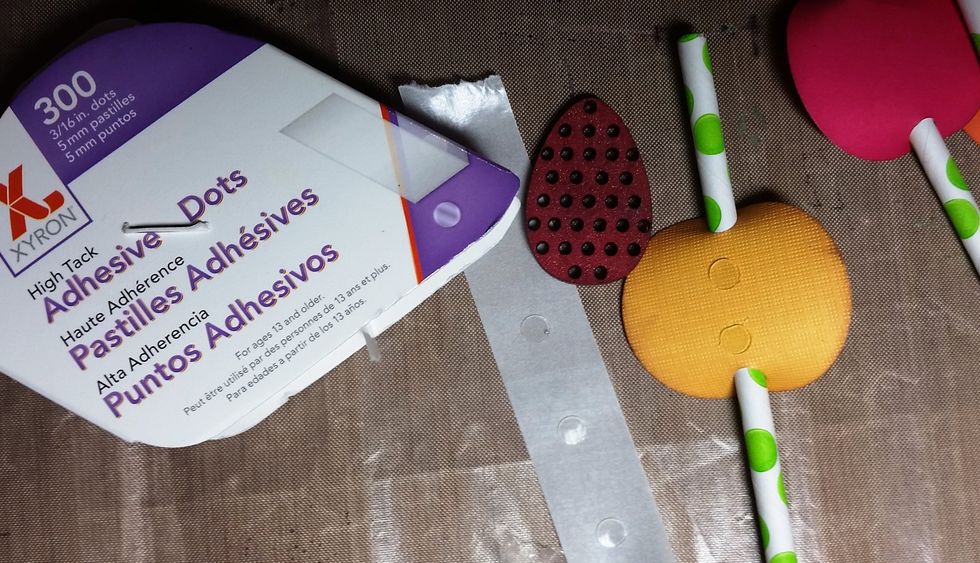
Using the Xyron glue dots I glued the dried wood shape onto the circles.
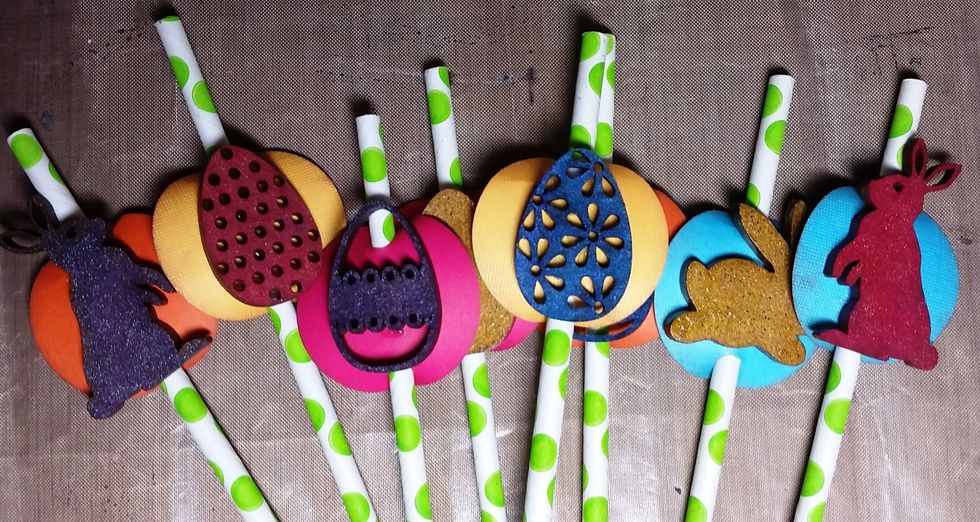
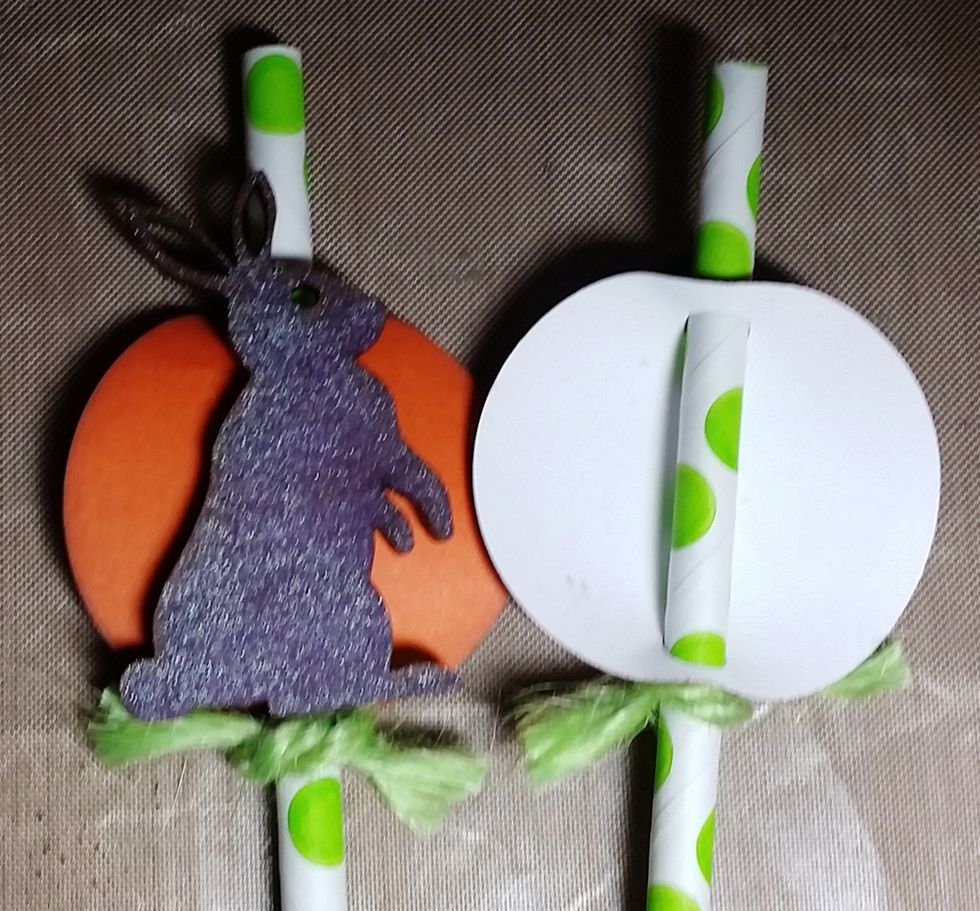
I then tied a little green know bow to the bottom of each circle in lime green rope. This is to prevent the slide from falling down the straw and also to add a fun touch.
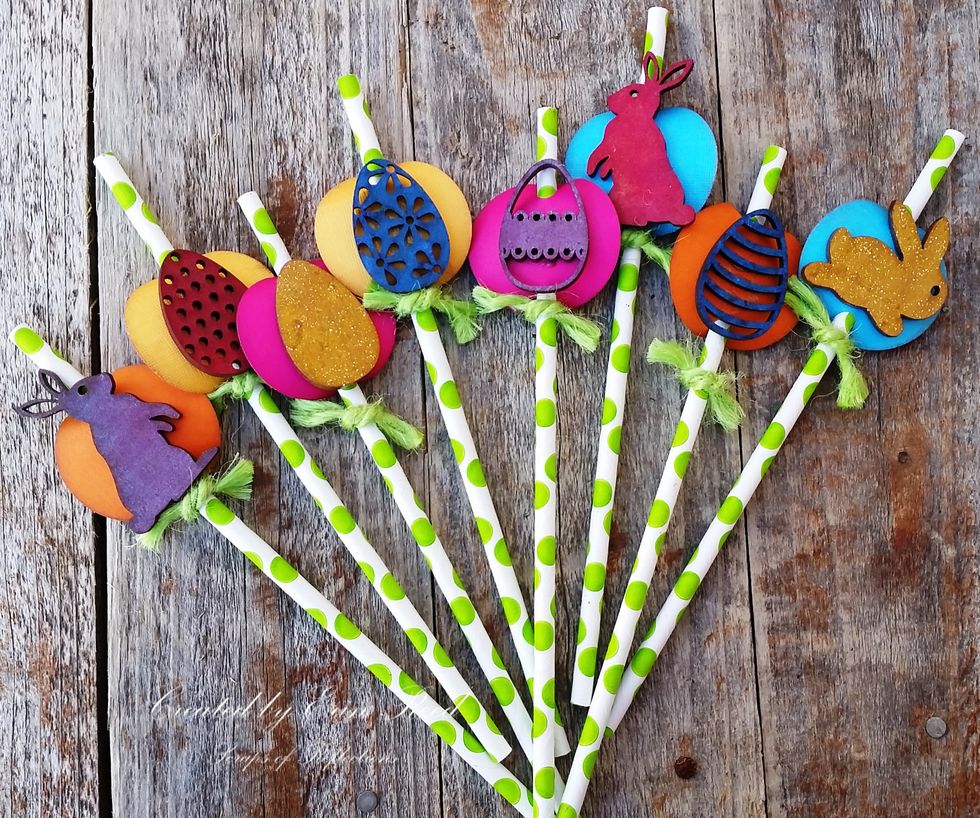
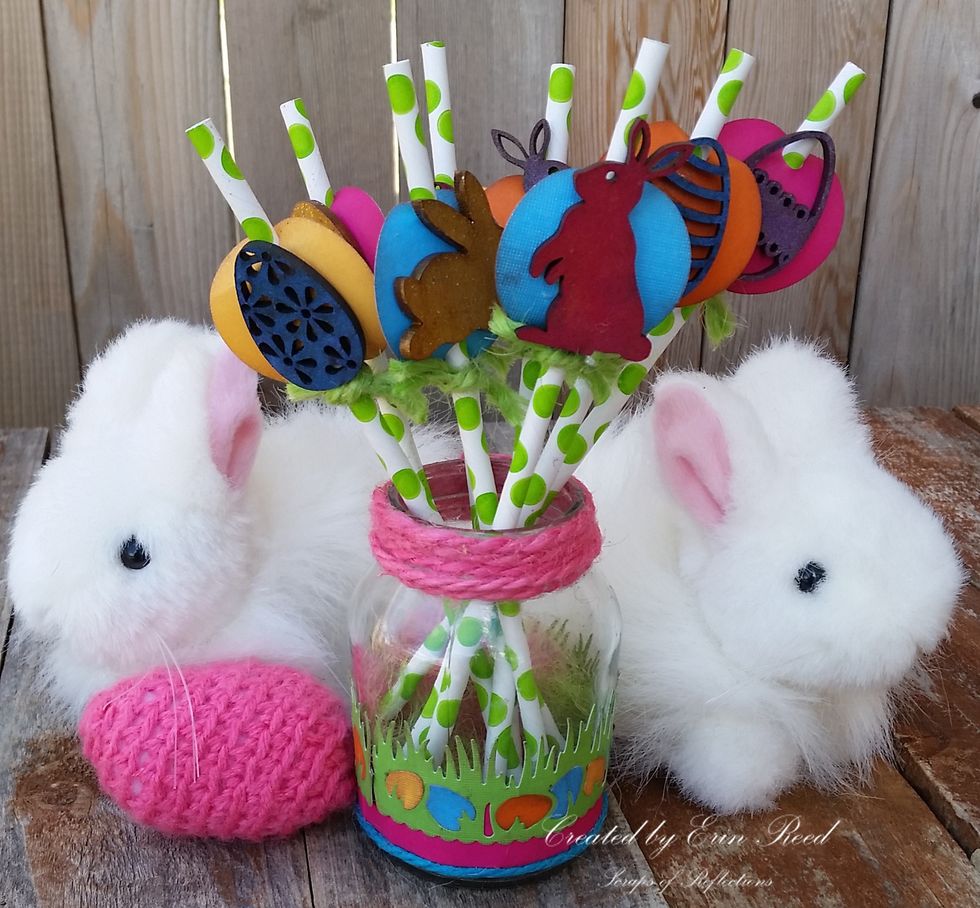
These fun straws can be used as cupcake toppers, actual straws, party favors, or just as a decoration. the best part is the slides are removable and easily applied to a new straw if needed!!