The Conversation (0)
Sign Up
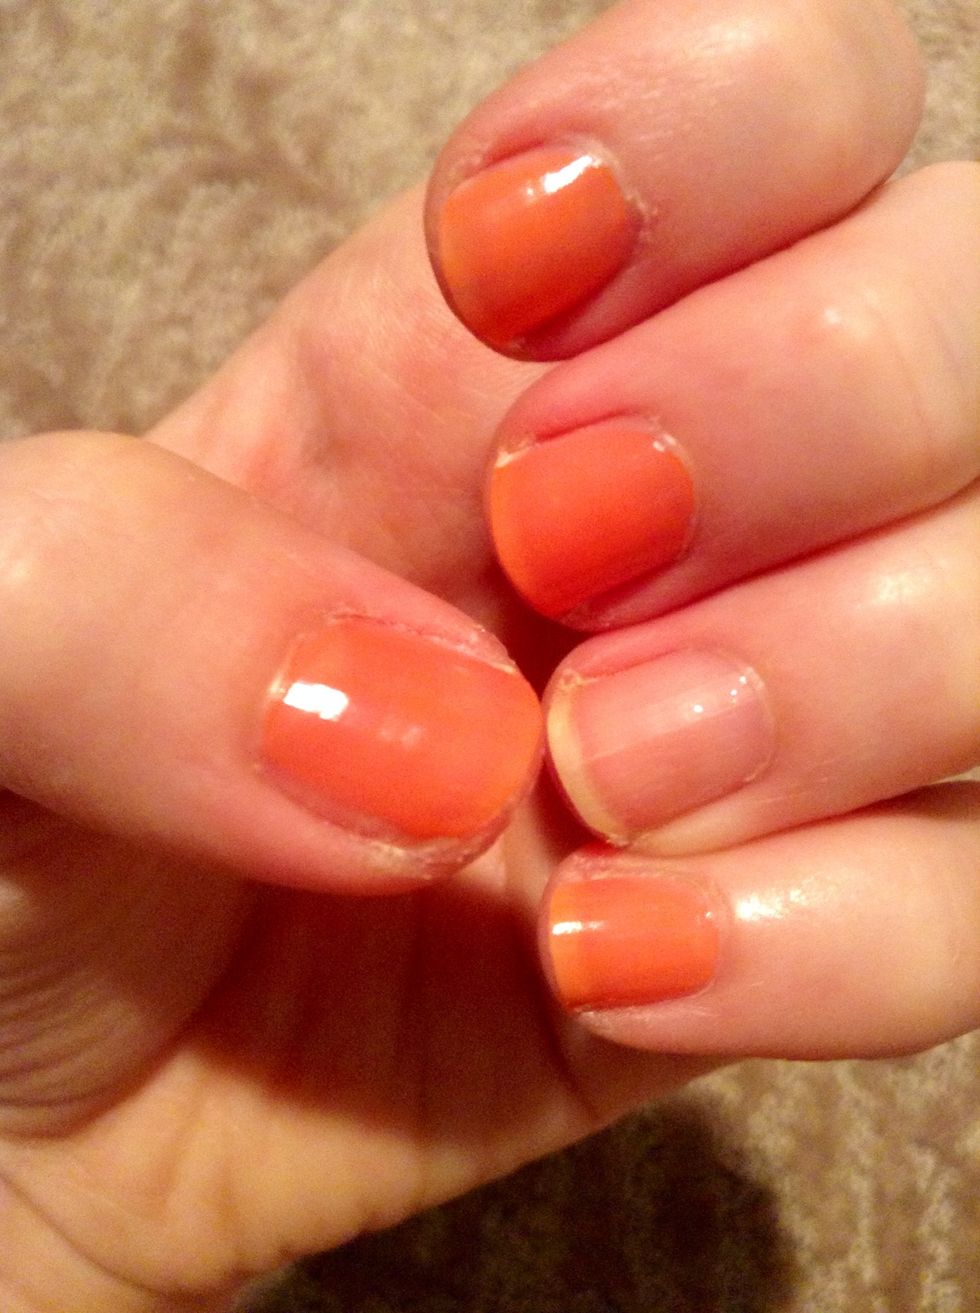
Begin with one coat of the peach nail polish. Make sure to skip the fourth nail!

Paint the bare fourth nail white.
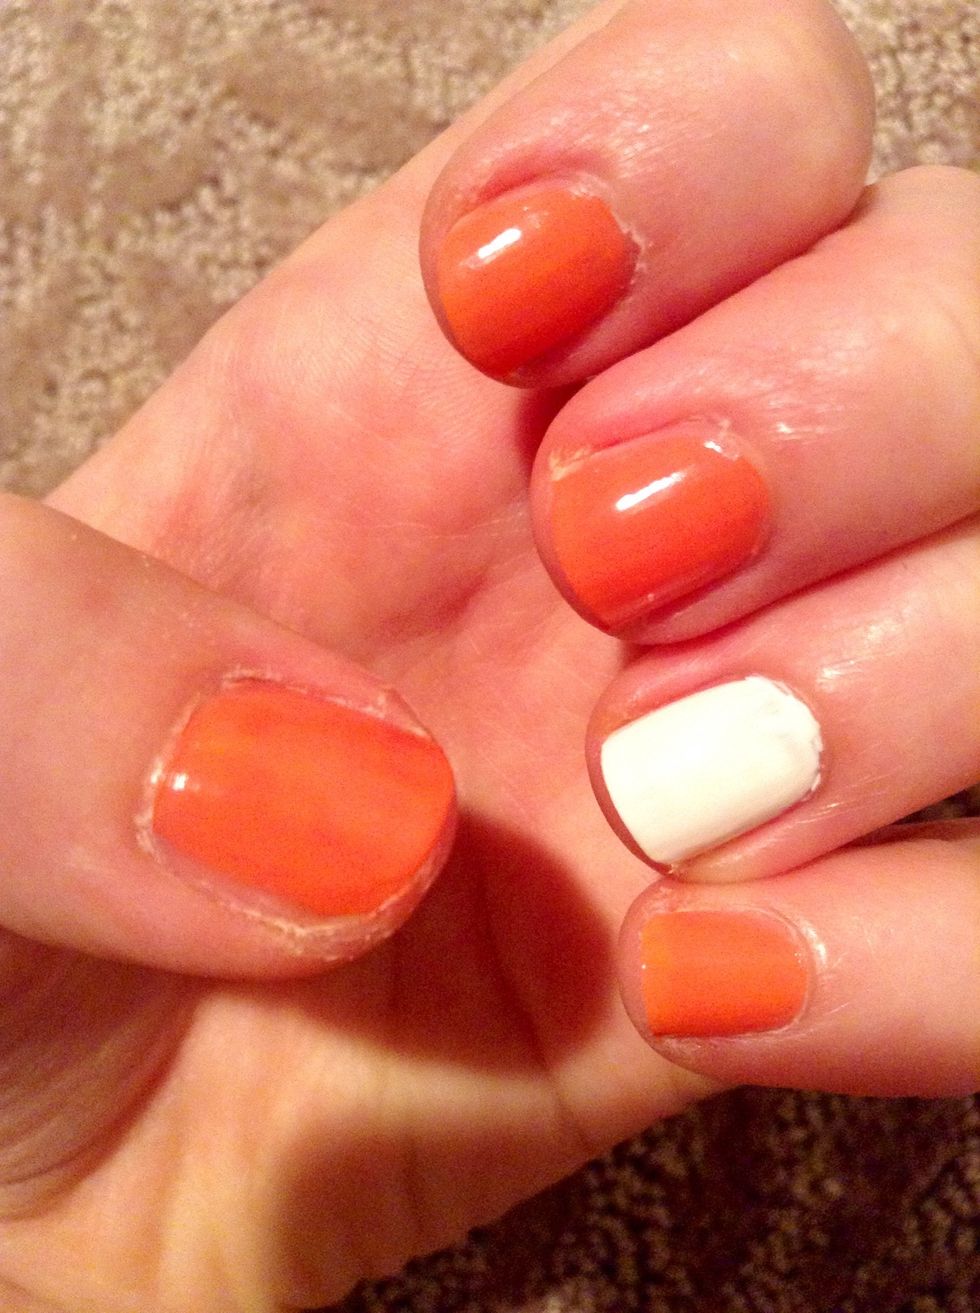
Depending on the opaqueness of your nail polish, you might have to apply a second coat.

Add horizontal peach stripes to the white nail.
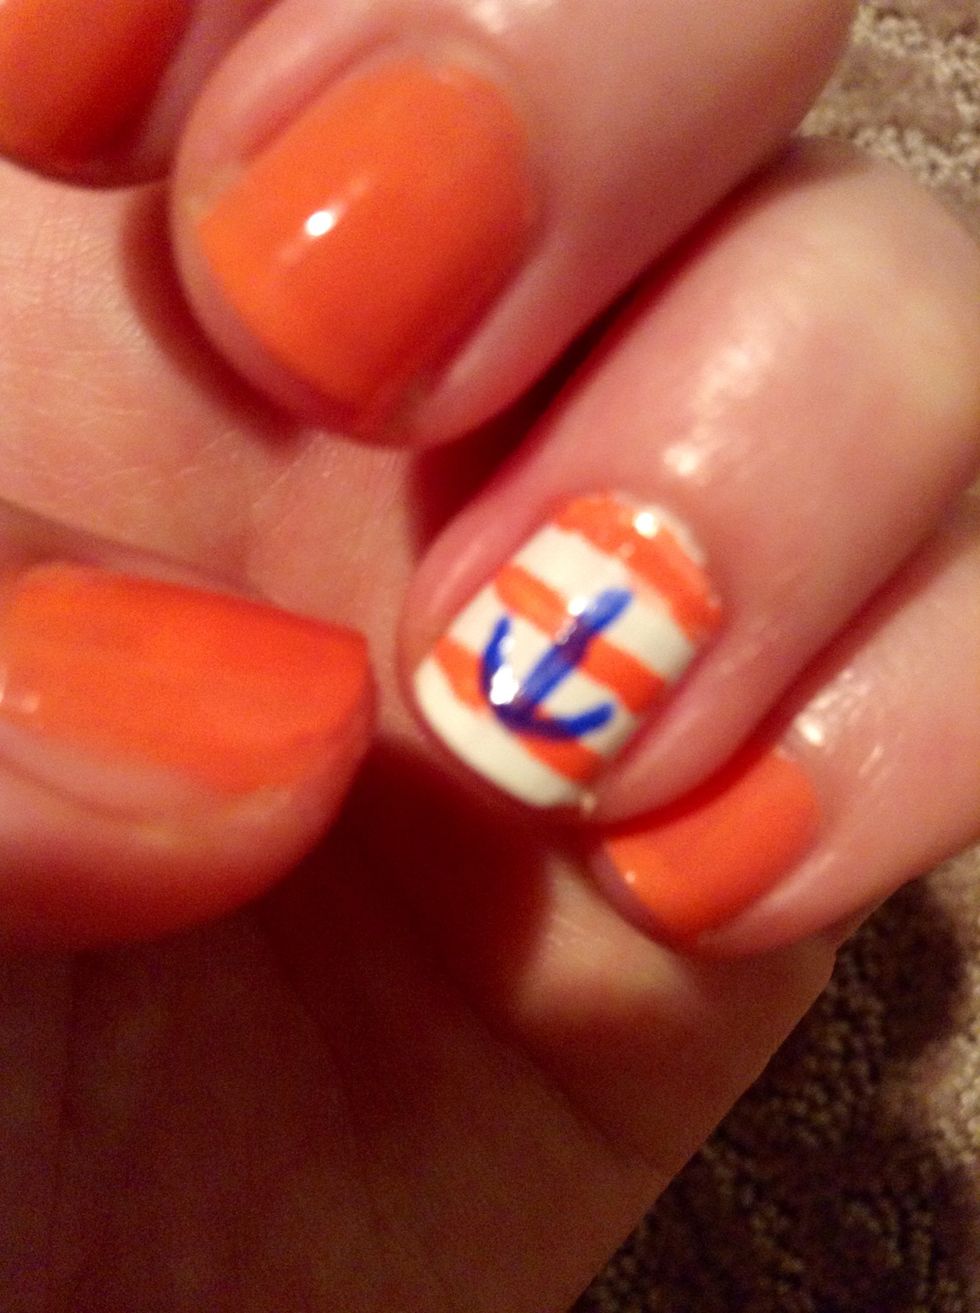
Using the nail art brush, make a vertical blue stripe down the middle of the nail. Make a "U" underneath the stripe.
At each end of the "U," make little arrows. They should be pointing upward. Next, make a horizontal line at the top of the vertical stripe. It should look like a "t."
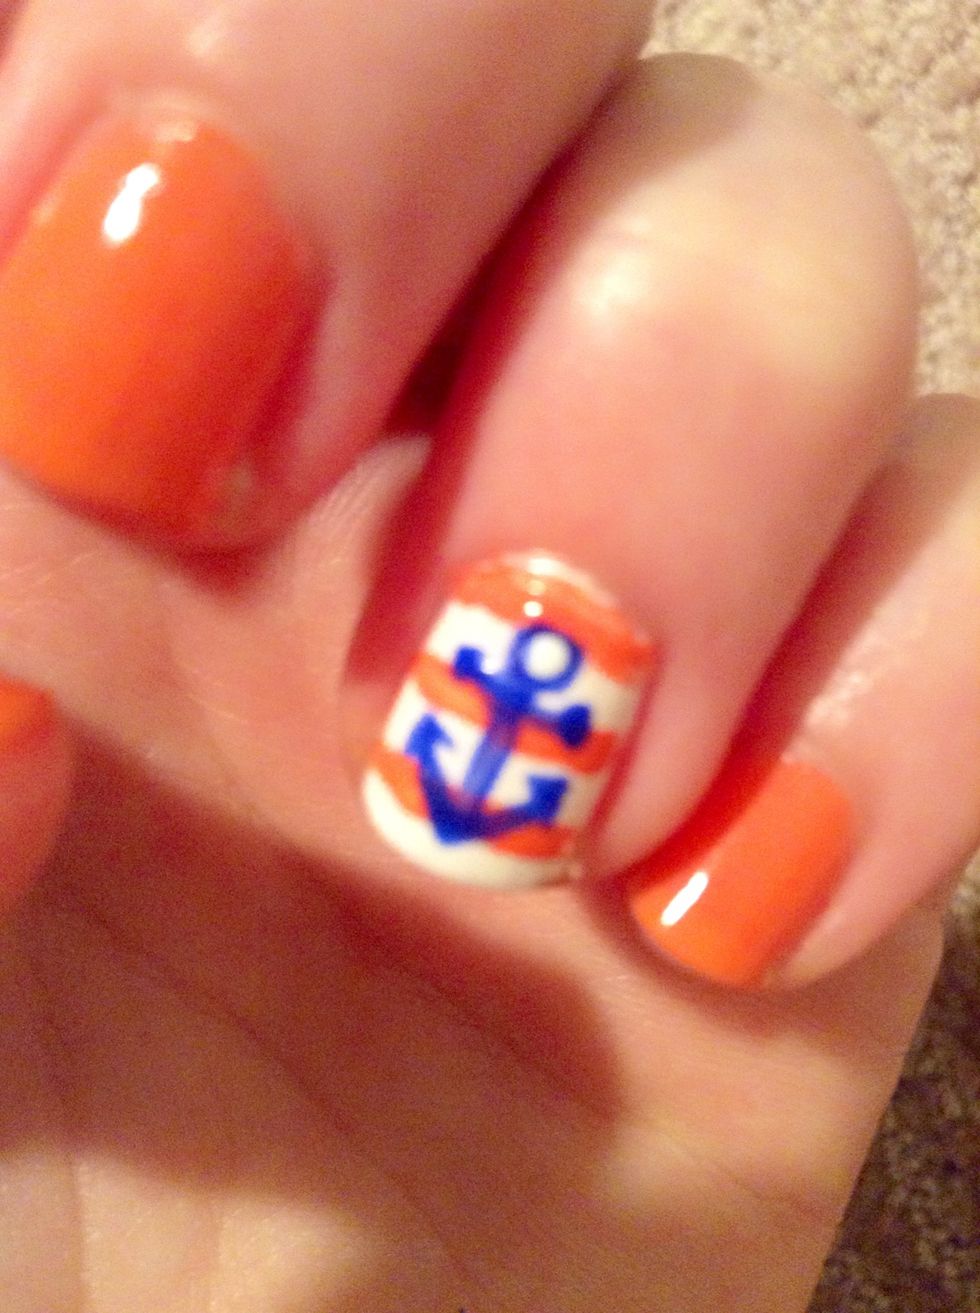
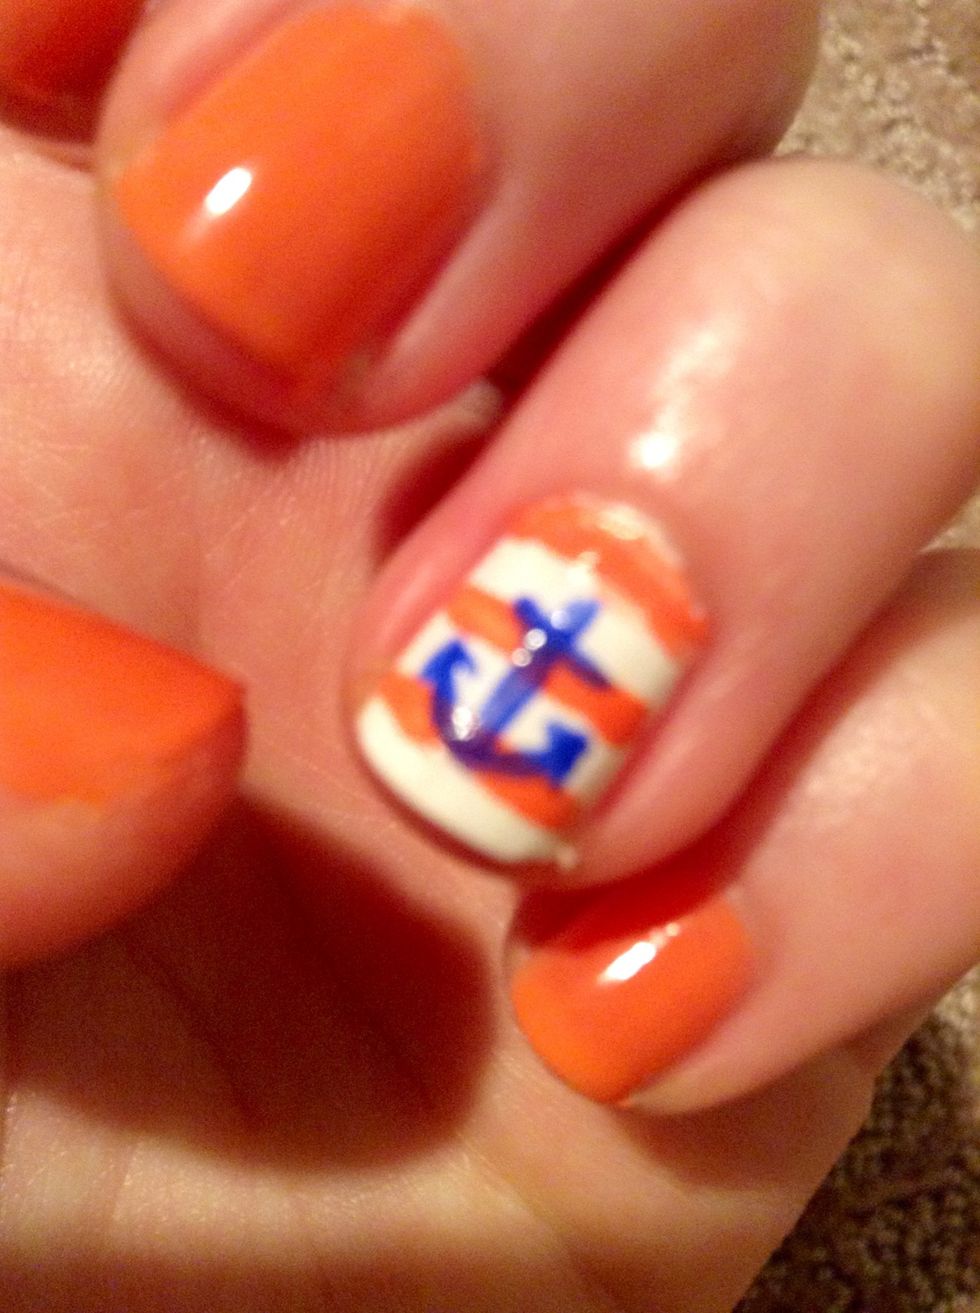
With the dotting tool, make two small dots at each end of the short horizontal line and one large dot at the top of the "t." Make a small white dot inside of the large blue dot.
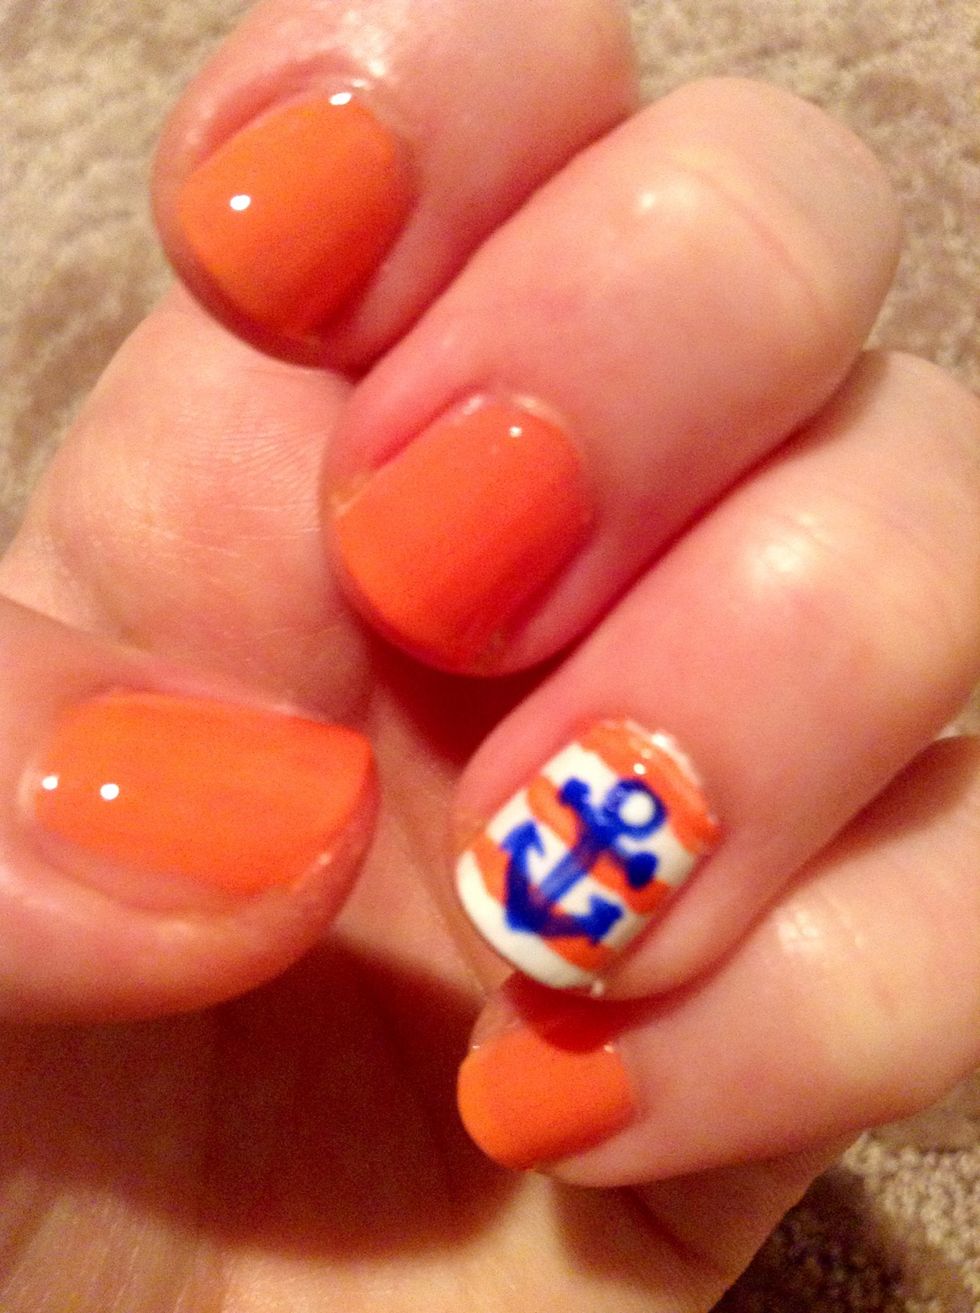
Add a clear top coat and you are finished! 😘
Thanks for checking out my guide! I hope you enjoyed it ⚓️