The Conversation (0)
Sign Up
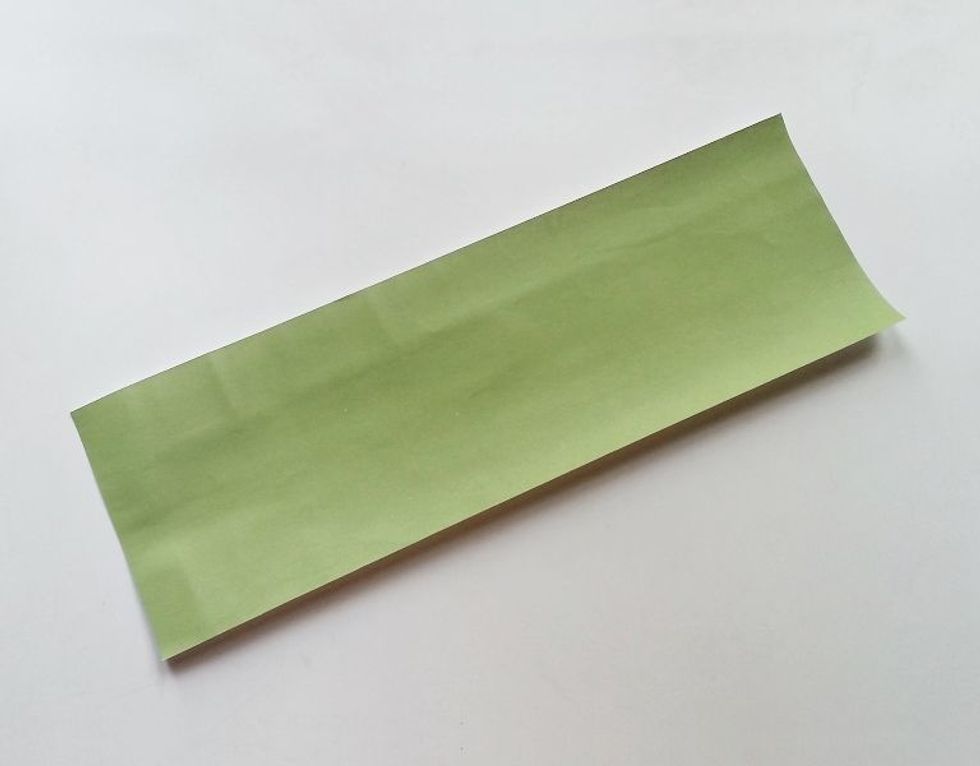
Measure the can size and cut out a long strip of craft paper to wrap the can once. Keep half an inch extra on the paper along the width.
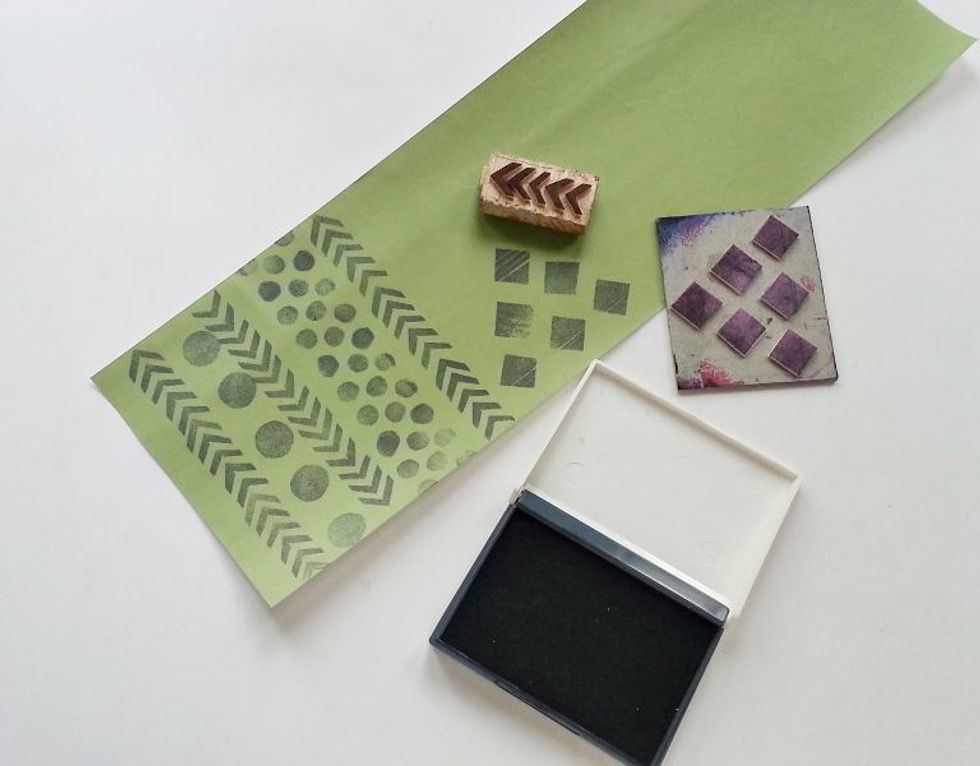
Use different shaped stamps to create customized pattern on the prepared paper. I kept a small gap for a label. The customized paper is ready!
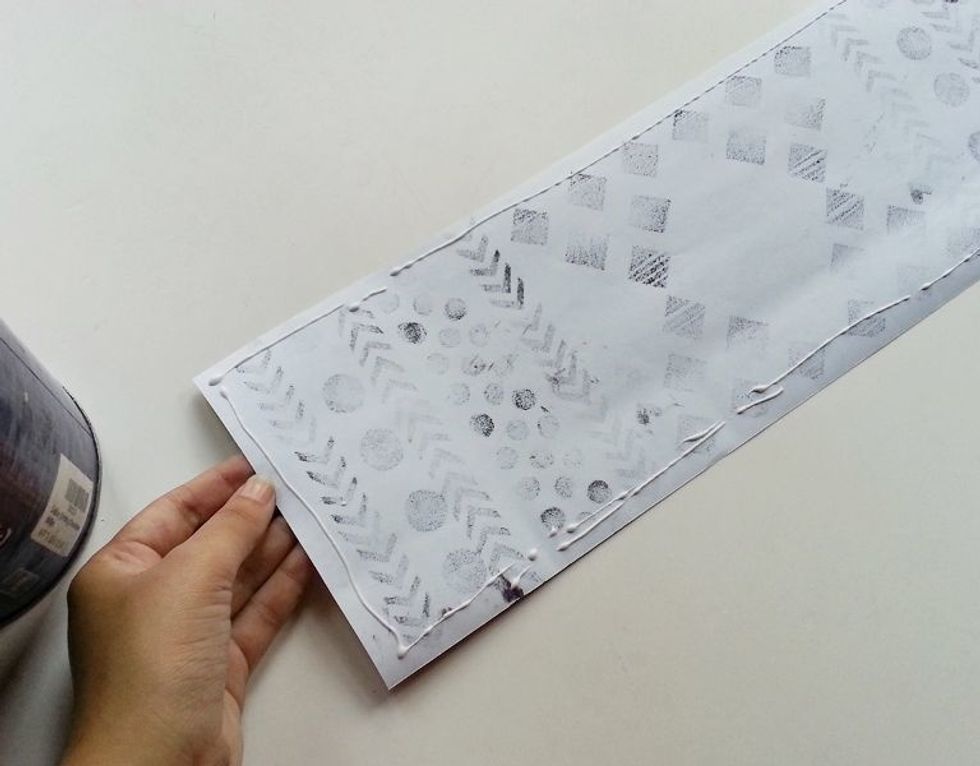
Apply craft glue at the back side of the printed paper. Apply glue along the border.
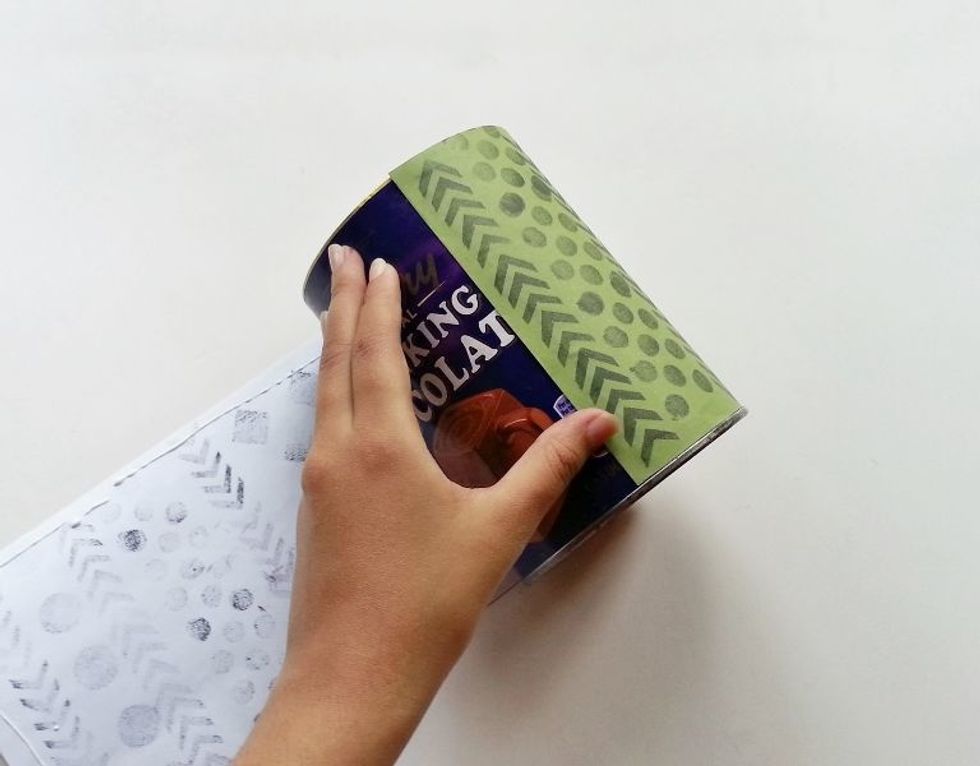
Carefully start to wrap the paper around the can.
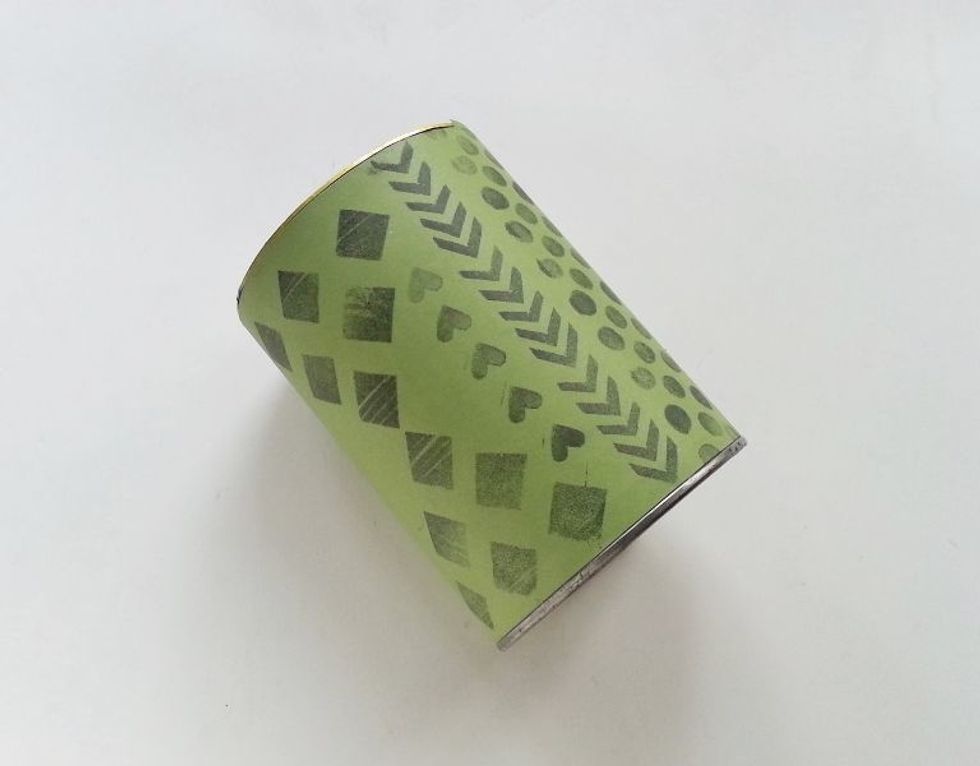
Neatly wrap the paper around the can and apply glue at the end to secure the wrapping.
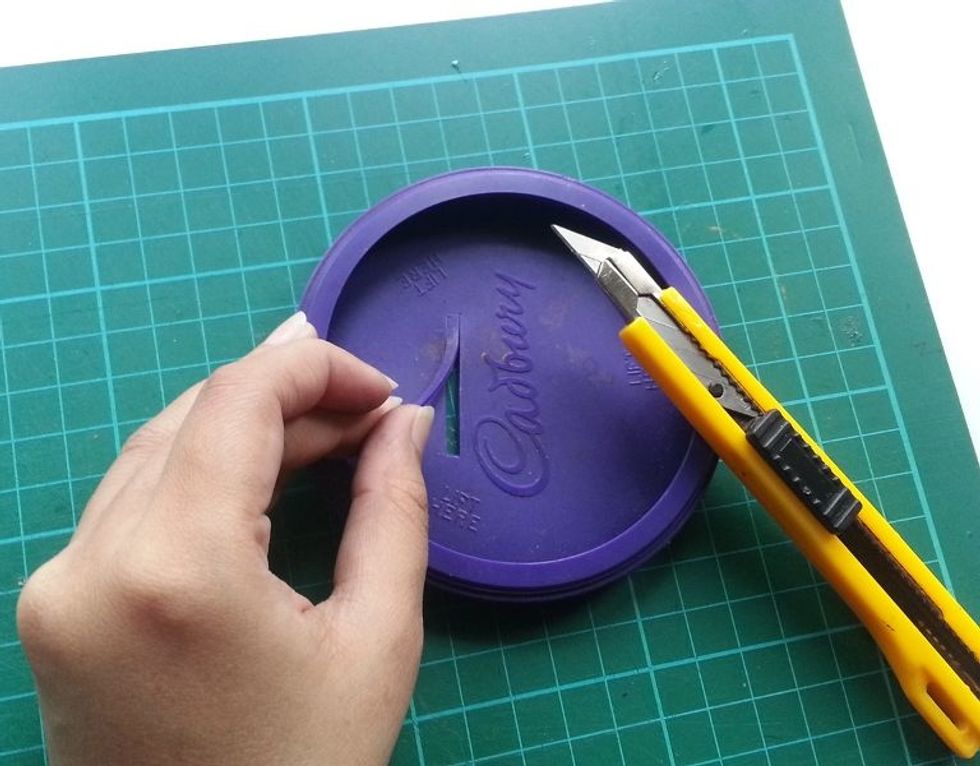
Take the lid and cut out a thin strip out of the lid. The thin strip should be enough to slide in a coin through it.

Apply strong adhesive glue or super glue around the depth of the lid.
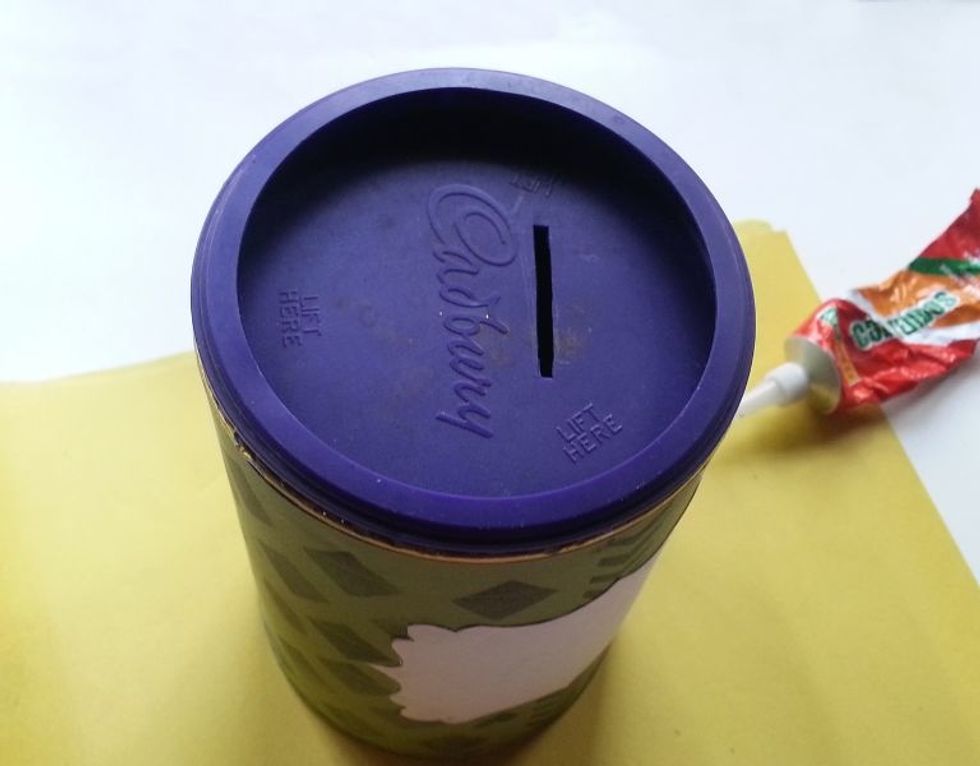
Put the lid on its place. Press to make sure that the lid is fitted perfectly.
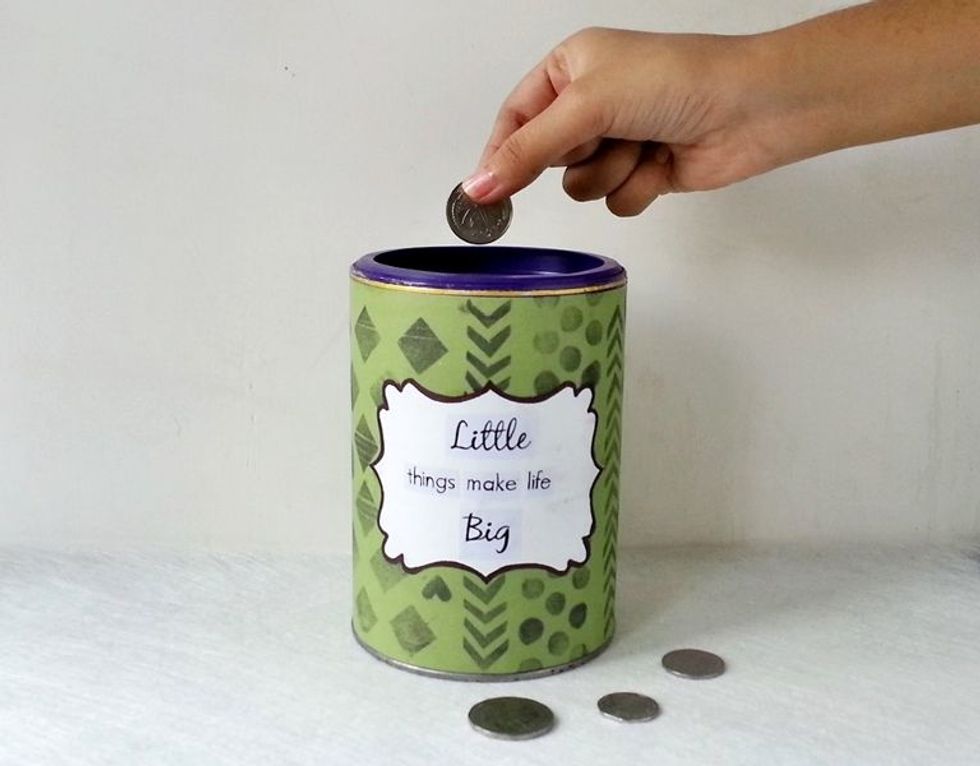
Attach an inspirational quote to the can. Start saving!