The Conversation (0)
Sign Up
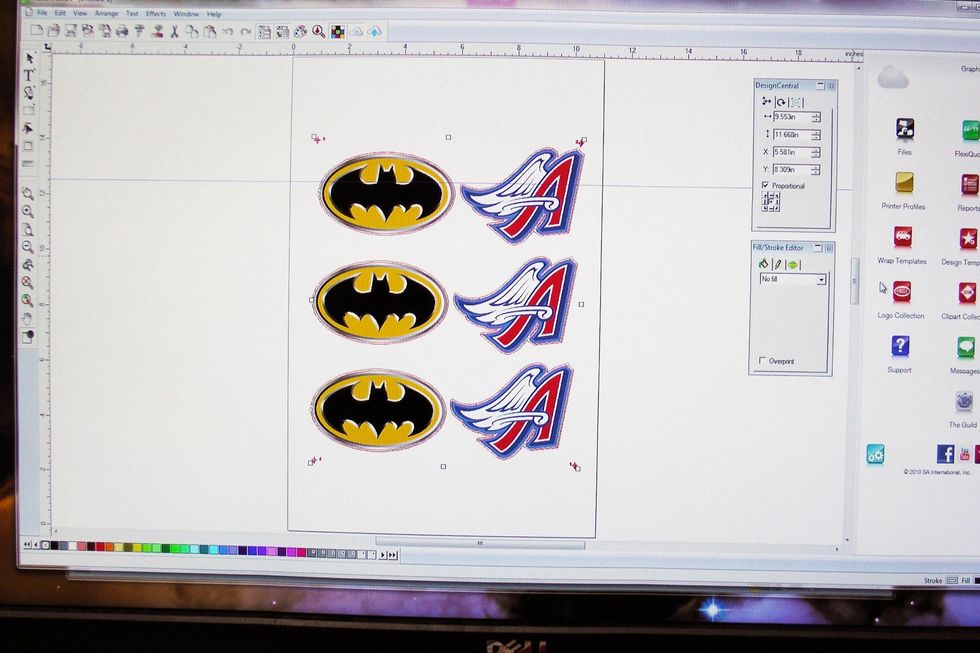
Import artwork to GO Edition print and cut software. Create your contour paths and registration marks.
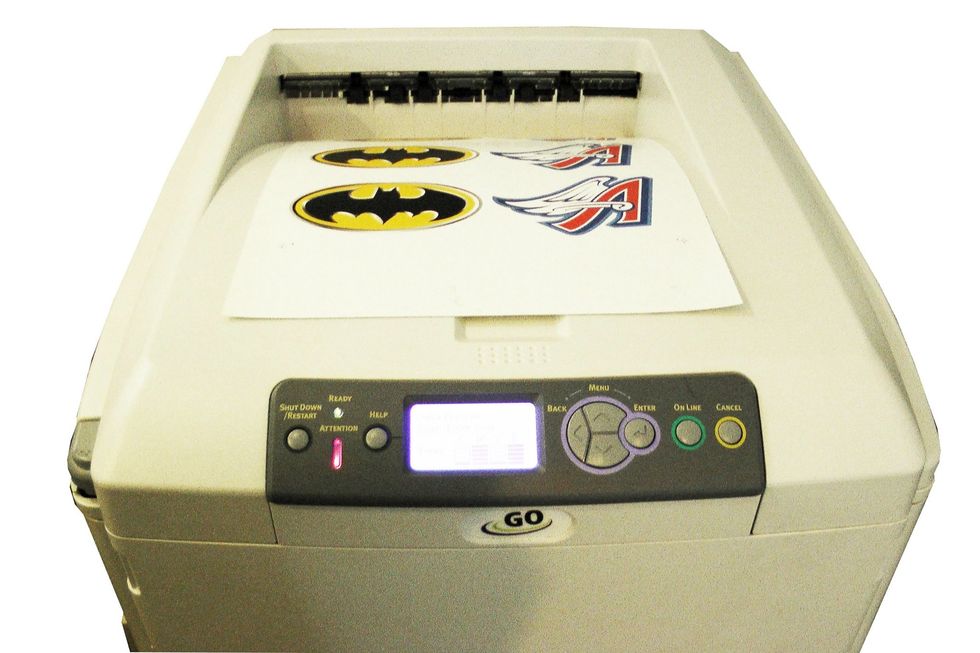
Print the artwork using the GO UNO transfer printer and GO's UNO Low Temp transfer paper.
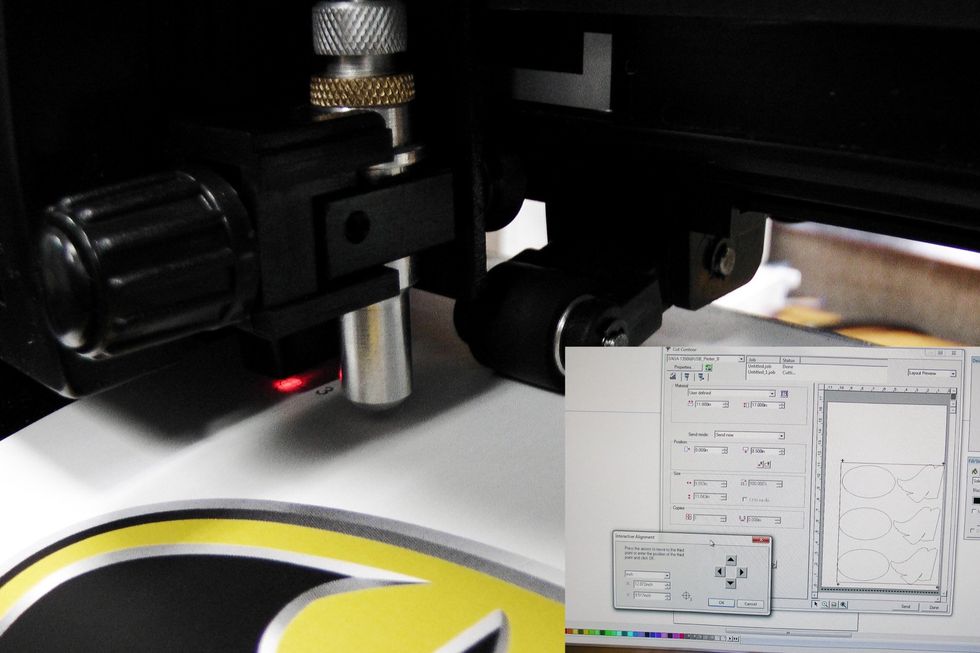
Feed the printed paper onto the GO MiniMax contour cutter and manually detect all four registration marks using the optic laser guide and GO's cutting software.
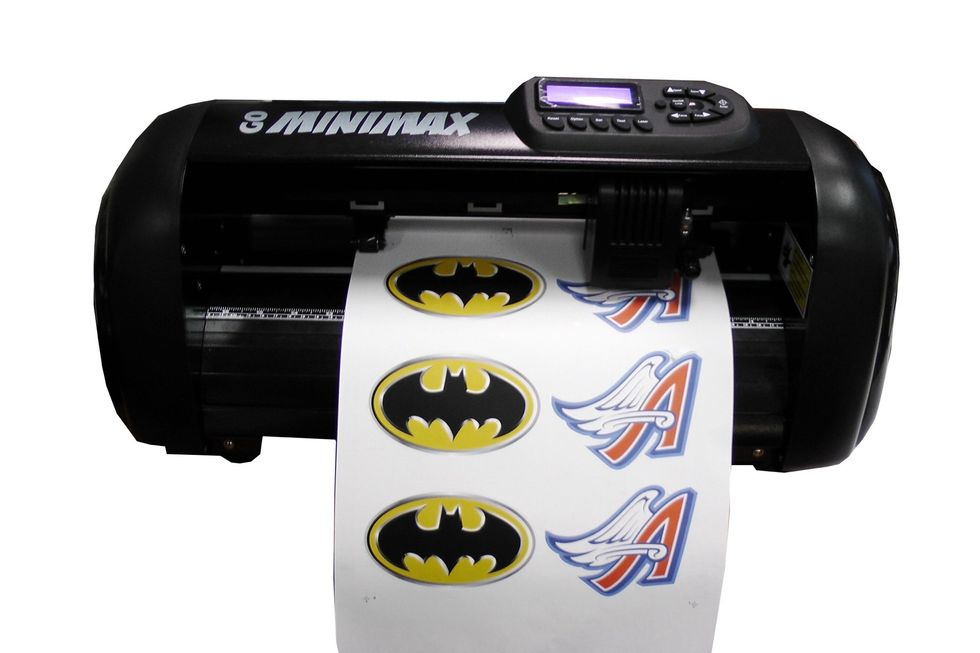
The GO MiniMax cutter automatically contour cuts complex designs and images with its high cutting speed and accuracy.

Weed out the images and designs from the transfer paper.
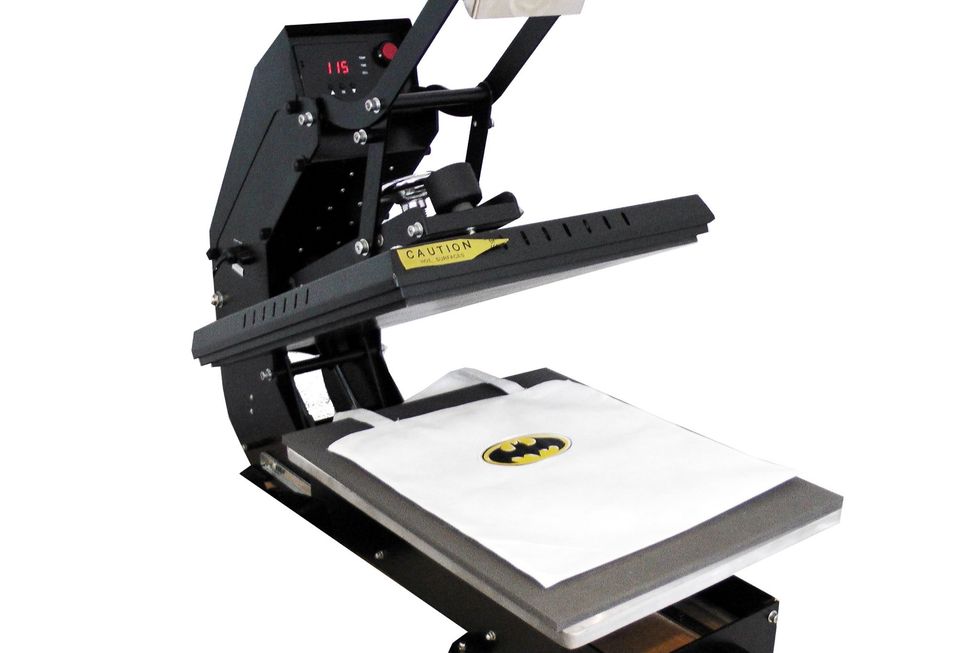
Place the propylene bag onto the heat press with the printed and cutted transfer paper on top. Press for 10 seconds at 115 C / 235 F
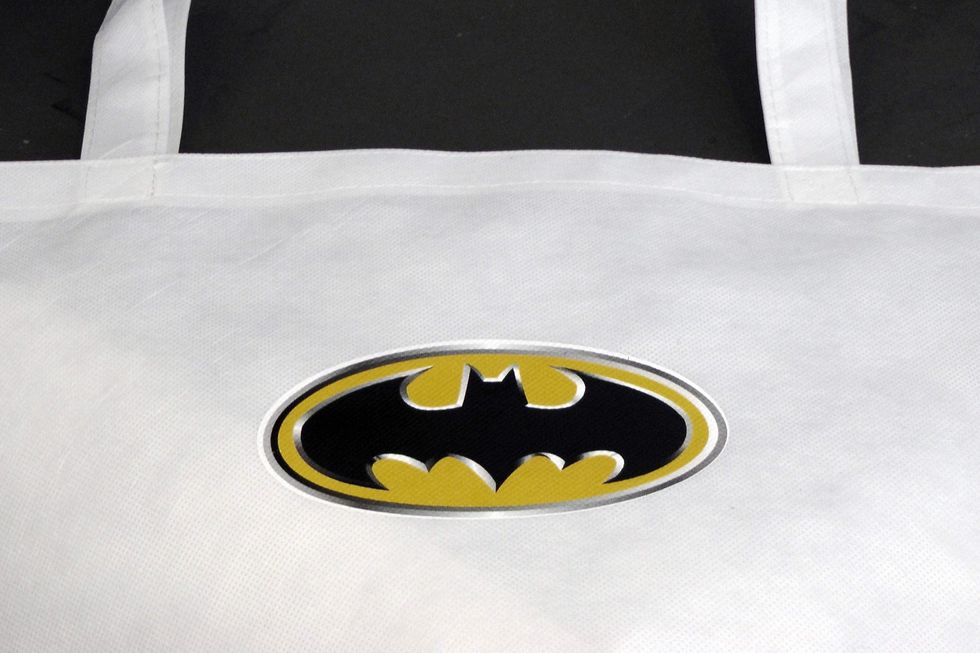
And you now have a custom bag using GO UNO LED transfer printer, GO UNO Low Temp transfer paper and GO's MiniMax contour cutter.