The Conversation (0)
Sign Up
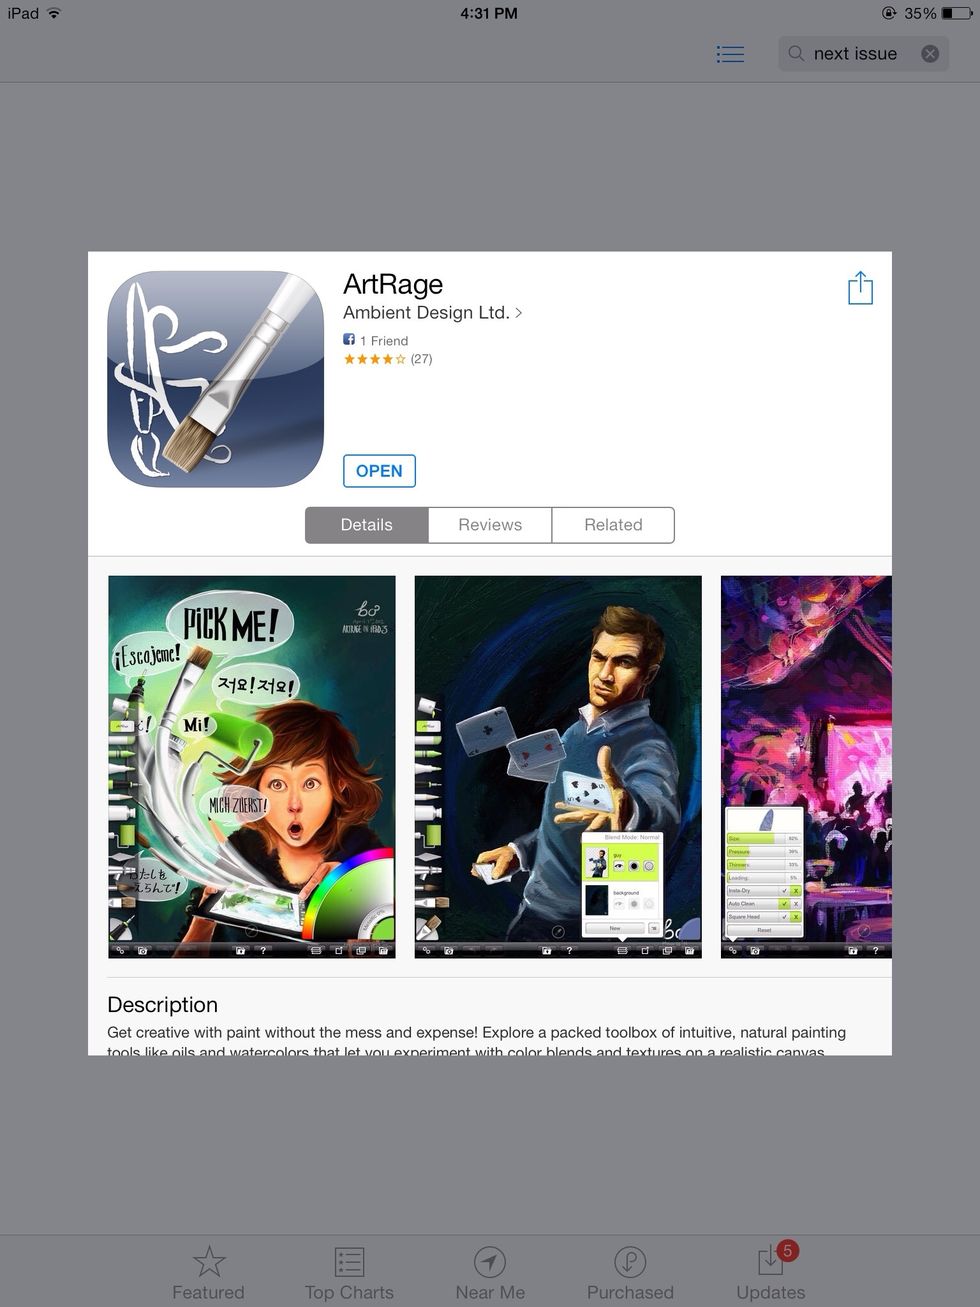
First you want to download ArtRage for iPad. It's a $5 download from the App Store.
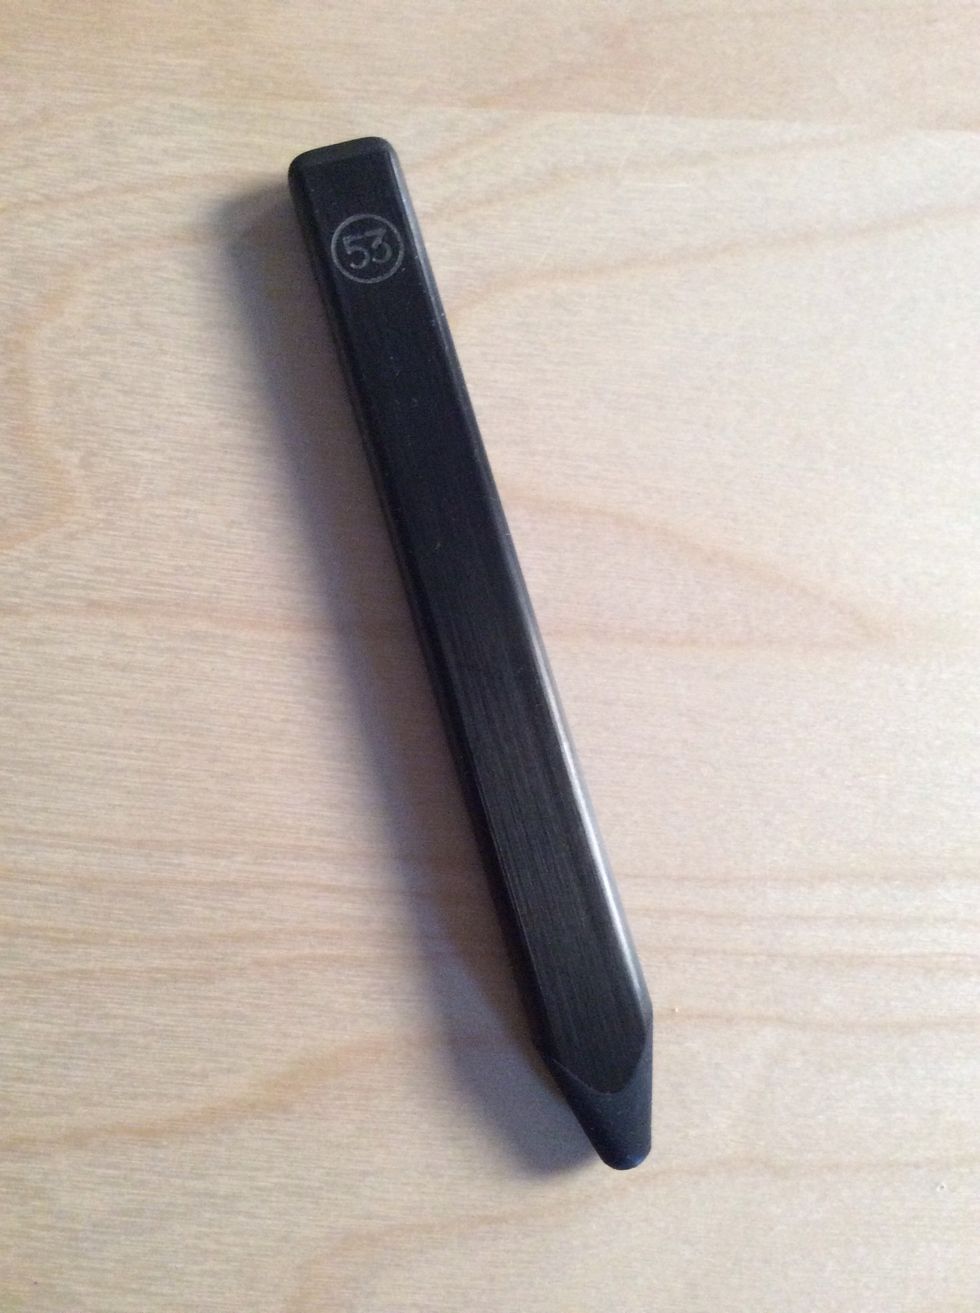
I recommend using a stylus for iPad Painting but you can get away without one. For this exercise I used Pencil by 53.
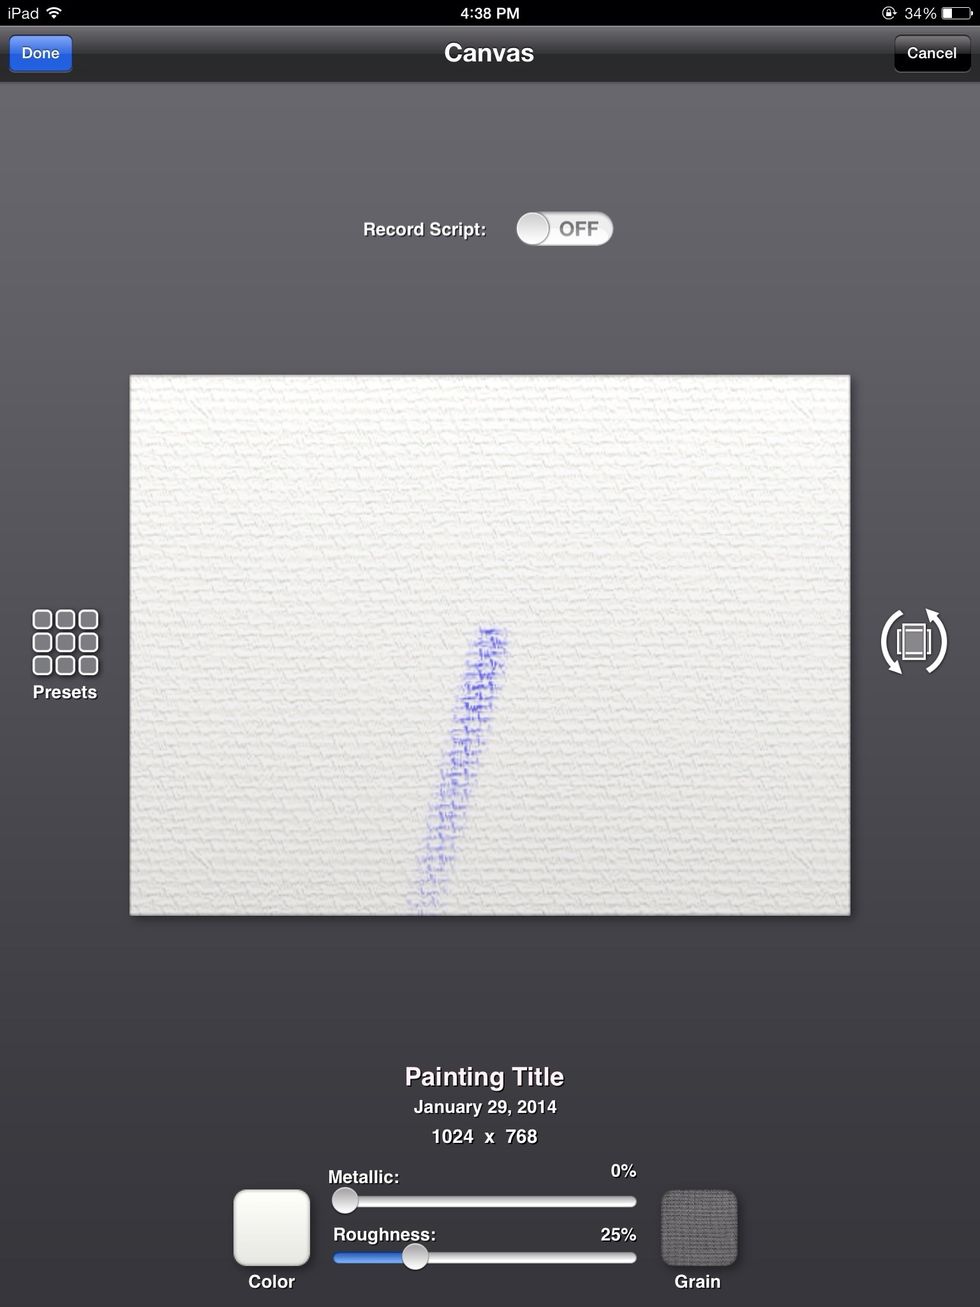
First you create a new canvas.
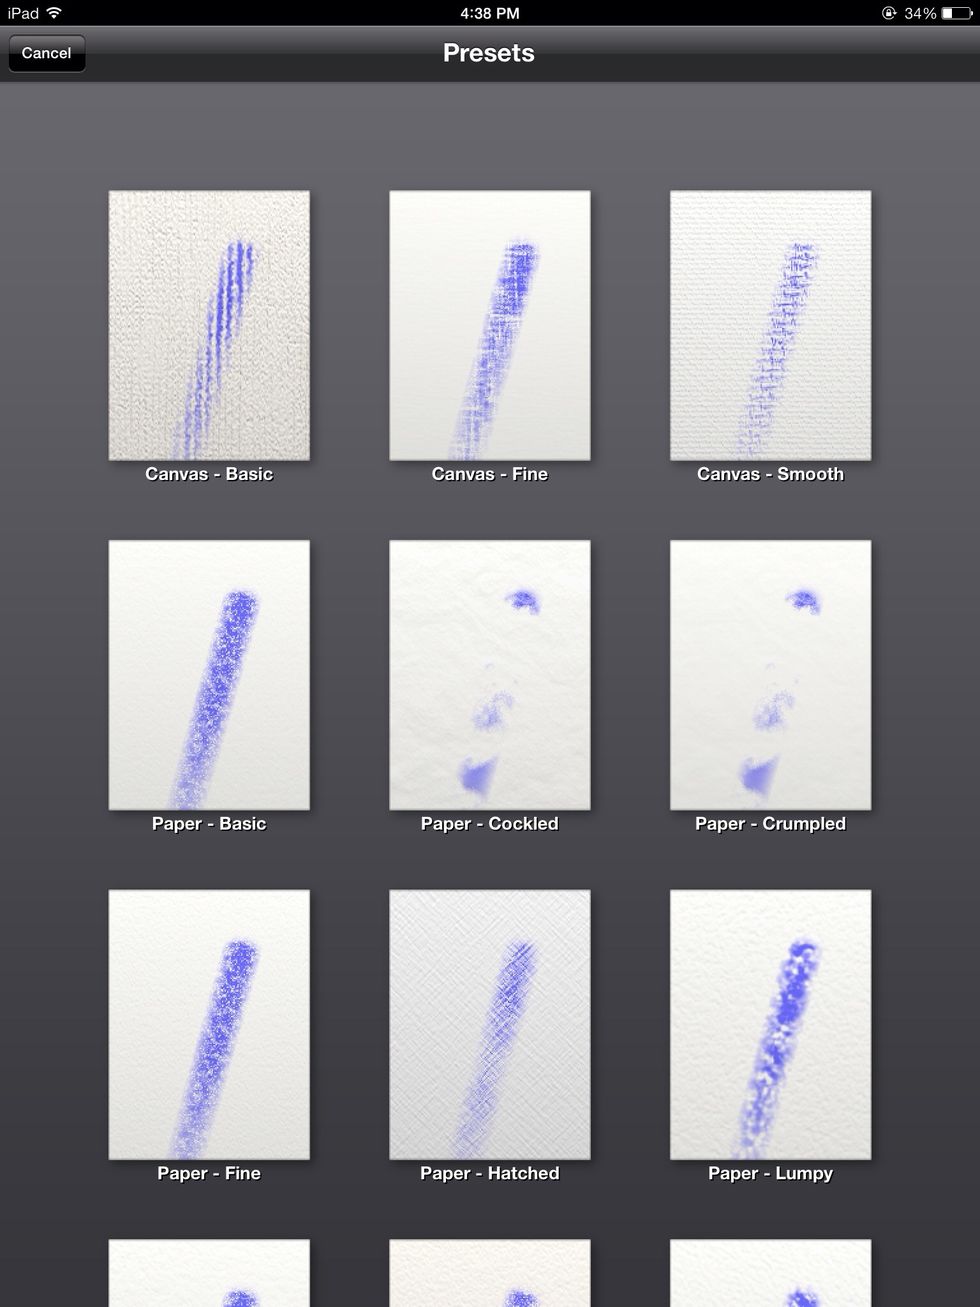
Next pick your canvas from the menu.
First I select the pencil tool and pick the color blue for my rough sketch. Blue is a good color to start with because it's not too dark. That's layer one.
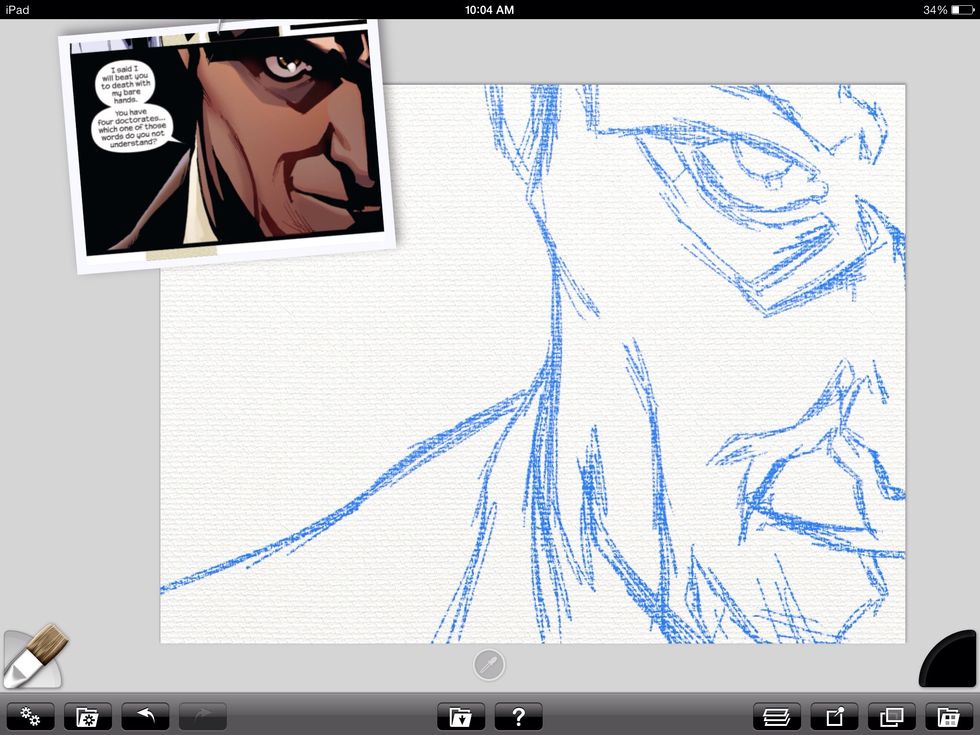
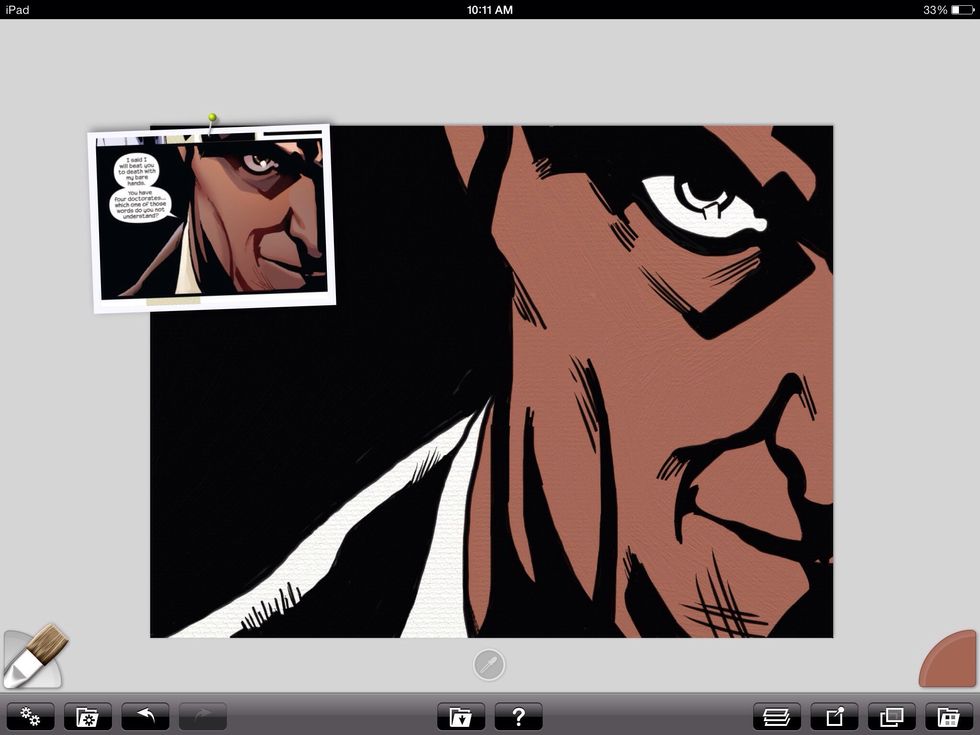
There's my reference (art by Sara Pichelli) and my blue sketch. The trick is to get this down quickly. I generally measure proportions but this one I eyeballed.
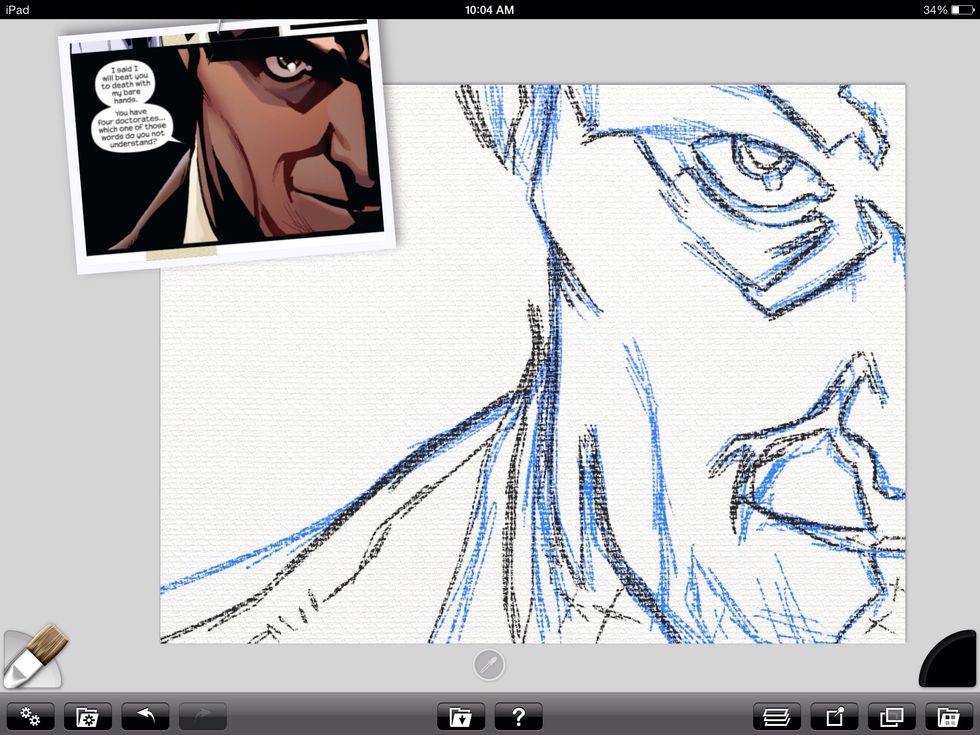
Next I create a new layer (I call it the graphite layer) and I refine my sketch.
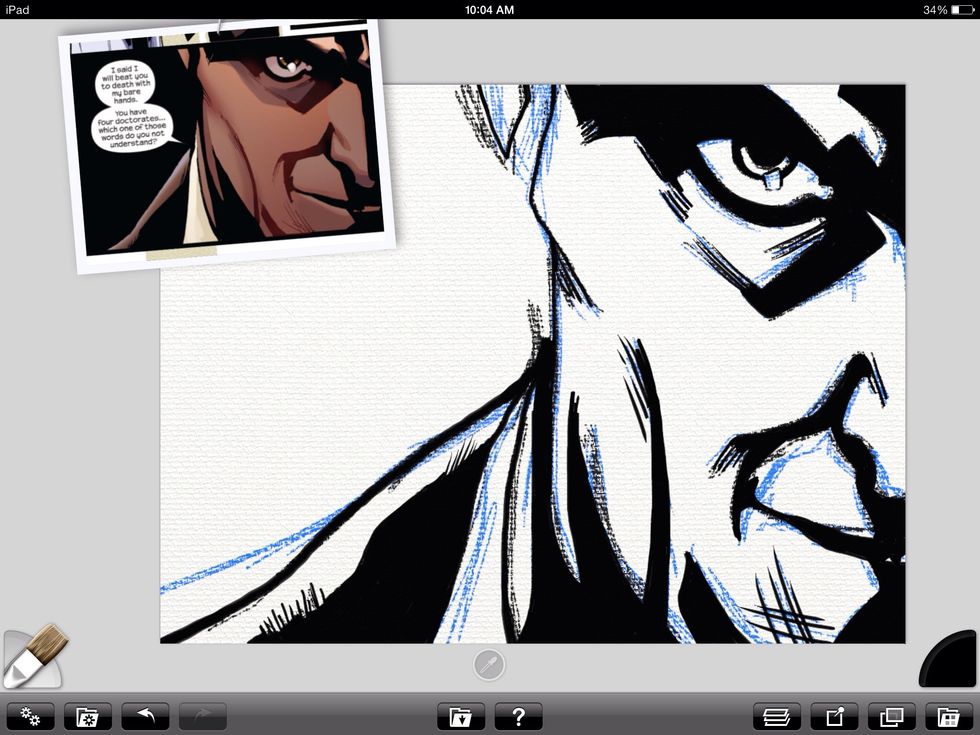
Now I switch to to oils for the "inking" process. This is a new layer too.
Now the fun part comes. I create a new layer and drag it all the way to the bottom for color. It's best to start with basic or flat colors before adding light and shadow.
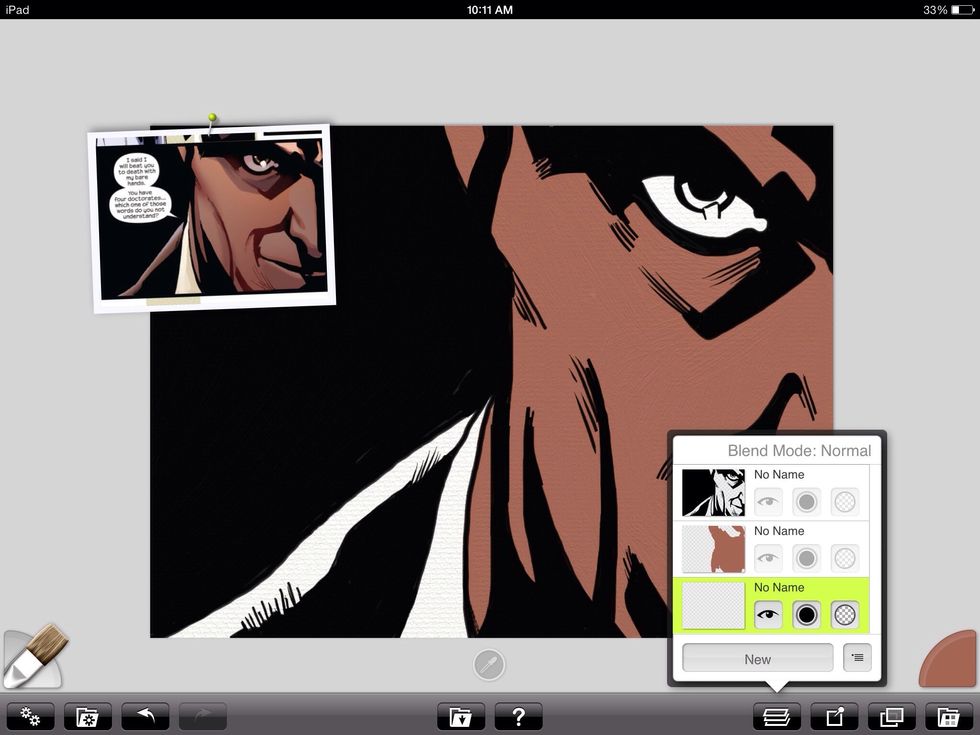
This is how my layers look.
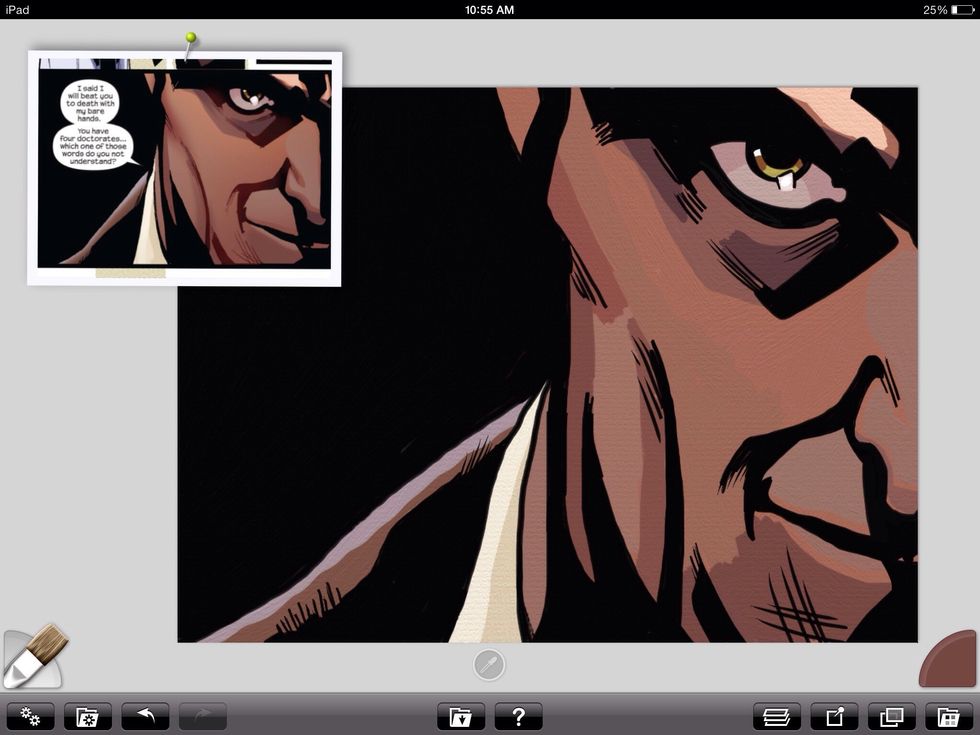
Now on another layer I start painting the variations in color. This is an ominous painting so the colors reflect that. The goal is to make it look like the original Sara Pichelli art.
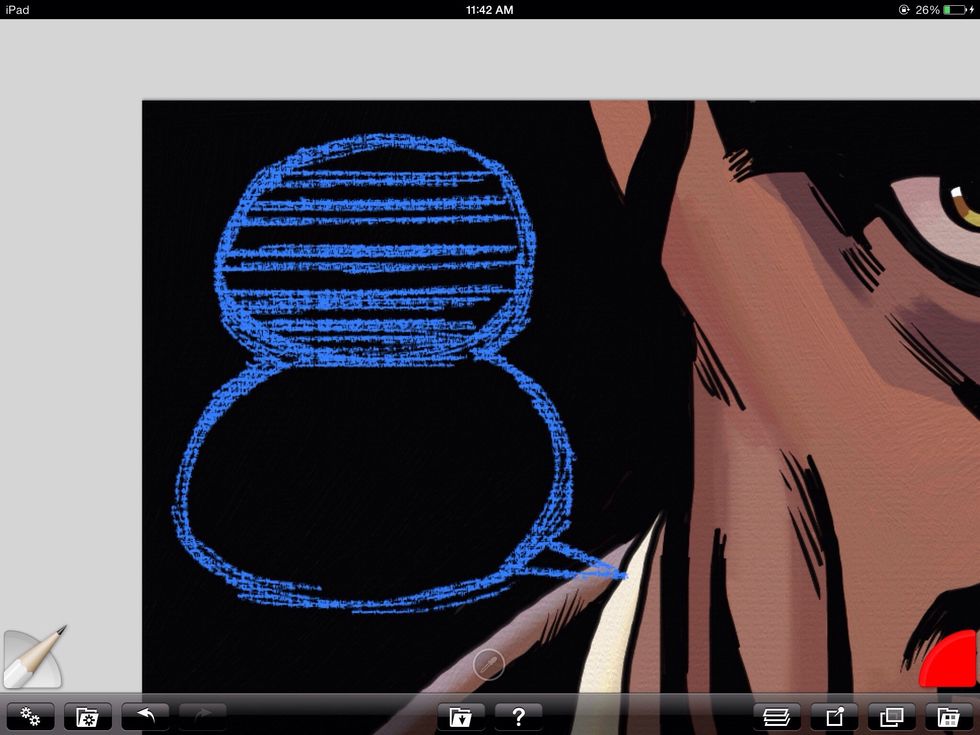
Next I do two things: 1. I use the palette knife (blending tool) to smooth out the digital oils. 2. Now I start sketching the word balloon. Like the first sketch it's blue.
In my cartooning class we were taught how to use an Ames guide for writing dialog. Basically it's a small tool for creating guidelines were you write your text. The blue lines are like a digital one.
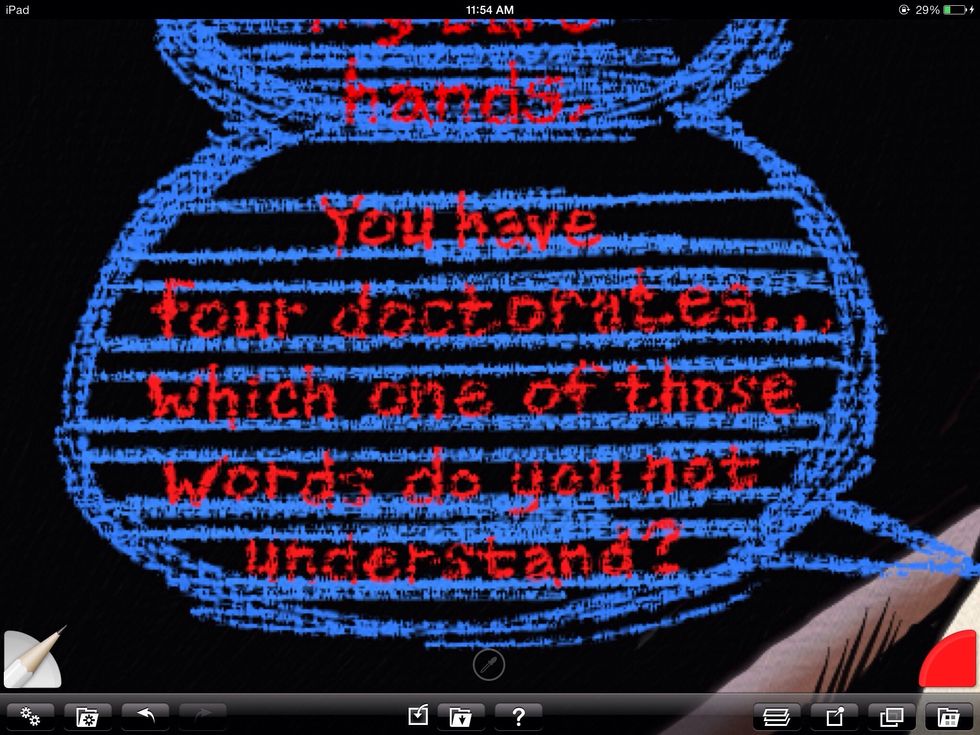
See, now I can just write out all of my dialog and it's pretty straight. This part can be tedious but it's worth the effort for a hand drawn look.

Here's a look at the whole word balloon.
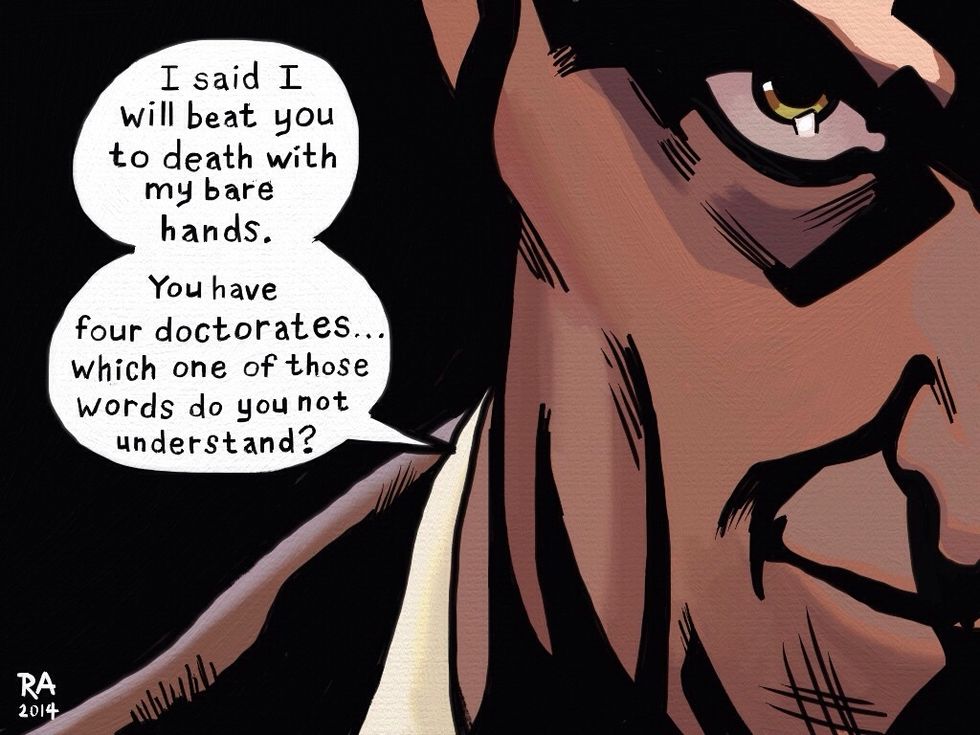
Now I create a new layer to ink the text and another (under it) for the white of the word balloon. I am now finished and ready to sign and save.
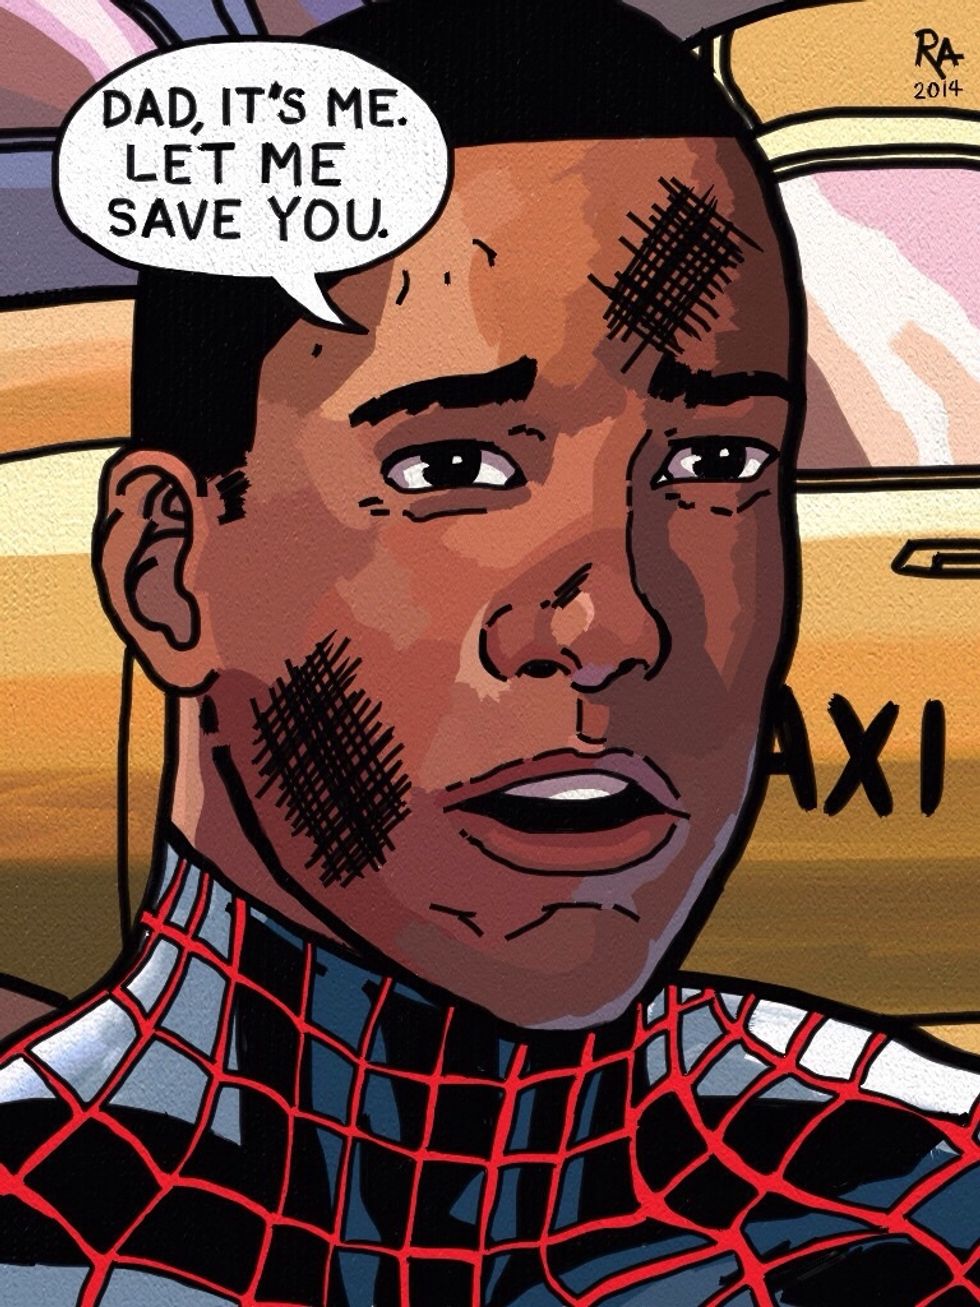
Here's one I did of Miles Morales...
Gwen Stacy...
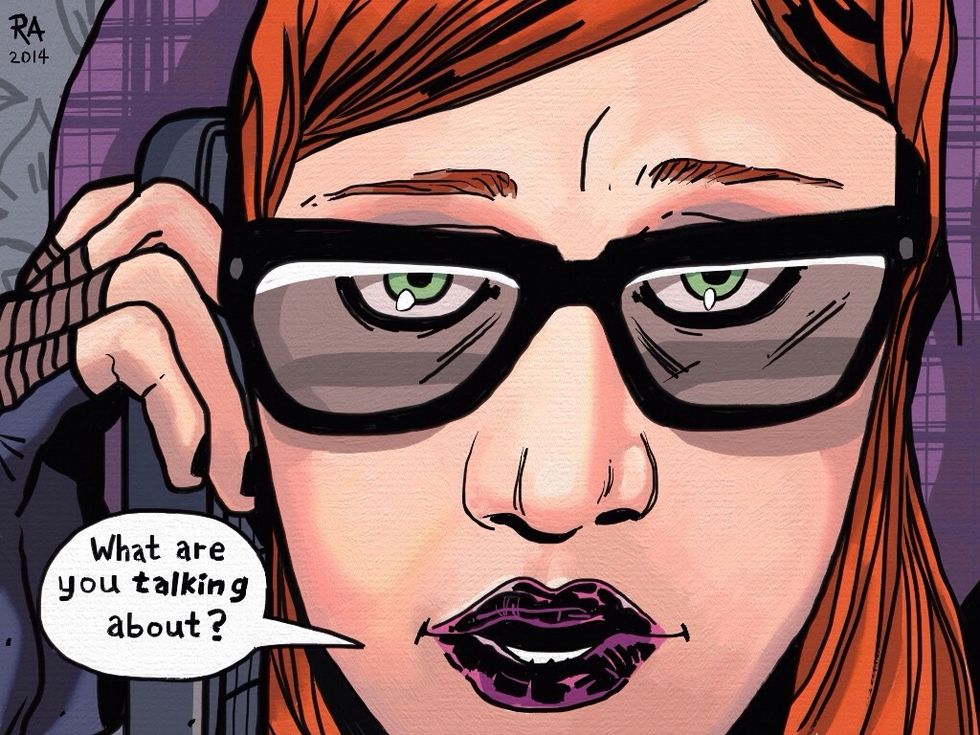
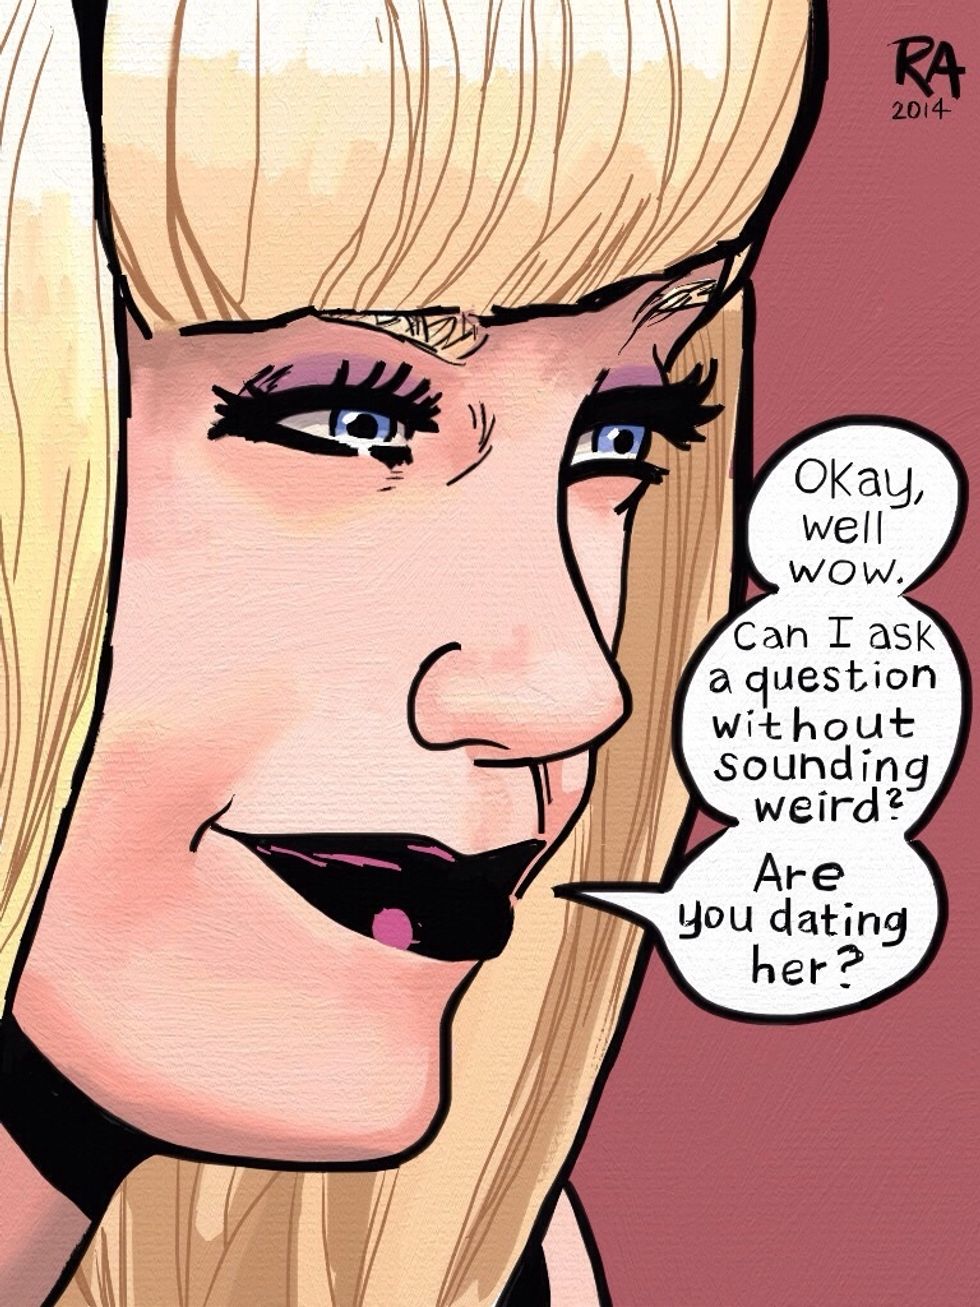
and Mary Jane Watson.
Hope you enjoyed the guide. Please feel free to leave questions or comments. Check me out on the web at http://raheemnelson.com to see more iPad Art.