The Conversation (0)
Sign Up
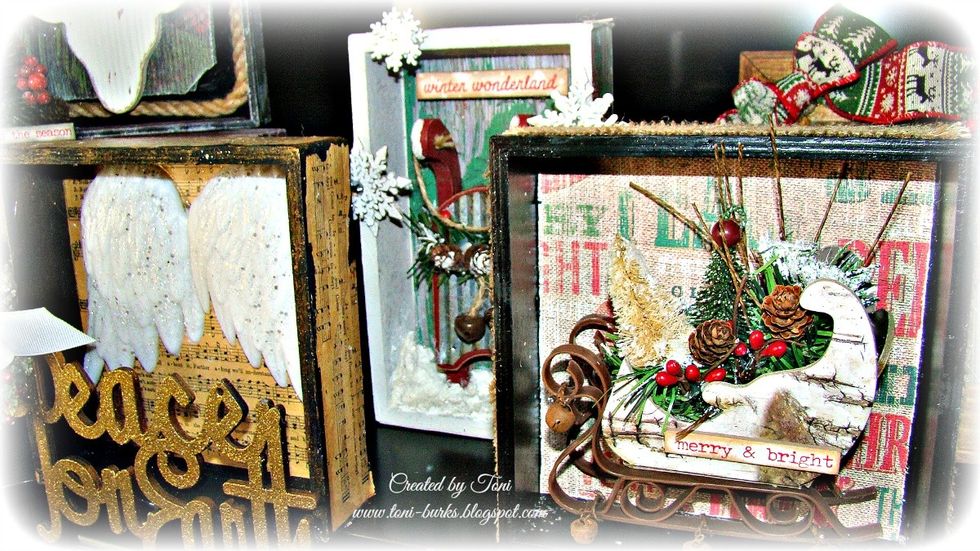
This tutorial is to provide just a few ideas that you can use to make these cute dioramas that will fit perfectly in your Christmas tree or on a table at home.
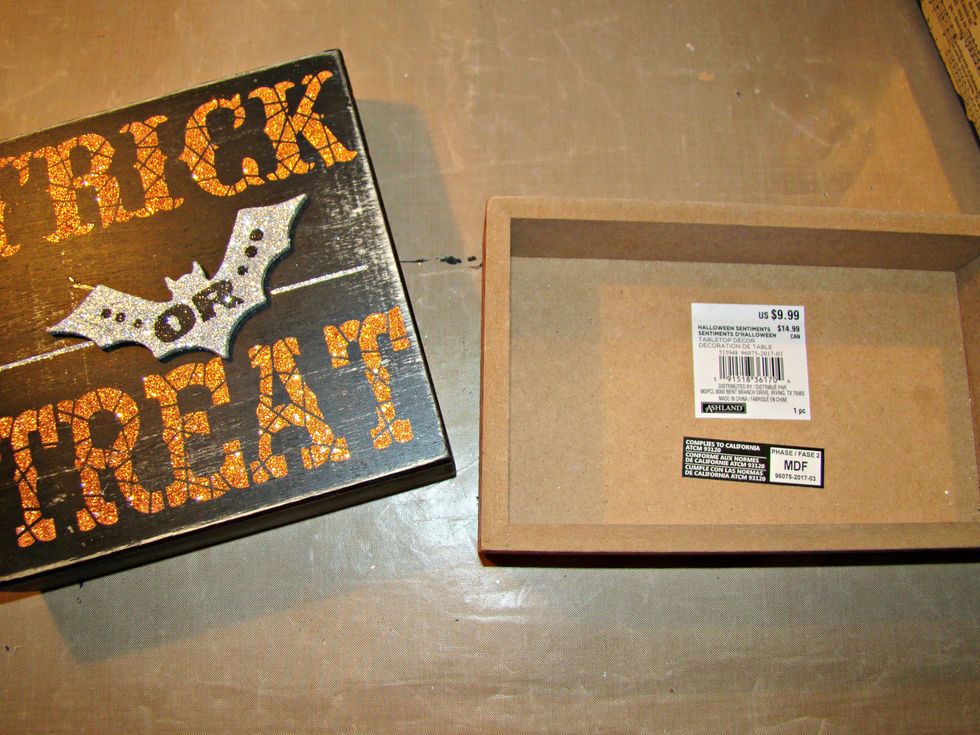
I purchased these Halloween boxes on clearance for 80% off. Got them for $2.00 each. Prep them with black or white gesso depending on what color you want the boxes painted.
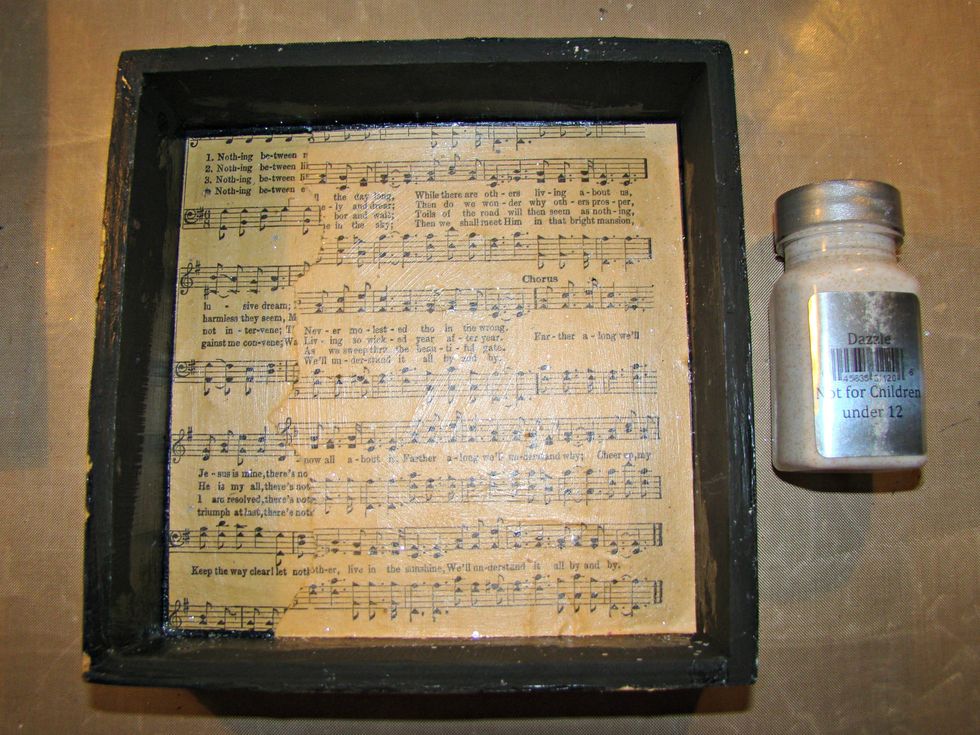
This box I decided to collage music paper, using Sorbet Dazzle it provides a nice seal as well as a glitter of gold to the surface. Apply to the sides of the box as well.
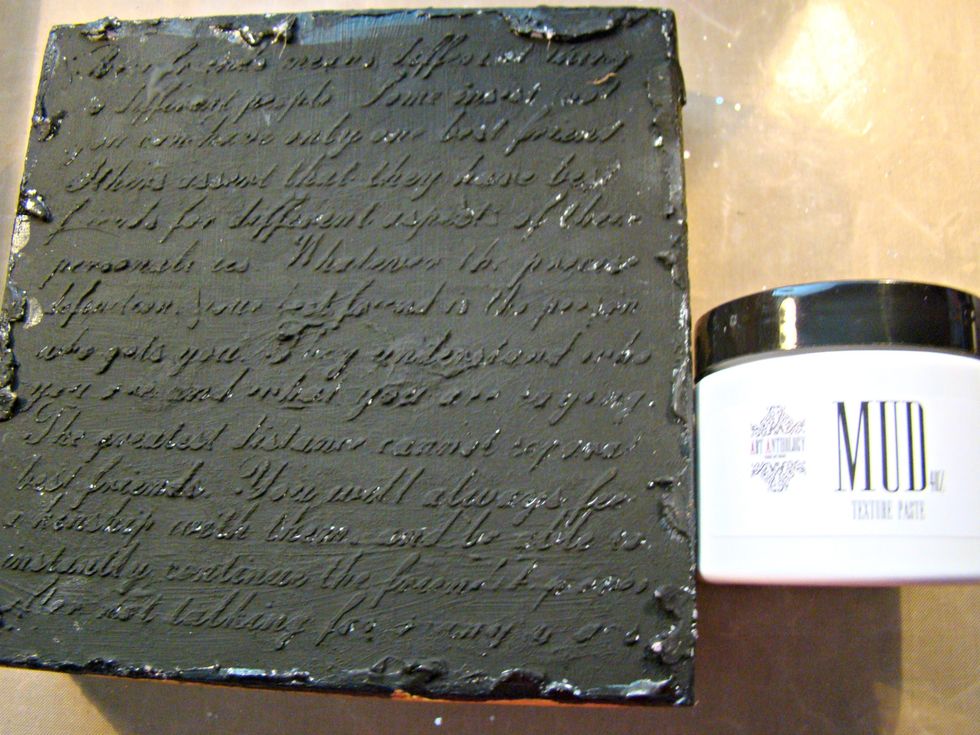
The back of the box I used Mud Texture Paste and ran it through a script stencil. Paint black gesso over the top.
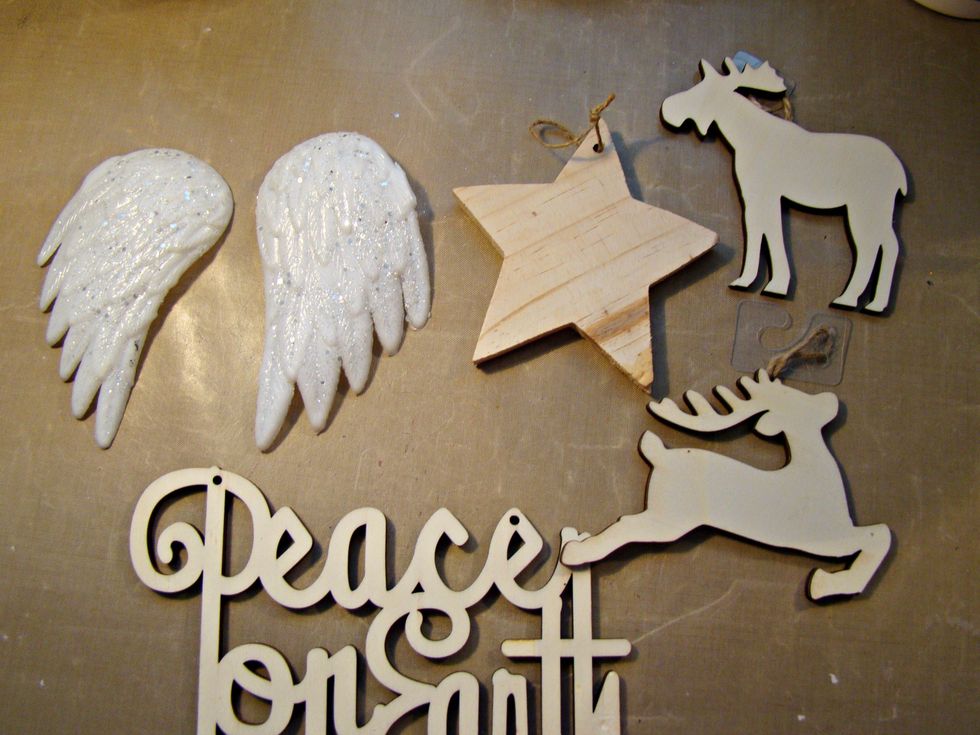
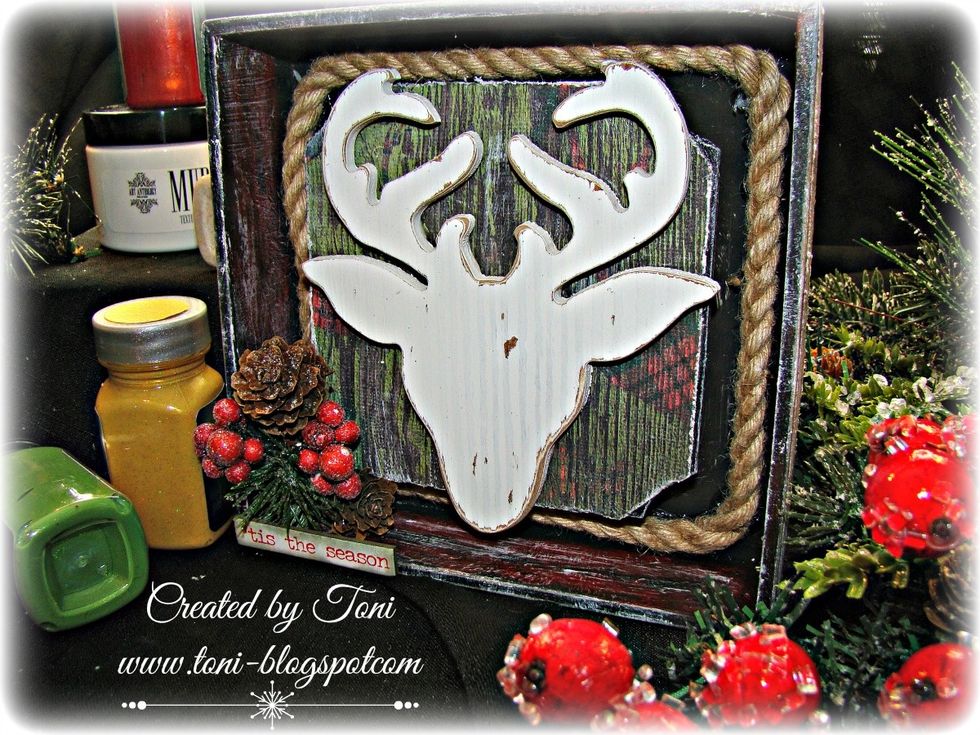
Gather your ornaments or wood pieces to decide which one you want to display in your diorama. I chose the angel wings.
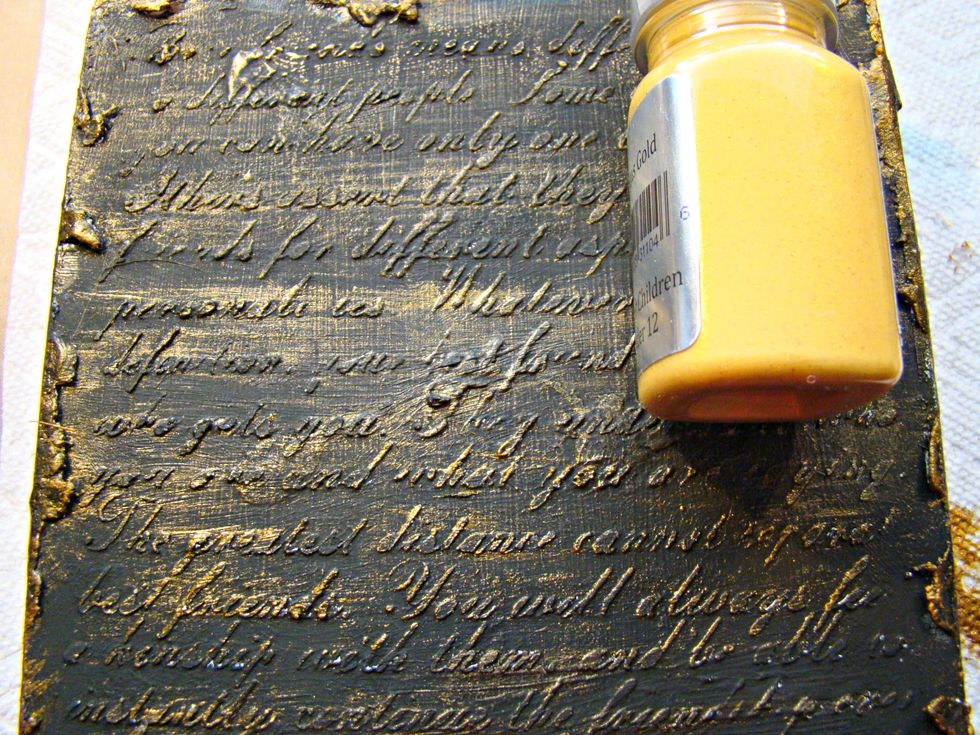
Using Vegas Gold Sorbet I dry brushed this the top of the stenciling on the back of the box.
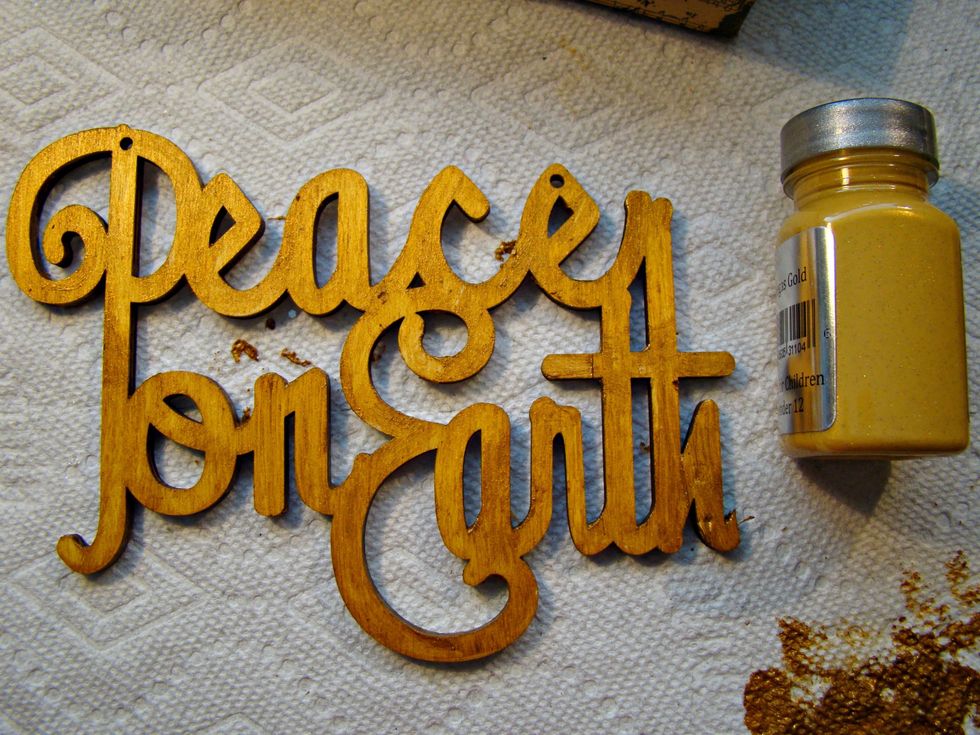
"Peace On Earth" was a plain wooden piece I purchased on sale for $1.00 and gave it a nice coat of Sorbet Vegas Gold.
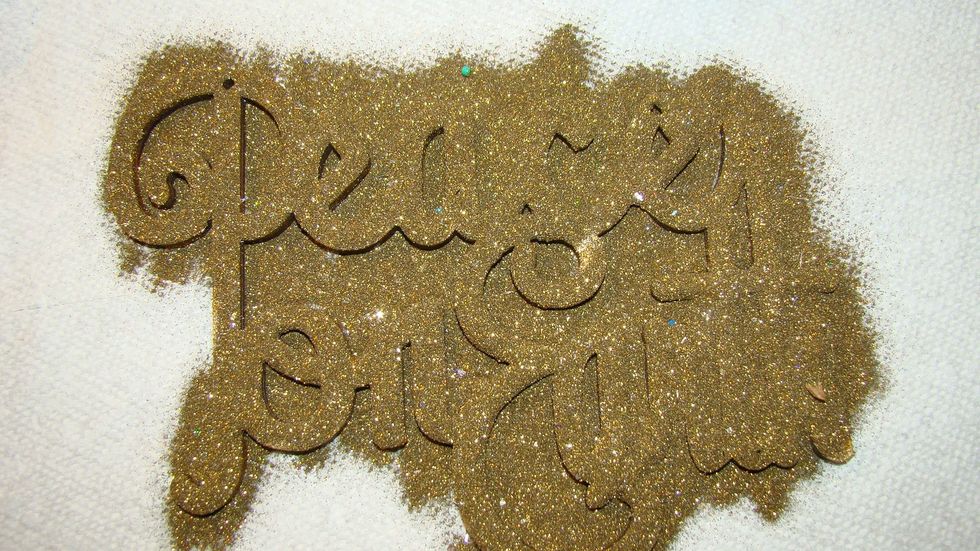
Covereed with gold embossing powder and heat set.
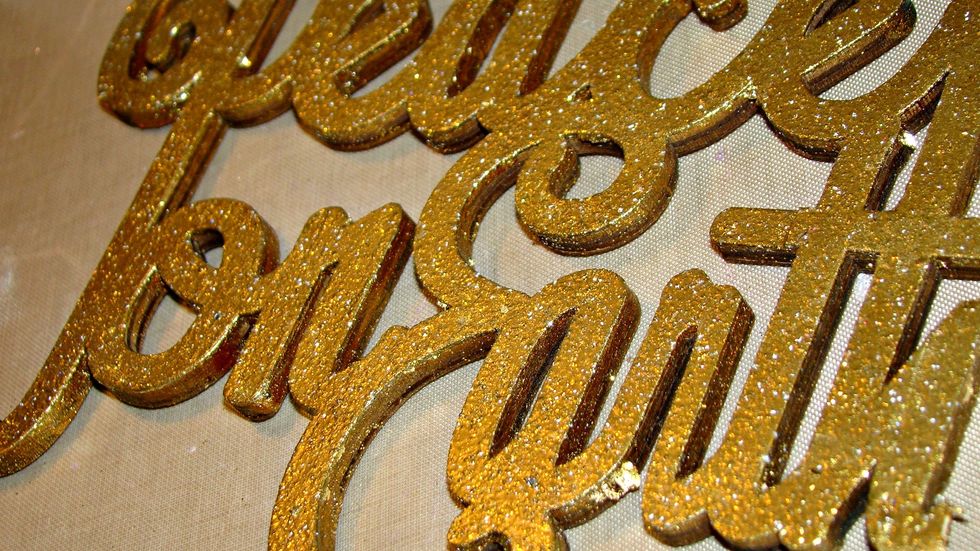
Applying the gold paint before the embossing powder really brings out the beautiful gold color of the embossing.
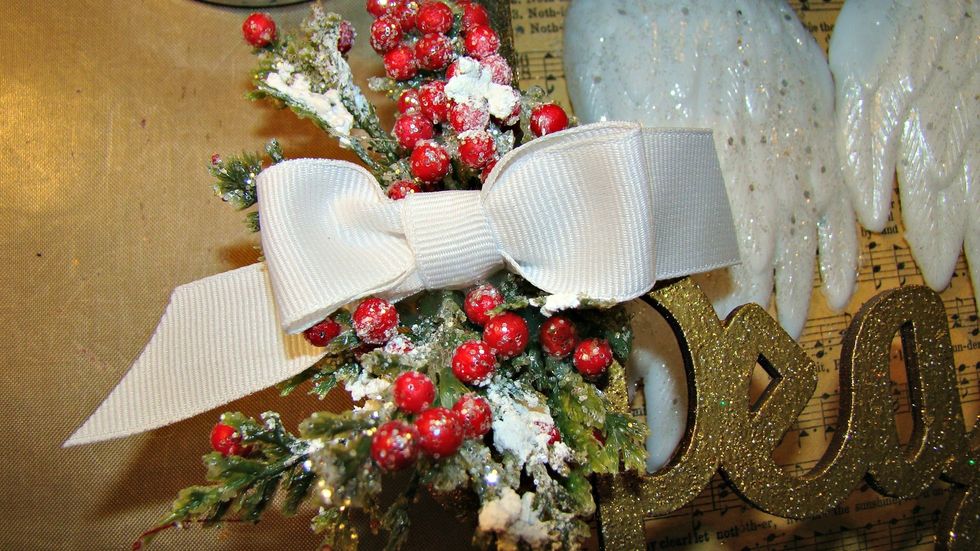
Add your wings to the box and apply some Christmas sprigs and a pretty bow.
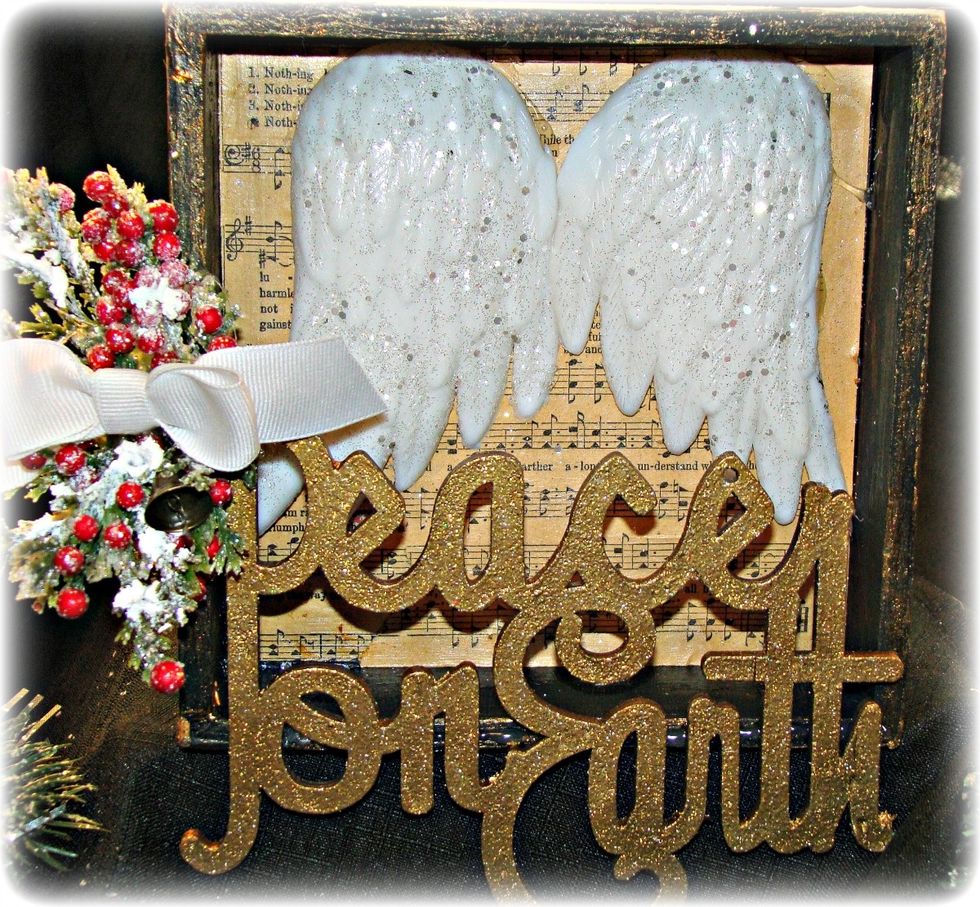
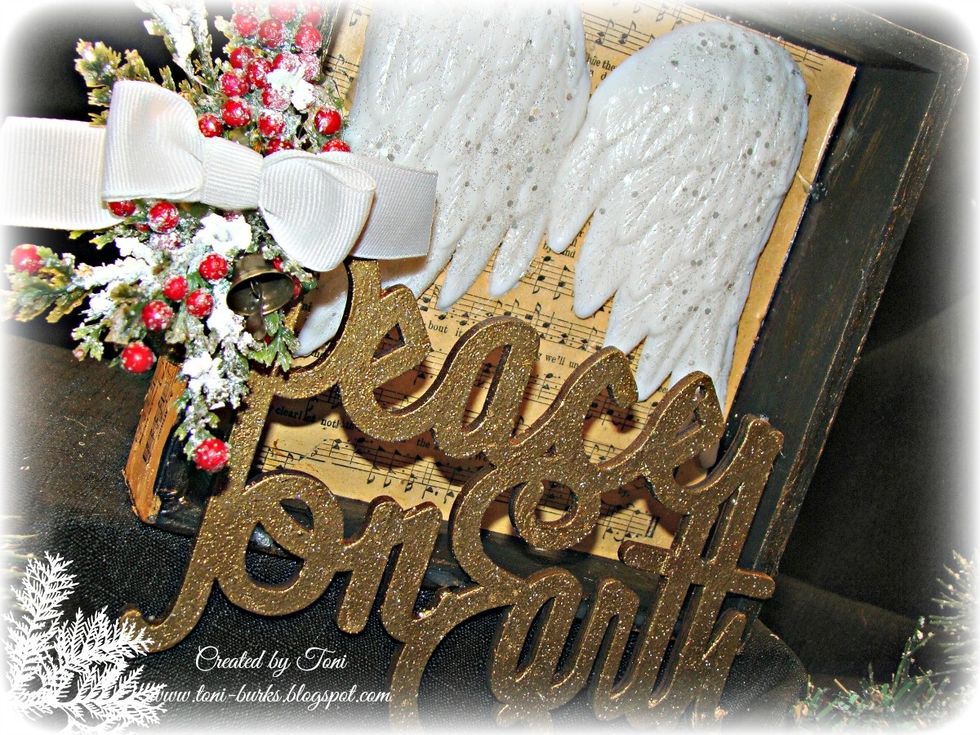
Here is the finished diorama.
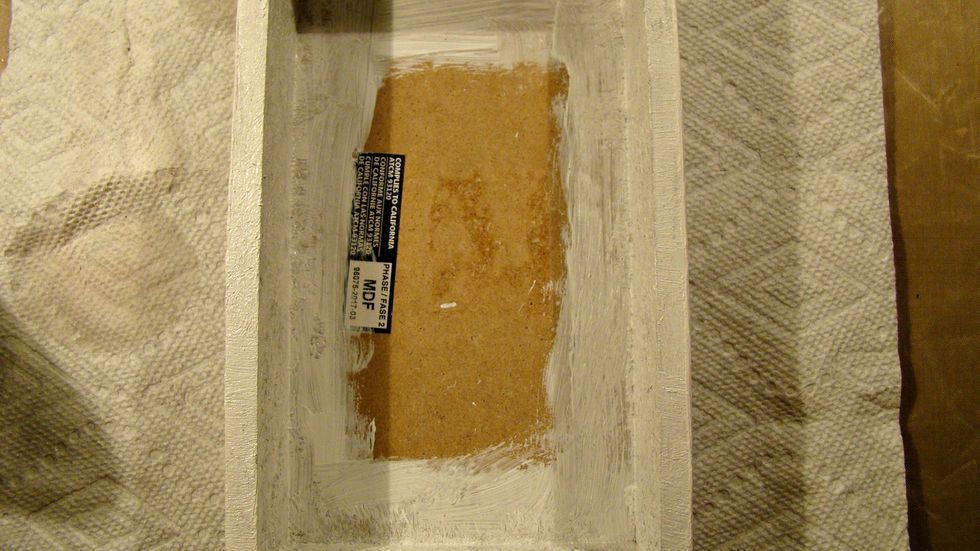
The next box I decided to paint it white, so I prepped with white gesso first.
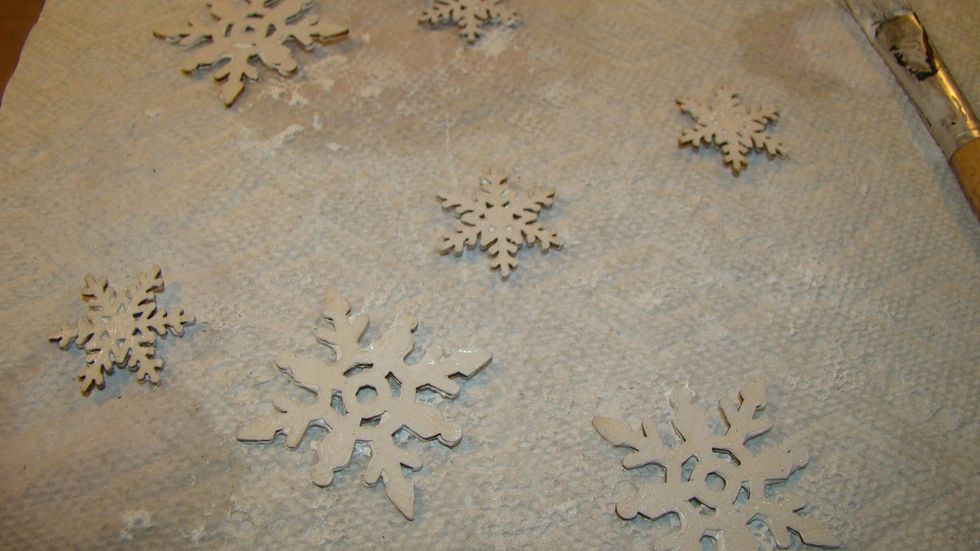
Gesso some snowflake chipboard pieces as well.
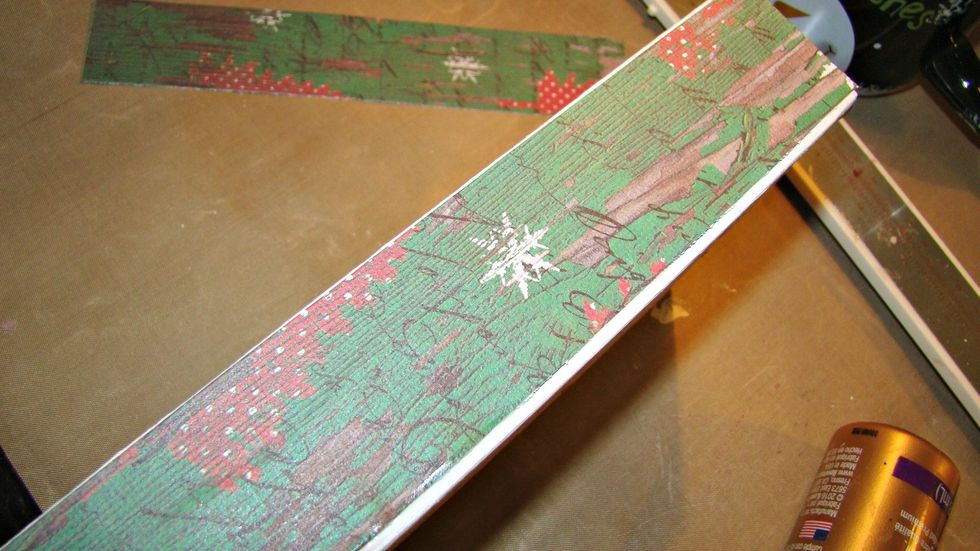
Cut the papers to fit the side, back and inside of the box, distress the edges of the paper before applying to box.
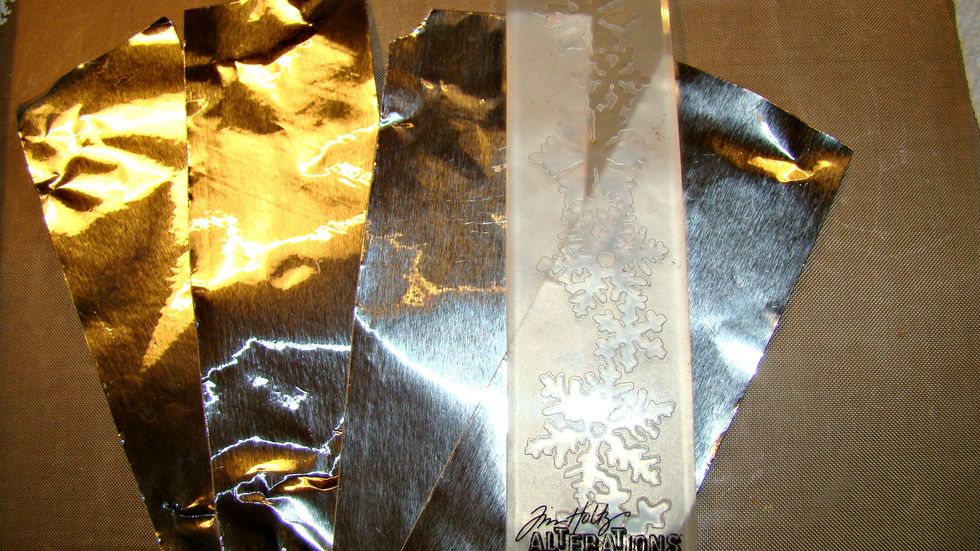
To add interest I decided to run metal plumbers tape through embossing folder and cut in strip to apply to the outside sides of the box over the Christmas paper.
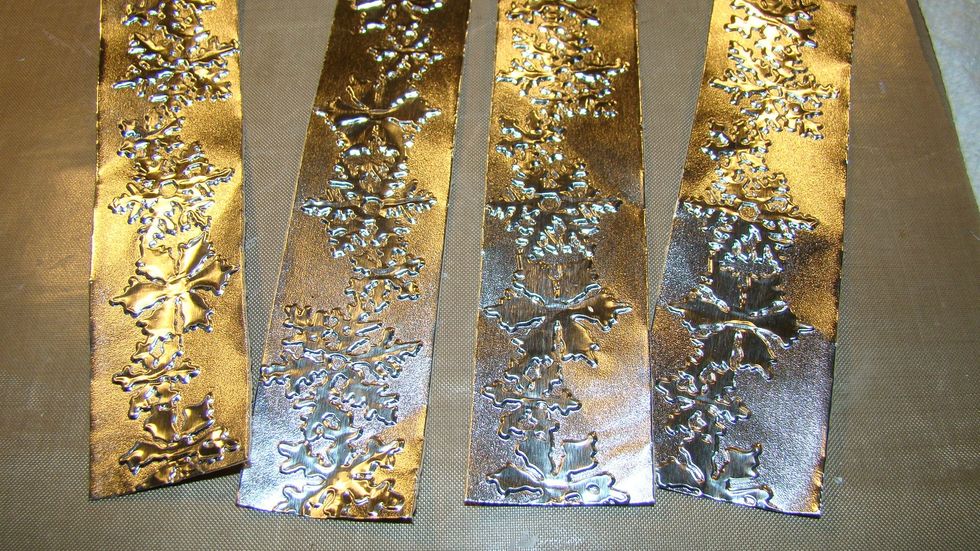
Look how pretty these will add such wonderful interest to the sides.

Adhere your ornament, add bells, greenery, pine cones etc.
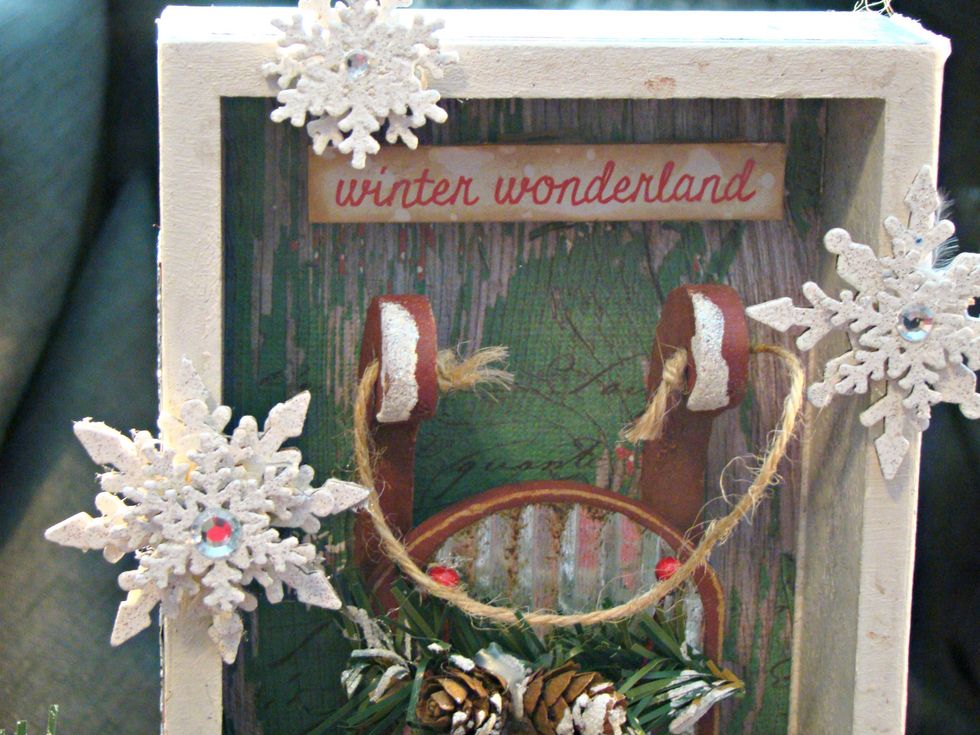
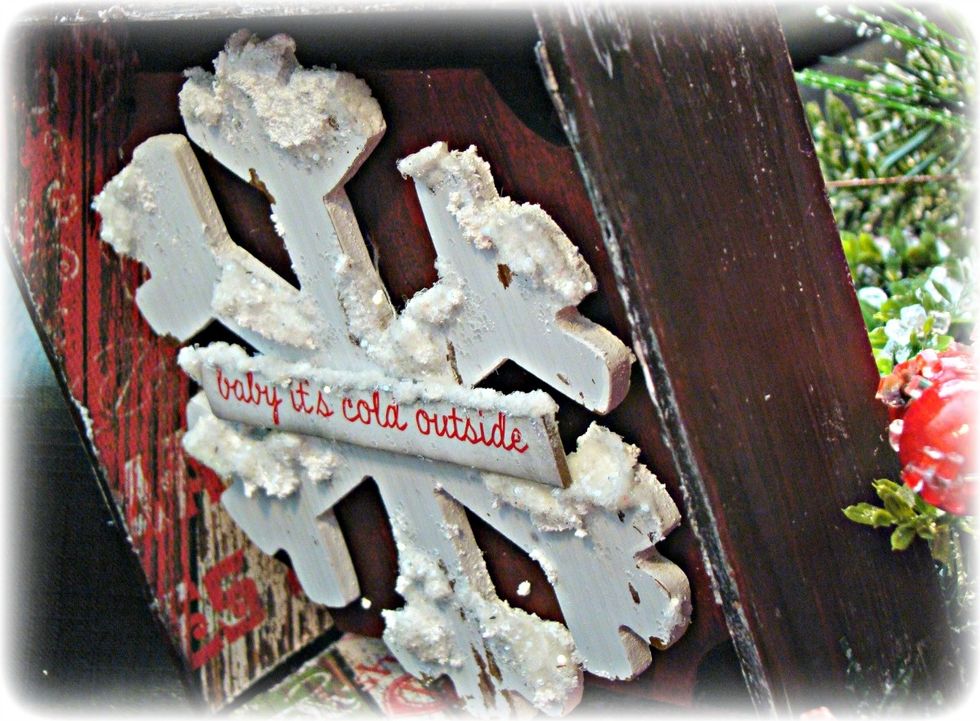
Using Ideaology Christmas Quote Chips, I applied 2 pieces of cardboard to the back to make it 3D and distressed it with Vintage Photo Oxide Distressed Ink and spritzed with water.
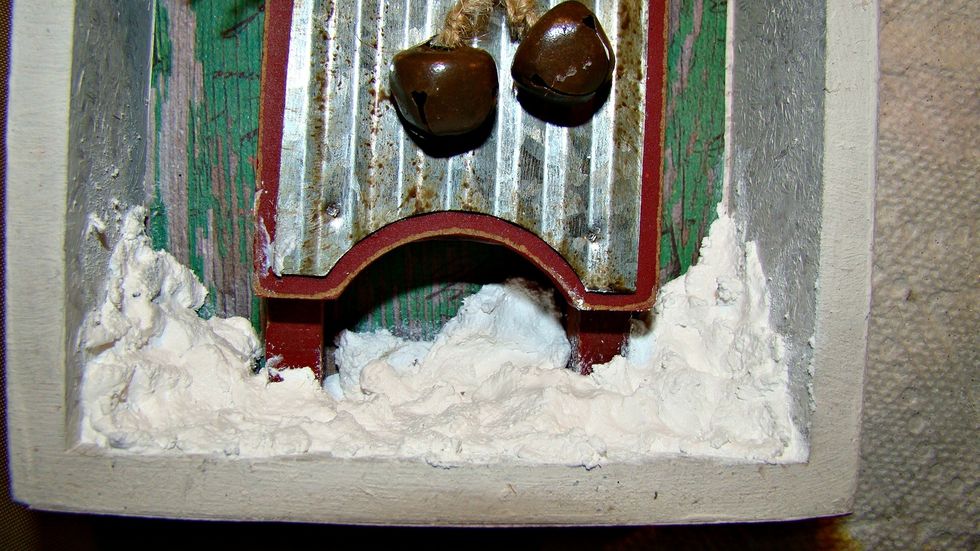
The snow was created mixing equal parts of Sorbet Cotton (white acrylic paint), baking soda, and school glue, MIx until proper consistency and apply to project, sprinkle with clear glitter.
Here is a closeup of the snow with the glitter applied.
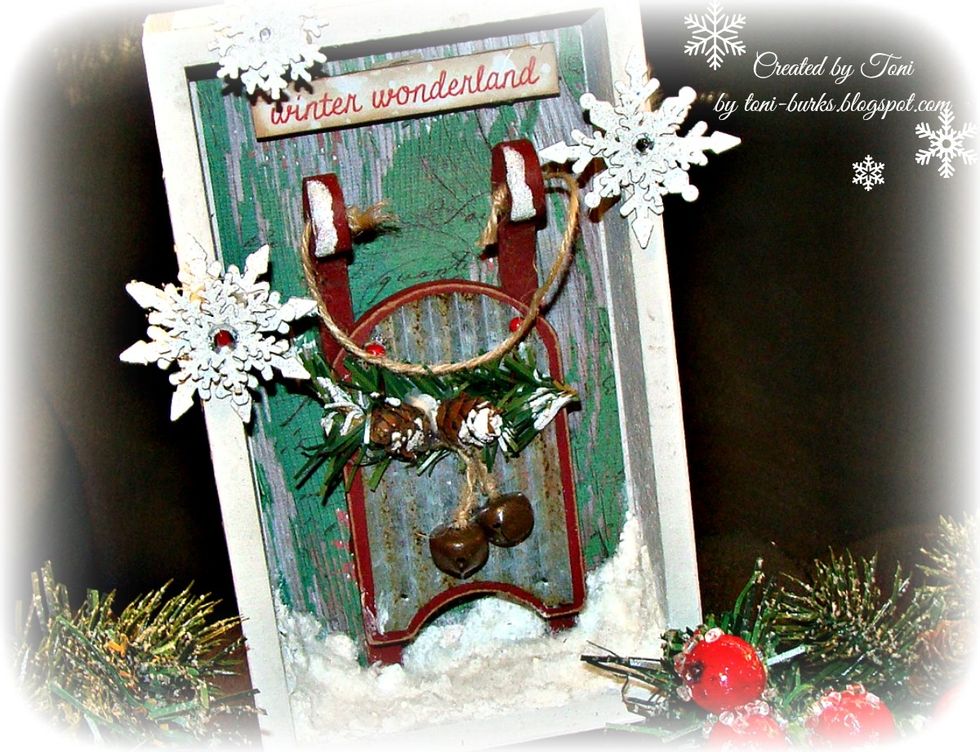
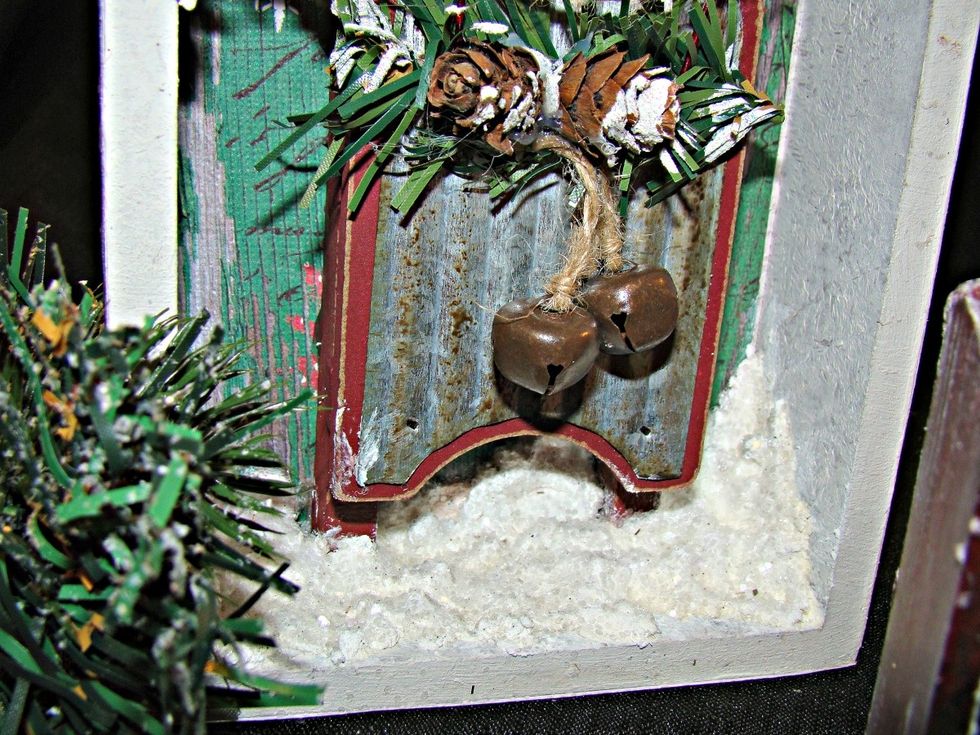
Apply some to your greenery and sled as well. Layer your snowflakes on top of each other and glue to the outside of the box, and add gems to the center.
The outside of the box on this was painted with black gesso, then dry brushed with Sorbet Ferrarie, Parakeet and Vegas Gold. Add your rope and festive berries.
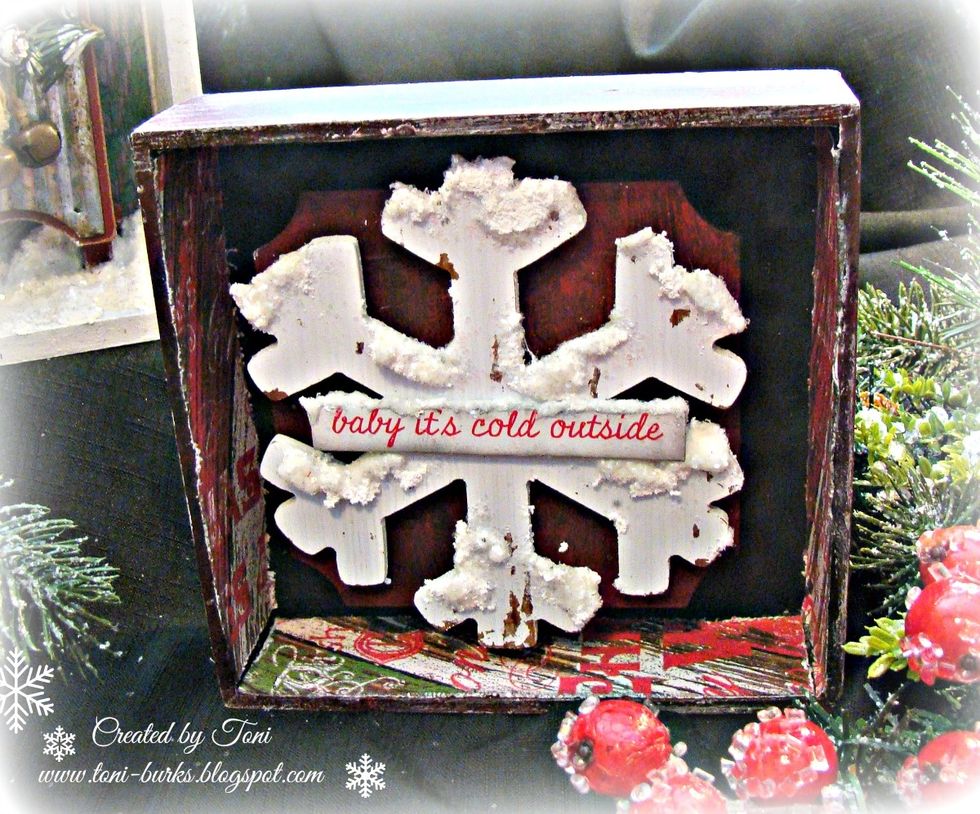
This diorama was painted with Sorbet Ferrari on the outside, for the snow on this one I actually used Mud texture paste and globbed it on and then applied glitter.
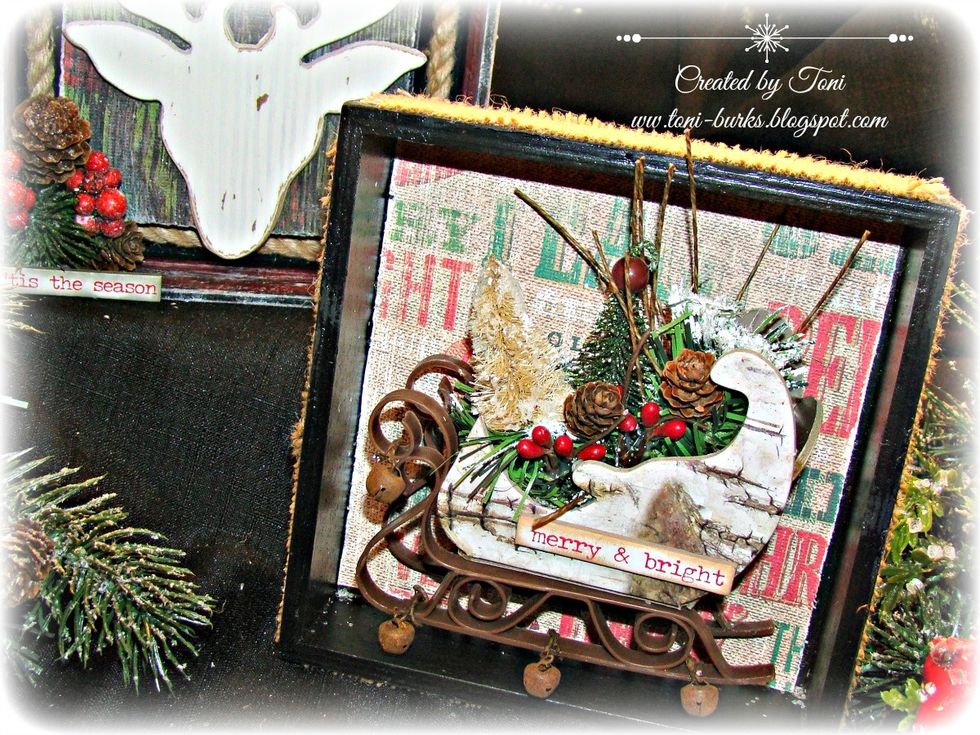
This one I decided to apply burlap to the outside of the box, and used Art Anthology Rust set to rust the bottom of the sleigh and the bells.
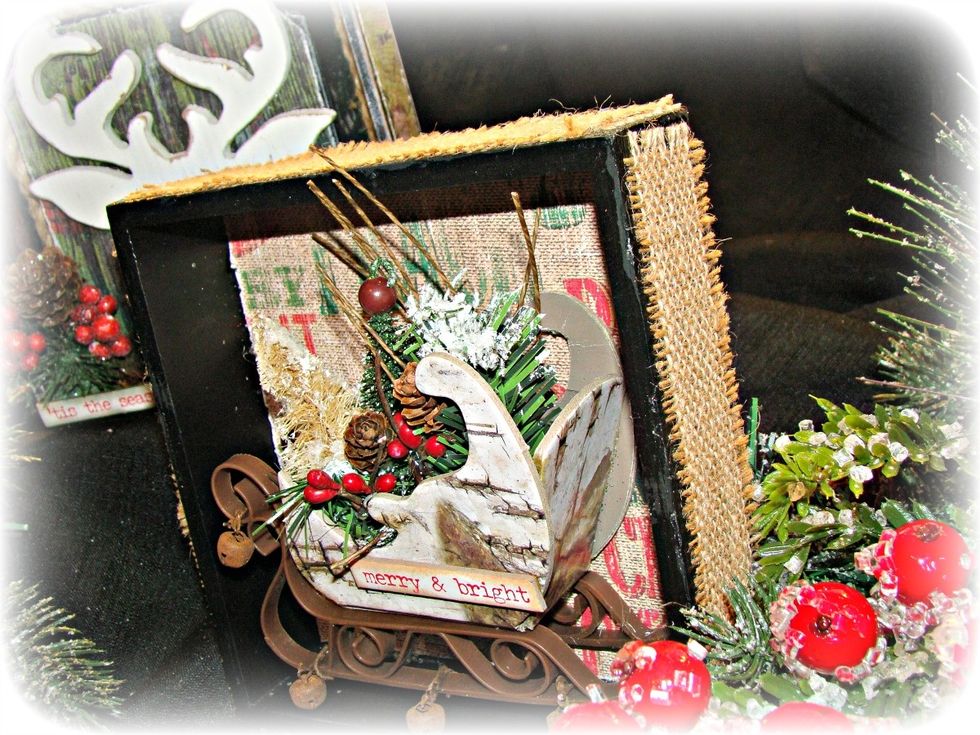
The sides were covered with burlap.
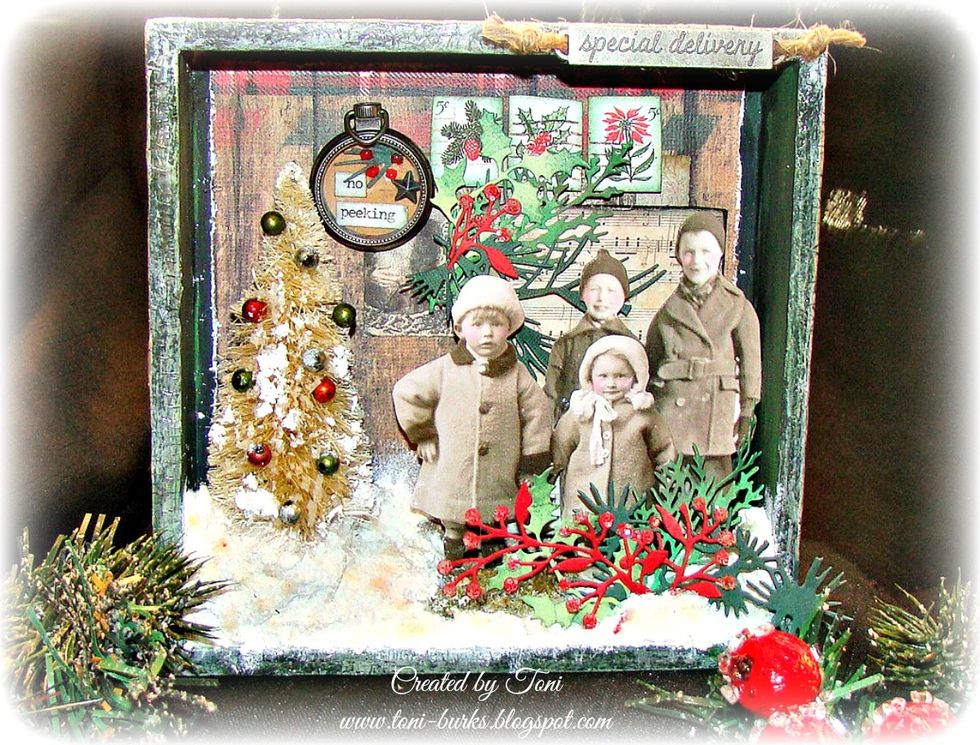
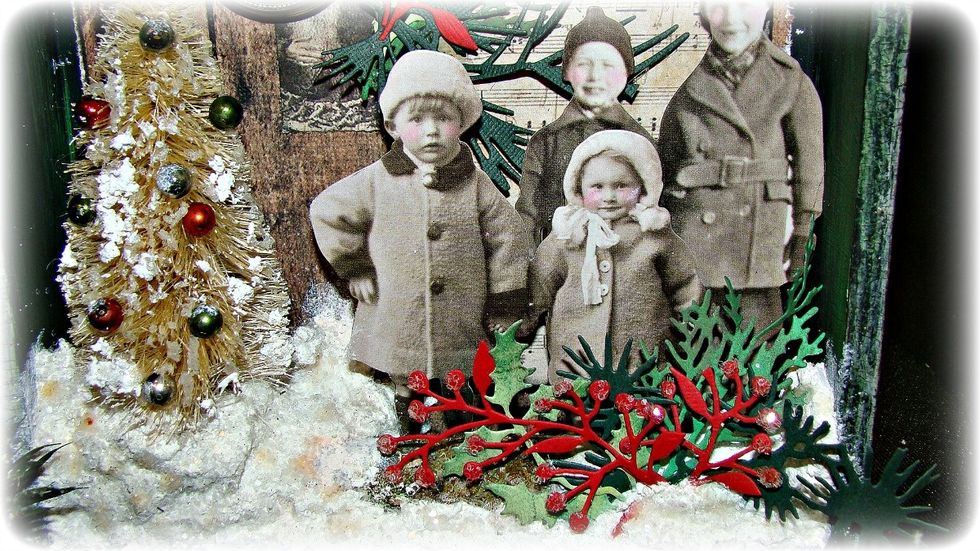
For the last diorama the tree was bleached out the pearls on the tree are painted with Sorbet Ferrari and Parakeet and the snow was created with the recipe shown previously.
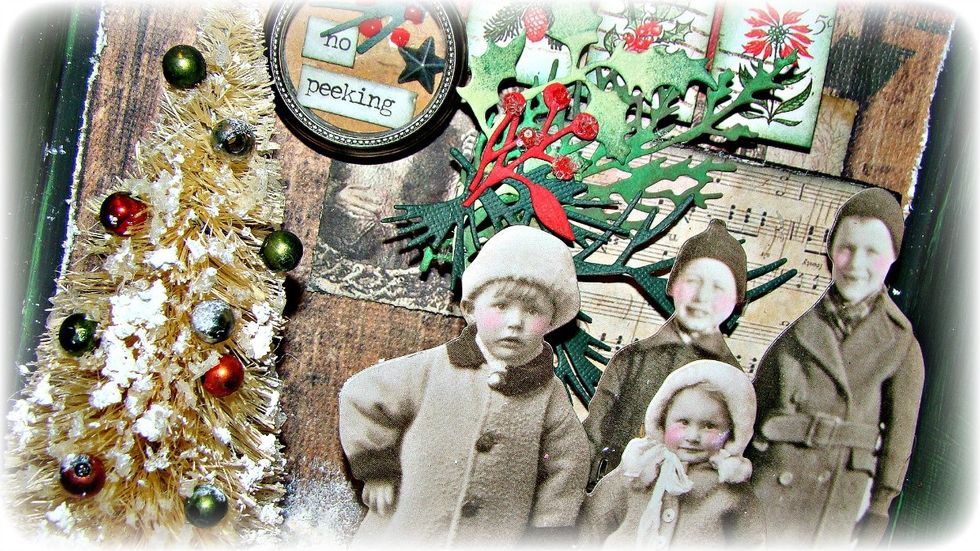
Ideology paperdolls were added with cardboard behind them for dimension. Distressed ink was applied to cheeks for color.
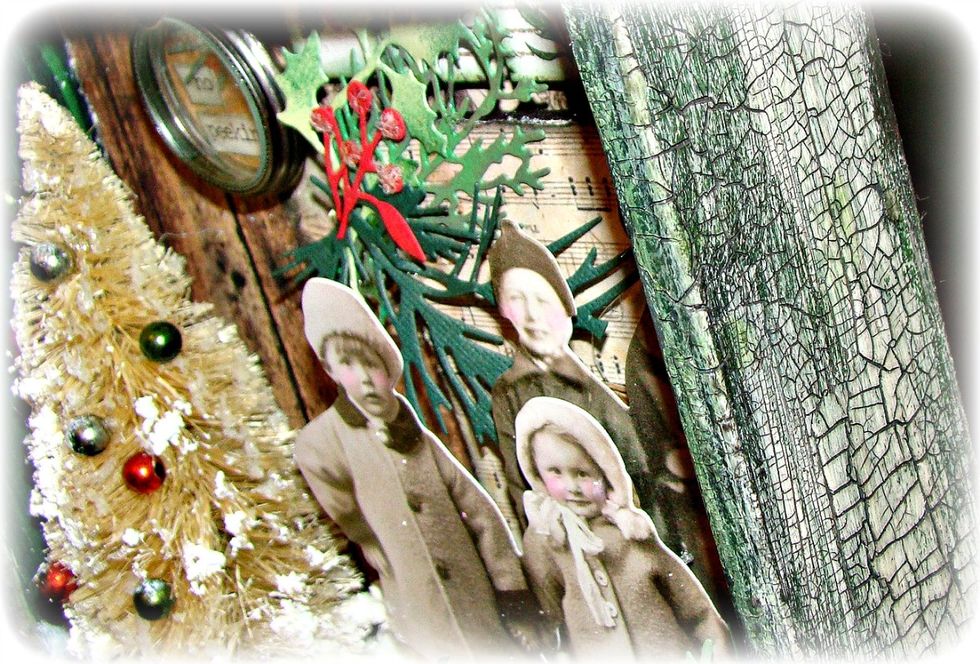
The outside was painted with Sorbet Parakeet then crackle medium was applied and once dry the Velvet Tuxedo was applied and wiped off to fill in the cracks.
I hope this provided a few ideas for creating some merriment for your Christmas decor. For supplies listed with * in front of can be purchased here: https://www.artanthology.net/
For more inspiration please follow me at https://www.facebook.com/toni.burksgrijalva http://toni-burks.blogspot.com/ https://www.pinterest.com/tonilburks/