The Conversation (0)
Sign Up
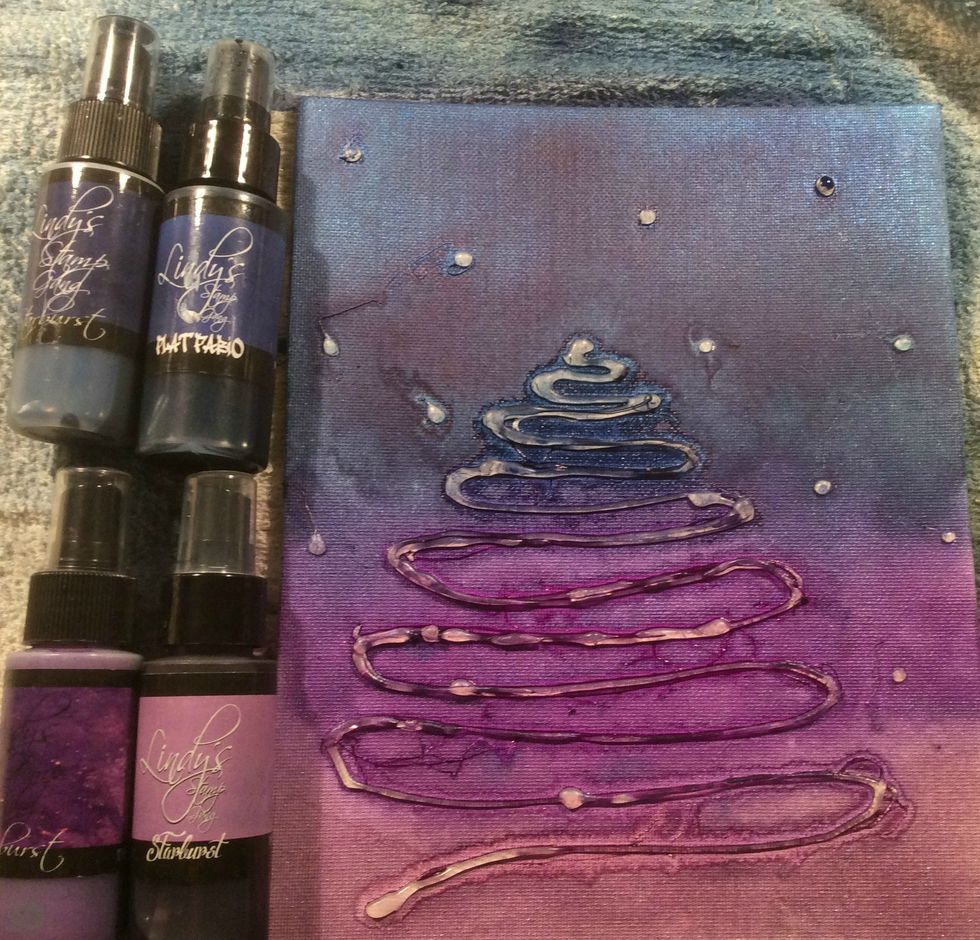
Originally I created a tree using my glue gun, but like alot of my projects, I changed my mind... so please ignore the tree..lol Spray your Lindys starting with the darkest.

I purchased this bag of wood pieces at Hobby Lobby for about $4.99 and used my 40% coupon.
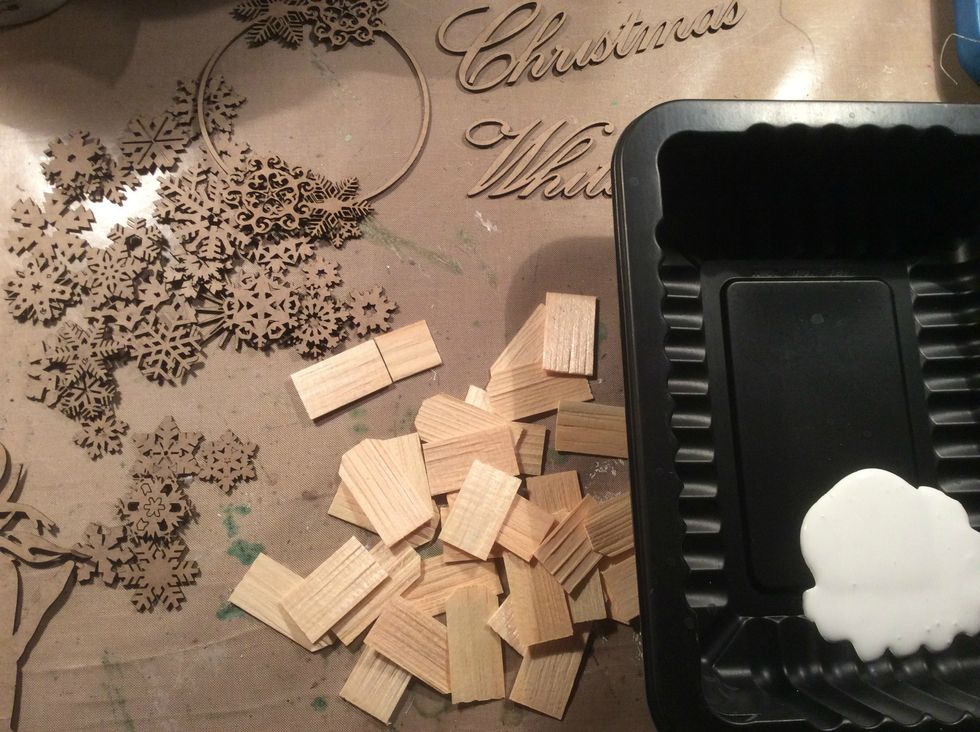
Gather your wood, and chipboard pieces and give them all a coat of white acrylic paint.

Starting at the bottom of your canvas, start gluing your wood chips on to create your tree. I then swiped over the wood with DI in Concord Grape and Faded Jeans
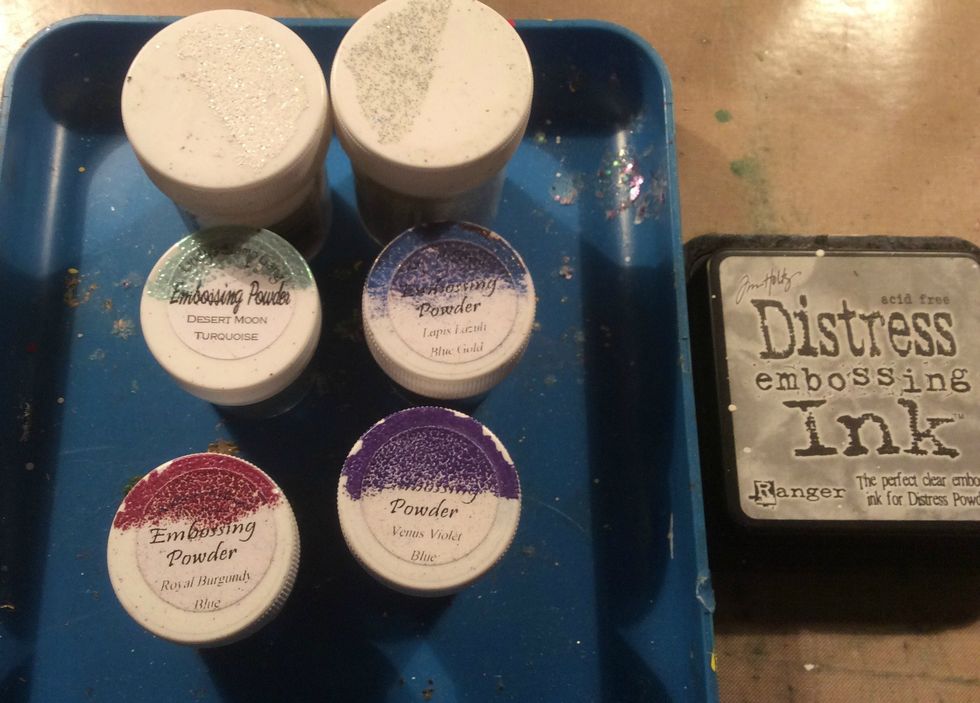
Gather your embossing powders and Embossing Ink
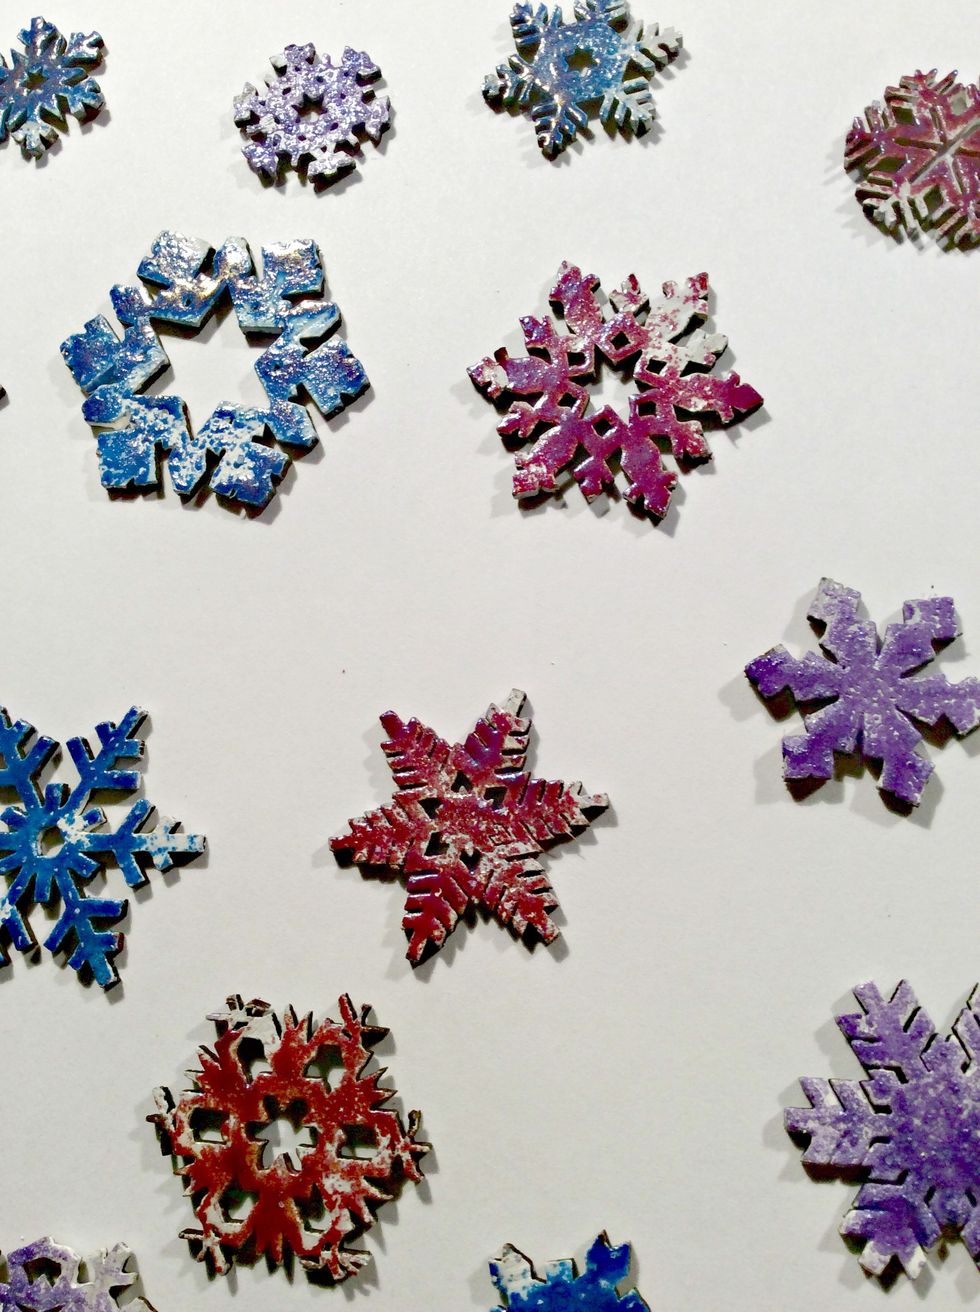
Apply your colored embossing powders and using your finger, rub off some of the powder so that it heats up sporadically. Gives a distressed look.
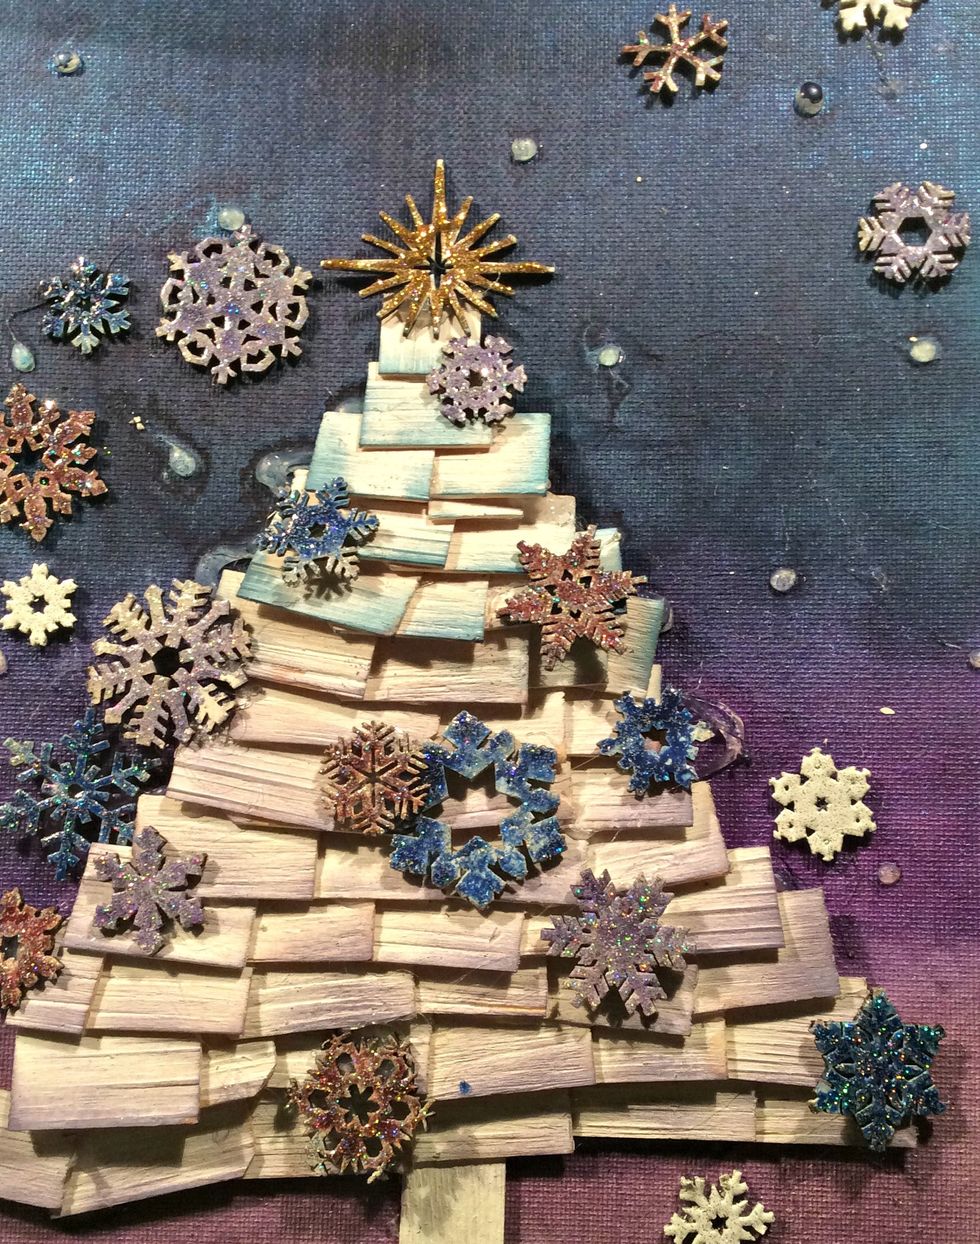
Start gluing on your snowflakes. I used gold Stickles for the start ontop of the tree.
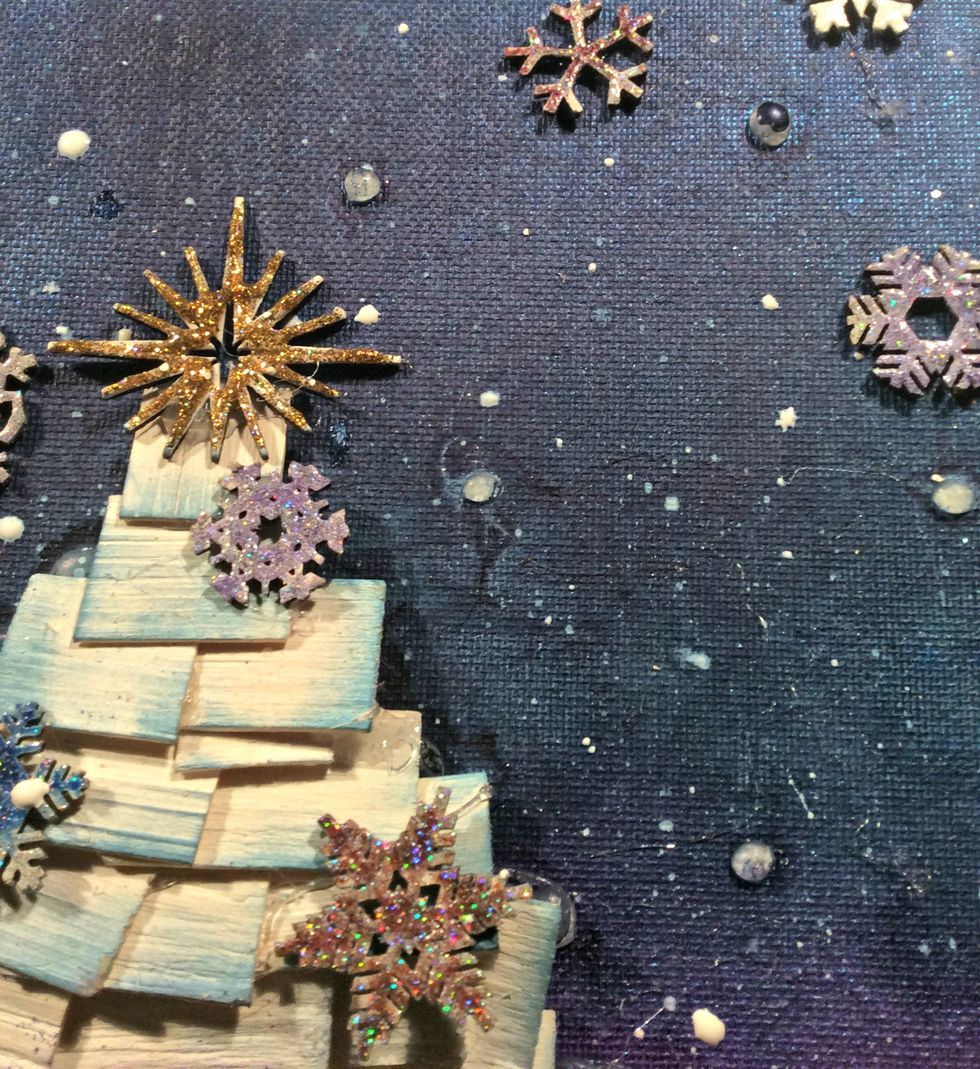
Using paint brush and white paint, splatter all over your canvas. See the little glue dots from the previous project. It's ok because they look like snow. lol
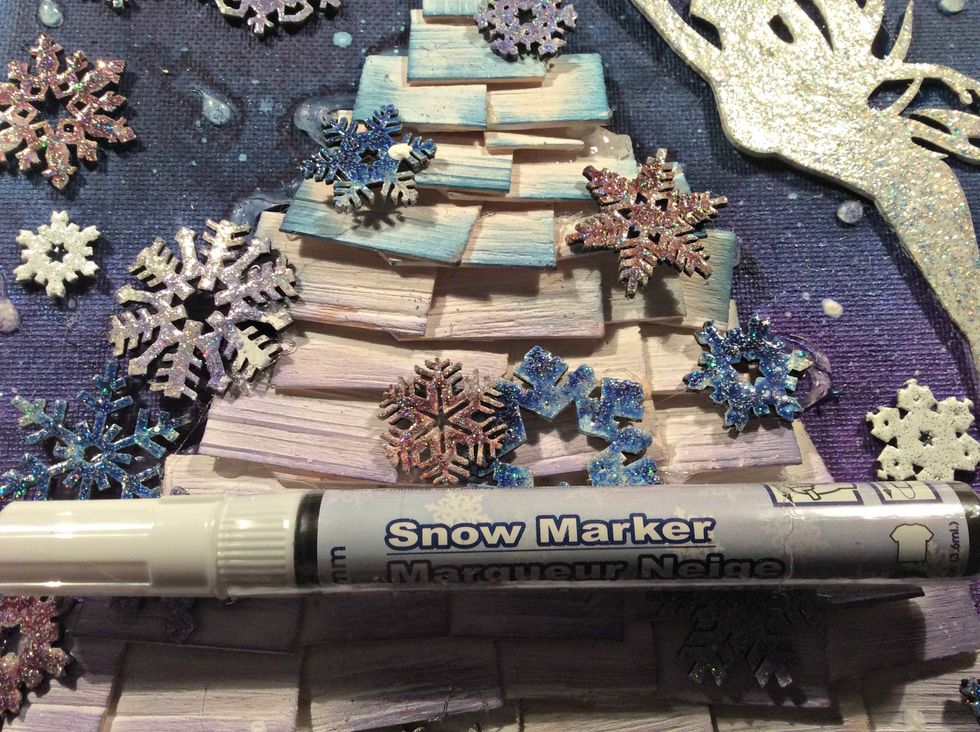
I wanted to add a touch of snow to the tree, I used this Snow Marker but you can also use SnowTex, or even modeling paste applied clumpy will do the trick.
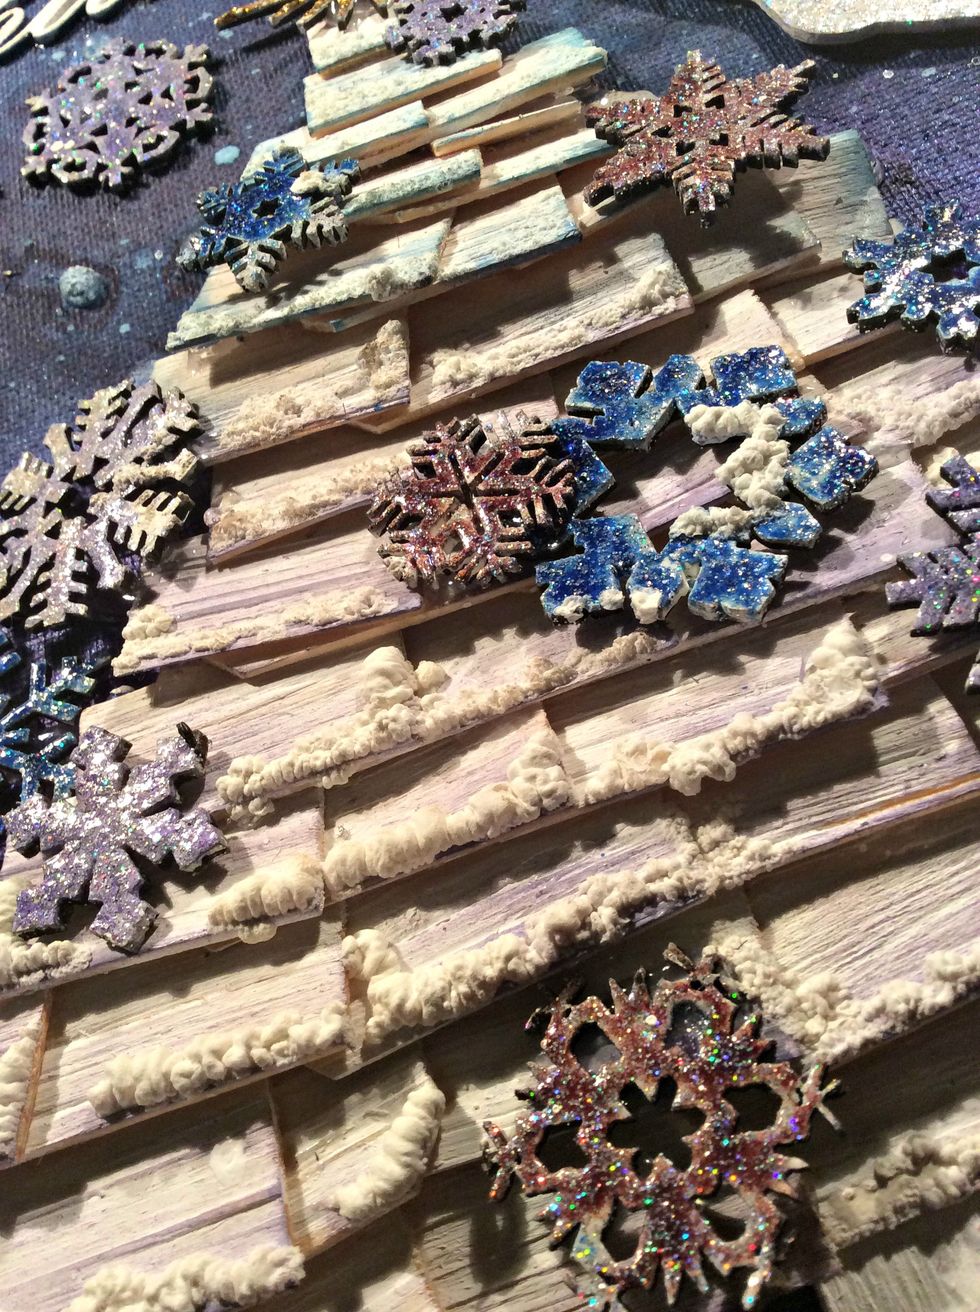
This is how the snow turned out.

For the title I used Winter Wonderland embossing powder. It's opaque with sparkles.

The fairy has Stardust embossing powder which is translucent with sparkles.

Wishing you a bright and shiny holiday season ! For more inspiration visit my blog @ http://www.toni-burks.blogspot.com/