The Conversation (0)
Sign Up
This tutorial will show you how to create one gift tag. The bases of the other tags shown are all the same it is just the top cluster images that are different.
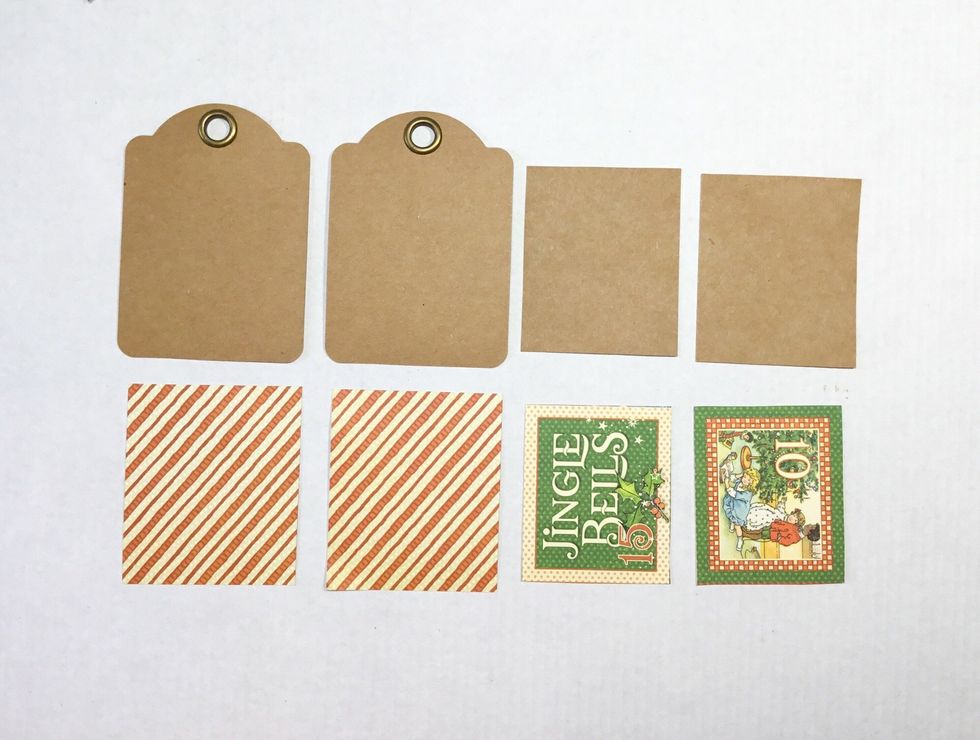
You will need these as shown - G45 Kraft Artist Trading Tag, Kraft cardstock measuring 6.5cm x 5.5cm, Santa’s Little Helpers paper 7cm x 6cm, Smaller square cut from Countdown Surprise paper as shown.
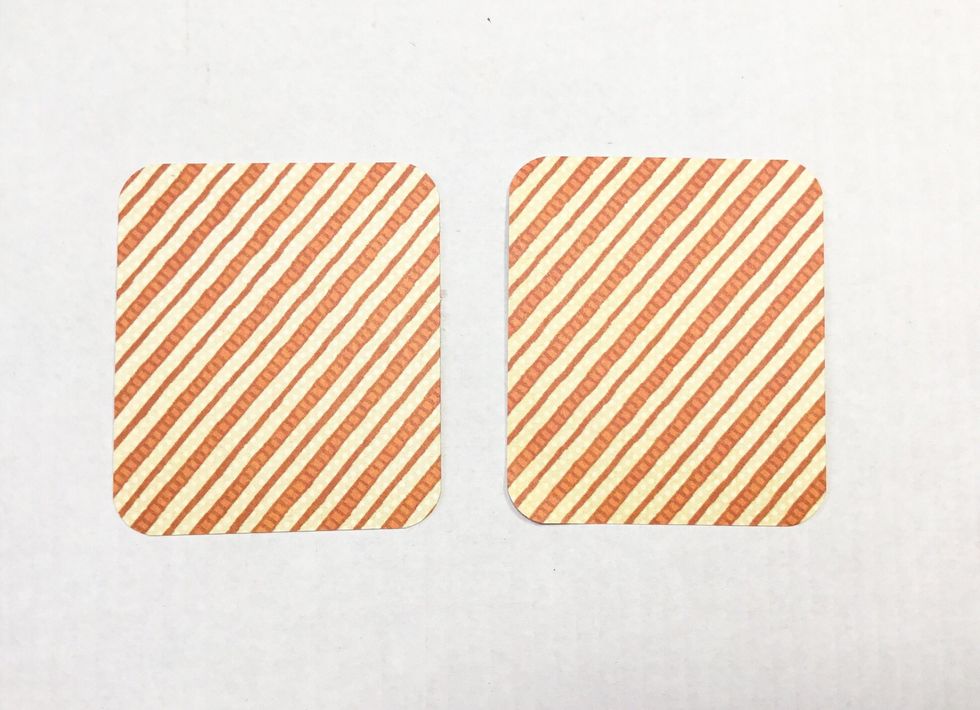
Round corners on Santa’s Little Helper paper pieces as shown.
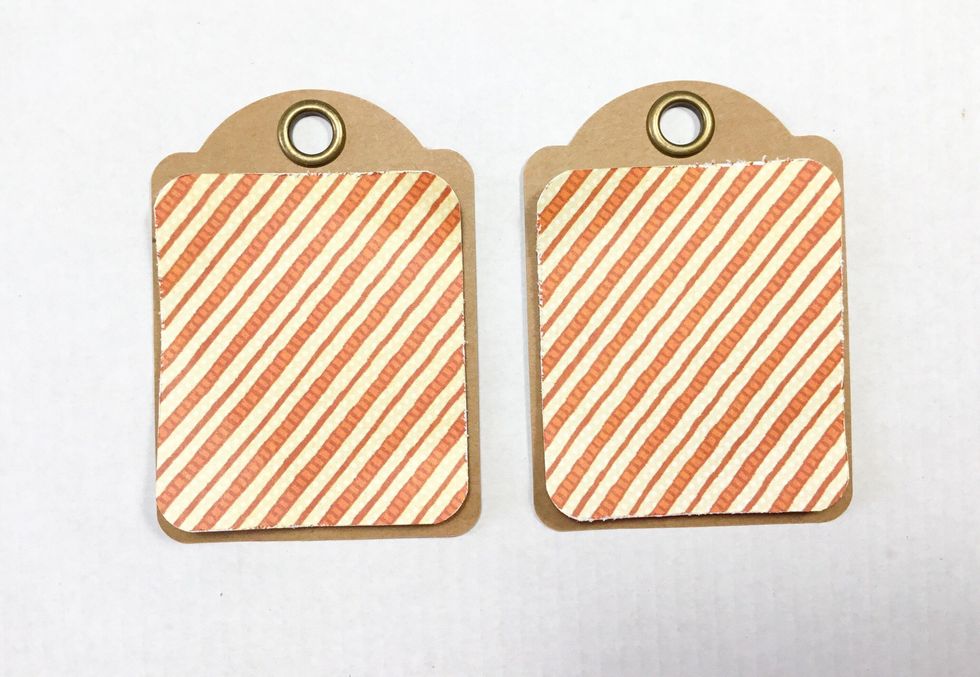
Distress edges of paper and then attach to the tags as shown.
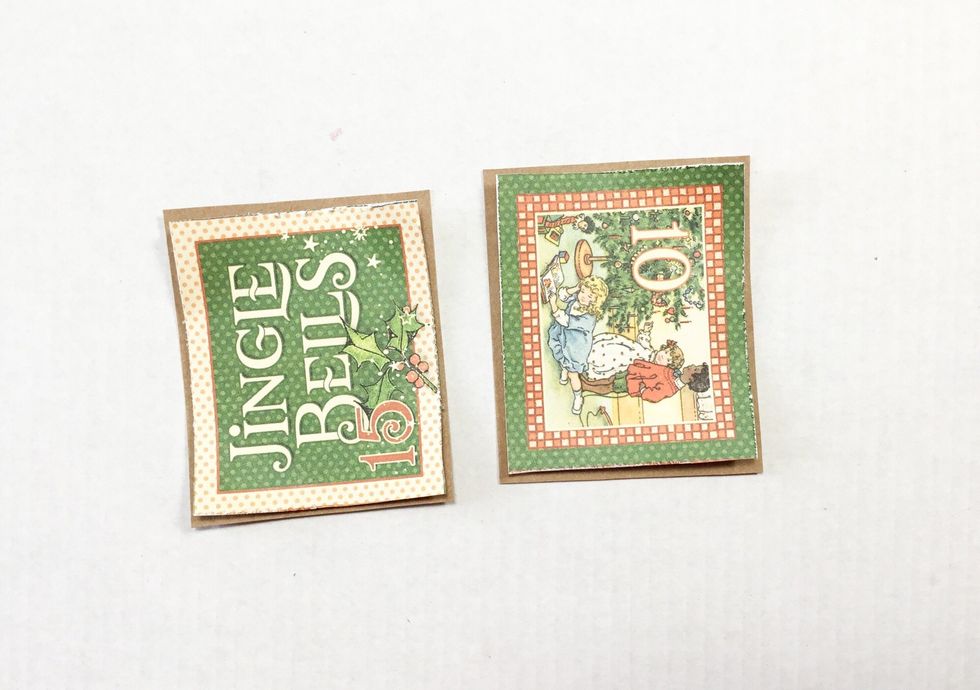
Layer kraft cardstock and Countdown Surprise pieces as shown.

Now attach on top of tag as shown. PLEASE NOTE - This is the base of the tag finished. All tag bases have been created the same way it is the top clusters that are different.
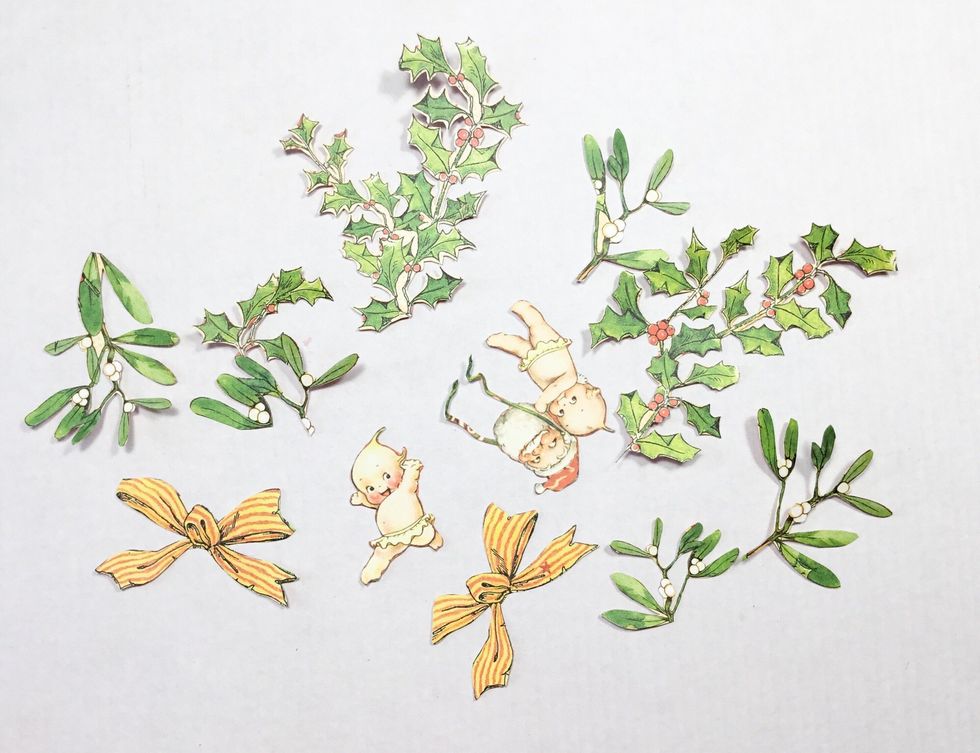
Now you will need to get fussy cutting. You can cut more or less, it depends on how many tags you wish to create. These have been cut from Happy Holly Days and Countdown Surprise patterned papers.

Layer some leaves as shown.

Attach paper bow as shown.
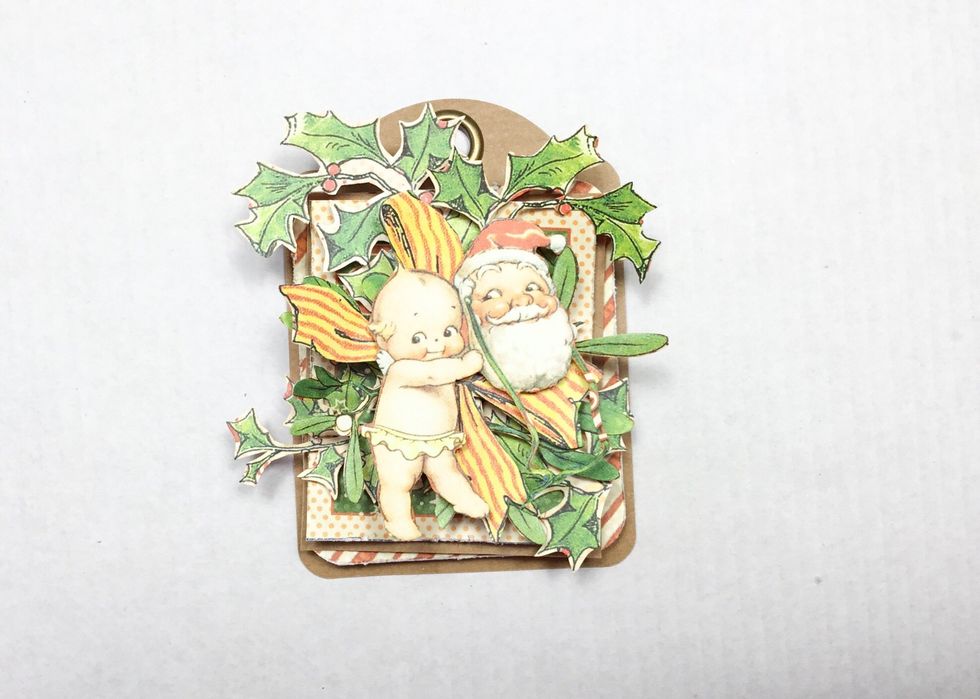
Attach little character image as shown.
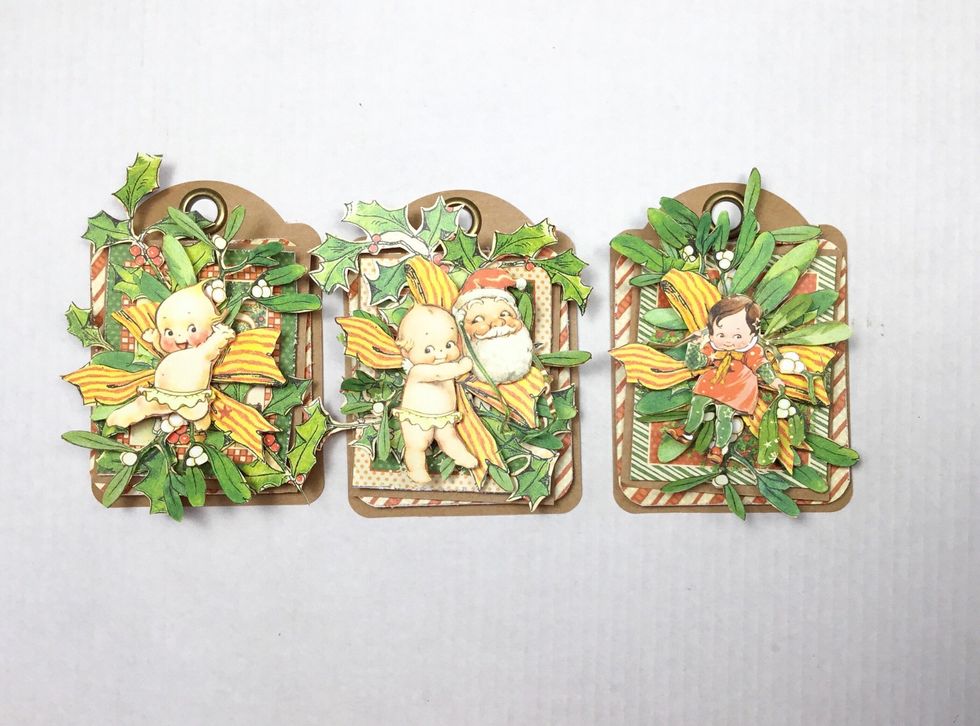
The gift tags are now finished. I have created 3 but you can create as many as you like.

Attach some string and add some frayed cheesecloth between the layers to create texture. The tags are now finished ready to attach to your gifts.

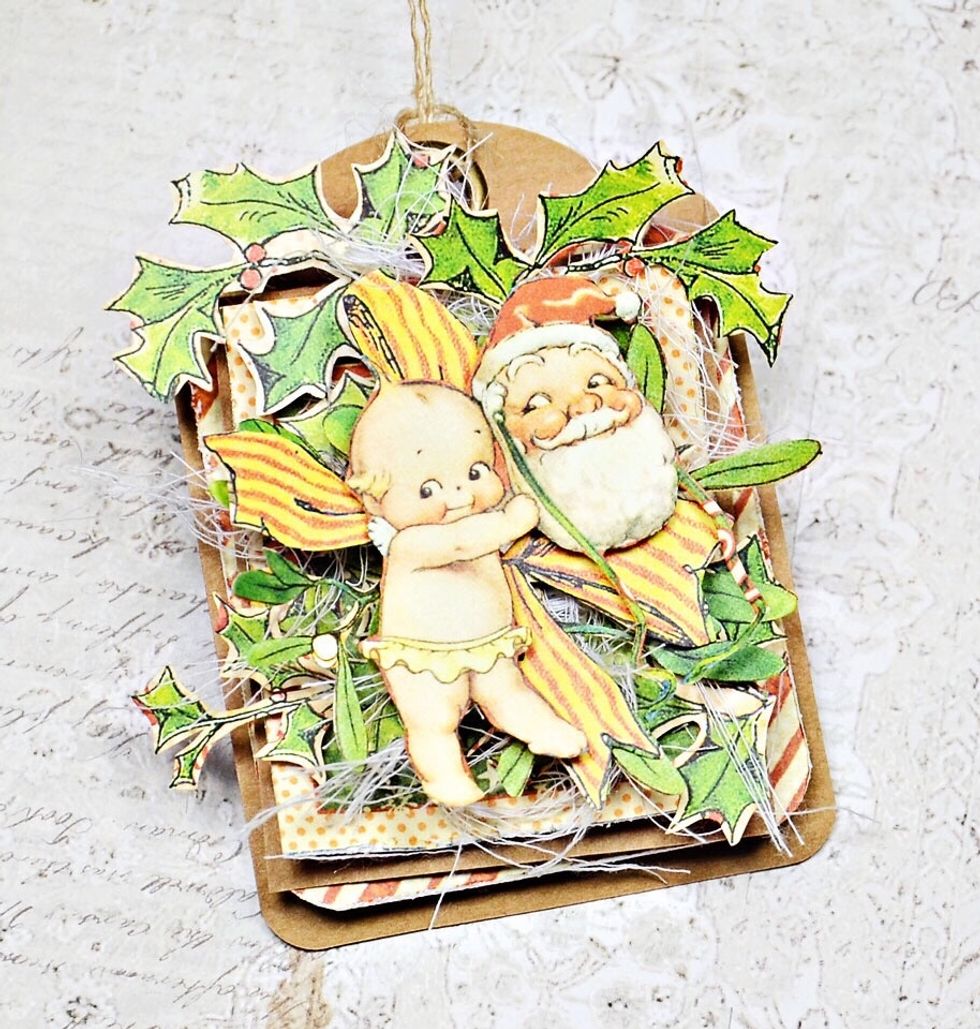
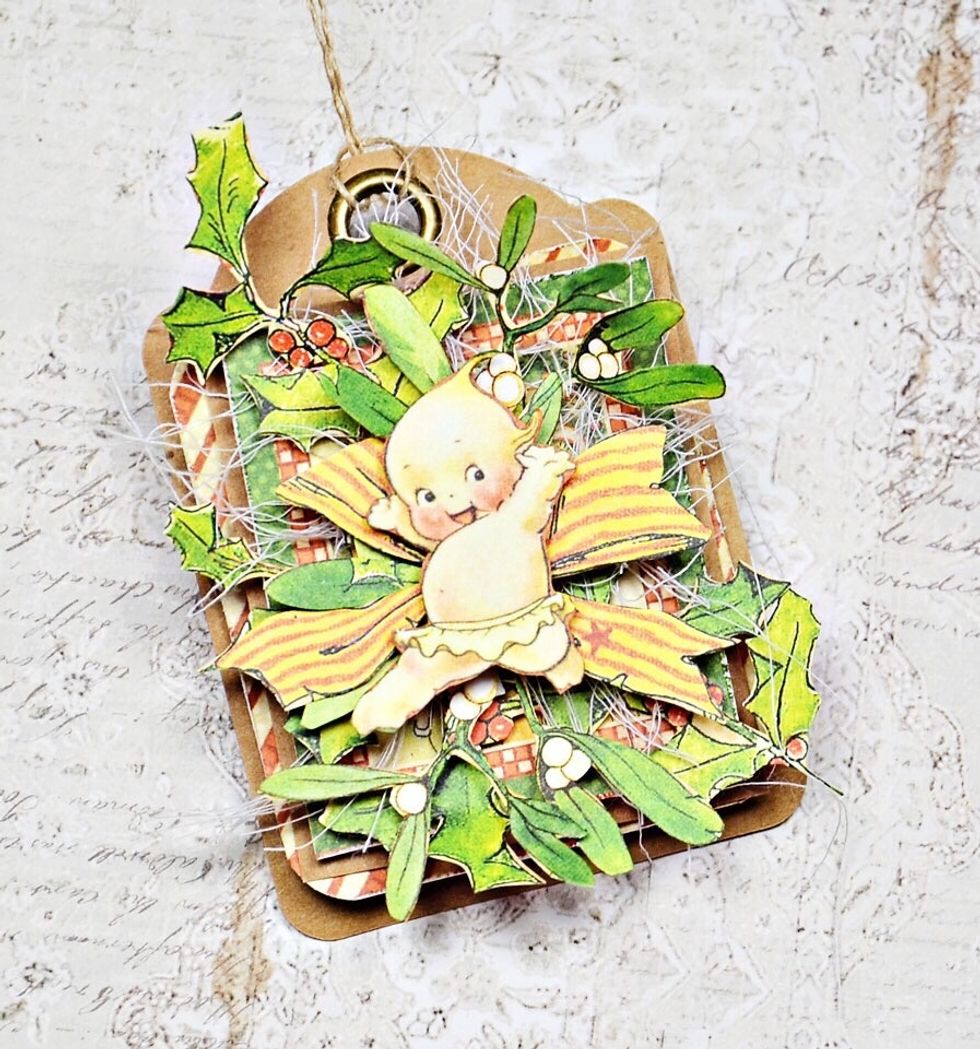
My finished tags, so cute!
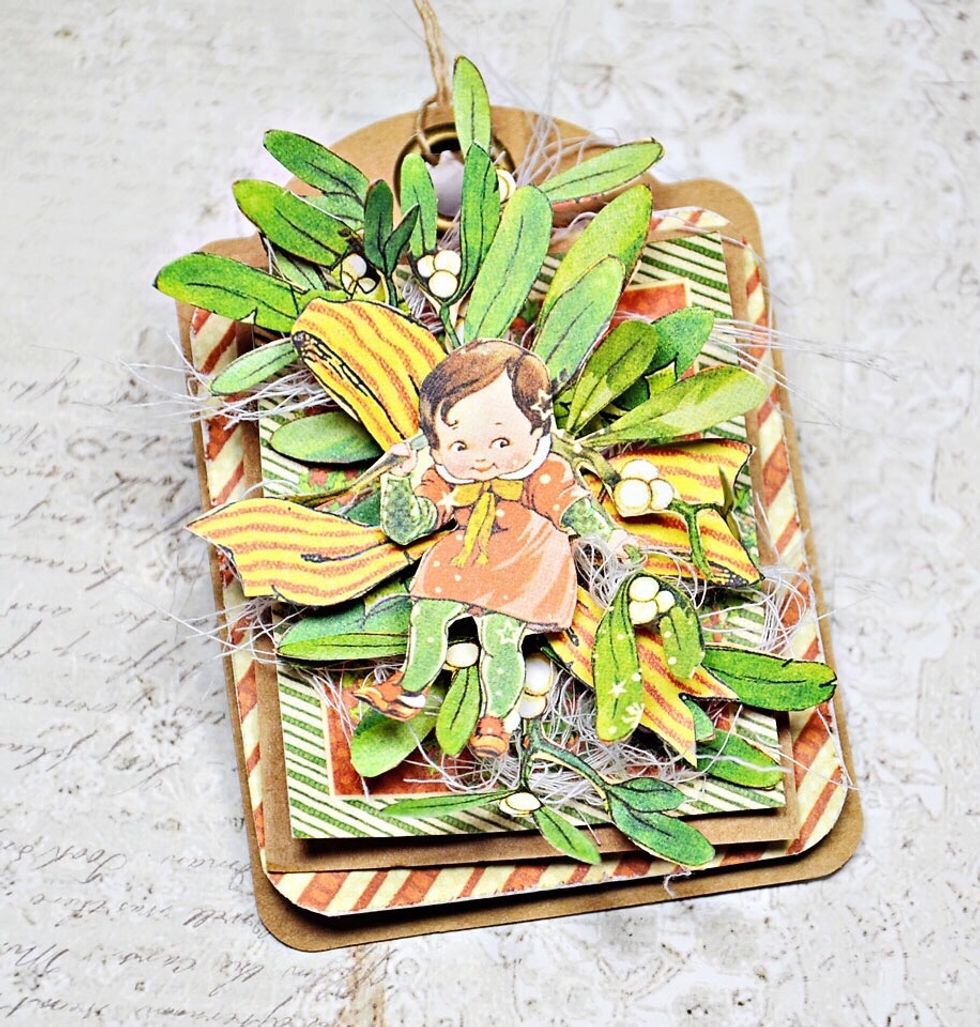
A little close up.
A little close up.
I hope you have enjoyed my tutorial and it has inspired you to create your own. Visit my blog - www.scrappinforme.blogspot.com.au