The Conversation (0)
Sign Up
First of all, make sure your nail is clean and apply a base coat if you want to protect your nail.
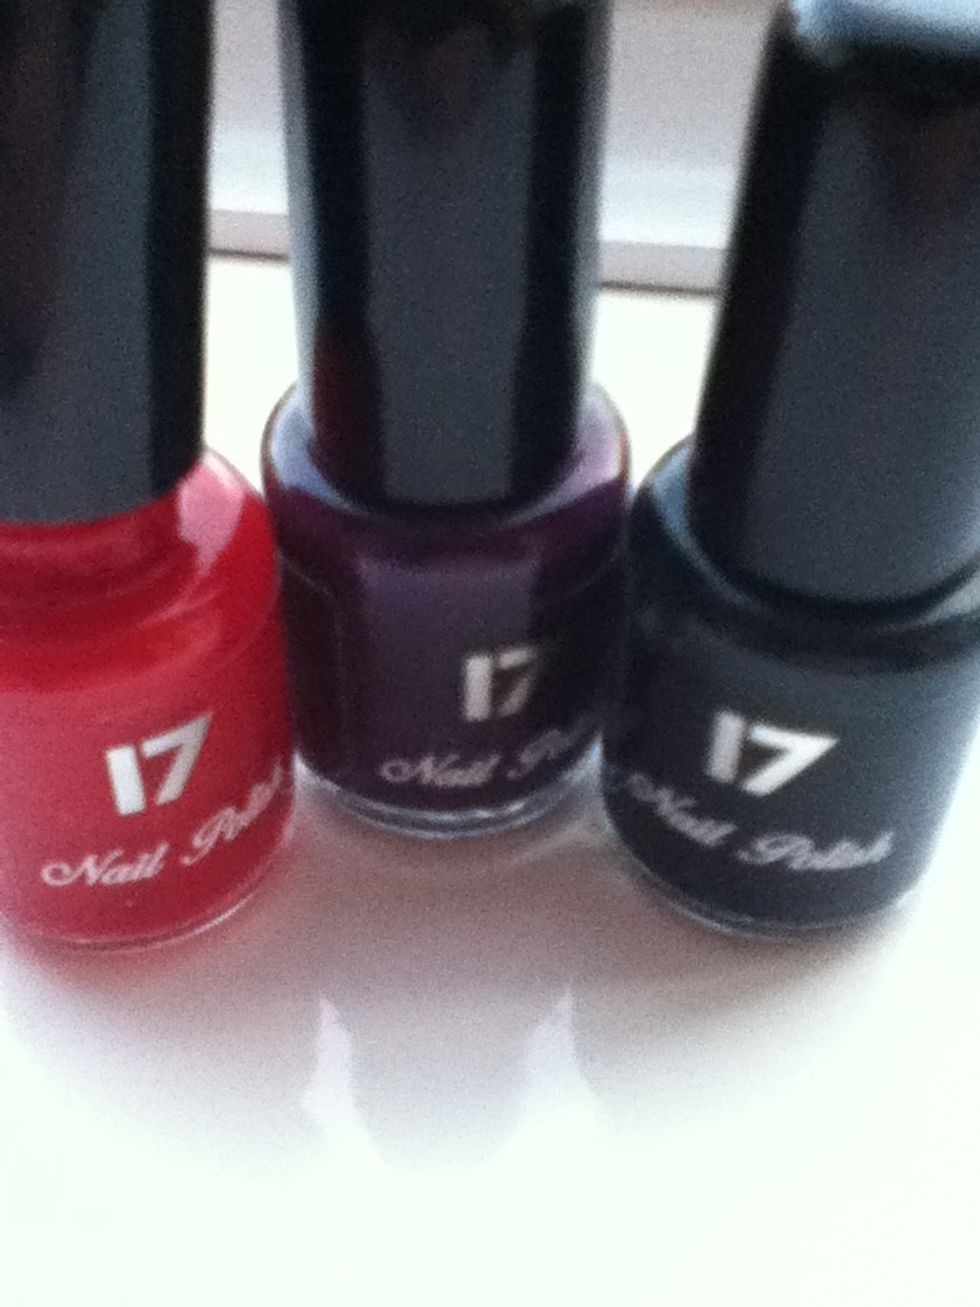
Now choose three colours you like or think go well together. It looks nice when you go from dark to light, or if you choose really bright contrasting colours :)

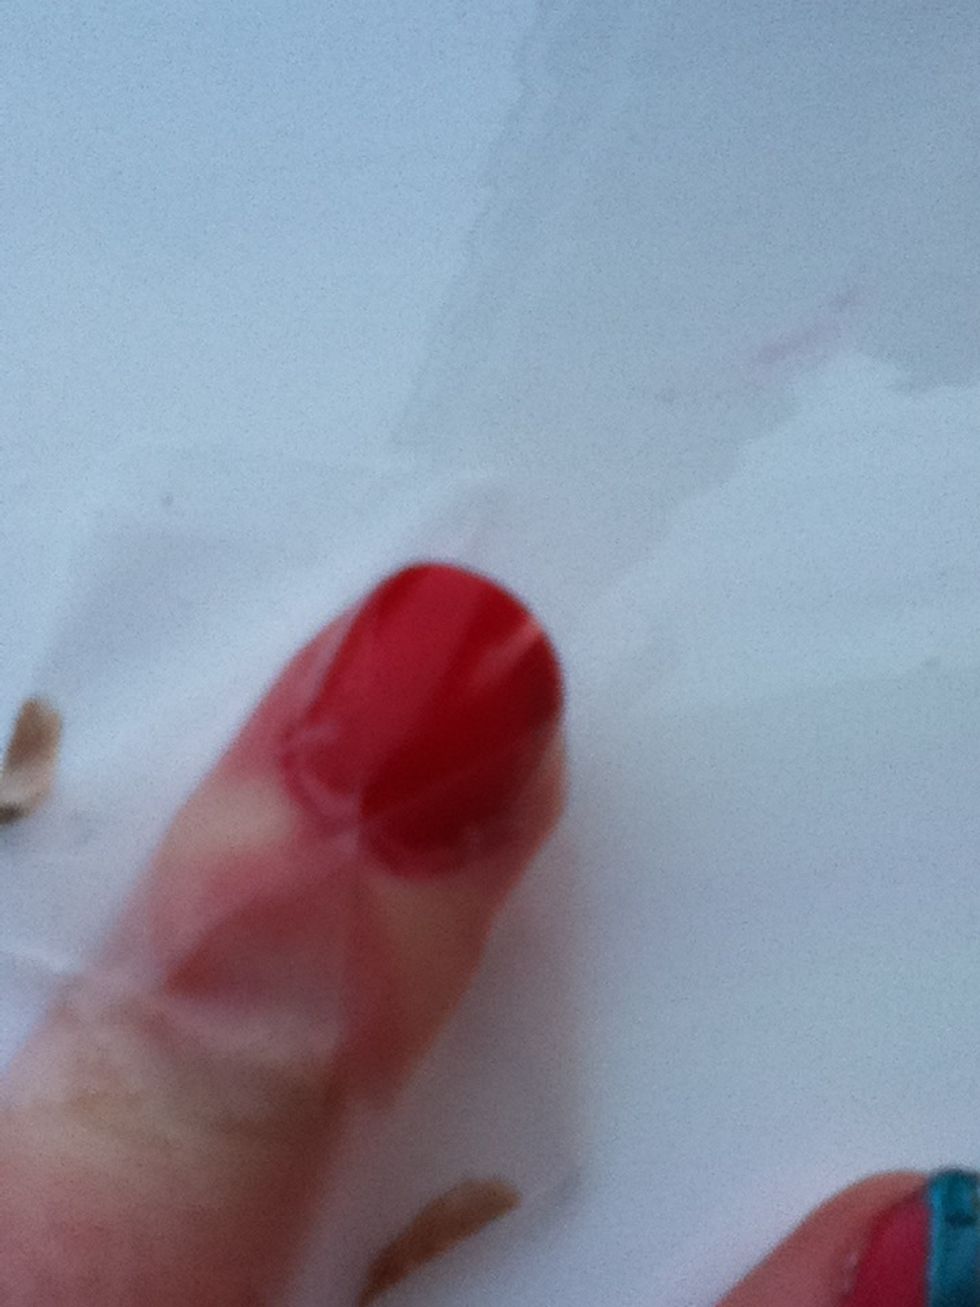
Paint your nail the first colour and leave to fully dry.
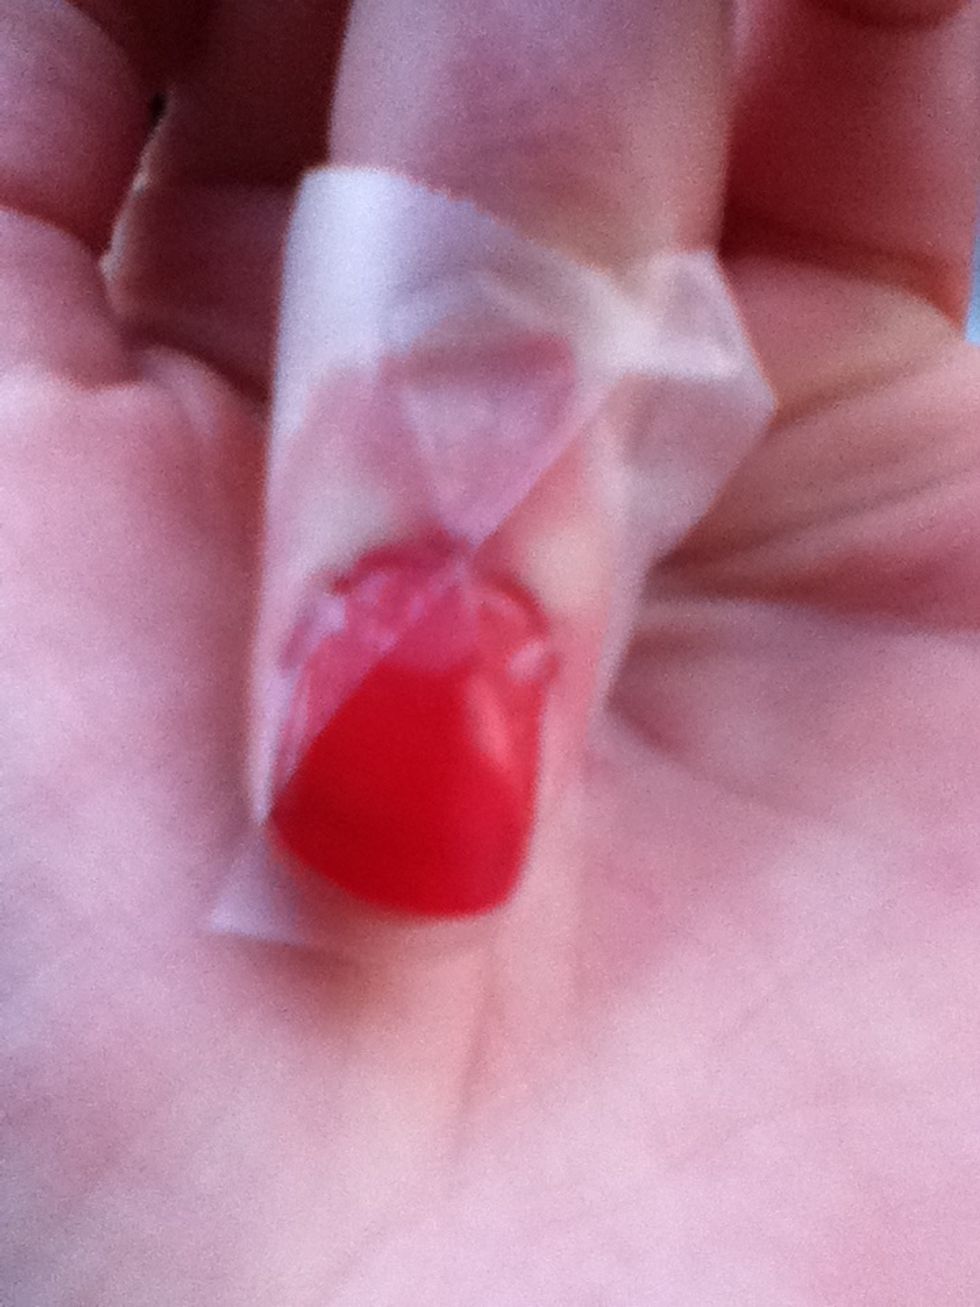
Now apply a piece of tape from the top left corner of your nail to the middle of the bottom and do the same on the other side, to form a V shape.
Done :)

Paint your next colour over the tape and then peel it off and let it dry.
When the next colour is dry, apply another two pieces of tape to form a smaller V inside that colour.
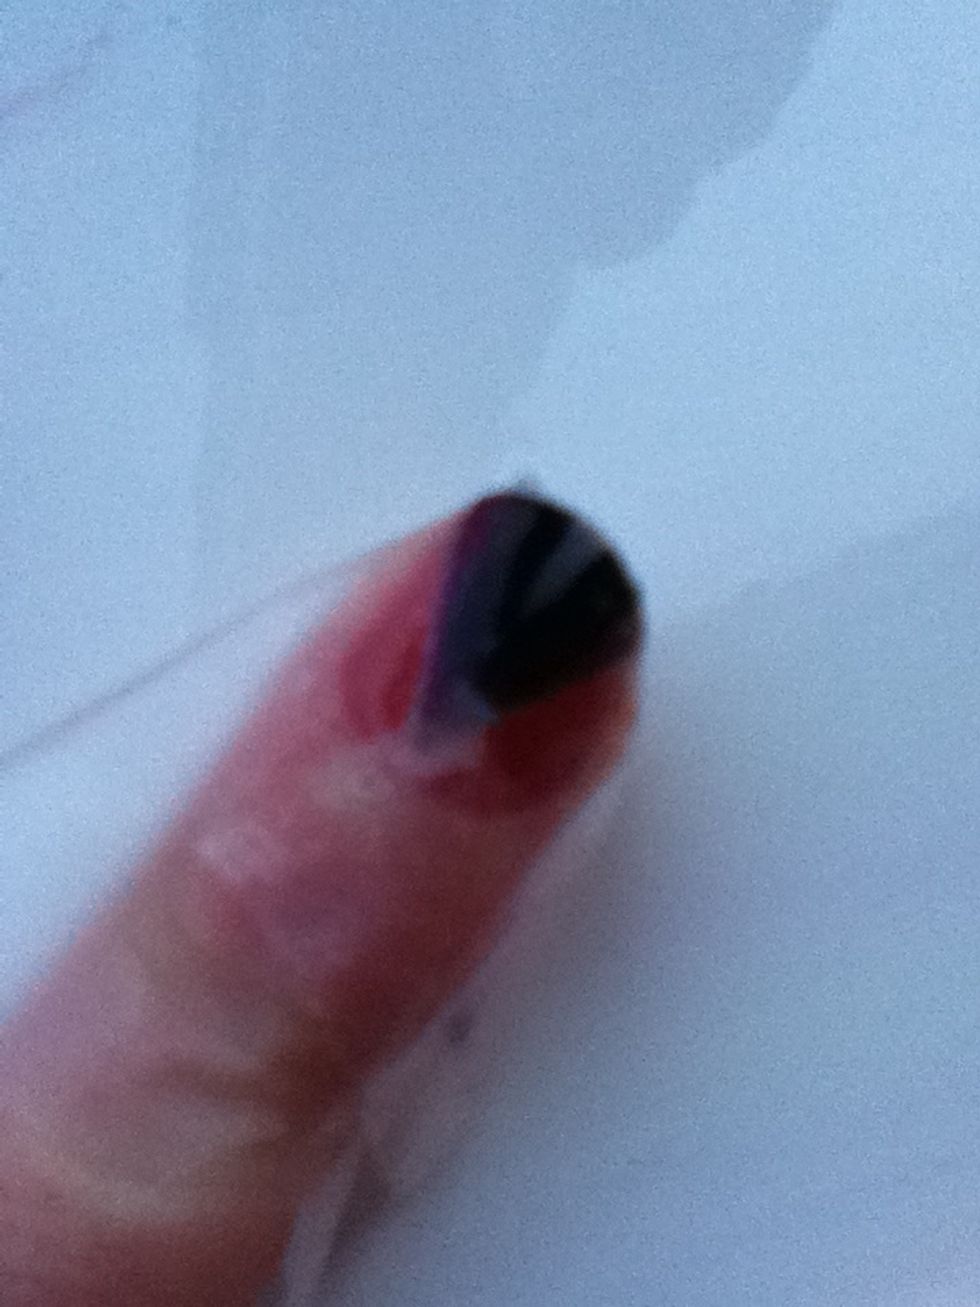
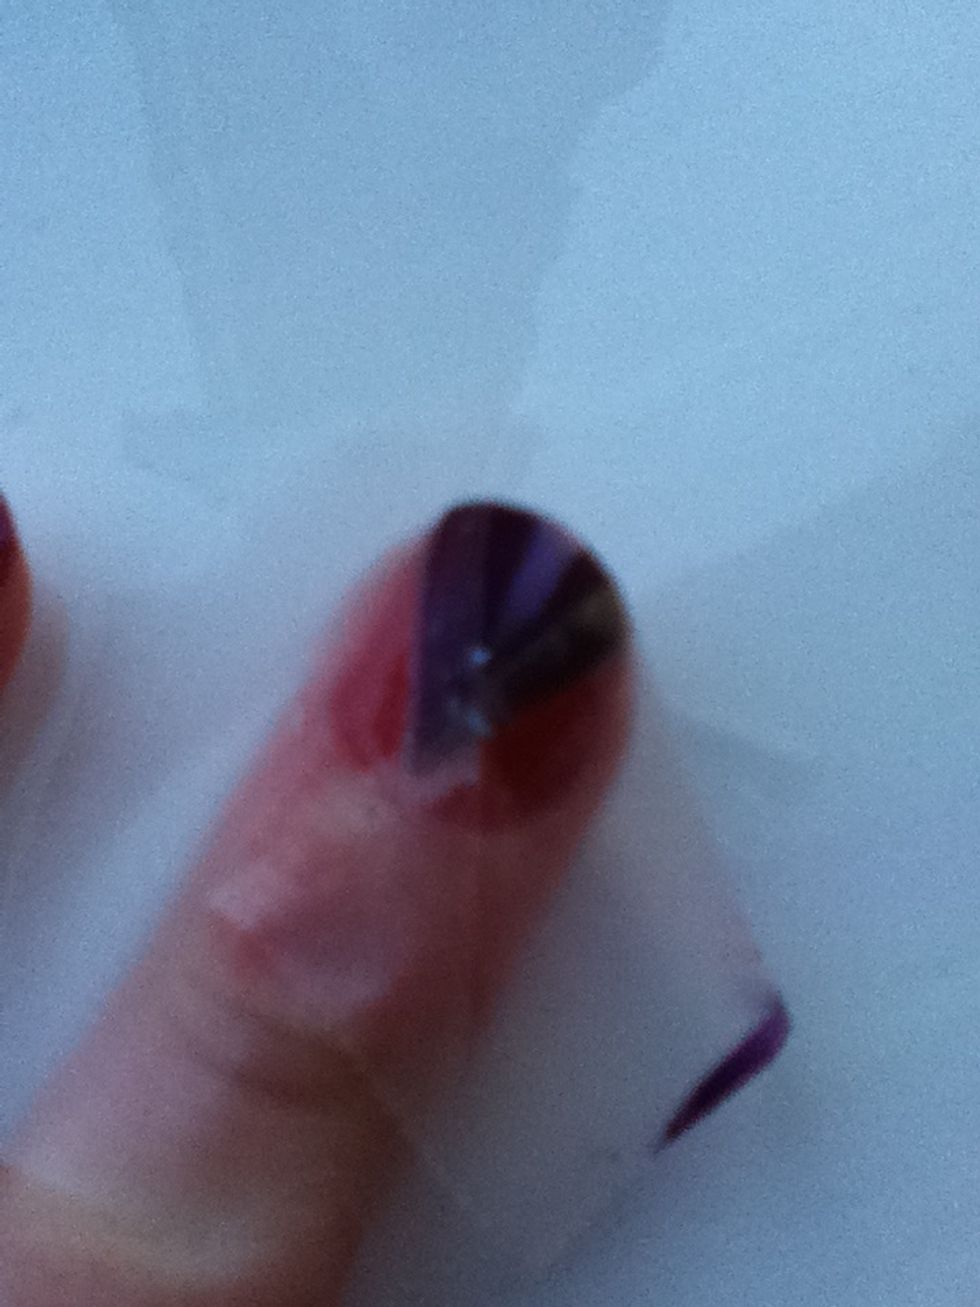
Paint on your last colour and peel off the tape.
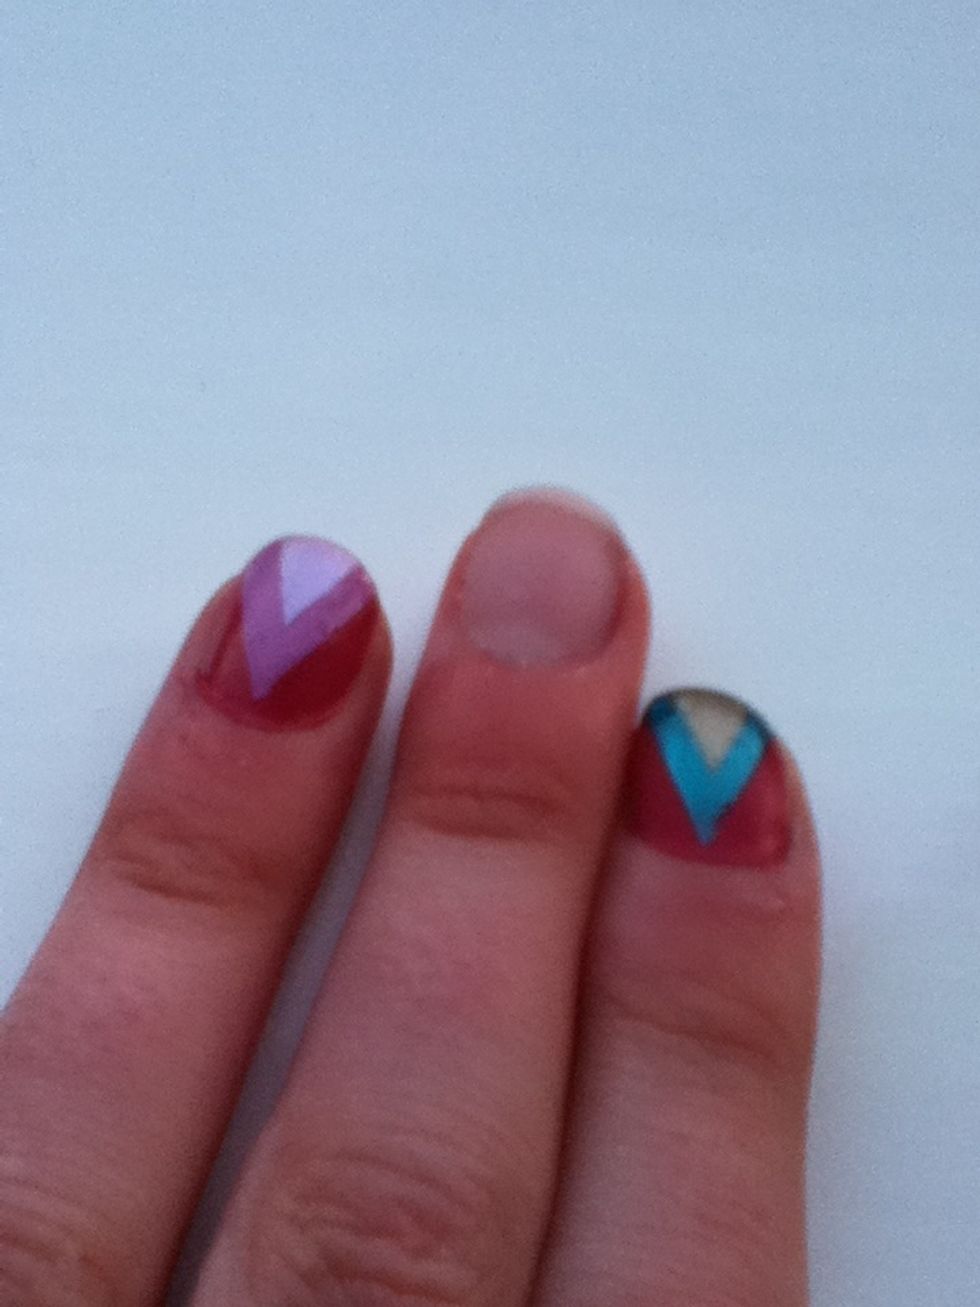
Done!!! Funky chevron nails ;)