The Conversation (0)
Sign Up
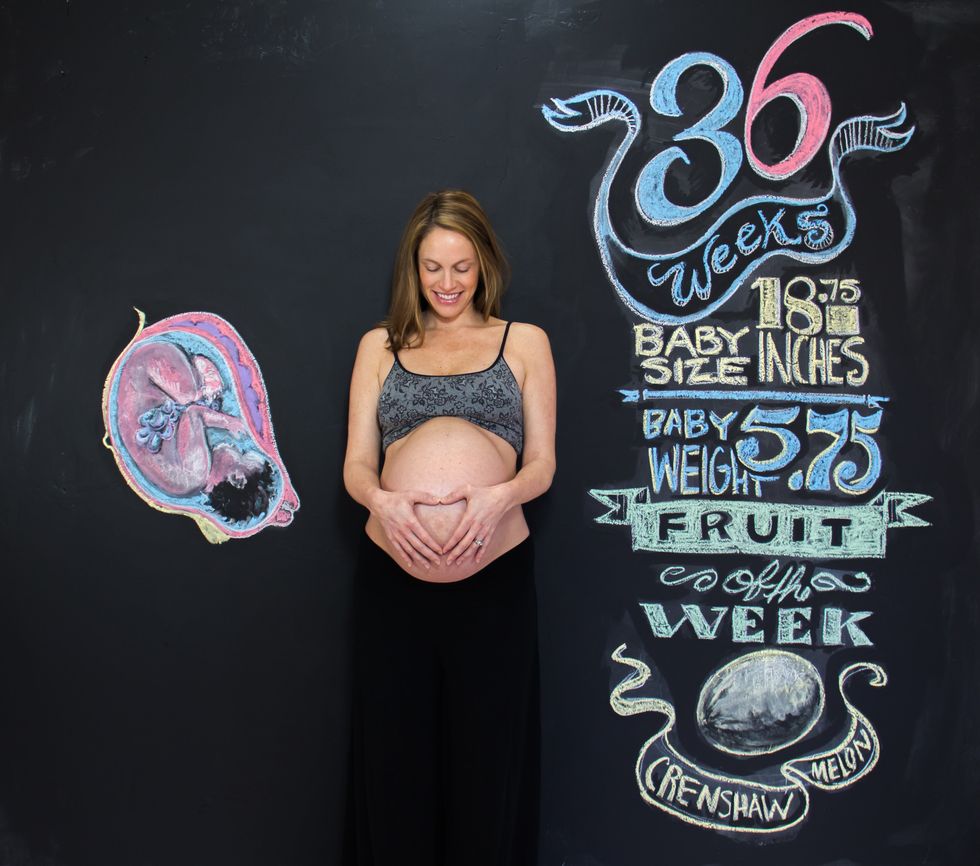
Go to www.thebump and find your week. This is the info we will use.
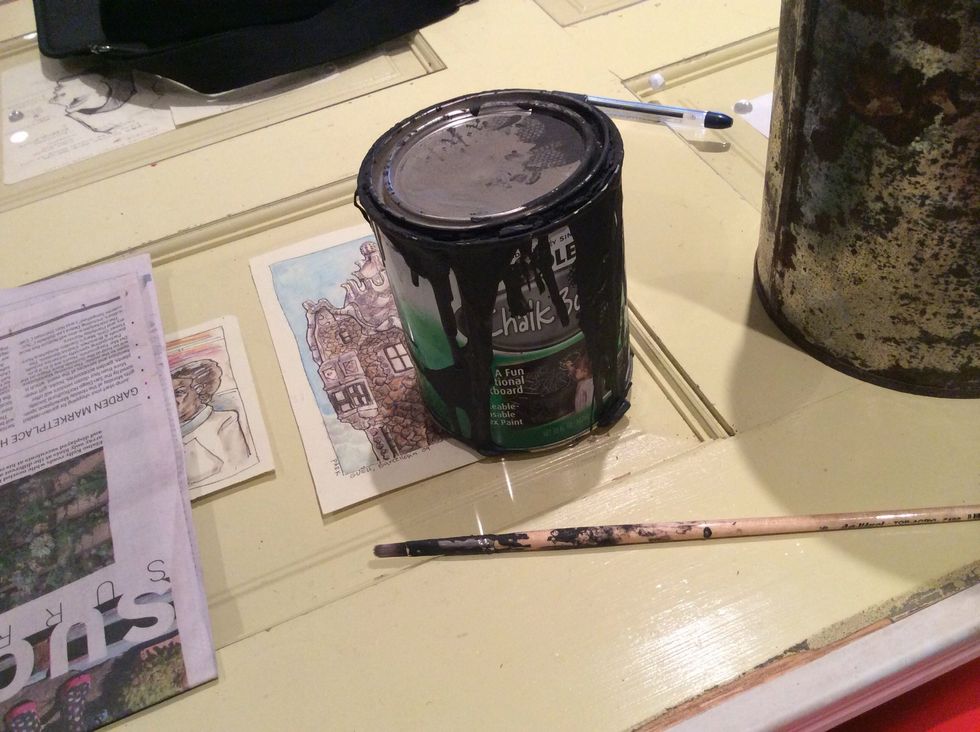
First paint the wall with blackboard paint. You will also need some left over for clean up on your drawing.
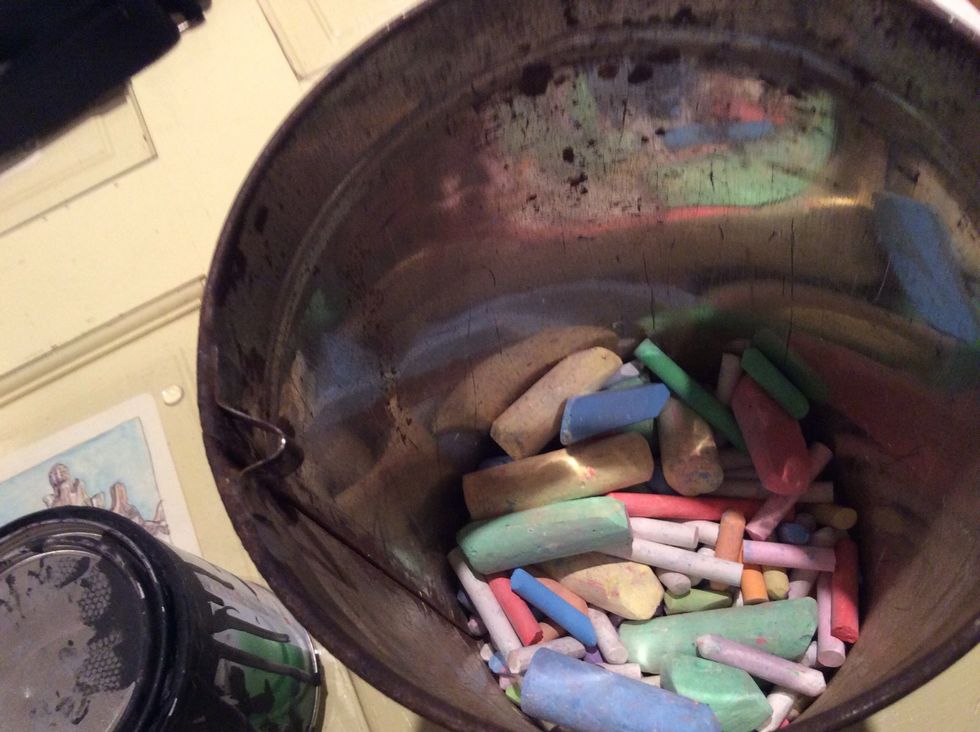
Lots of multi colored chalk, I like thick and thin.
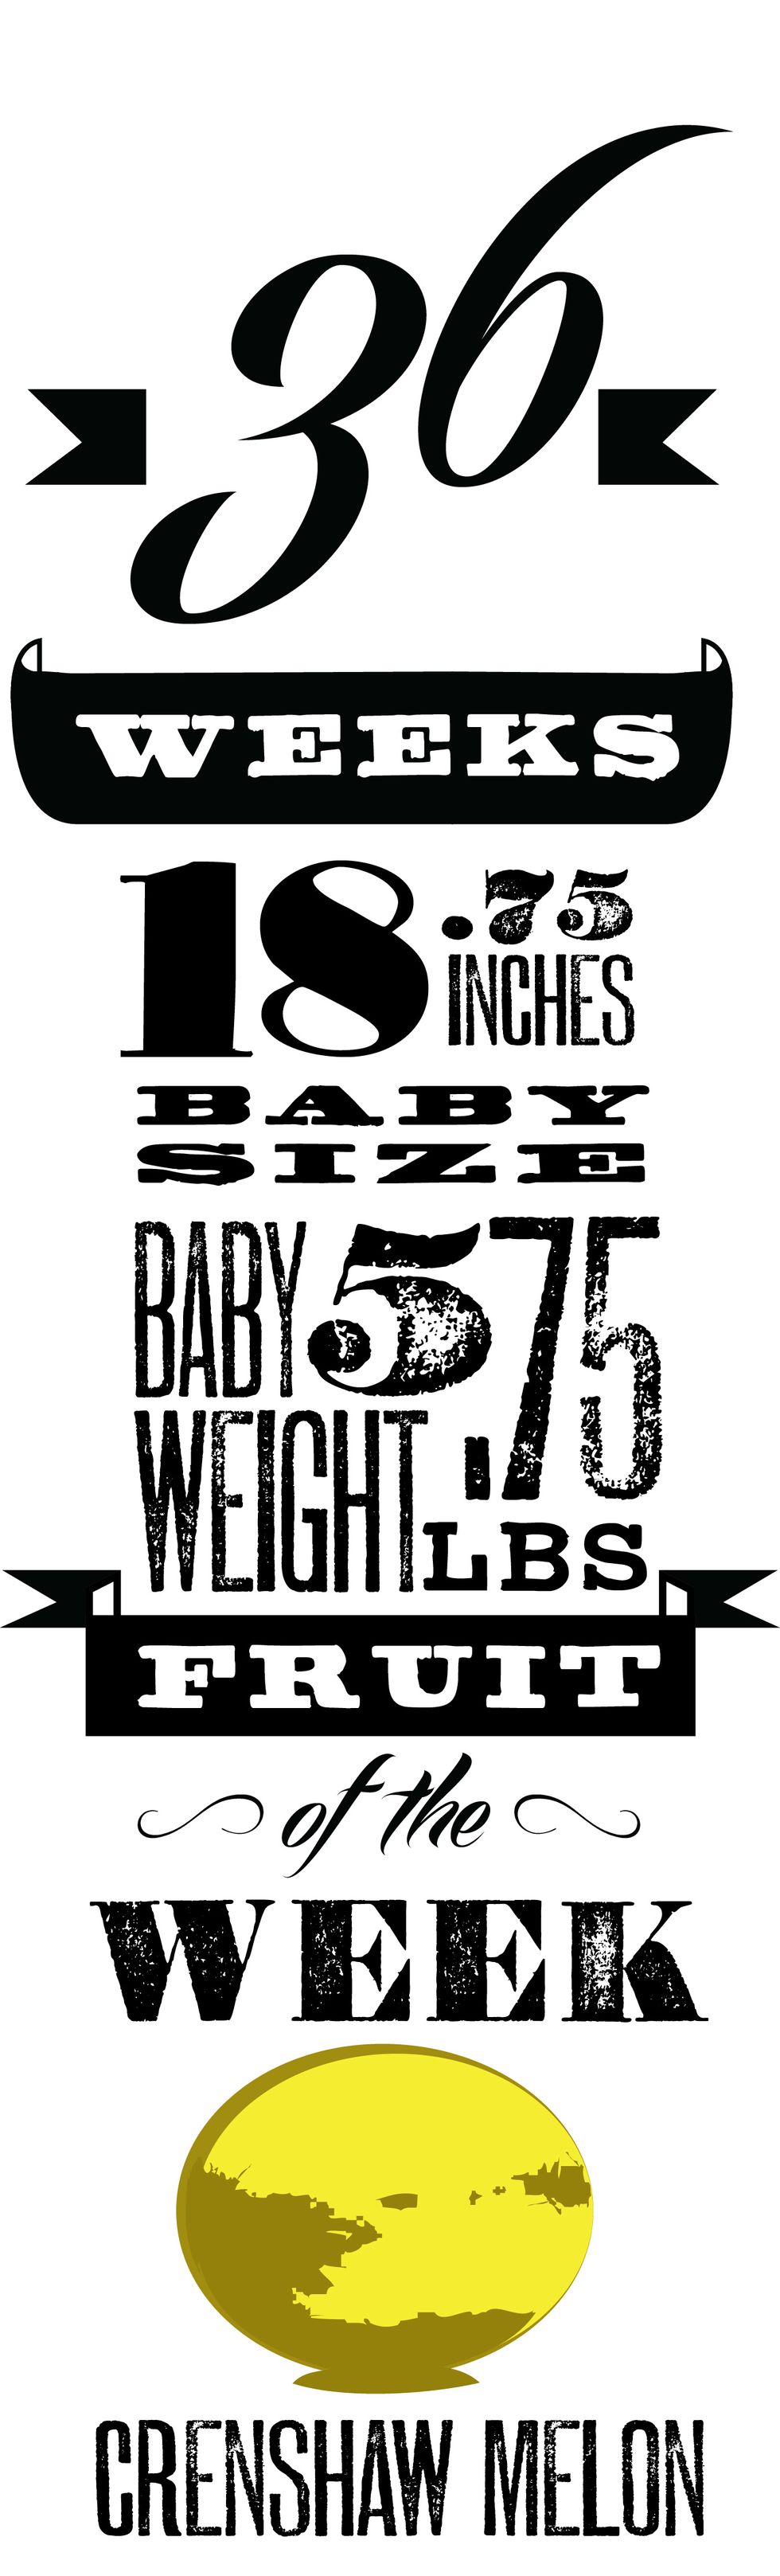
I used illustrator to play with some font choices and layouts to inspire the text layout

I looked for some reference of what the baby looked like at 36 weeks. I started with a rough sketch in white.
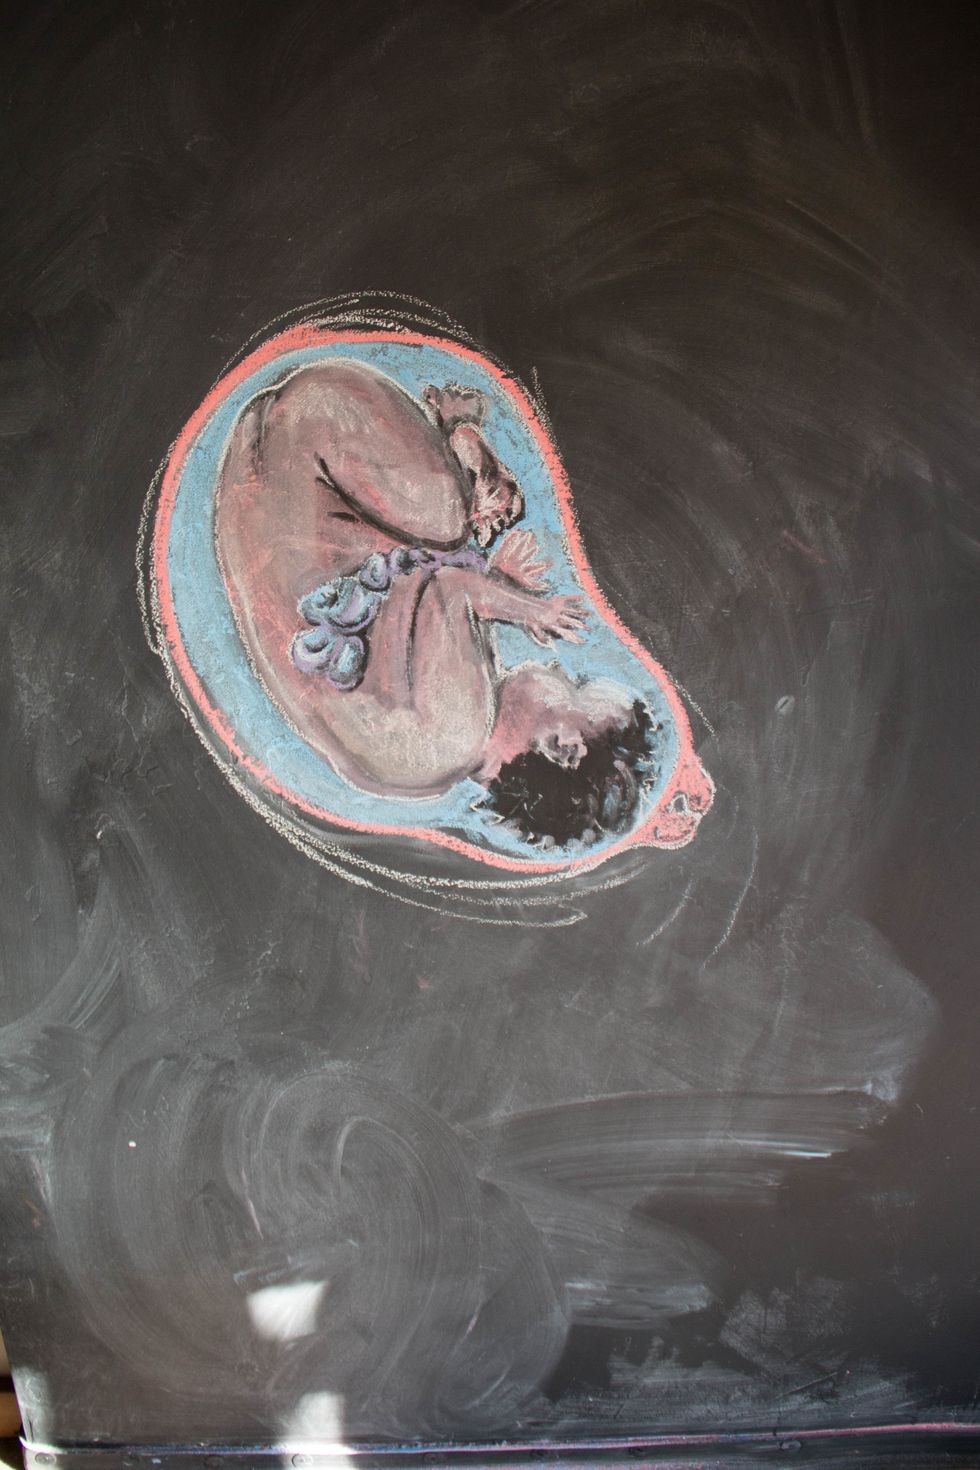
I then added color. Notice how the surrounding area around is white, use a wet rag with water to wipe away or fix mistakes.
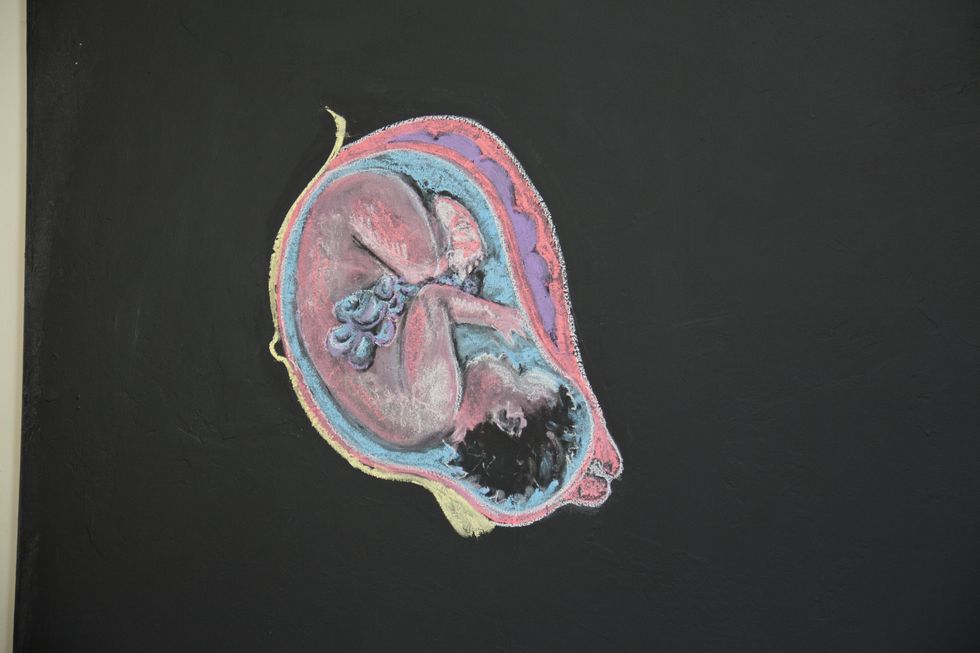
Use the small paint brush to clean up the drawing with more chalkboard paint. I added hair to my kid since I could see she look like willie nelson in there.

I free handed the text on. I lightly used white to get the forms, then played with color.

I used the black chalkboard paint and small brush to clean up the line work.
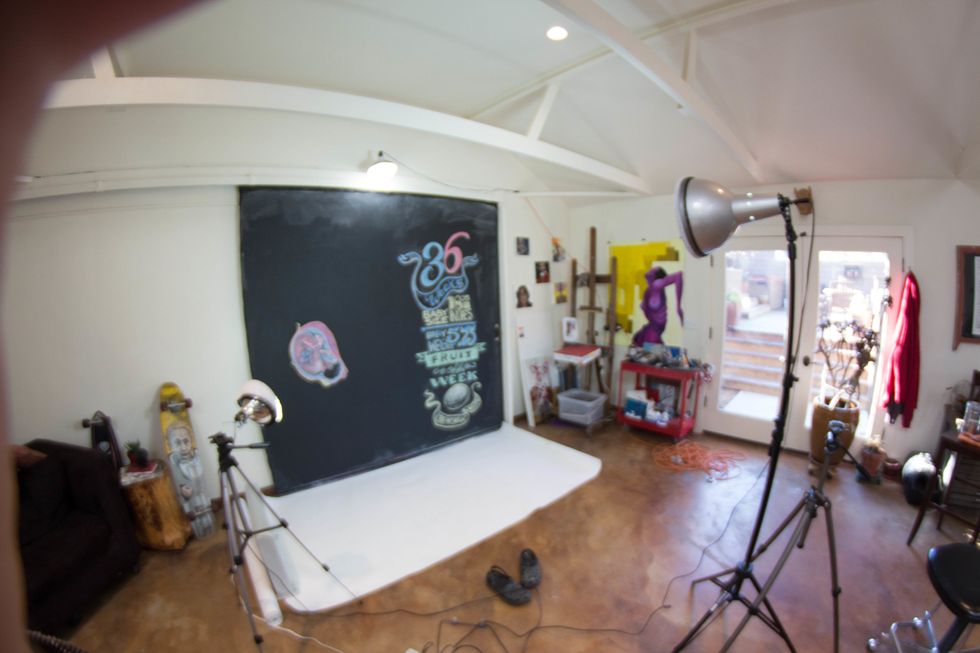
When your drawing is ready it is time to get your equipment set up. I used a white drop cloth and 3 lights.
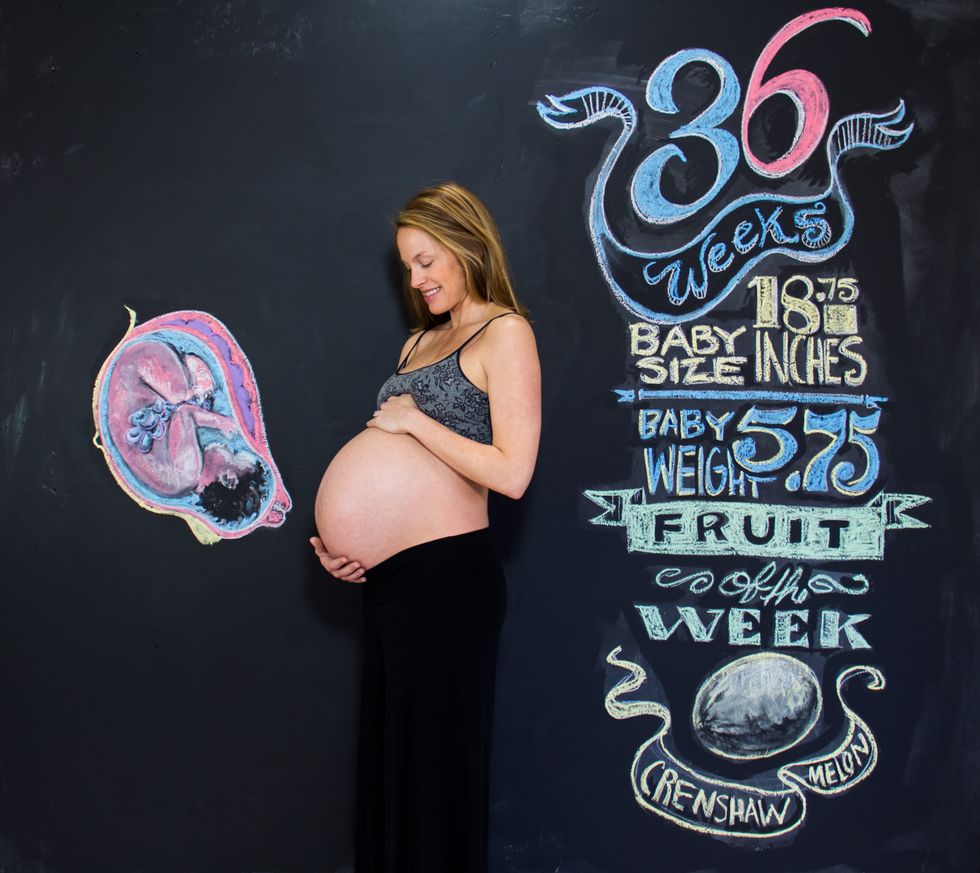
Viola! Once you have chosen the right one, take it into your favorite editing program and work your magic. I kept my images at 300 dpi and shot them in raw so I had freedom to blow them up.
Here is another front view shot we took.