The Conversation (0)
Sign Up
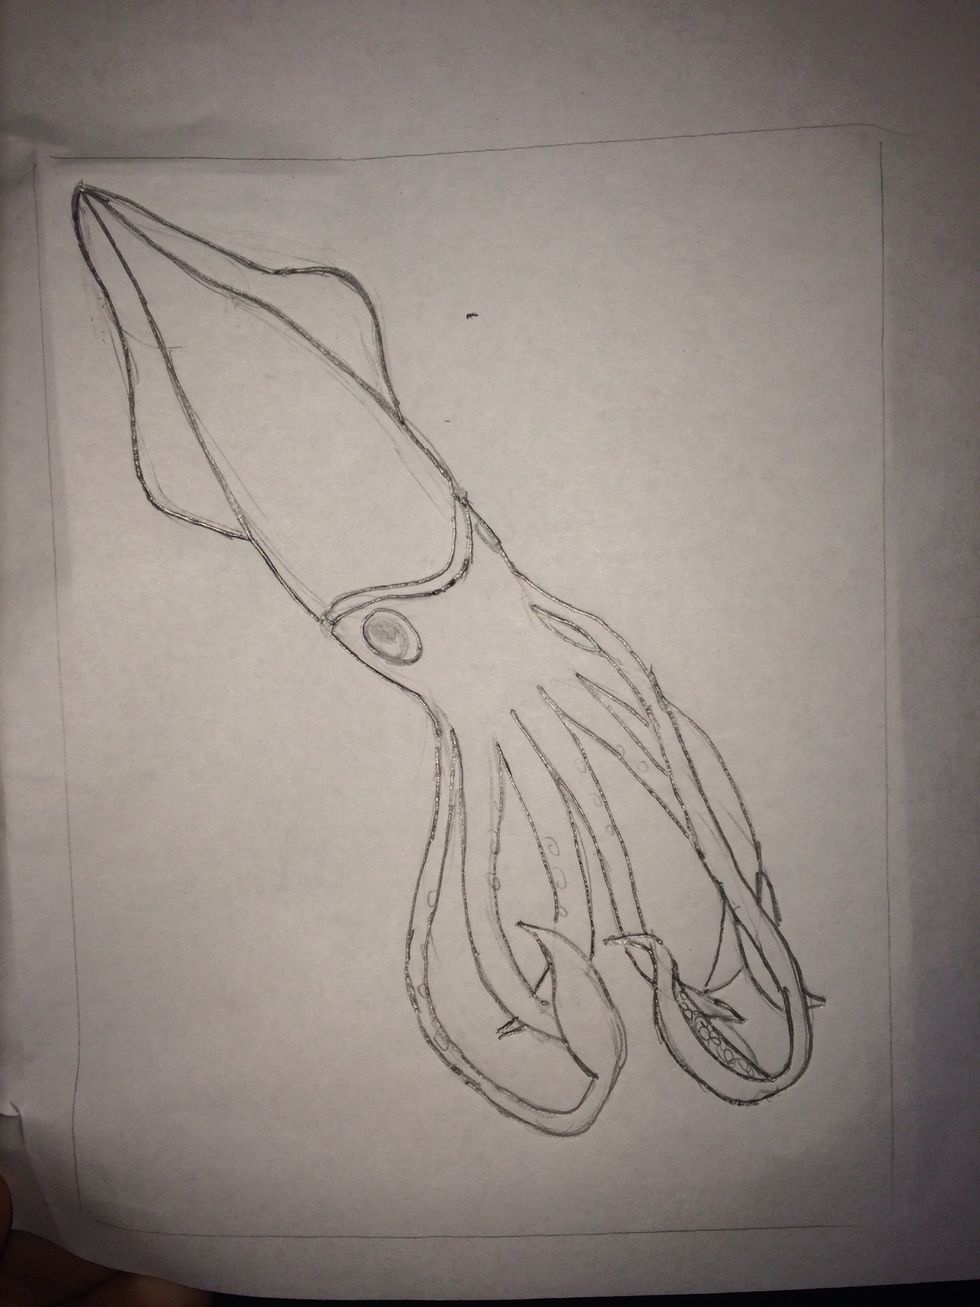
start by making sketch of what you want to carve on to the foam.
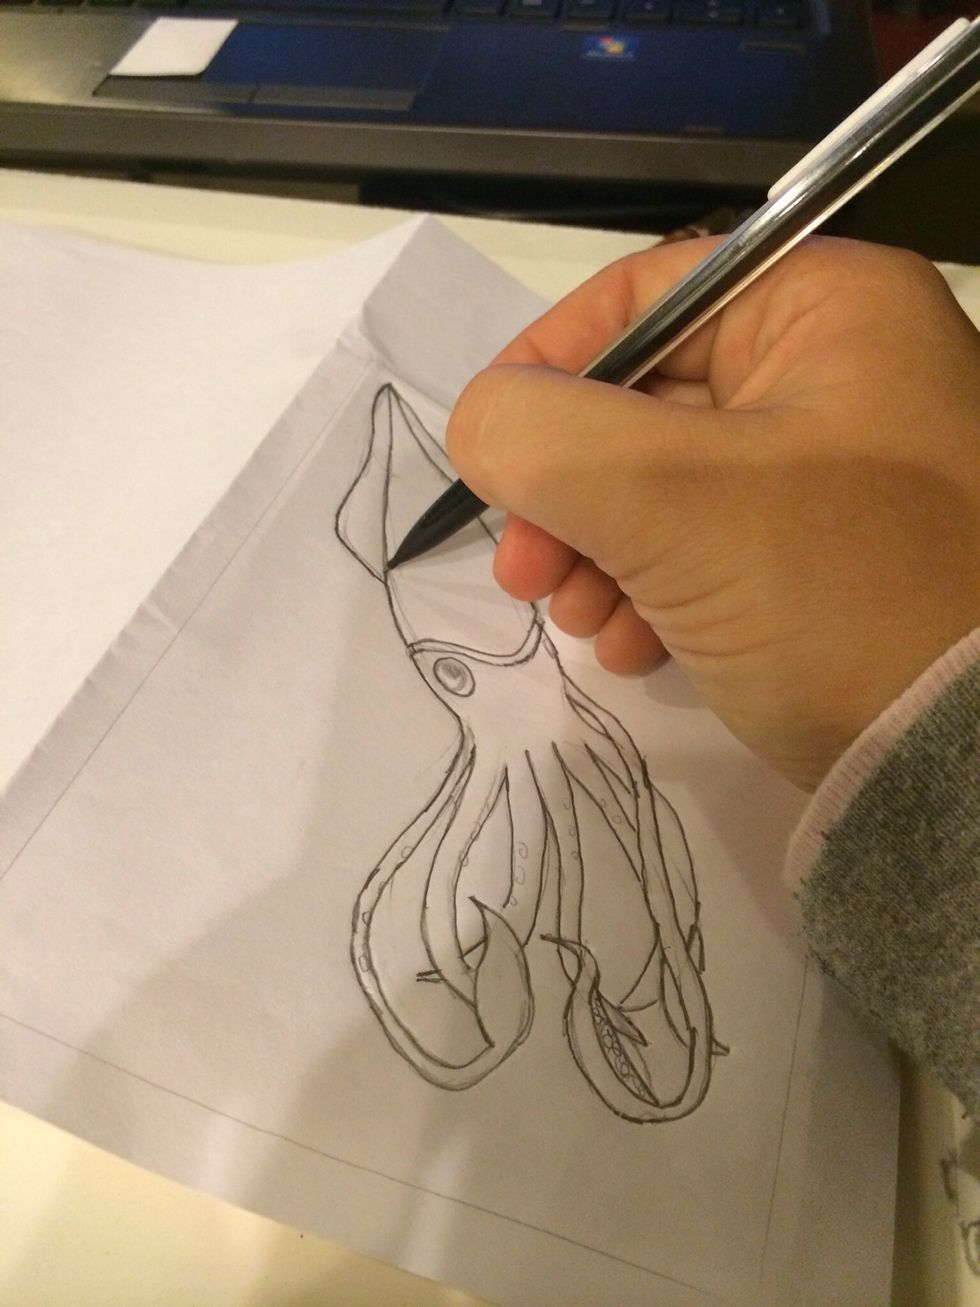
With the carving foam underneath, trace your lines so they transfer to the foam.
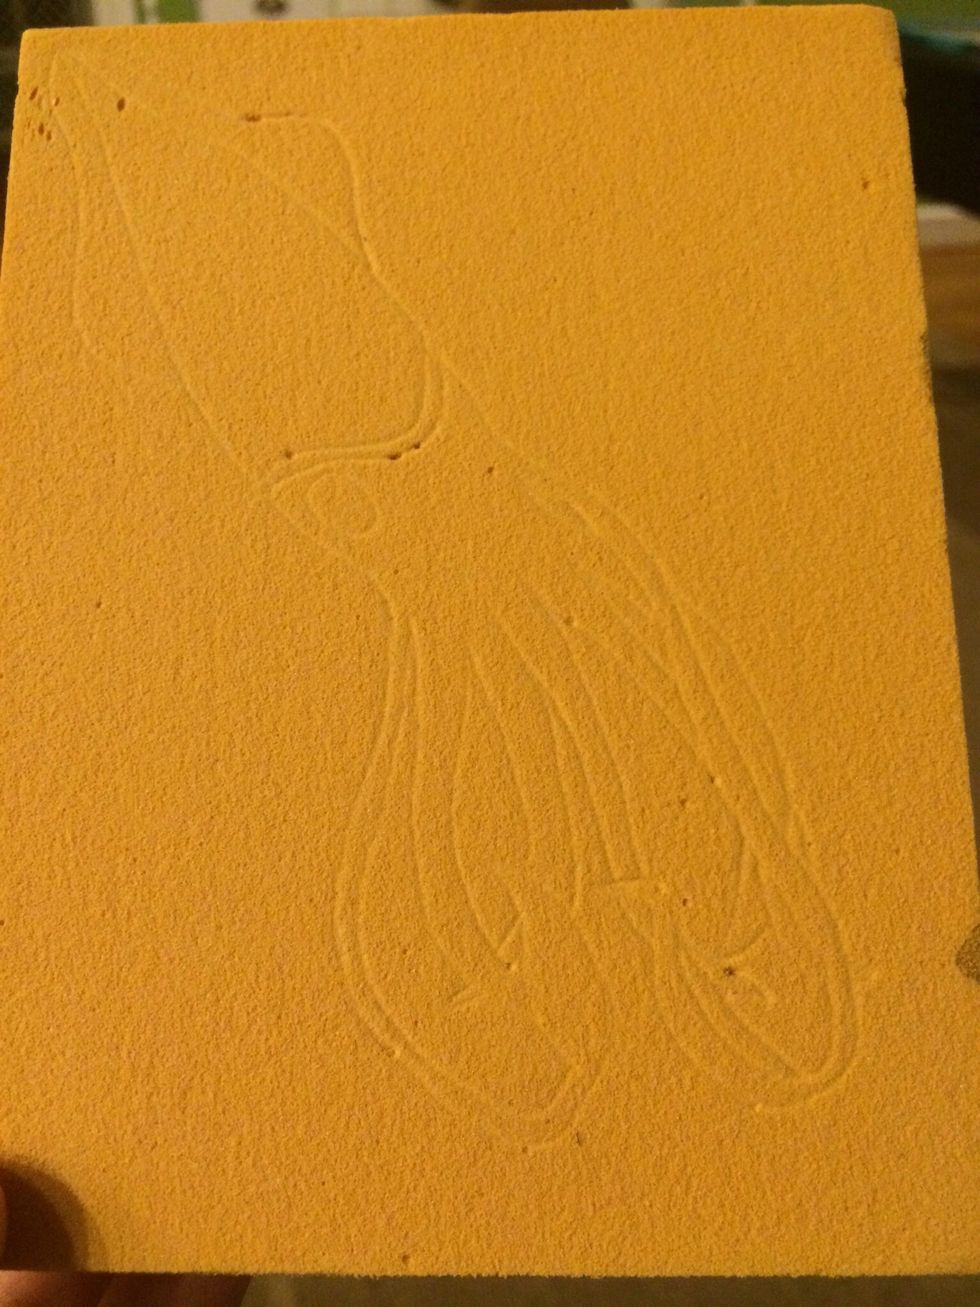
you should be able to see the impression of your design. If your impression is still hard to see go over it again with a pencil.

Using your carving tools start carving. Before cutting, consider if you want your design pressed in or popping out from your clay.
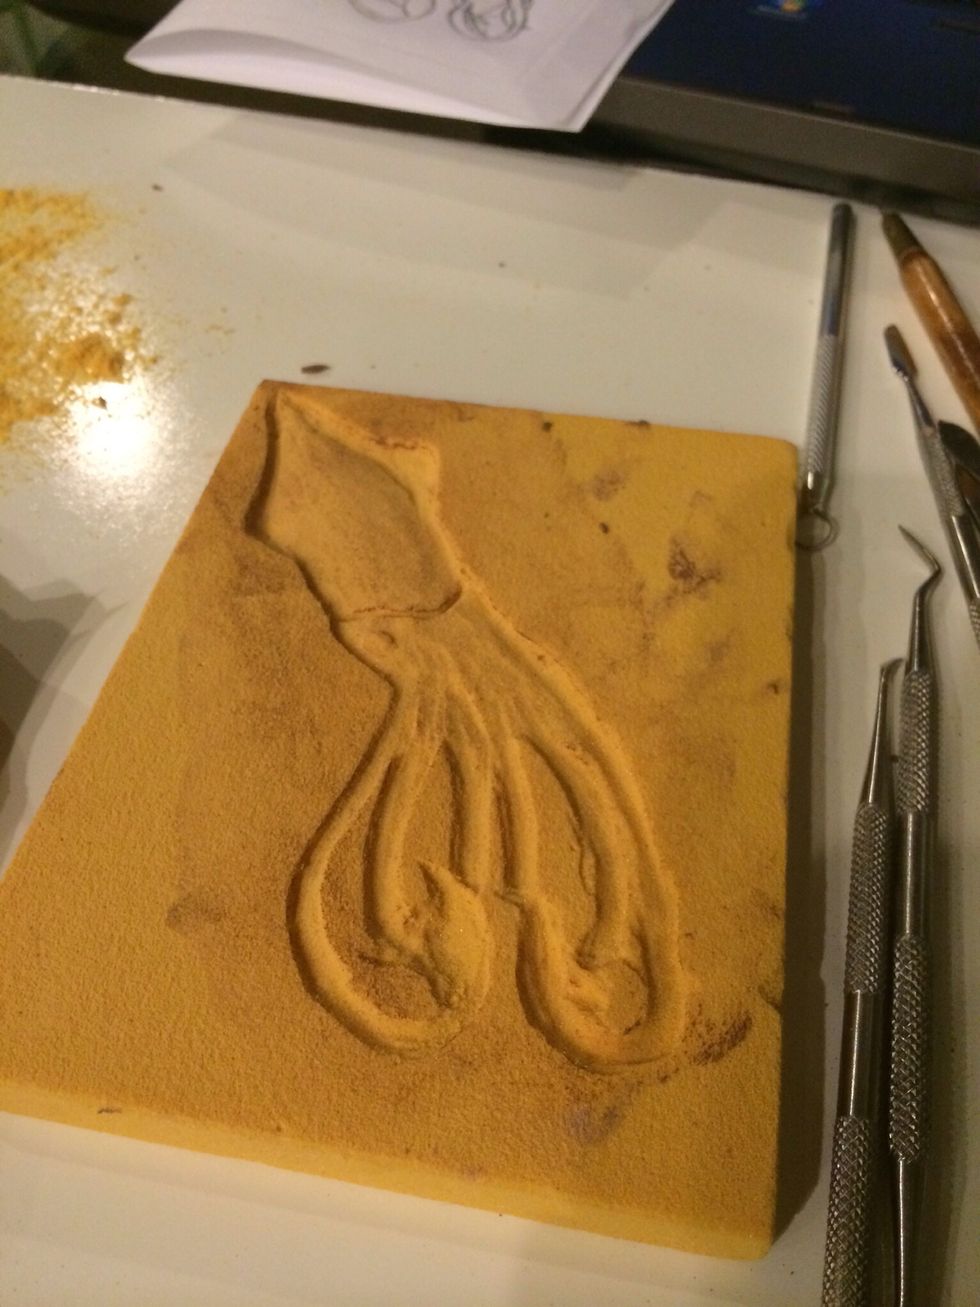
This foam has been carved into and will pop out from my clay.

this foam has been carved around and will be pressed into my clay.

Press clay into your mold to see how it looks.
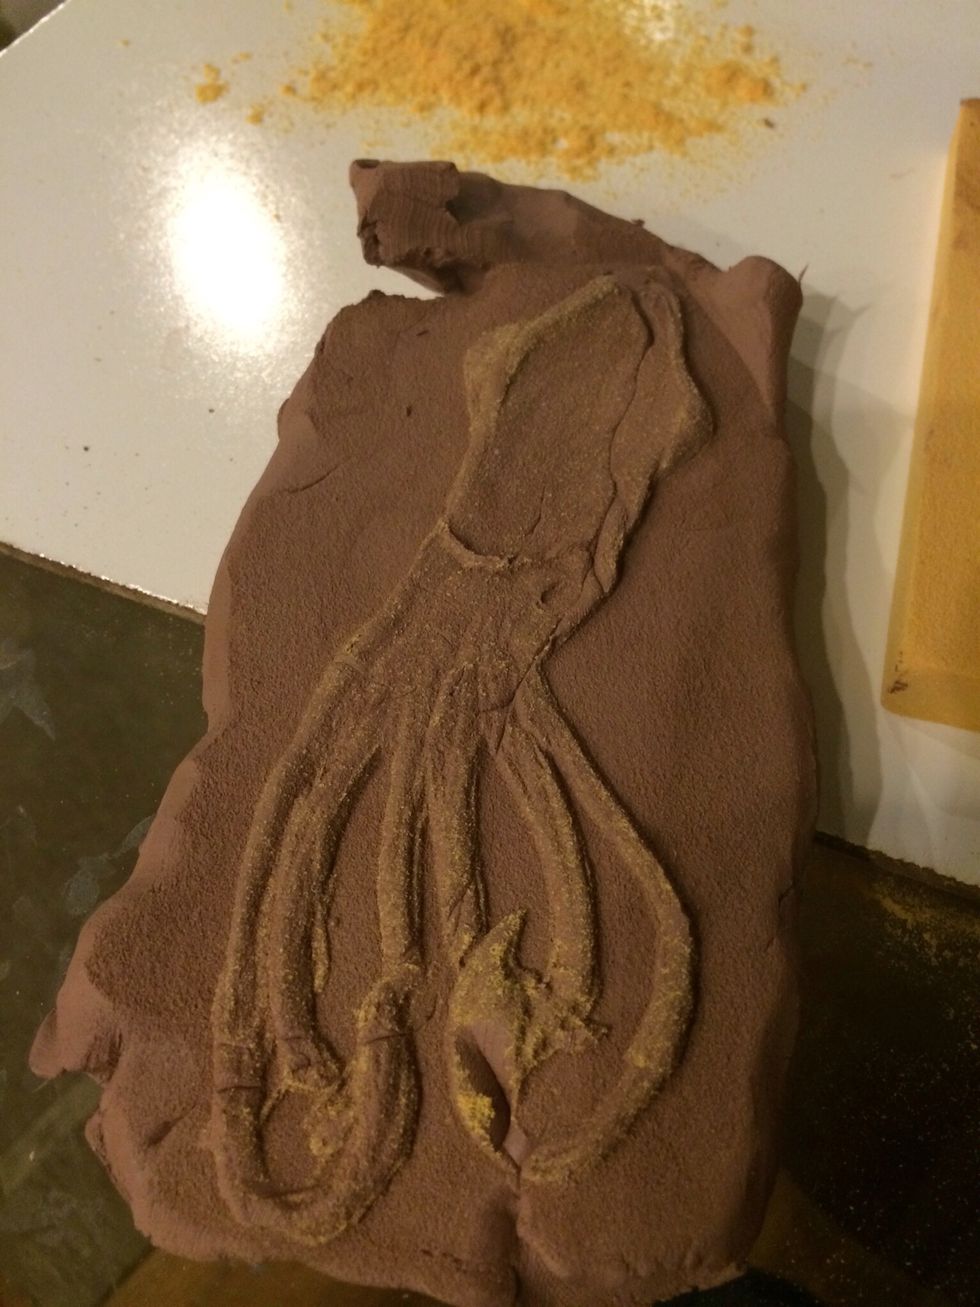
Make changes to the foam mold as necessary.

Make changes to the foam mold as necessary.
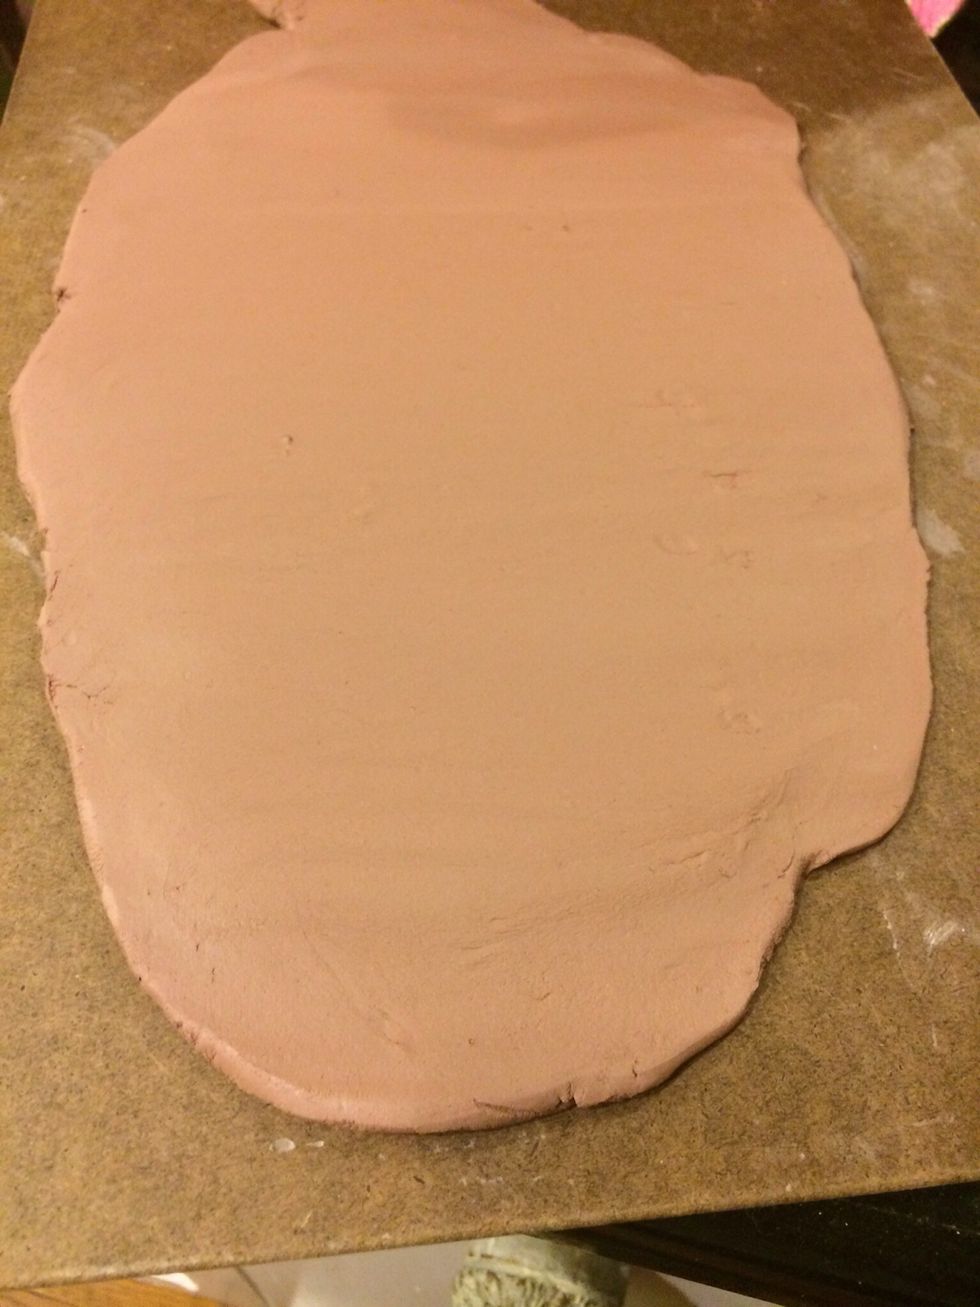
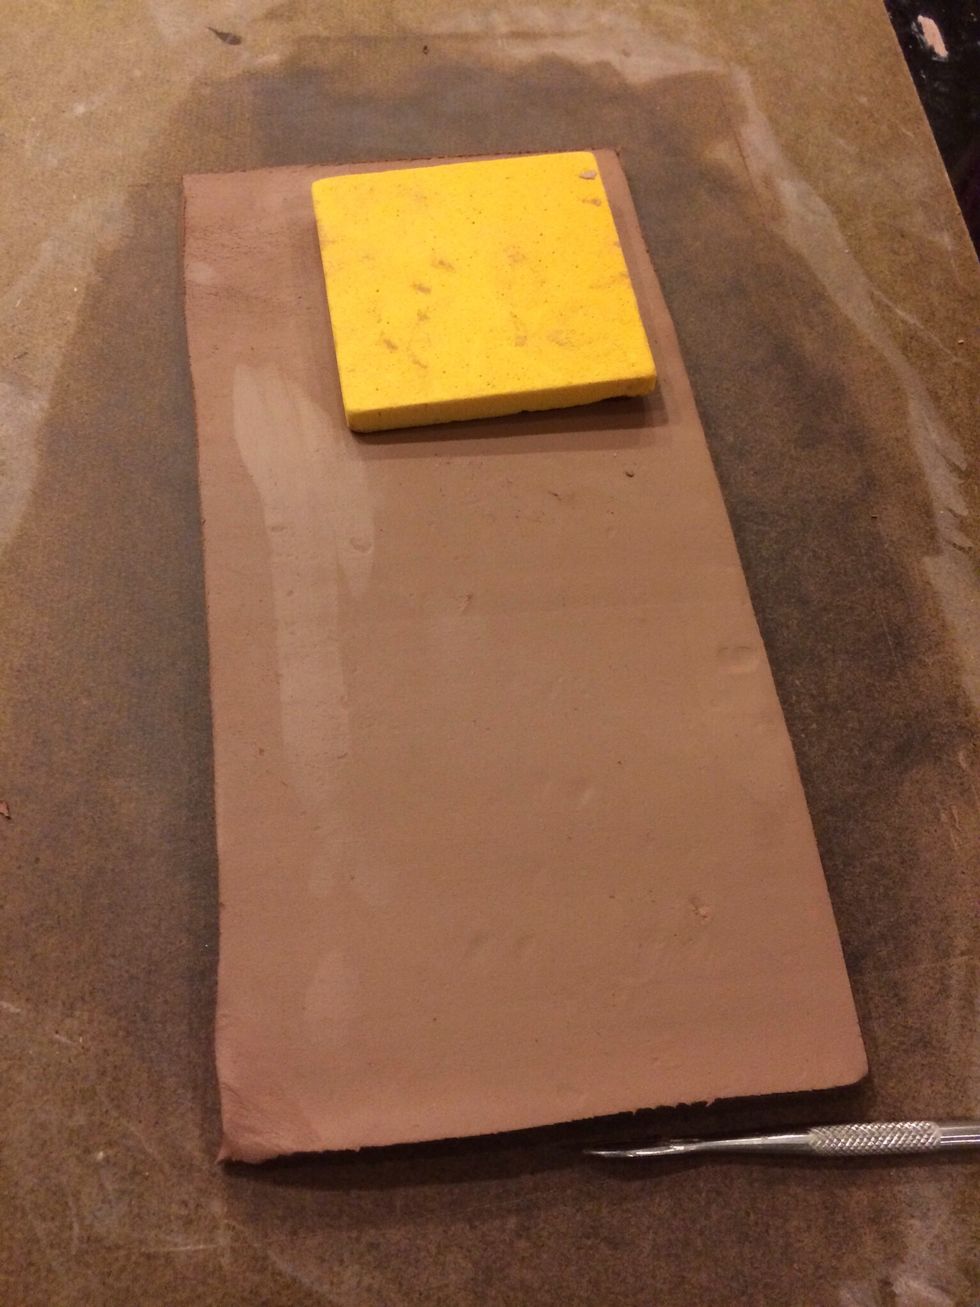
Roll out a slab to make your set. Cut down the slab to the size needed for your objects. I am making 2 different styles of cups here.
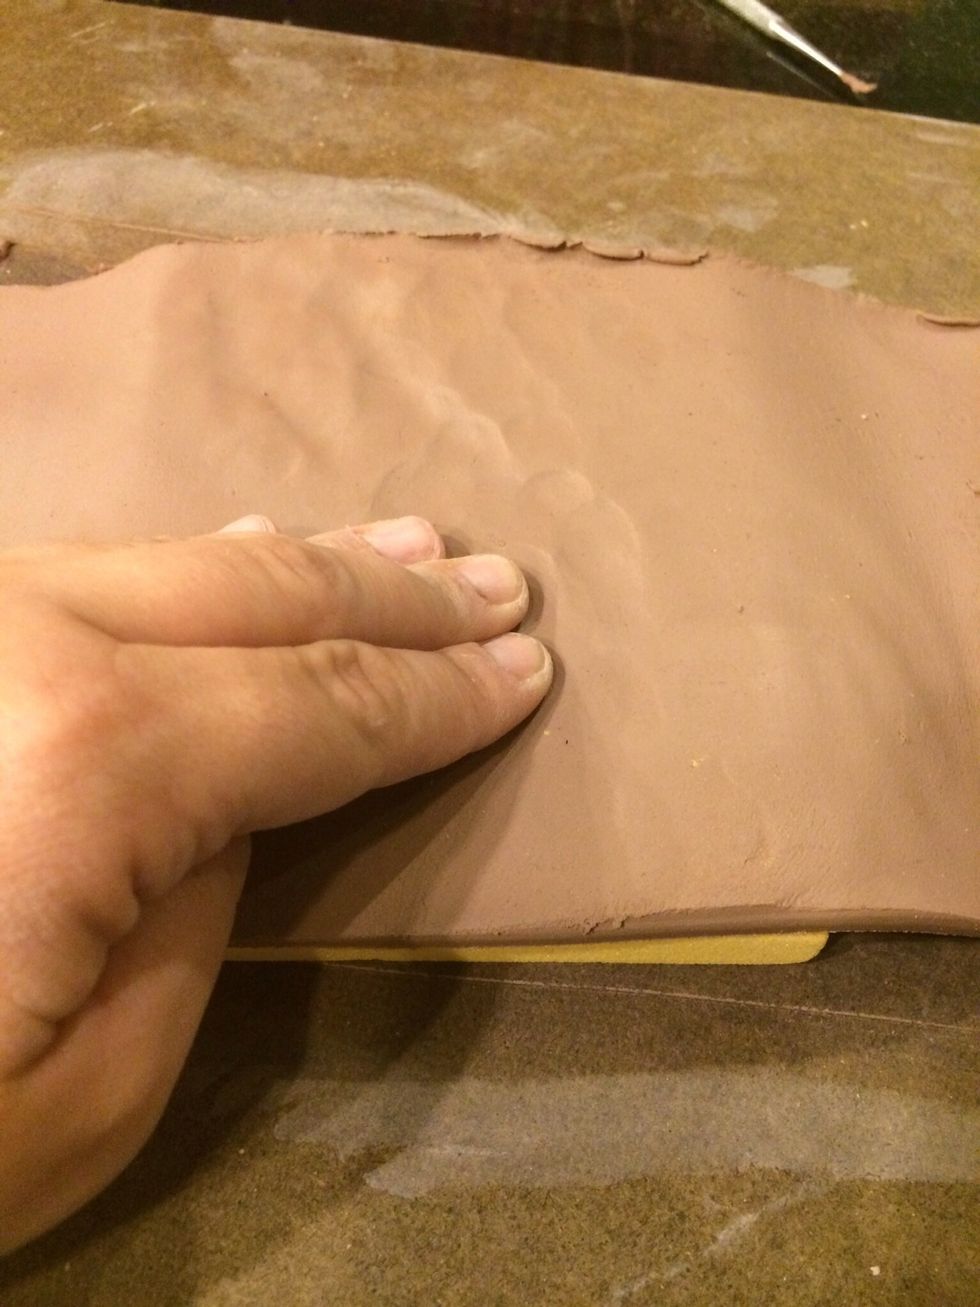
For a mold that is carved into lay your clay on top of the carved foam mold and press the clay onto the foam gently.
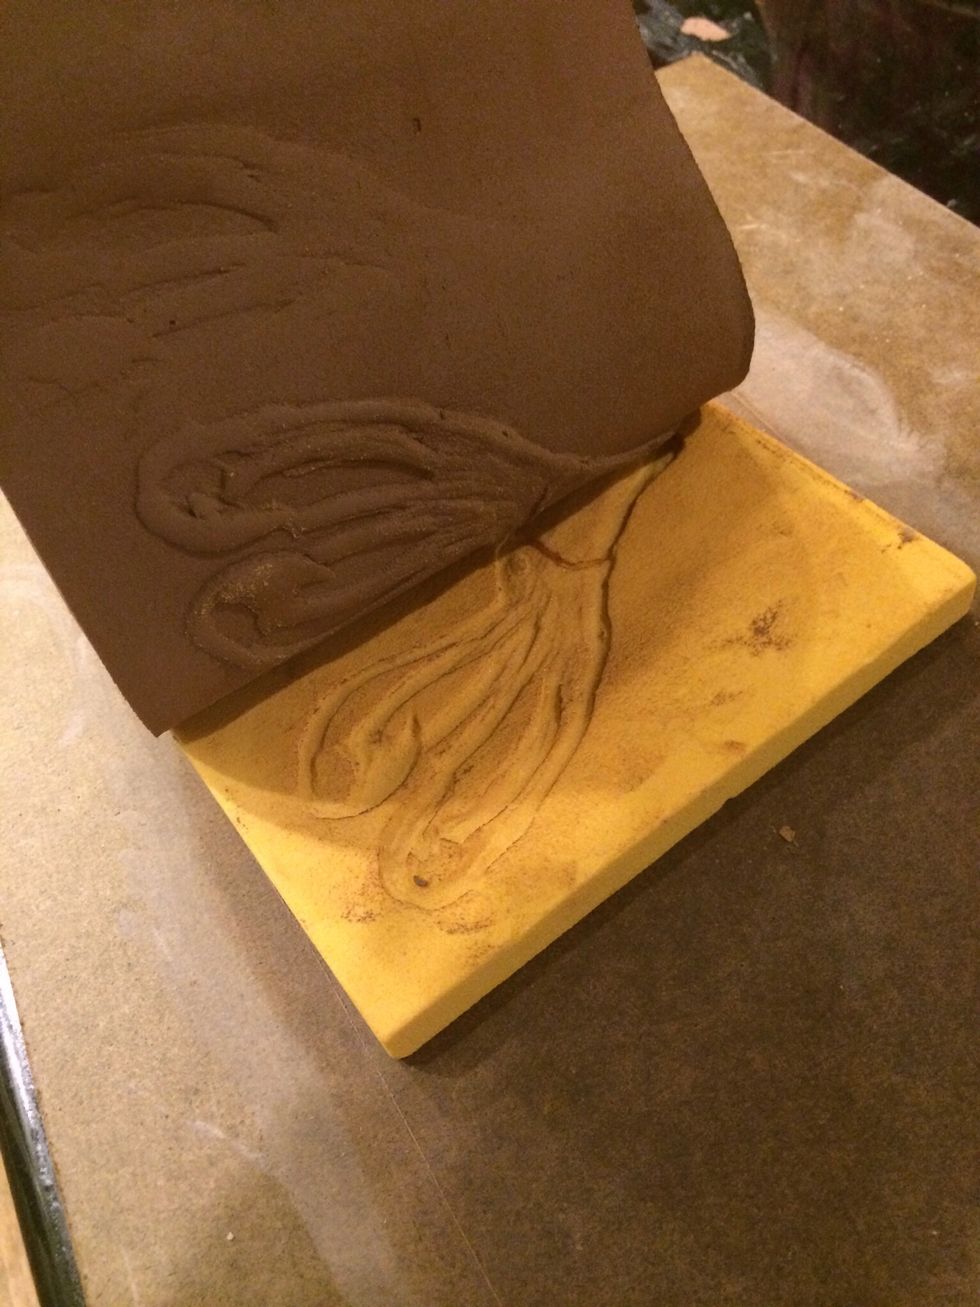
Peel your clay back and lay flat. Let your clay set up a little (30+/- minutes).
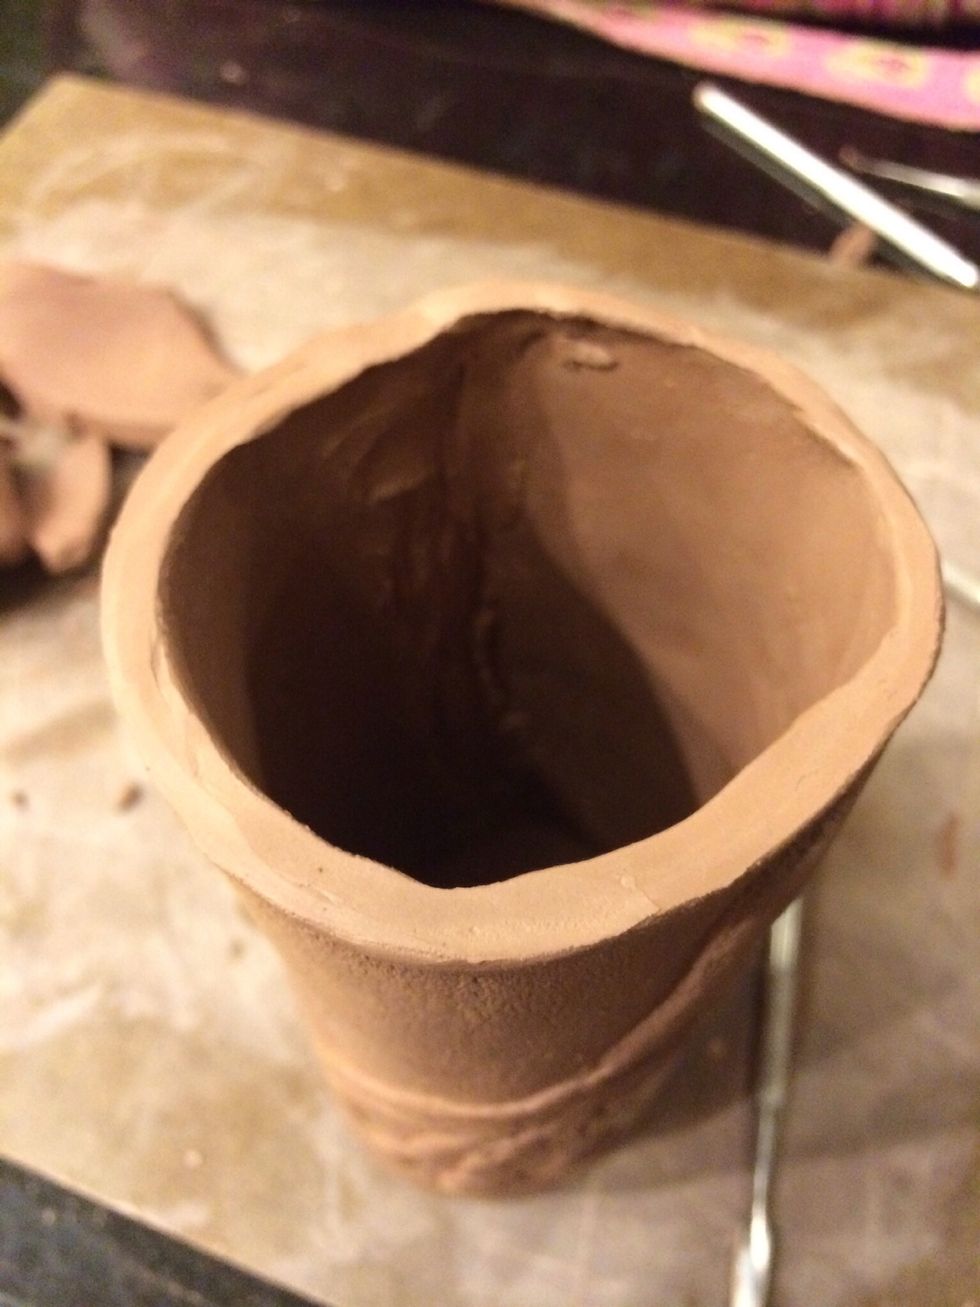
When the clay has set up, start construction. This cup is going to be a tumbler. Set the cup on top of a small slab and trace around your cup. This will be the bottom of your cup.
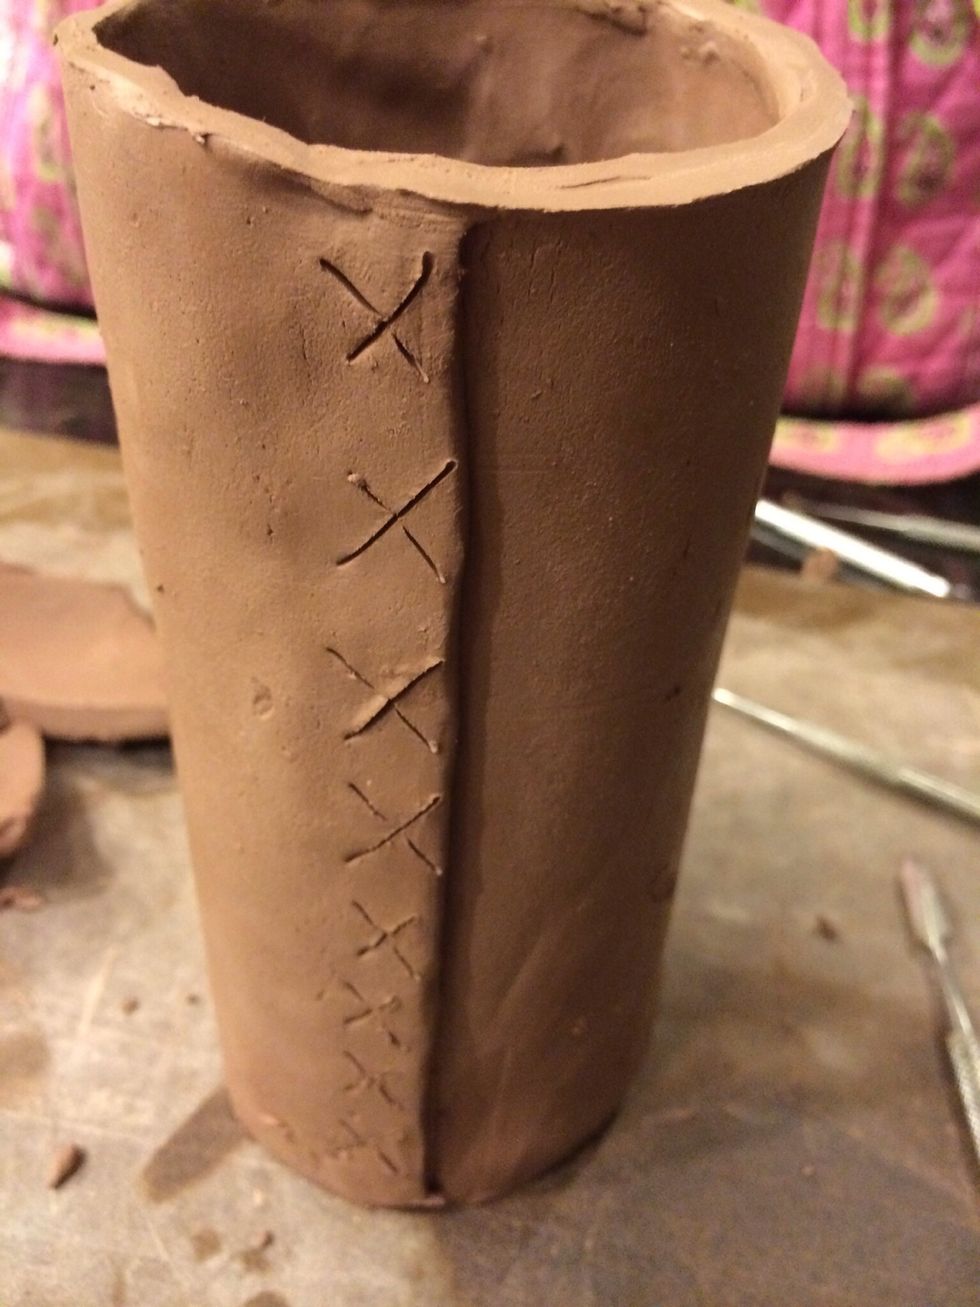
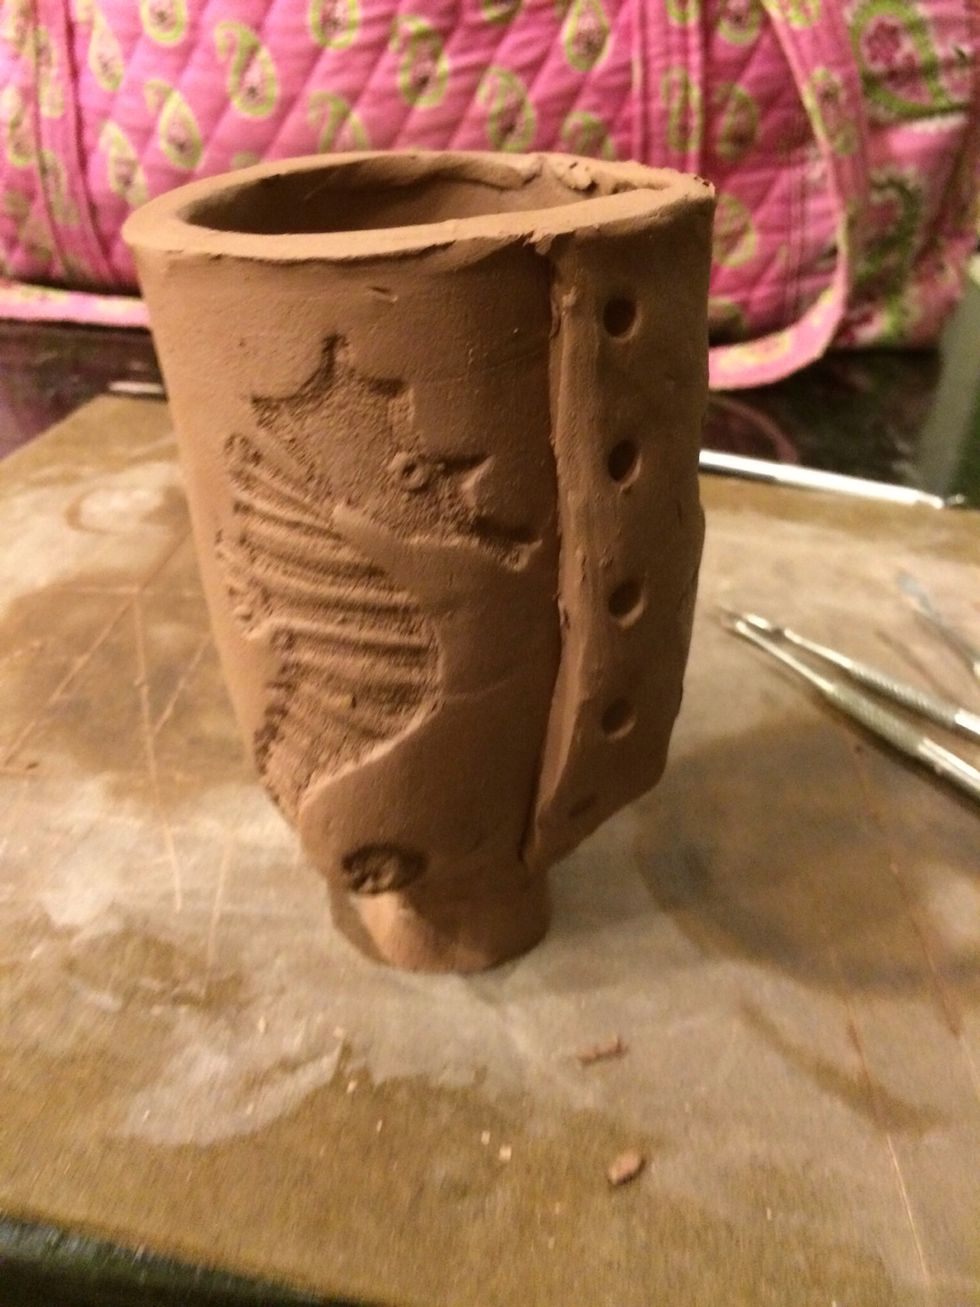
Clean up all the seams, side and bottom seams.
Tip: make sure there aren't any sharp edges on the lip of the cup. Once glazed the lip could be very sharp and uncomfortable for drinking from.
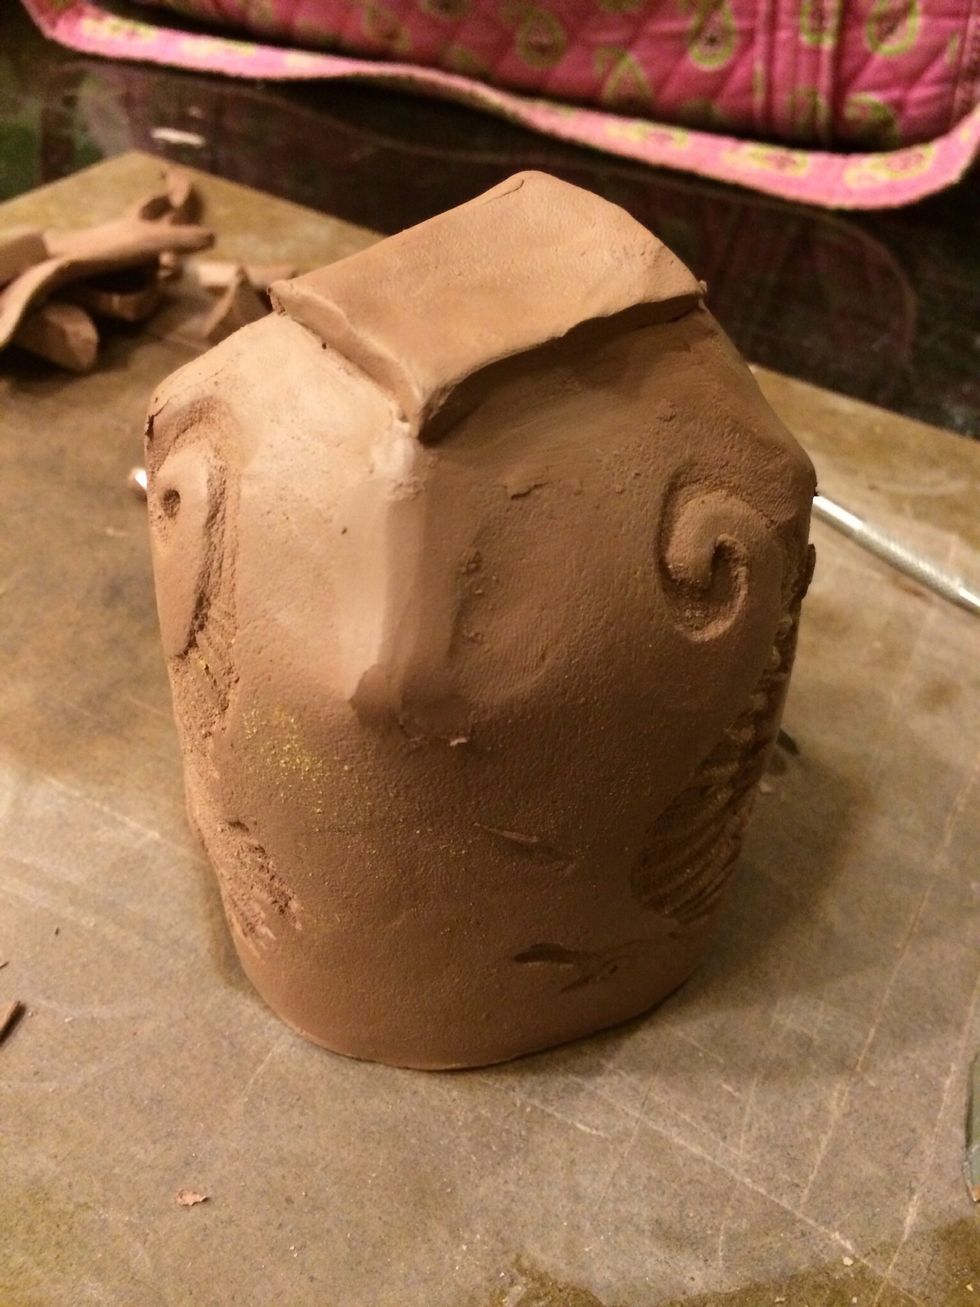
Cup 2 this will be more like a tea cup with a fancy foot. For this cup I am going to place the foam mold on top of the clay slab and press the mold into to clay.

Let the clay set up for construction (30 +/- minutes).

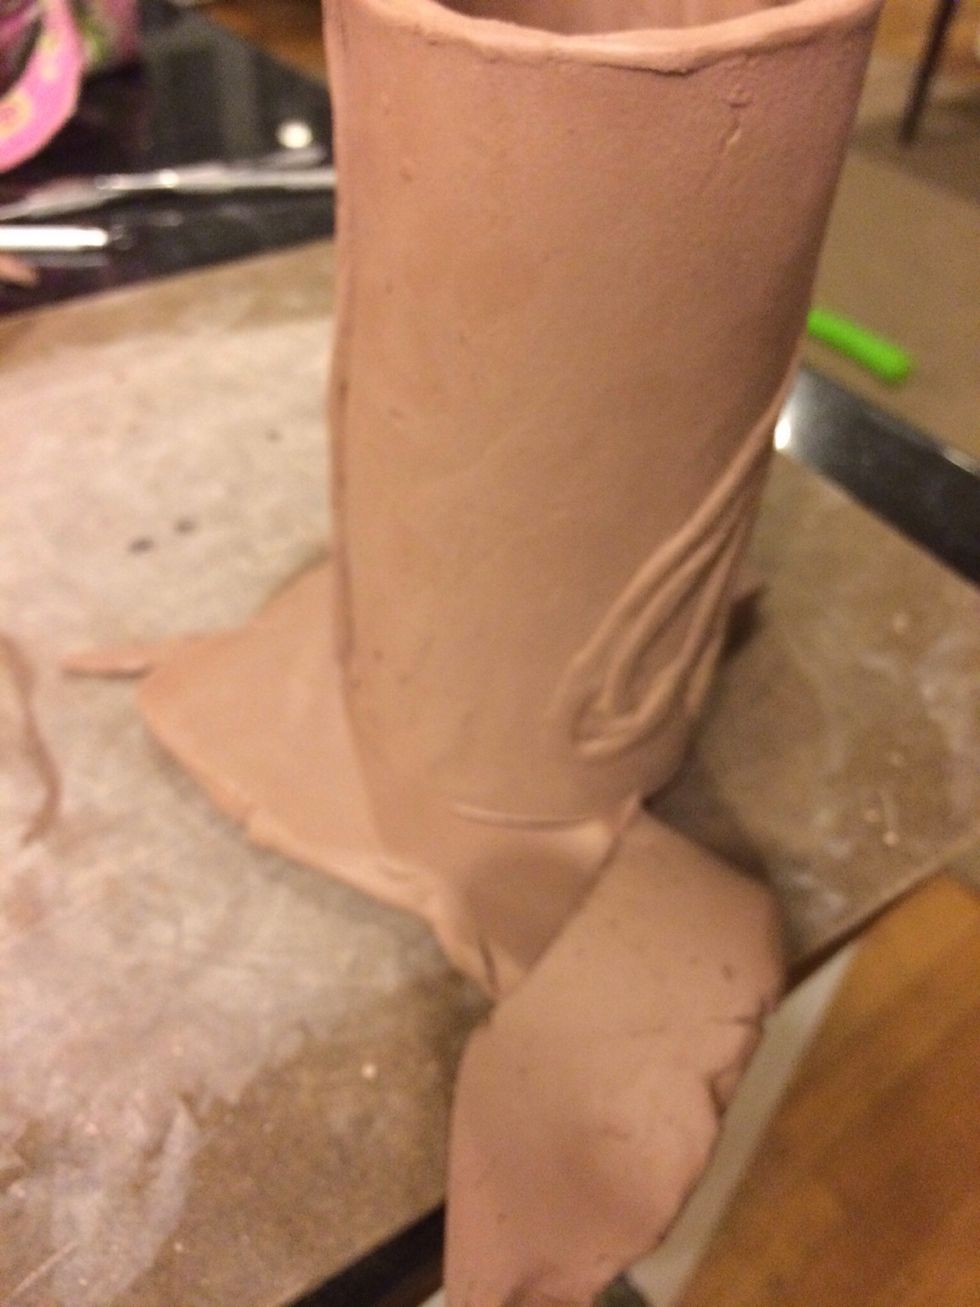
Roll your clay into you shape. Clean the seam on the side.

Find 4 equal points around the rim. Here I am using tools to make sure my pints are equally spaced. You could also use pencils or tooth picks for this.
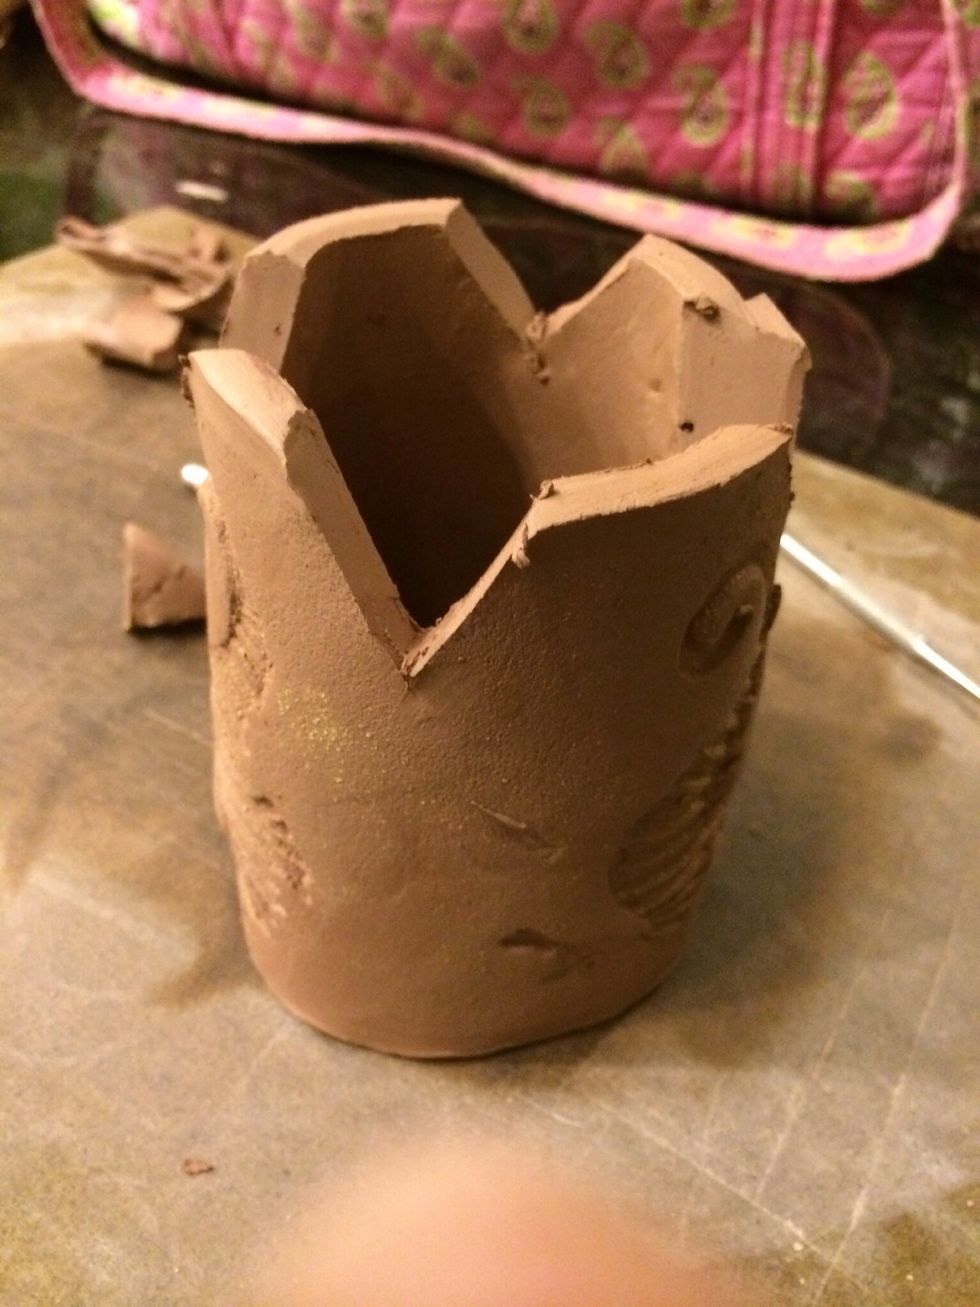
Cut 4 triangles into your clay where you measured out. These will be folded together to create the bottom of the cup.
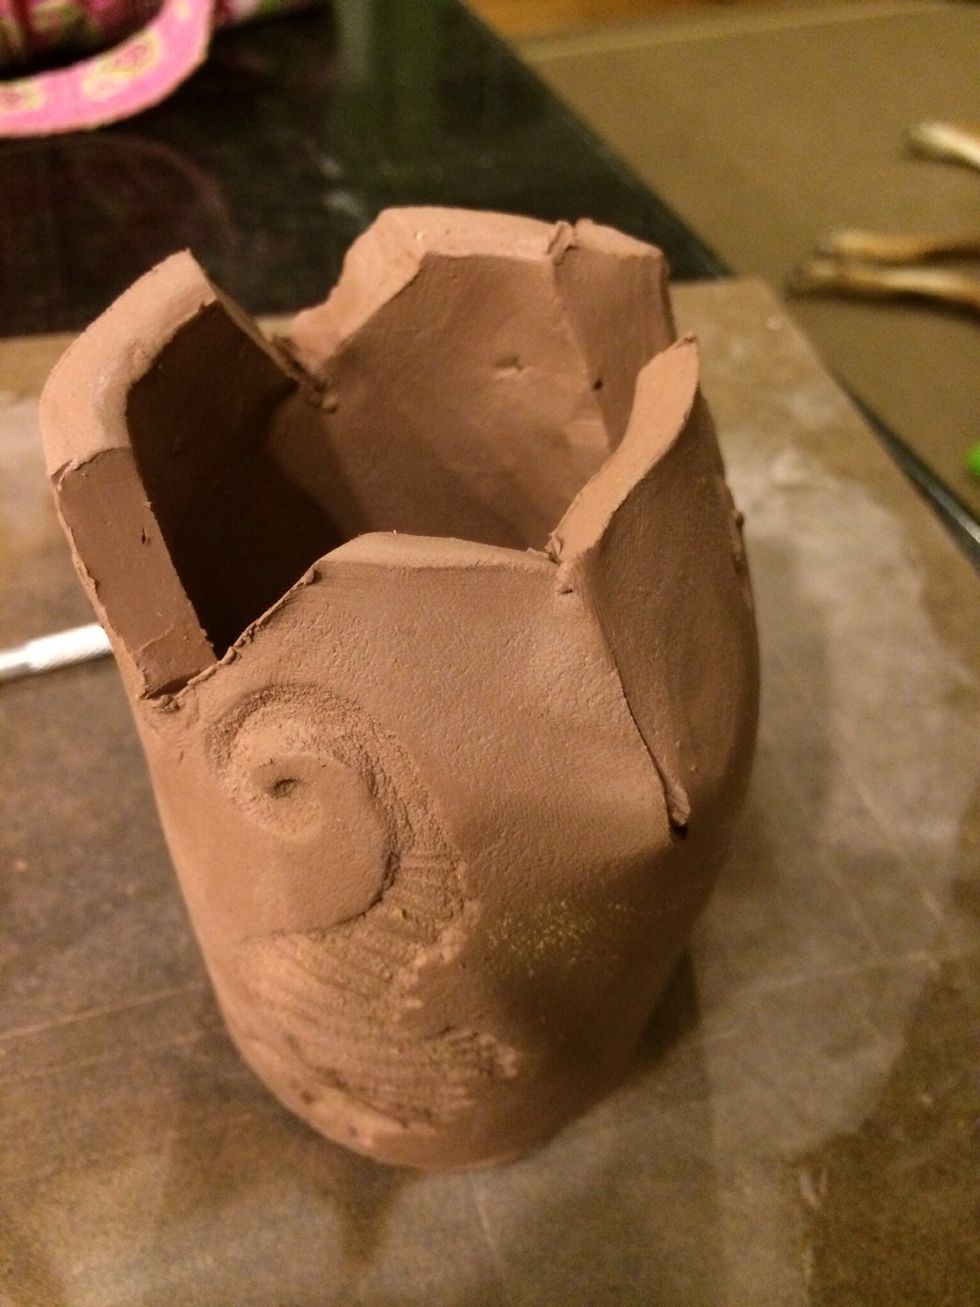
Push the bottom pieces together.
Push all four together. You should have a small square hole in the bottom.
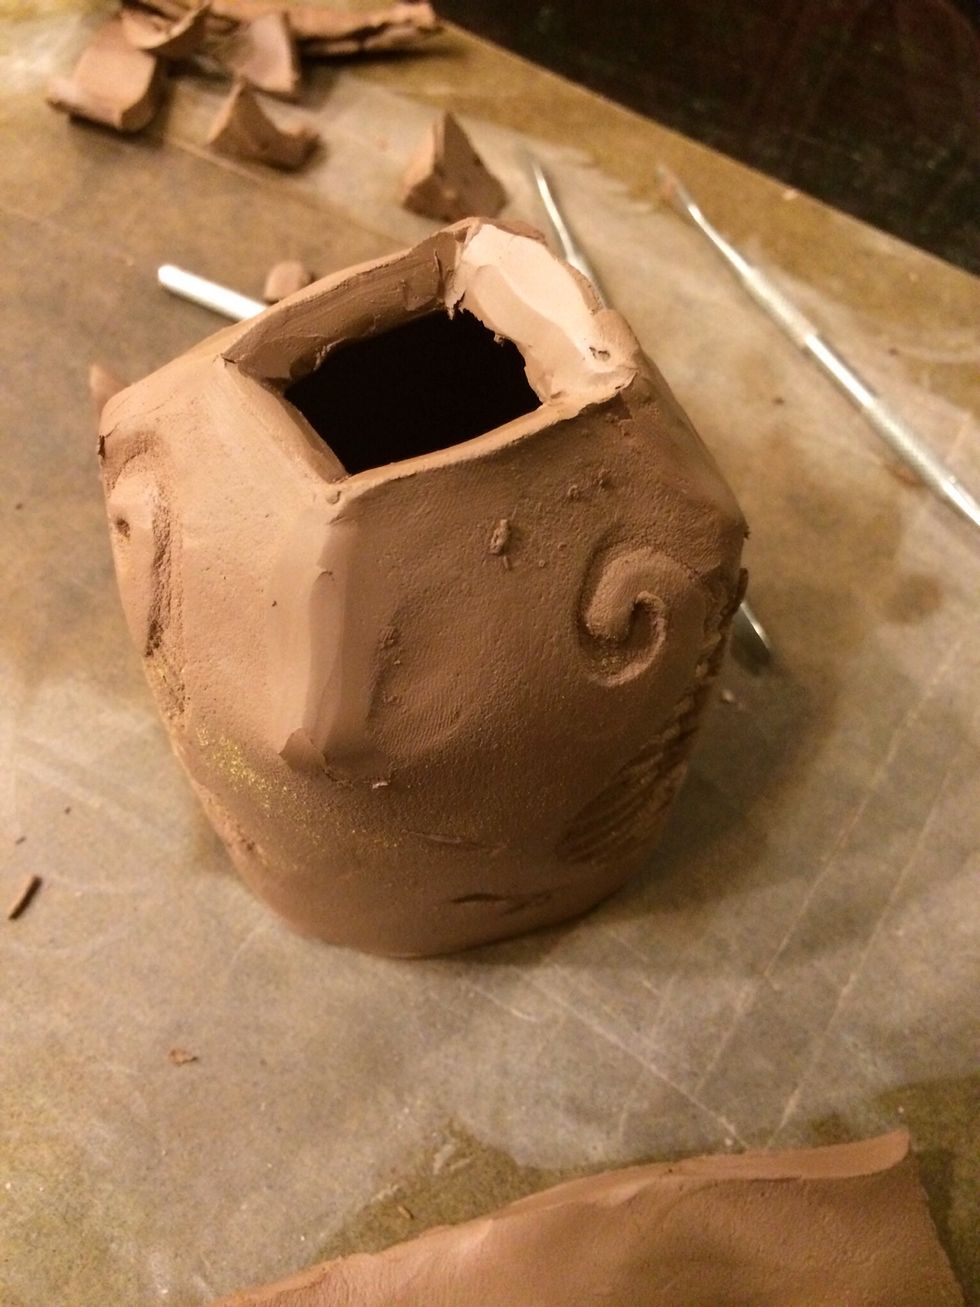
Cut a small square out from your left over slab scraps. You want your square to match the hole on the bottom of your cup.
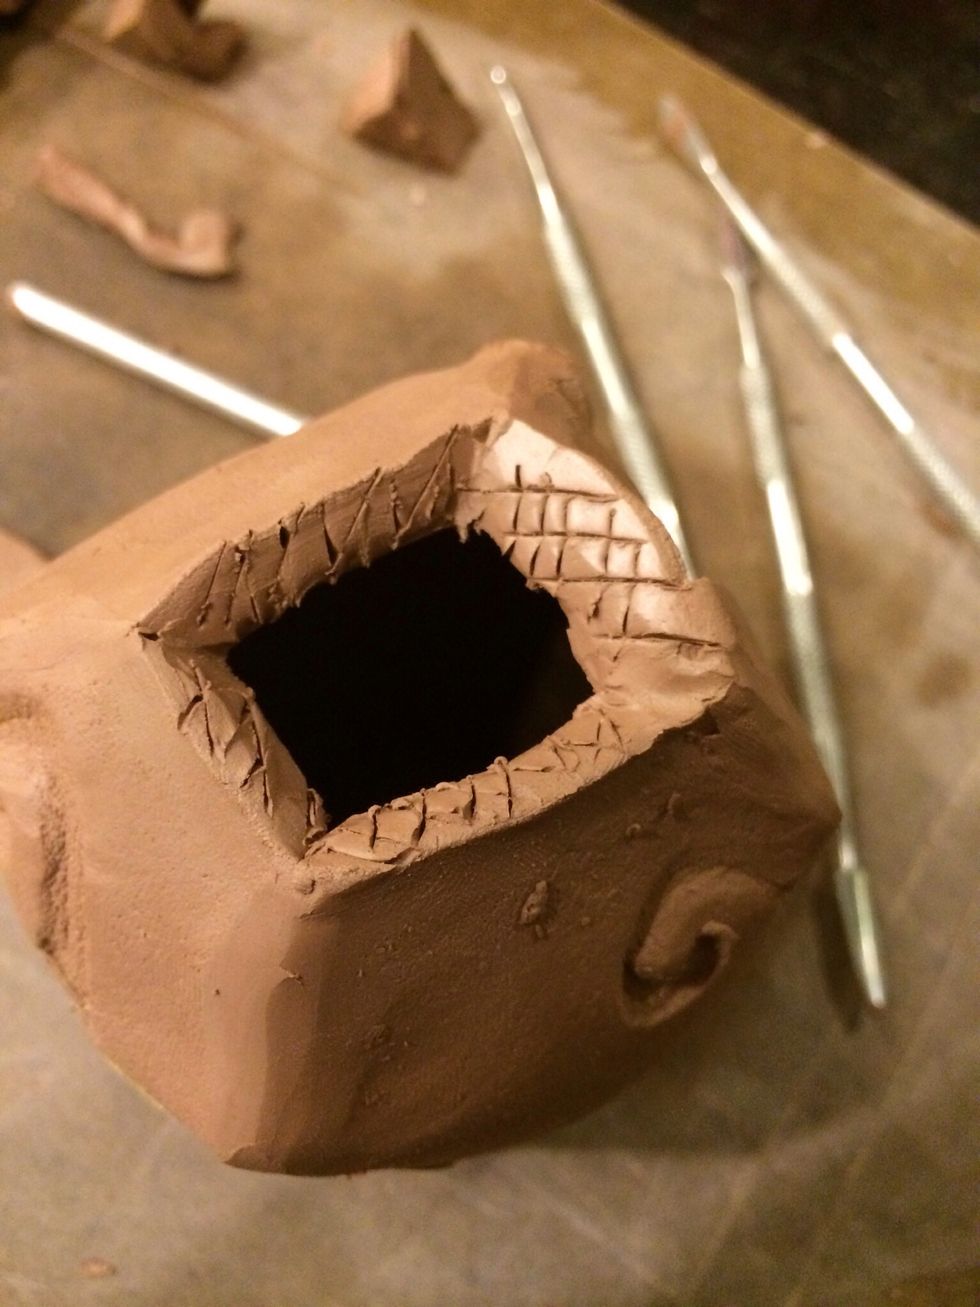
Score and slip.
Carefully add the square to the bottom. Flip the cup over in your hand and smooth out all the seams at the bottom of the cup. This is very important or your cup will leak.

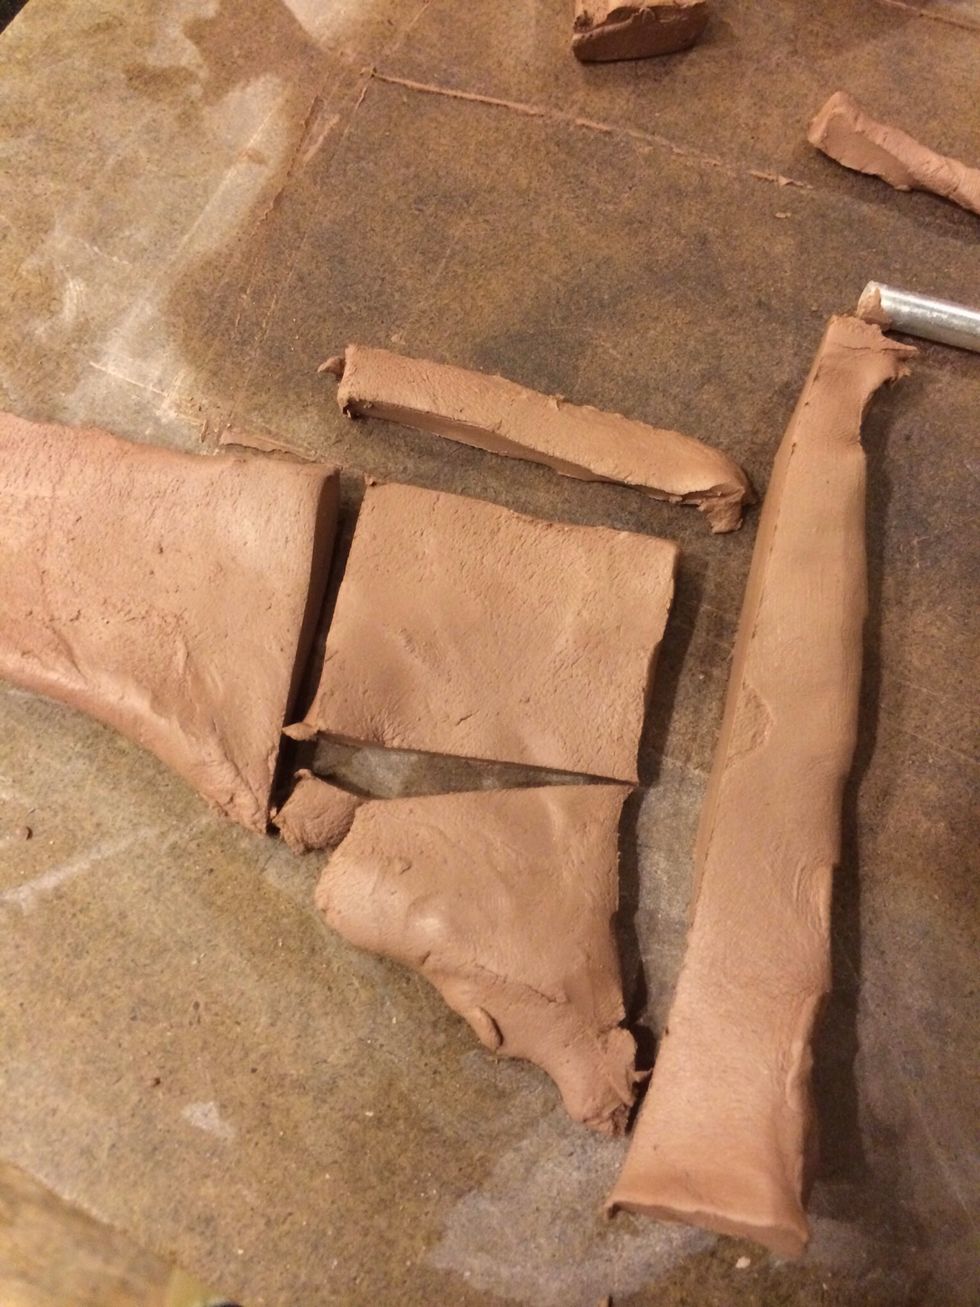
Cut a thin slab for the foot of the cup.
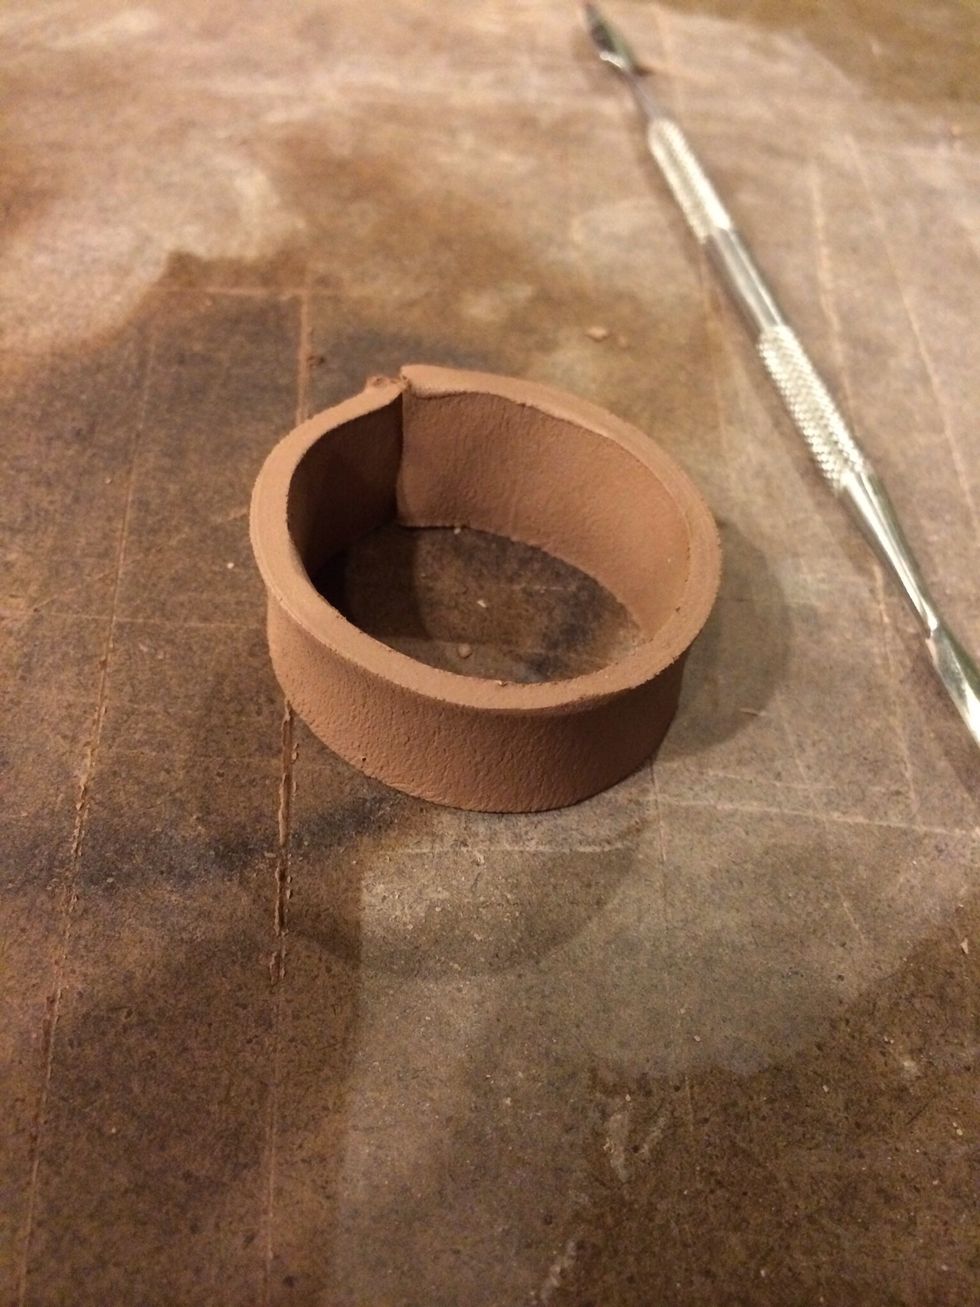
Roll it and clean the seam.
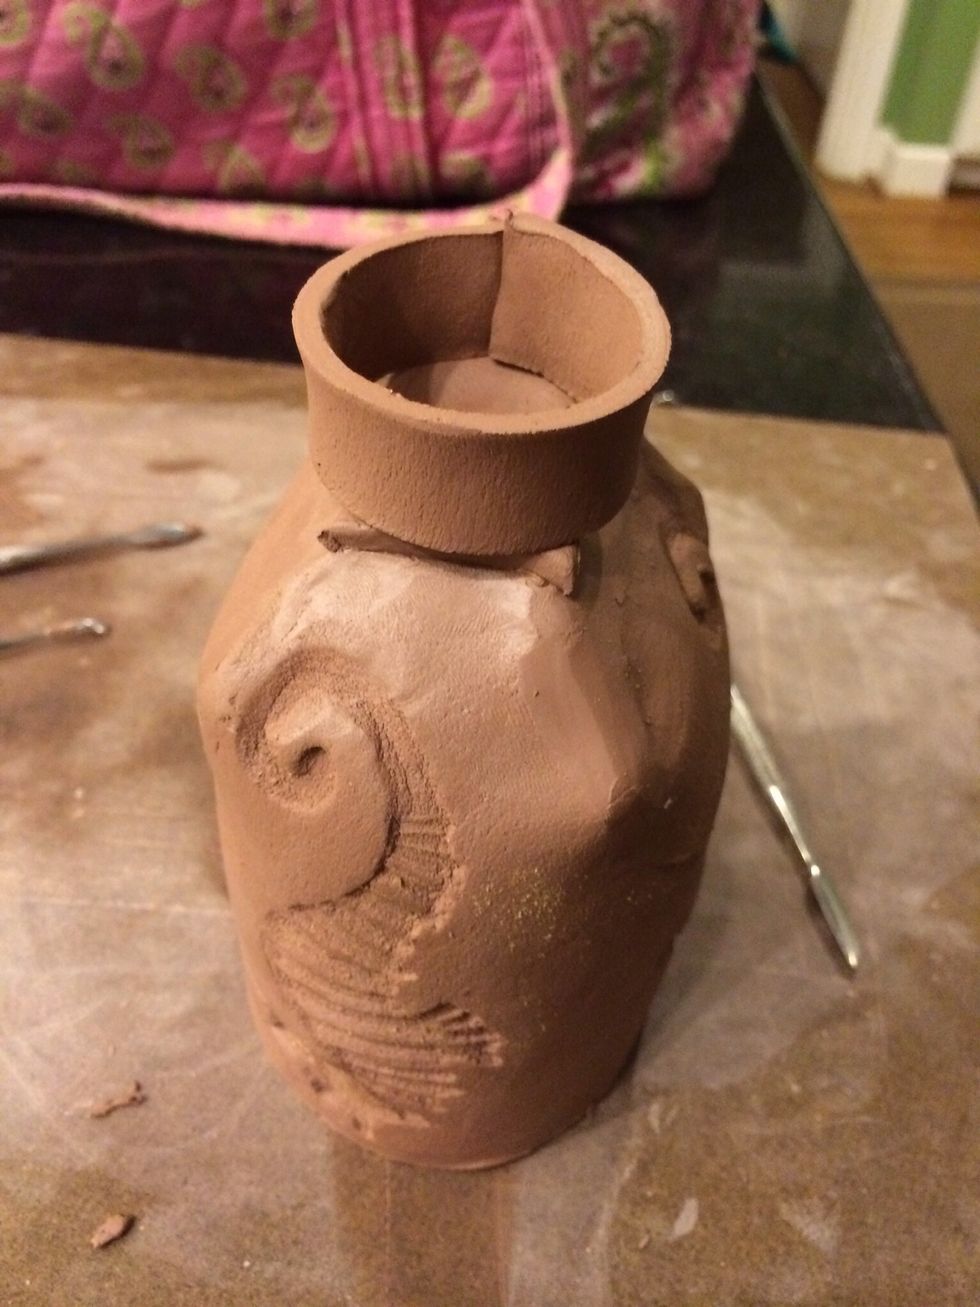
Score and slip, then add to the base
Finished.