The Conversation (0)
Sign Up
First I launch Procreate from my iPad dock. Using a stylus like a Nomad Brush or Pogo Connect is a good idea for this tutorial.
First I create a new canvas. I always go for the "Retina" setting. More pixels means more clarity when I go to print.
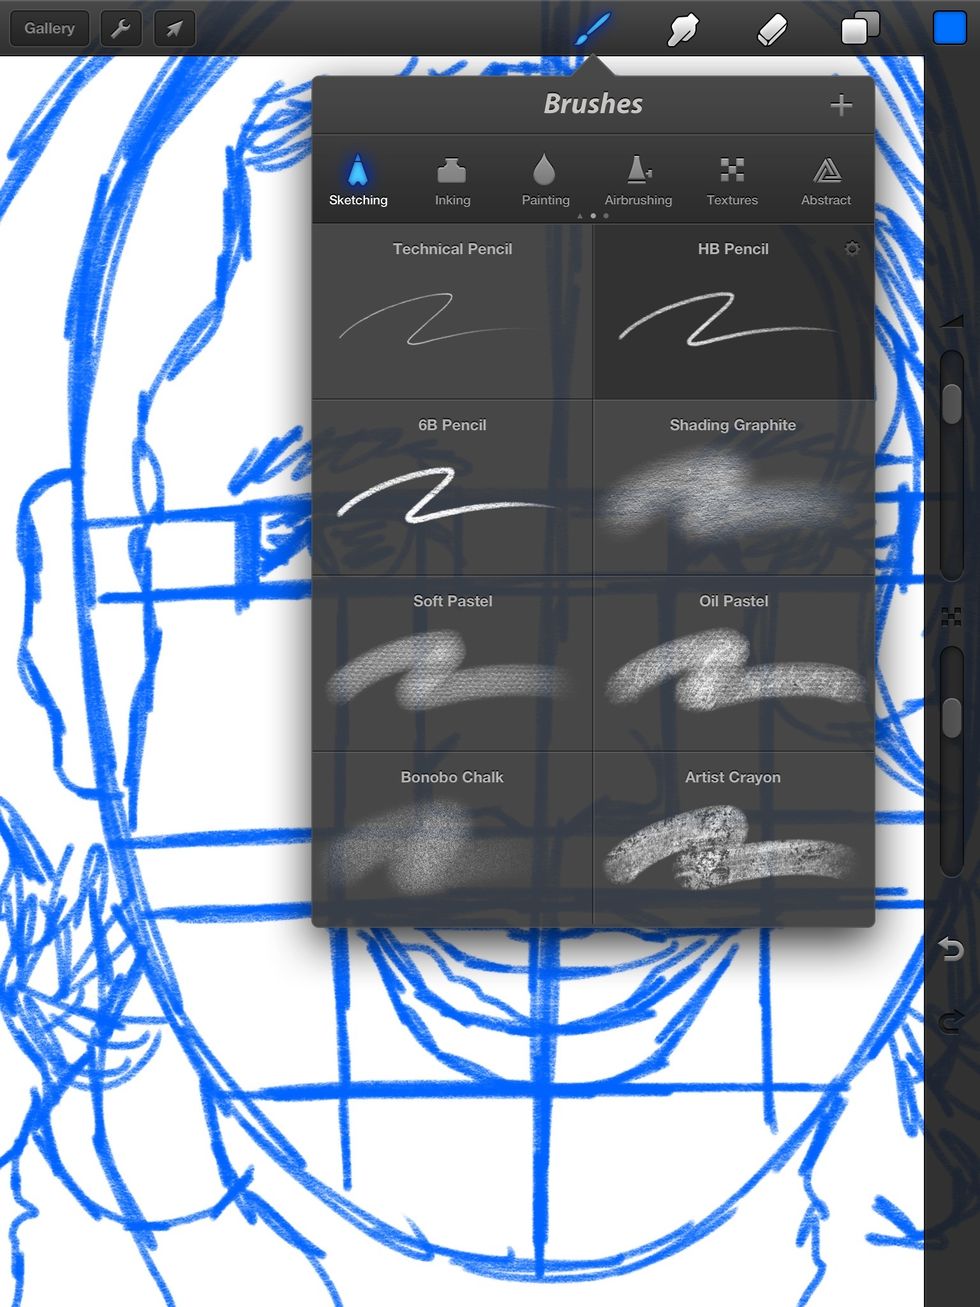
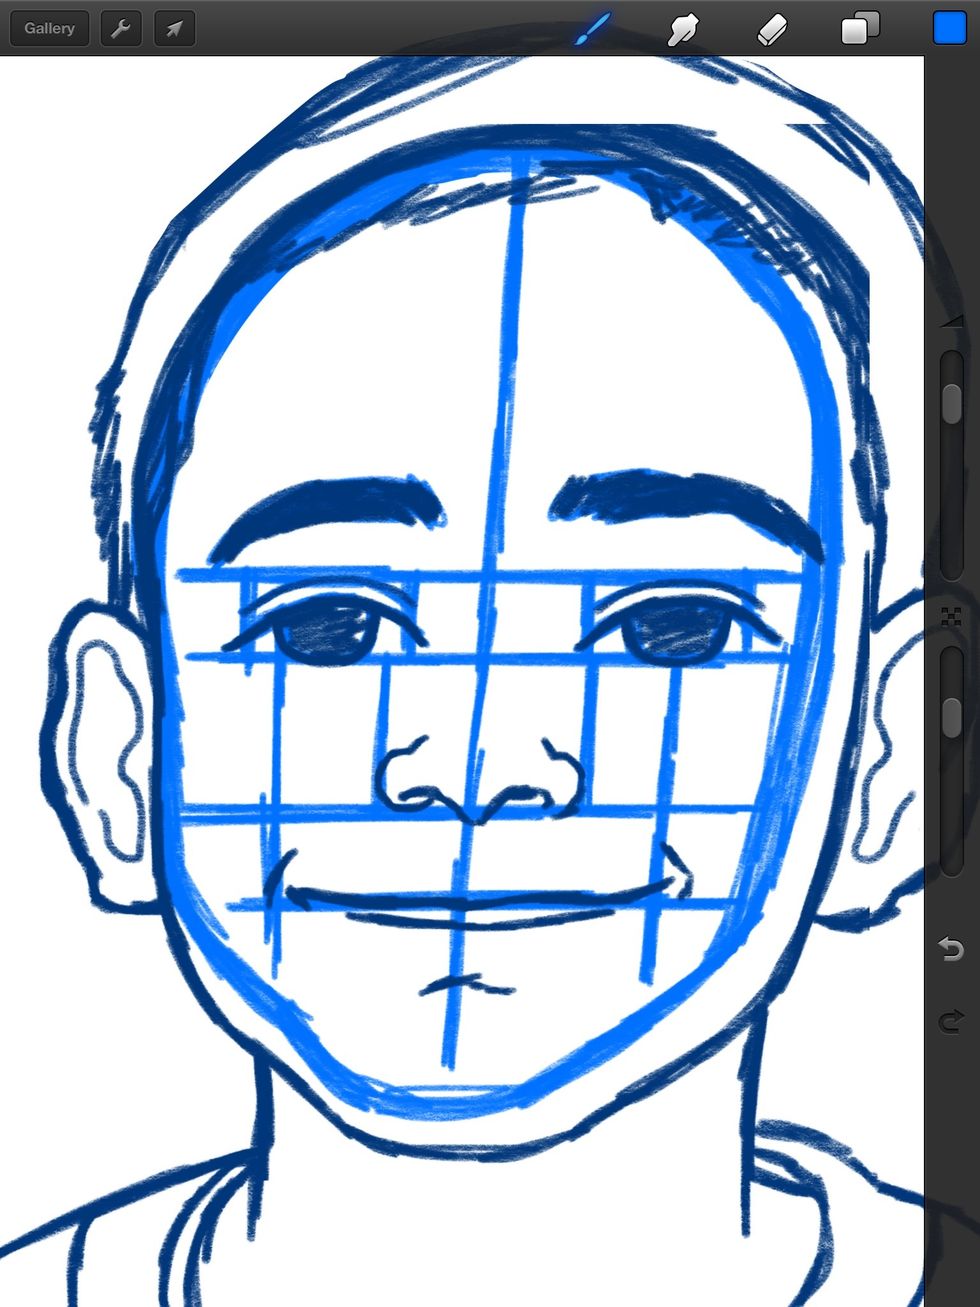
I start with a sketch in blue HB Pencil. I divide the face and measure the proportions. This is a cartoon portrait so everything is exaggerated. The eyes are bigger so she looks like a child in Pre K.
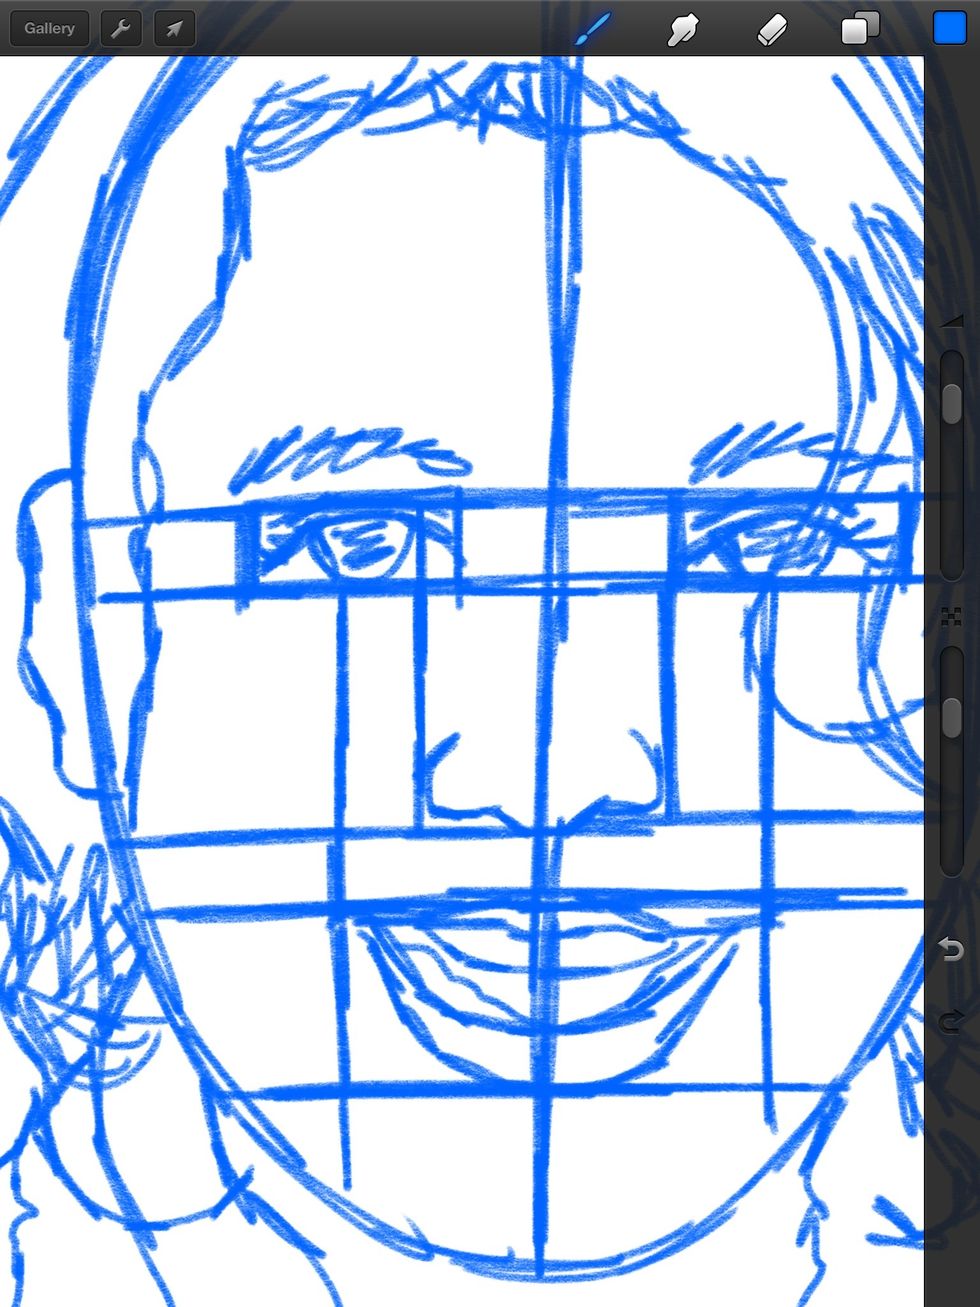
Here's the sketch without the menu blocking it. Notice how the face is sectioned off. I know where the eyes are in relation to the nose and the mouth.
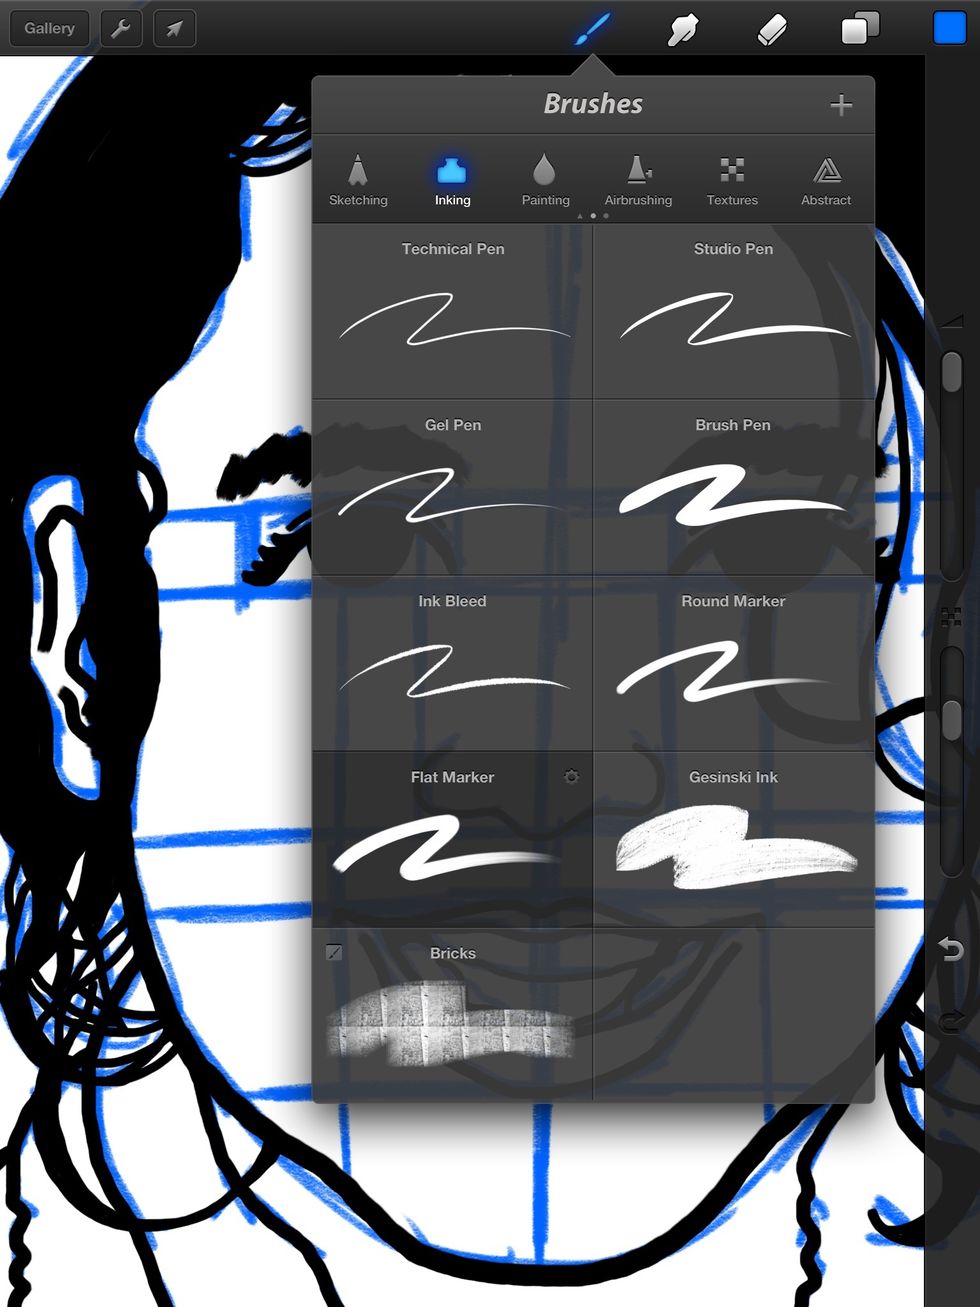
Now I move to ink on a separate layer. The Flat Marker is the first choice for detail work.
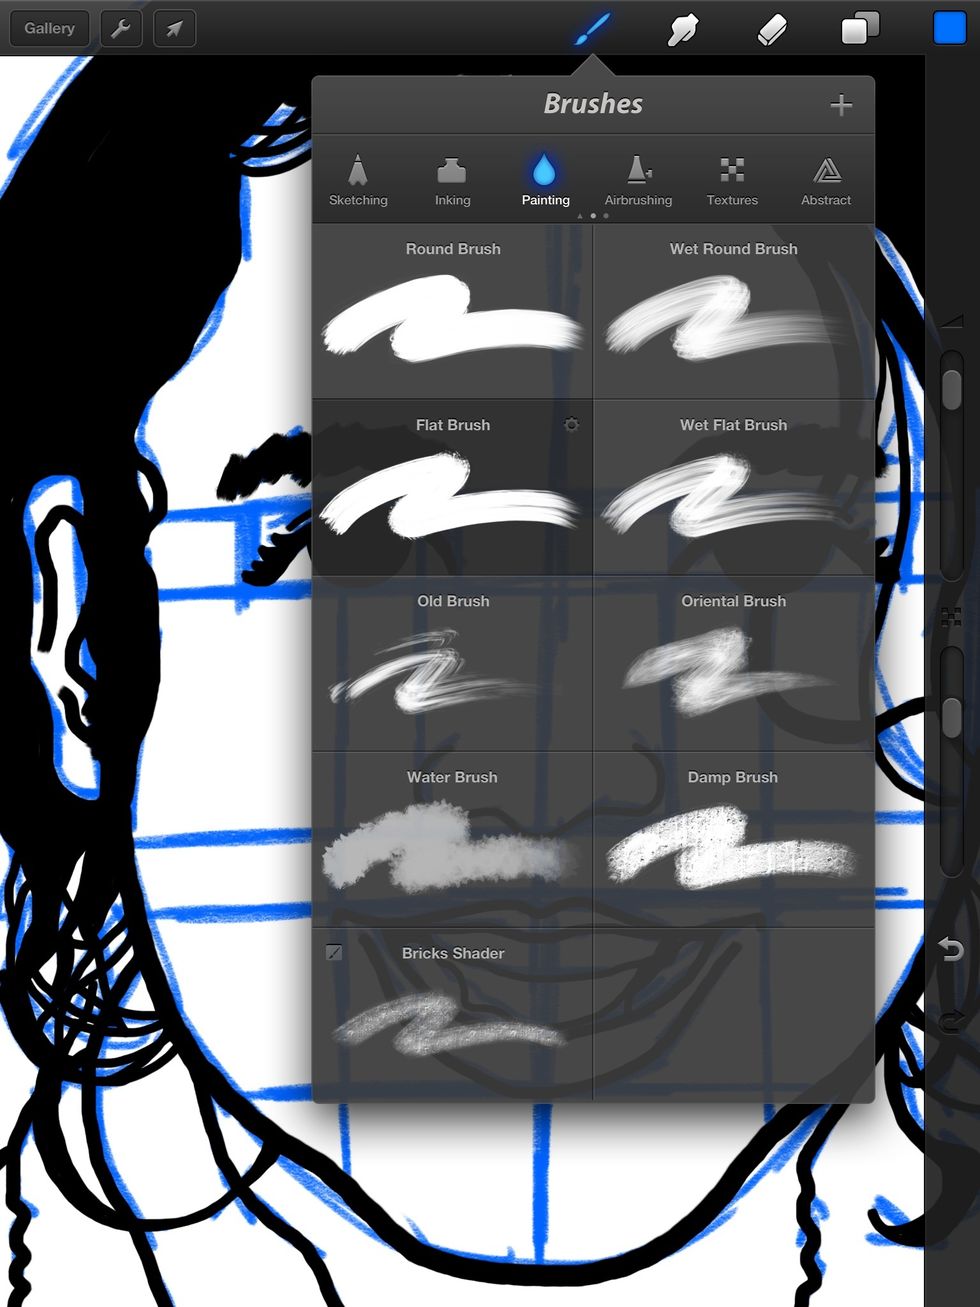
I use the Flat Brush for the hair so it has a fluid look.

Here's how it looks on top of the first layer.
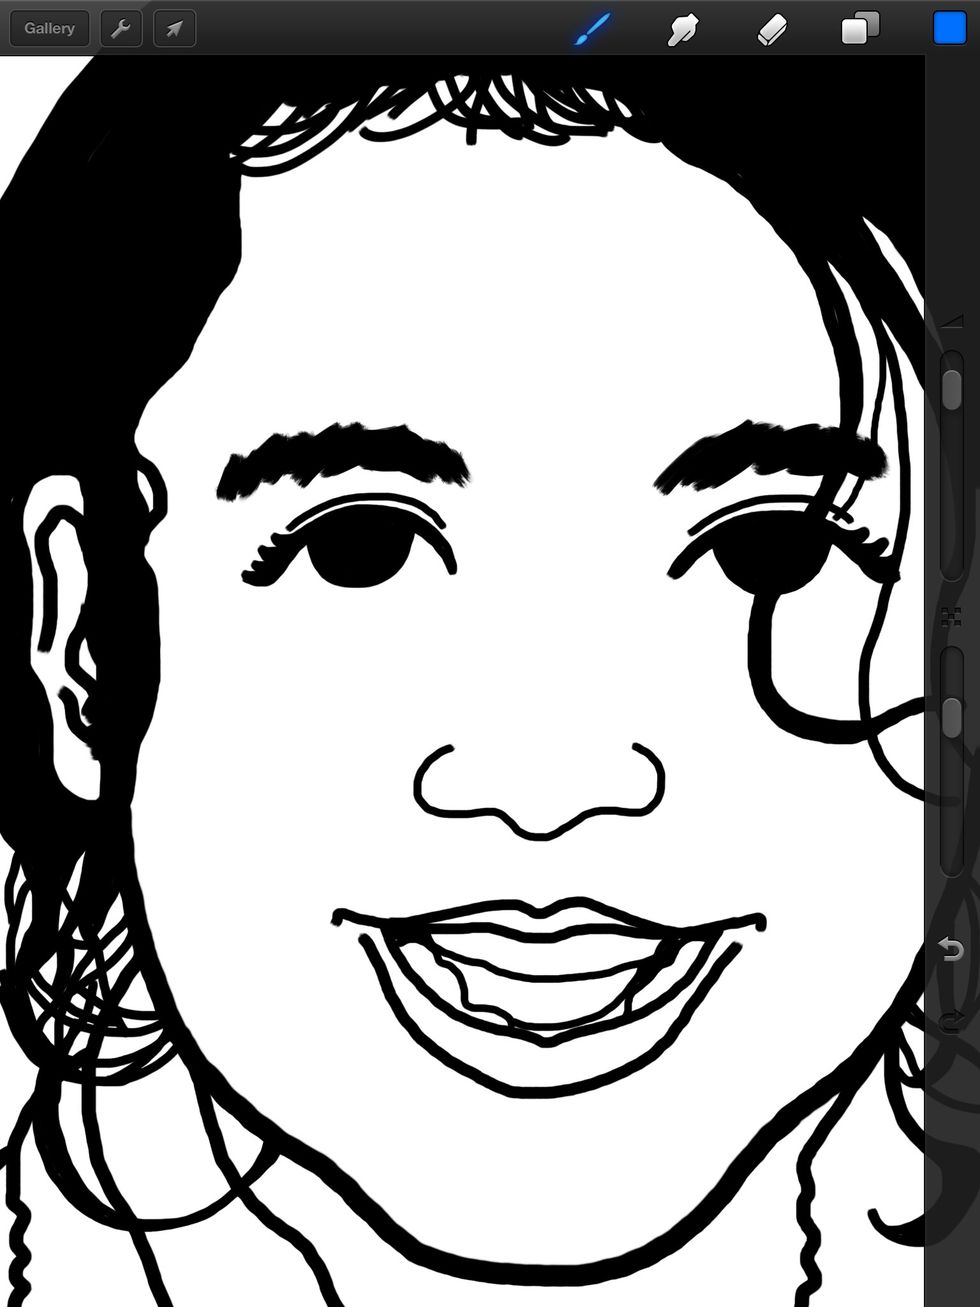
Now I delete the blue pencil layer so I can get a better look at the ink. Time to color.
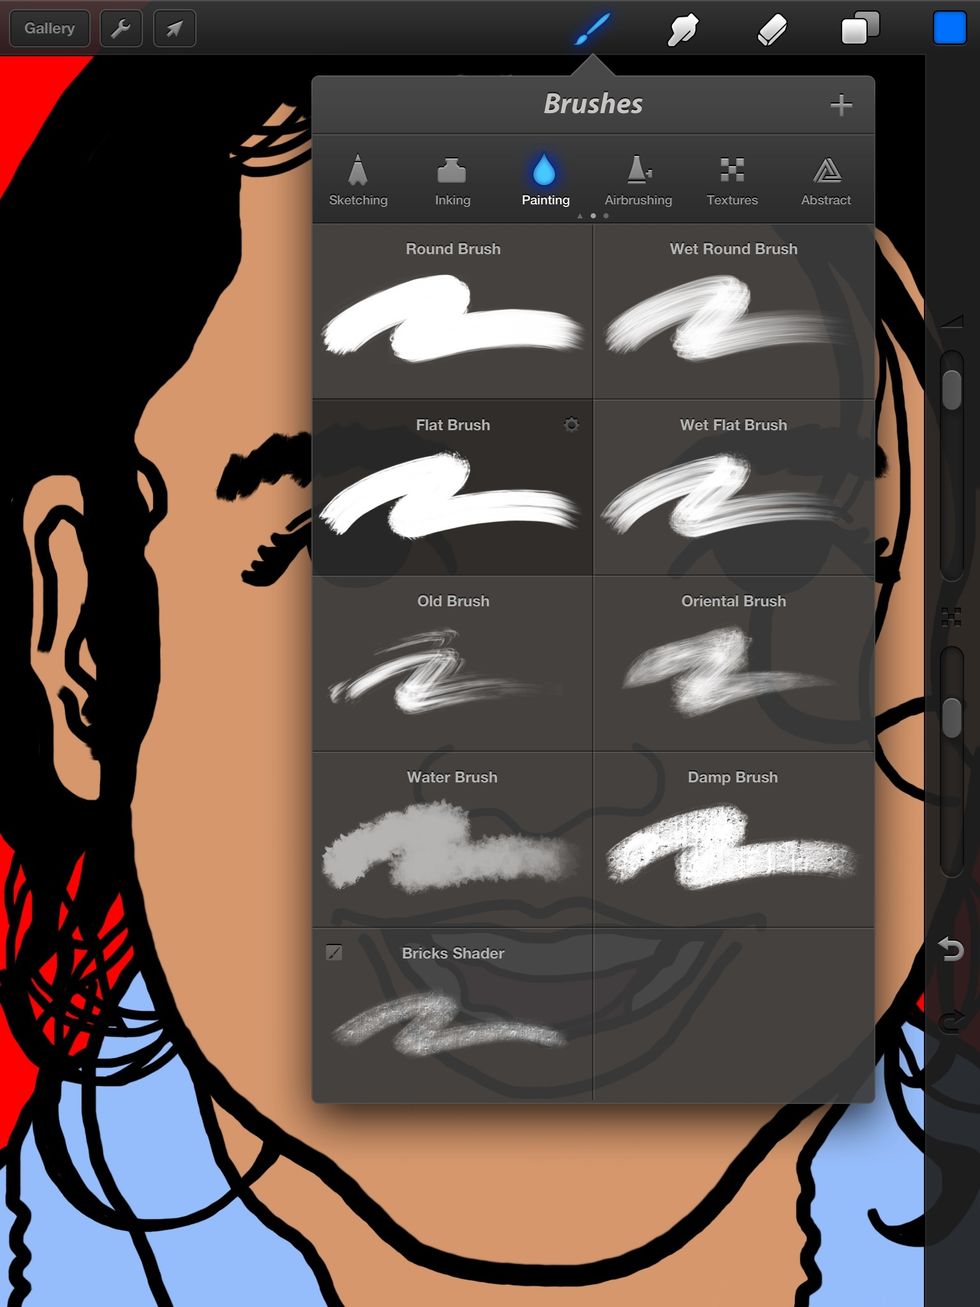
I fill in the skin tones and remaining colors using the Flat Brush setting to quickly get everything done. I carefully match the colors with the reference photo. (not shown.)
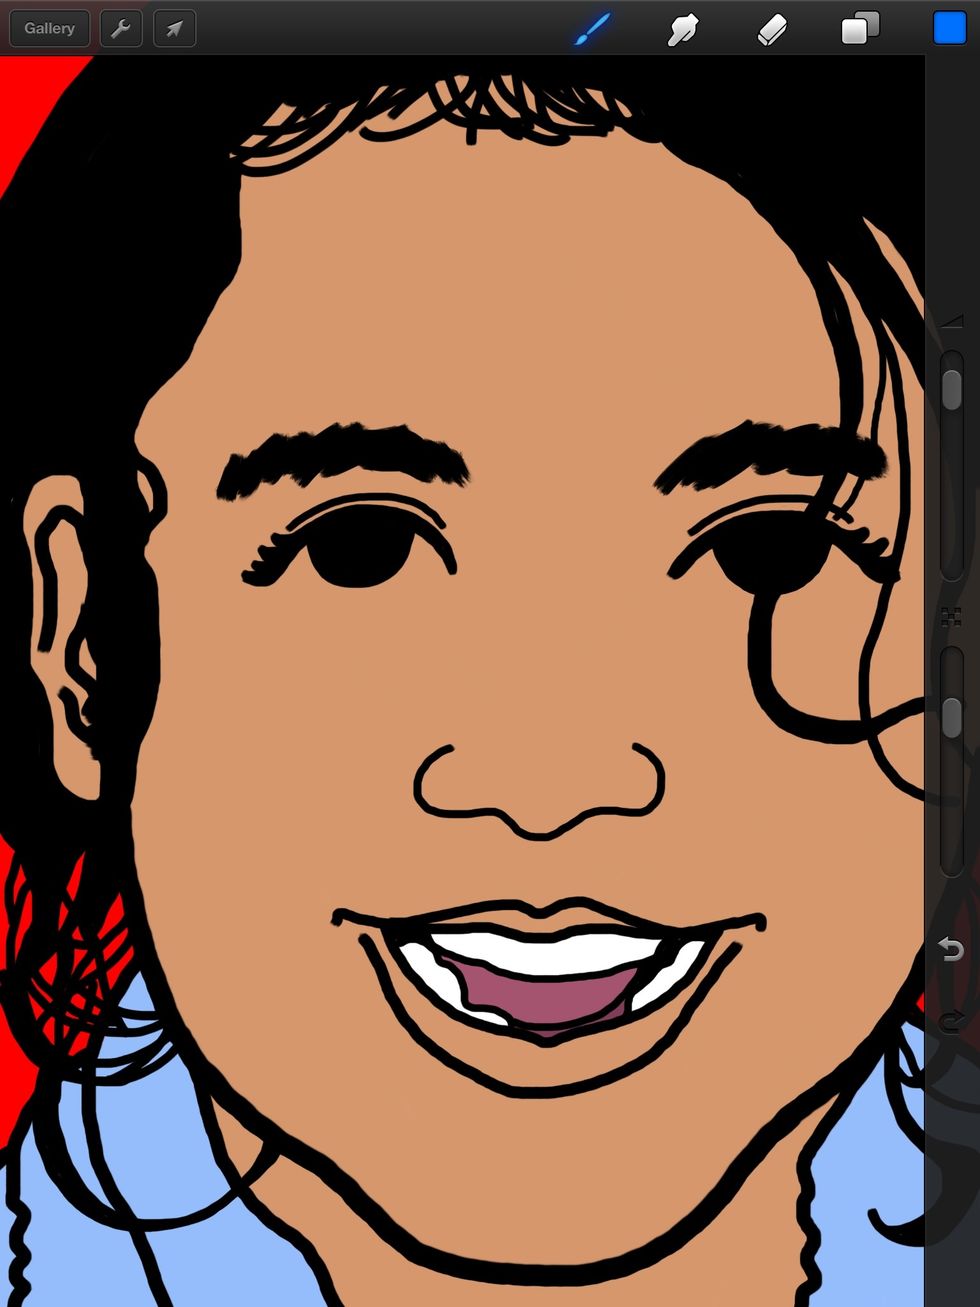
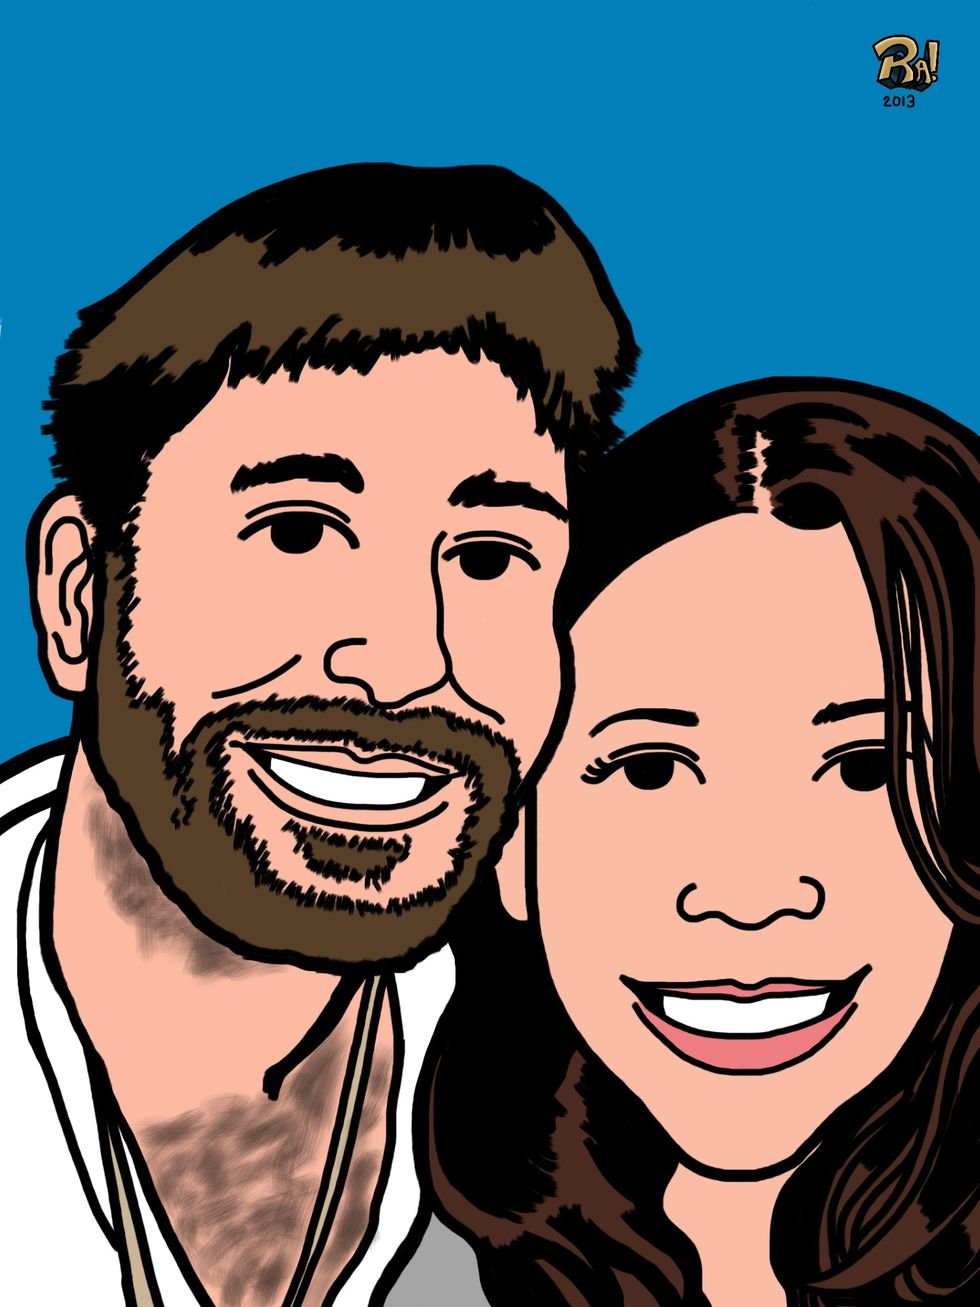
Here's the finished rendering.
Here's the same process but with a boy. He also has round features but I added lines to emphasize his smile.
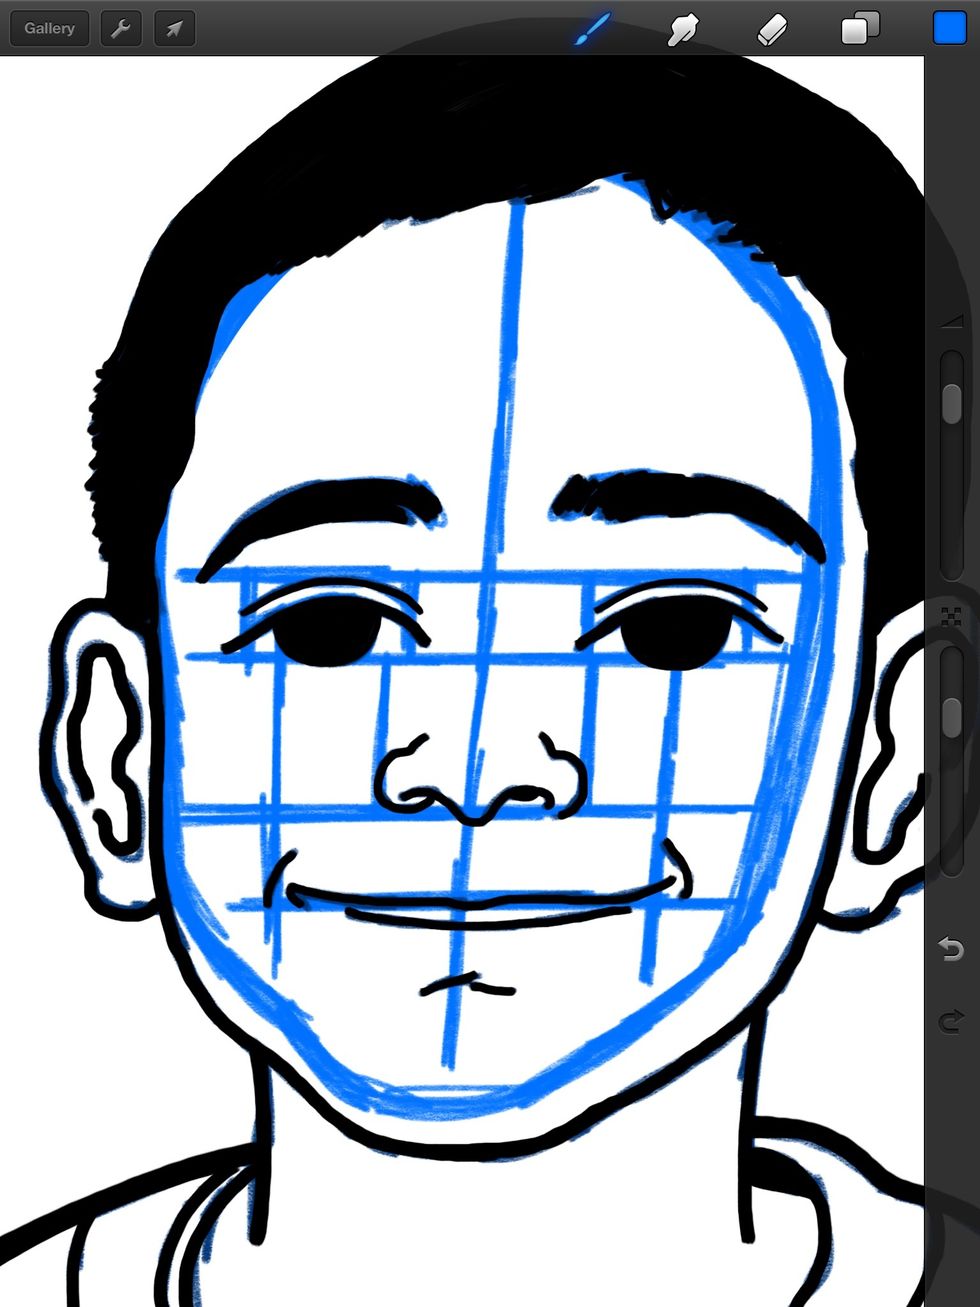
Here's the ink...
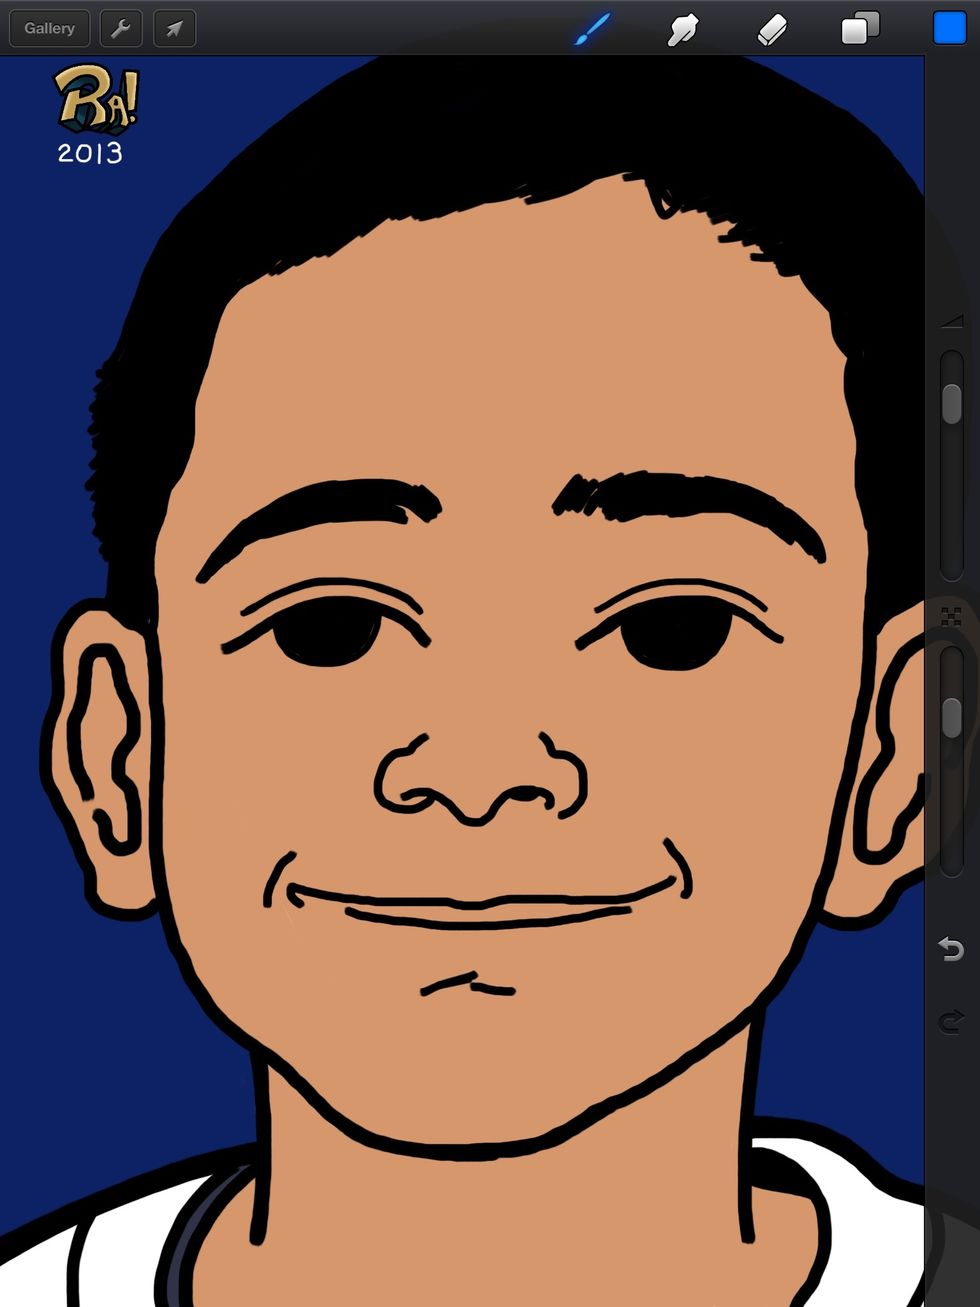
And finally the color!
I hope you enjoyed the tutorial! Please feel free to leave feedback in the comments or ask questions. Check out more at http://raheemnelson.com.