The Conversation (0)
Sign Up
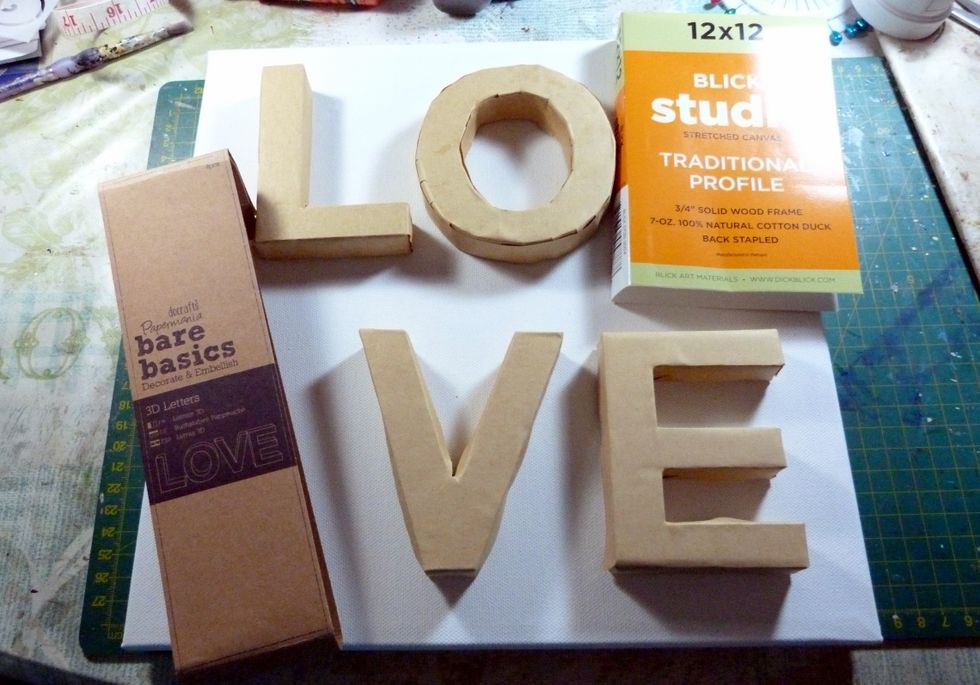
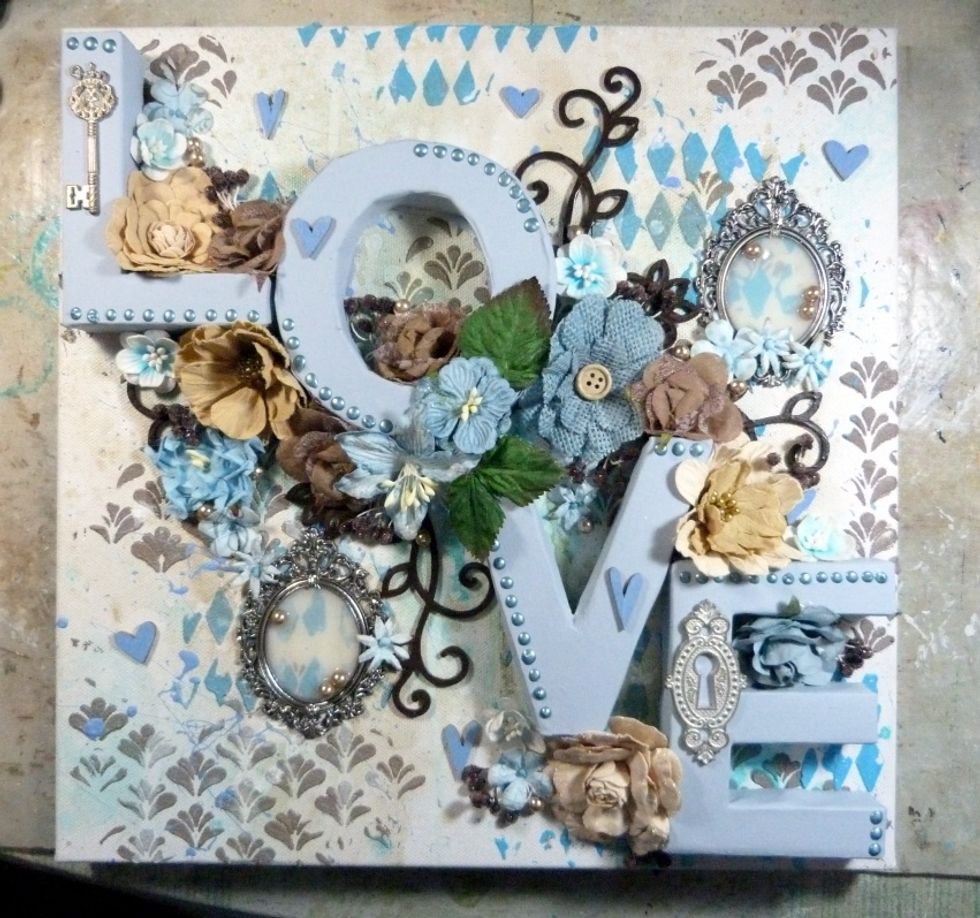
From the Technique kit I have used the 12x12 canvas and the Bare Basics 'LOVE' letters.

Coat the Bare Basics letters with Gesso. Then when dry coat the canvas and letters with clear gesso.
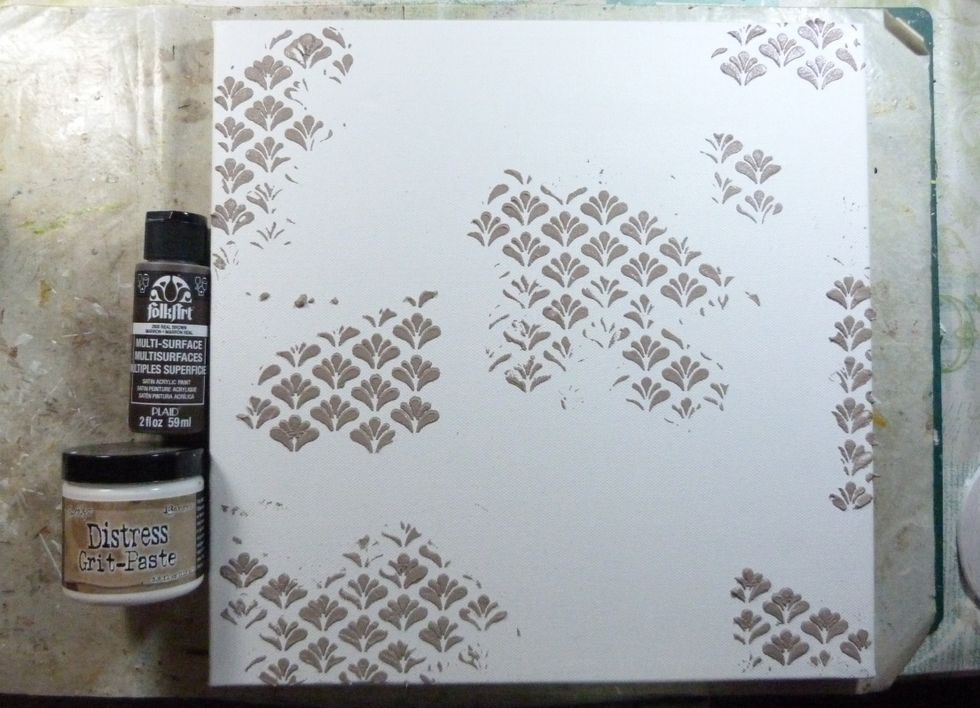
Use the FolkArt brown paint (tech kit) to mix with some Distress Grit Paste. Use this coloured grit paste through a stencil over your canvas.
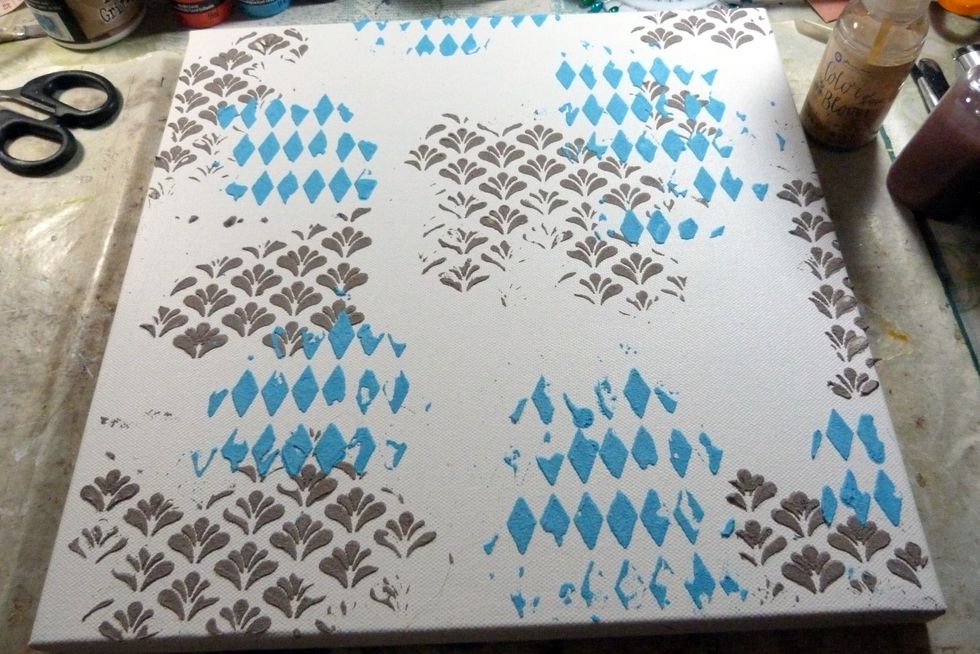
Do the same with the Deco Art Blue paint (tech kit) and the Grit Paste and with another stencil add randomly over the canvas.

Next I misted some Colorbloom Mists over the canvas and allowed to run as I dried them.
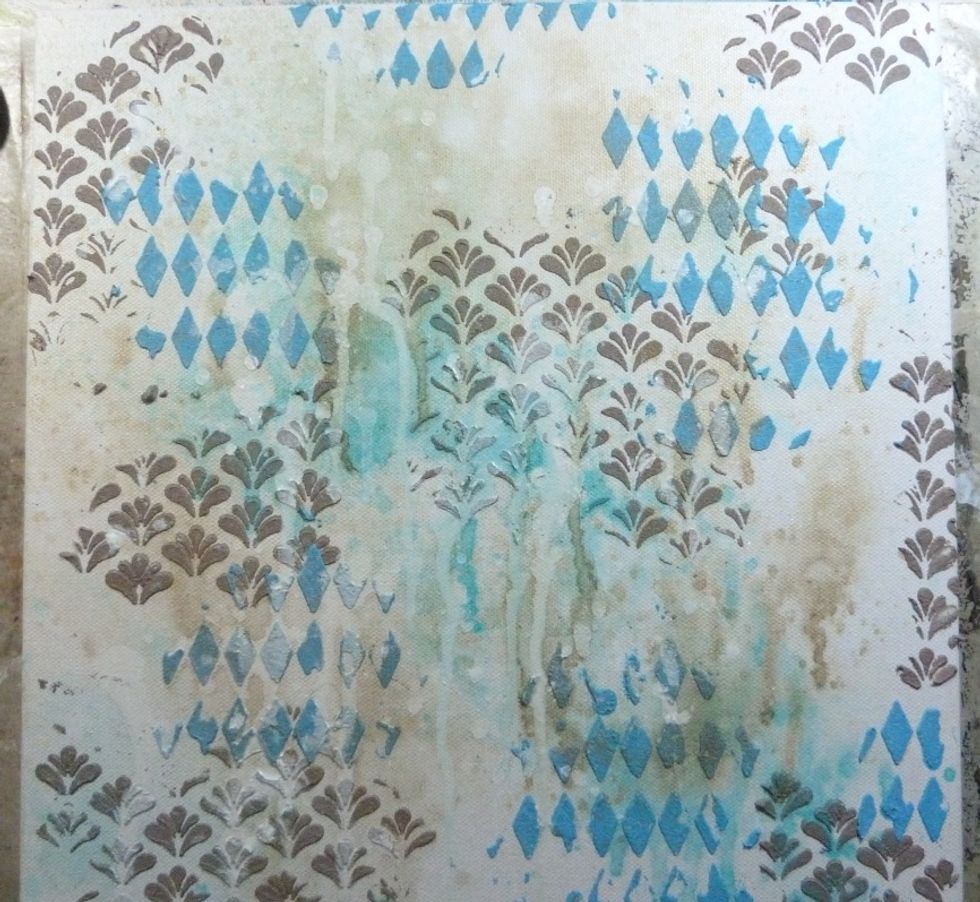
Then I added some watered down gesso and again allowed that to run as I dried it.
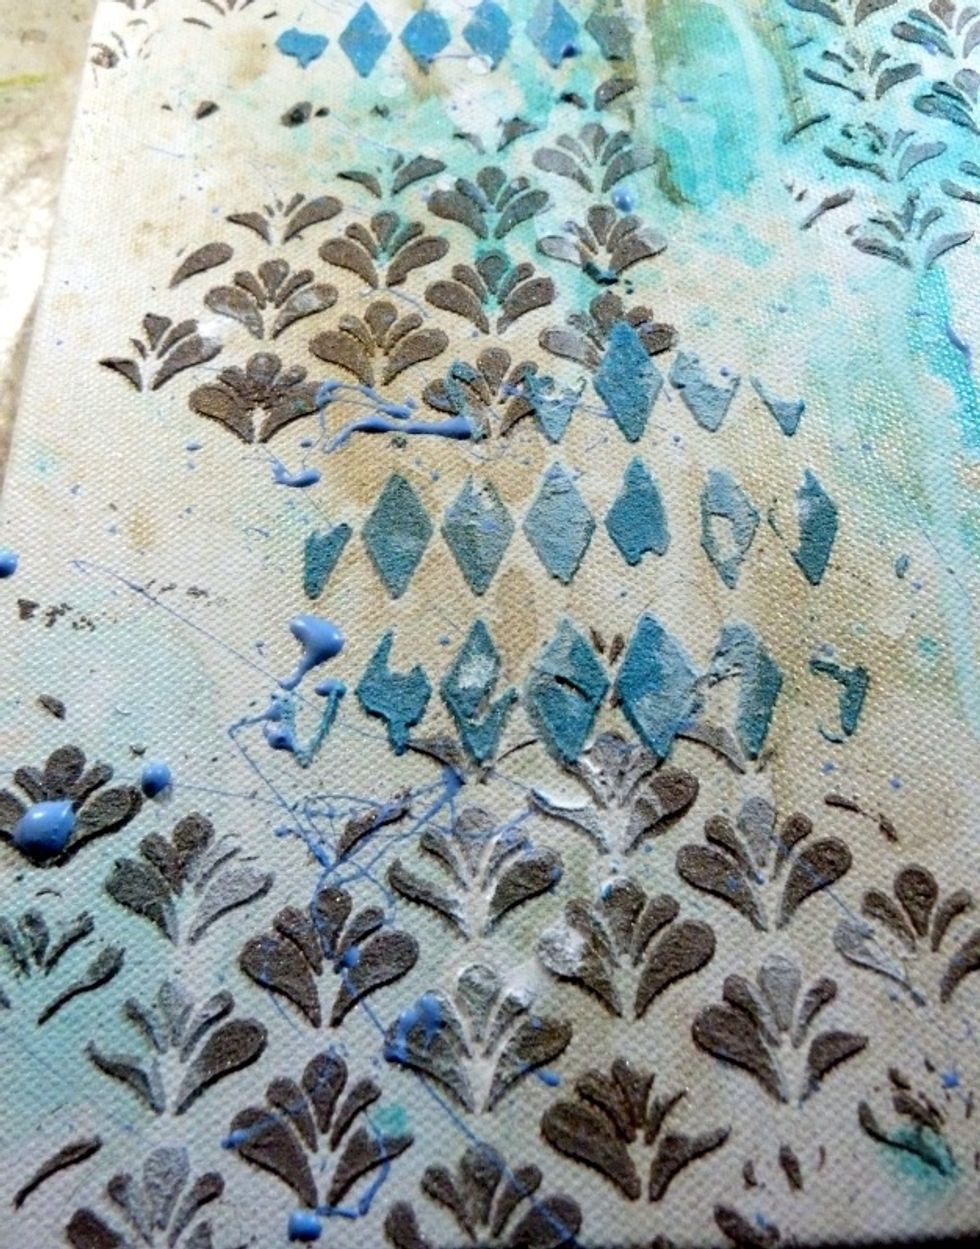
I splatted some Wedgewood Blue paint with a paint brush to finish the mixed media background. This close up shows the individual products up quite well.
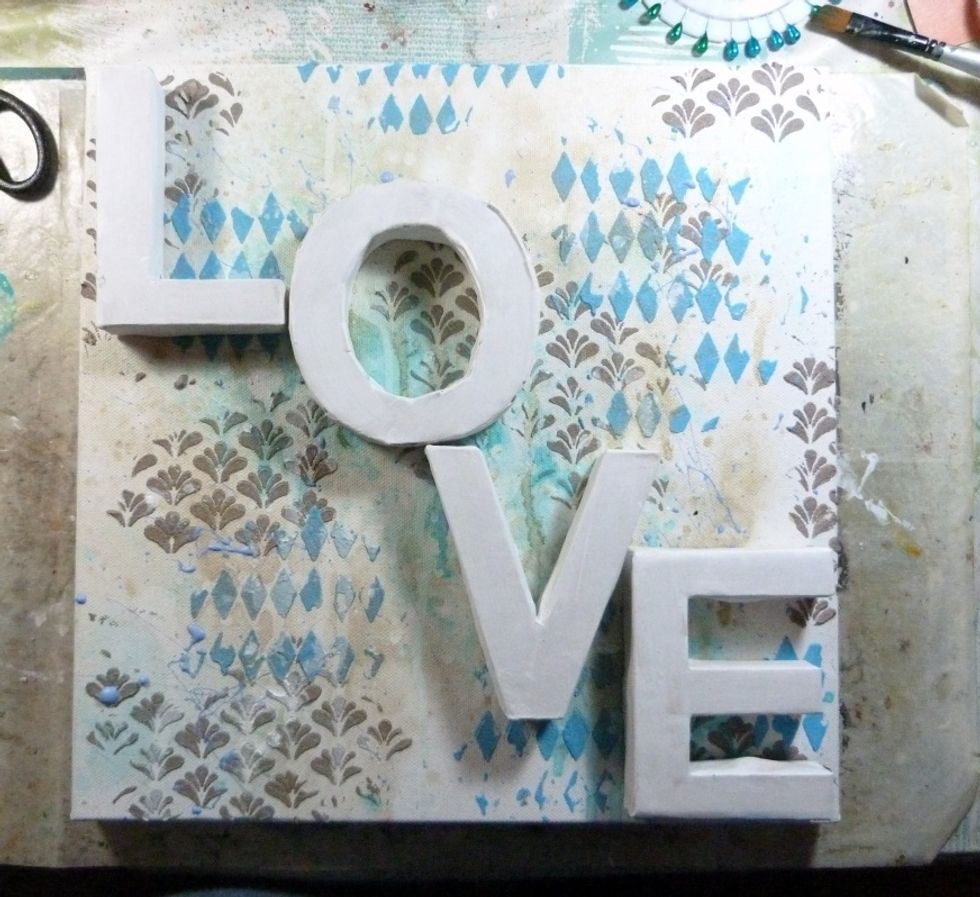
I used hot glue to fix my letters to the canvas.
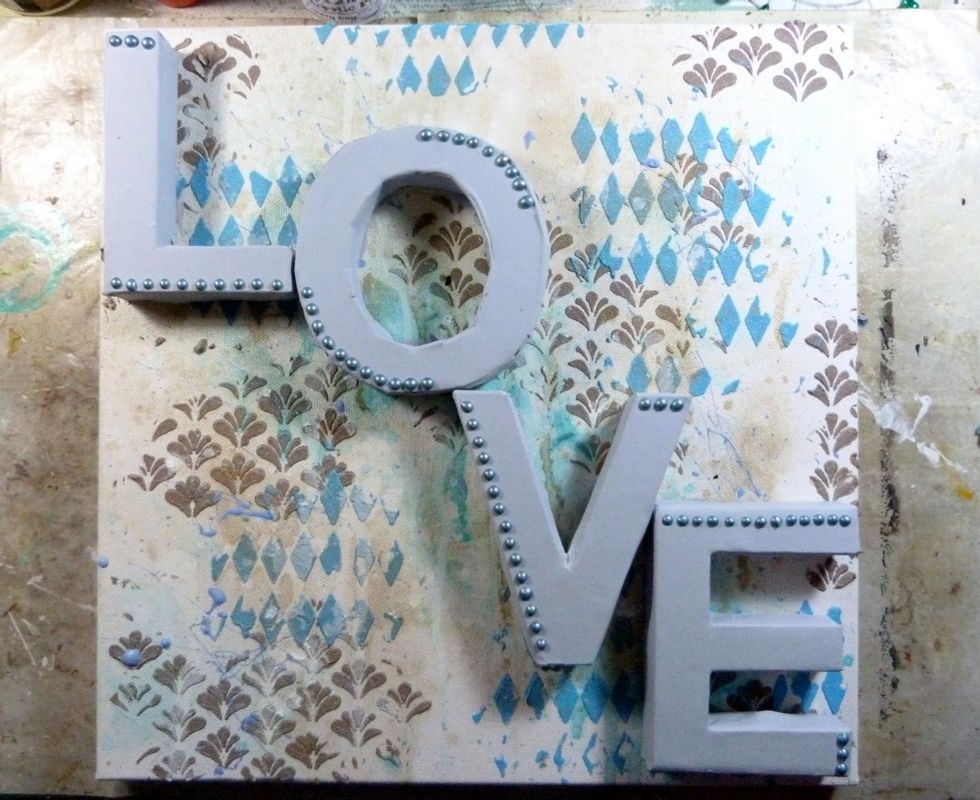
Paint them with the paler Frosty Sky paint and decorate with some Nuvo drops.

Using the Dusty Attic Chipboard from the Embellishment Add on cover with the Brown paint from the Tech kit. I painted some wood hearts from a previous kit with the Wedgewood Blu acrylic paint.
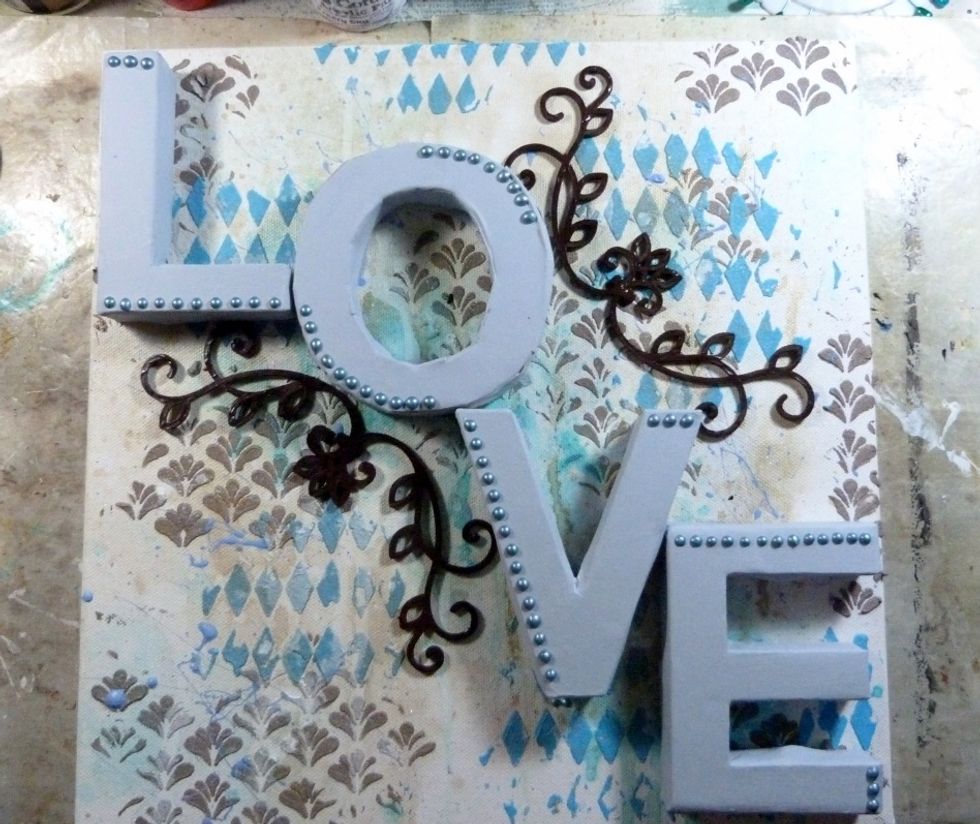
Glue the DA chipboard onto the canvas as pictured above.
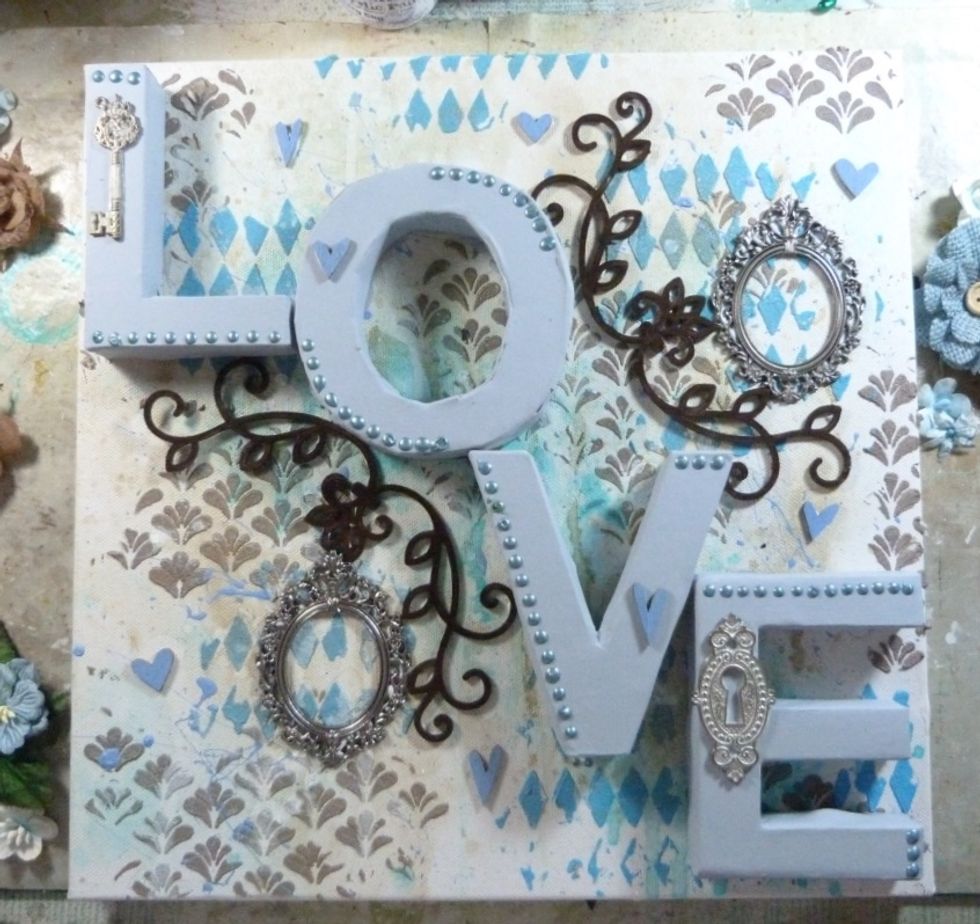
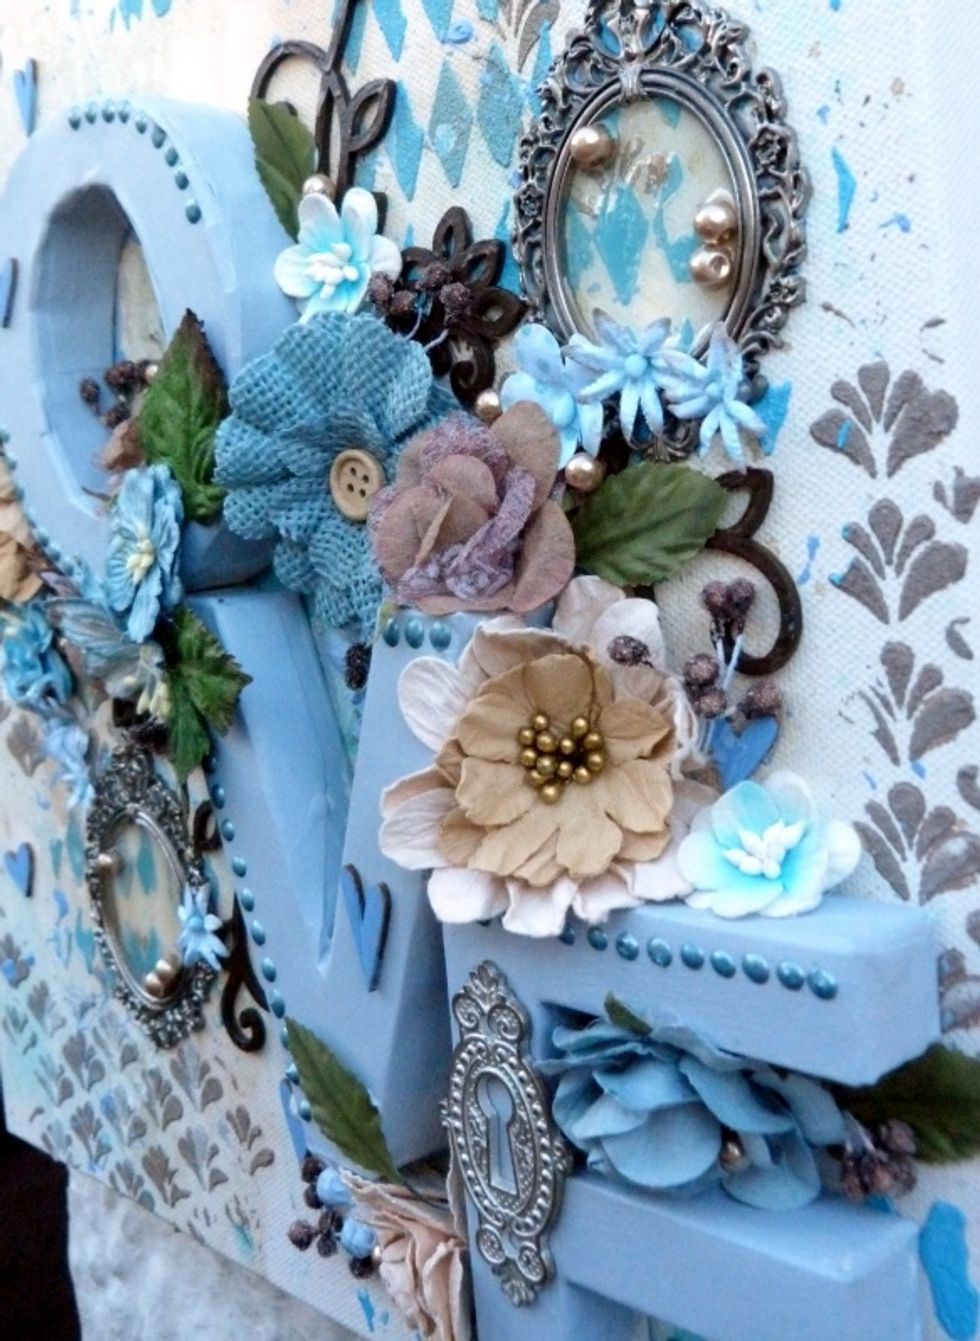
Glue on the Key/ Keyhole (embellishment Add On kit) and the Baroque Frames. Using the Matte gel from the tech kit to glue the painted hearts over the layout.
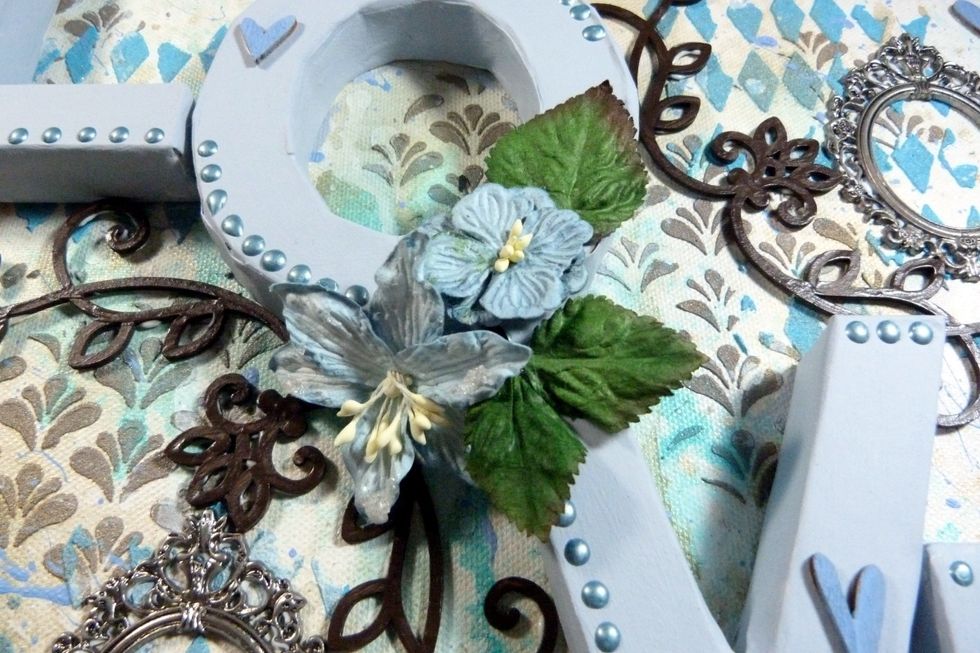
Now to start the flowers. I started in the centre. I wanted to create an 's' shape with the flowers around the letters. The next few photos show that process of adding the flowers.
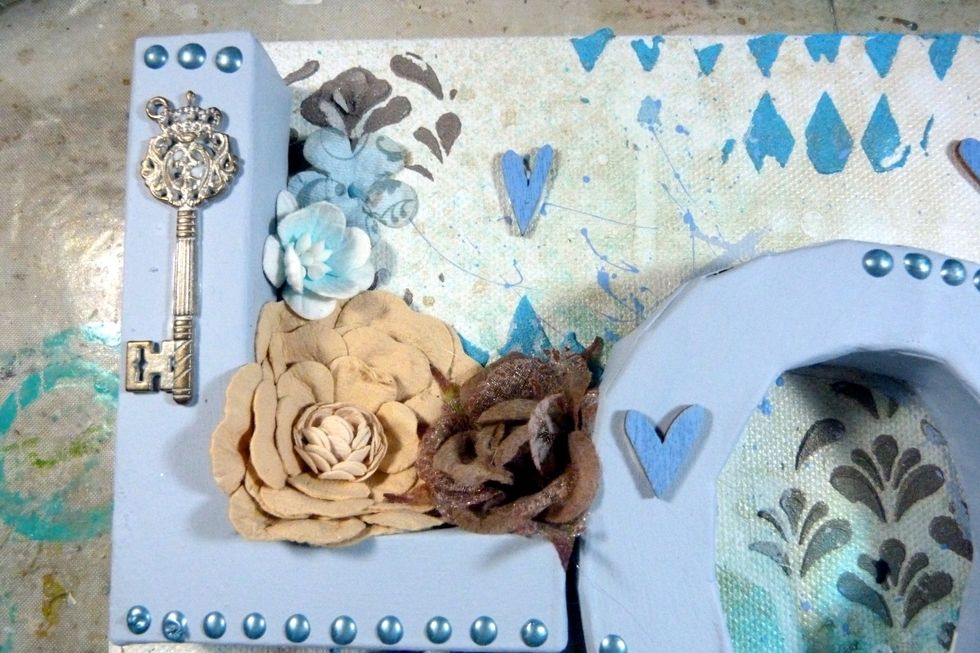
Inside the 'L'. Push the flowers into the corners of the letters so they come up the sides as well as sit on the canvas.
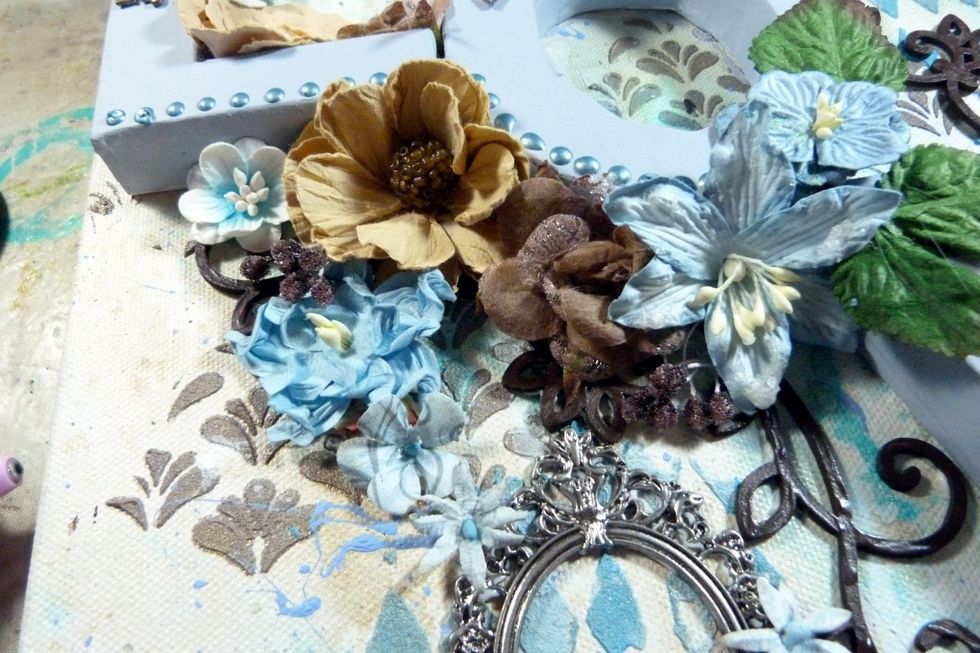
Underneath the 'L' and round the bottom of the 'O', dripping down onto the Baroque Frame.
Back over the centre flowers and round the top of the 'V' to the other Baroque frame.

Down to the top and middle of the 'E'. Push a flower into the channels of the 'E'. Finish with a cluster on the bottom left of the 'E'.
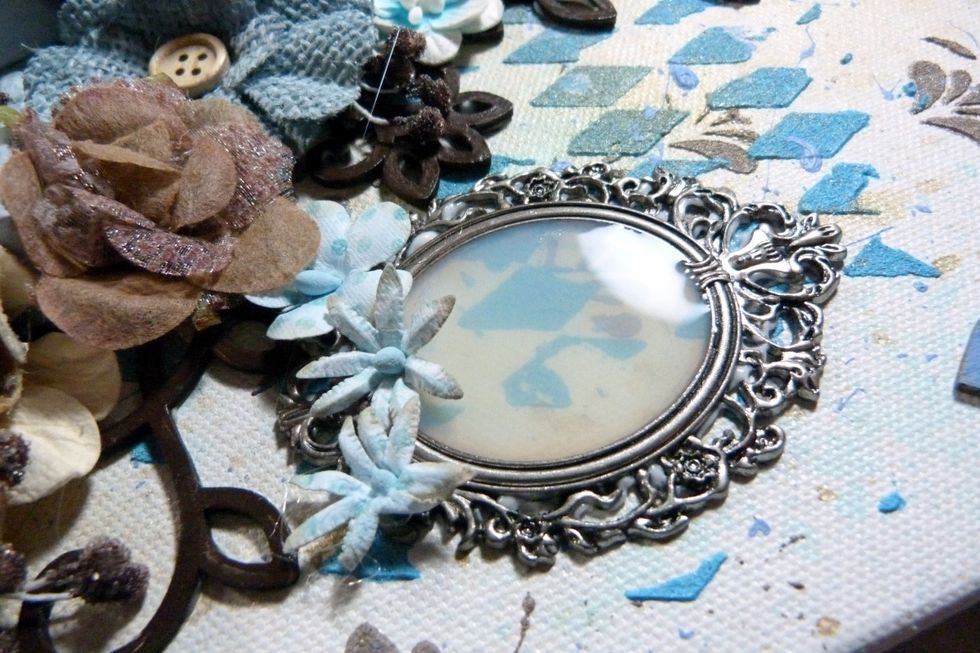
Fill the Baroque frames with Ranger Glossy Accents........
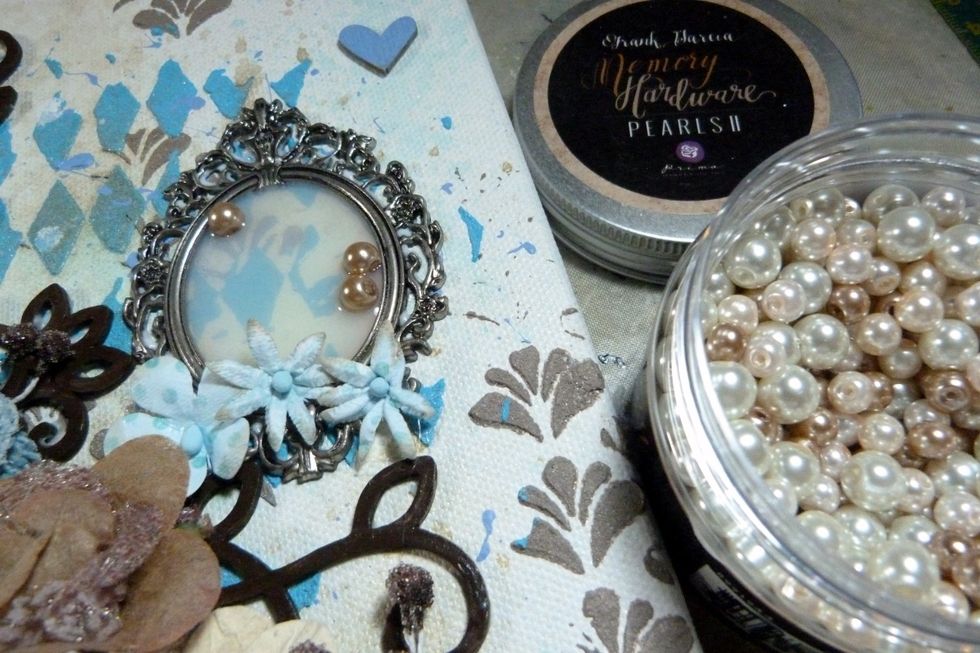
....and straight away drop some Pearls into the glossy accents. Allow to dry.
Using the gel medium glue some pearls around the canvas to finish.

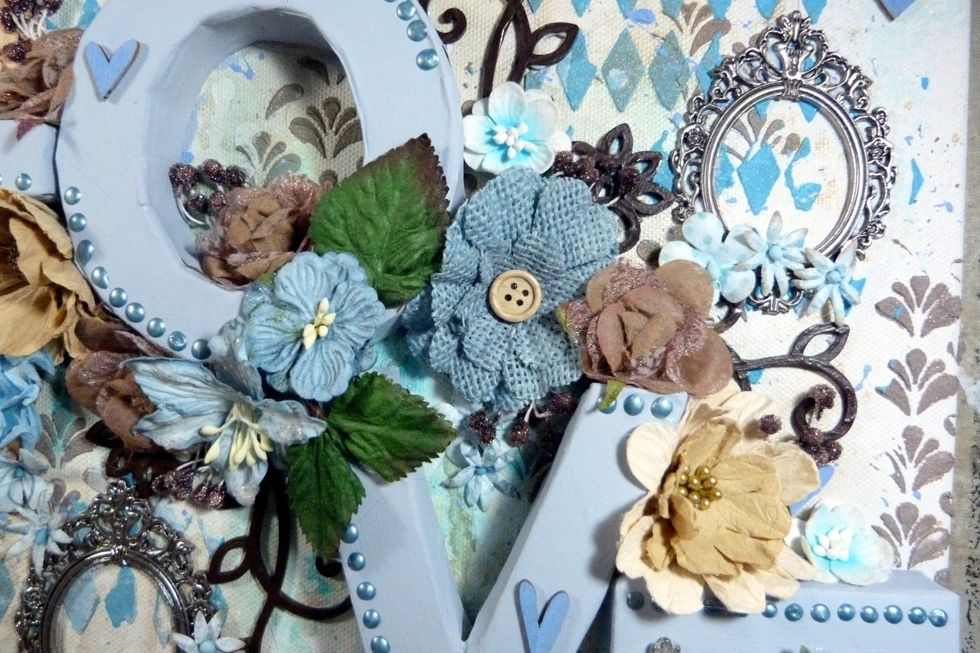
A close up to show the dimension of the canvas.
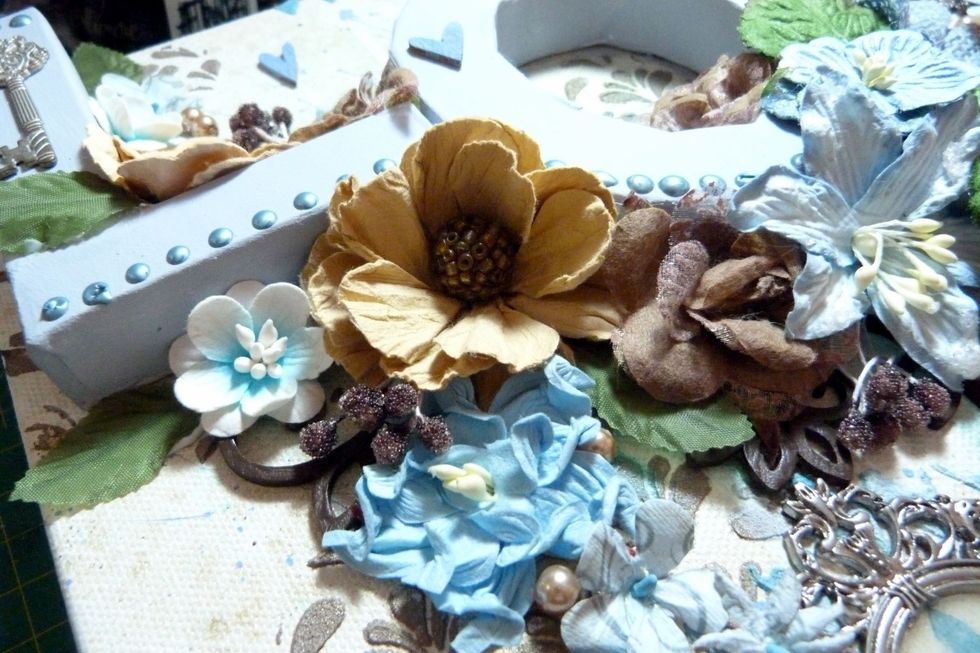
See how the flowers are creeping up the sides of the letters? I added some chocolate berries as well :)

Close up from another angle.
And from the other way.

The dried Glossy Accents in the Baroque Frames.
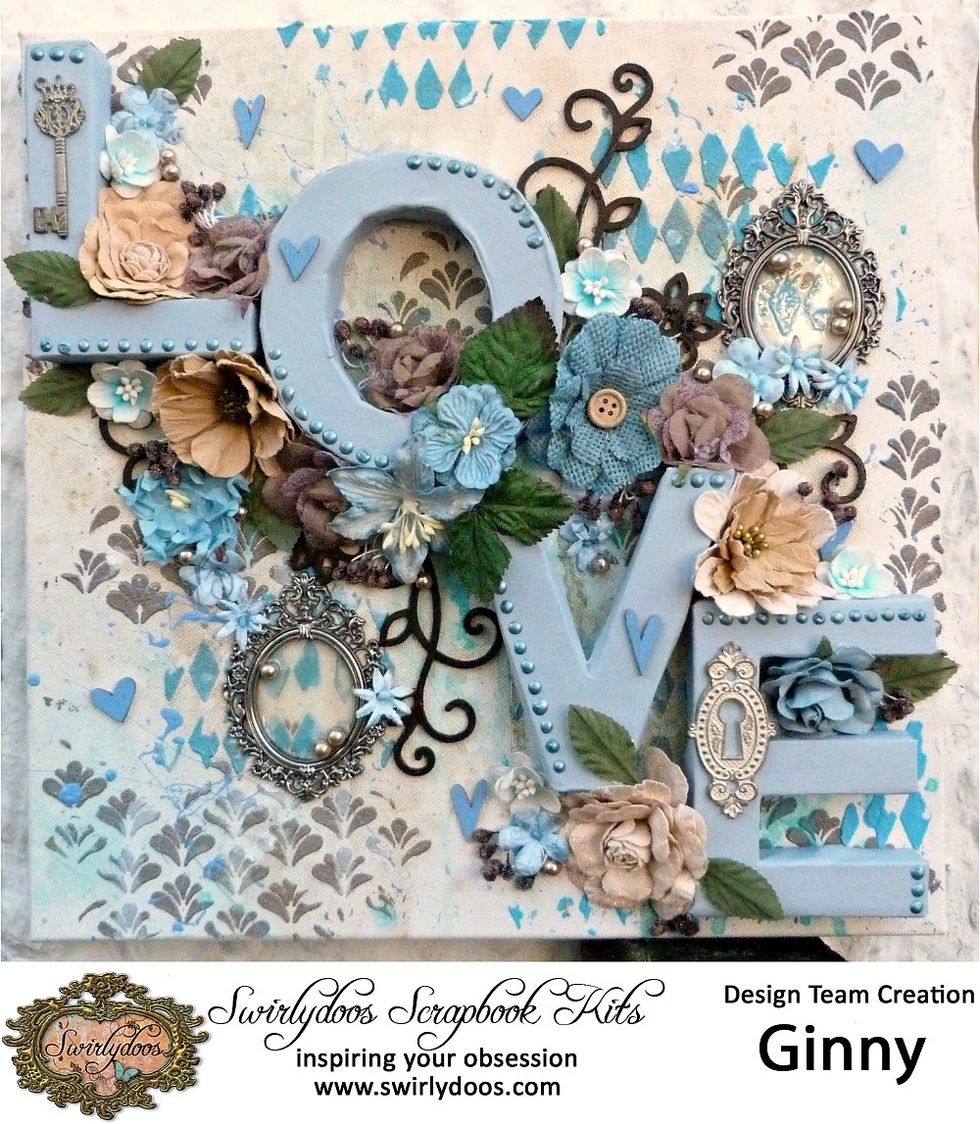
This is a design Team creation created for Swirlydoos Kit Club. For more details on subscribing to these monthly kits please visit www.swirlydoos.com