The Conversation (0)
Sign Up
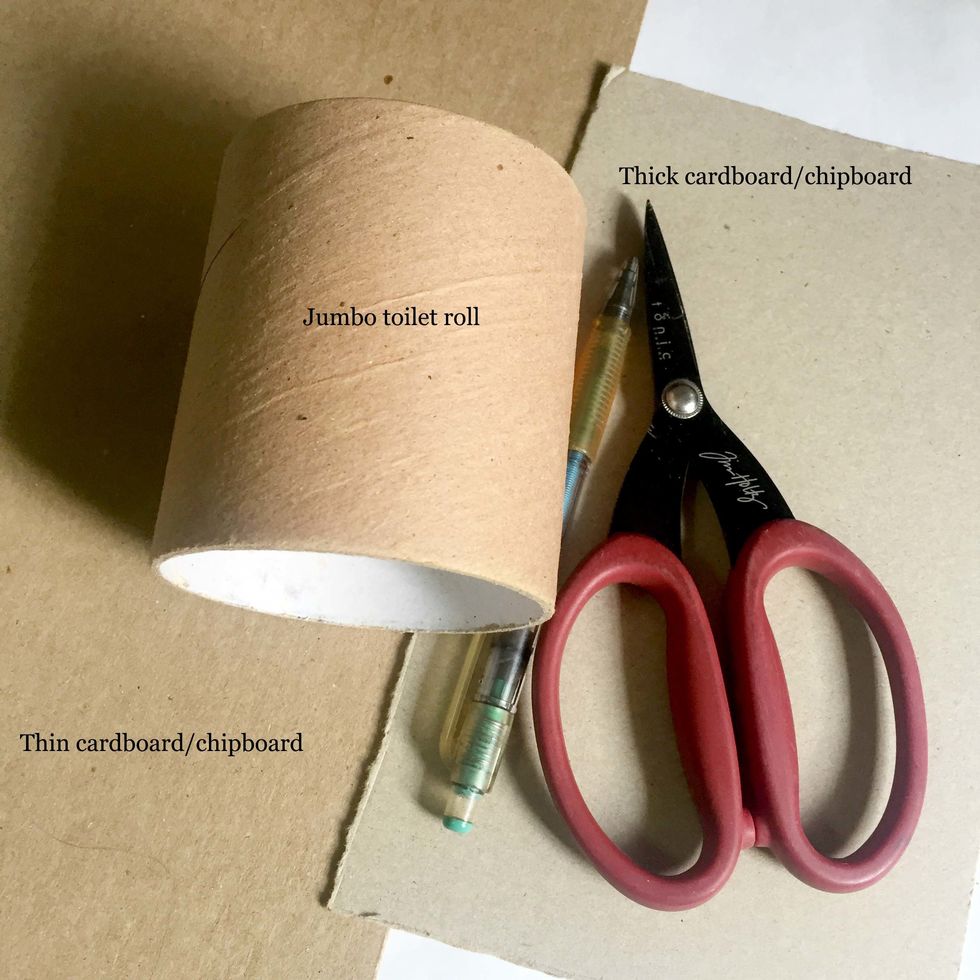
You will need at least 1 jumbo toilet roll to begin with, together with some thick and thin cardboards/chipboards, where you can get them from your packaging materials.
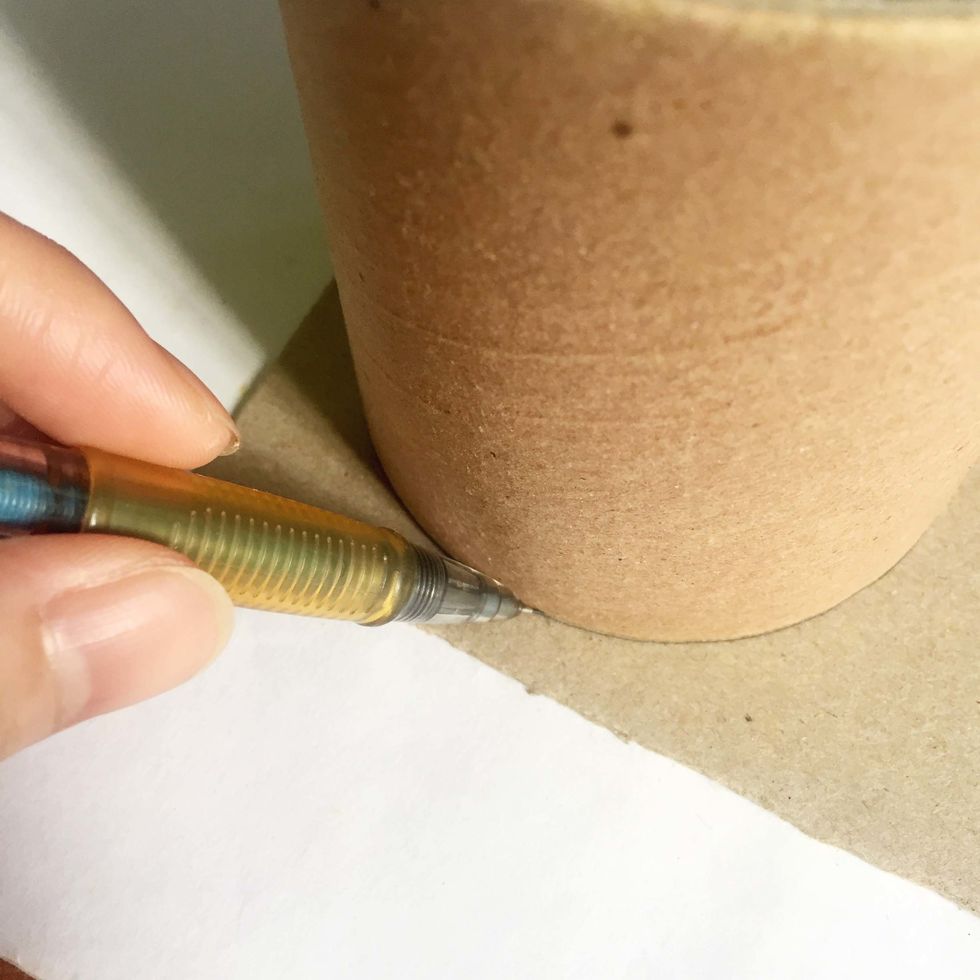
Lay toilet roll flat onto the thick cardboard/chipboard. Using a mechanical pencil and trace around the roll as close to the edge as possible.
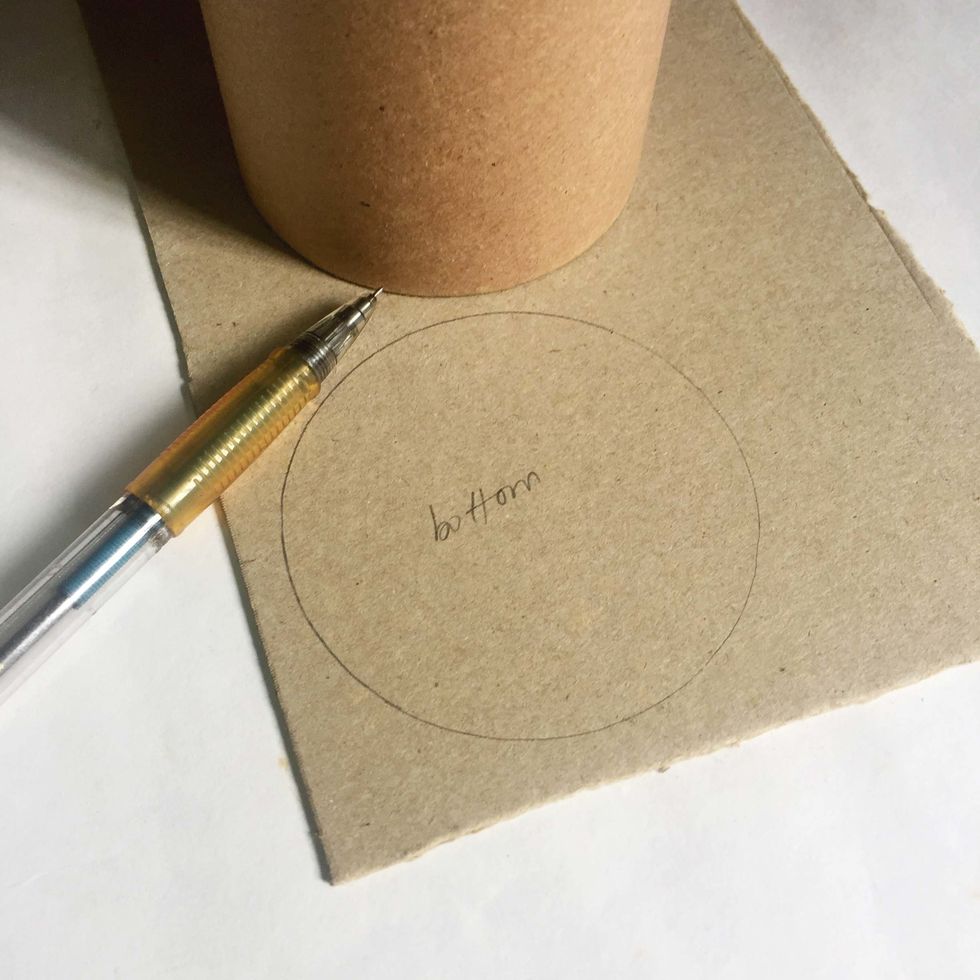
This will be the bottom base of the jar.
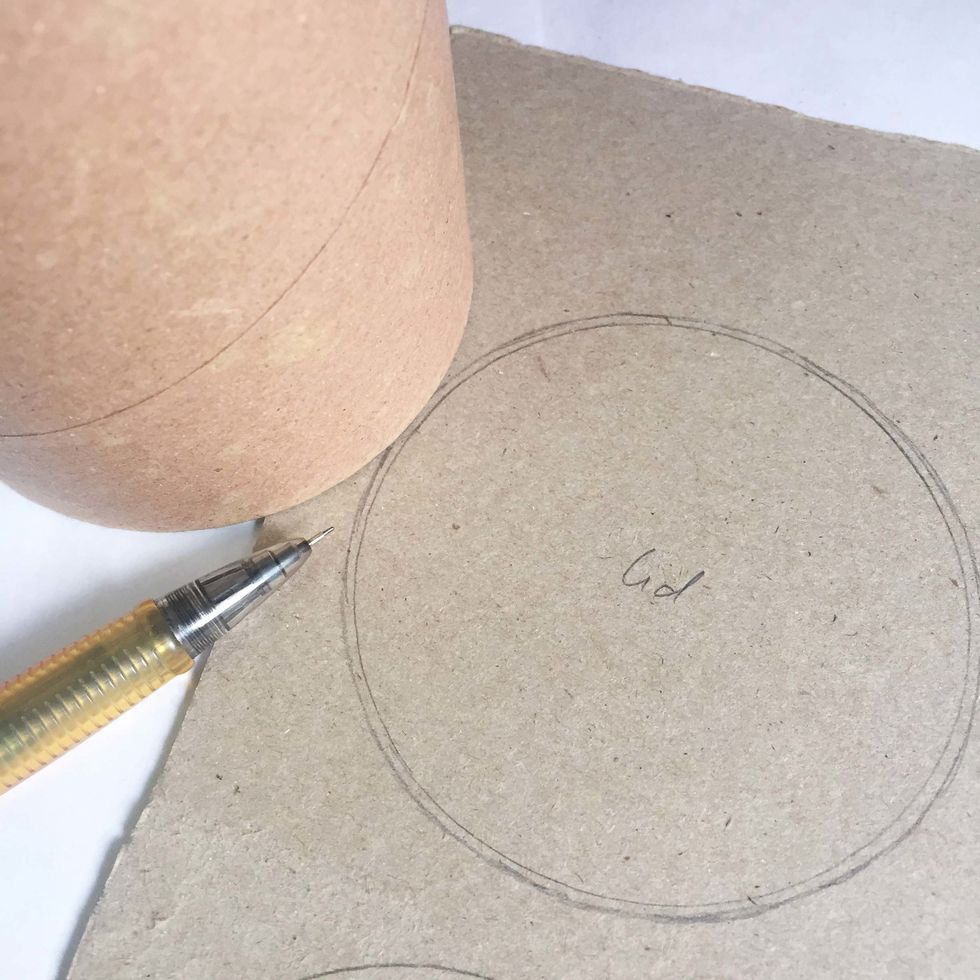
Trace another one out just as Step 2. Draw an outer circle around it (about the thickness of the toilet roll, ~1/16"). This will be the top of the lid of the jar.

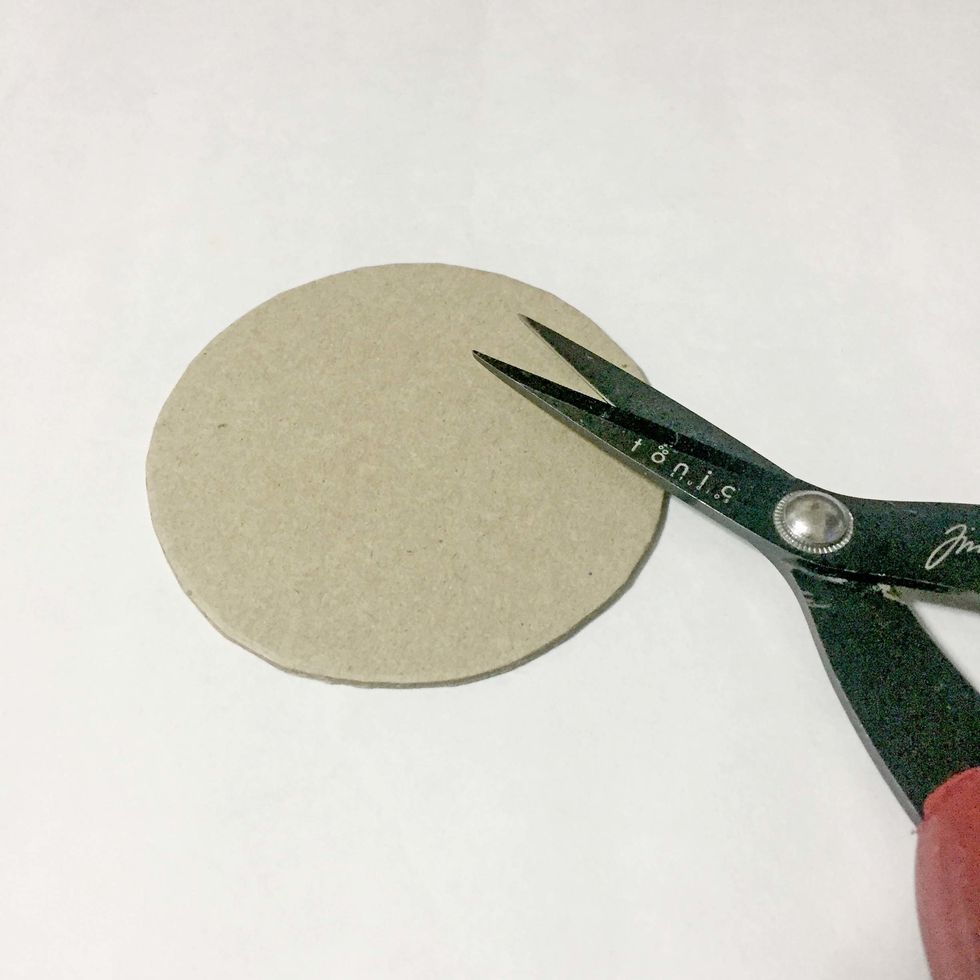
Using a heavy duty scissors, cut the bottom and lid.
Measure and trim a 3/4" wide of strip from the thin cardboard/chipboard. This will be the rim of the lid.
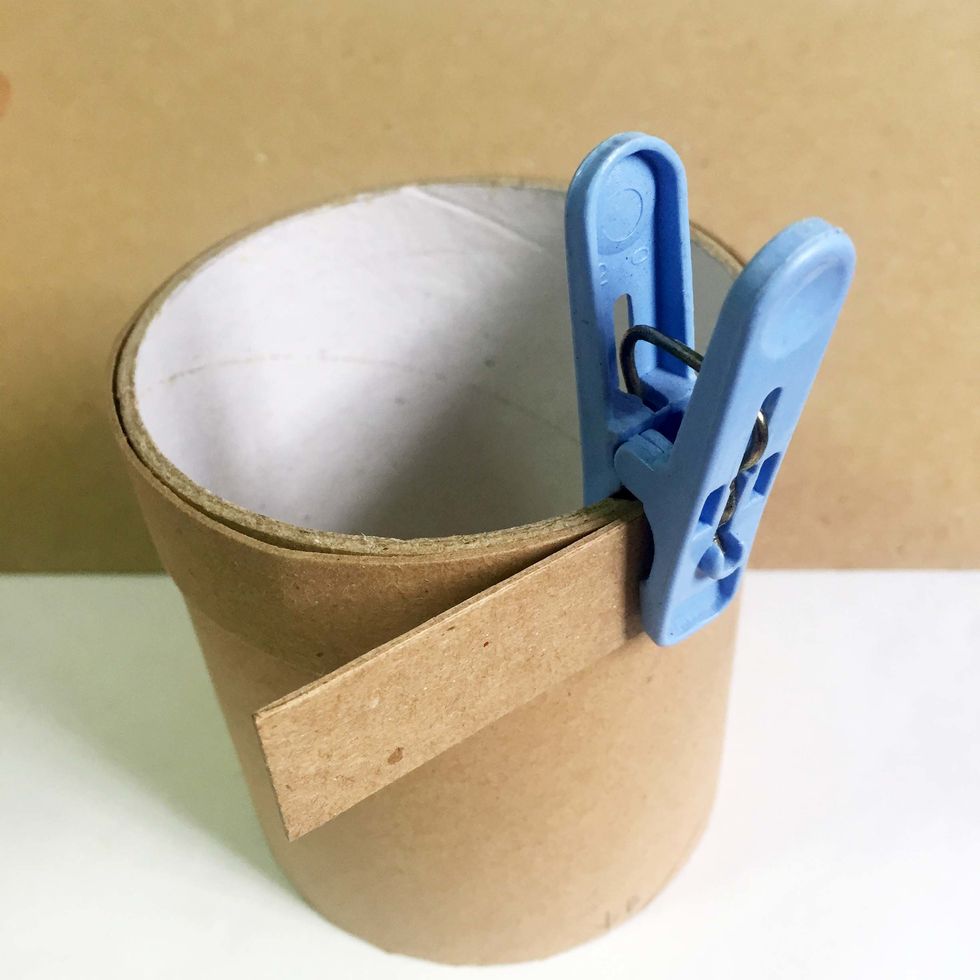
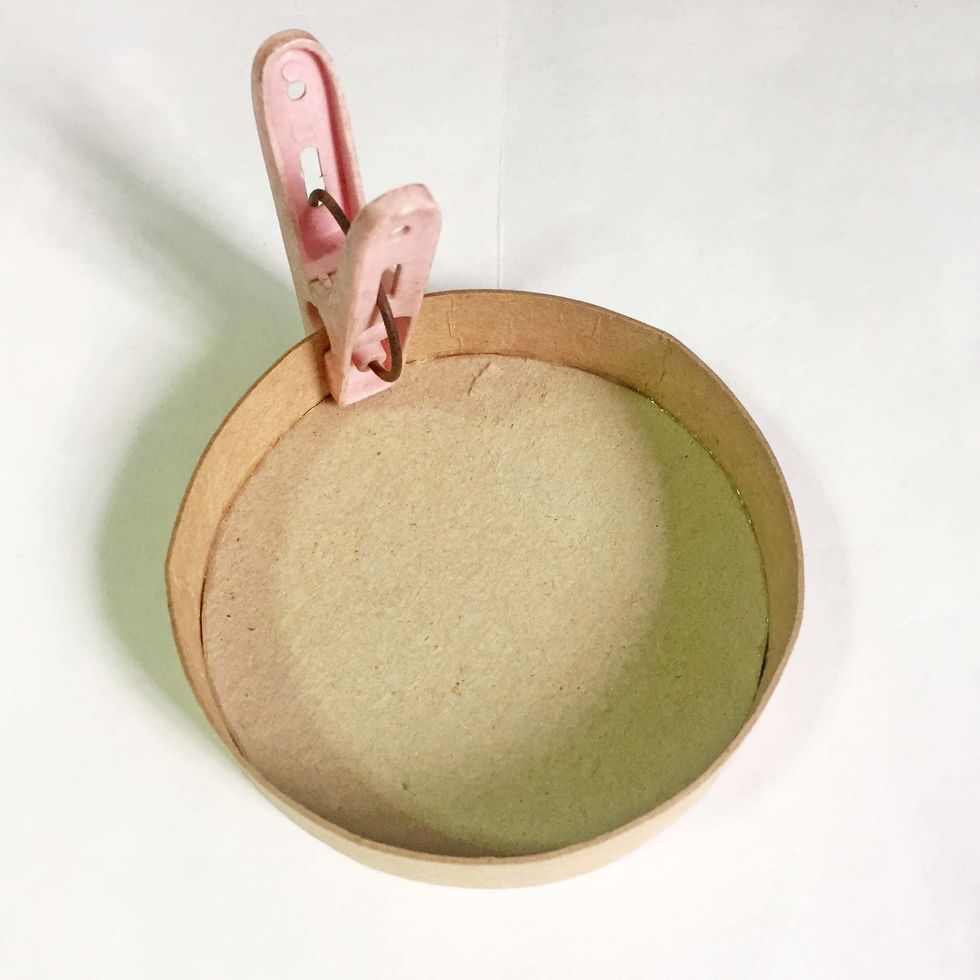
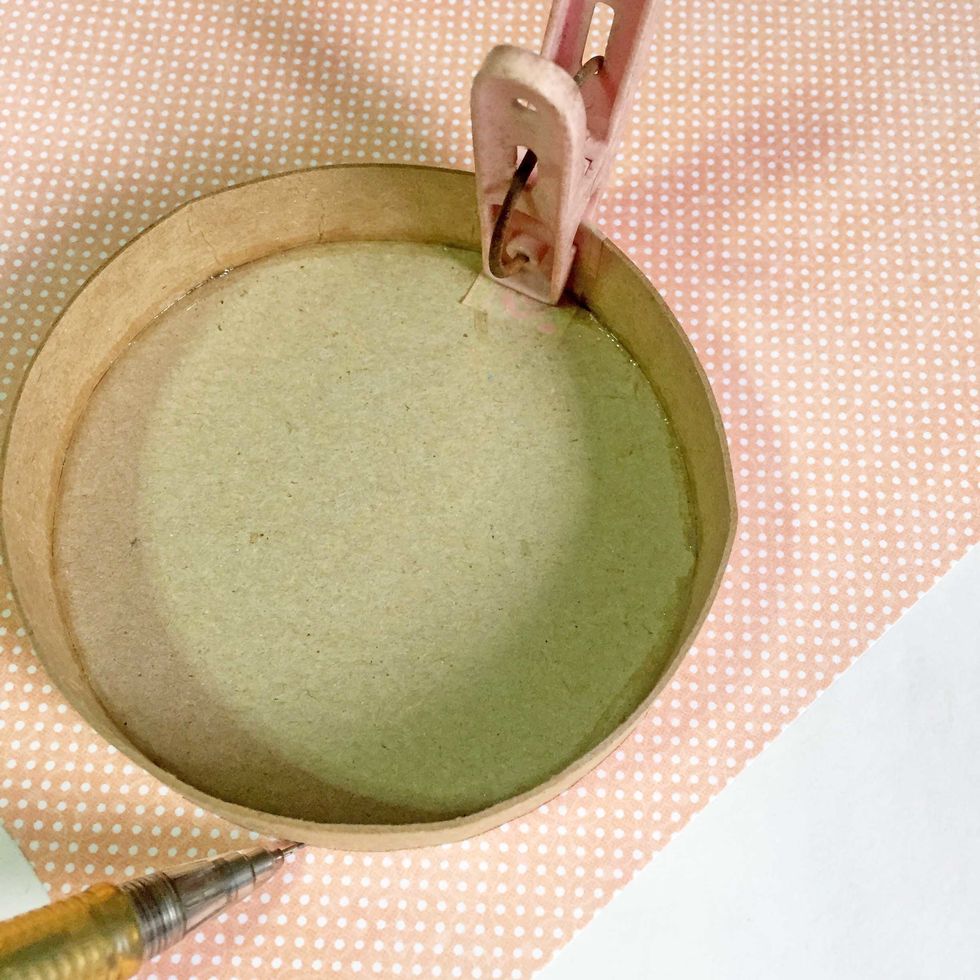
TIP: For easy assembly, secure the rim around the other toilet roll with a clothes peg and leave it to take shape while you work on the rest of the steps.
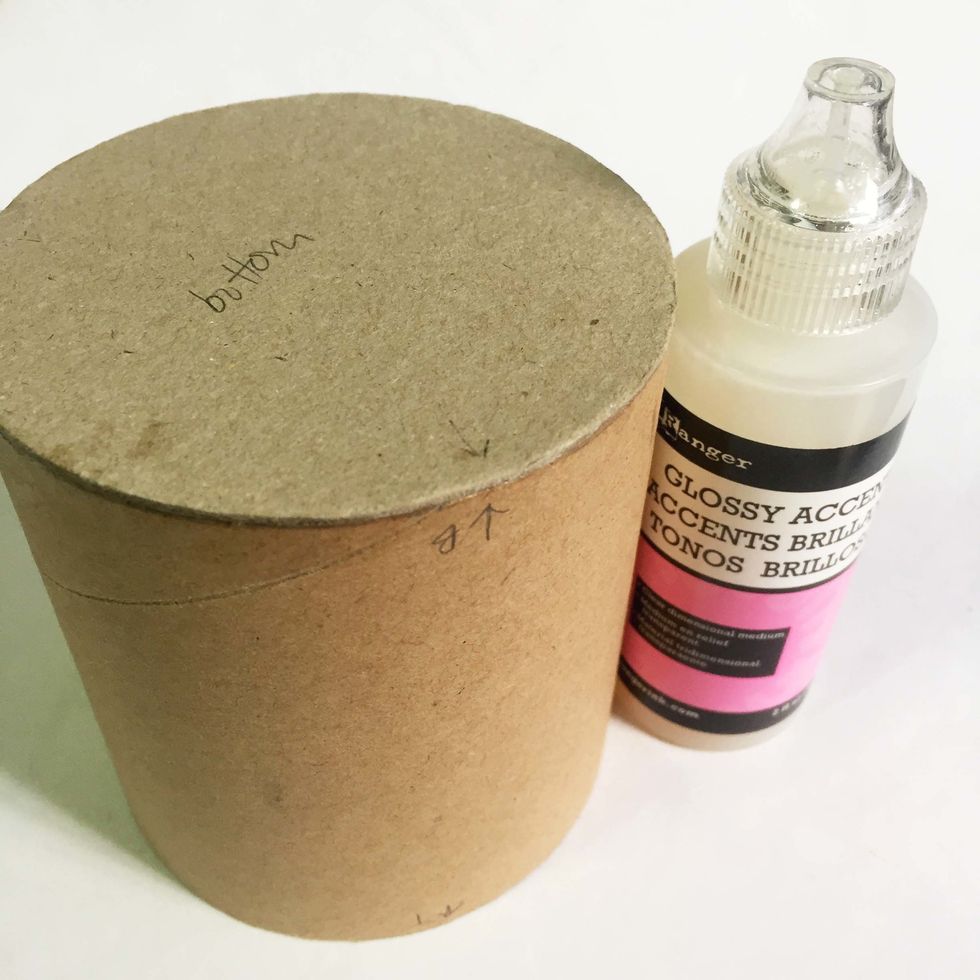
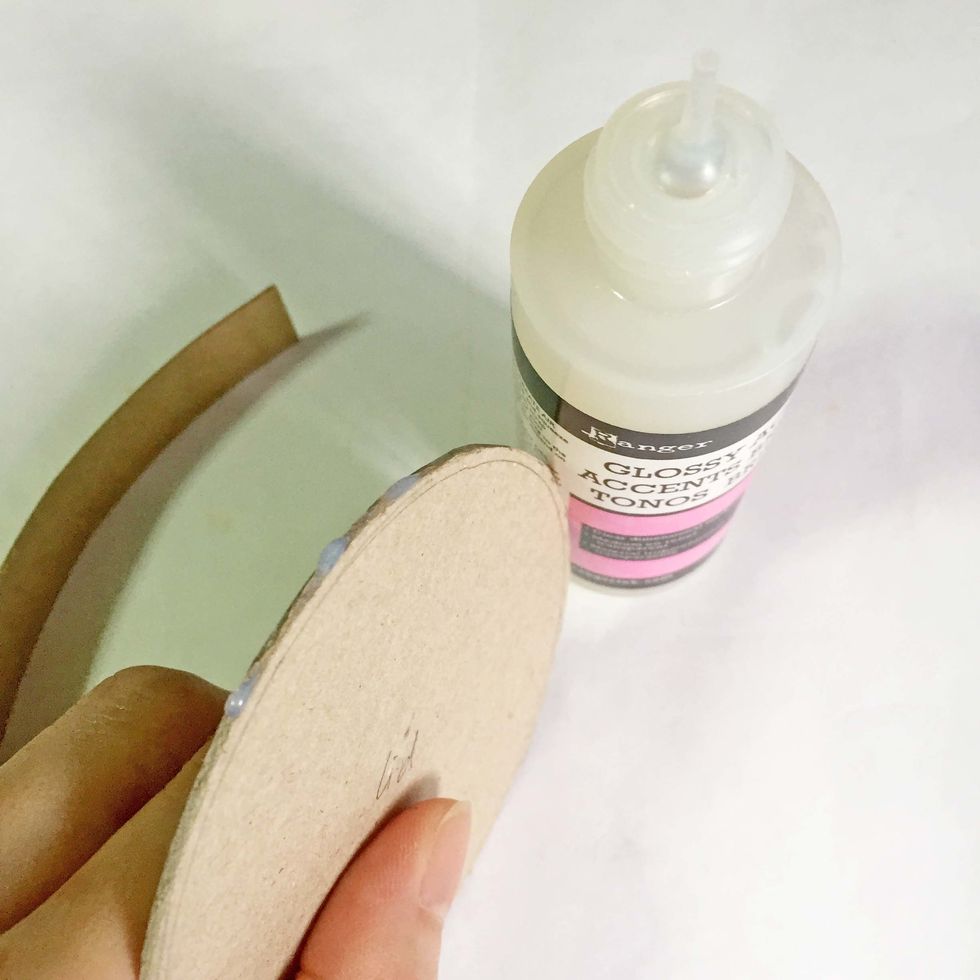
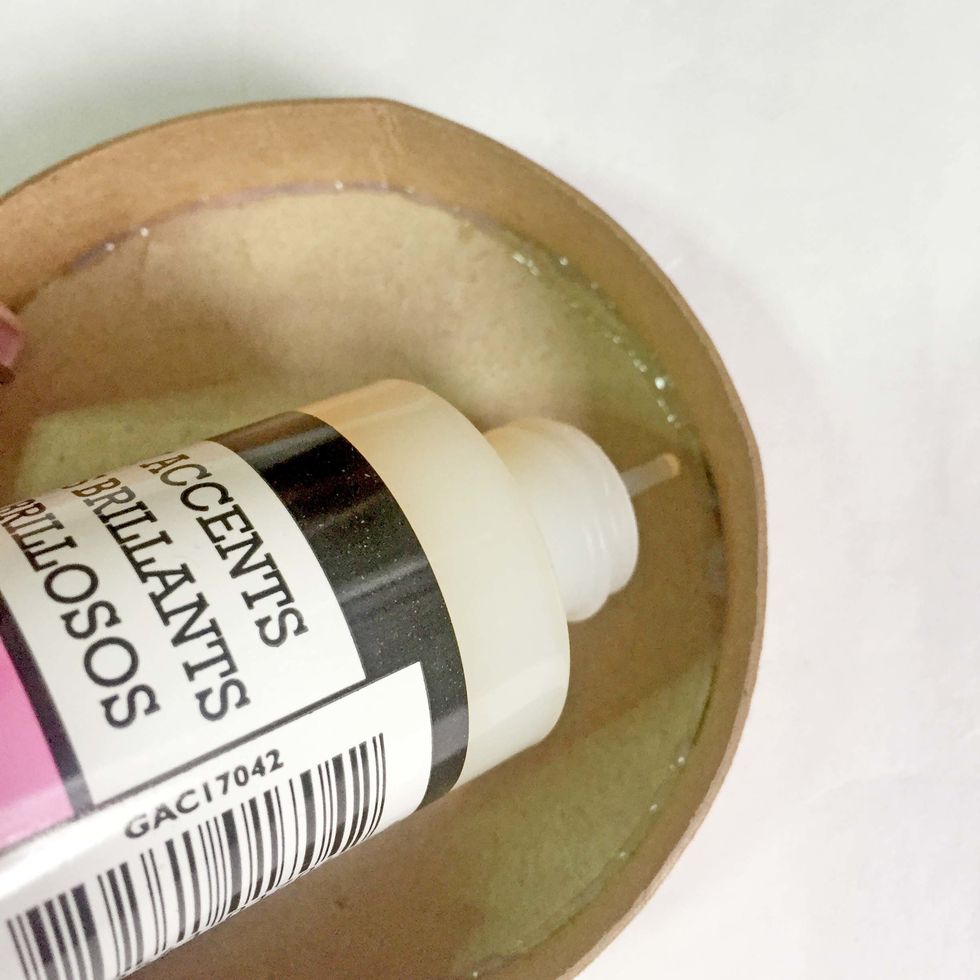
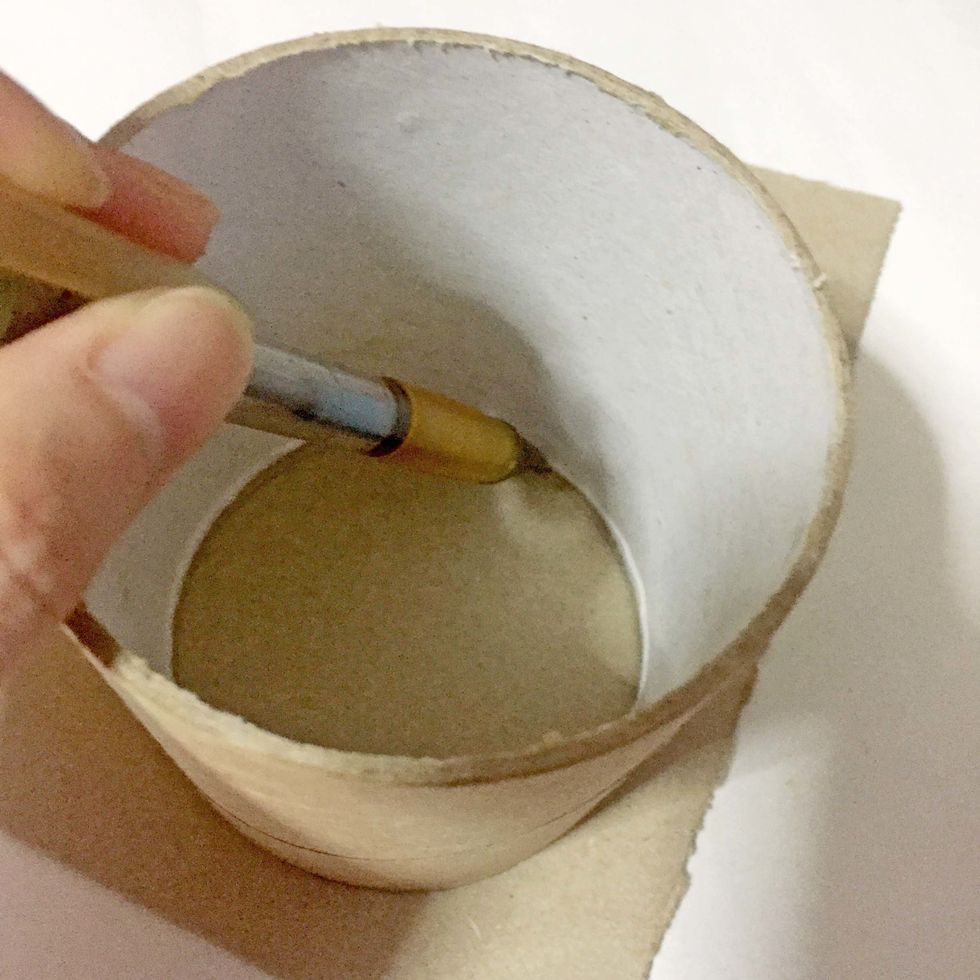
Glue down the bottom base onto the toilet roll using glossy accents. You may want to use other tacky/white glue if you find it a better option.

Ensure that it flushes down the toilet roll nicely.
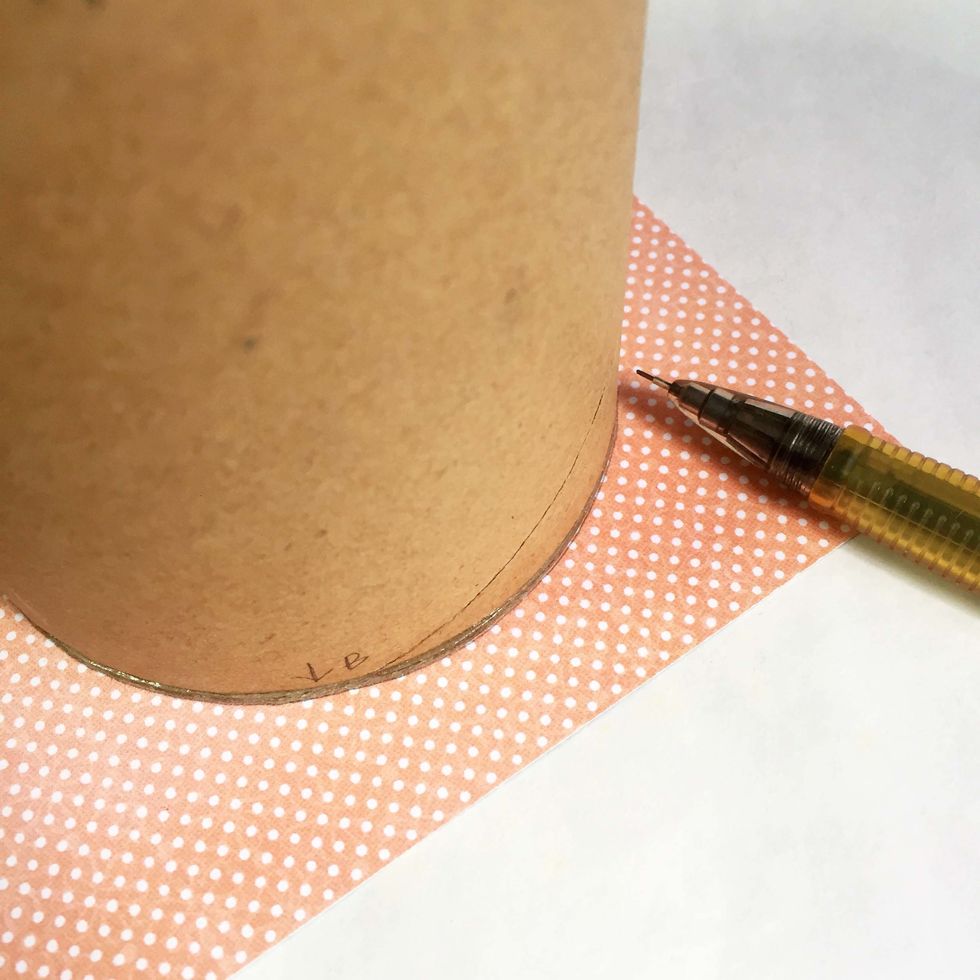
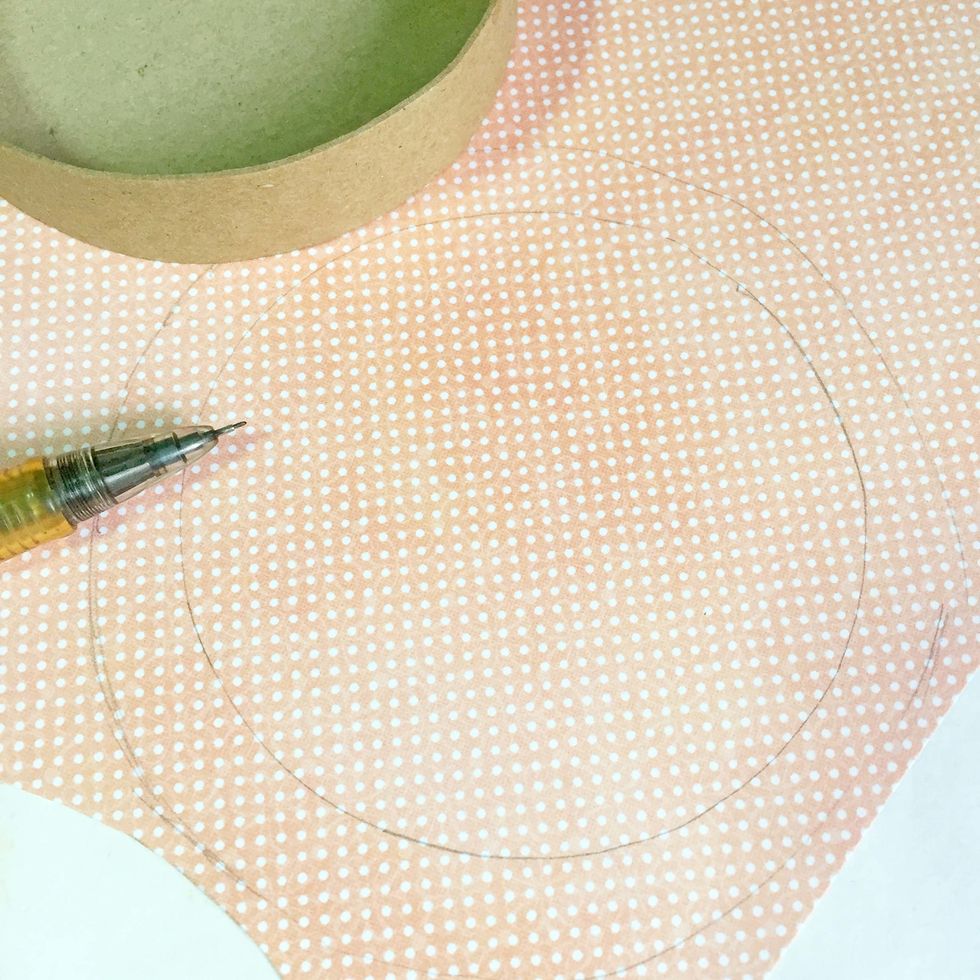
Trace out the bottom base onto a pattern paper of your choice using a mechanical pencil.
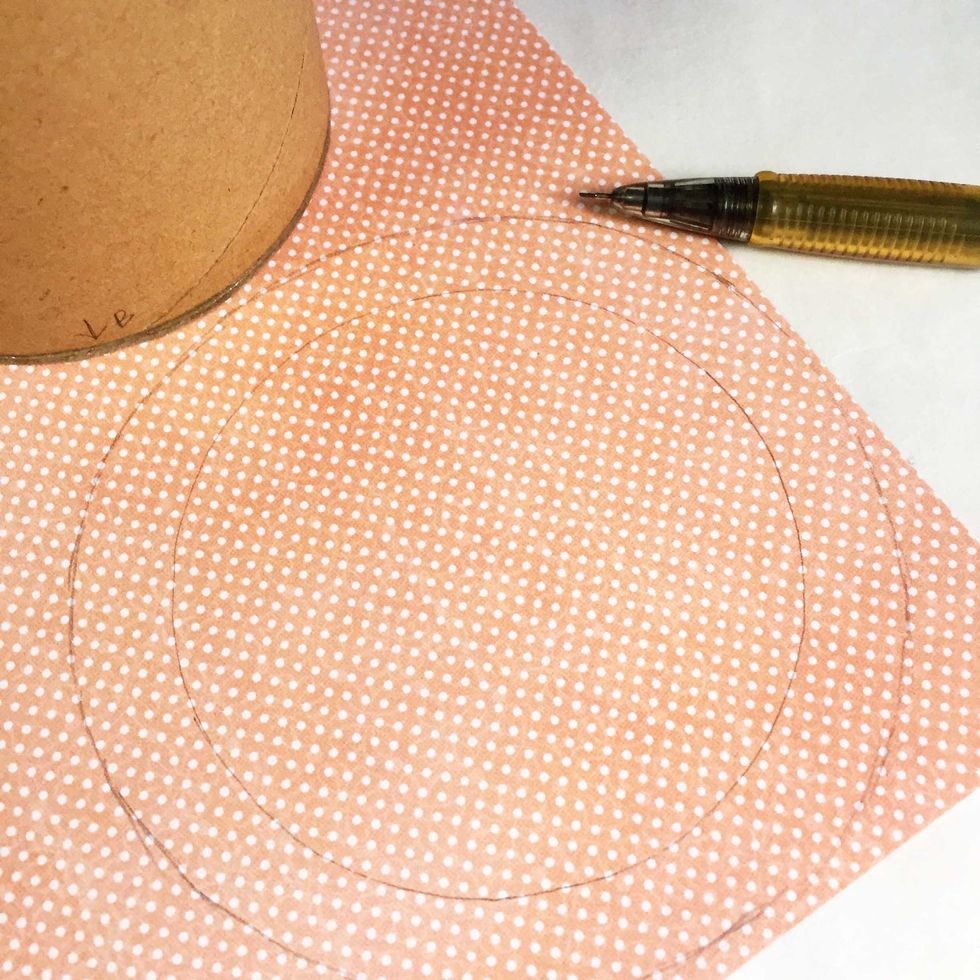
Draw a 0.5" bigger circle over.
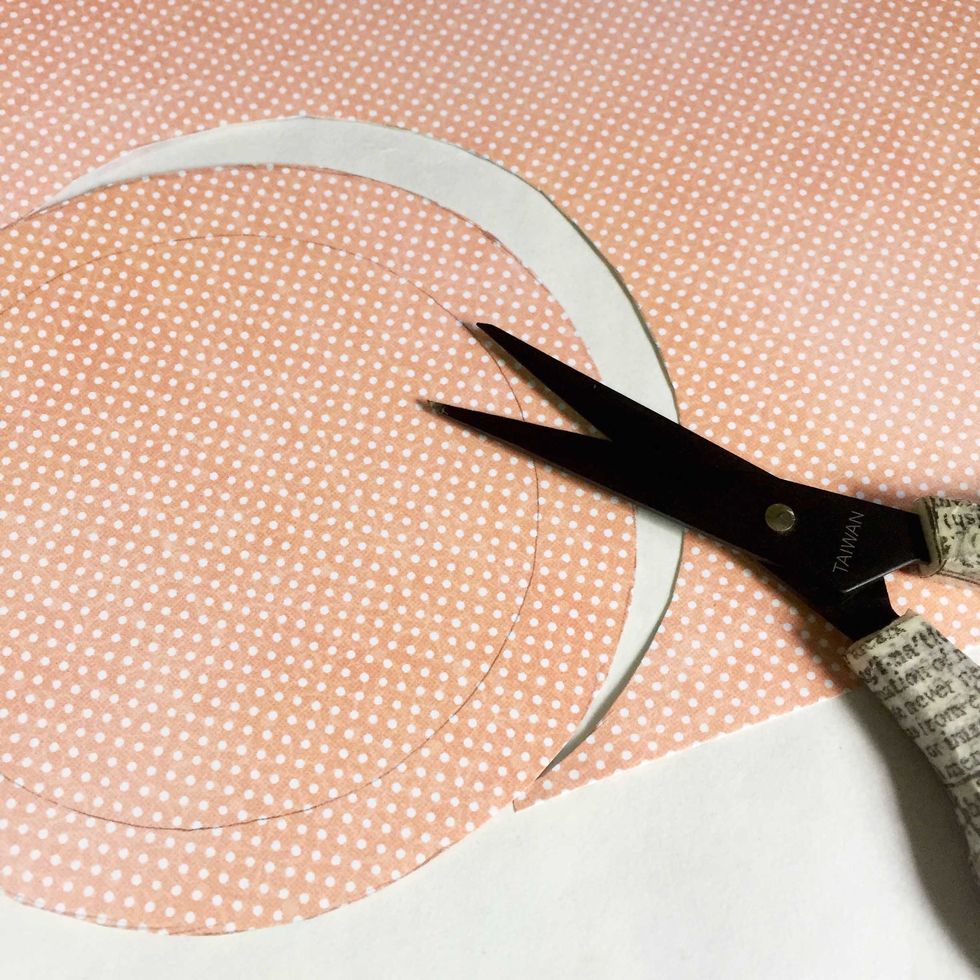
Trim it out using a precision scissors.
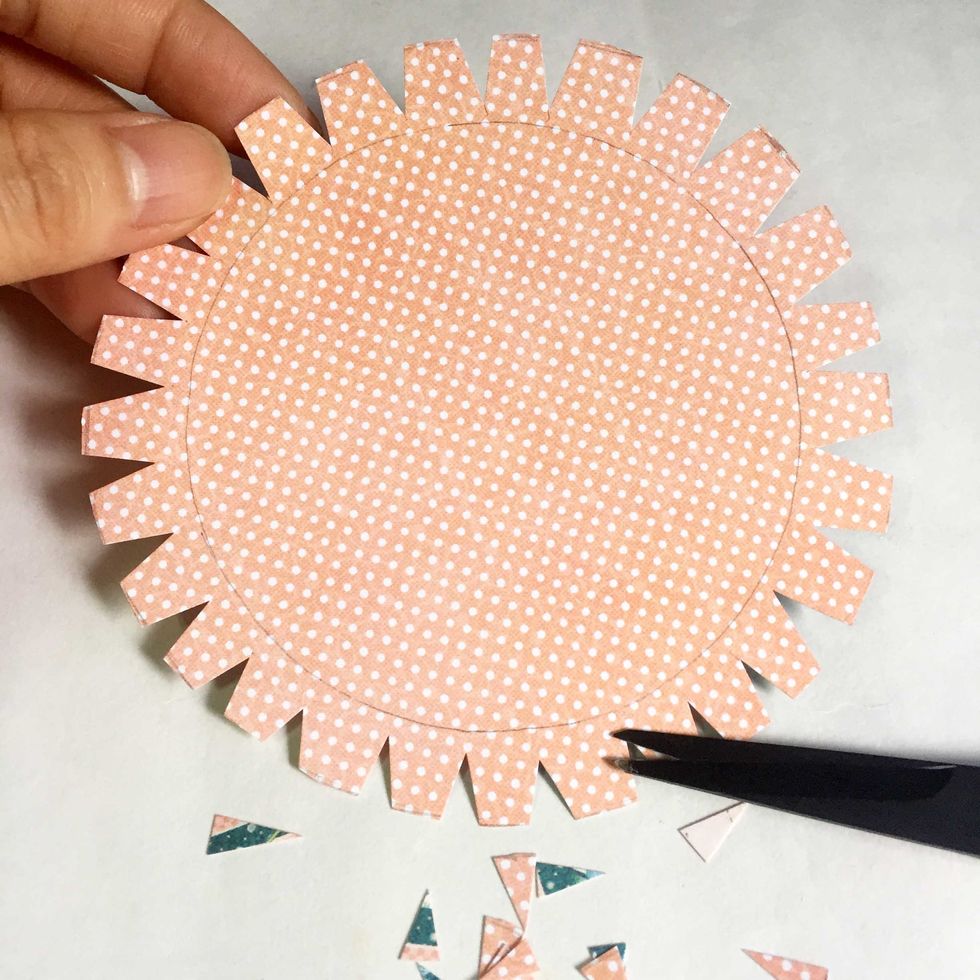
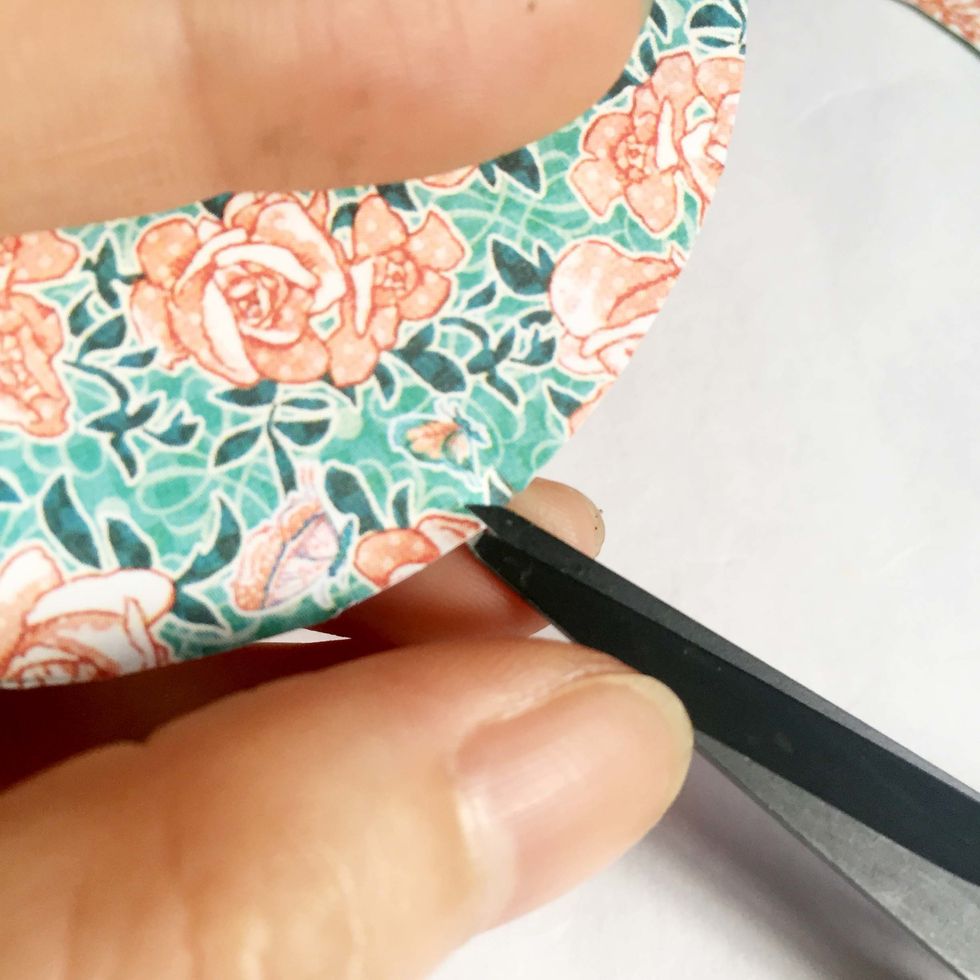
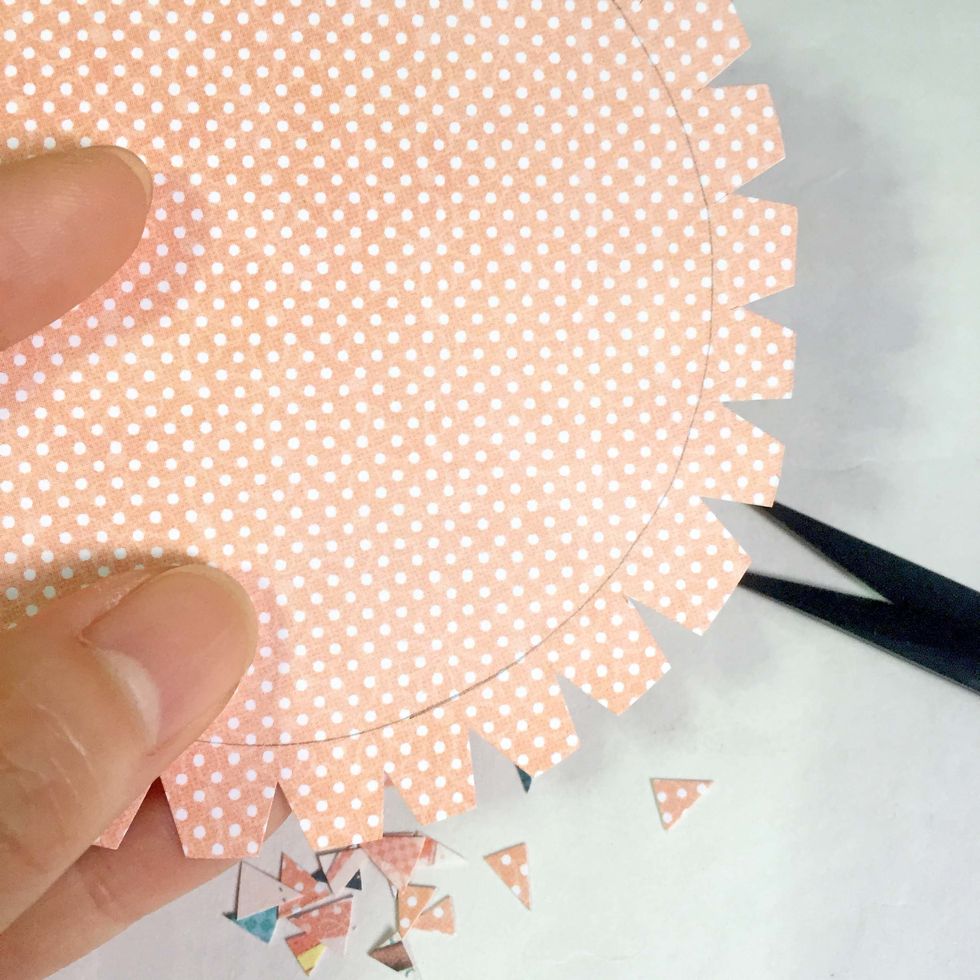
Snip around the edges, leaving about 1/8" away from the inner circle.
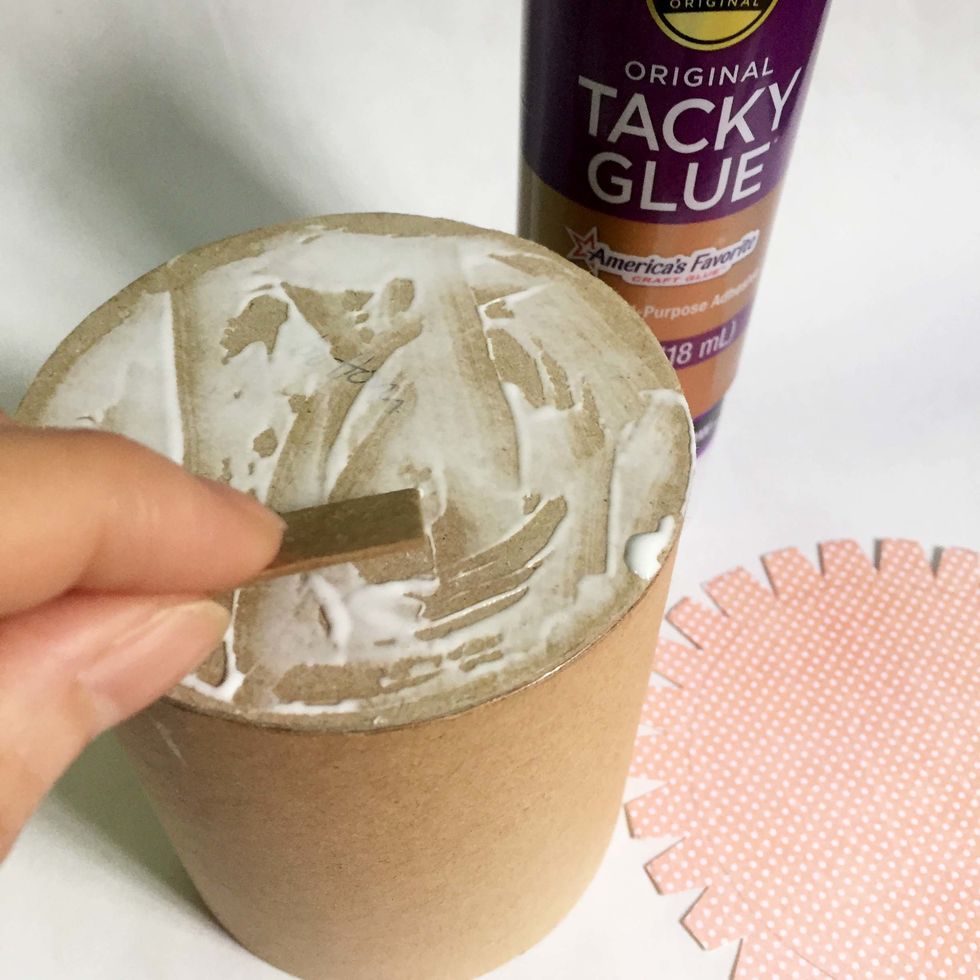
Apply some tacky glue onto the base.
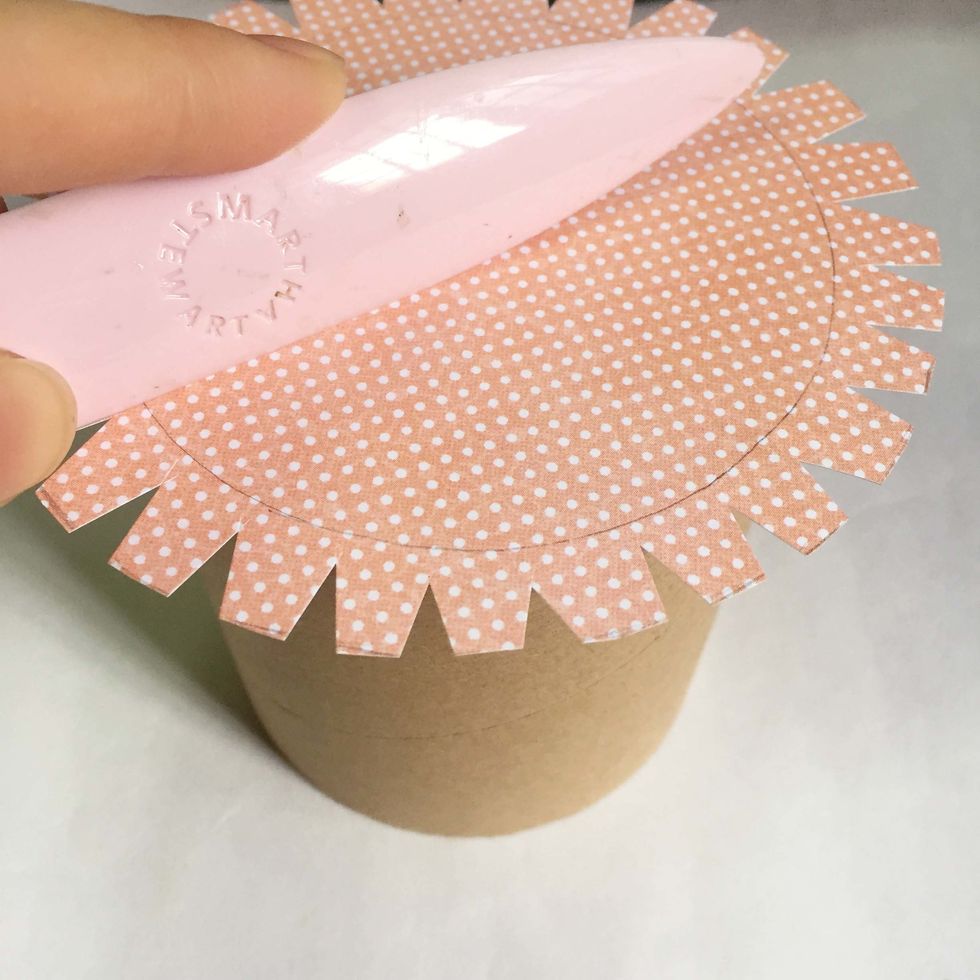
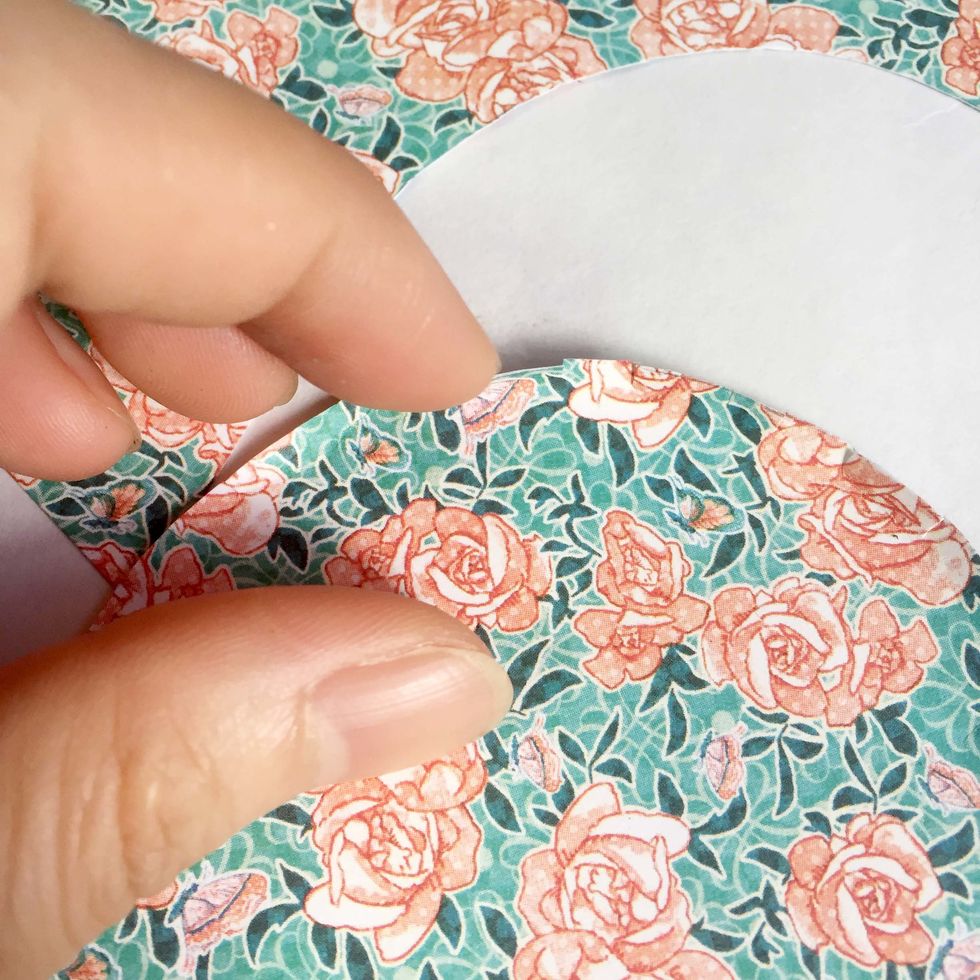
Paste the pattern paper over ensuring that it's in the centre of the base. Burnish it flat using a bone folder.
Erase off the pencil mark lightly using an eraser.
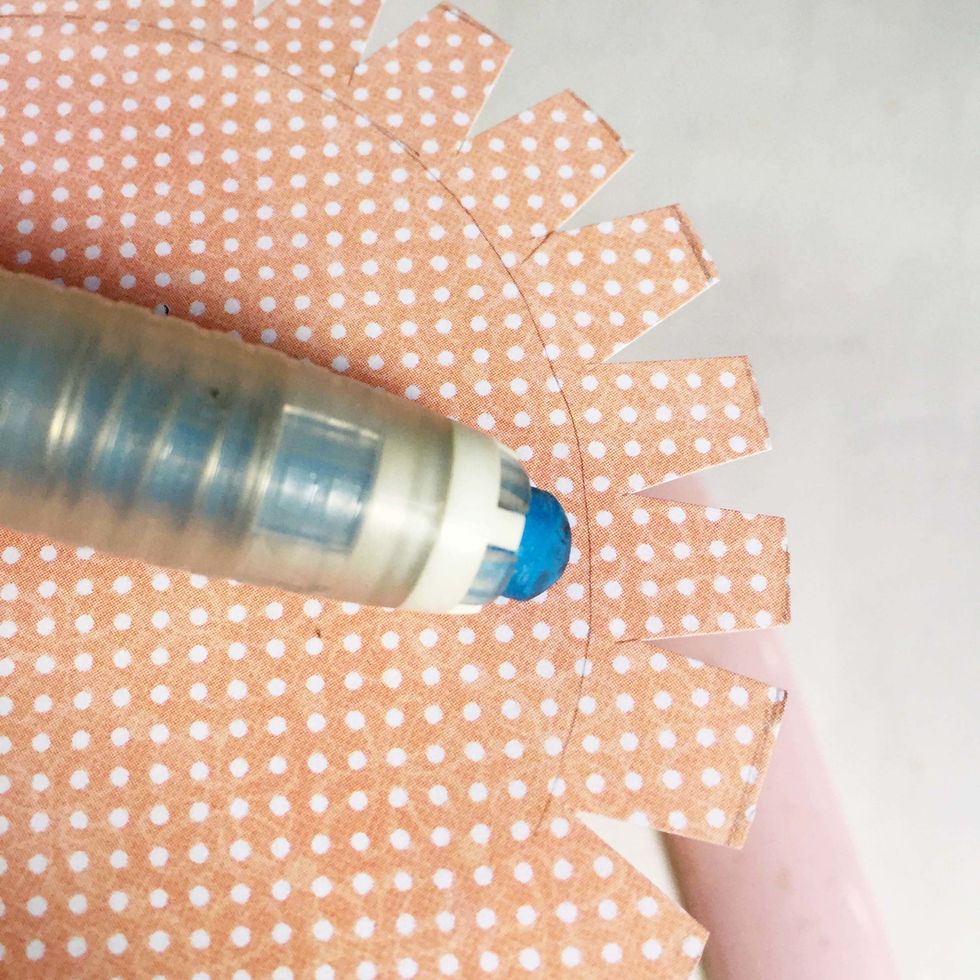
Condition the tabs by pushing them down around the roll using your thumb.
Flip the roll and apply some tacky glue at the edge of the roll.
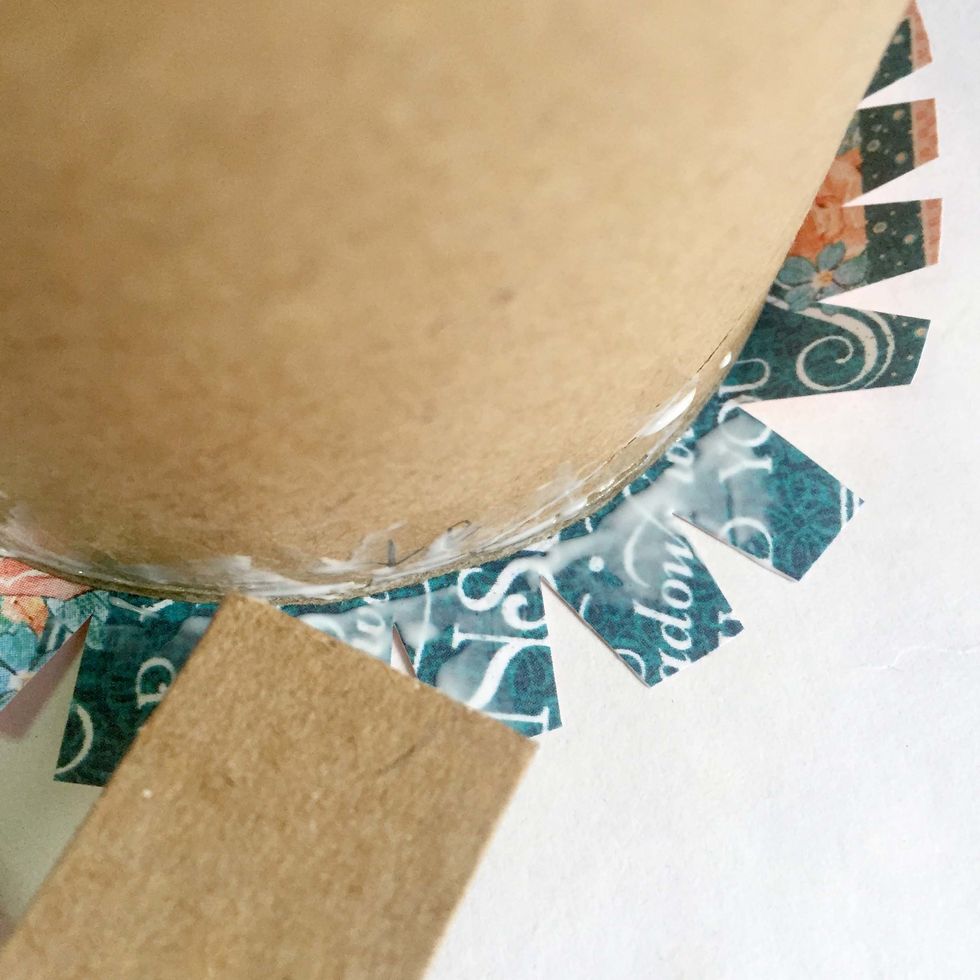
Spread the glue down onto the tabs.

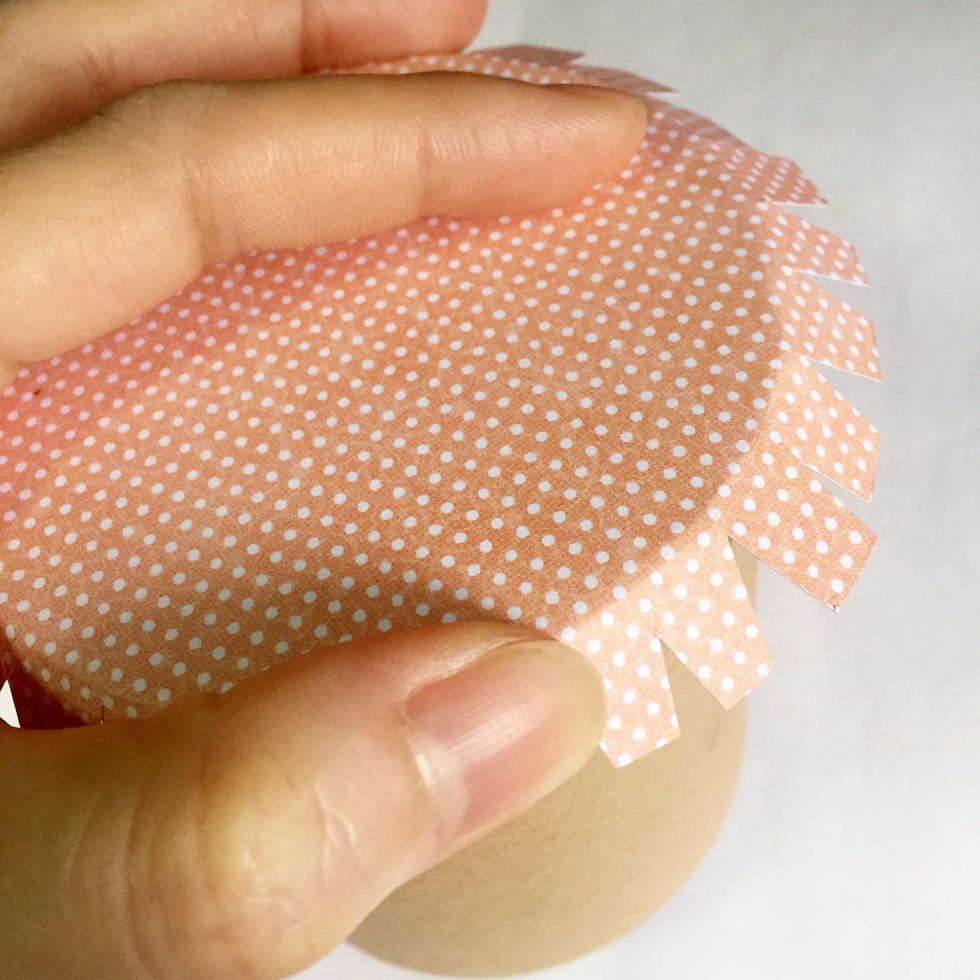
Gently press the tabs onto the roll using your fingers ensuring they are well flushed down from the edges.
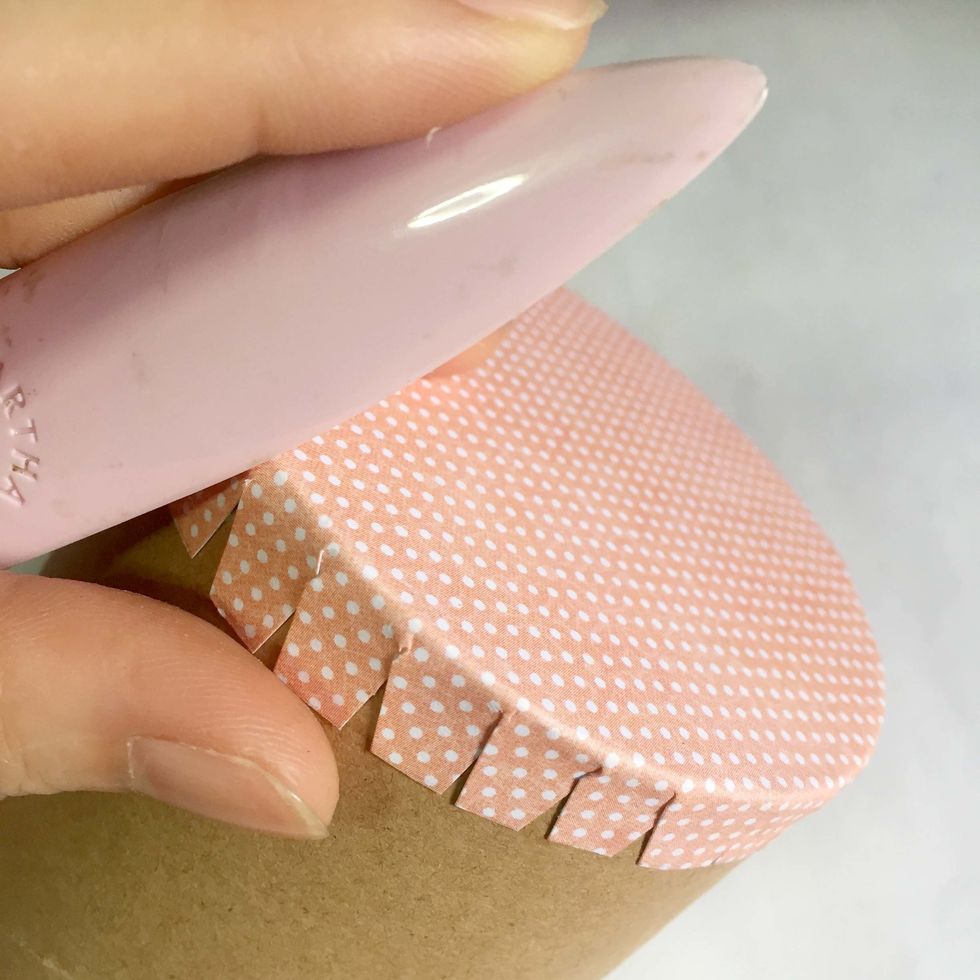
Using the edge of the bone folder, give the edge a good burnish to ensure a smooth surface around the edges.
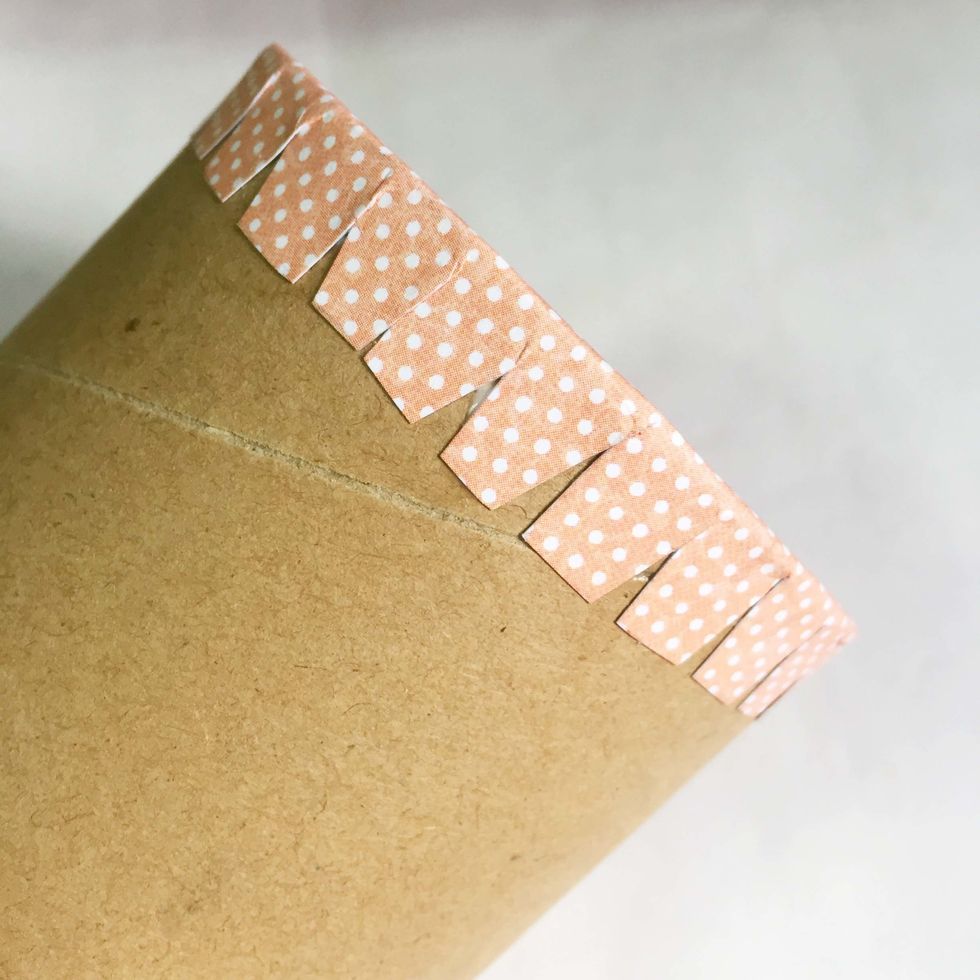
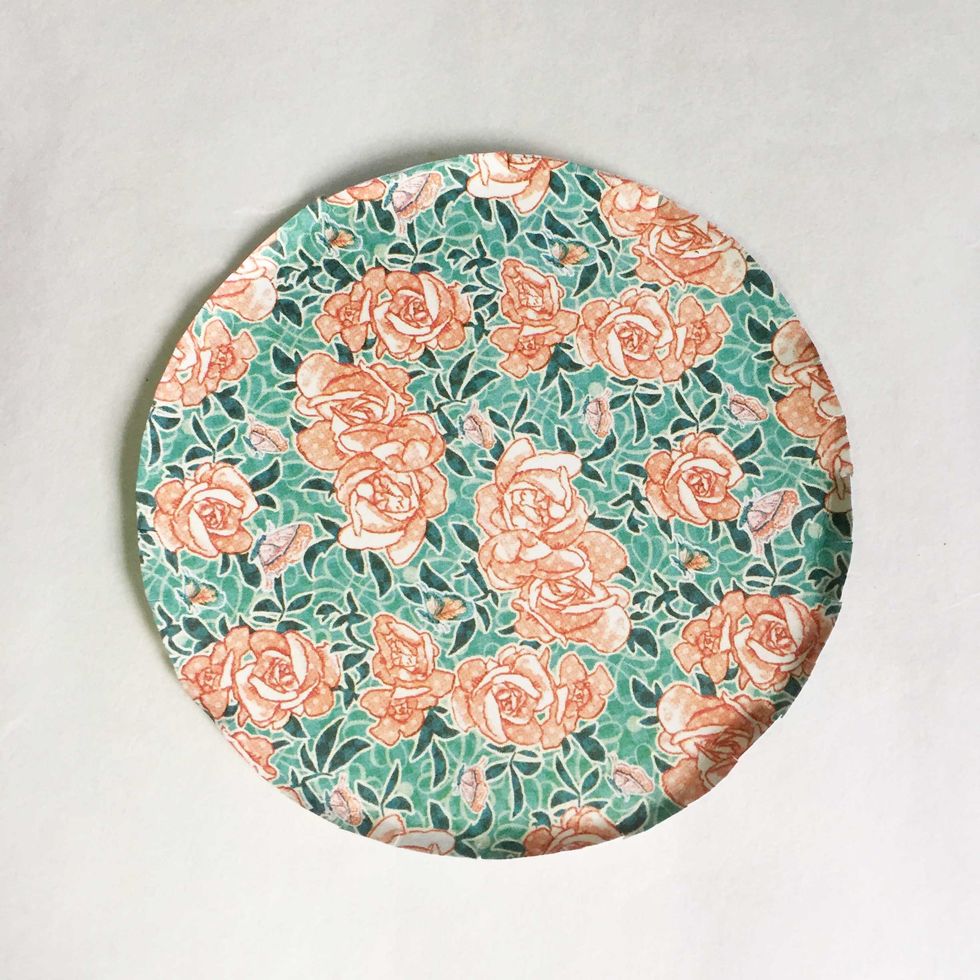
When the tabs are all glued down, this is how it will look like.
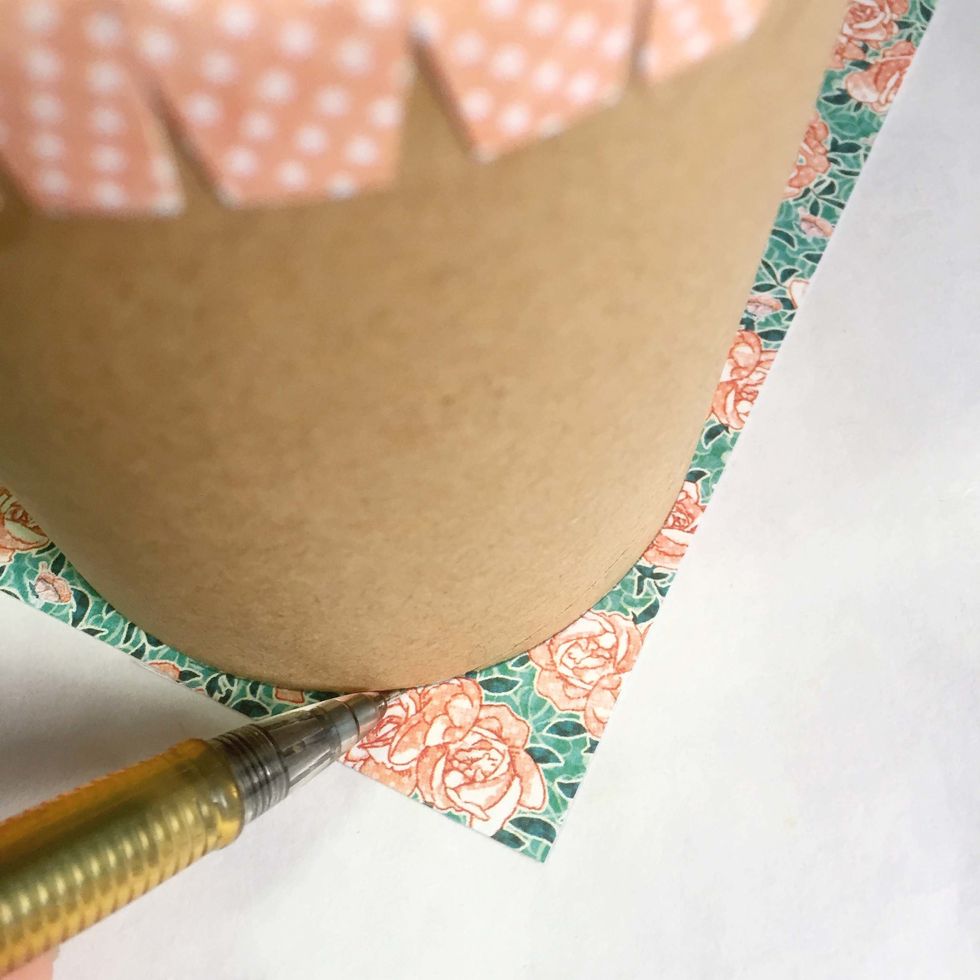
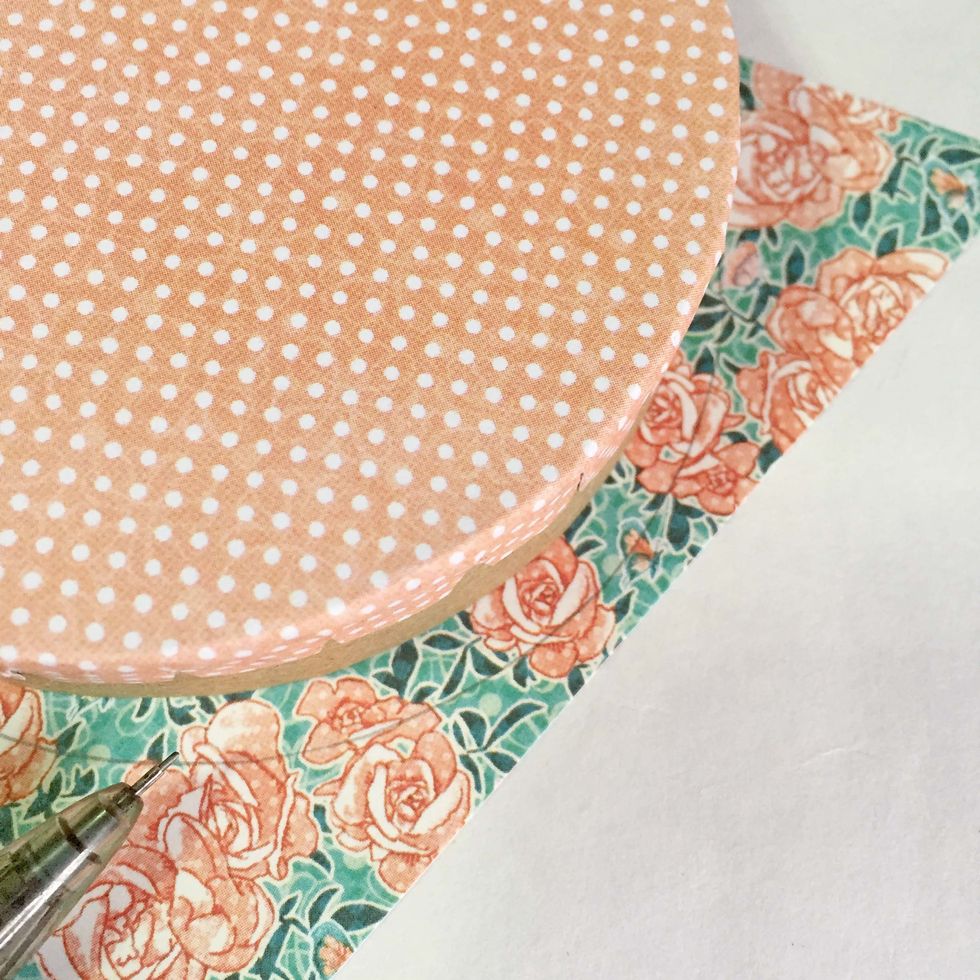
Trace out another base onto another pattern paper of your choice using a mechanical pencil.

Trim it out using a precision scissors.
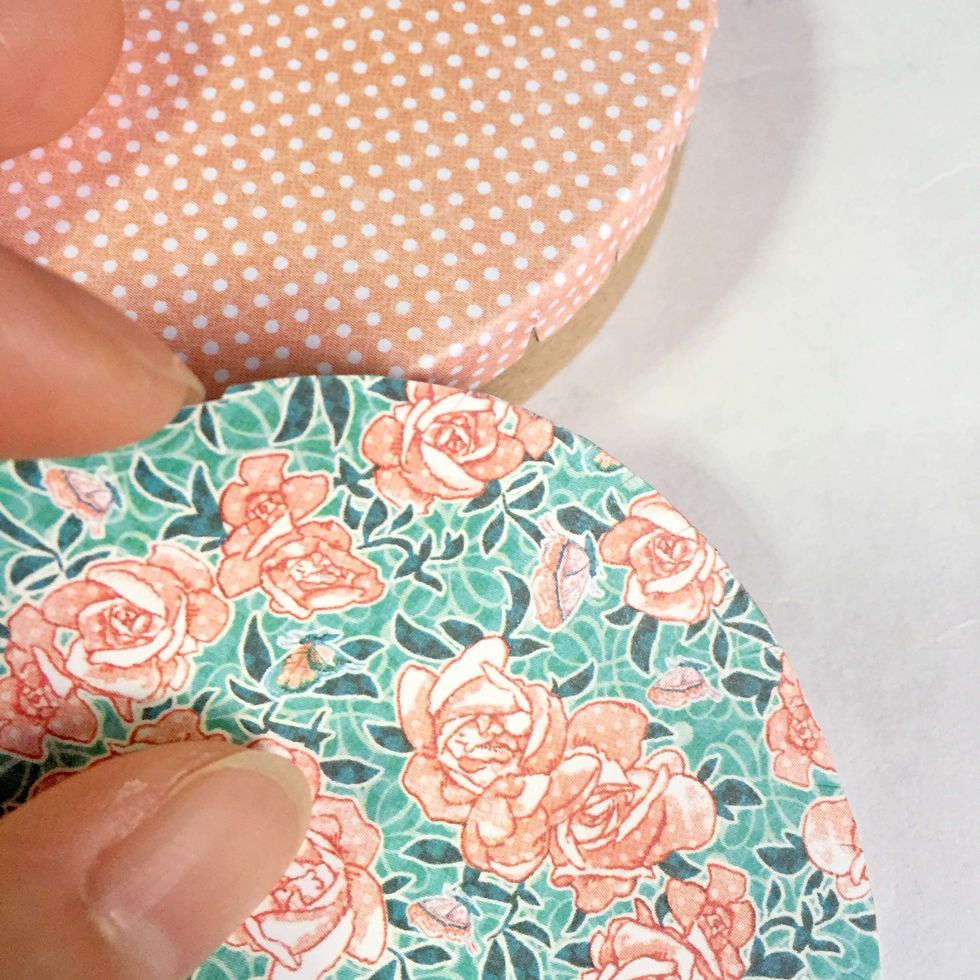
Cut very small snips around.
Using your fingernail, gently pull up the snips to curve the edges.
Once the edges are curved up, it look like a plate. This is to ensure easy placement of the bottom base into the roll.
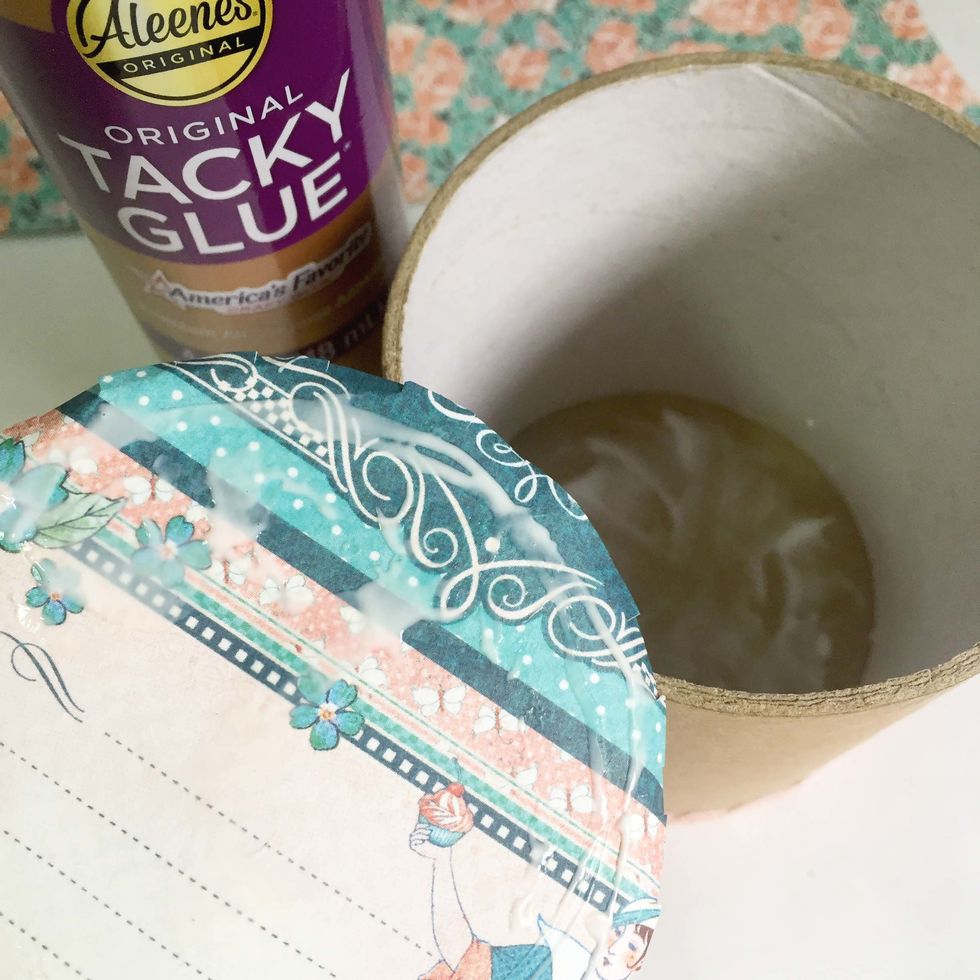
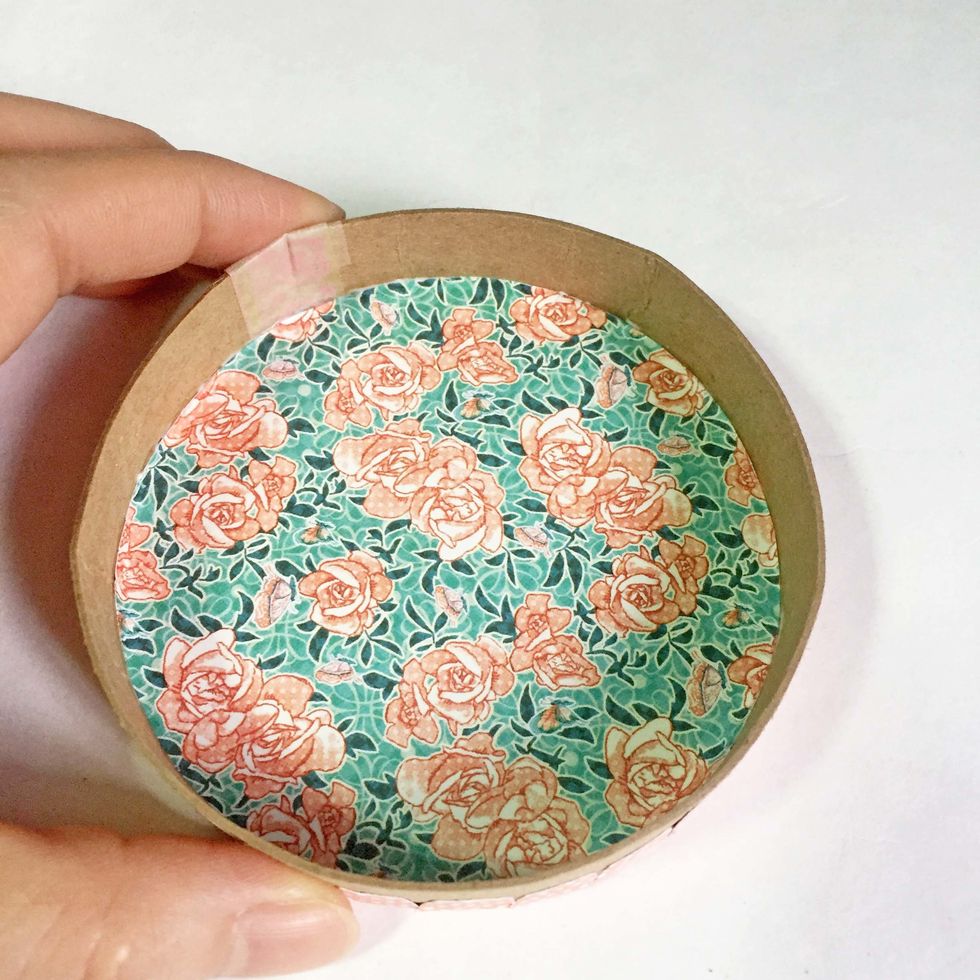
Apply some tacky glue onto the inside of the base, as well as the pattern paper.
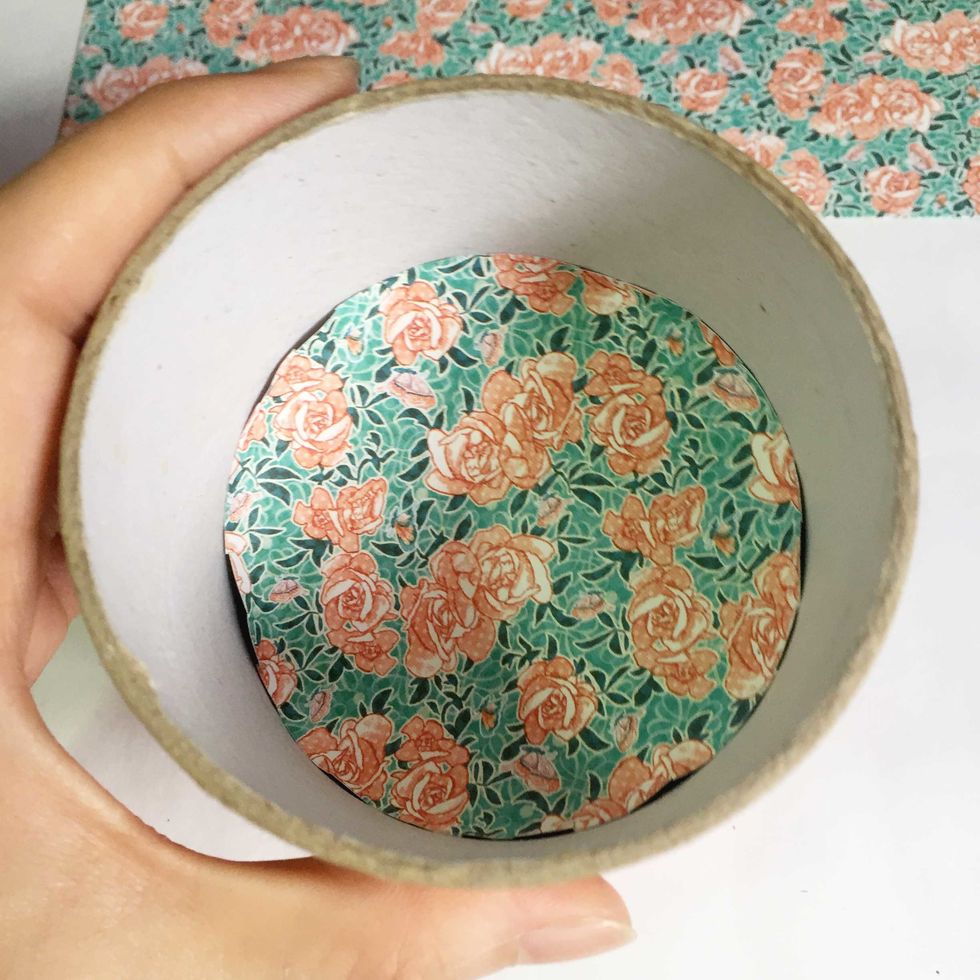
Gently push the pattern paper into the centre of the roll.
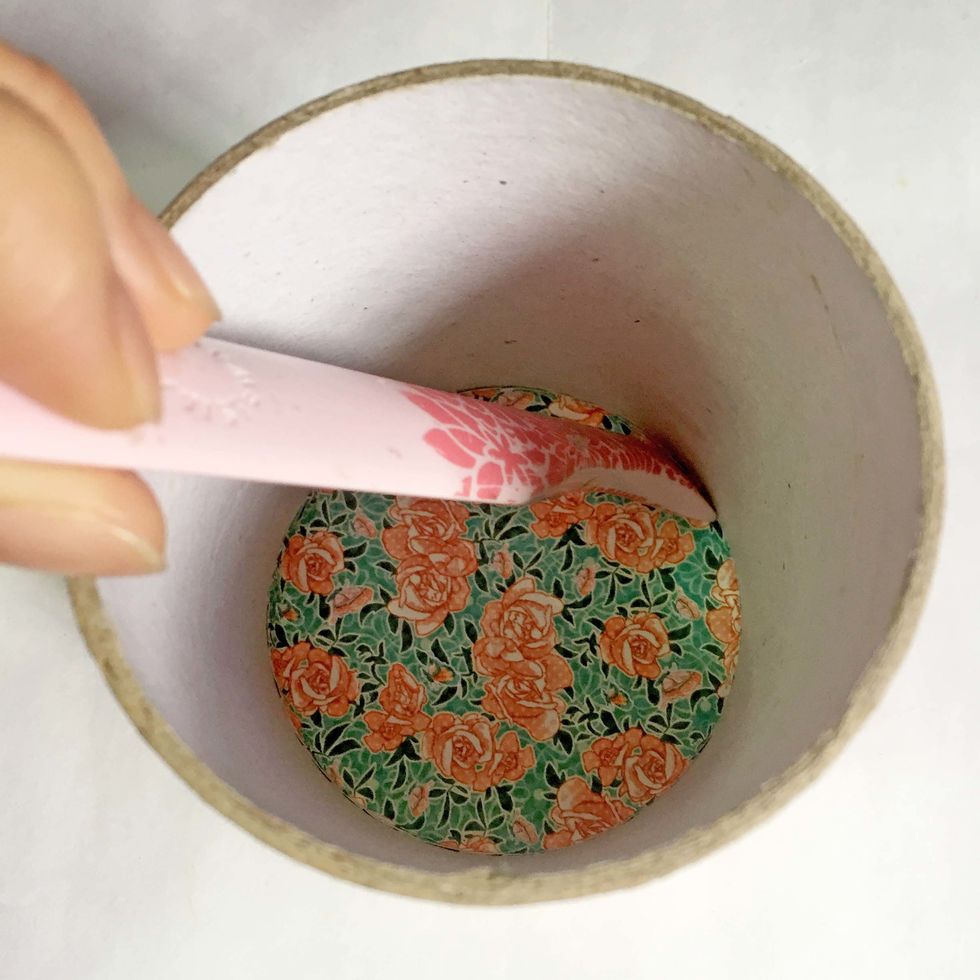
Once it reach the bottom, press down the pattern paper by burnishing using a bone folder.

To ensure the pattern paper is well adhere towards the edges, press down the edges using the tip of the bone folder.
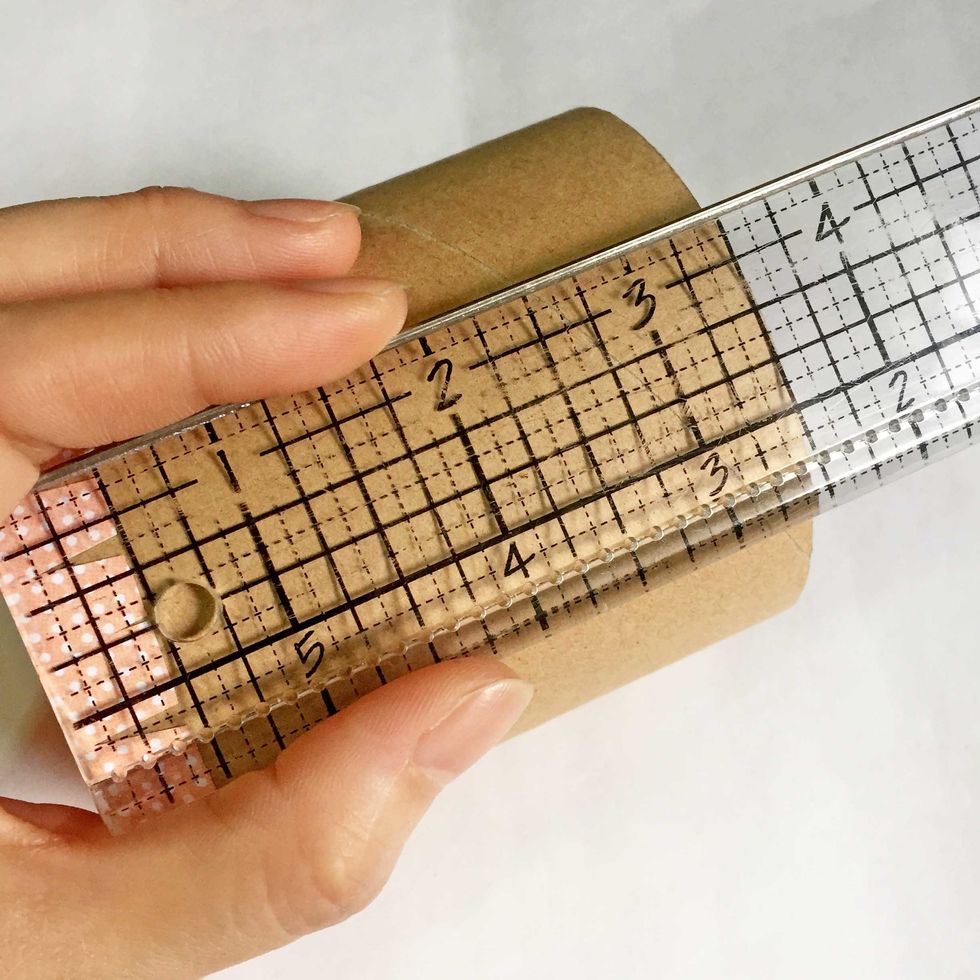
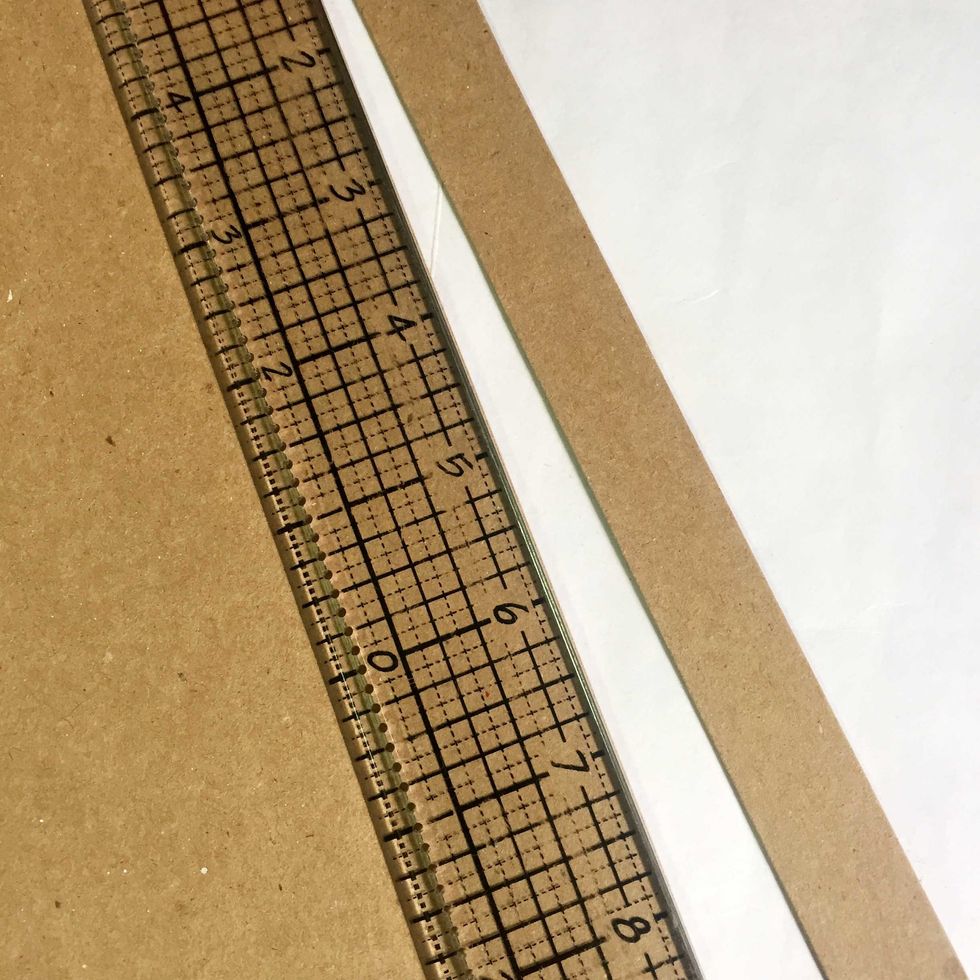
Measure the toilet roll using a ruler to give an estimation on how long is the height of the jar. For this roll, the height is ~3.5".
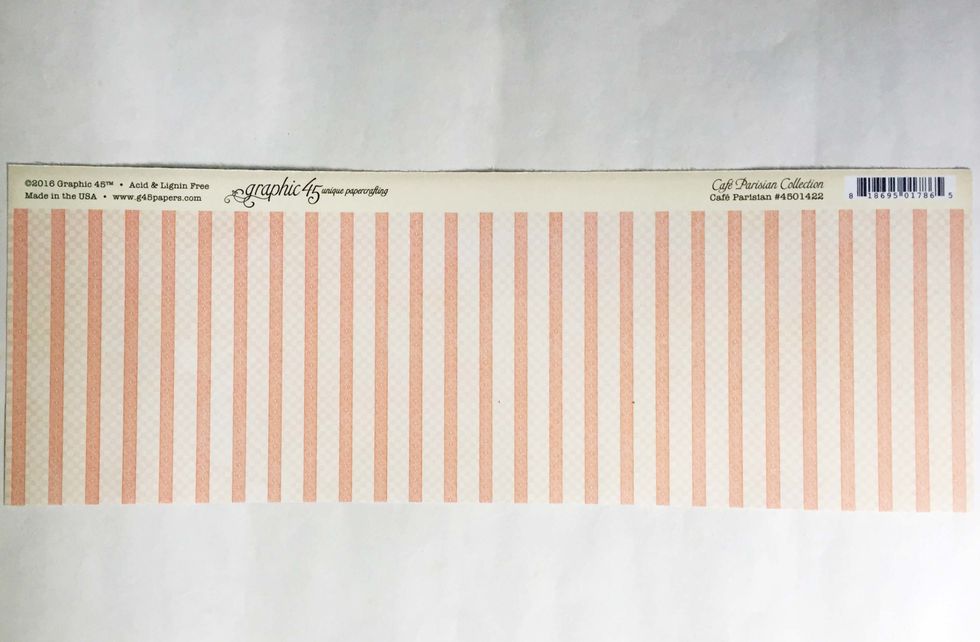
Add ~1/2" on top of the measured height (3.5" + 0.5") and trim out 4" wide of strip from the pattern paper of your choice.
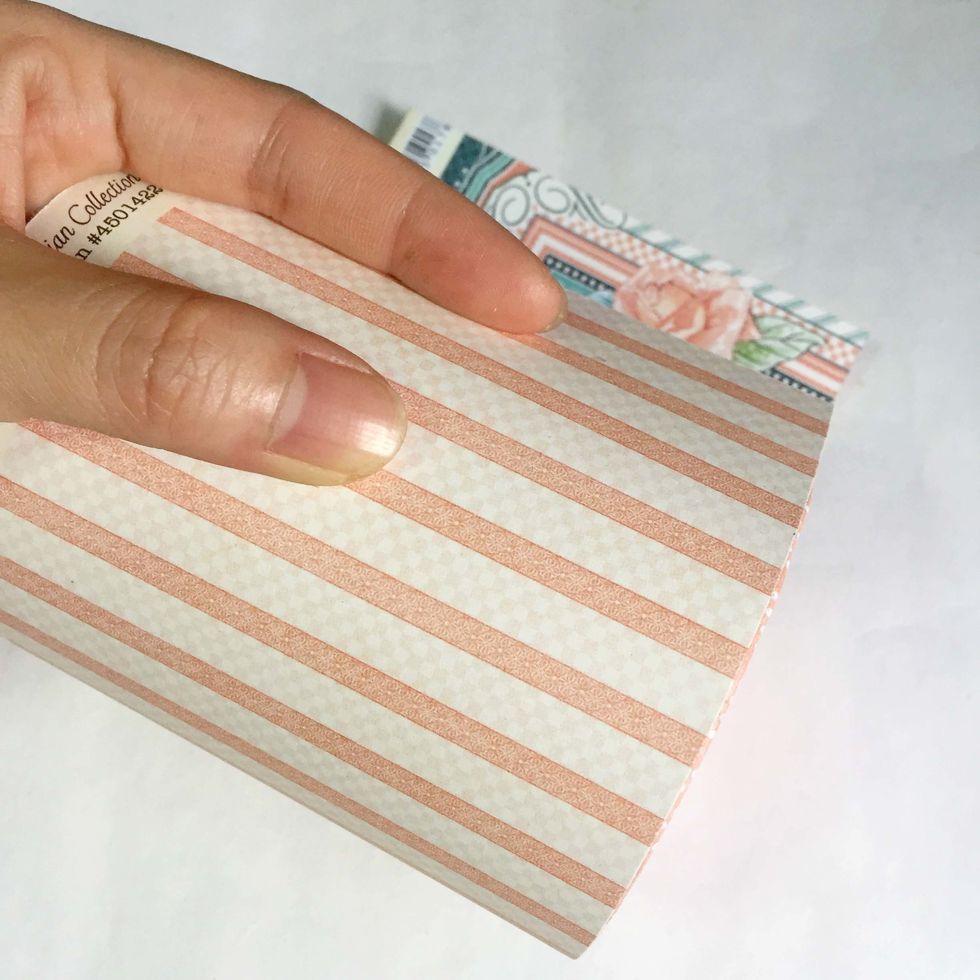
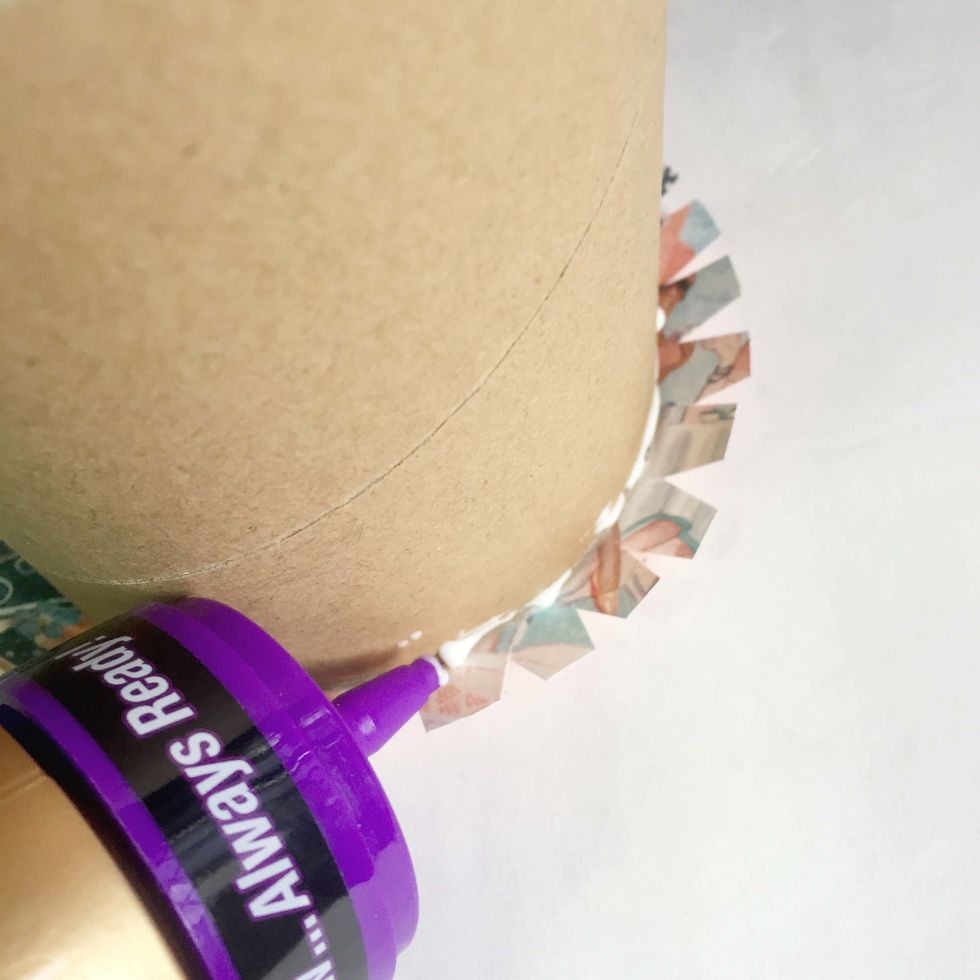
Glue over the surface of the roll.
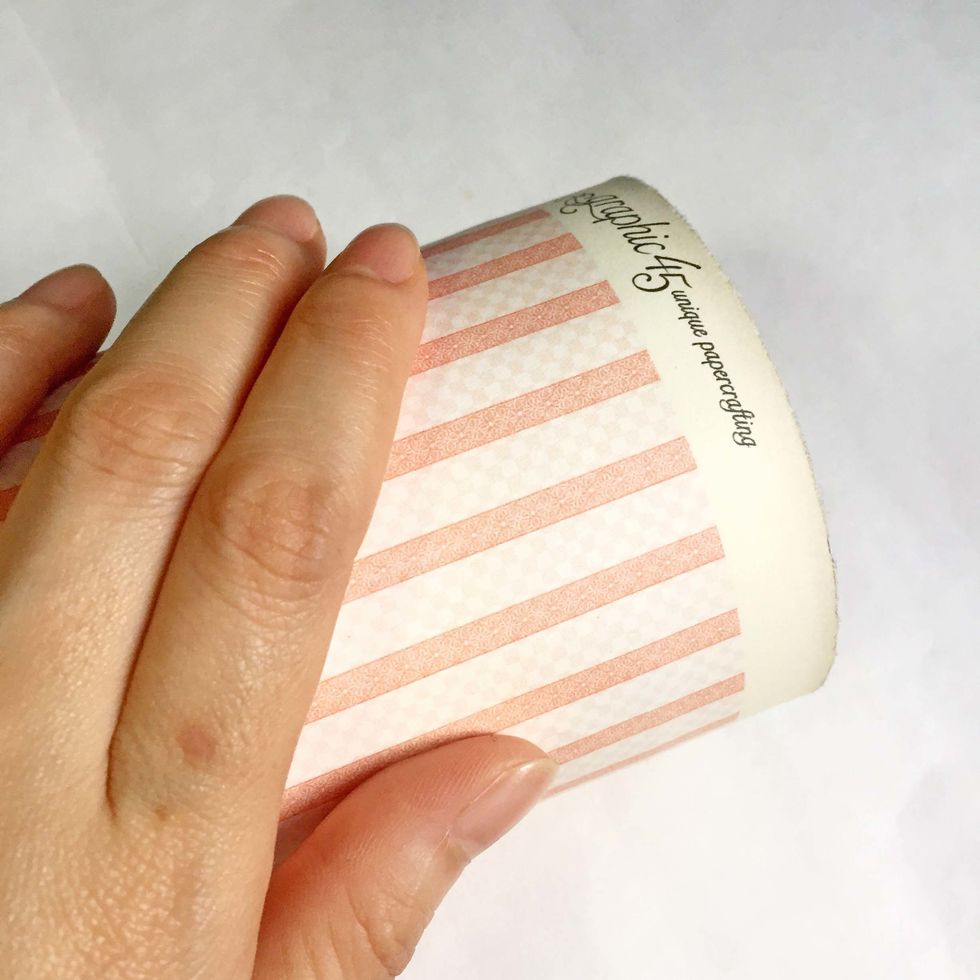
Roll the roll using your palm to ensure the pattern paper is well adhered onto the surface.
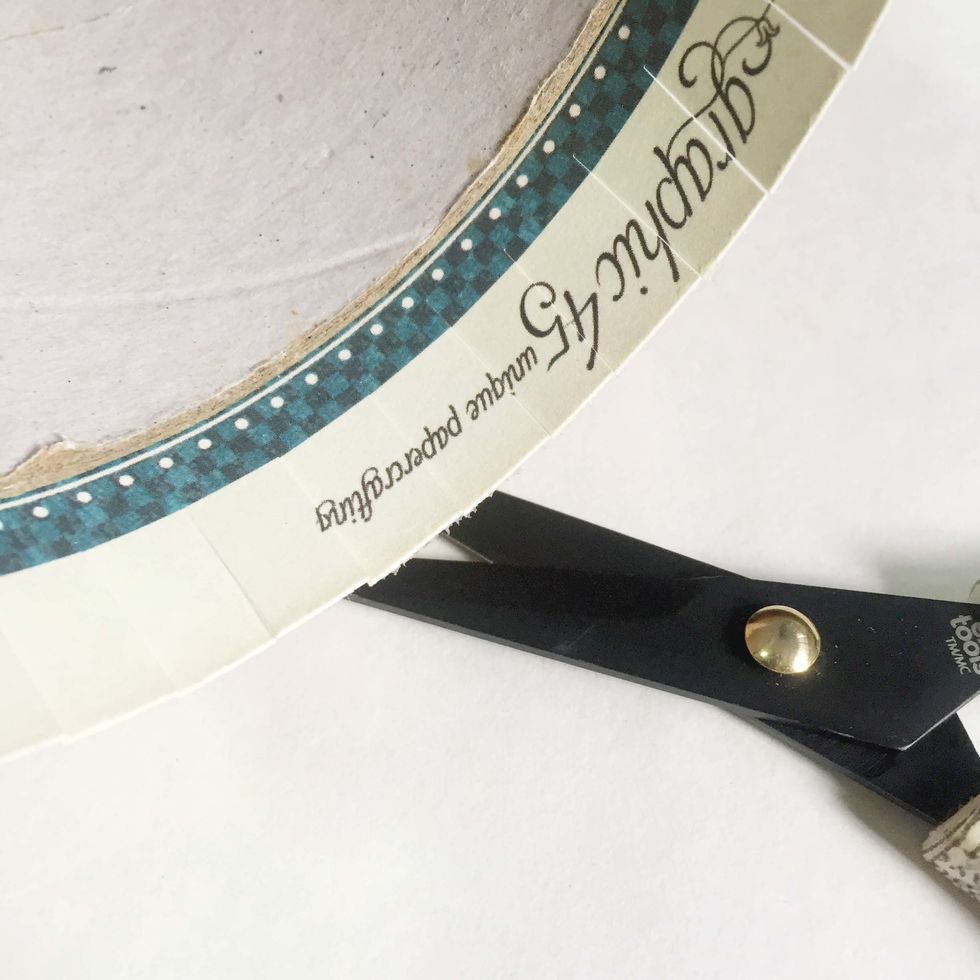
On the inside, snip around the flagging edge of the pattern paper.
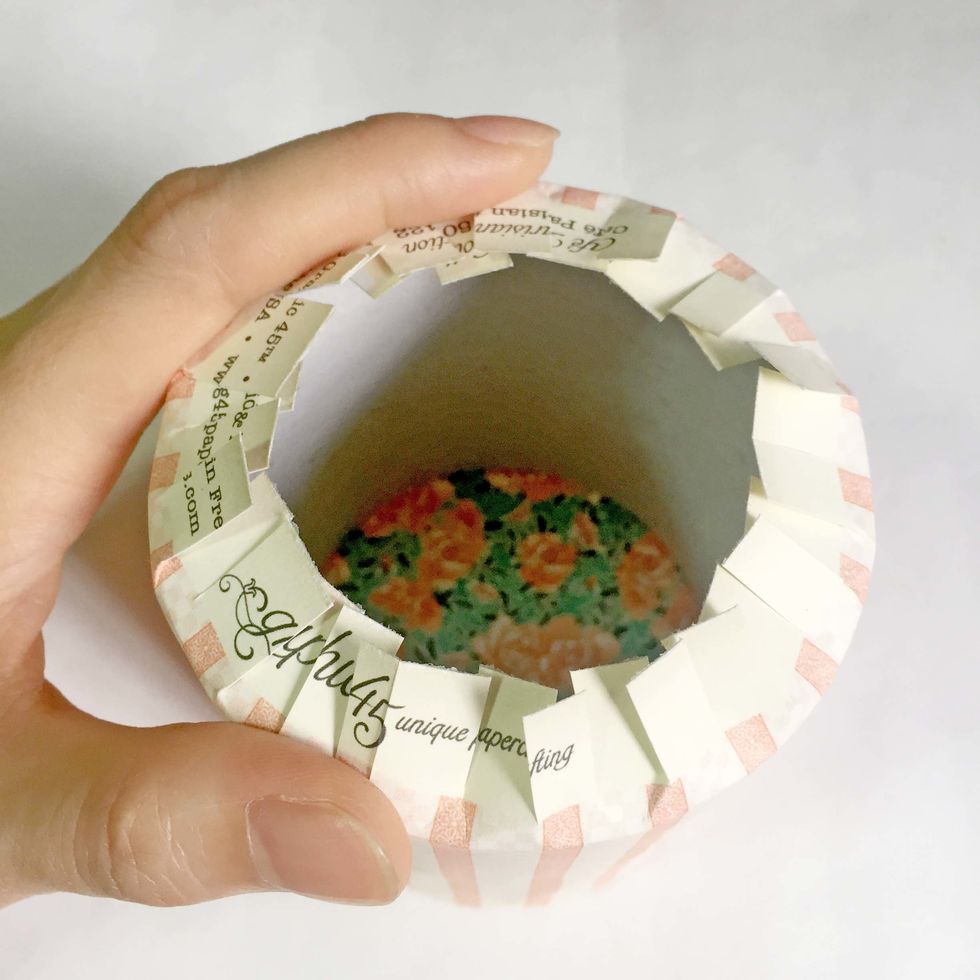
Condition the tabs but pressing down using your fingers.
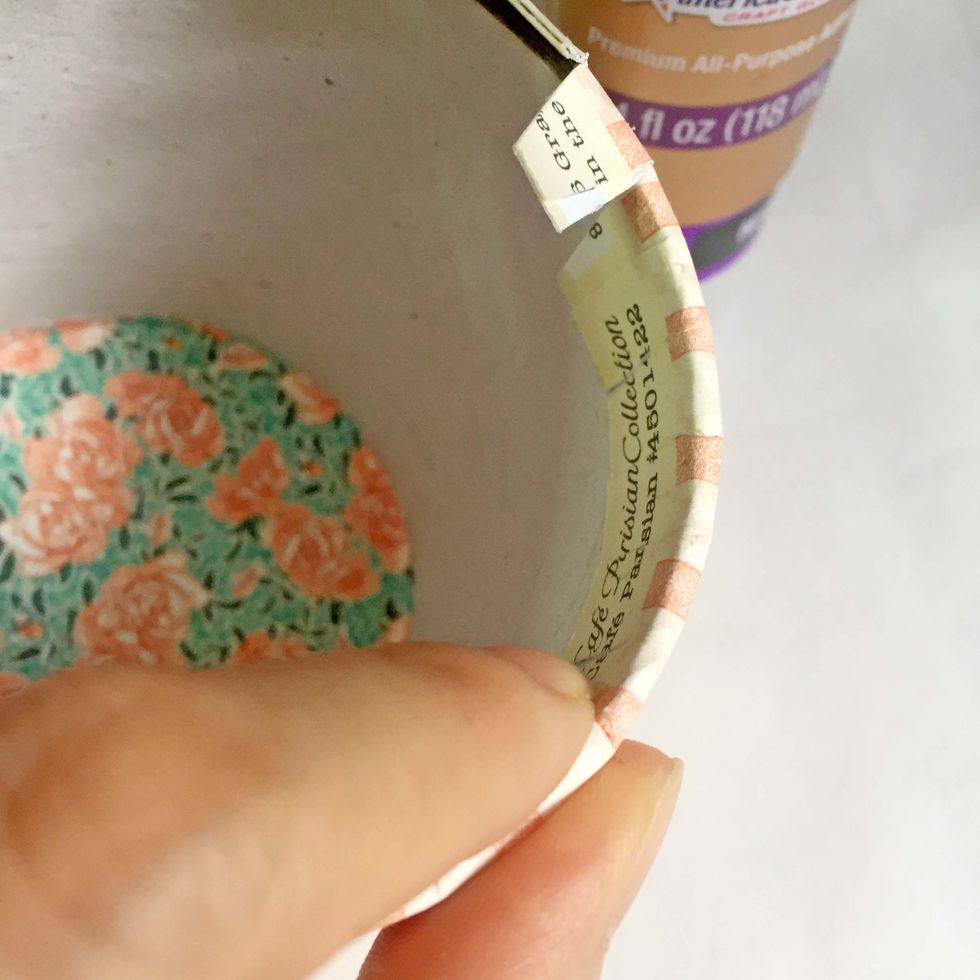
Gently push and glue the tabs down using tacky glue.
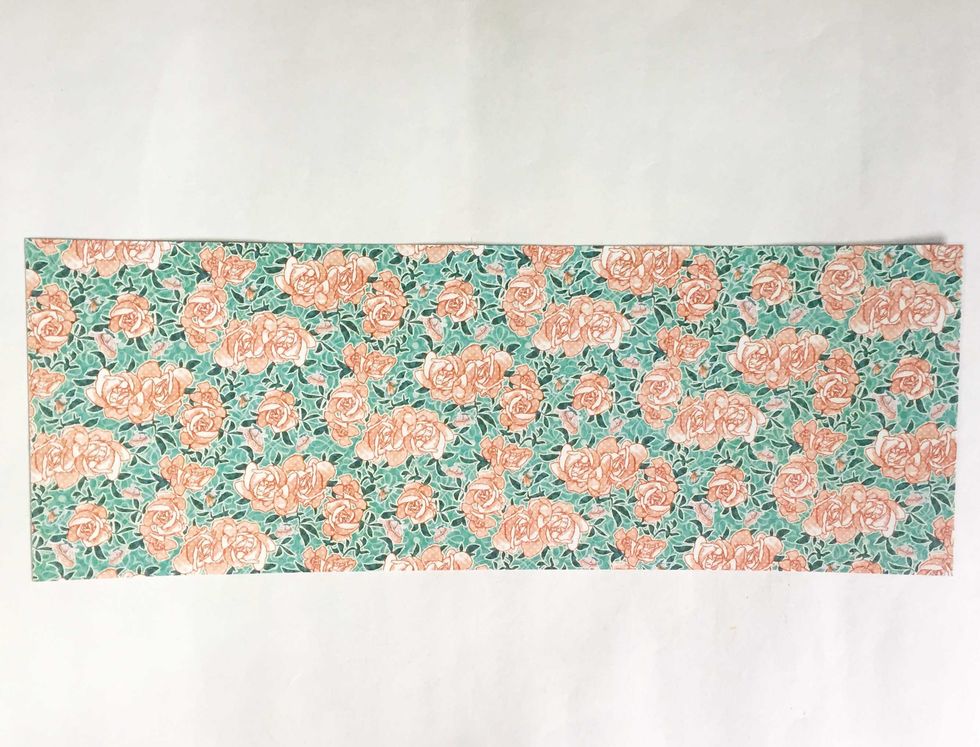
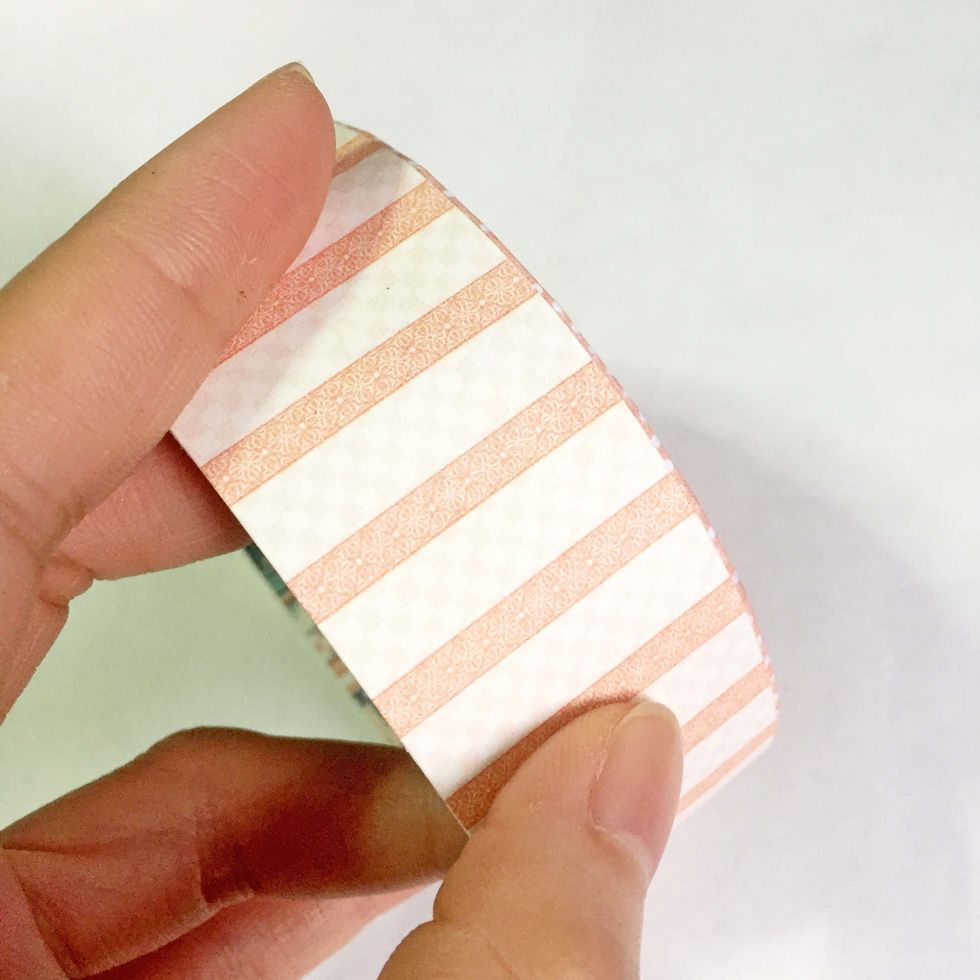
Trim a 3.5" wide of strip from the pattern paper of your choice.
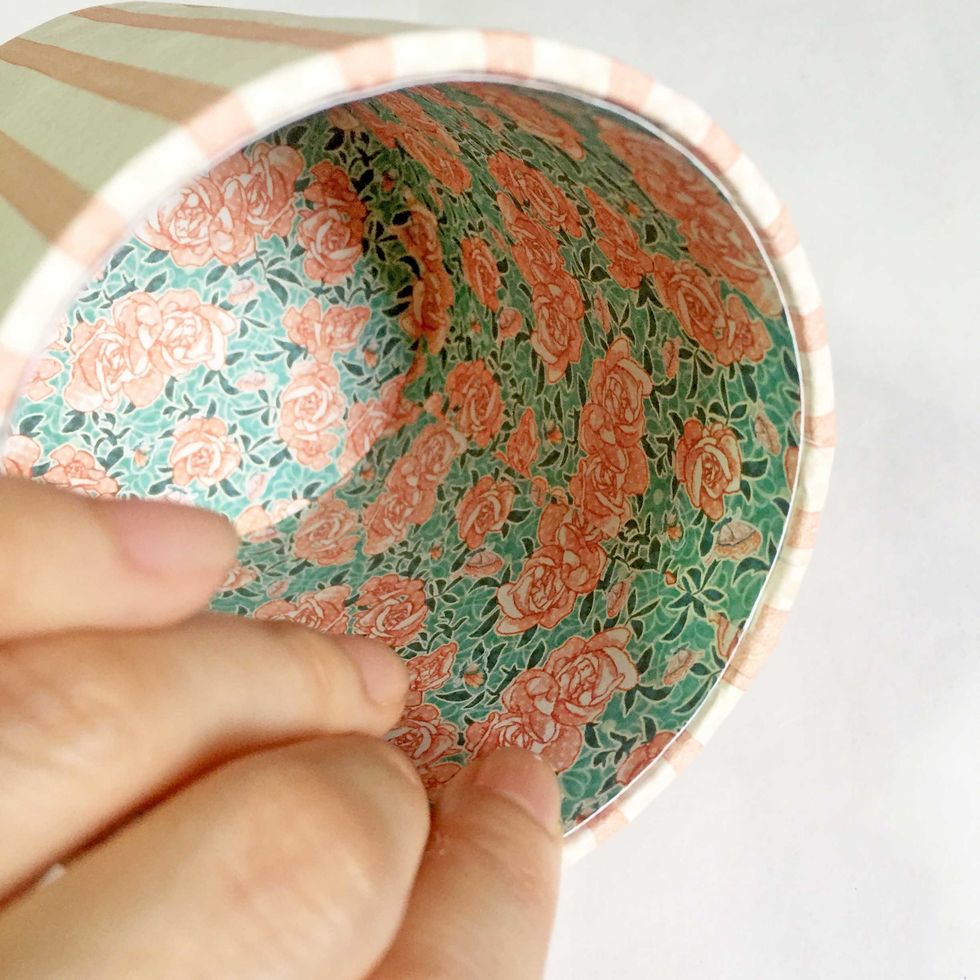
Glue down the pattern paper into the inside of the roll. You may want to trim the height a little to fit before gluing down.
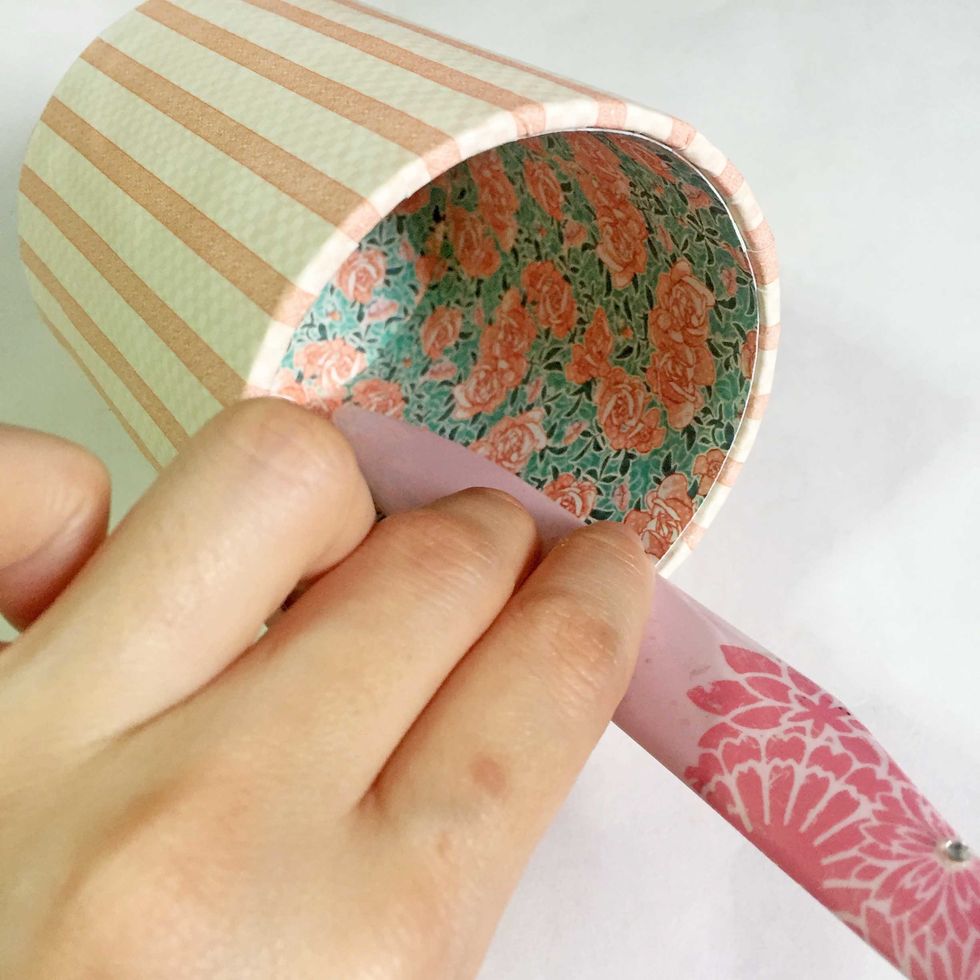
Using a bone folder, give the surface a good burnish. And the body of the jar is completed.
To make the lid, apply some glossy accents on the edge of the lid (from Step 4-5).

Glue the strip down (from Step 6-7), as close to the edge as possible.
You may find it easier to lay the lid flat and rim it around while adhering the strip. Trim off the excess strip and secure the edges using a clothes peg.
For added strength, apply across the edges with glossy accents.
While leaving the lid to dry, trace the top of the lid onto the pattern paper of your choice using a mechanical pencil.
Draw a 0.5" bigger circle over. Just like Step 11.
Trim it out and snip around the edges like Step 13.

Glue the pattern paper down onto the top of the lid. The steps are the same as Step 14-22.
Trace out another lid base onto another pattern paper of your choice using a mechanical pencil. Using a precision scissors, trim the lid base out.
Cut small snips around, just as Step 25-27.
Glue the lid base down like Step 28-31.

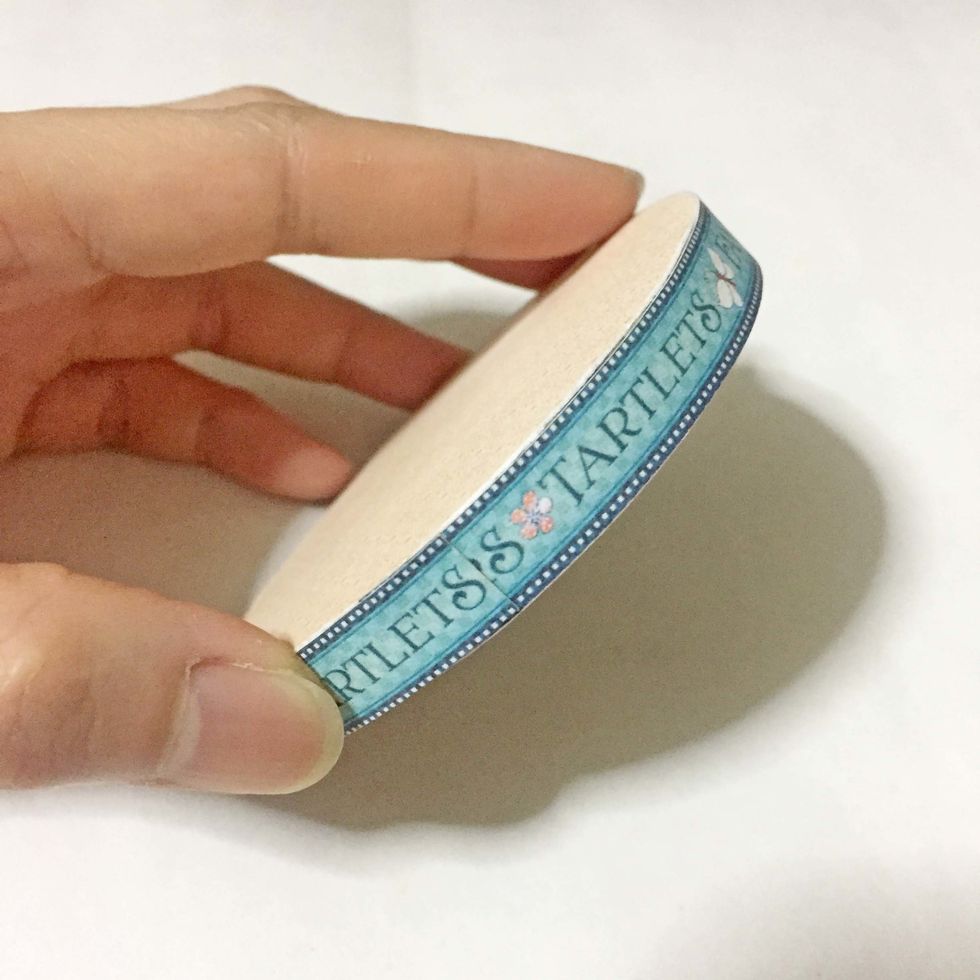
Trim a strip of 1.25" wide from the pattern paper of your choice.
Glue it around the surface of the rim of the lid.
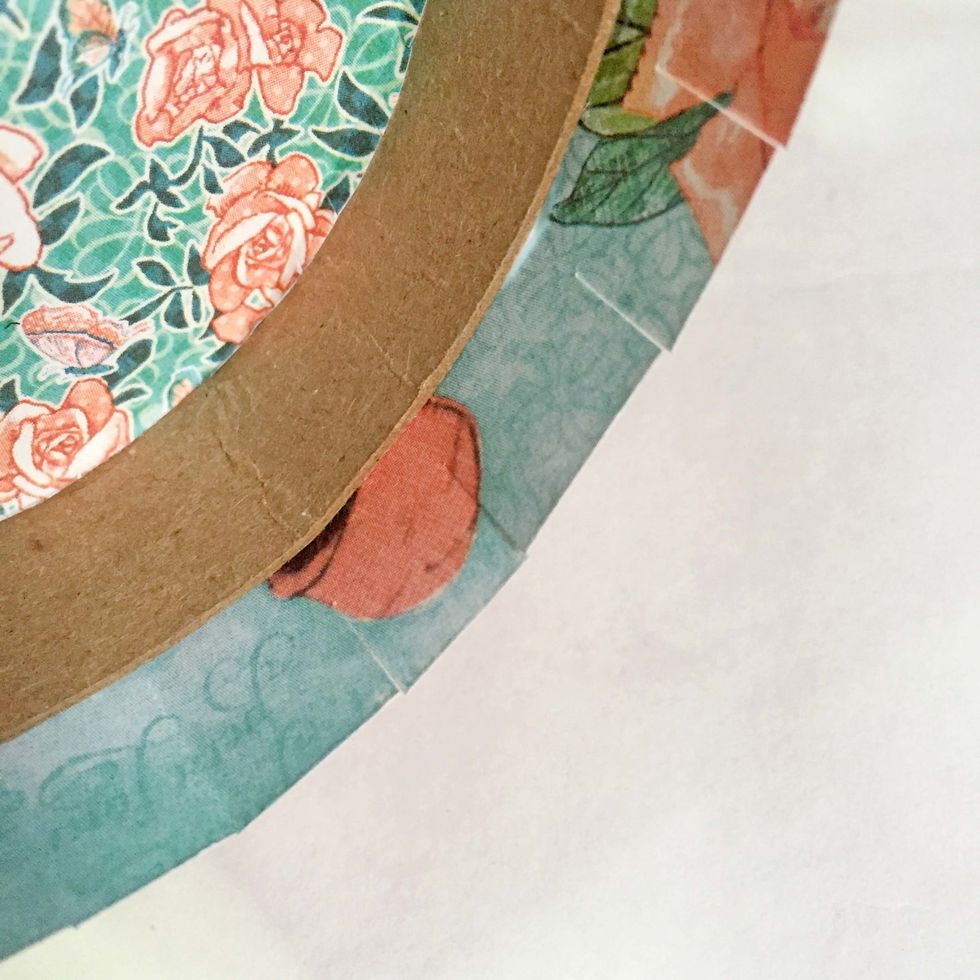
On the inside, snip around the flagging edge of the pattern paper. Glue down the tabs as of Step 36 - 38.
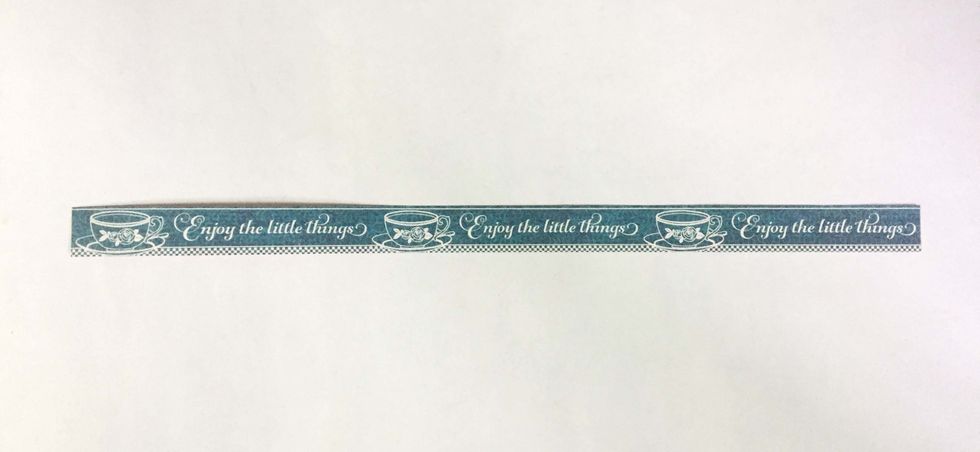
Trim a strip of your choice from the paper selection.
Glue it down onto the inner rim of the lid.
Optional: To create some dimension for the lid, trace out a smaller circle from the inside of the toilet roll using a mechanical pencil.
Cut it out using a heavy duty scissors.
Rim it around using a strip of your choice from the paper collection and cover the top with some pattern paper.
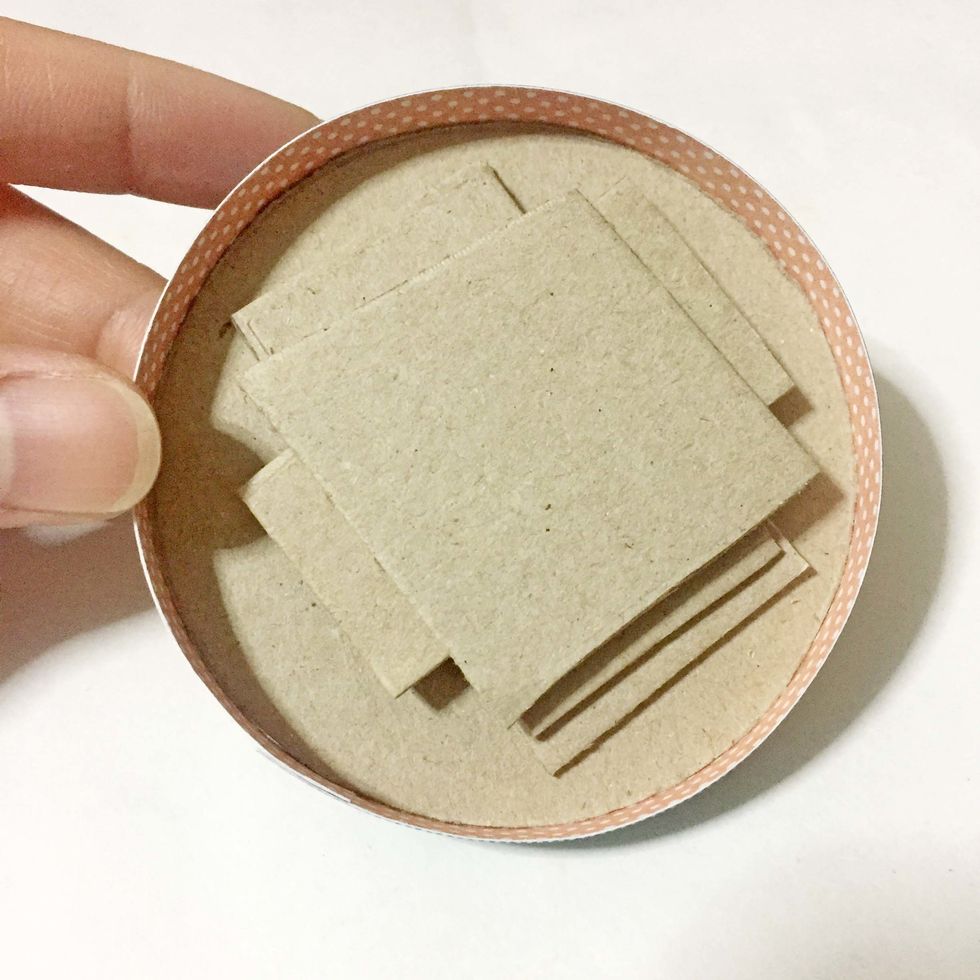
Using the leftover cardboards/chipboards, stack within the inside.
And glue it down on top of the lid.
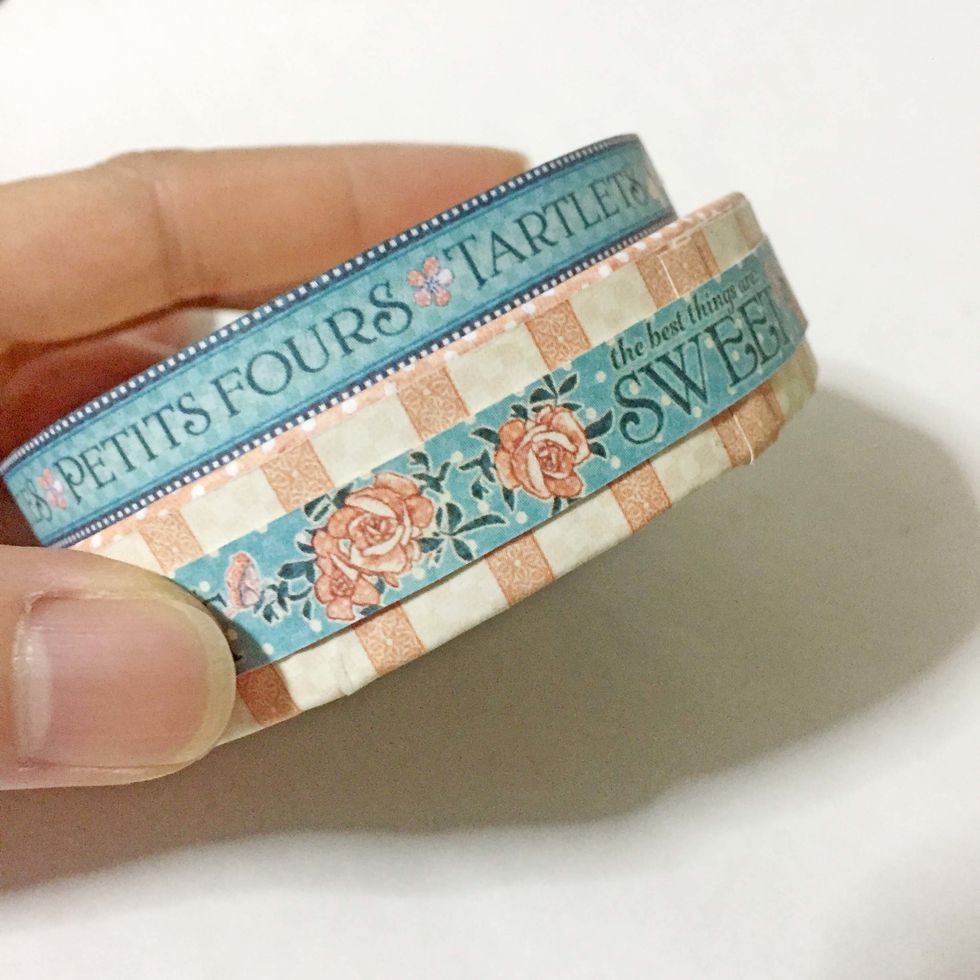
Add more design onto the rim of the lid. And the jar lid is completed.
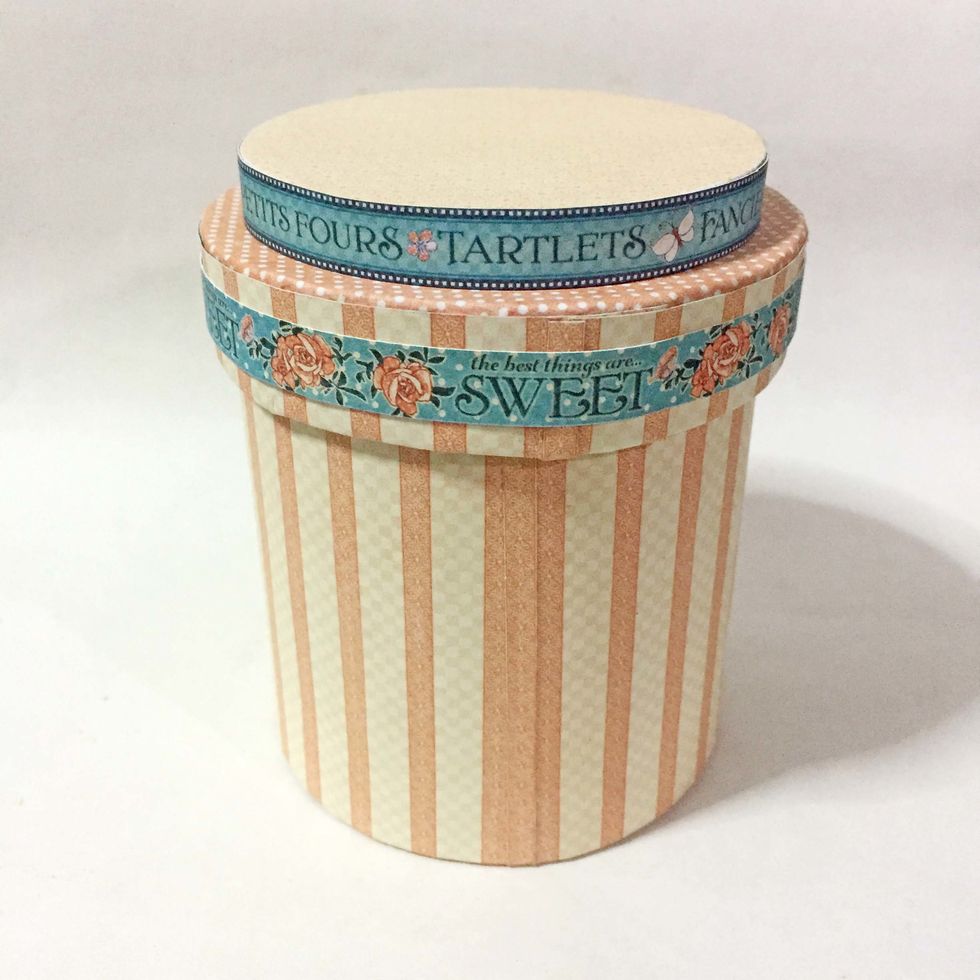
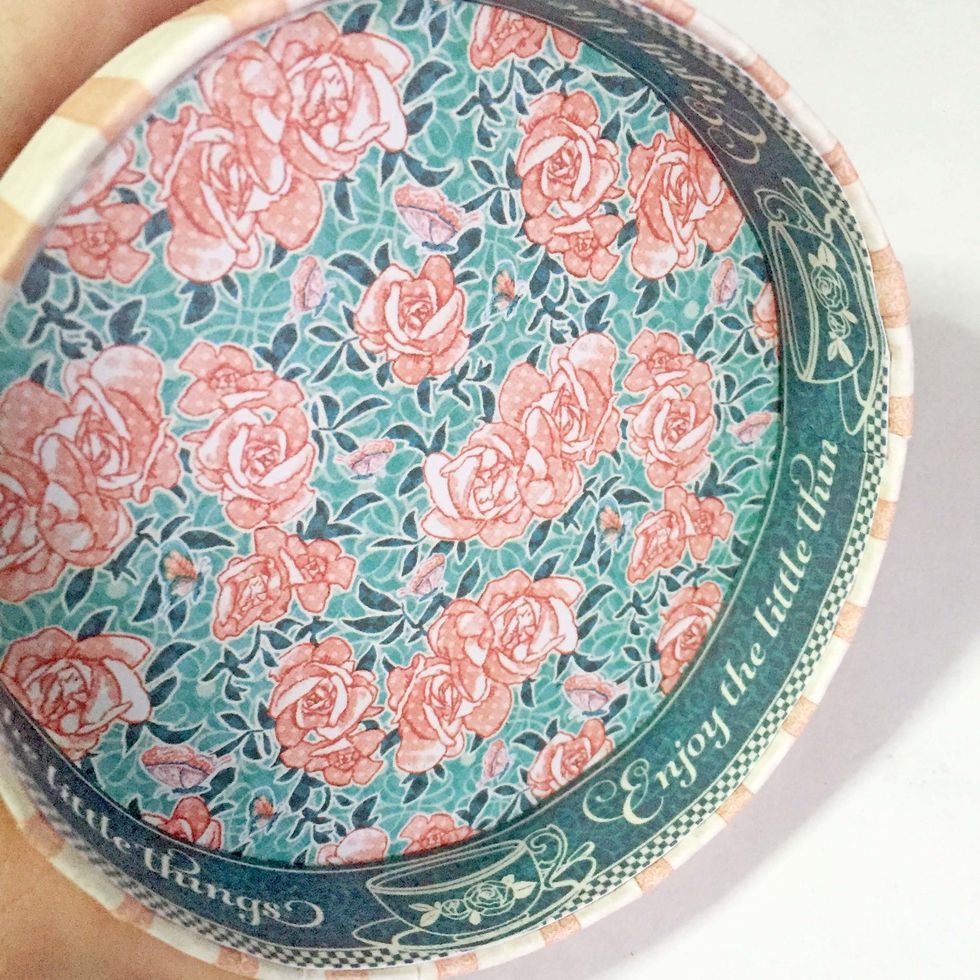
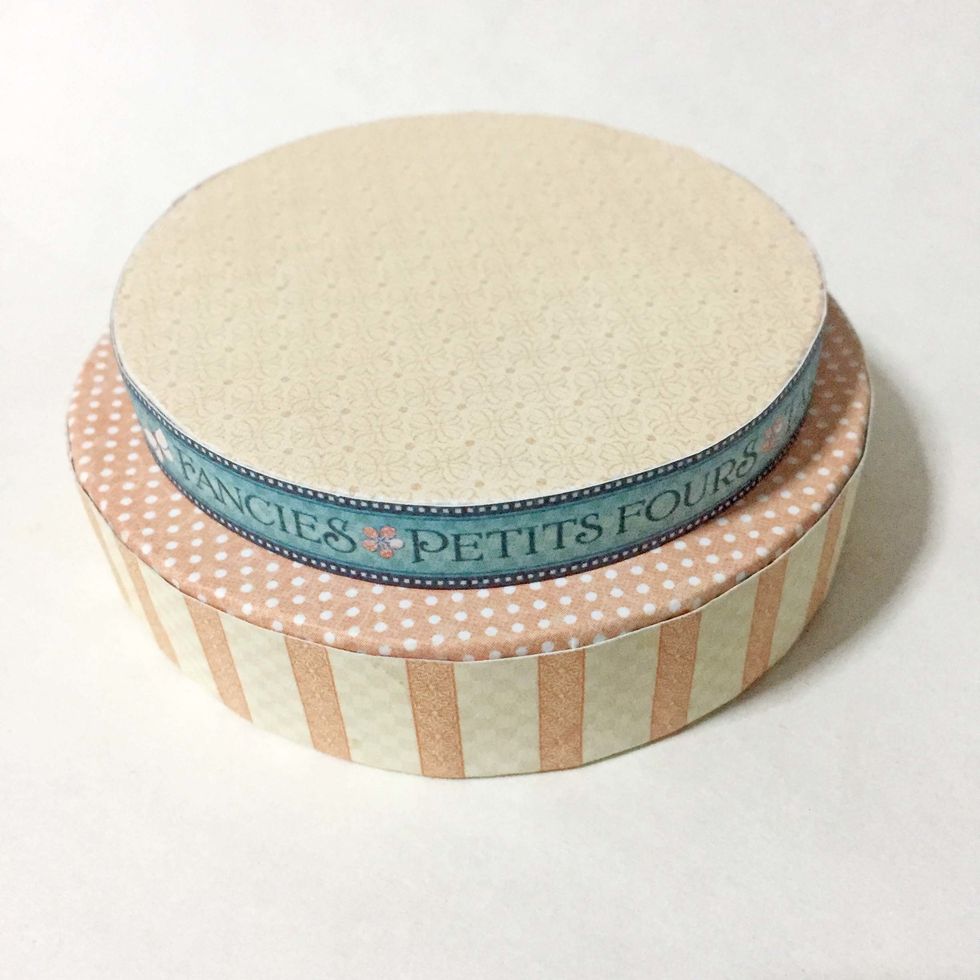
Place the lid over the body, the paper jar is completed ready to be embellished.
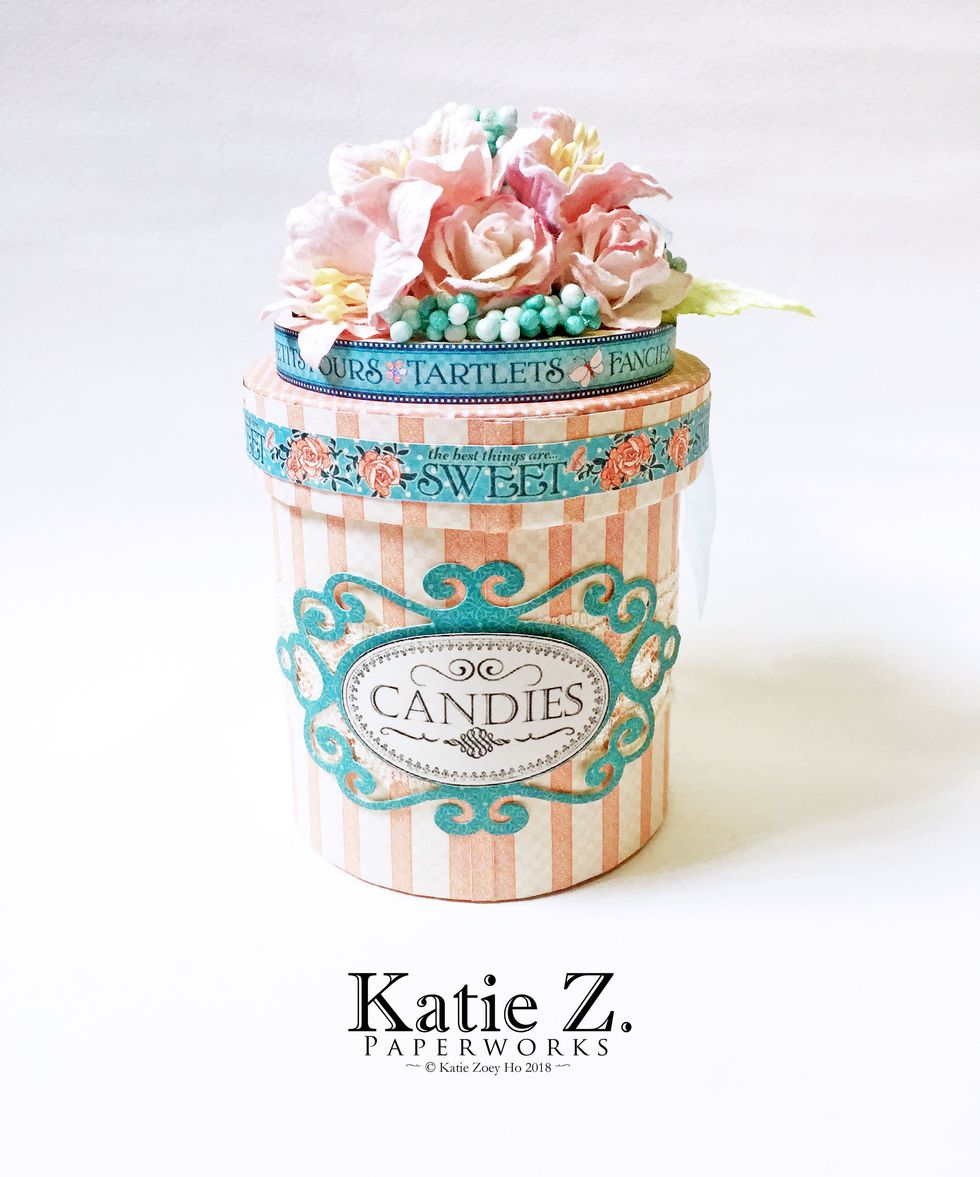
The finished embellished paper jar using some mulberry flowers on the top of the lid. The "Candies" label is created by me and is available free to download here: goo.gl/HFp6W9
For more pictures and full list of supplies for this project, head over to my blog (https://goo.gl/QAWkkq) for more details...