The Conversation (0)
Sign Up
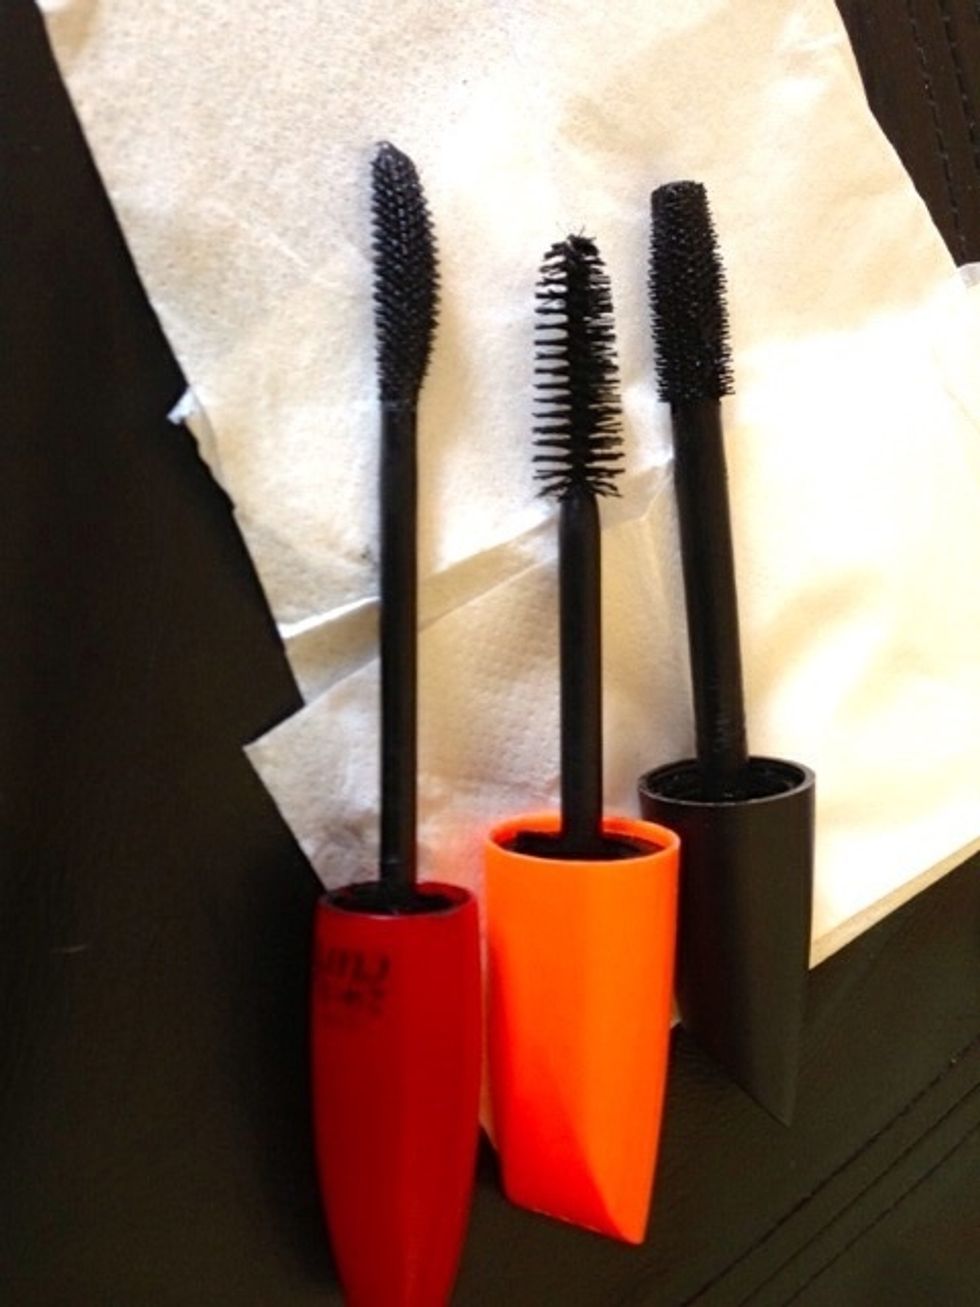
I first of all use a volumising mascara (orange) which is slightly running out. This just gives the lashes some grip and doesn't make them wet, which helps with the false lashes.
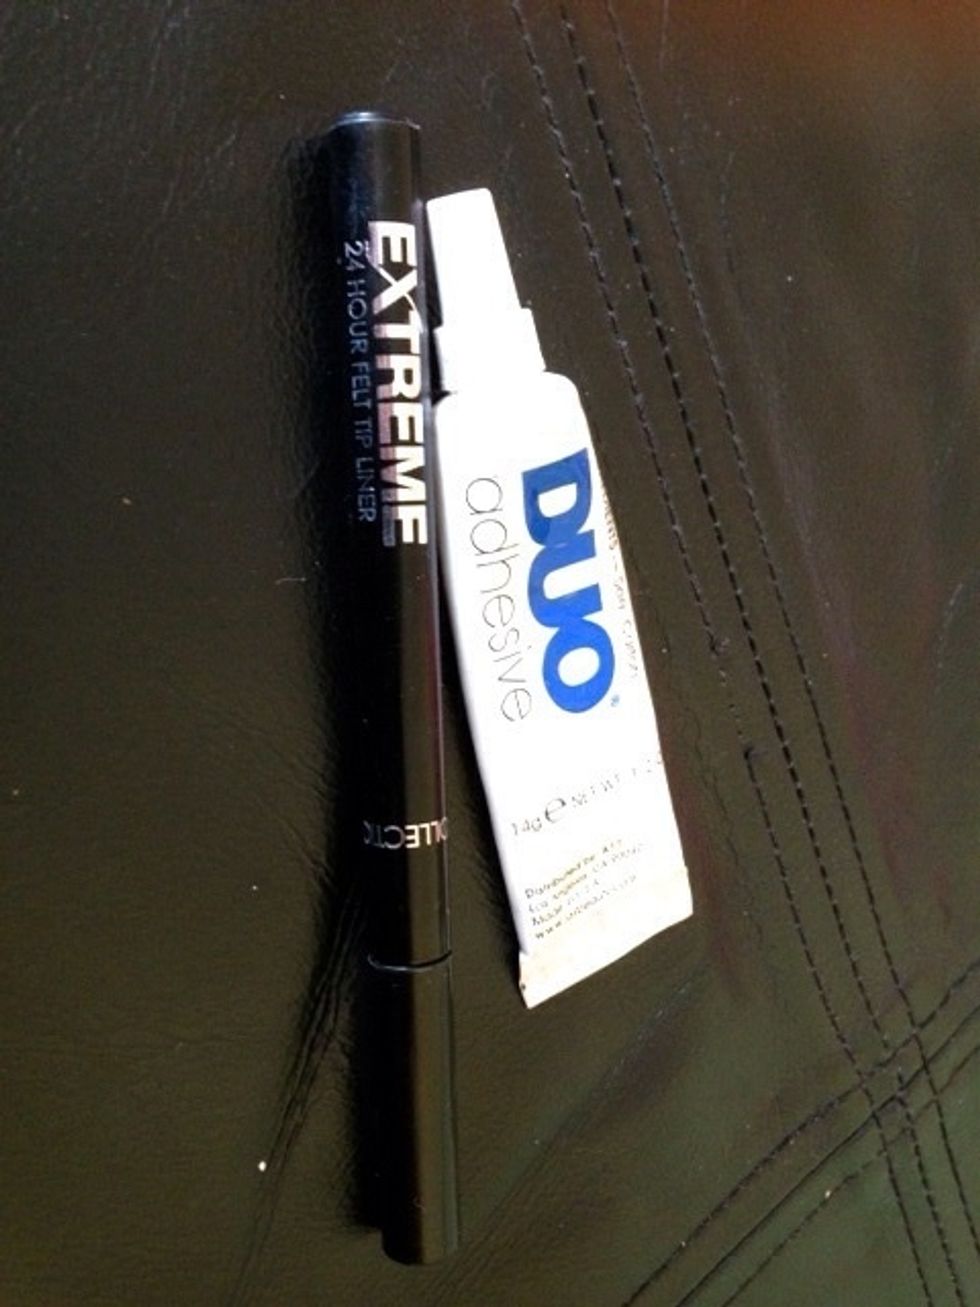
Here is a felt, pen eye liner. The point is small and the liquid is bold and black. My eyelash glue is Duo (get if from any MAC store) which is professional and has a great hold.

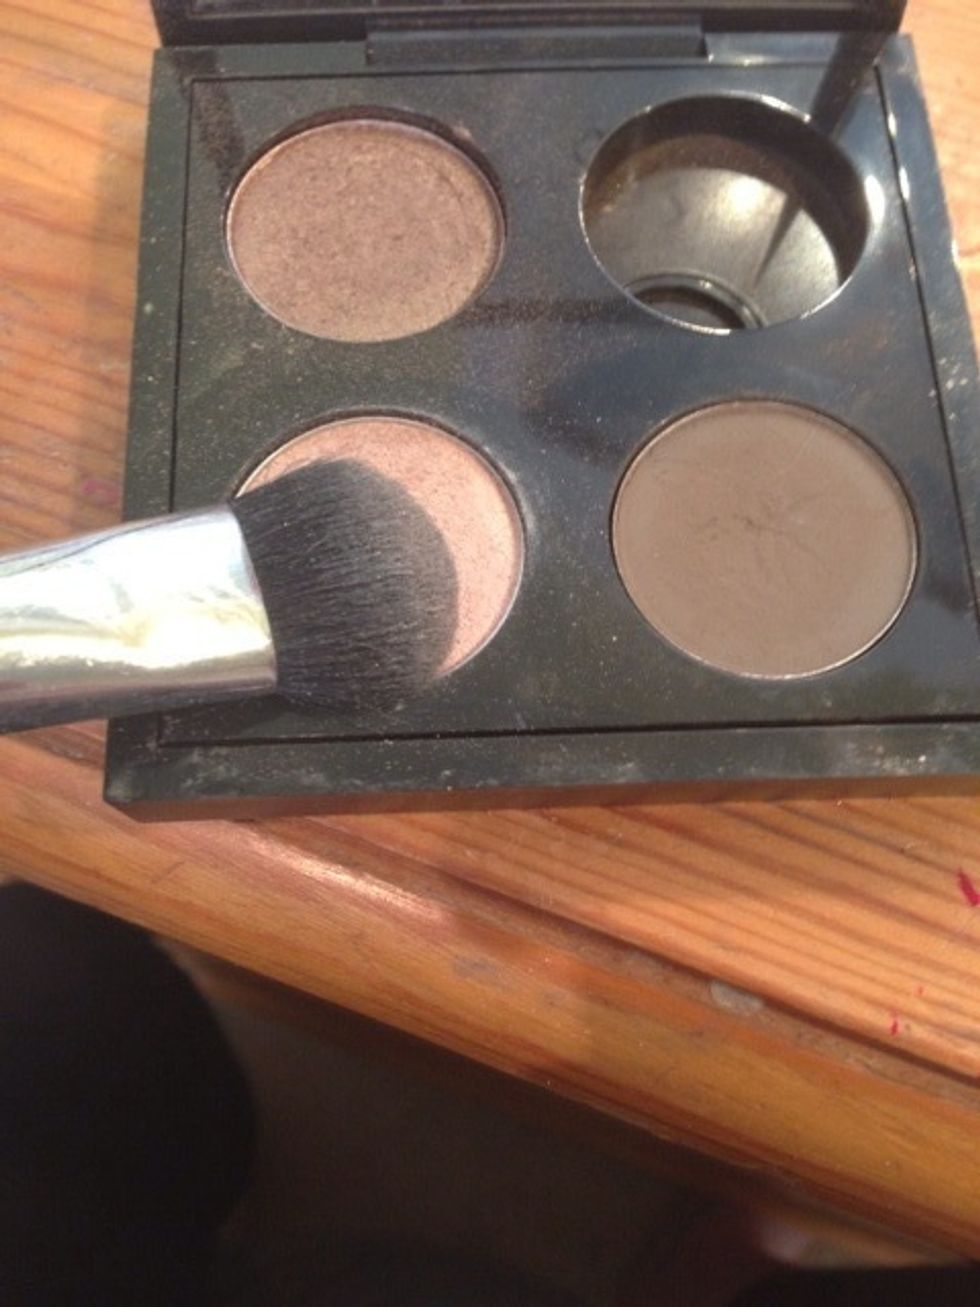
This is my secret weapon. It's £4.99 and I only use one pale pink colour for a certain technique. It's so worth it, and adds that extra polished look to my eyes. I'm never without this mini palette!

Normal eyelash curlers. Then 2 eye brushes. One from MAC is a 227 and a fluffy brush for blending. Thinner one is from Sephora and is a domed brush for using in the crease of the lid.
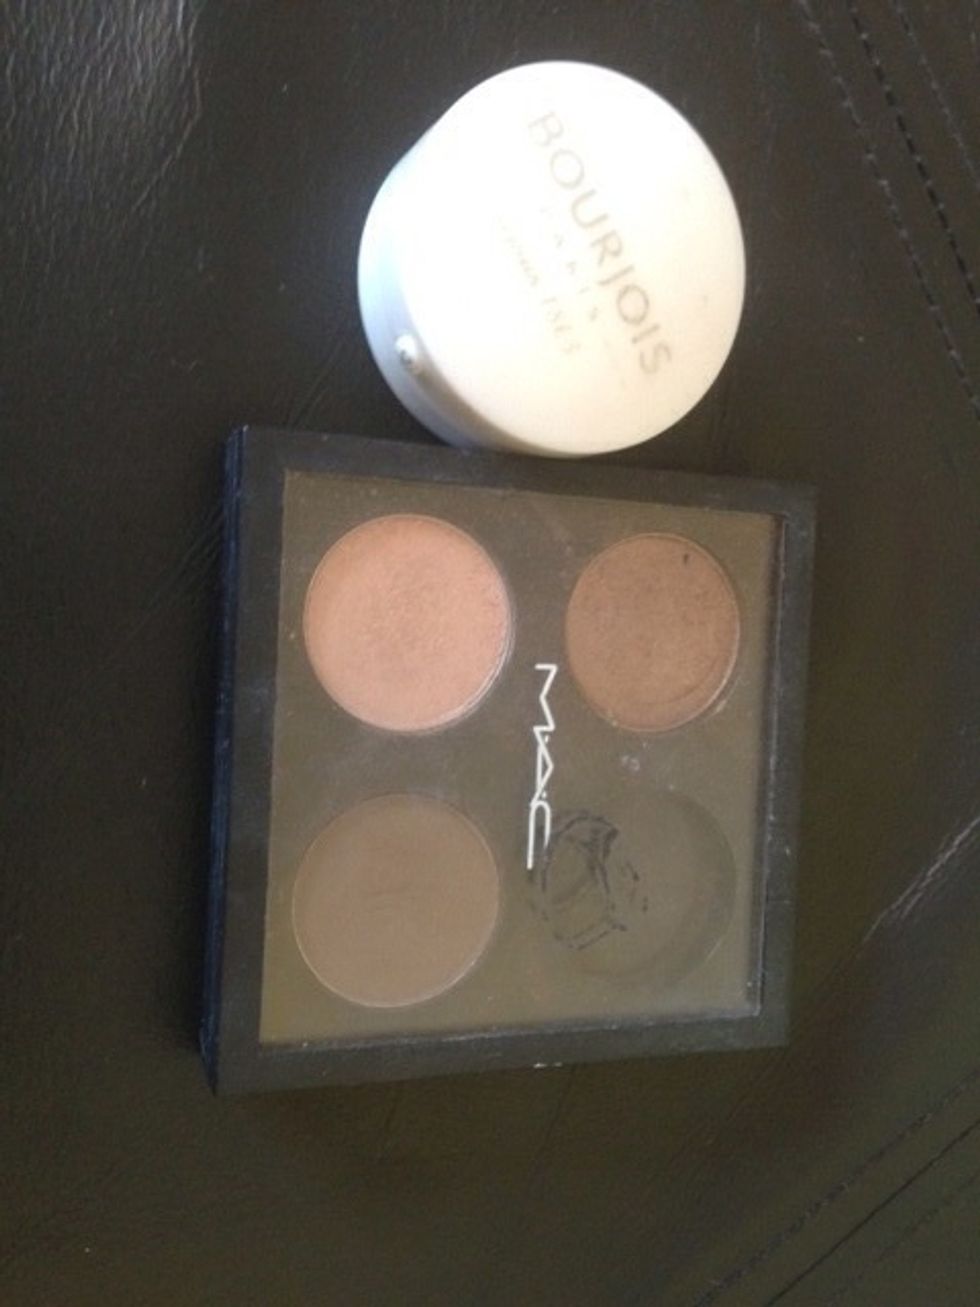
Here is just a plain white eyeshadow. And then my rather grubby MAC palette. I have Woodwinked, Naked Lunch and Charcoal Brown.
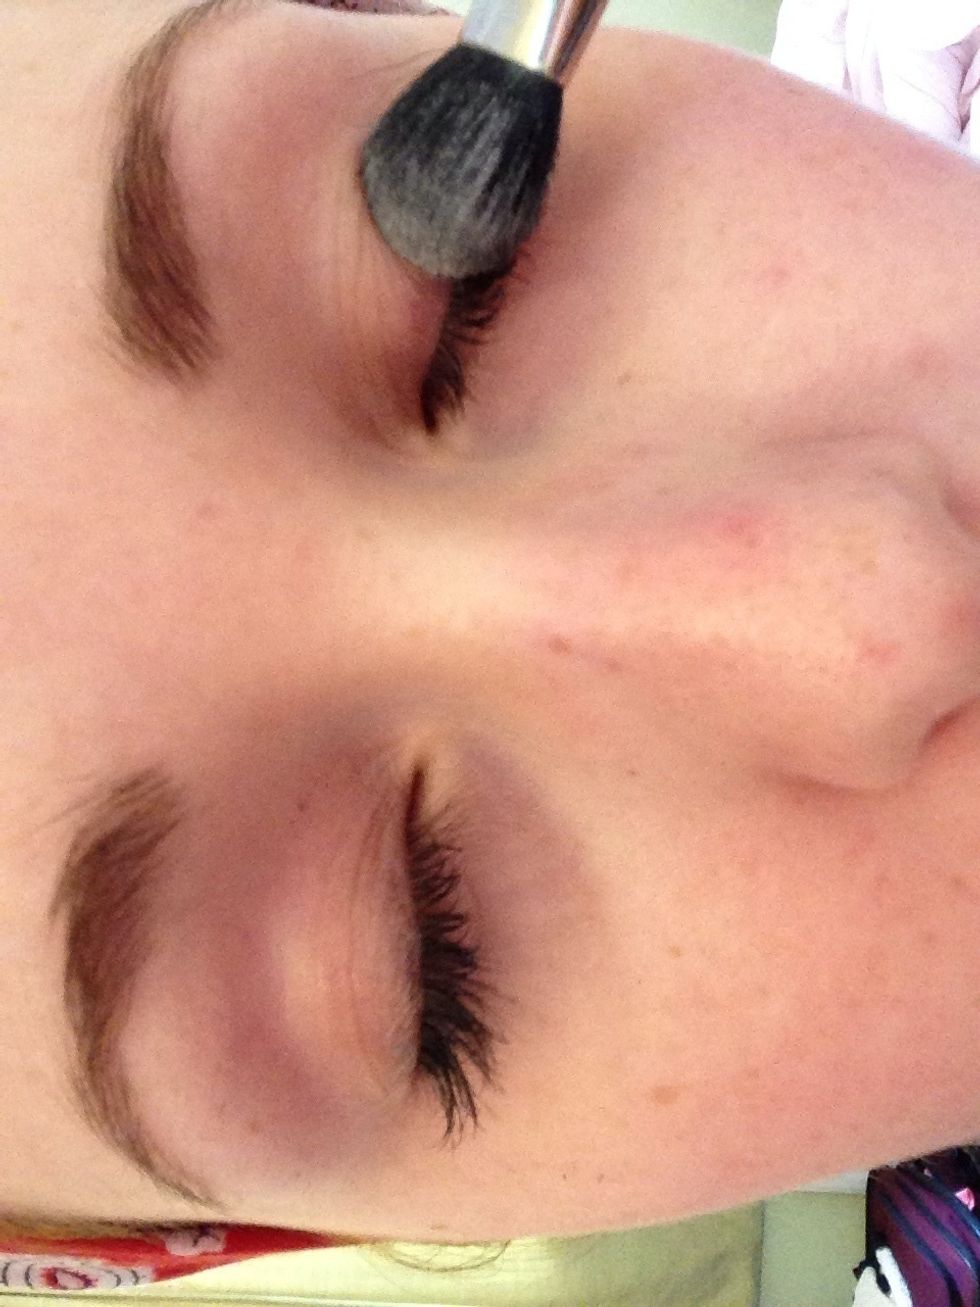
Please excuse my spotty skin throughout this tutorial by the way! Take the white eye shadow and blend onto lid, socket and all the way to the brow bone.
Now take your pink shade. This is Naked Lunch by MAC.
Place this on the ball of your eye socket. This highlights the eye and provides a little dimension and sheen.
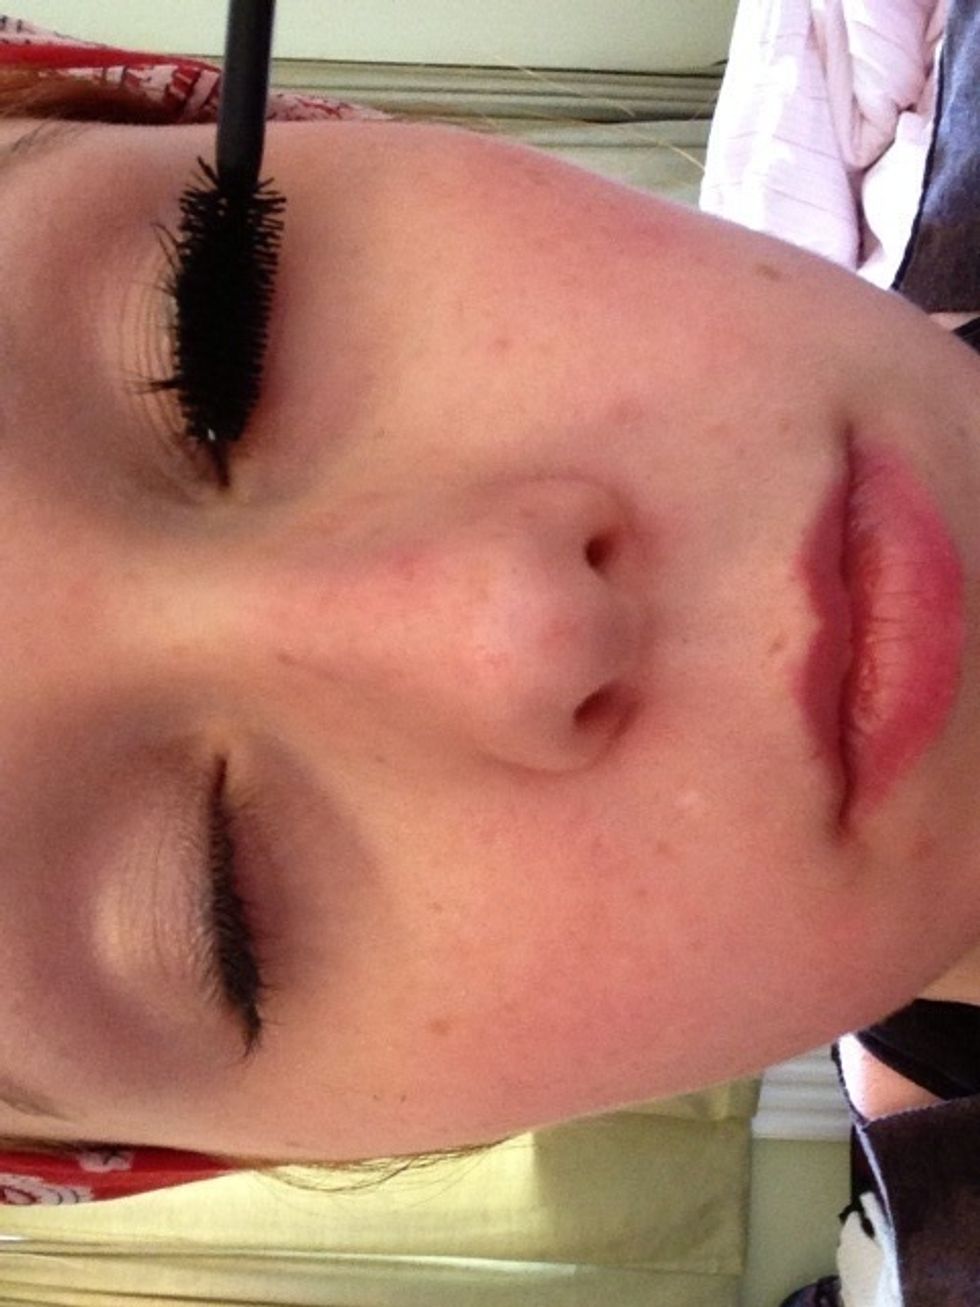
Now apply mascara. Use the one that's running out a little. Start at the root and wiggle upwards. The root is the most important, not the ends. Coat top and bottom lashes.

Now leave your eyes to dry. From experience, I leave mine up to 45 mins which sounds extreme! But if your mascara is not fully dry the lashes won't take. I would recommend 30 mins for full wear.
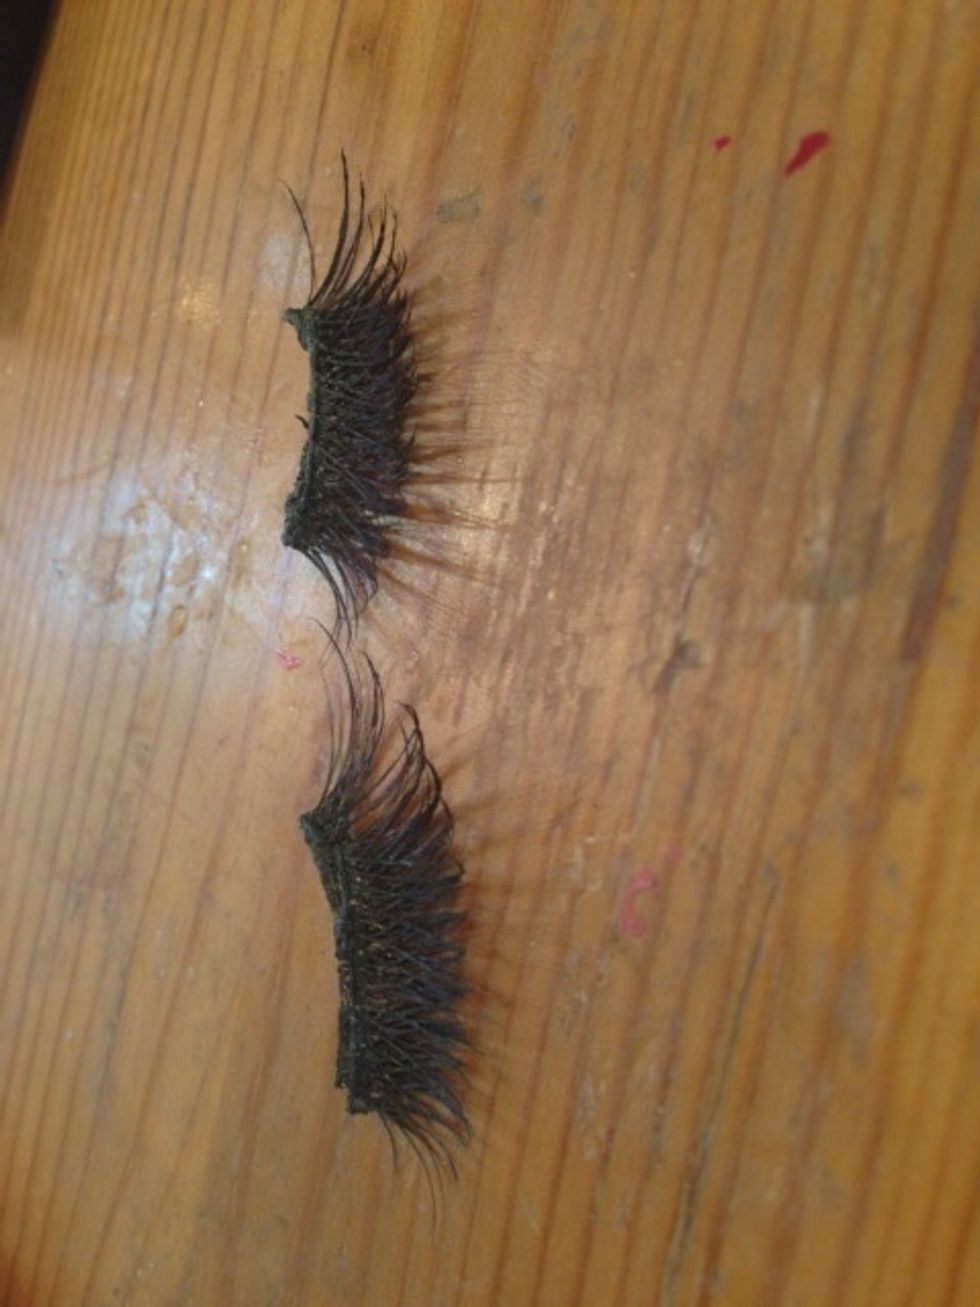
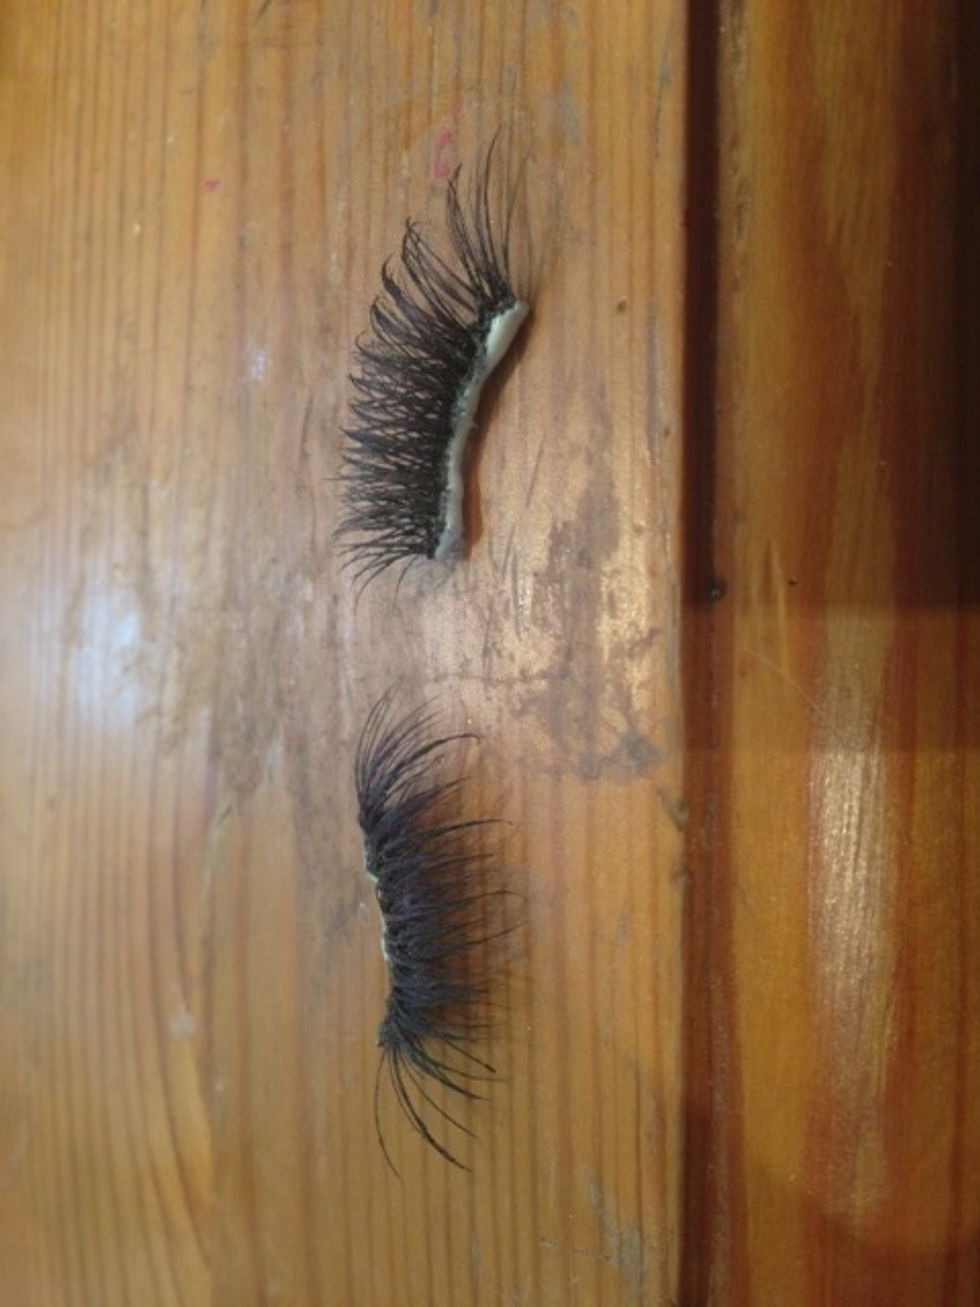
These are 3/4 lashes. They're 2 pairs layered on top of each other, and they're flared. I think they're Katy Perry ones, with a tiny hint of purple in them. They're fantastic for volume!
Apply a thin layer of glue to the band of each eyelash. Concentrate on the corners so they'll stick.
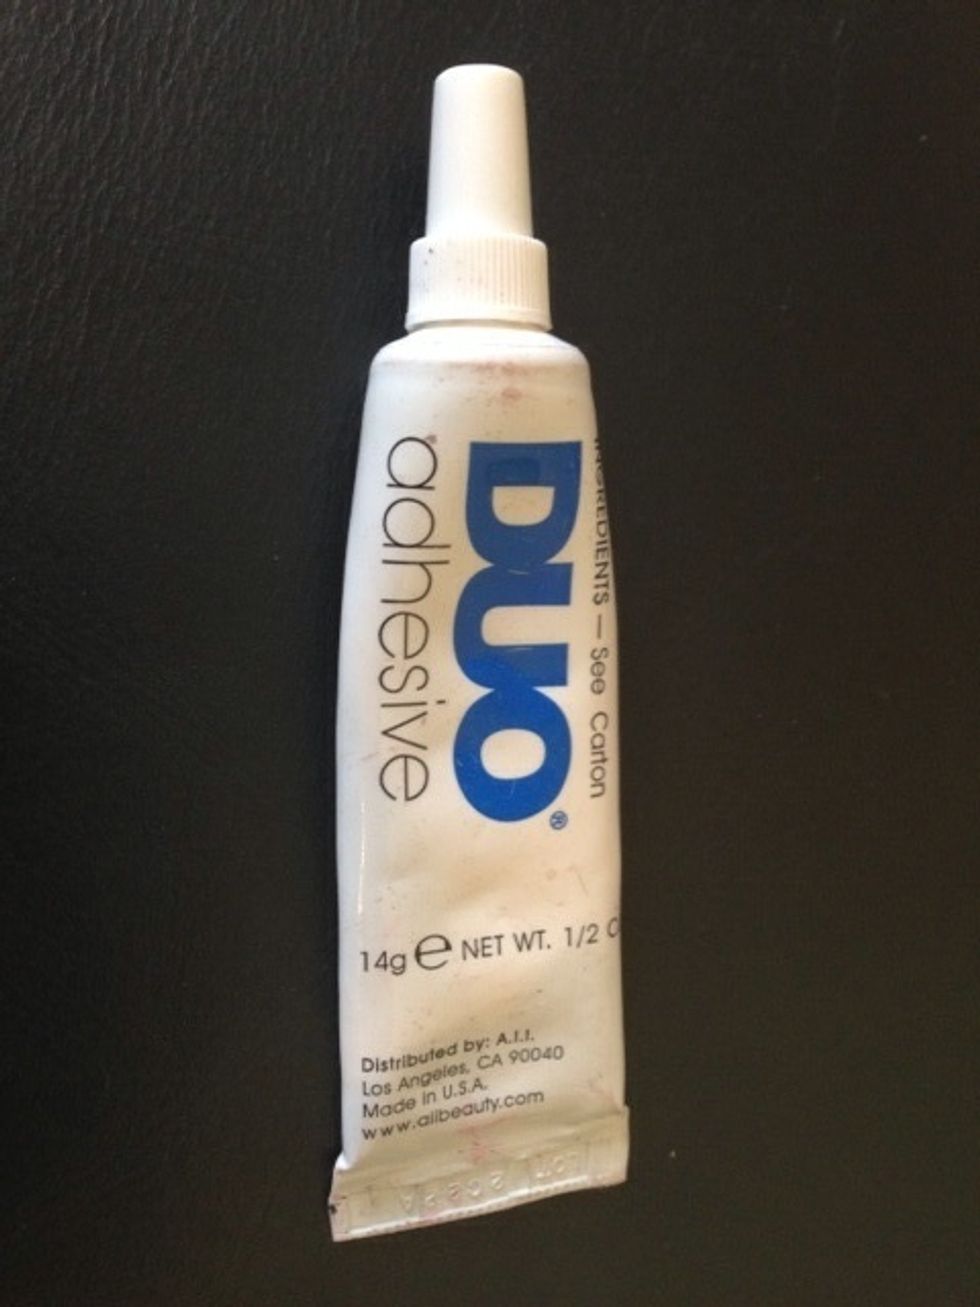
Here's the Duo glue.
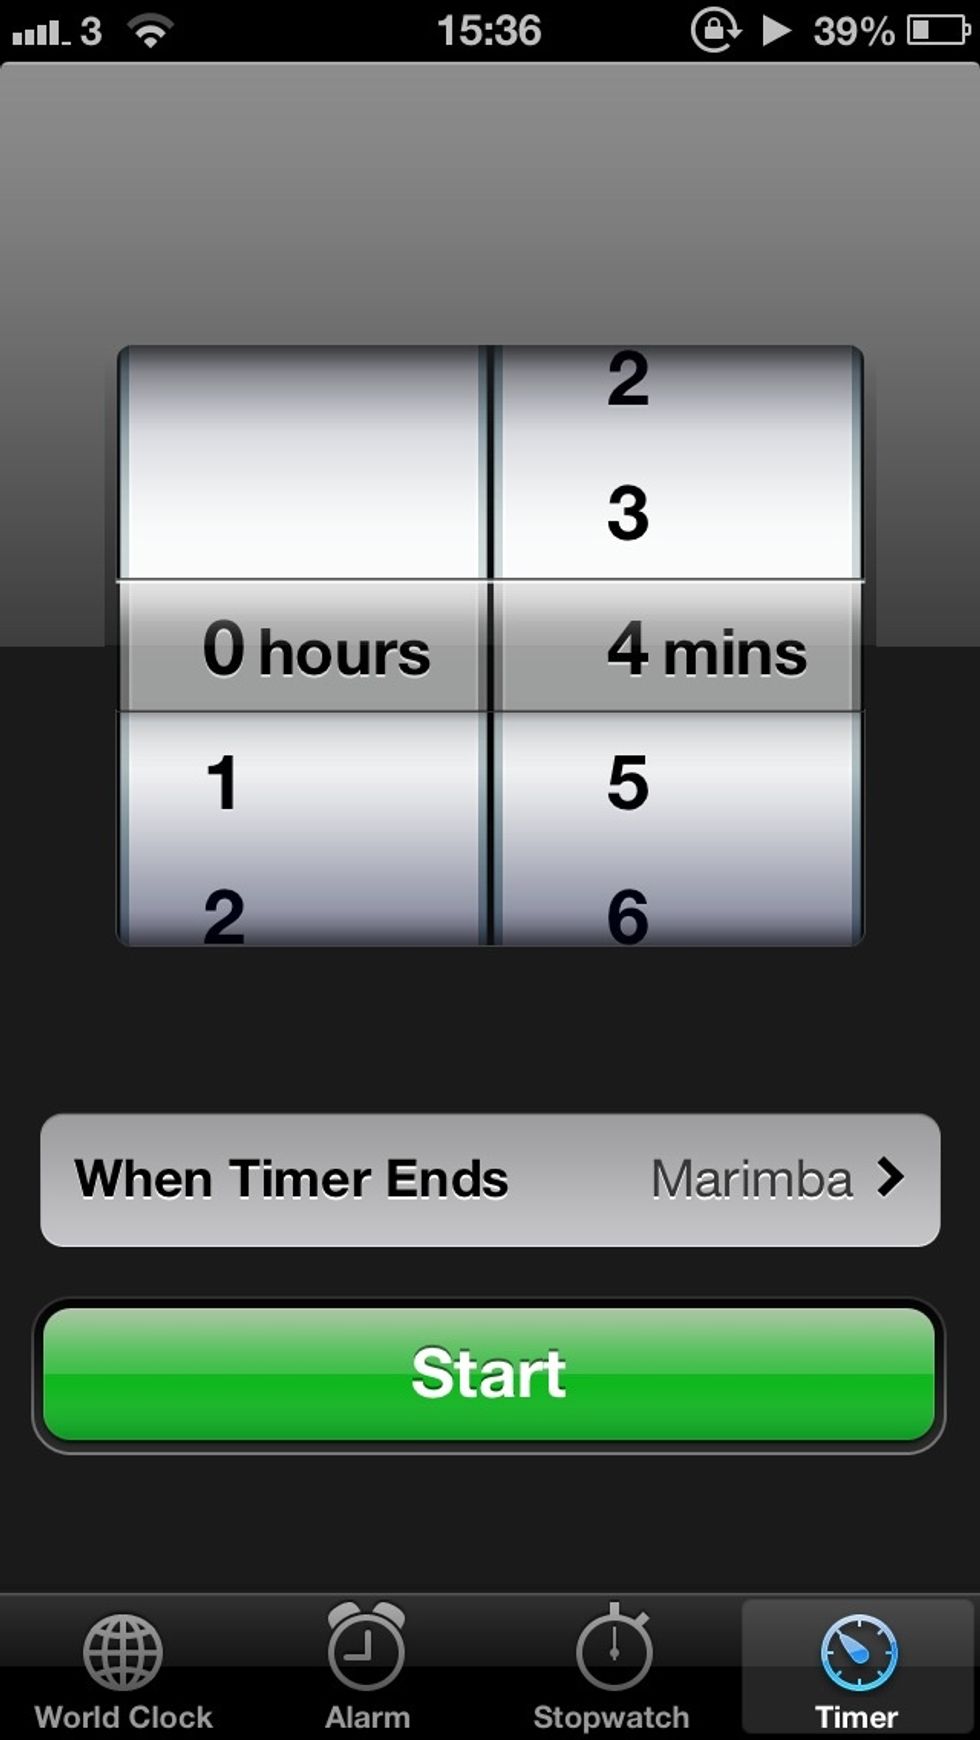
The packet says to wait 30 seconds. I've found that 4 minutes does it, and makes the glue tacky enough that it'll bond properly.
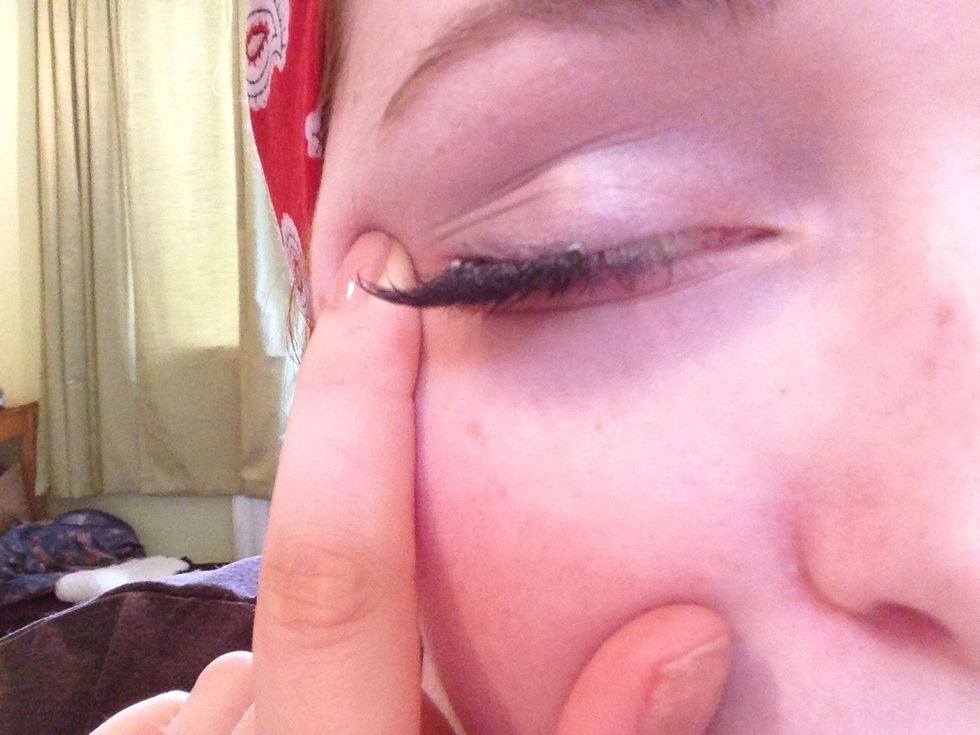
When applying the eyelashes, you can use tweezers, but I prefer to use my hands and spread apart the eye and press as accurately as I can. Practise is everything, and all you can do is try and try!
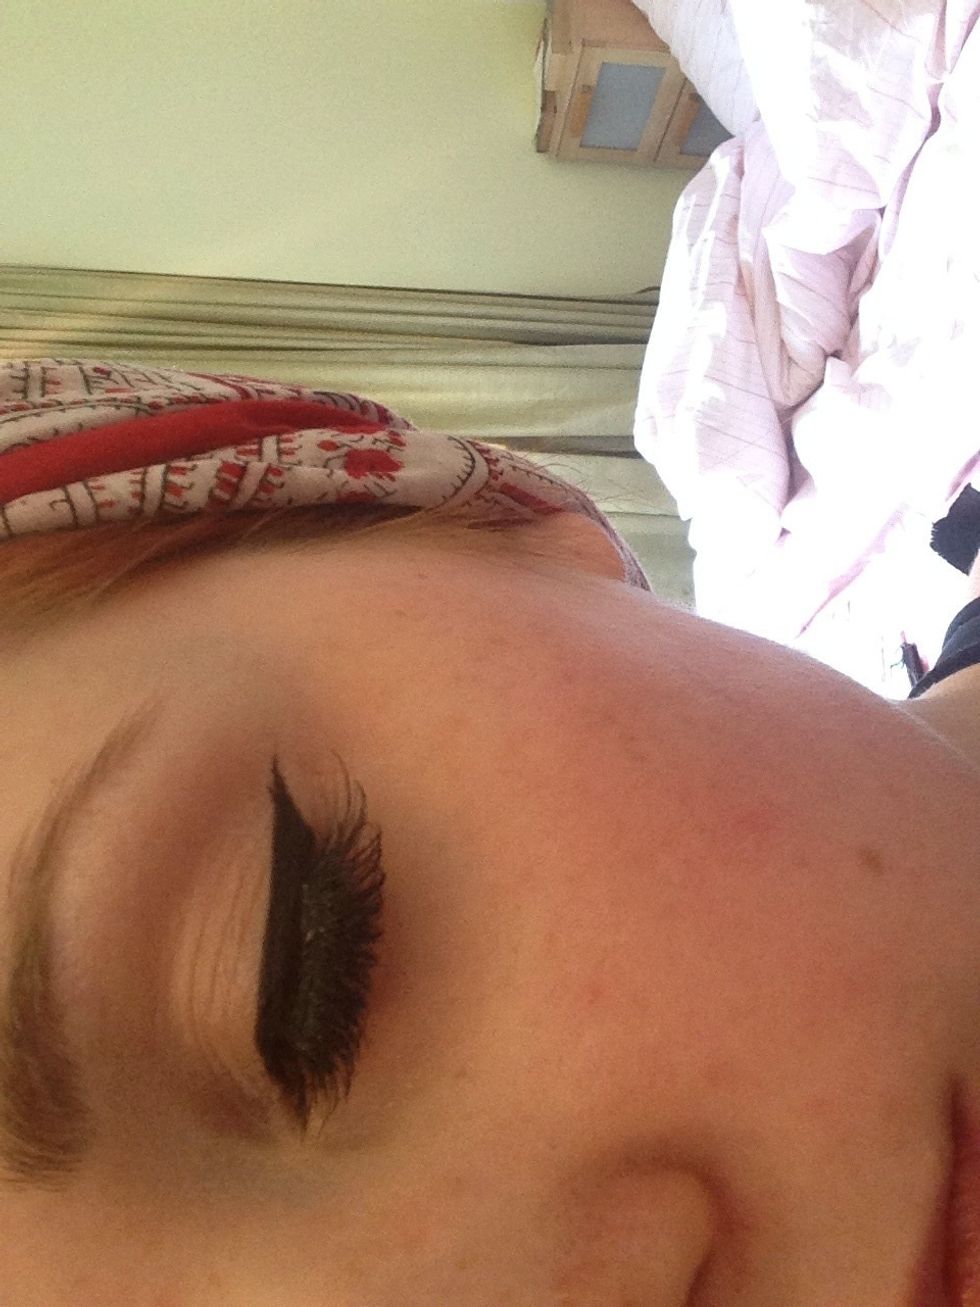
You can see that when applied, they look at bit wonky. I haven't got any eyeliner on because I like to apply it afterwards to seal everything together. But once everything is on they look fine!
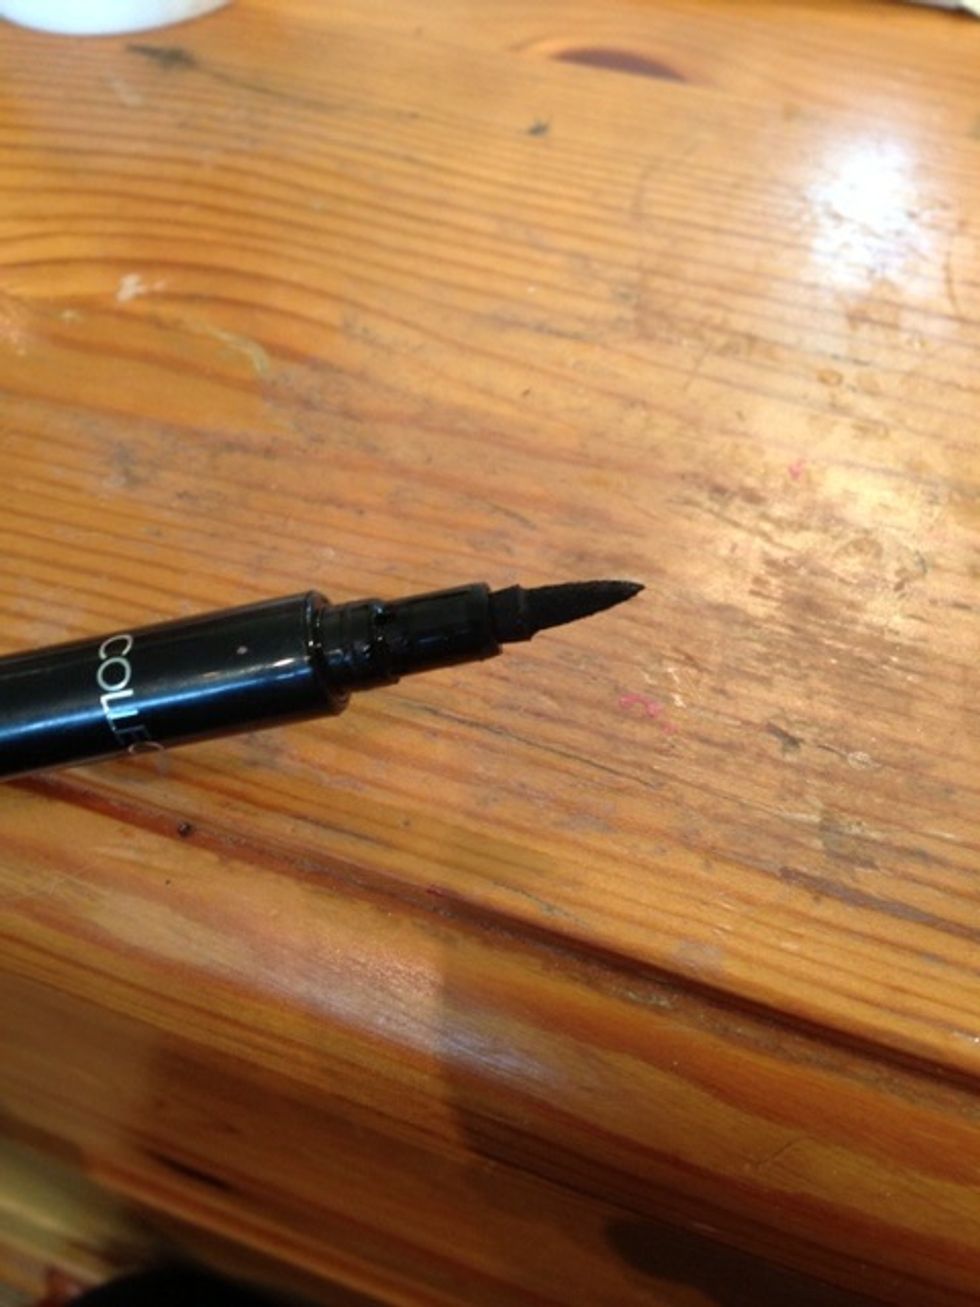
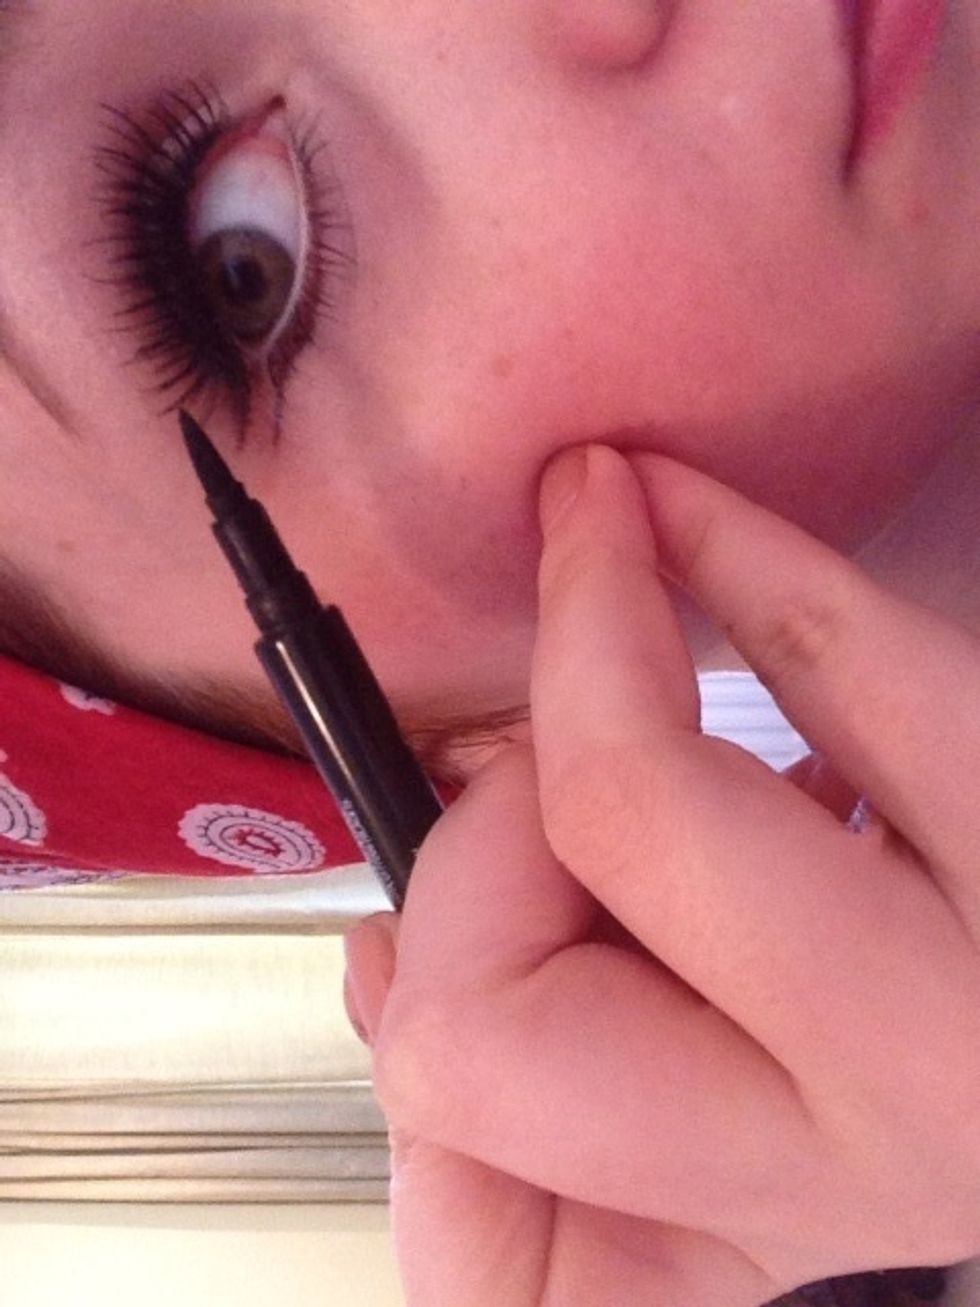
Here's the eyeliner. The fine point makes it easy to get into the corners and create a neat, flat line.
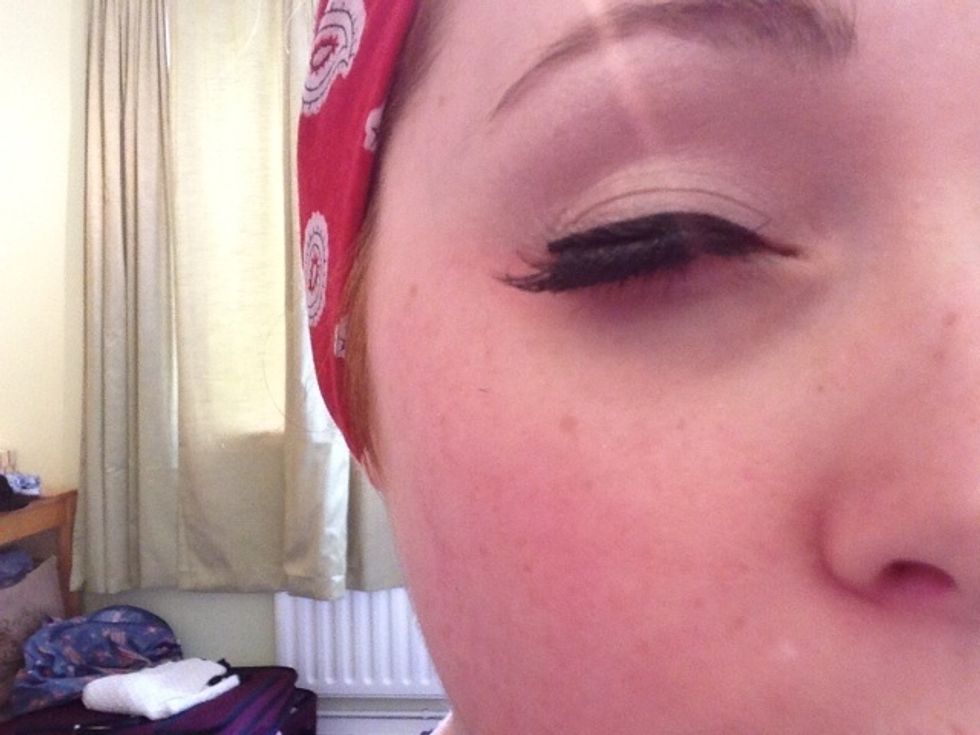
Here's the line I create, and trust me it does take a while to master, but hopefully the following video can show you how to work at it.
Here's the wing on the end.
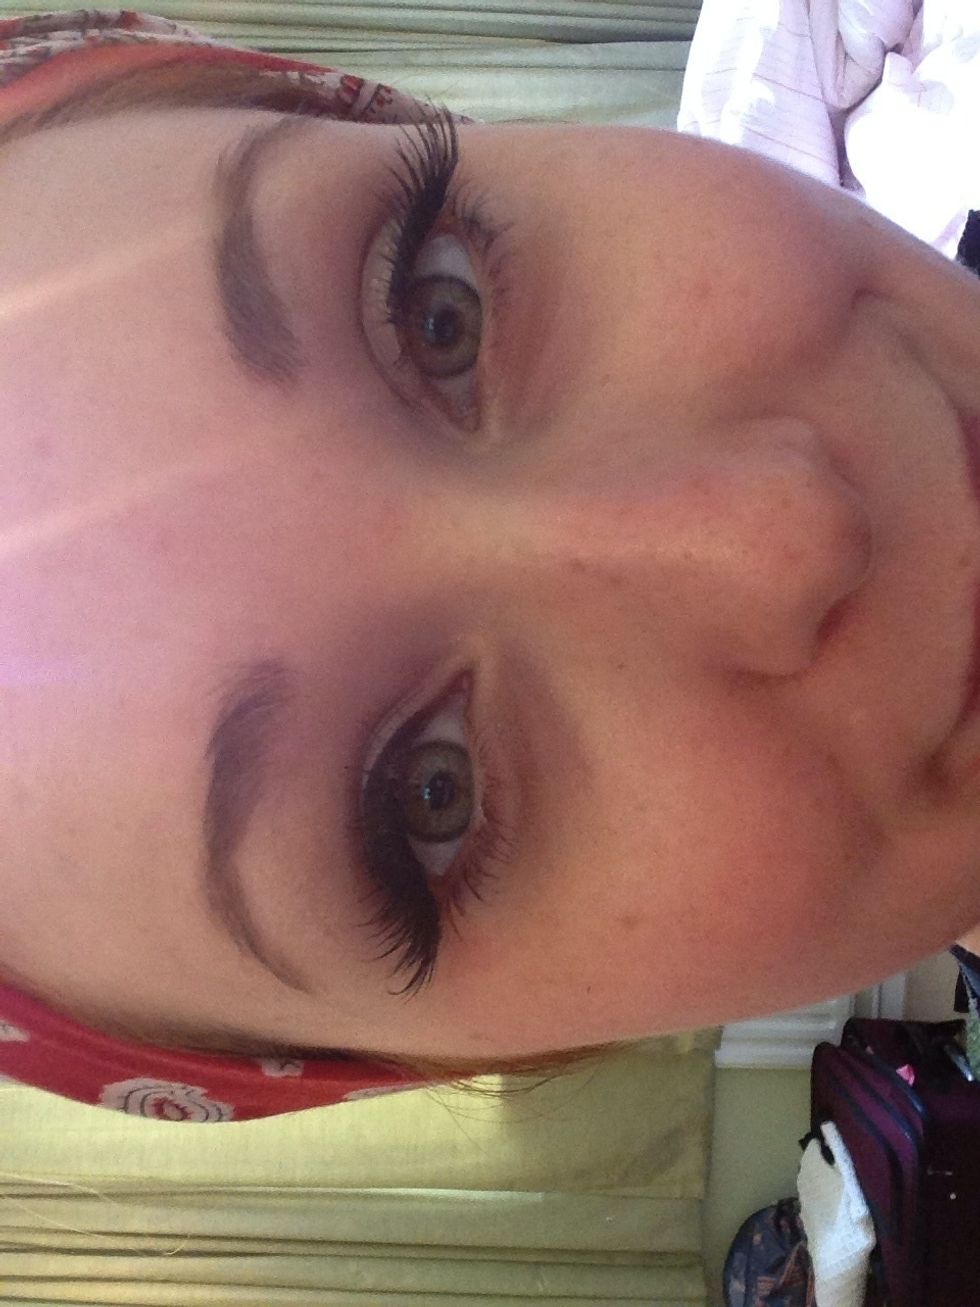
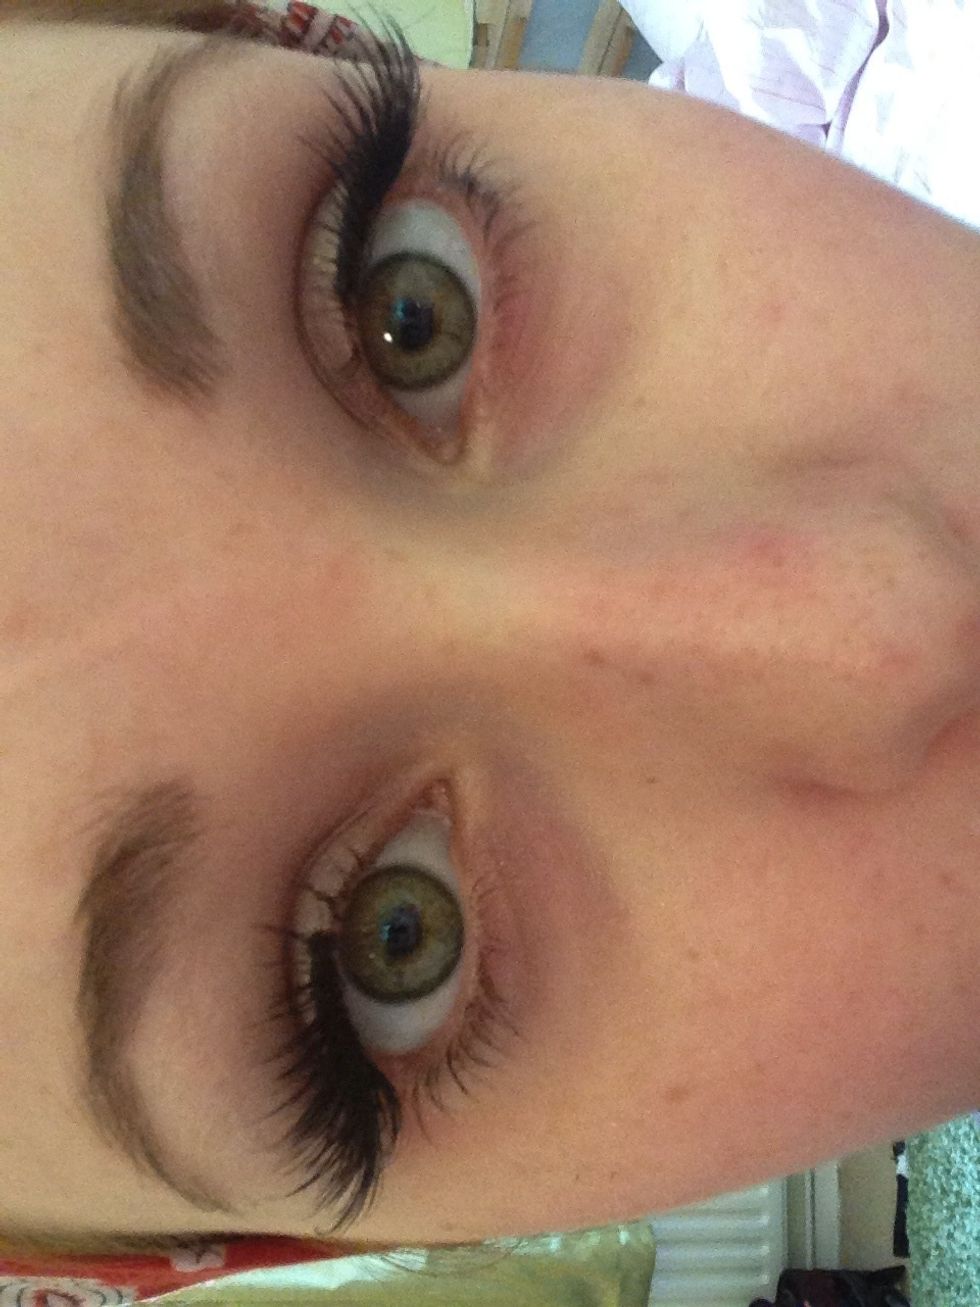
Here you can see the difference between eyeliner (left) and simply mascara and eyelashes (right).
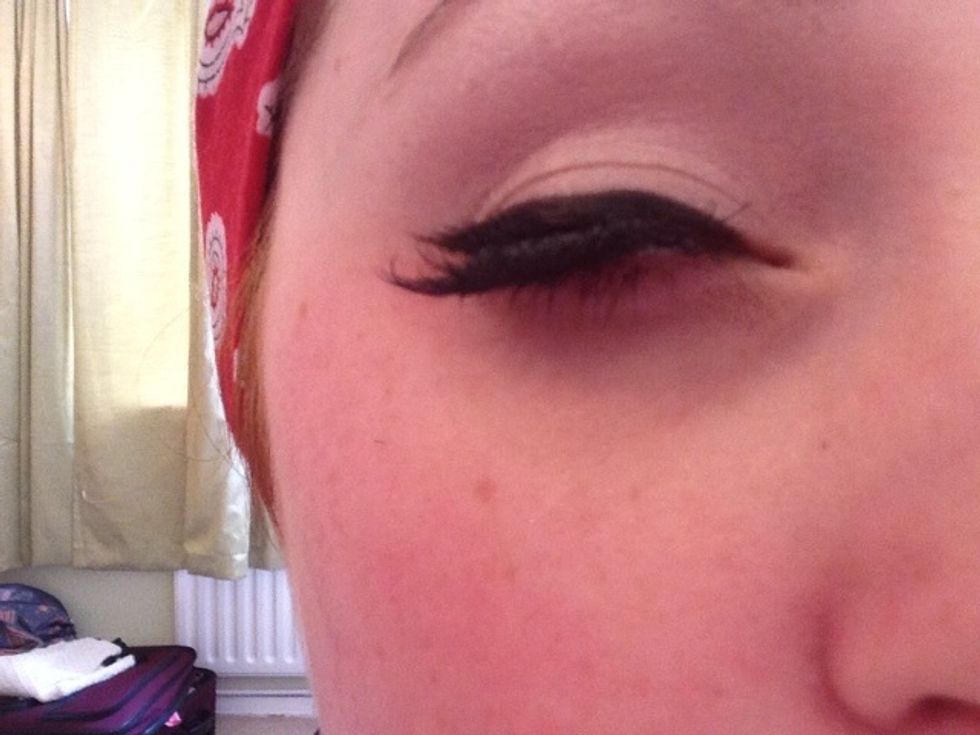
This is the opposite eye, with the winged liner.
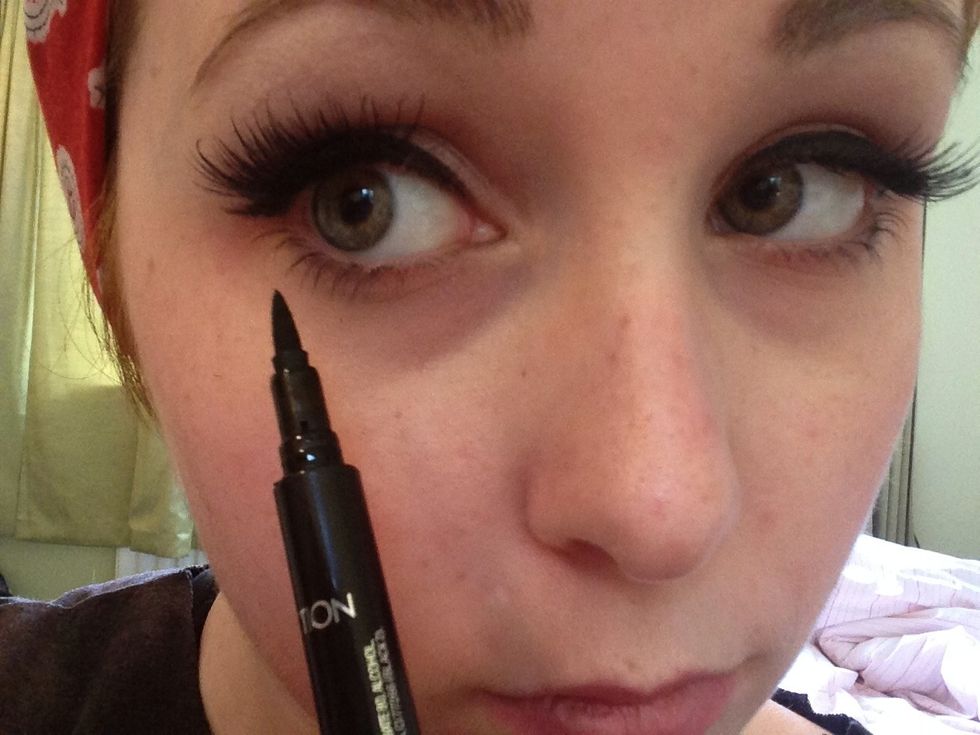
Now get the liner again, and dot very faintly along the bottom lash line. This provides definition, but is lighter than a thick line.
Now the left eye has dots and the right doesn't.

Personally, for shows and a night out for example, I like to follow with a matching bottom flick, which is very 1960's. This elongates the eyes and makes for a dramatic look.

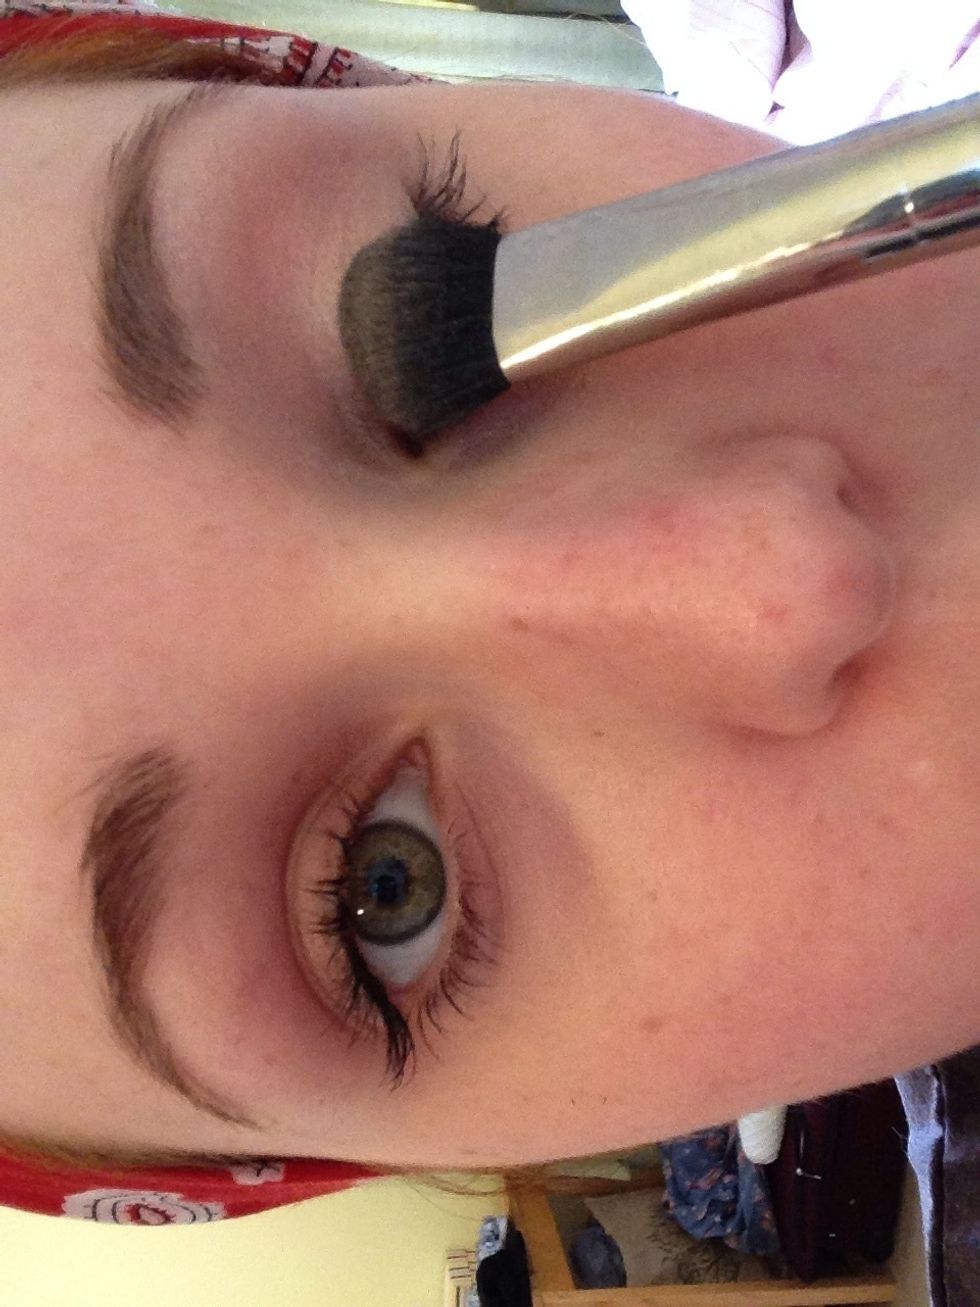
Now take the matte brown eye shadow.
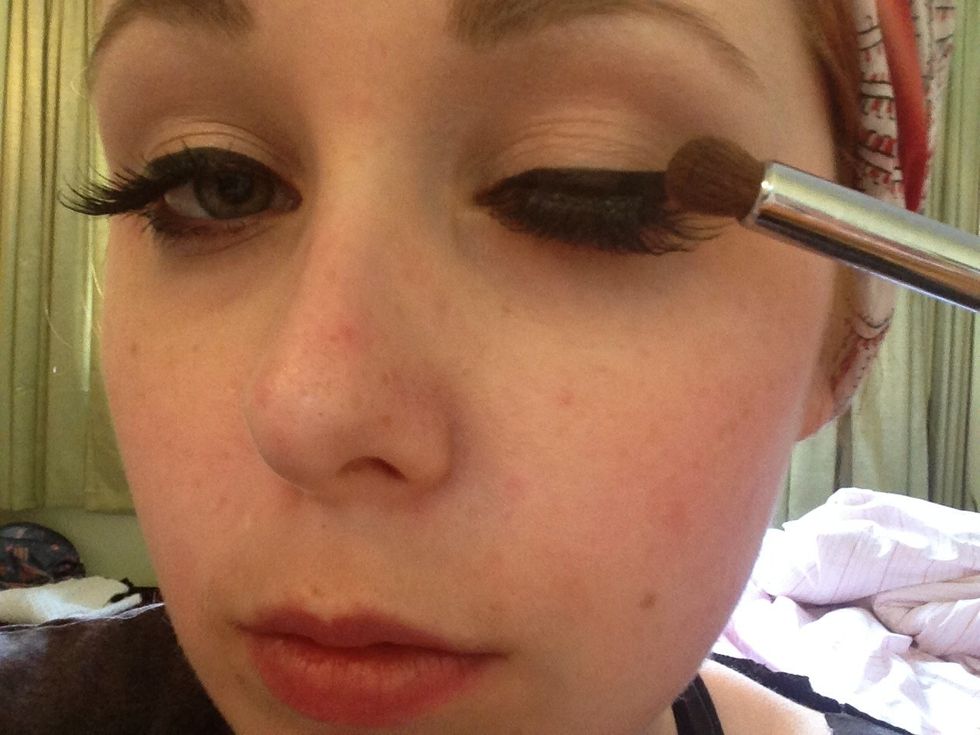
Apply to the crease. Simply blend into the socket line to create definition.
Here it is unblended.
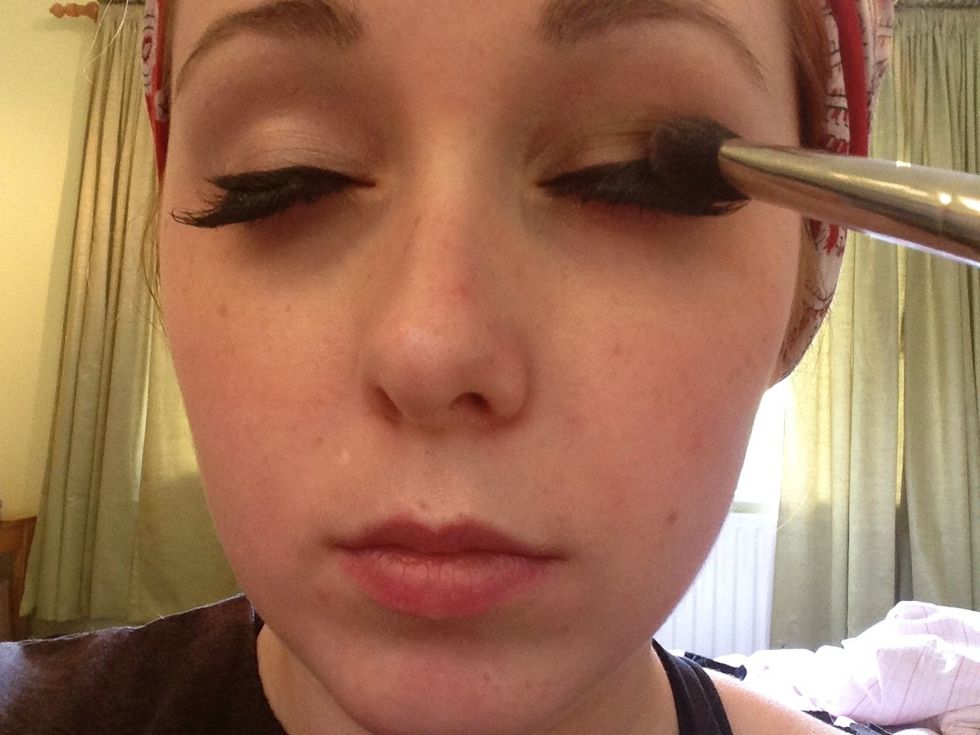
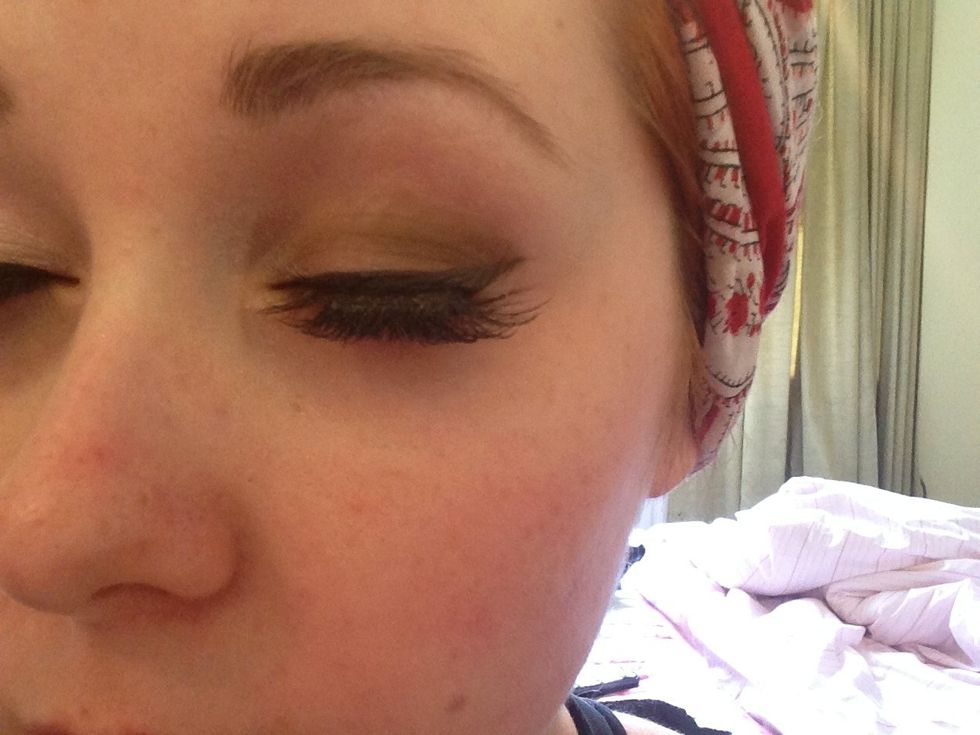
Now take a thick fluffy brush and blend thoroughly in circular movements.

Here it is blended.
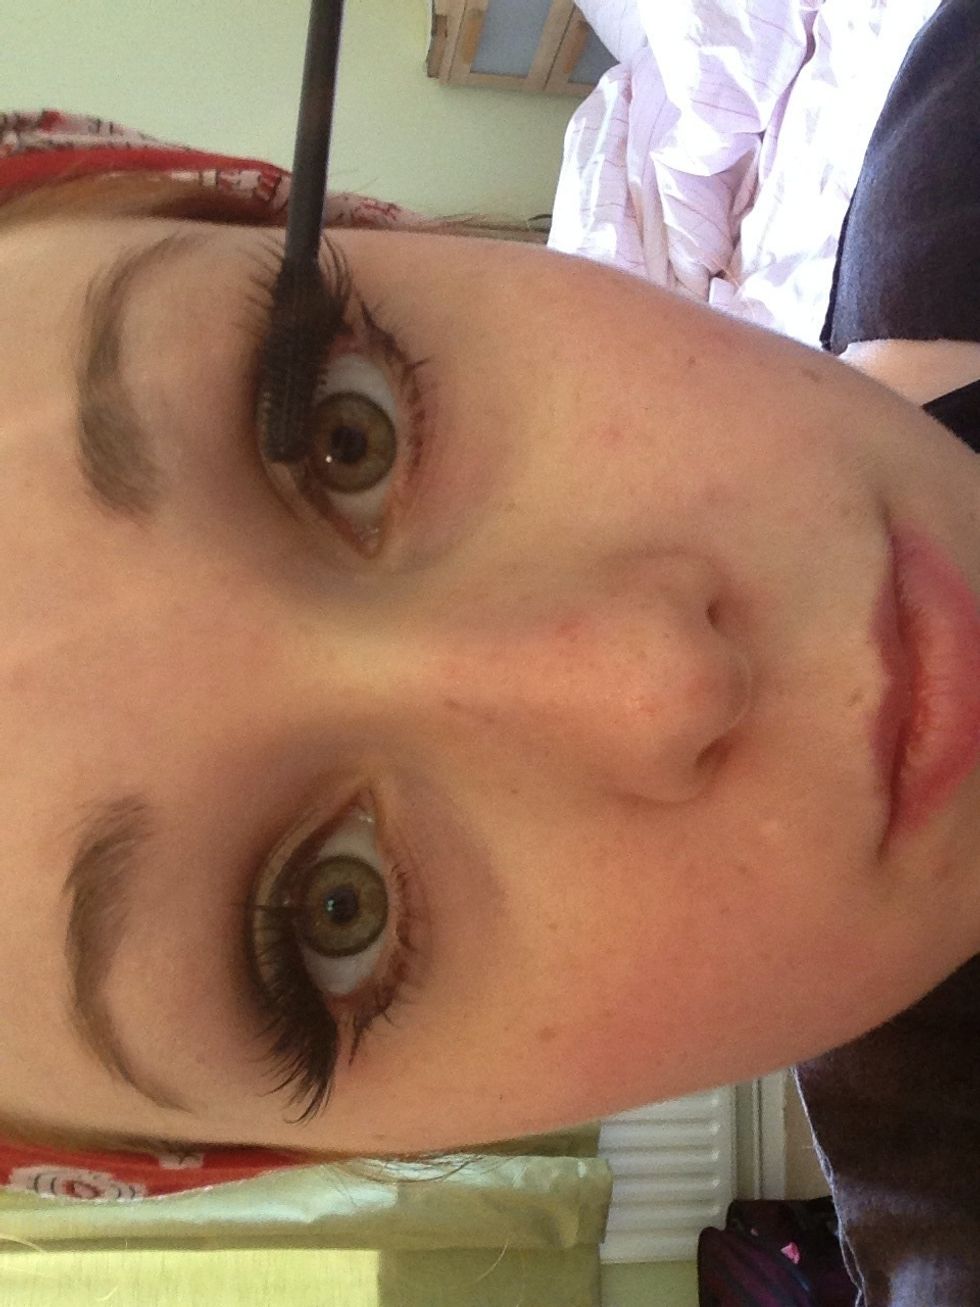
Now apply the curling mascara. Make sure it's a 'wet' consistency, and fairly new. Focus on the ends this time to blend the real and fake lashes together.

You can see how much length and volume it adds. It looks a little clumpy, but you can apply another layer of the older mascara over the top to even the thickness out.
The left eye has mascara on and the right doesn't. It's a big difference!
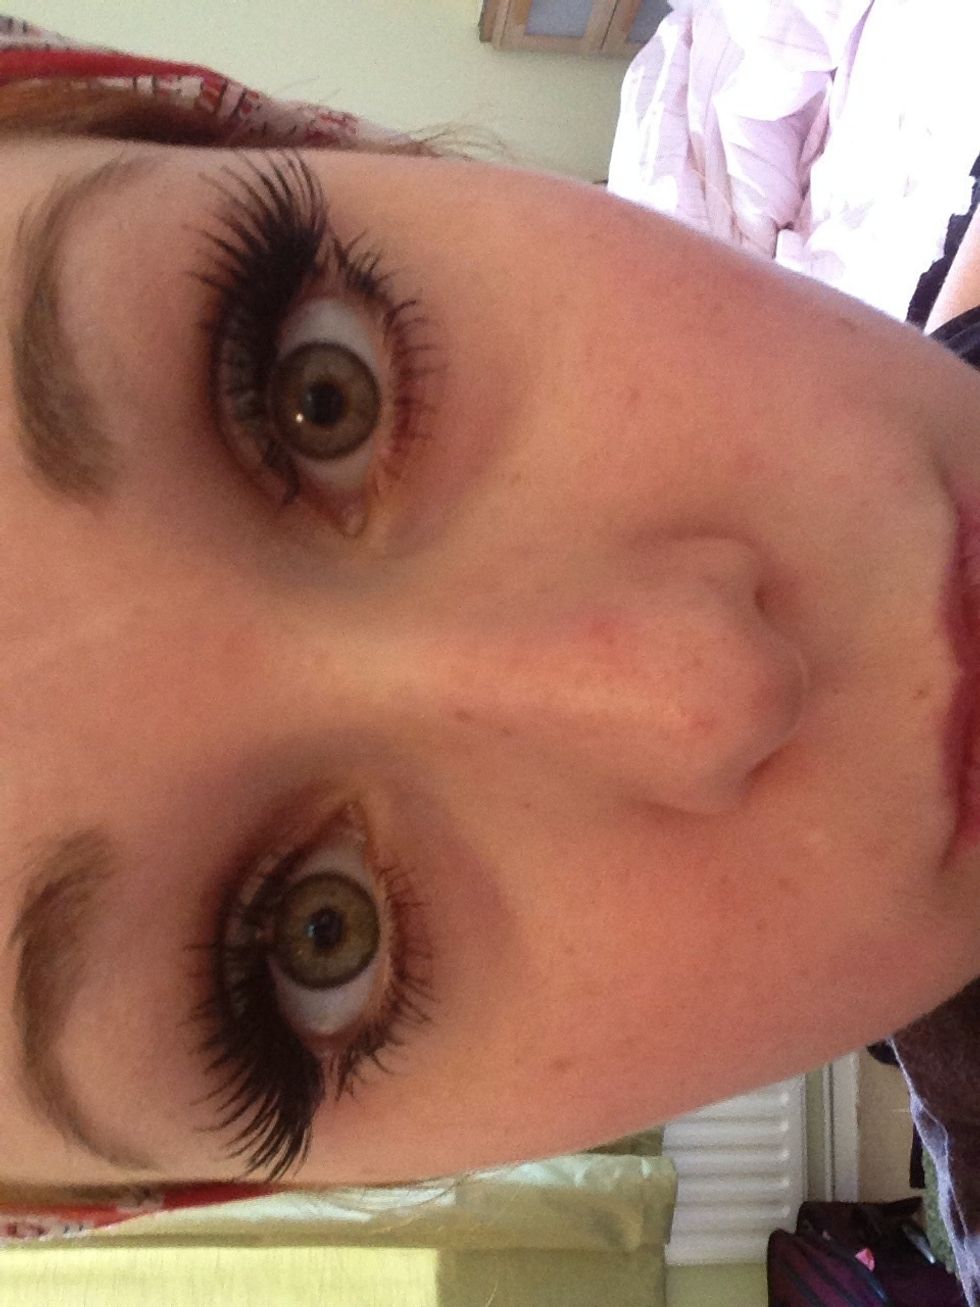
Now both are applied, and thick and with lots of volume!
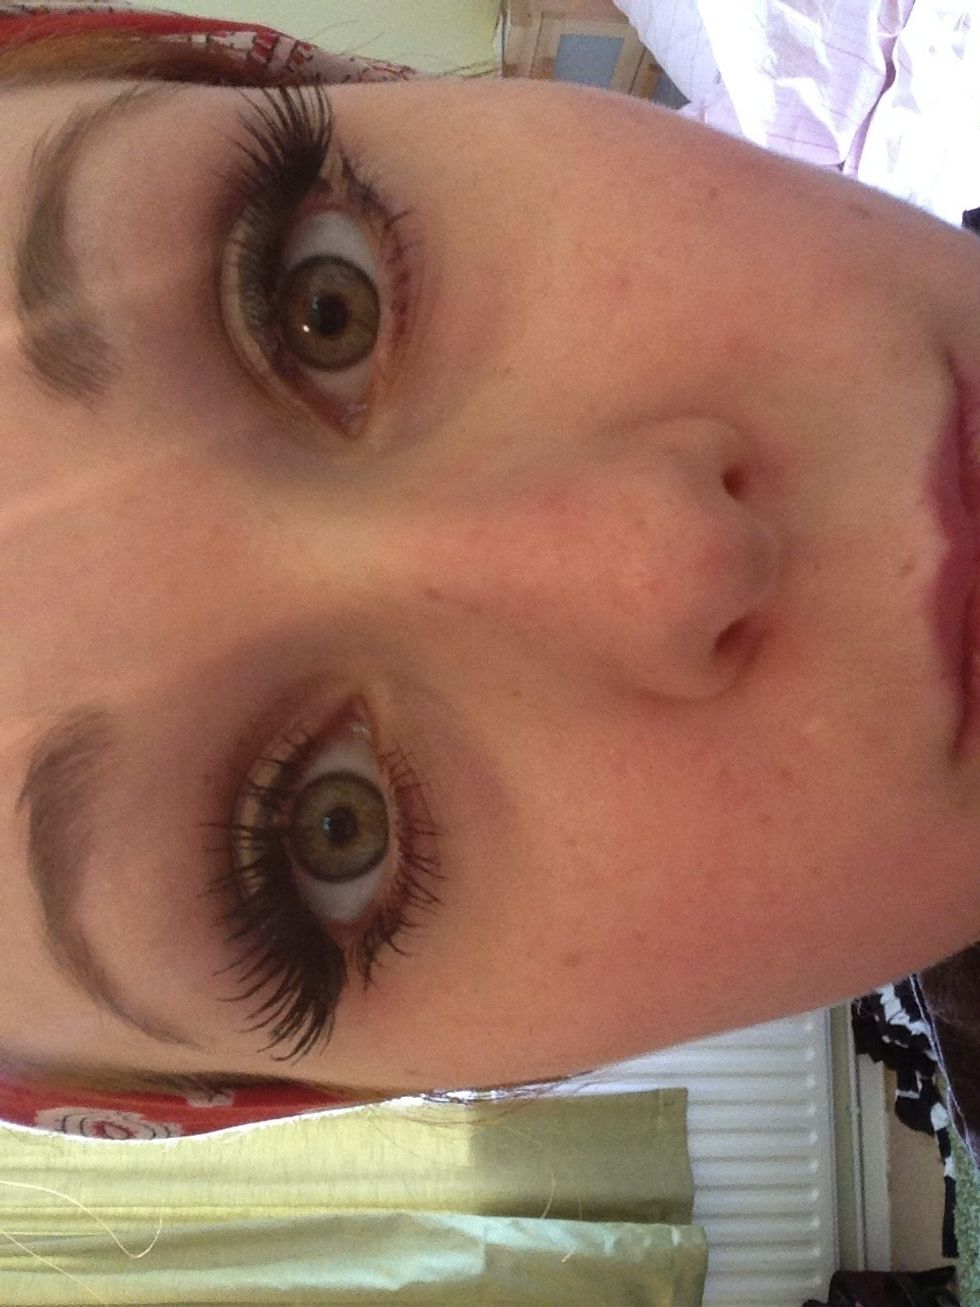
Apply white eyeliner to the water line.
Makes a big difference! Makes the iris' stand out and the eyes appear bigger.
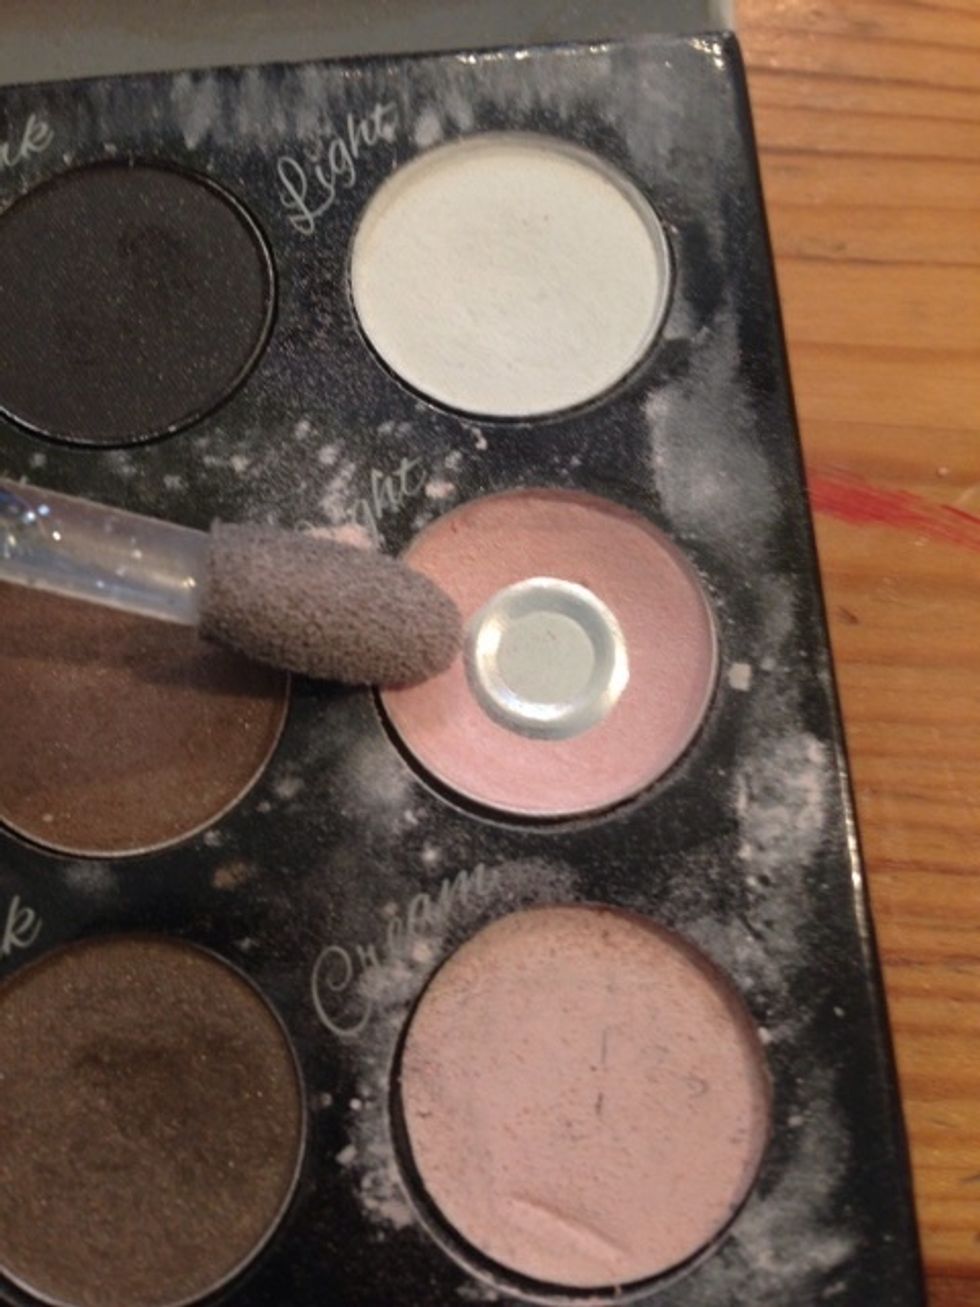
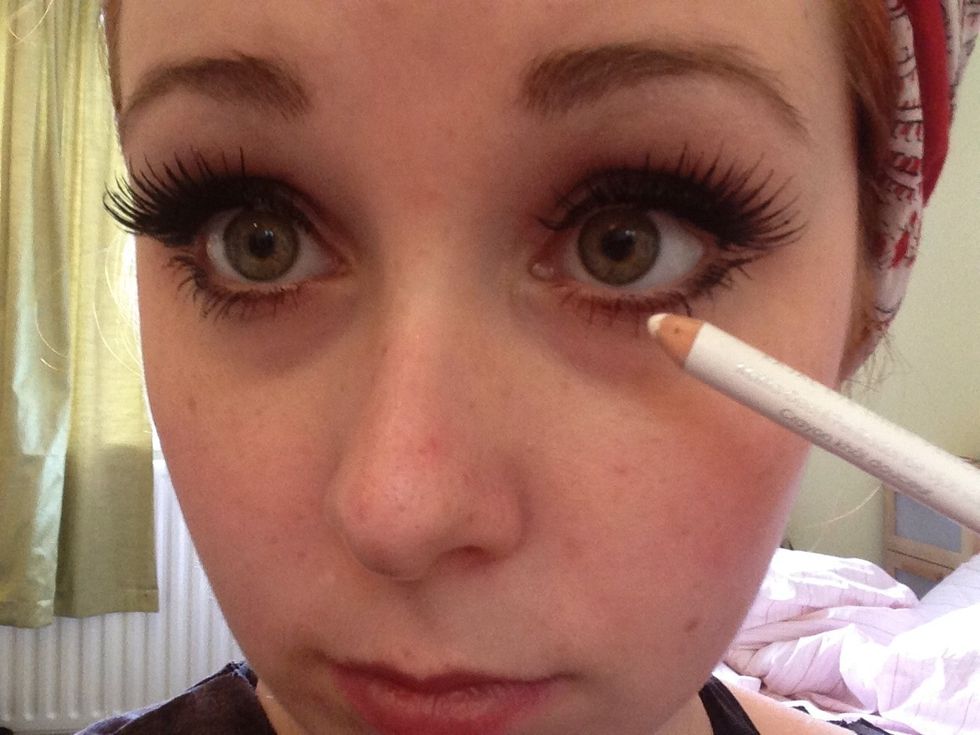
This is my little secret! It's the pale pink shadow from the Collection 2000 palette. I apply it under my eyes to polish the look, and I can't quite say how it works but it just looks fab!

I use a normal eyeshadow applicator, and sweep underneath, the tear duct and upwards.
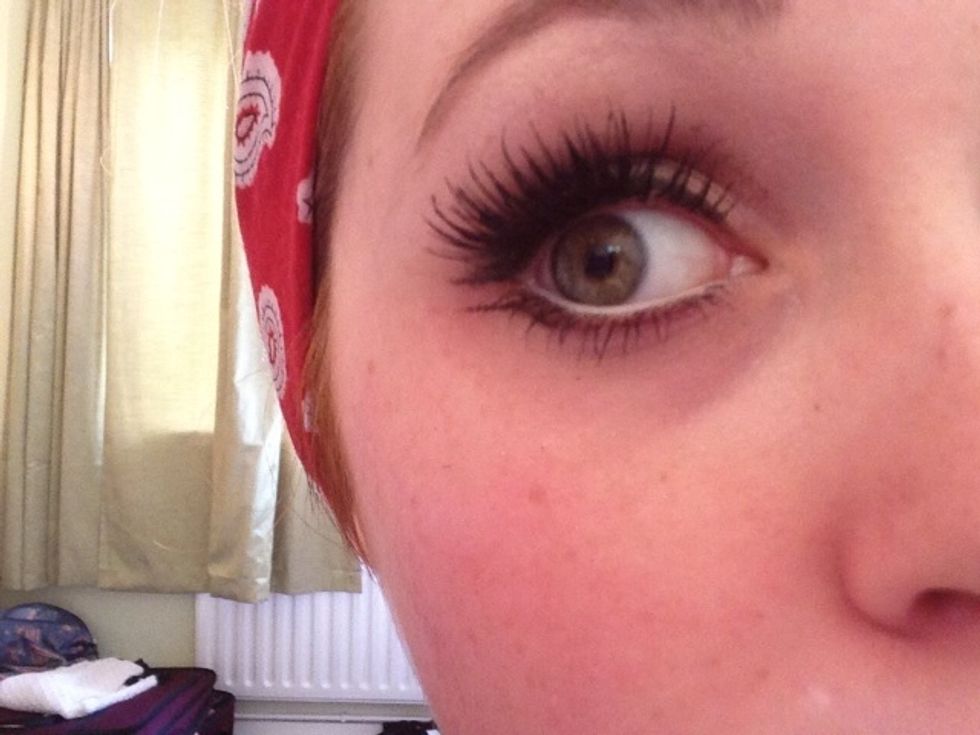
With the eyeshadow applied, it makes my eyes look bigger, cleaner and just nicer in my opinion!
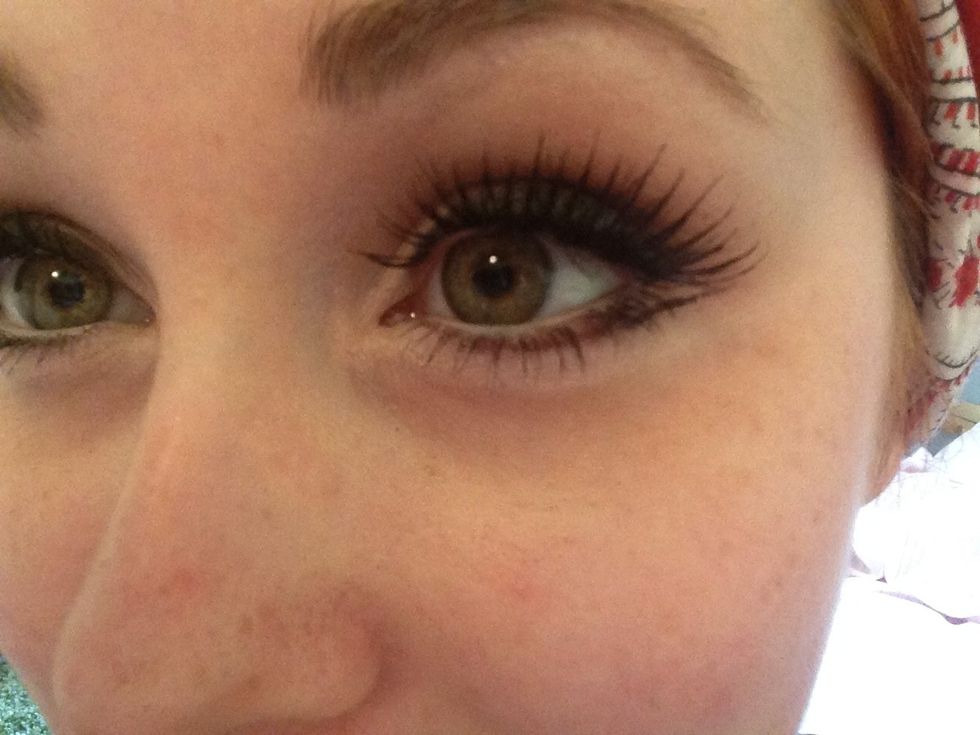
Here is a close up.
I now just touch up any liner that has been dimmed by the eye shadow.
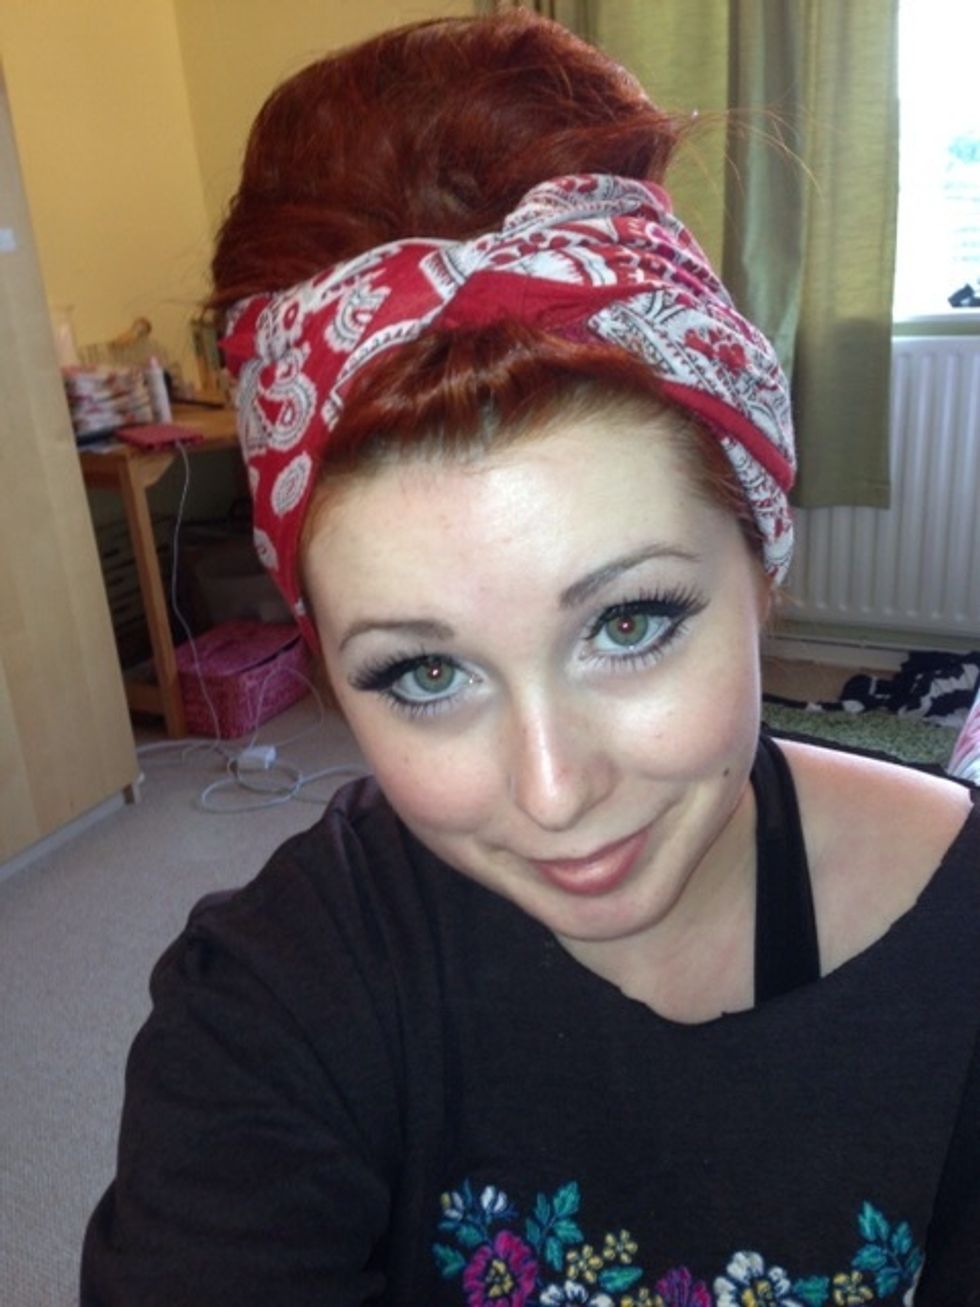
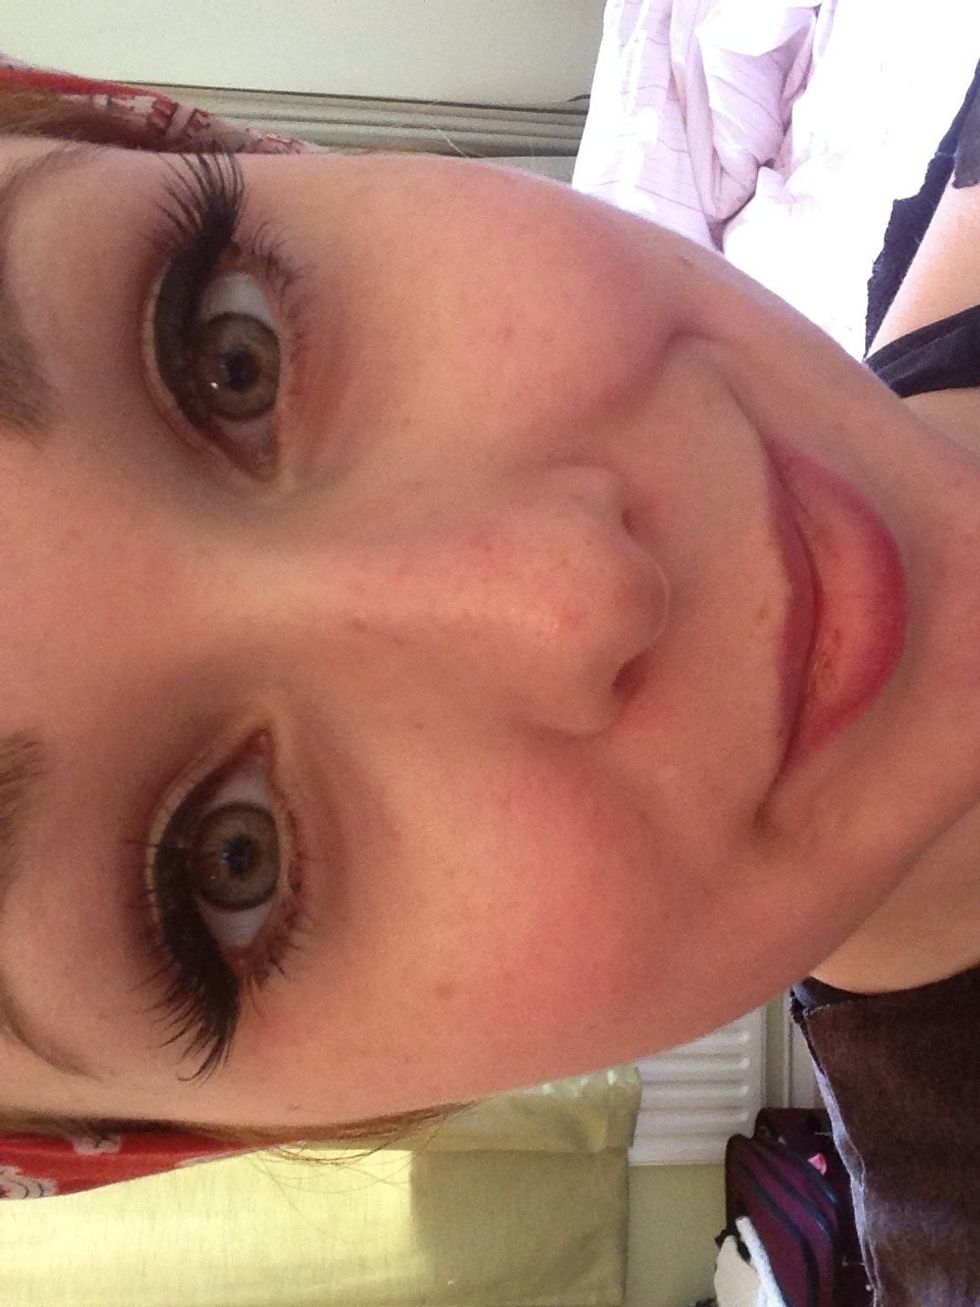
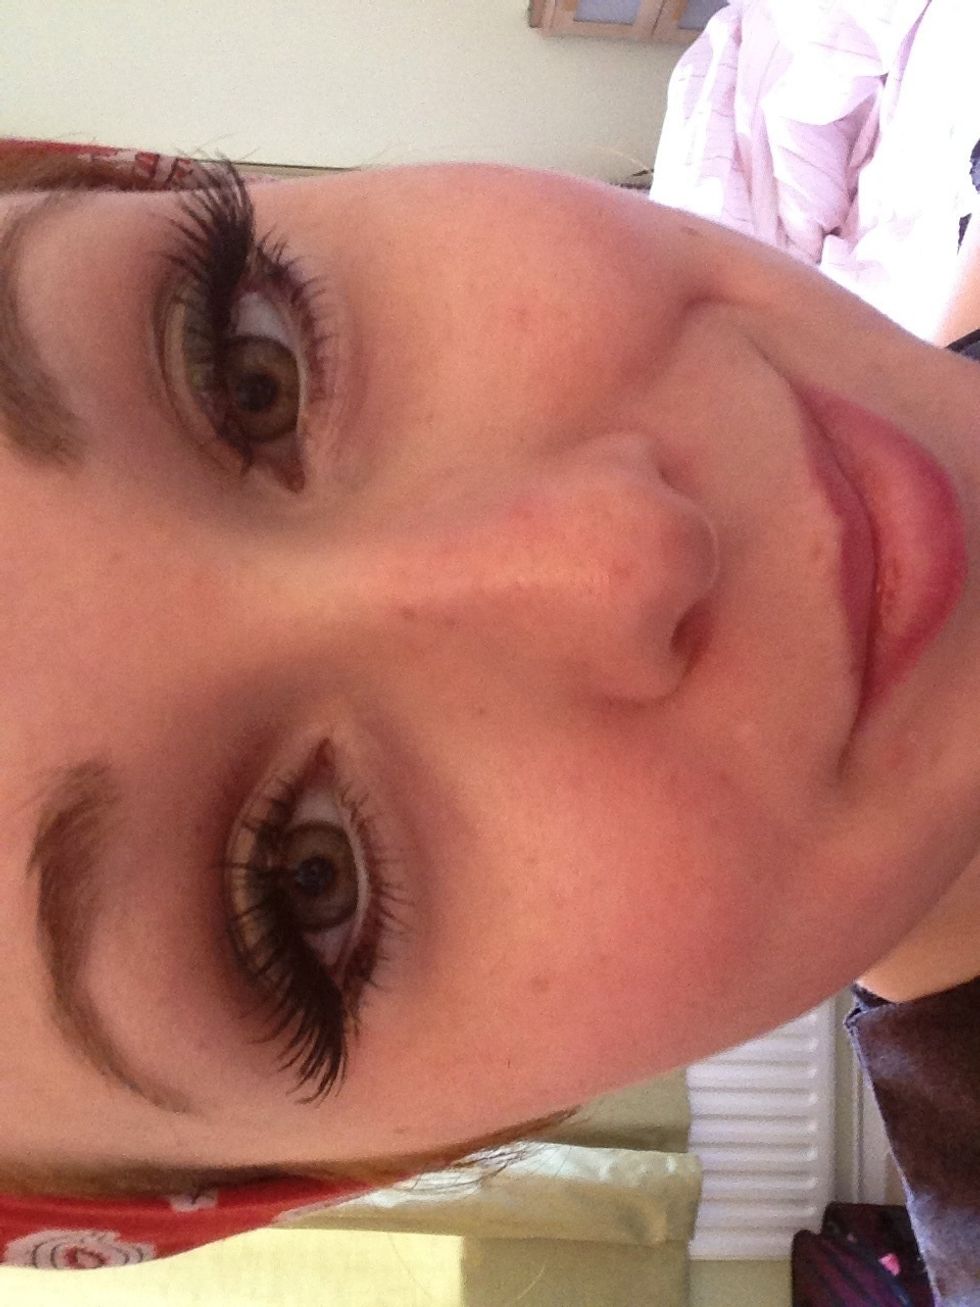
Here is the finished look! I have no other make up on, so I look a little peaky, but I really like this eye look. I wear it for Burlesque shows, nights out and if I fancy feeling a little extra nice!
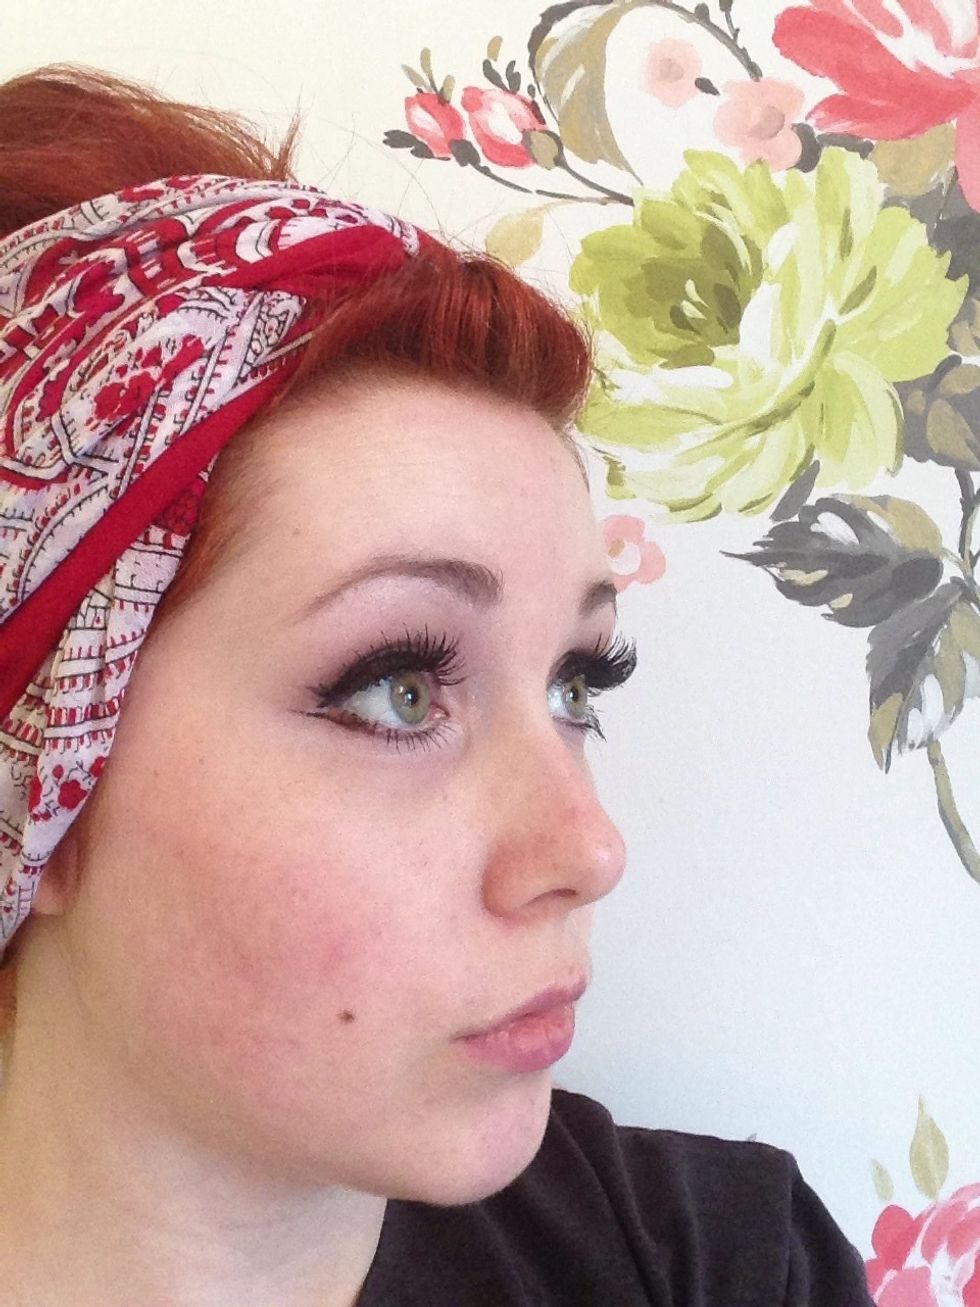
The lashes really add volume and thickness. I like the lower line as it reminds me of Elizabeth Taylor in Cleopatra years ago!
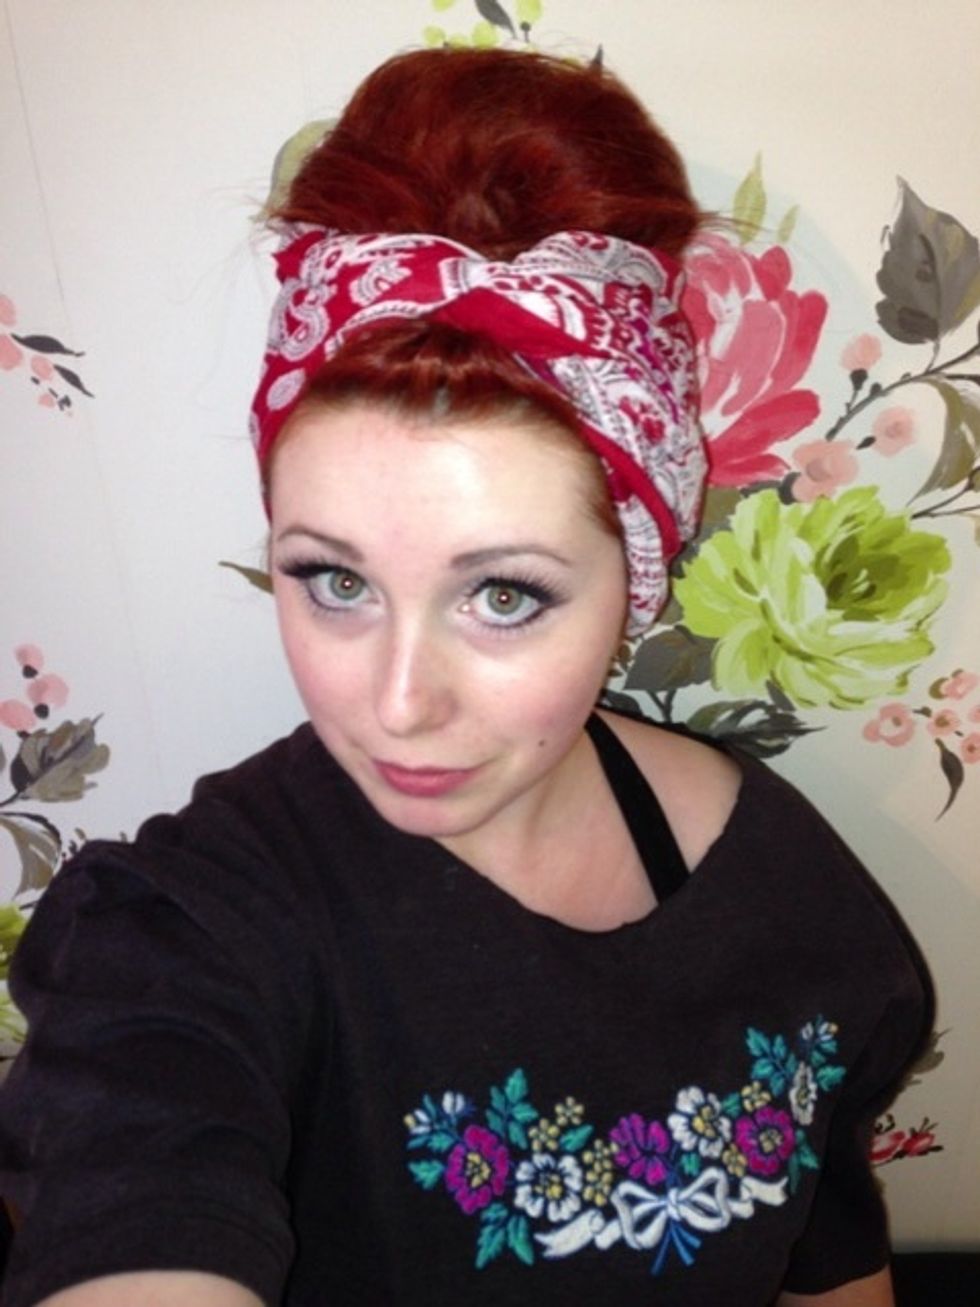
Hope you enjoyed this look! Seems like my tutorials are always very long! Any more requests are always gratefully received! Thanks again guys. X