The Conversation (0)
Sign Up
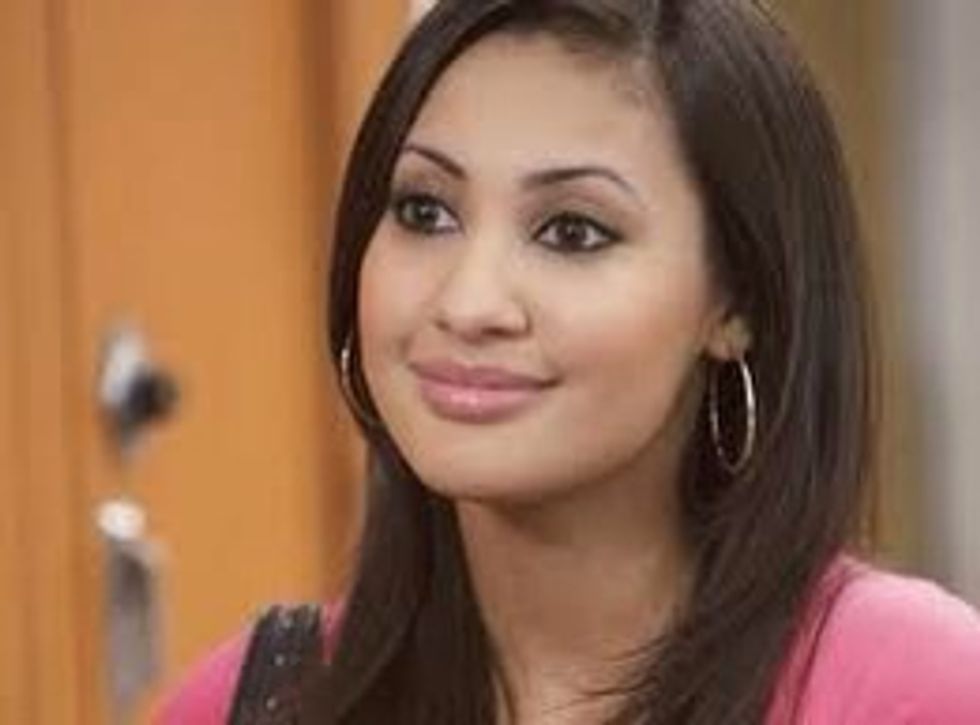
This look was inspired by Actress Francia Raisa who plays Adrian Lee on ABC Family's hit show The Secret Life Of The American Teenager. This is a great look for any eye color and for day or night wear

You're going to be working with basic brown colors. My skin tone has a bit of an olive undertone to it so I'll be listing the colors I'm using of course you can use whatever you like. Ready? Let's go!
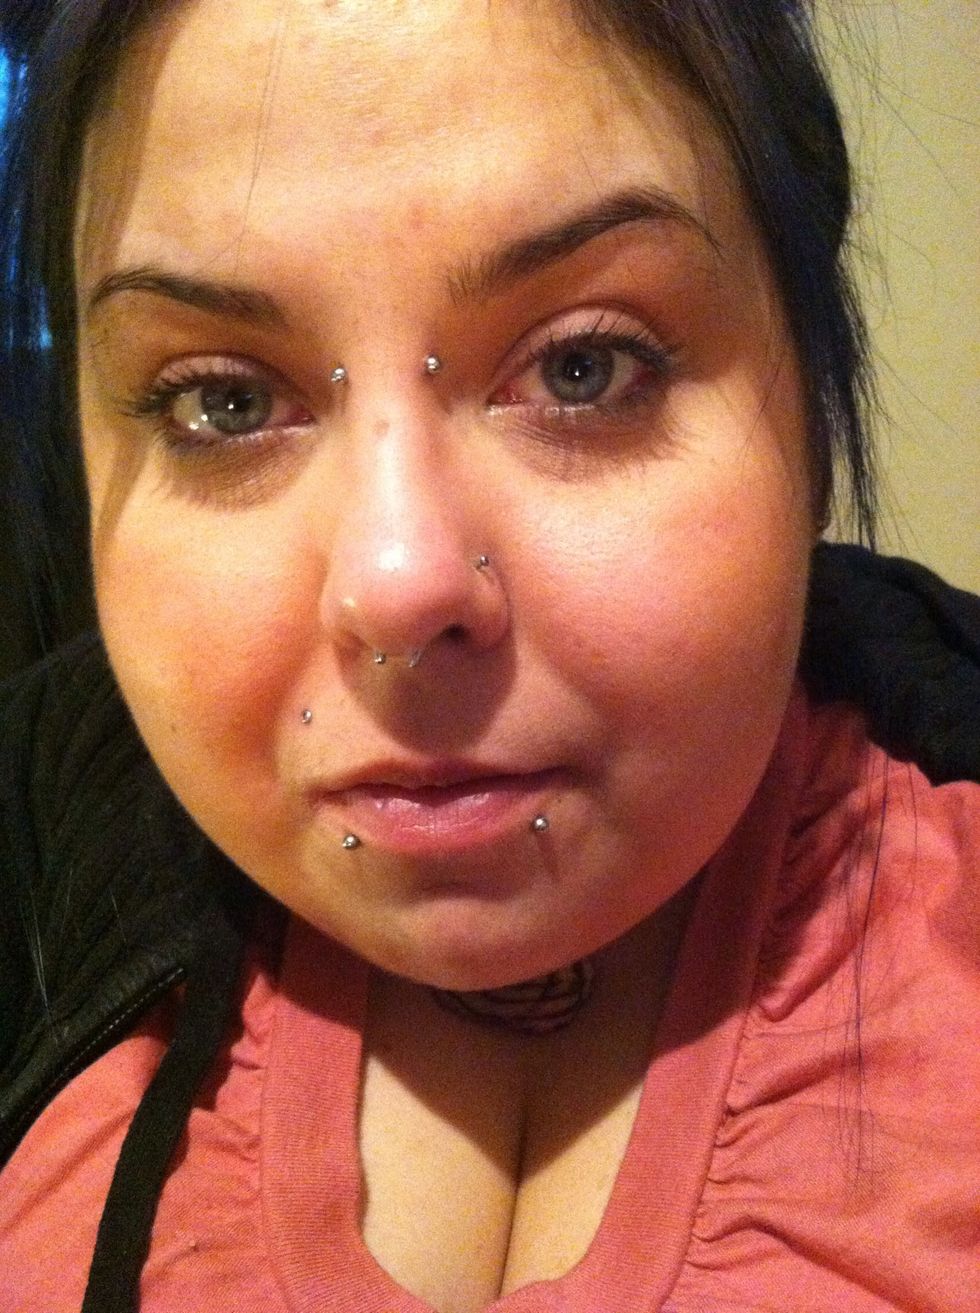
Always start off with a clean and dry face. A blank canvas is always best to work with :) Also, sorry about the quality and lighting on some of these pics as some aren't the greatest.
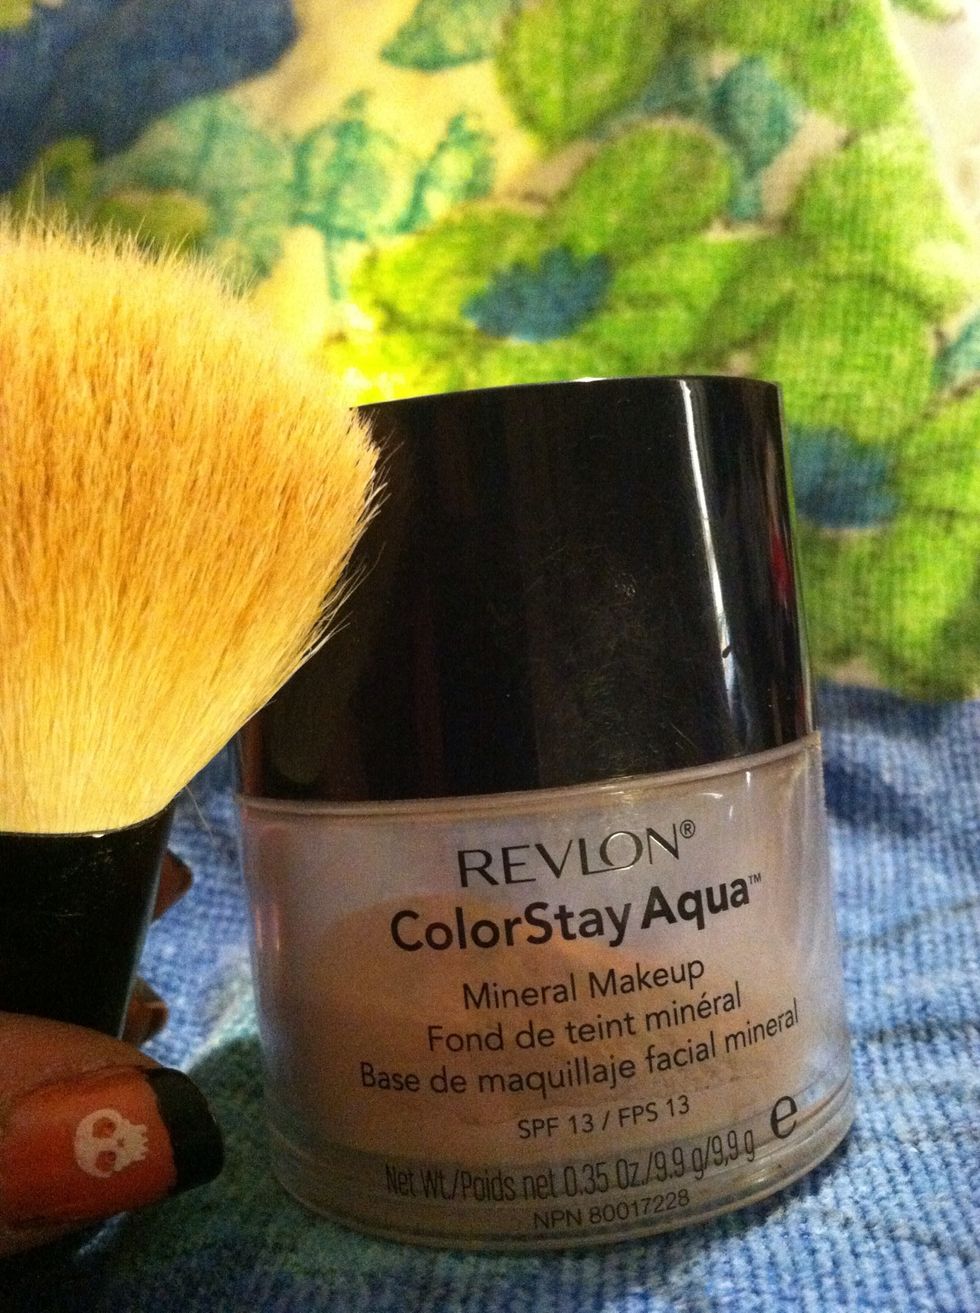
Foundation. I LOVE ColorStay Aqua. It's extremely lightweight and it gives a cooling sensation as you apply it. It comes w/a brush but I get better results using a bigger foundation brush.

Using circular motions, apply the foundation over your face evenly. Next, on to concealer...

PhotoReady is the best concealer I have used in a while. It provides great coverage and doesn't have that oily/caked on feel to it and it's really easy to blend. Now, lets contour a bit...
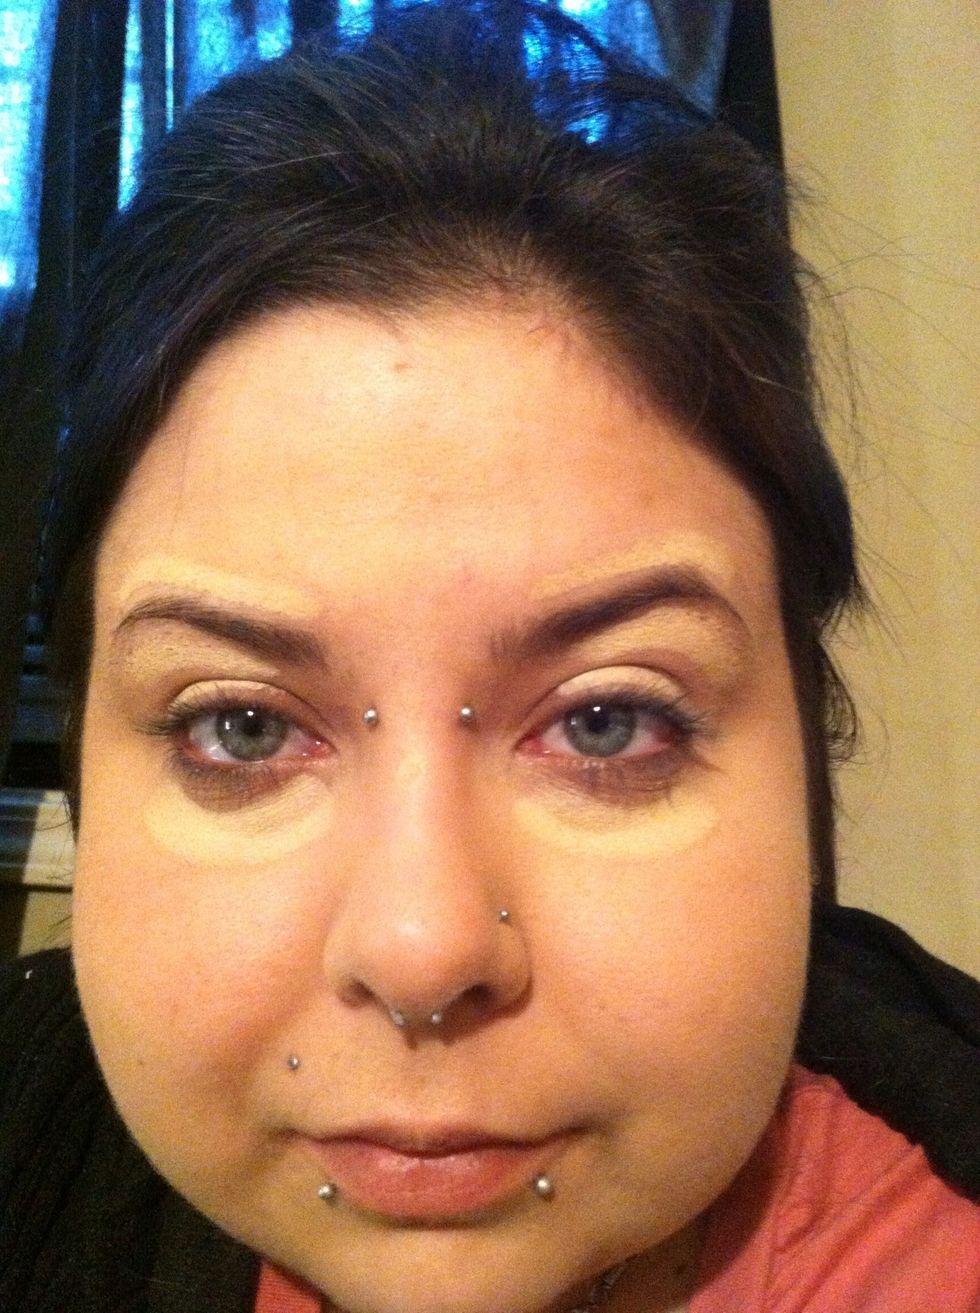
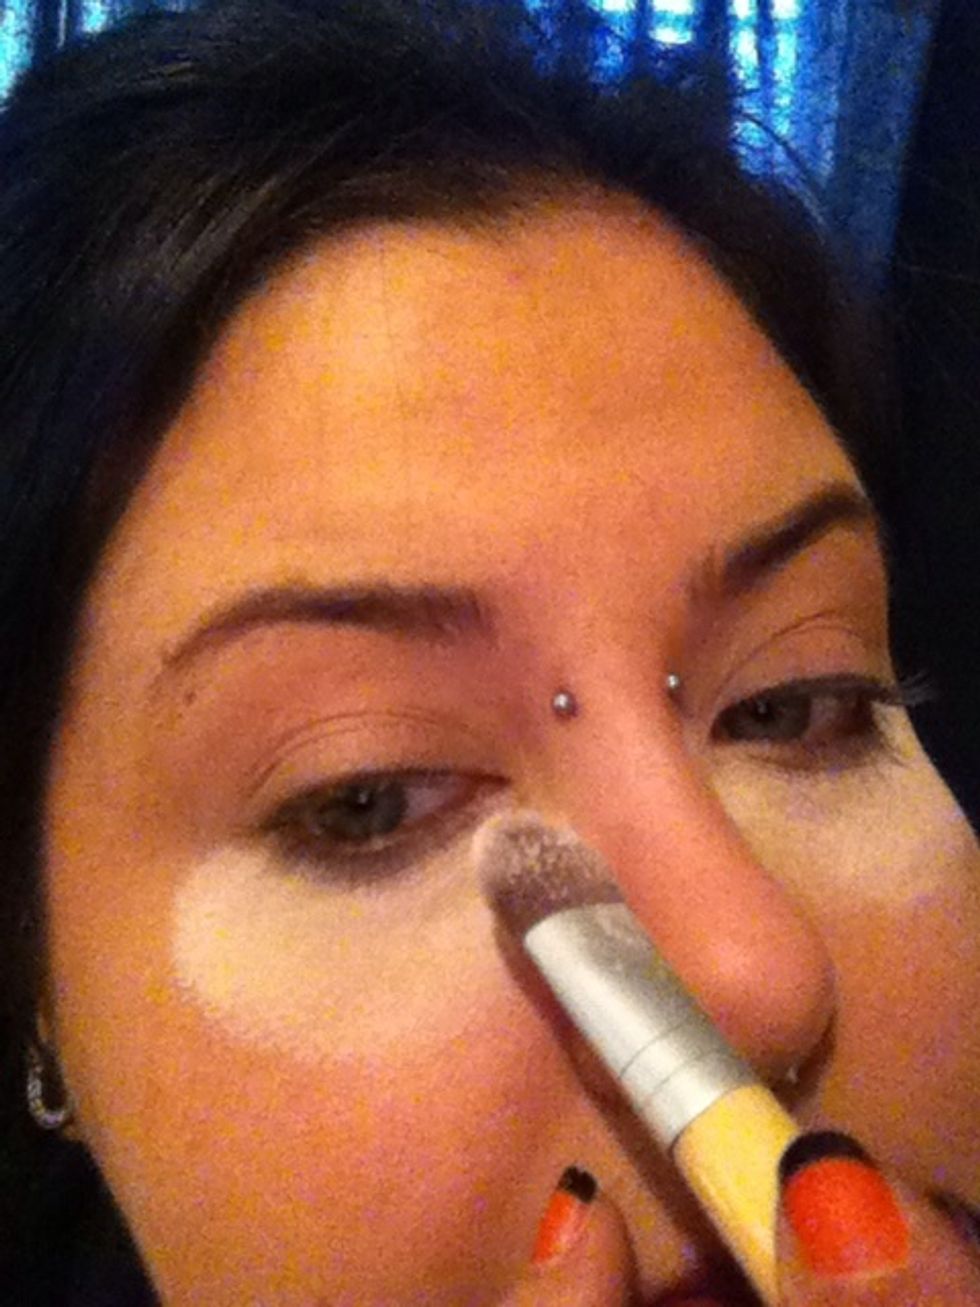
I've applied the concealer below my eyes as well as lines above and below my brows, and to each lid and any blemish I may have. Next blend in and grab your powder (Apologies for the pic being cut off)

Now I'm only applying powder to the areas where I have blended the concealer ('cept for my lids) so it can have a little time to set. I'm using Savvy's Natural Finish loose powder from Sally Beauty.
*Tip: A TON of excess powder will catch eyeshadow that may fall during application. Saves time plus, no worries about wiping away your base. This trick works great with very shimmery shadows too.
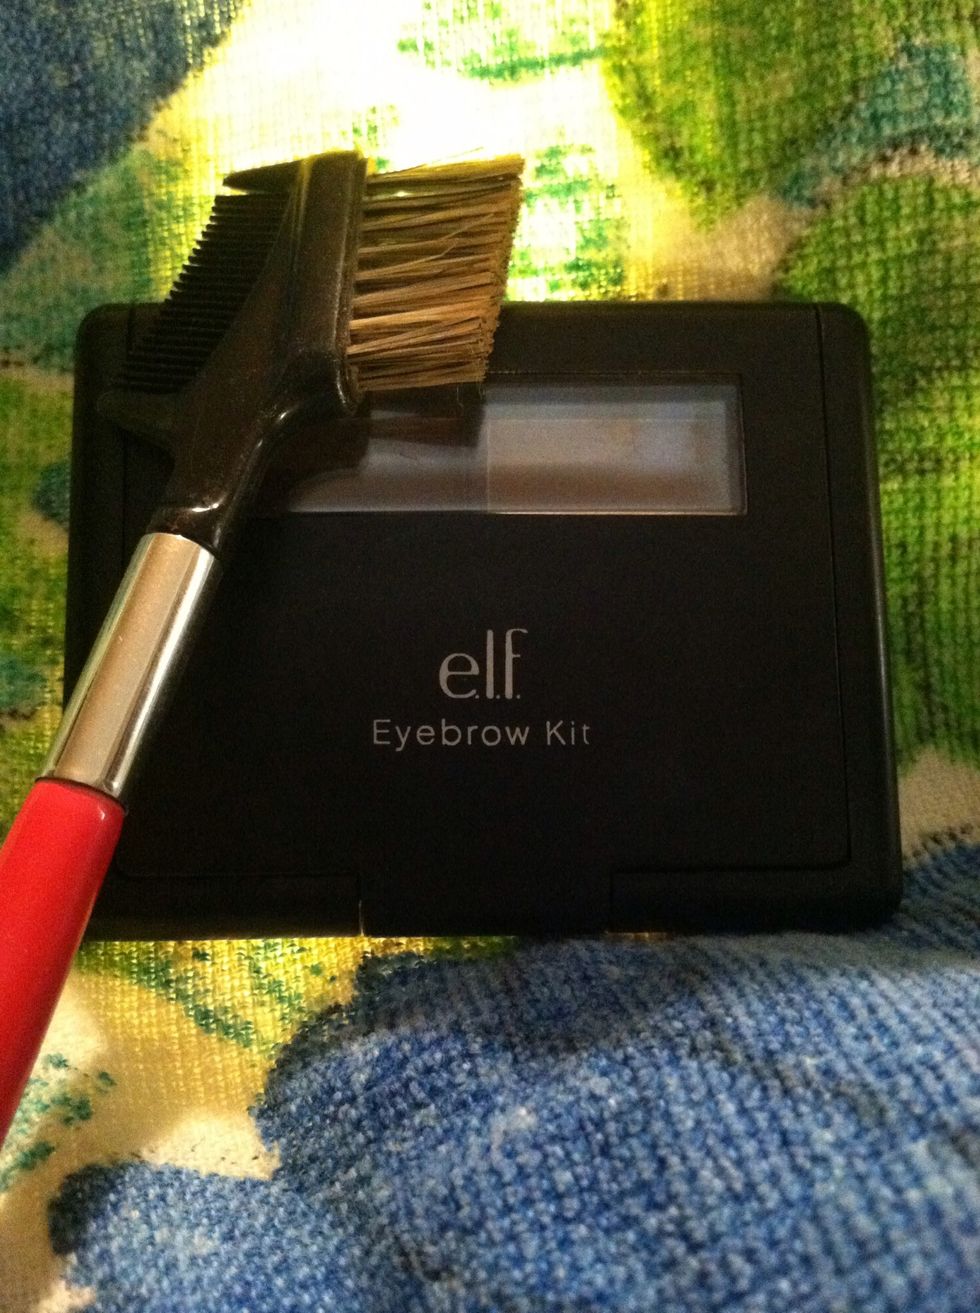
Brow time! Make sure to groom brows to a nice shape and fill in brows. I'm using E.L.F, I got lucky and found this at my local Dollar Tree for.. You guessed it 1 dollar. :)
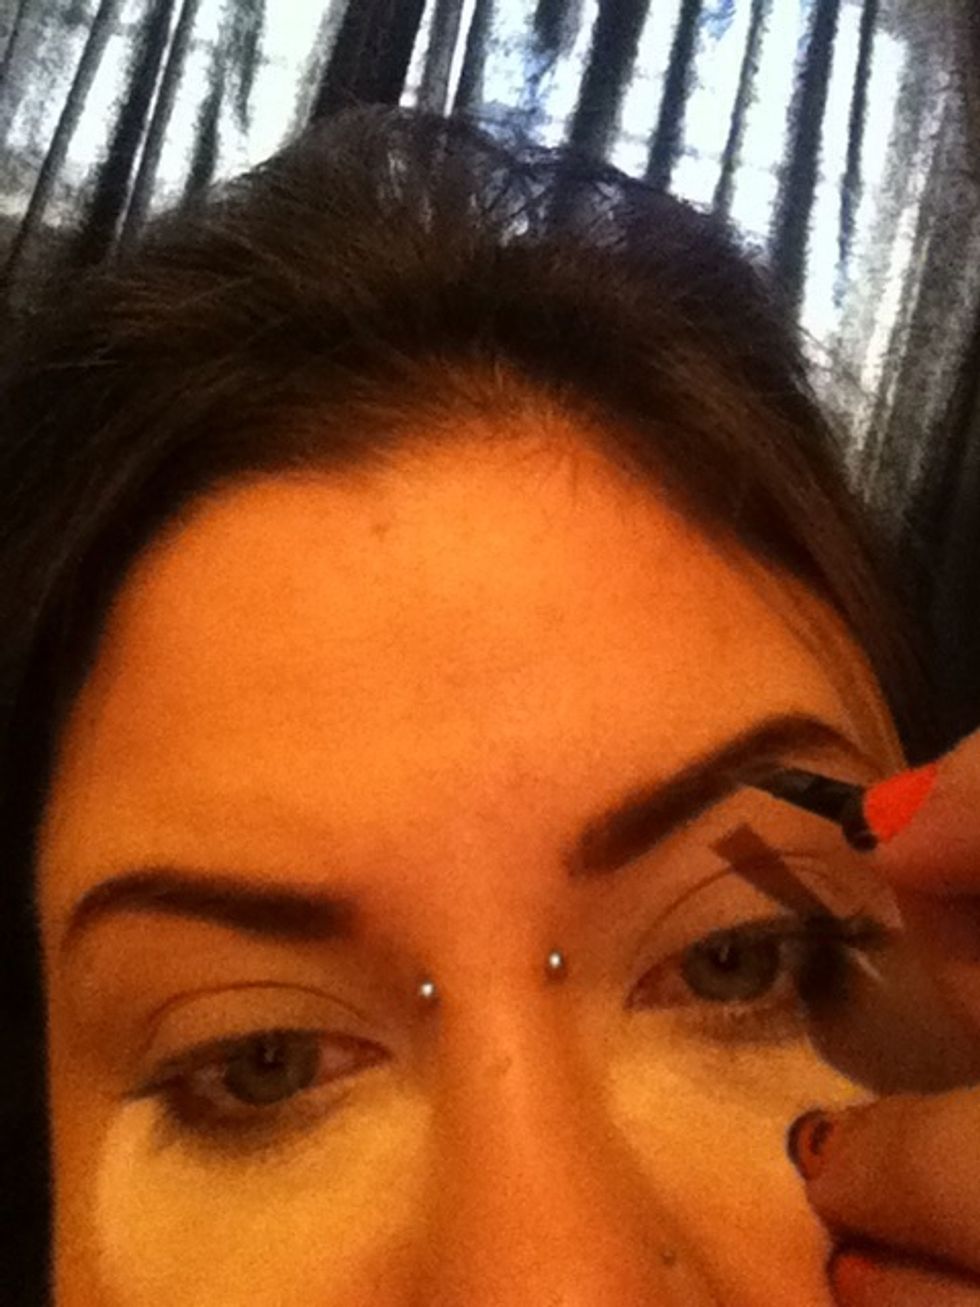
Fillin' in the brows. *Tip: For those on a budget, you can pick up many items at a dollar store. Sponges, cotton swabs, fake lashes, even eyelash curlers and I promise, you can't even tell the diff.
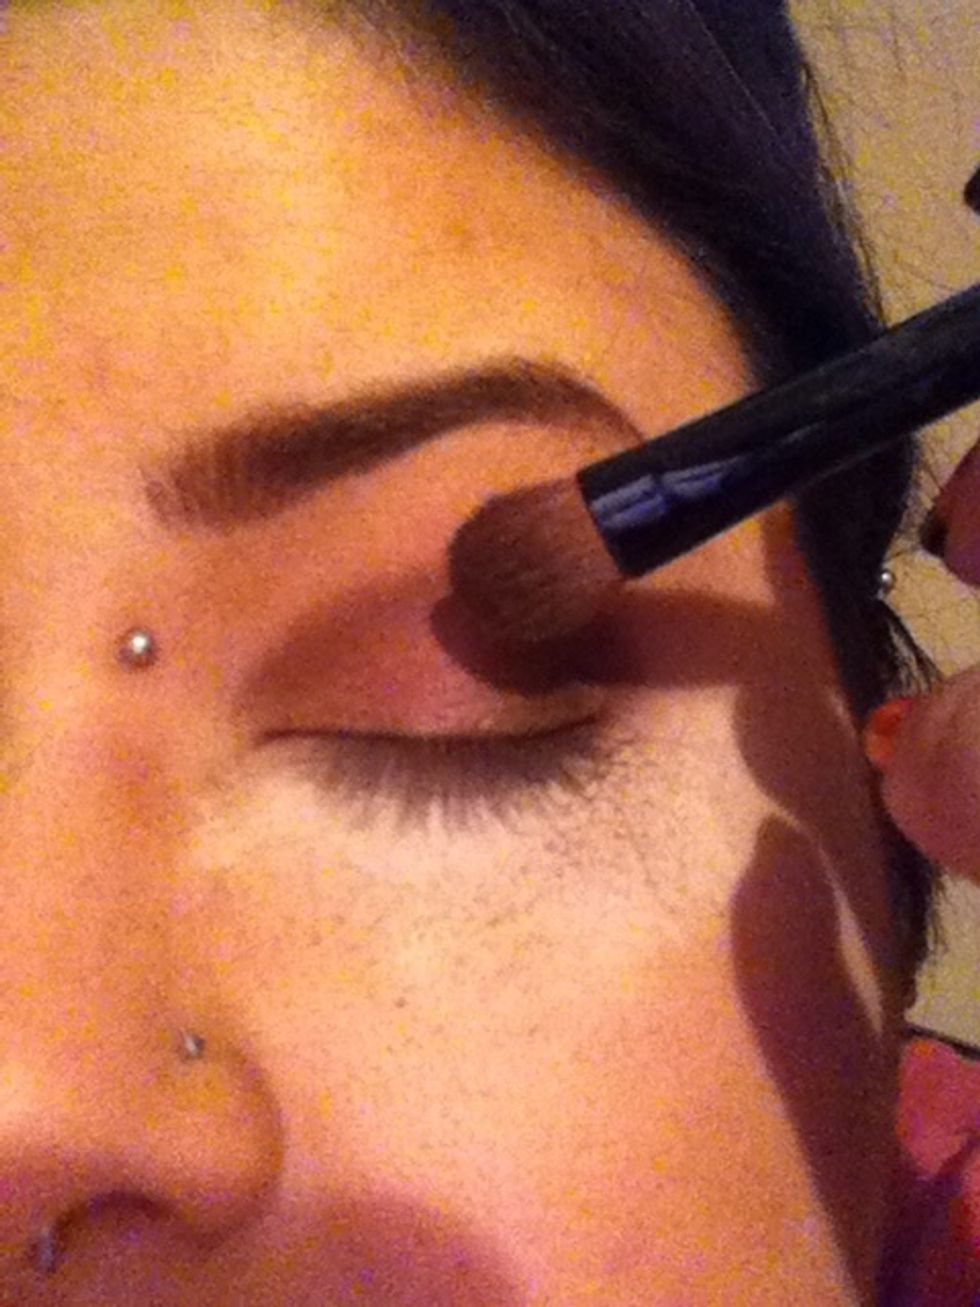
Now we're getting to the fun part. Using a bit bigger and more stiff brush I'm using a flesh colored matte tan shadow, CoverGirl Pro Eye Enhancers in Toasted Almond on my lid all the way up to my brow
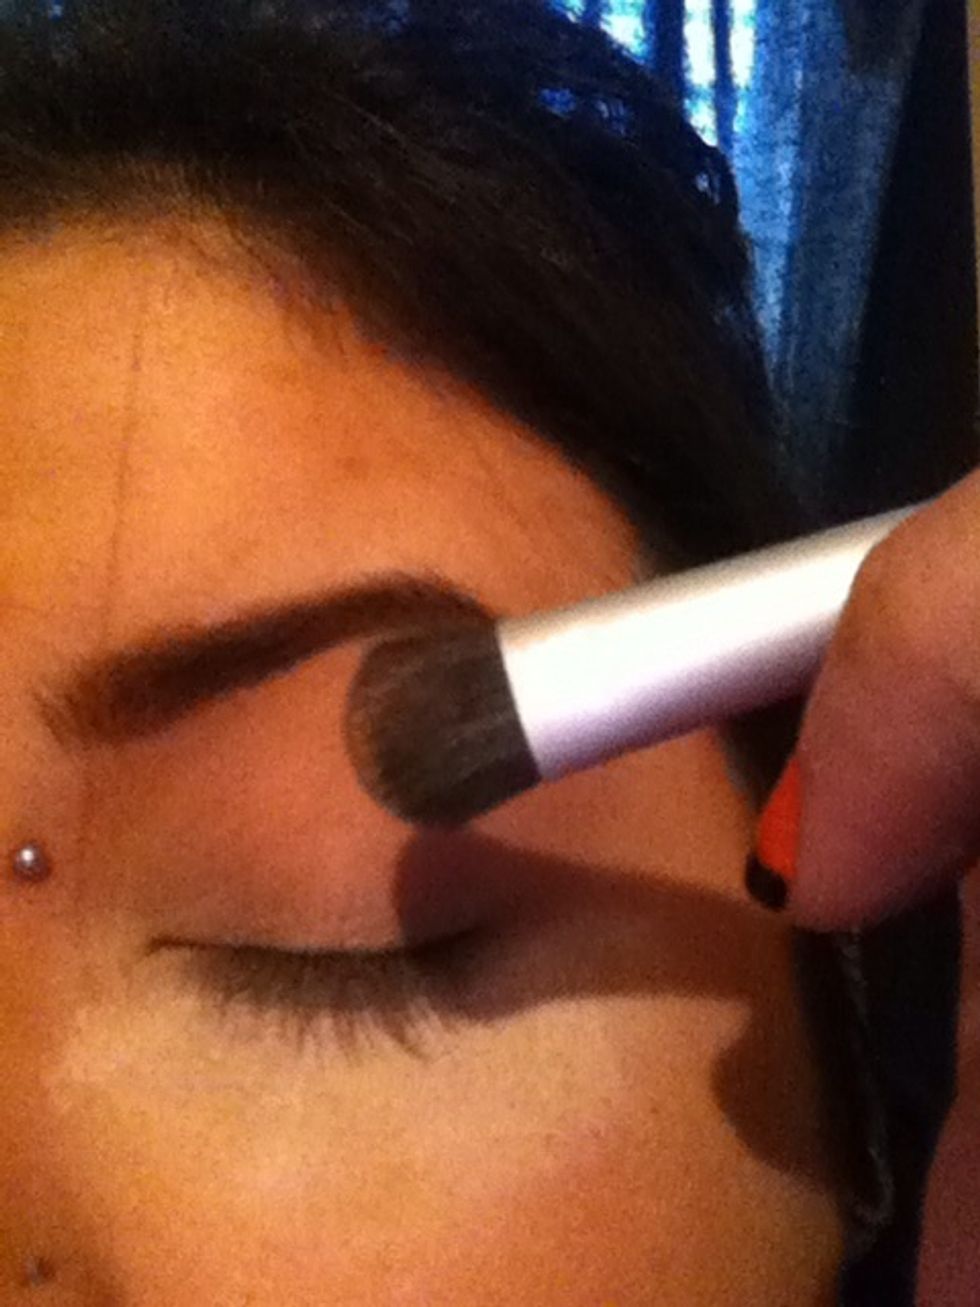
Make sure to use a color that is hardly visible on your skin tone. Everyone's different. Matte is the way to go if you're wearing this look during the day. Shimmer always looks better for a night look
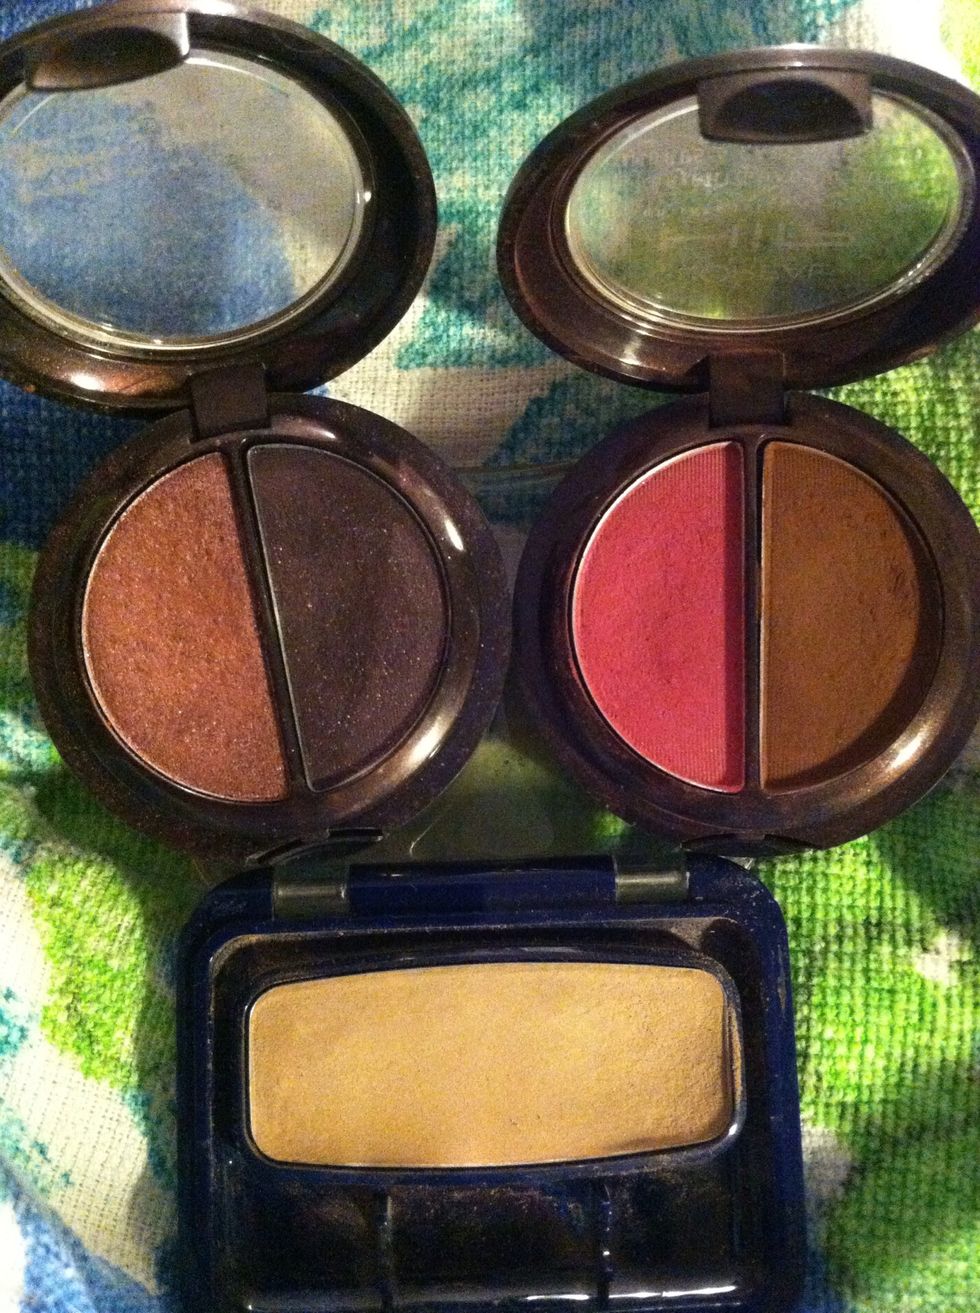
On the left we have L'Oréal HIP in Sculpted, Right L'Oréal HIP in Brazen, and the CG Toasted Almond color used from lid to brow. You can use whatever application method you prefer. Now, for brushes...

Left: A larger and very soft brush used to blend. Middle: A bit smaller but more stiff brush used to apply color from lid to crease. Right: A small, soft brush to apply color in crease.
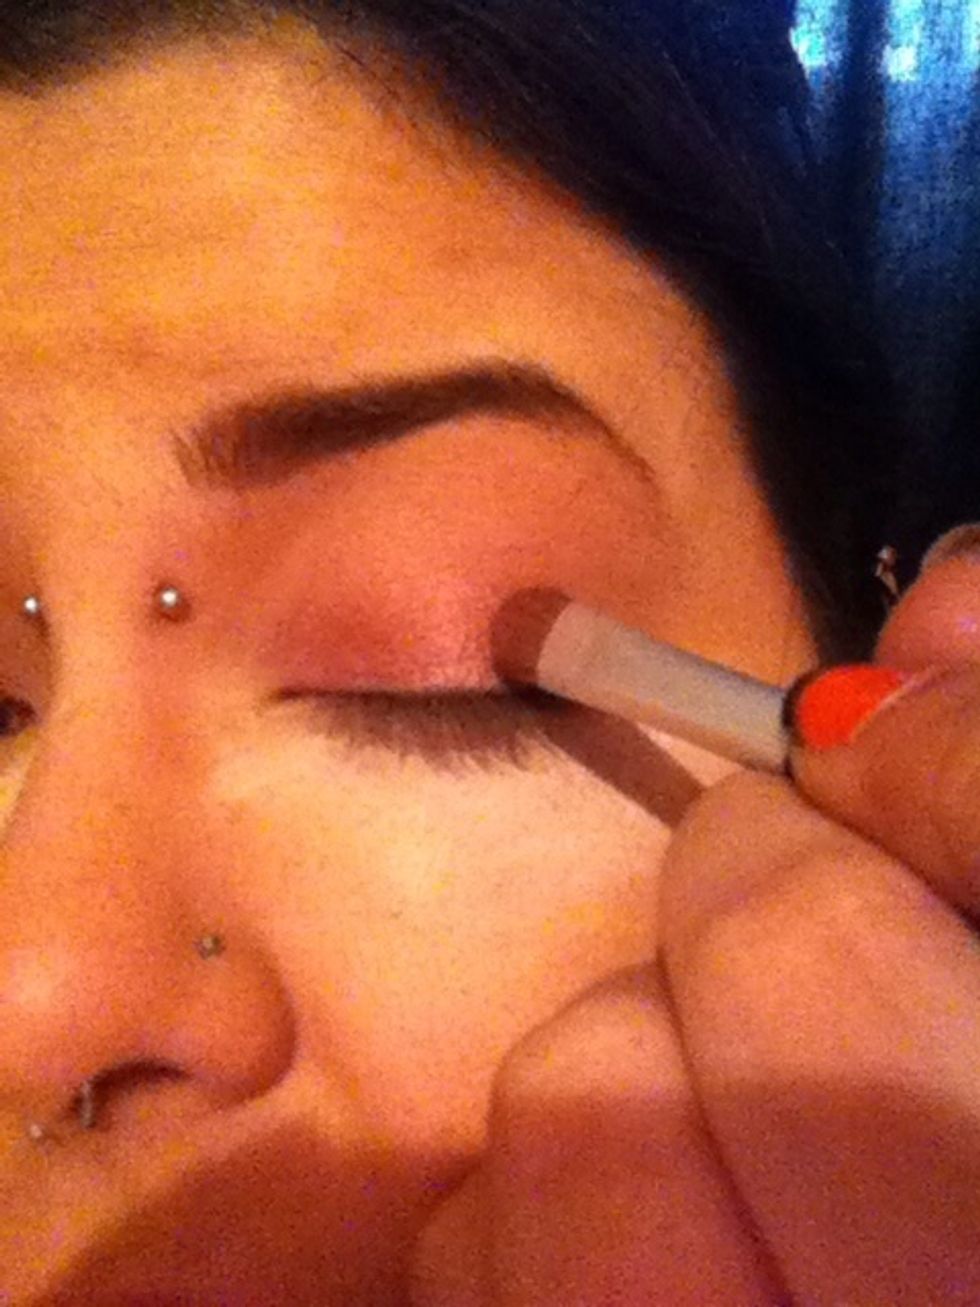
Using the 'Sculpted' palette I'm using the peachy tan color only to my lid. I ended up making my lid a little darker than I wanted so I used a bit of Toasted Almond on top to lighten up a bit.
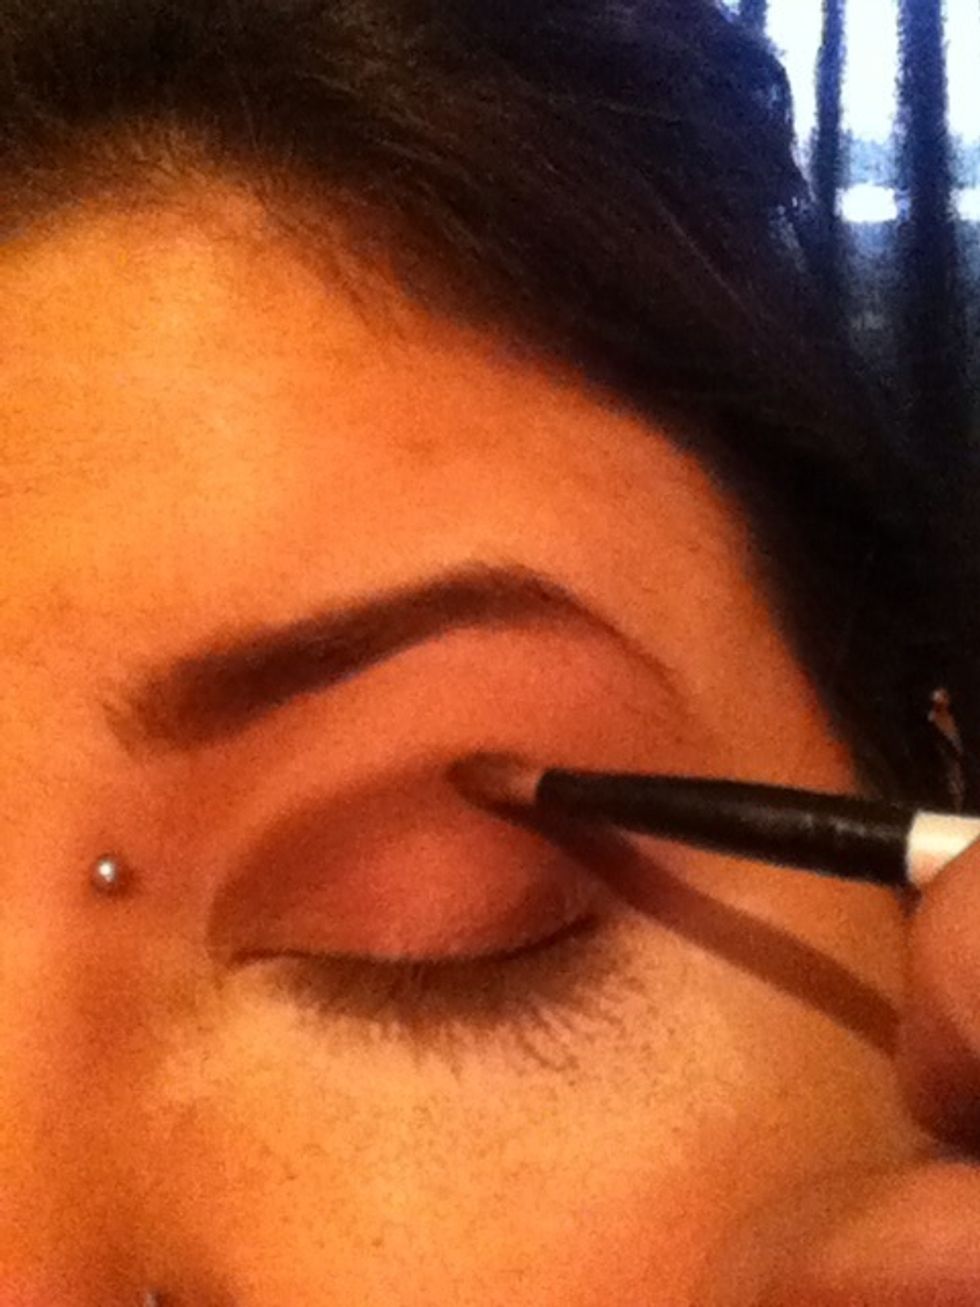
Next, using the 'Brazen' palette I'm using the matte brown to put in the crease making a sideways V shape on the outer portion on the lid above the lash line.
As you can see I've had excess shadow fall onto the loose powder under my eye. Good thing the powder is in place ;) Now using circular motions blend shadow together so there are no harsh lines.
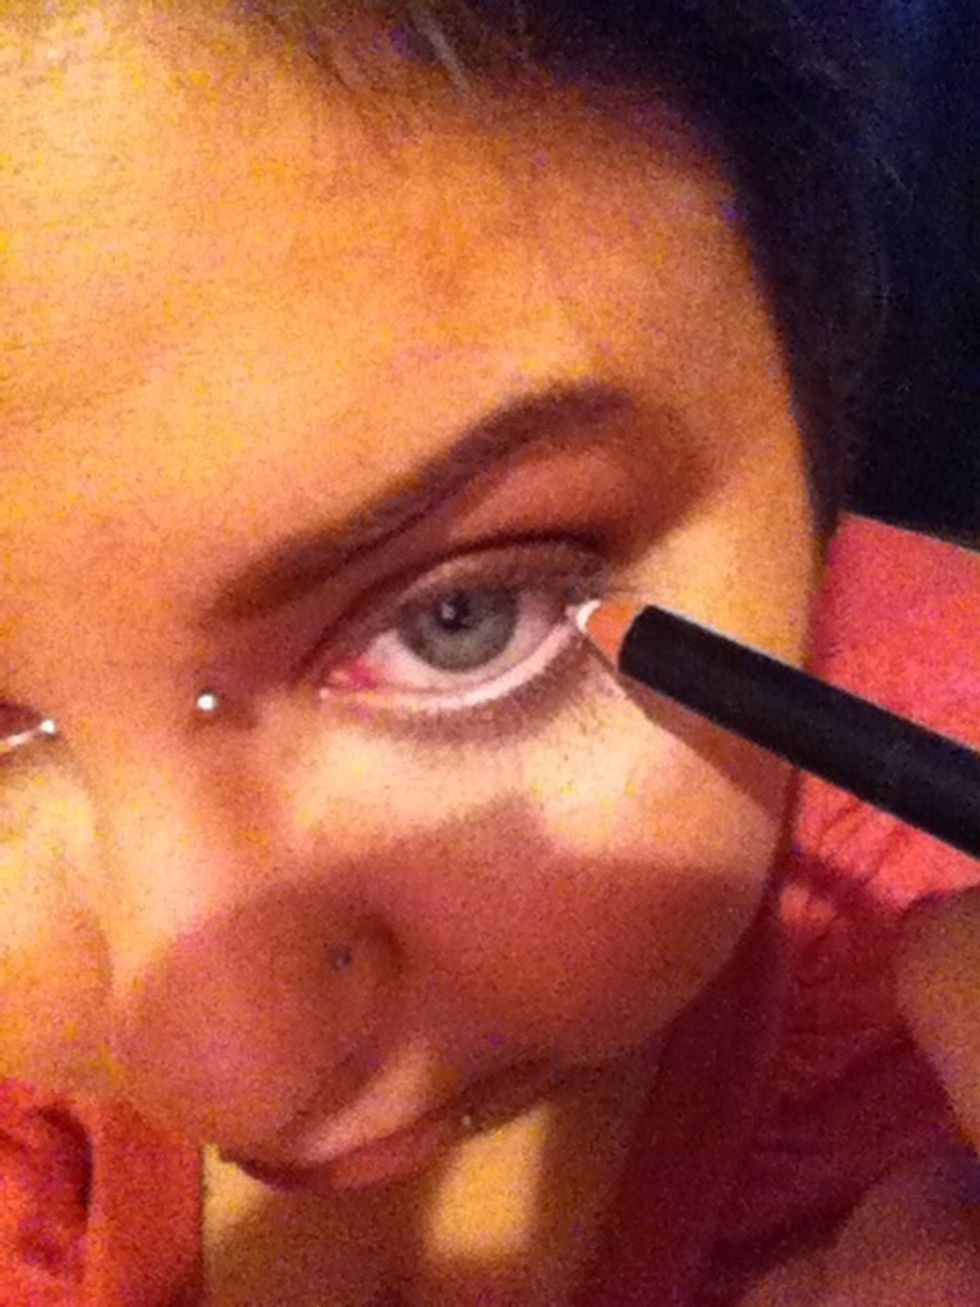
Next, using Beautique white eyeliner on the water line of the lower lid. *Tip: Using white liner on the waterline makes tired eyes look invigorated as well as making your eyes appear bigger. Cool huh?

Since I'm finished with my shadows I dusted off the excess powder and blended in the rest. Voilà! Perfectly applied shadow. Now for black liner...
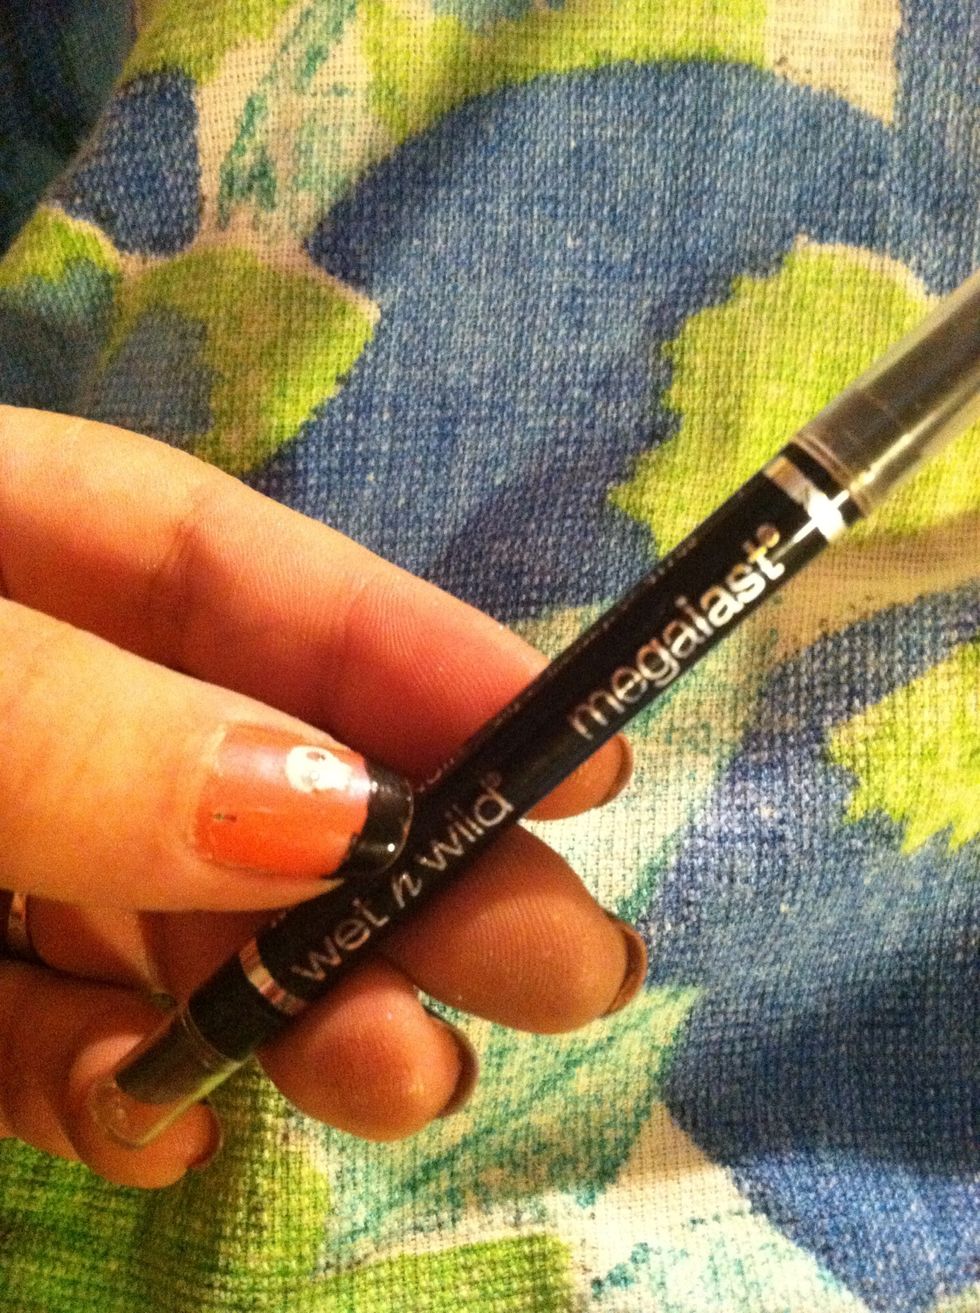
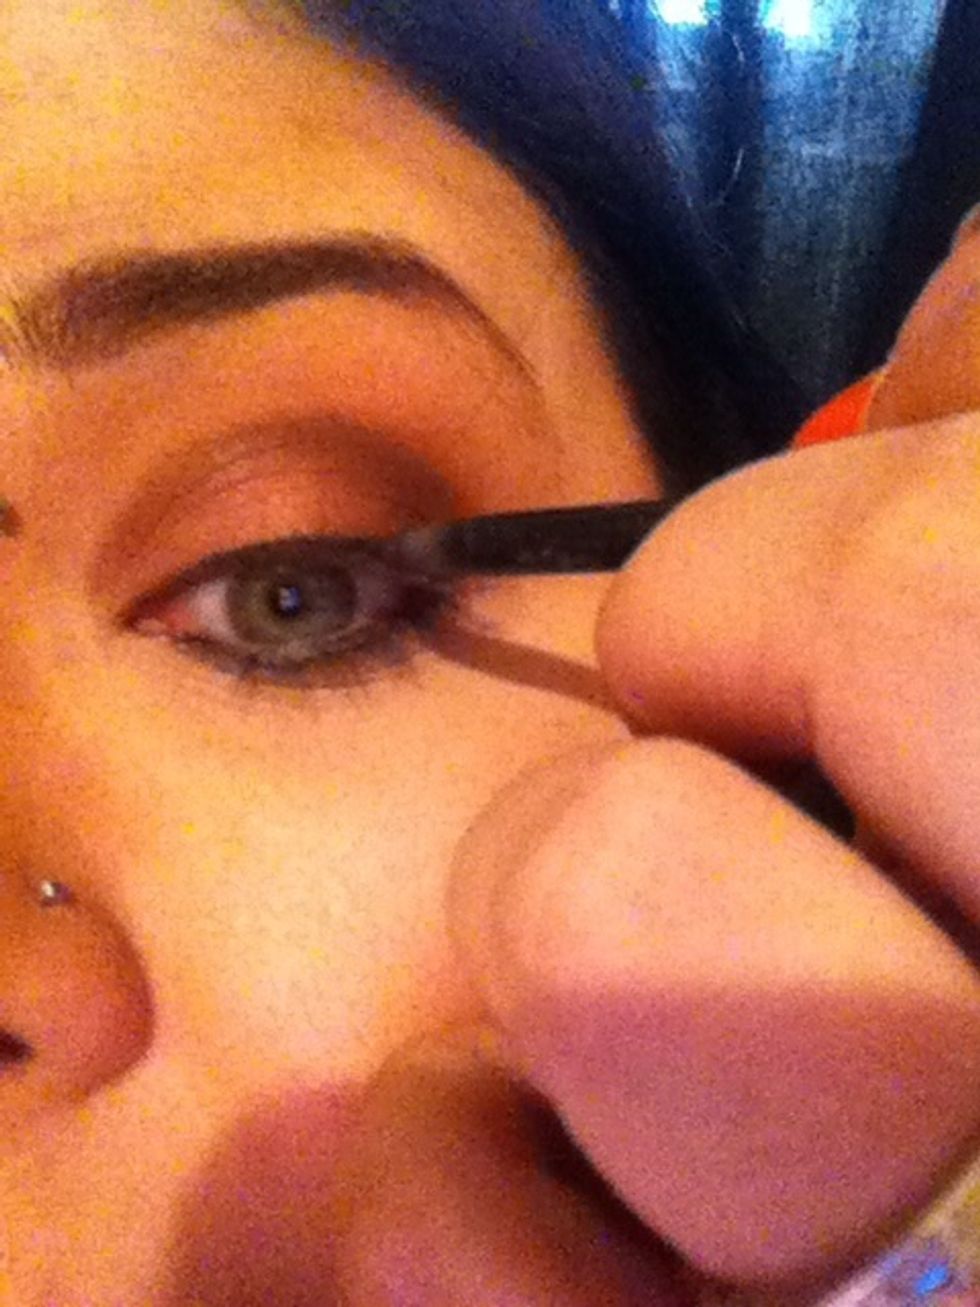
I'm using Wet n Wild megalast retractable eyeliner crayon w/smudger in Blackest Black to draw semi bold lines to upper and lower lids like so...
This is also an ultra cheap liner you can pick up at your local drug store. It lasts a very long time and its just as good, maybe even better than a lot of the 10-12 dollar eyeliners out there!
Next would be using a lash curler. Unfortunately I have misplaced mine so I won't be using one in this tutorial. So we'll move to the next step. Mascara.
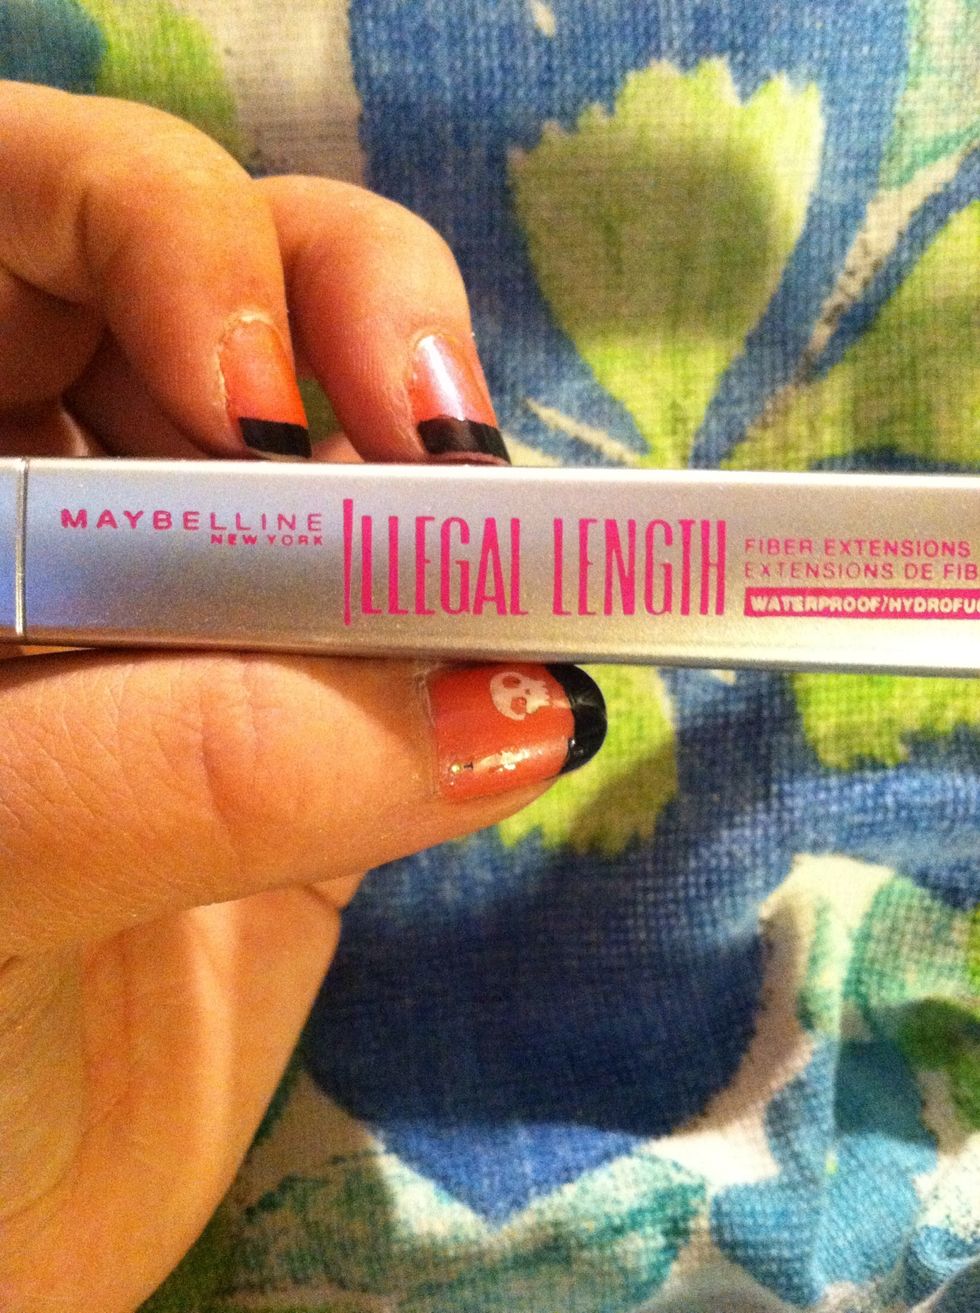
When it comes to Mascara it's best just to go ahead and shell out the extra $ and invest in a good kind. After much trial and error my favorite by far is Maybelline Illegal Length Fiber Extensions.
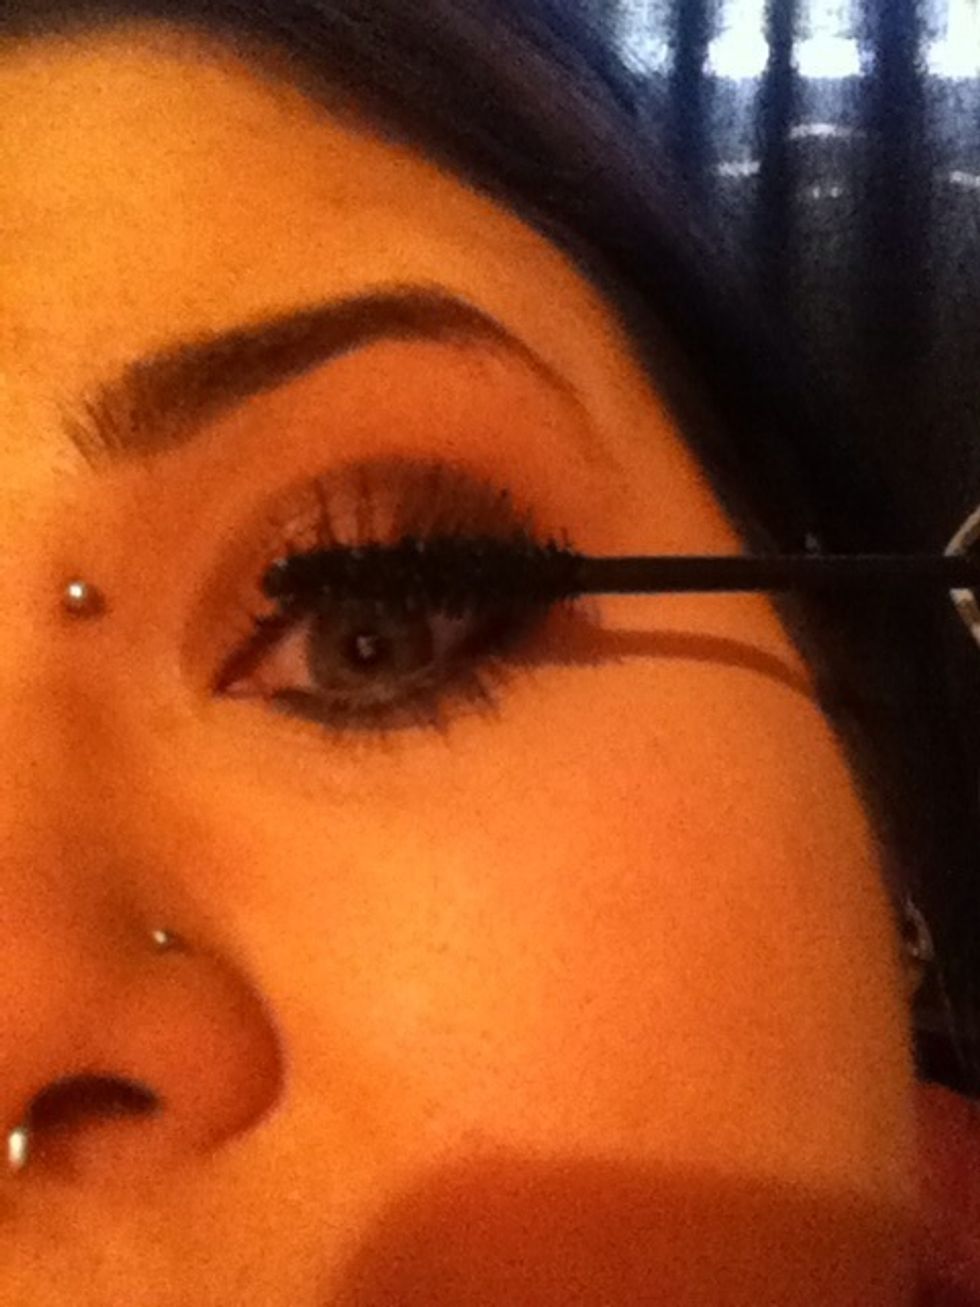
Maybelline claims it can make lashes appear up to 4mm longer. Fact! When I'm wearing this people ask if my lashes are real. I don't even feel the need for fake lashes any longer. This stuff is amazing
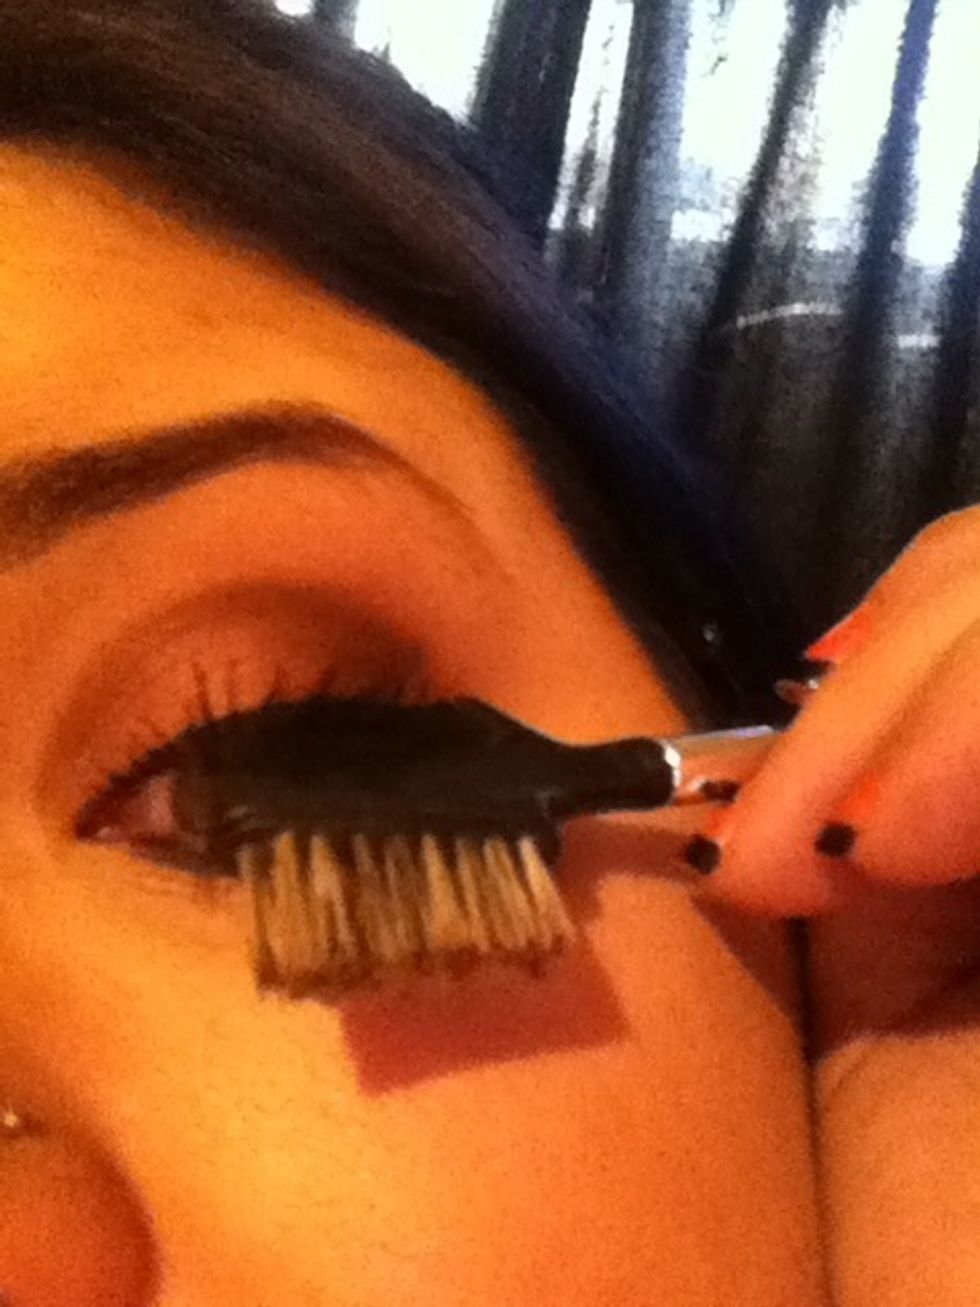
*Tip: After each use wipe tube clean bc buildup around the rim can cause the tube to not close tight and will dry out your mascara. After applying two coats use your brow brush to seperate lashes...

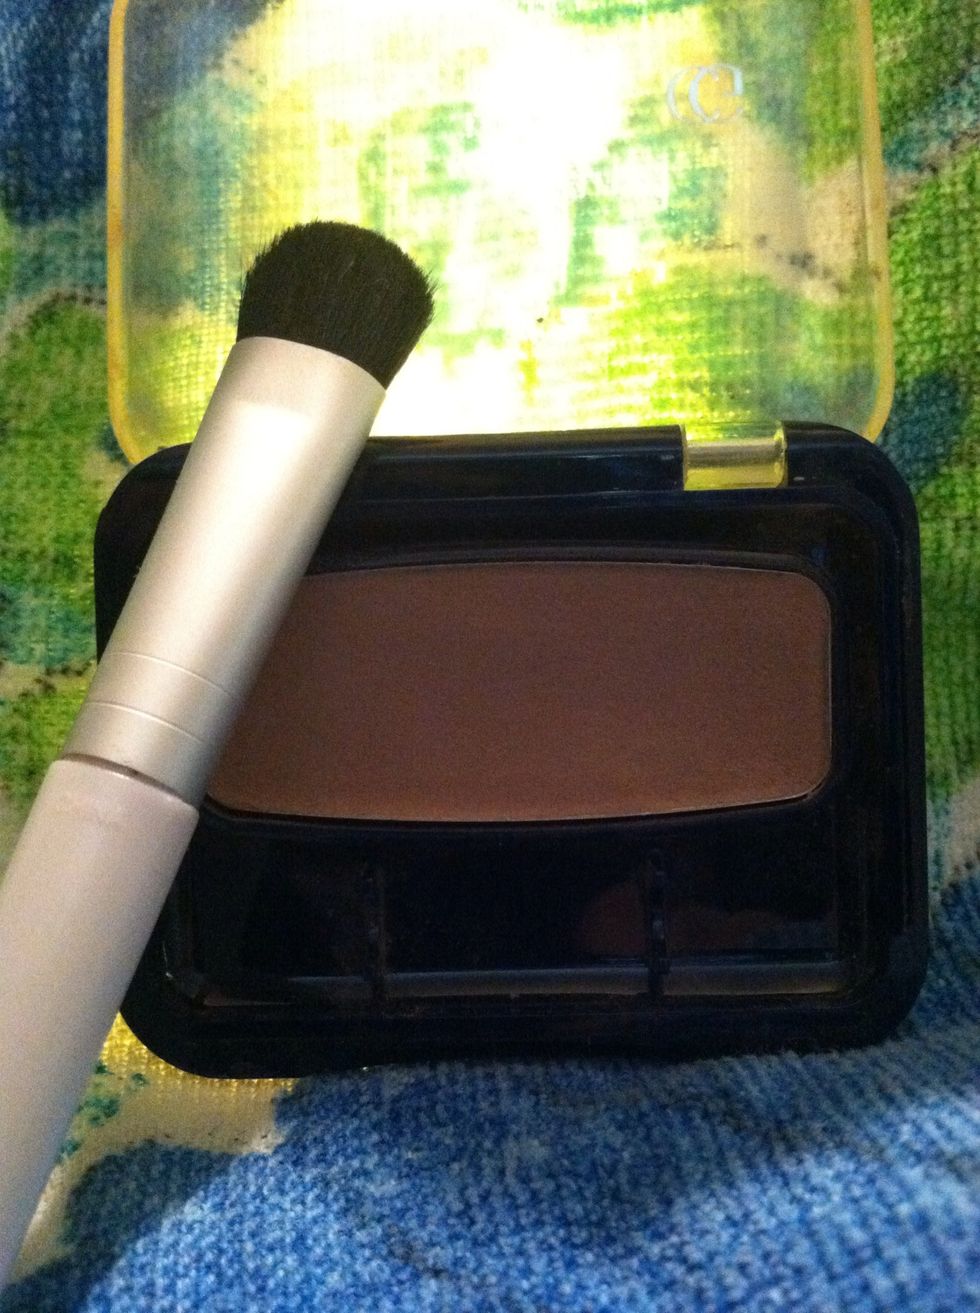
Cheeks! Here I'm using the first 2 colors only. This is CG Instant Cheekbones in Sophisticated Sable. Once again I'm using my own brush versus the one that came with.

I'm using the middle color to add a bit of color to my cheekbones. In a circular motion I'm blending all the way up to my temple.
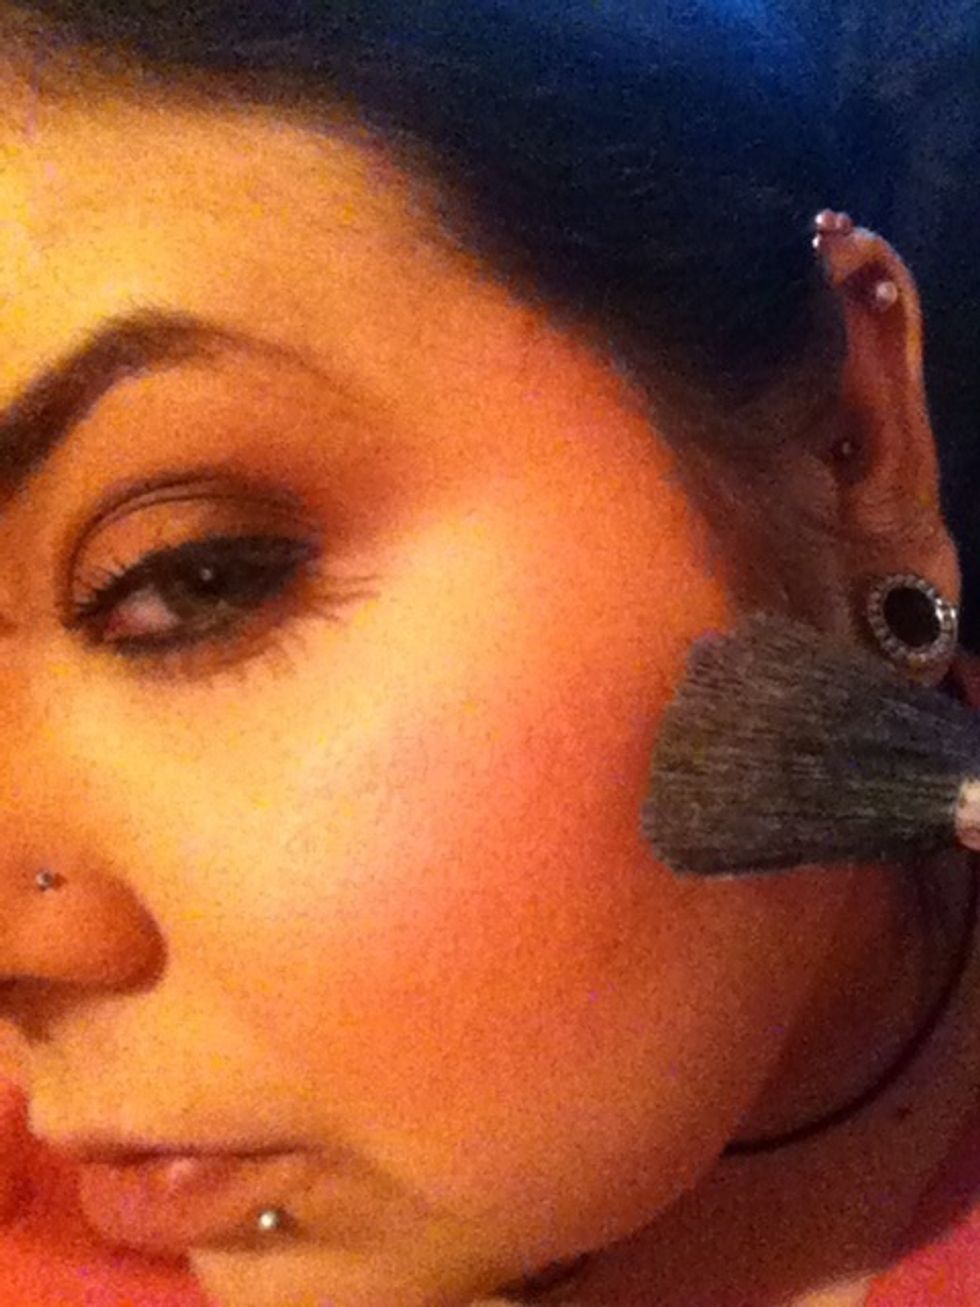
Now I'm using the darkest color right below the cheekbone to contour. Don't worry if you get it a bit darker for your liking (as I normally do) because the next step will take care of that.
Next, powder and go over your entire face for a flawless finish. Make sure to use just enough to cover but not enough that it looks as though you've got powder on. Still with me? Almost done, promise!
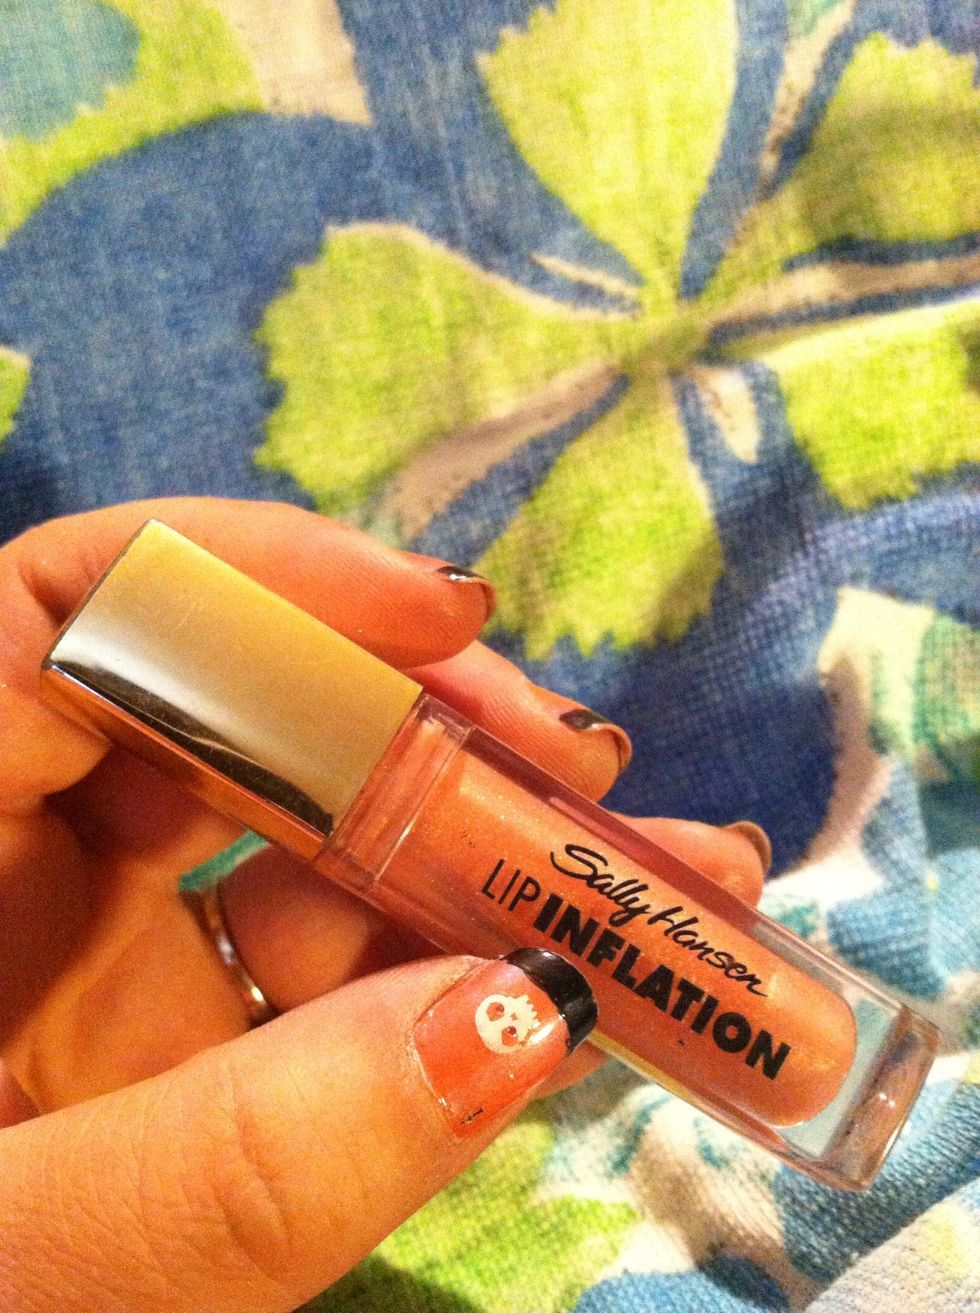
Last but not least, lips. I'm using Sally Hansen Lip Inflation in Sheer Blush. I like this gloss because it's not sticky like a lot of lip glosses.

Apply to lips and you're done! I really like the color but as for plumping I don't notice a difference at all. I'm still searching for a good lip plumper. Any suggestions?
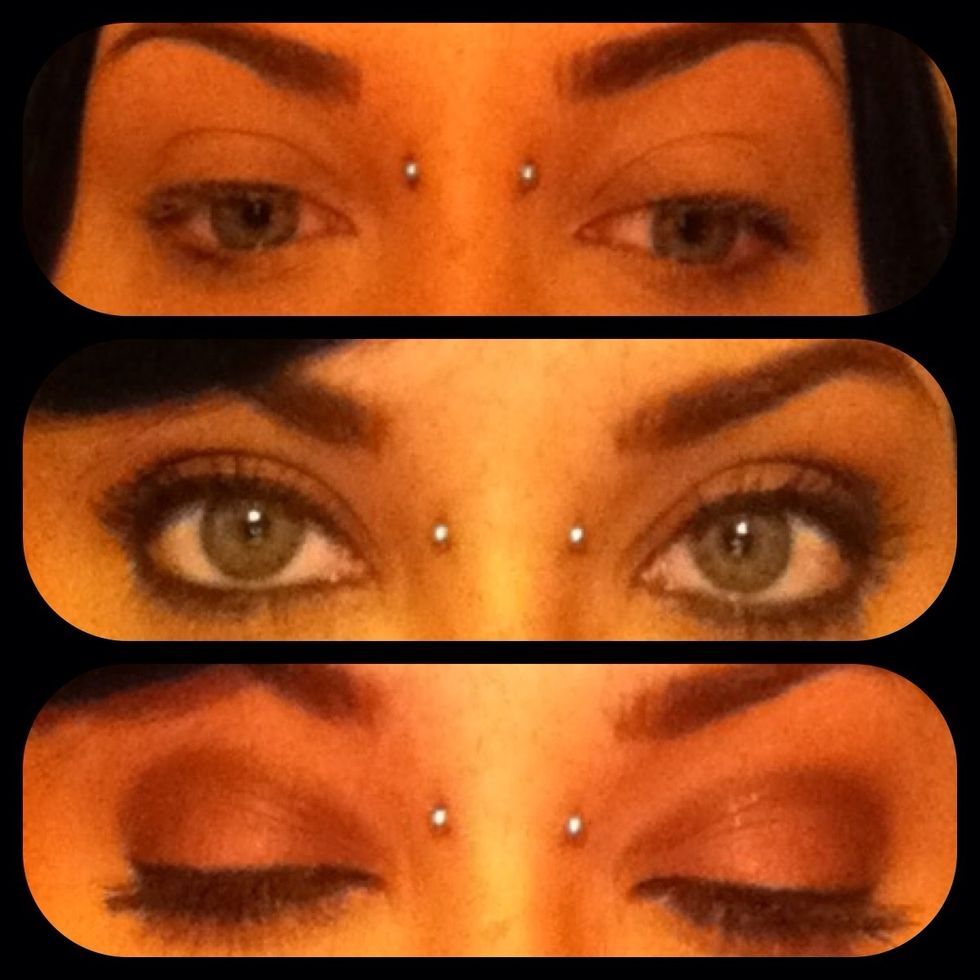
That's it! Here's a close up of before and after...

I look a bit pale here but this is the final product. Add a cute hairstyle and you're ready to go. Once you get the hang of it this look takes about 25mins. to complete.
Thanks for viewing my tutorial. Keep checking back for more and requests are always welcome! Don't forget to like and follow!