The Conversation (0)
Sign Up
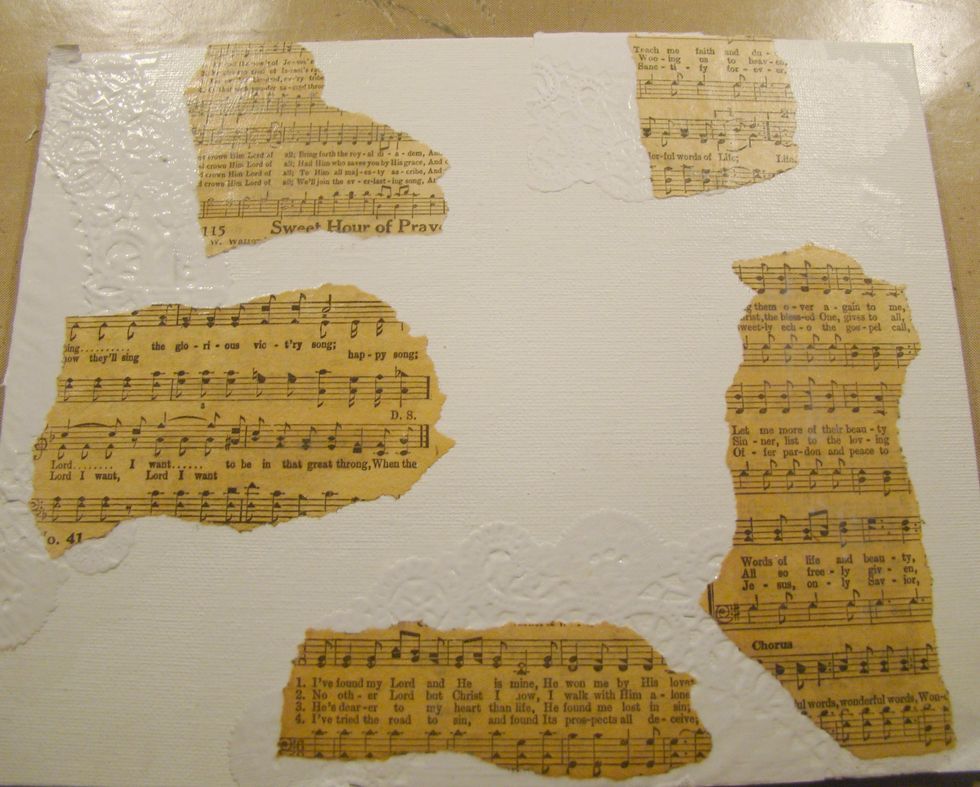
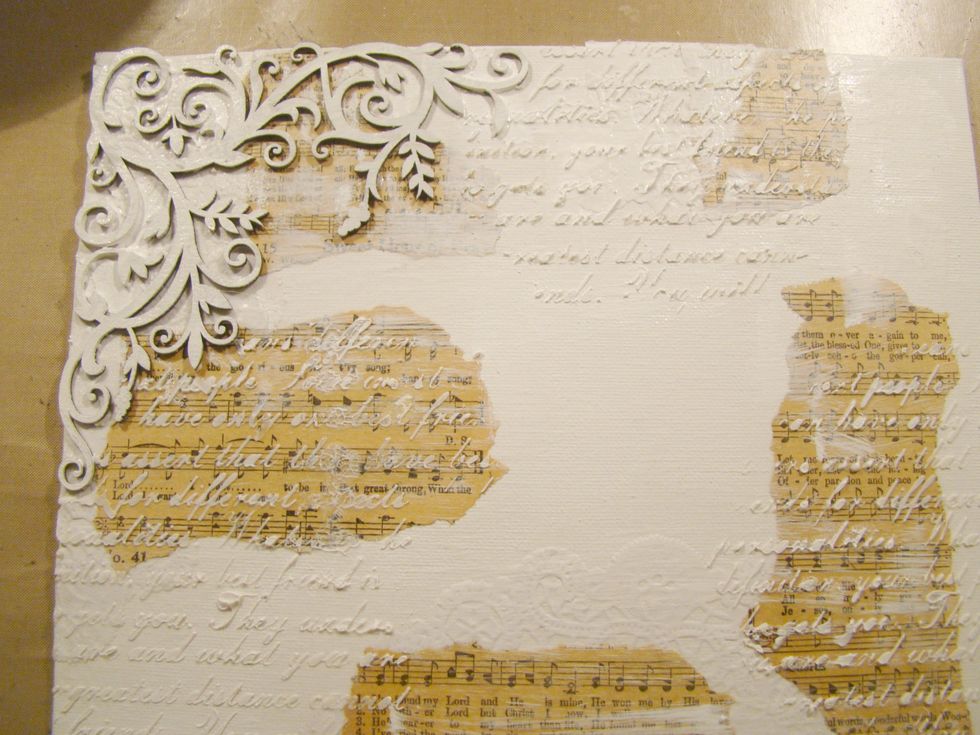
Using Mod Podge apply doilies to edges of canvas. Tear pieces of sheet music and adhere to canvas.
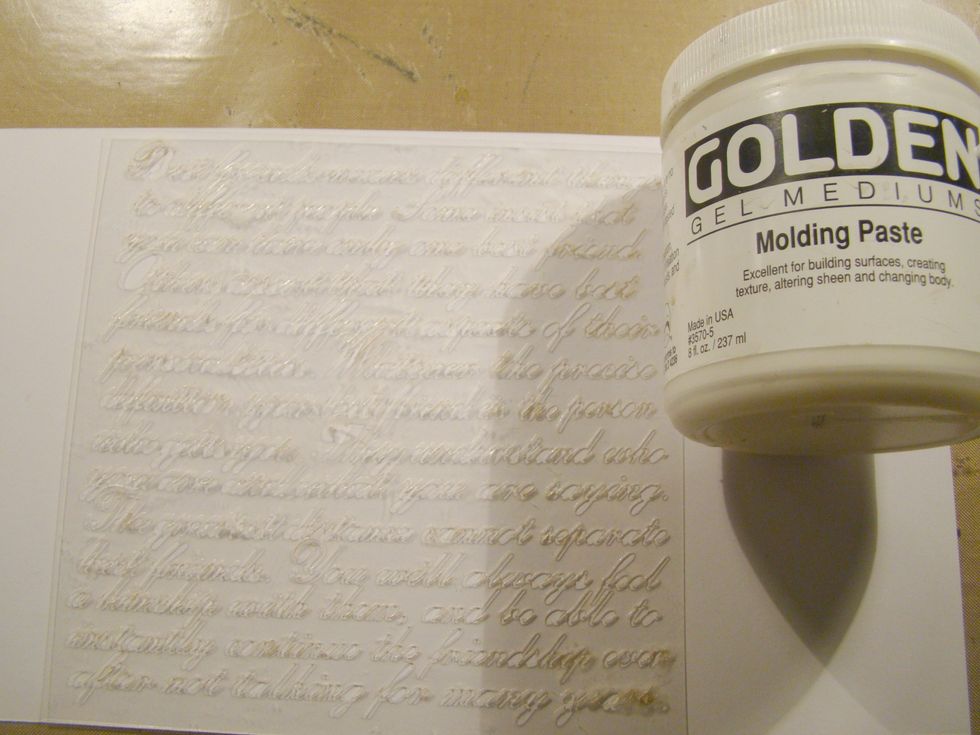
Apply script stencil to canvas using your Molding Paste. Allow to dry completely.
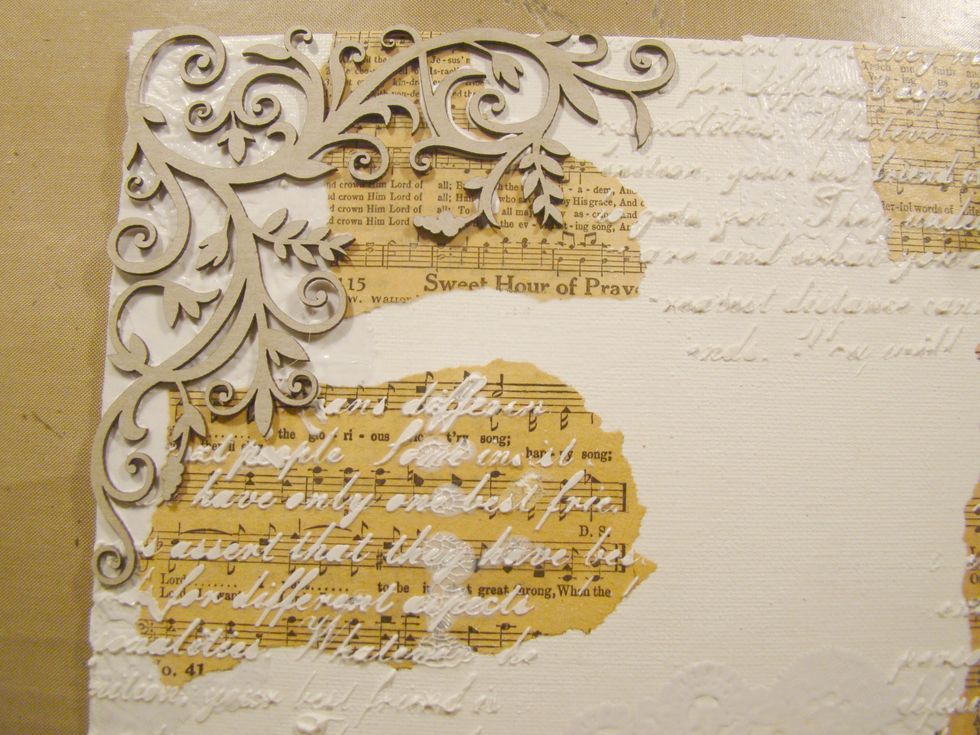
Blue Fern corner flourish is glued to one of the corners.
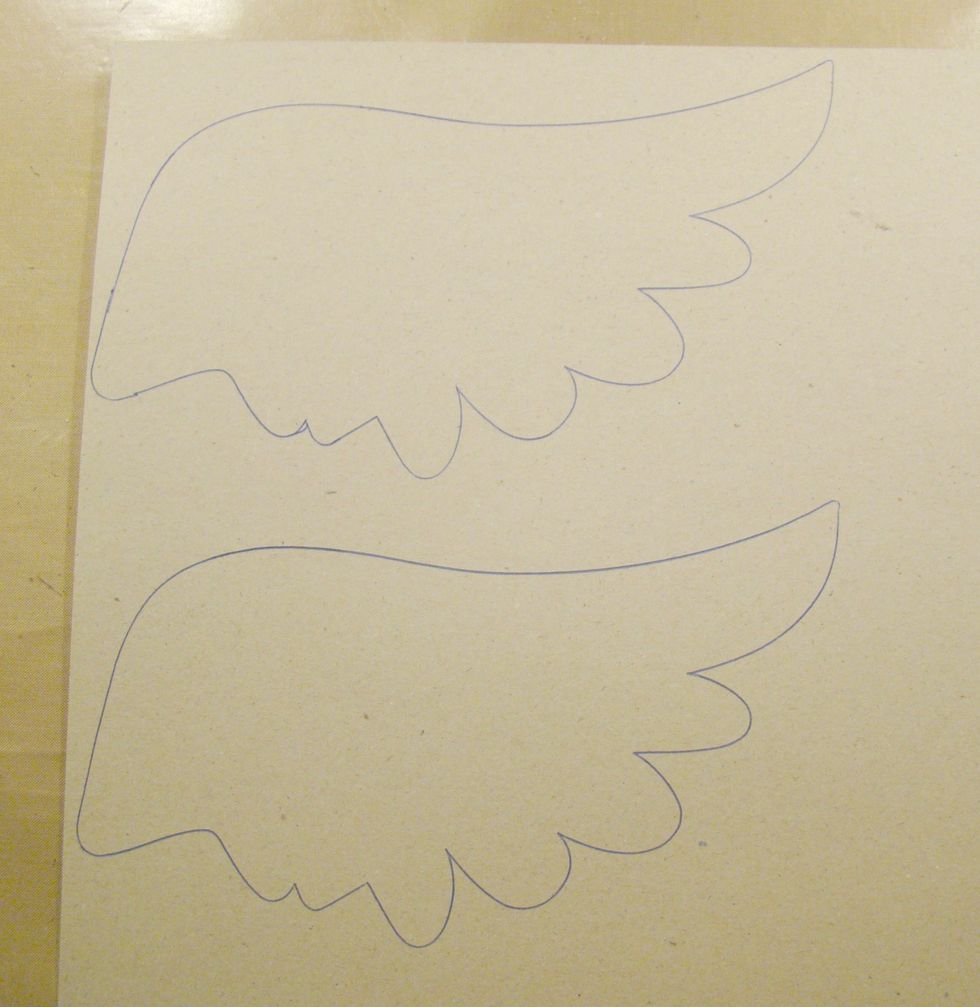
I found a wing on the internet and drew them out on chipboard then cut them out.
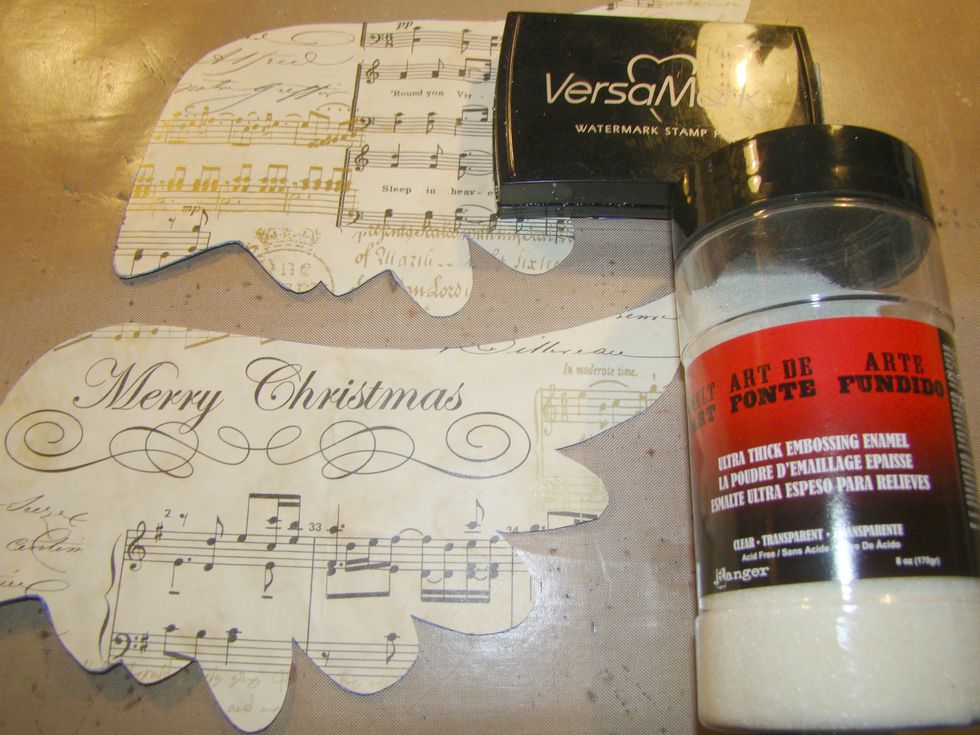
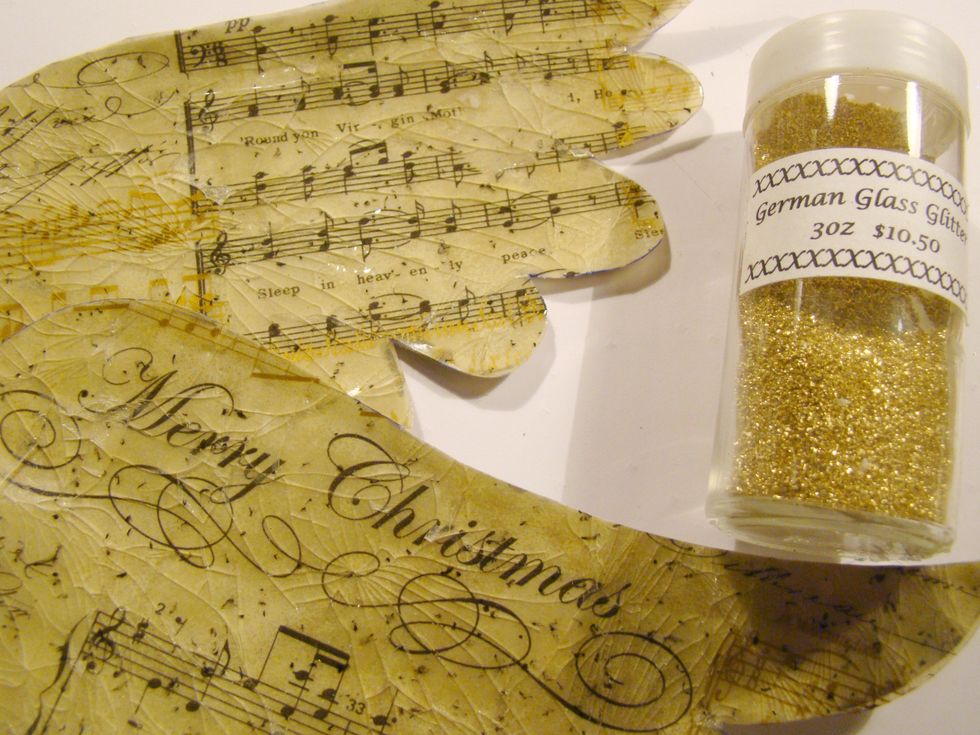
Glue your scrapbook paper to the wings. This is actually Christmas paper from last year. Stamp Vesamark on entire wing and apply your UTEE and heat to emboss.
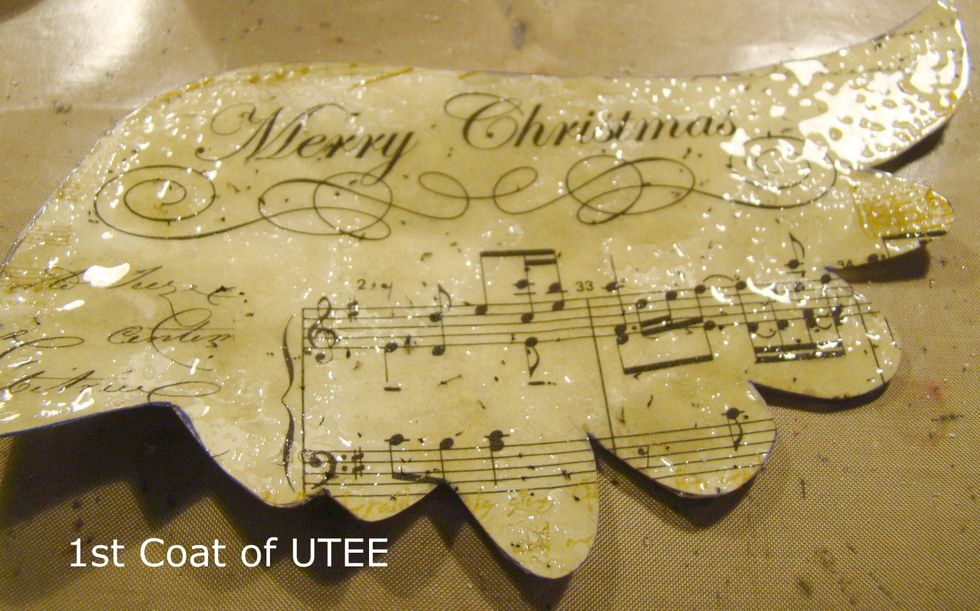
This is what the first coat looks like. Apply the Versamark again and add UTEE to entire wing and heat again.
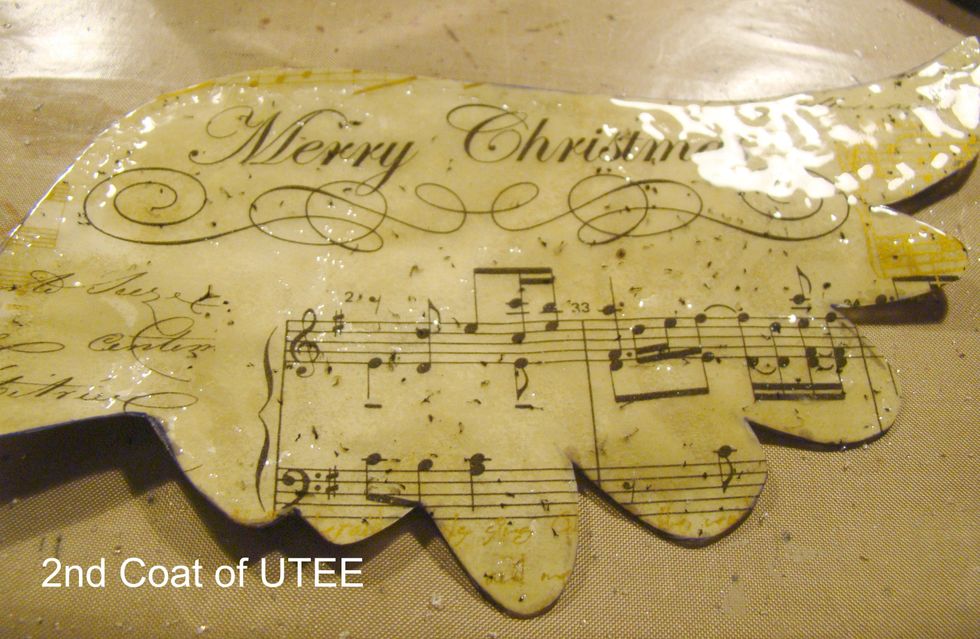
This is what the second coat looks like. Repeat the UTEE process again.

This is with 3 coats of UTEE. Isn't it pretty. Now place your wings in the freezer for 30 min to 1 hr. When you remove them, carefully bend the wings back and forth and cracks will appear.
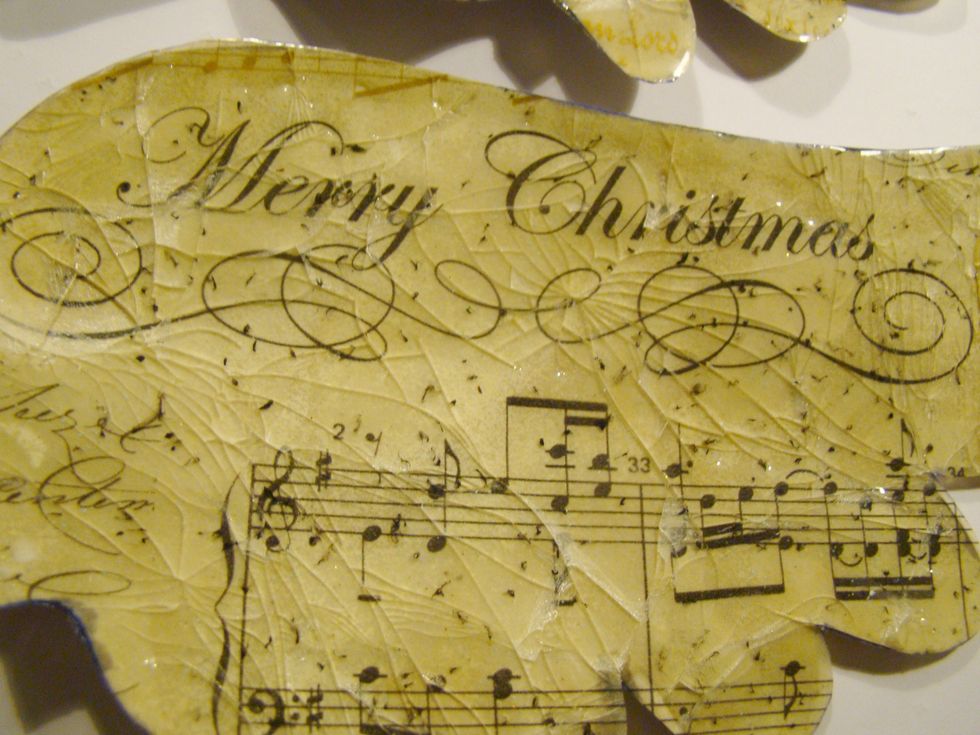
Look how the freeze caused the UTEE to crack giving it a broken glass look.
While your wings are freezing, dry brush your canvas surface and cover your chipboard corner.
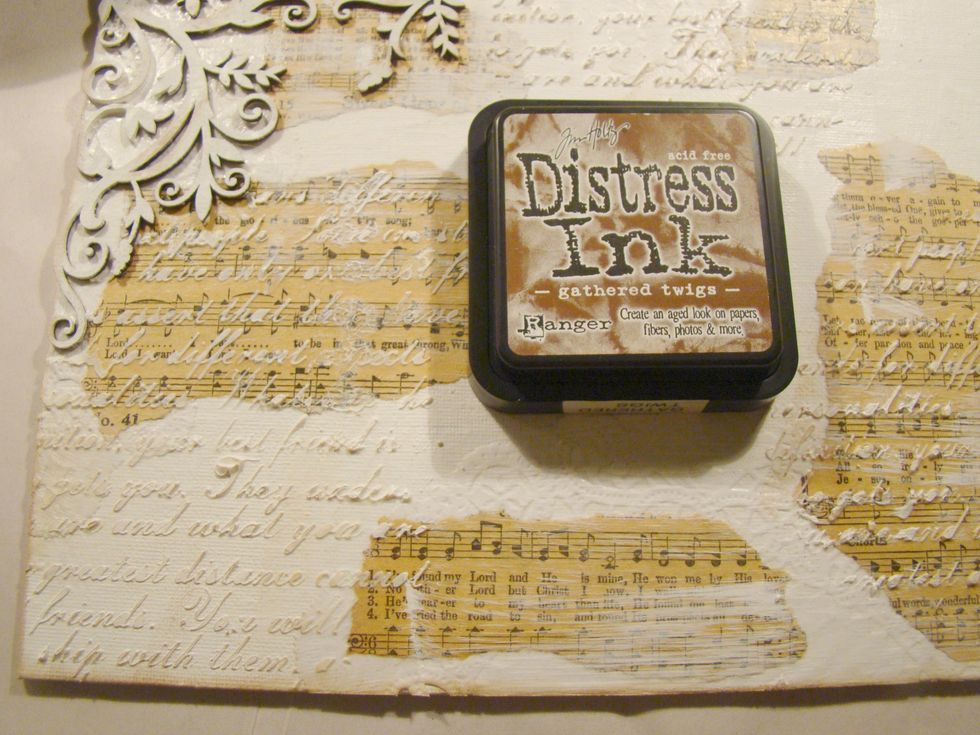
Using Distress Ink, lightly go over the high parts of your canvas for an aged look.
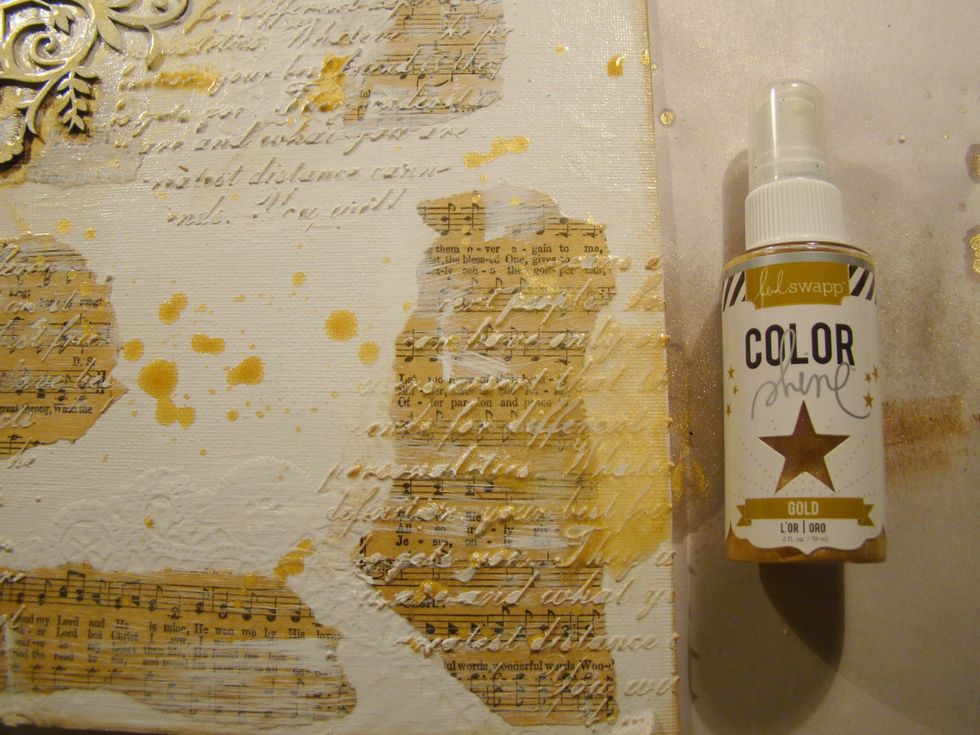
I love Heidi Swapp Gold spray. It has such a wonderful shimmer. Randomly spray your canvas, allow drips and splatters.
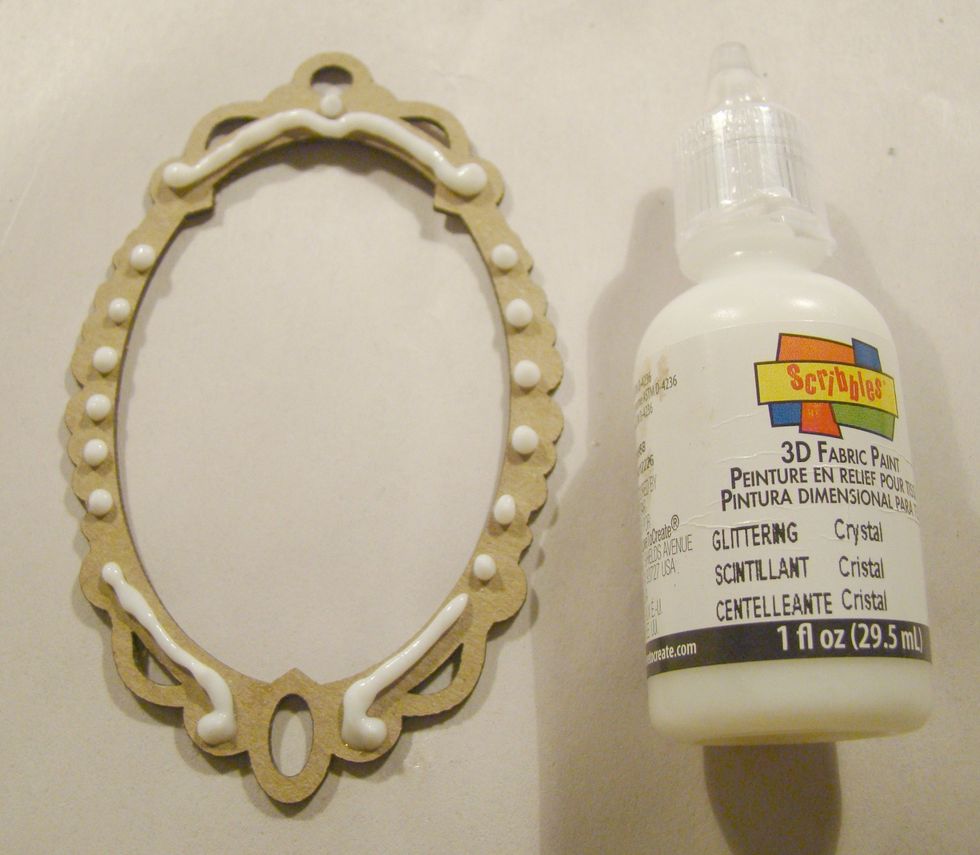
Using 3D paint, decorate your chipboard frame and allow to dry completely.
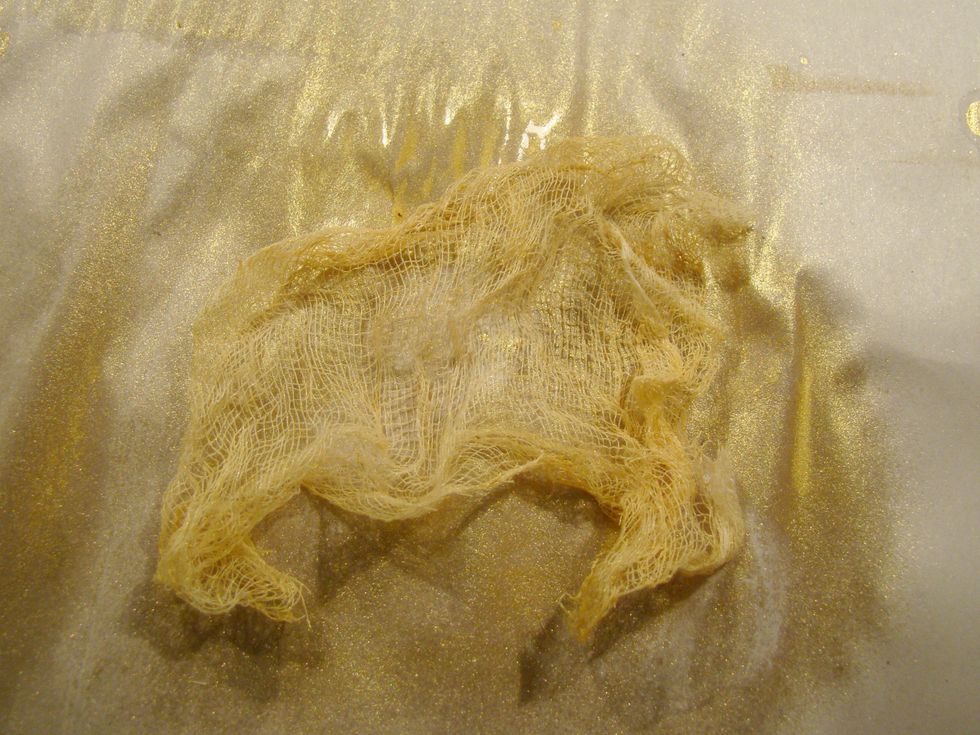
Take cheese cloth and spray liberally with Heidi Swapp gold spray.
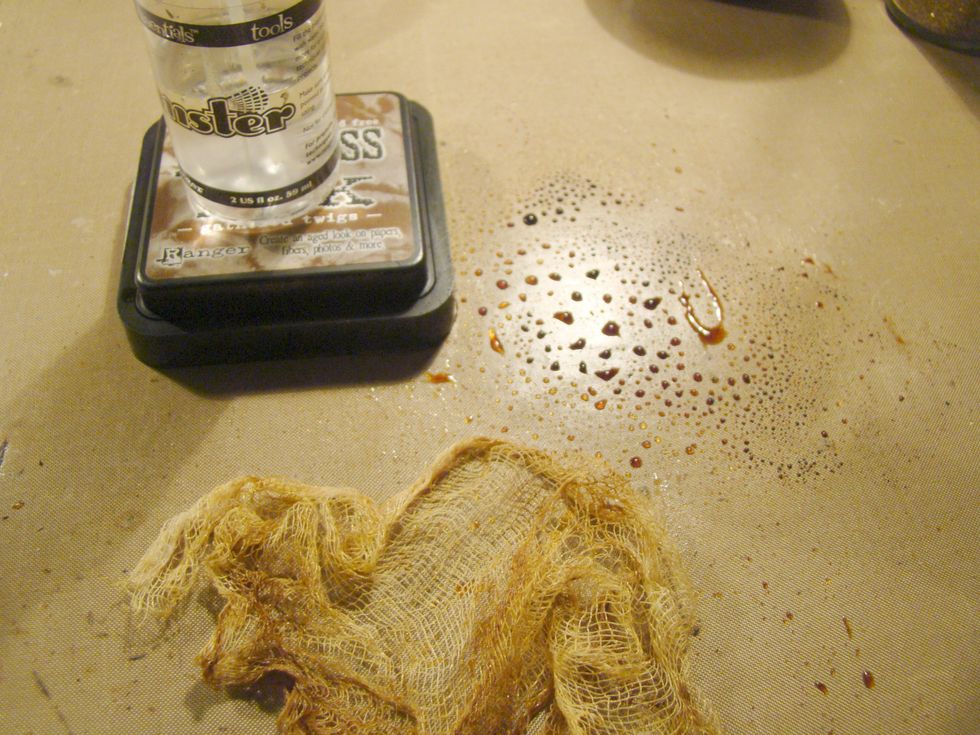
Using Gathered Twigs Distressed Stain and water, run your cheese cloth through it and allow the cloth to dry completely.
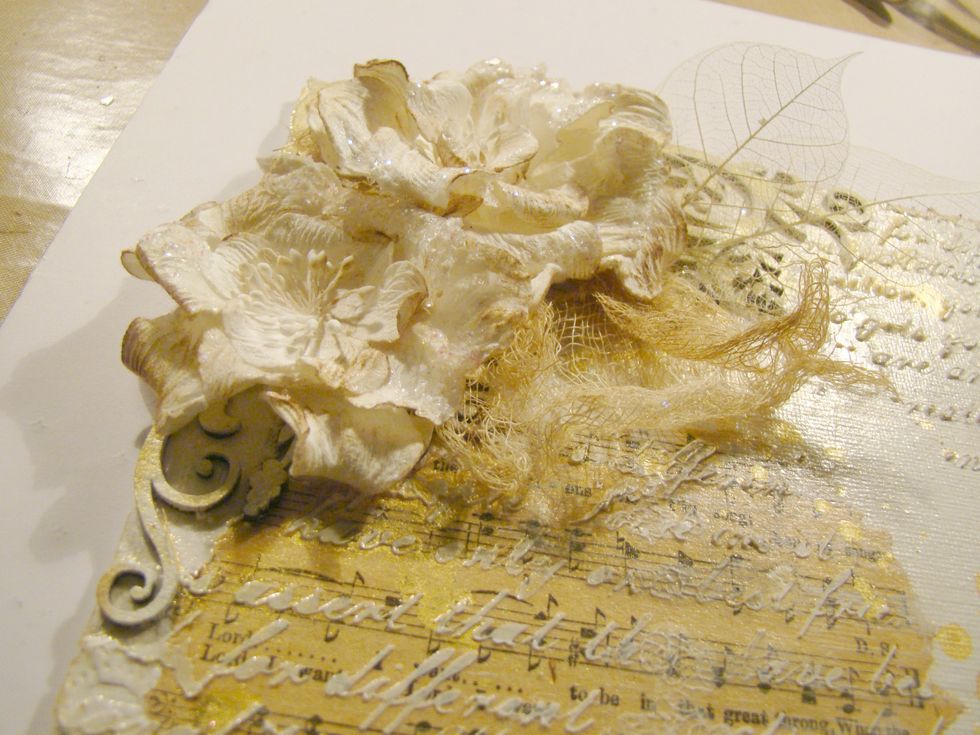
Adhere your cheese cloth and add flowers. I lightly touches the petals with Gathered Twigs DI.
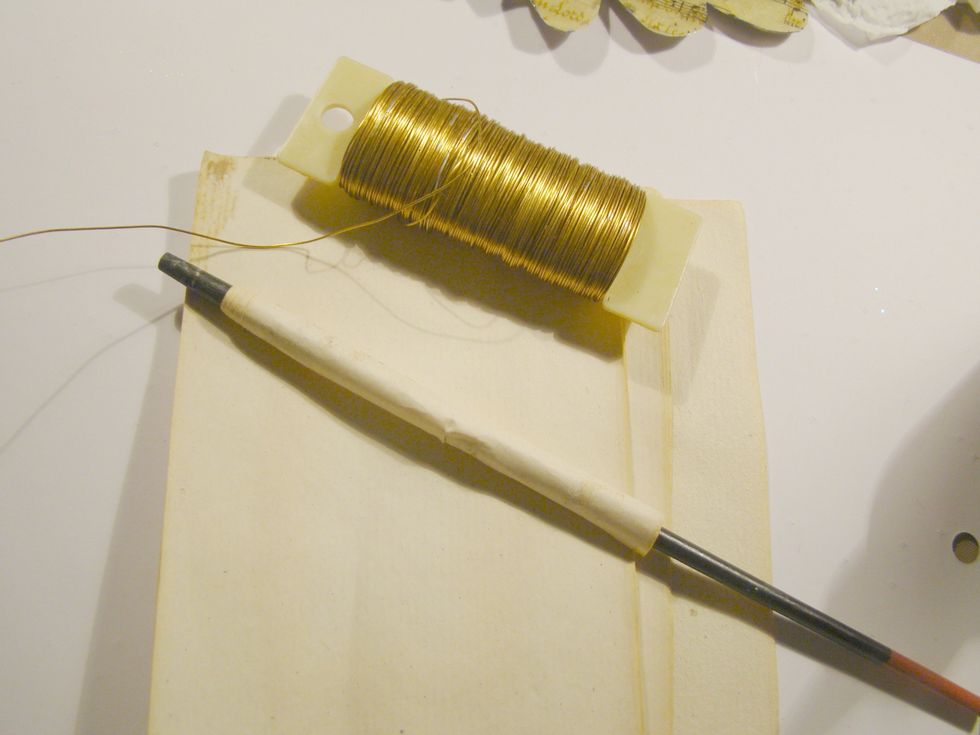
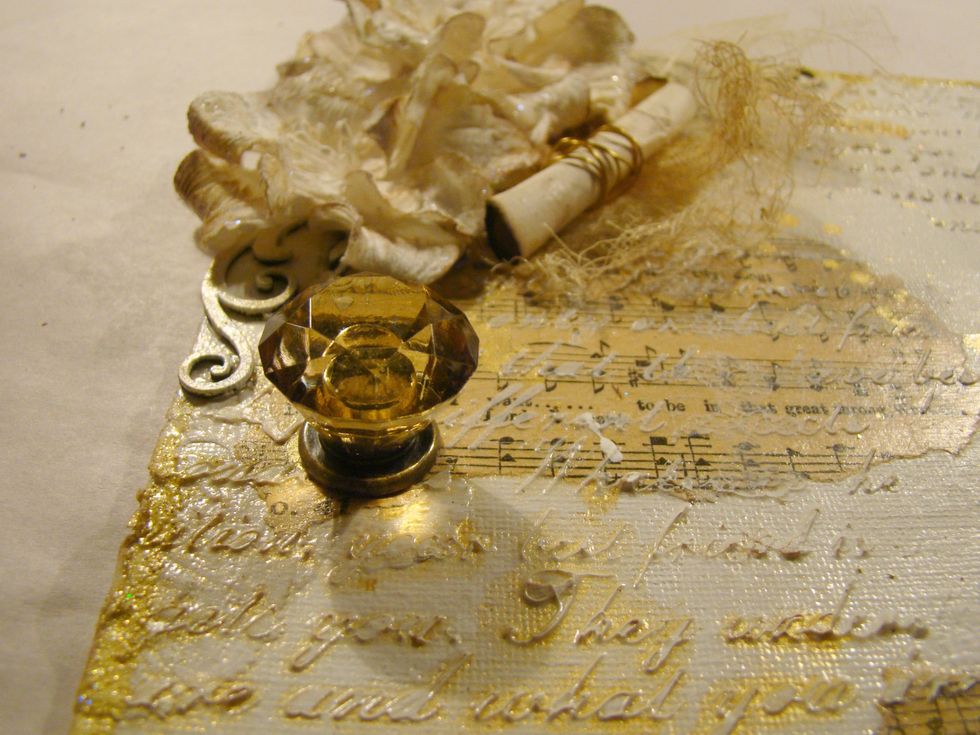
Take a small piece of paper (I had some old book paper) roll it around the handle of a paint brush, pencil etc. Cut a piece of metal wire and wrap it around your rolled paper.
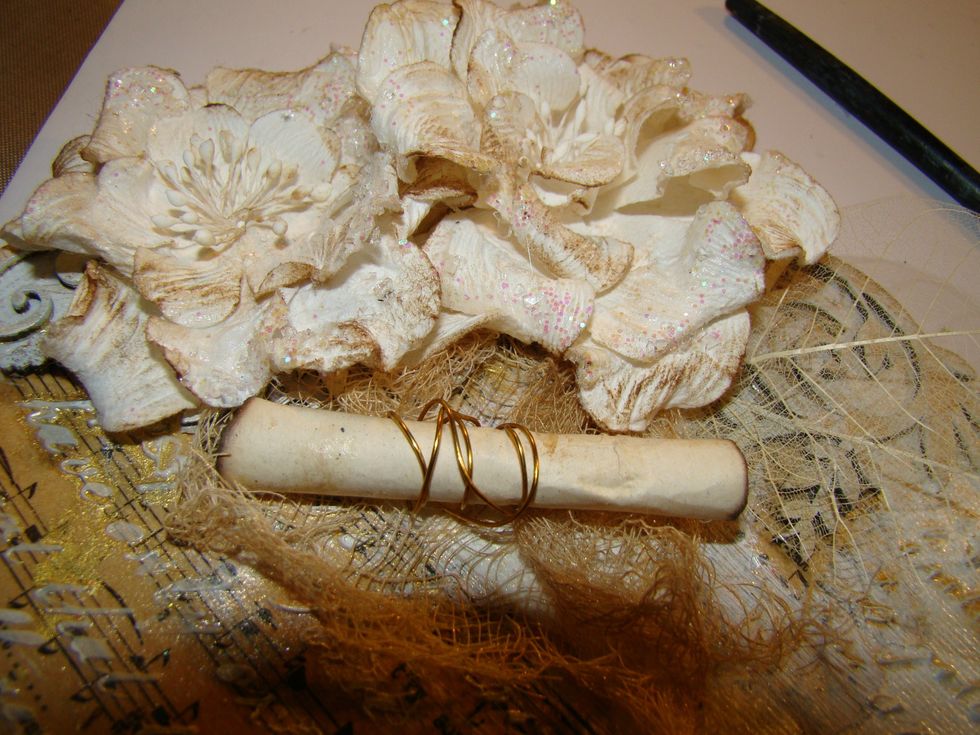
I carefully burnt the edges of the paper (be careful not to burn down your house... )
Apply adhesive to the edges of your wings and add glitter.
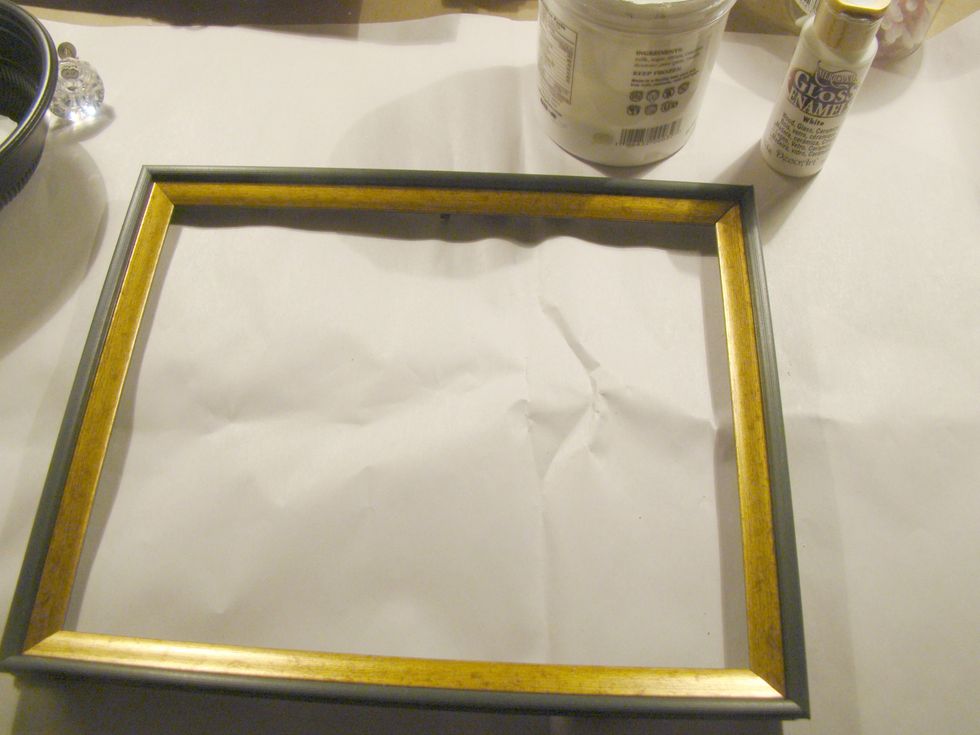
This was an old picture frame that fit my canvas. Paint it with white acrylic paint.
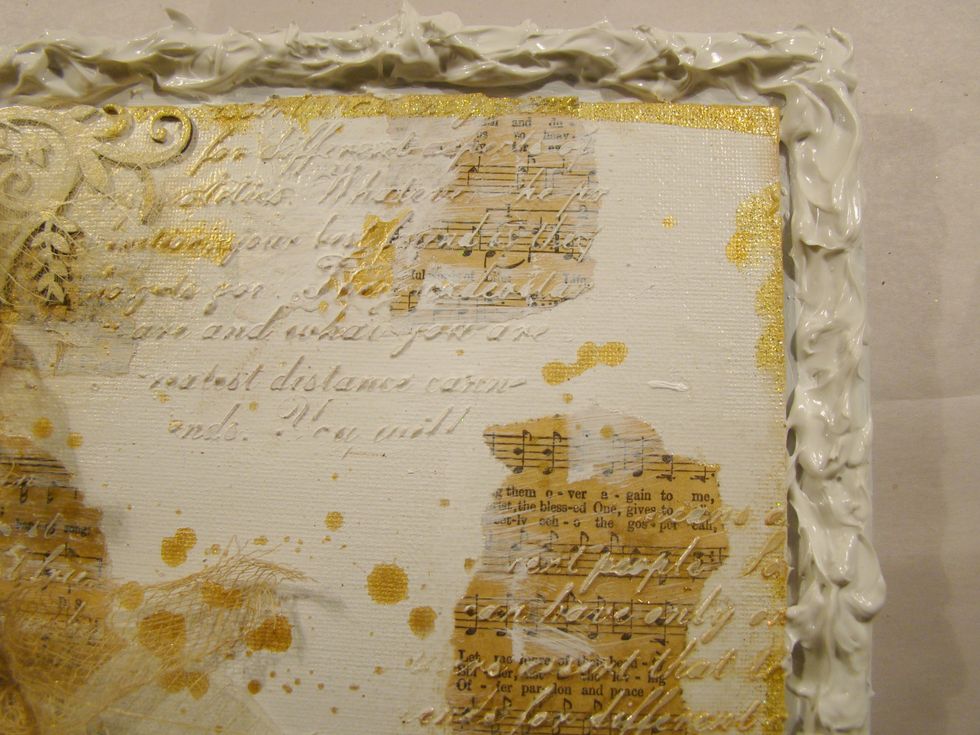
Place your canvas in the frame. For added texture, apply Molding Paste to the edges of the frame in peaks. Allow to dry completely.

Go over the edges of your molding paste with Inka Gold for an antique look.
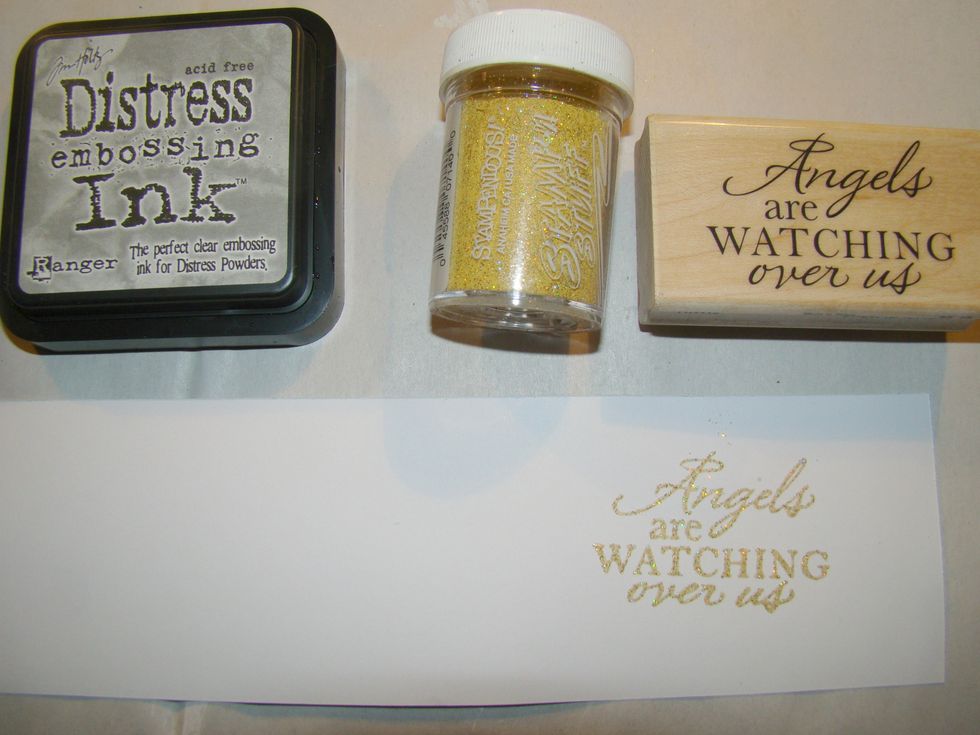
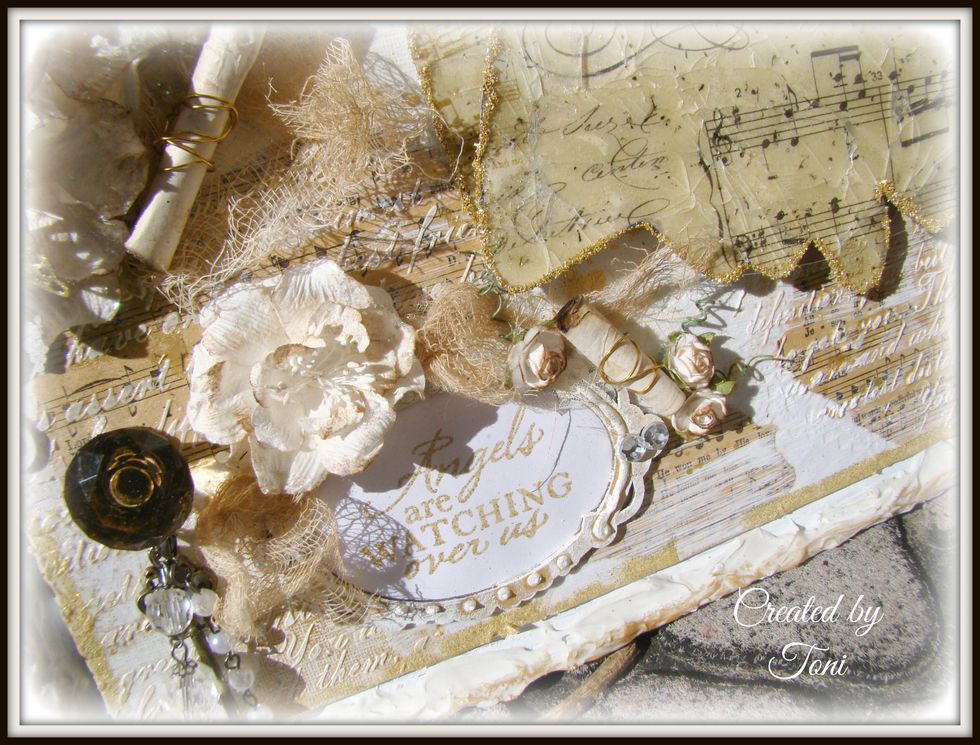
Stamp you sentiment for your frame using gold embossing powder.
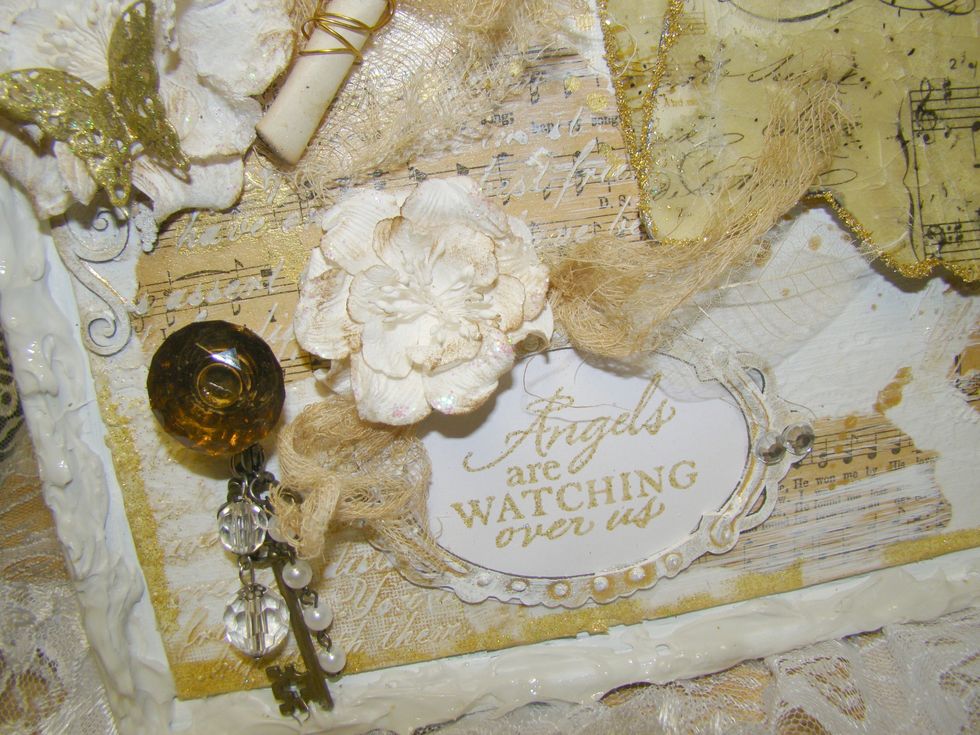
Paint your chipboard frame and highlight with Heidi Swapp gold spray. Adhere your sentiment to the back
Added 7 Gypsies door knob to bottom of canvas and attached jump rings with asst. baubles and key.
Add jump rings to your knob with baubles and a key.
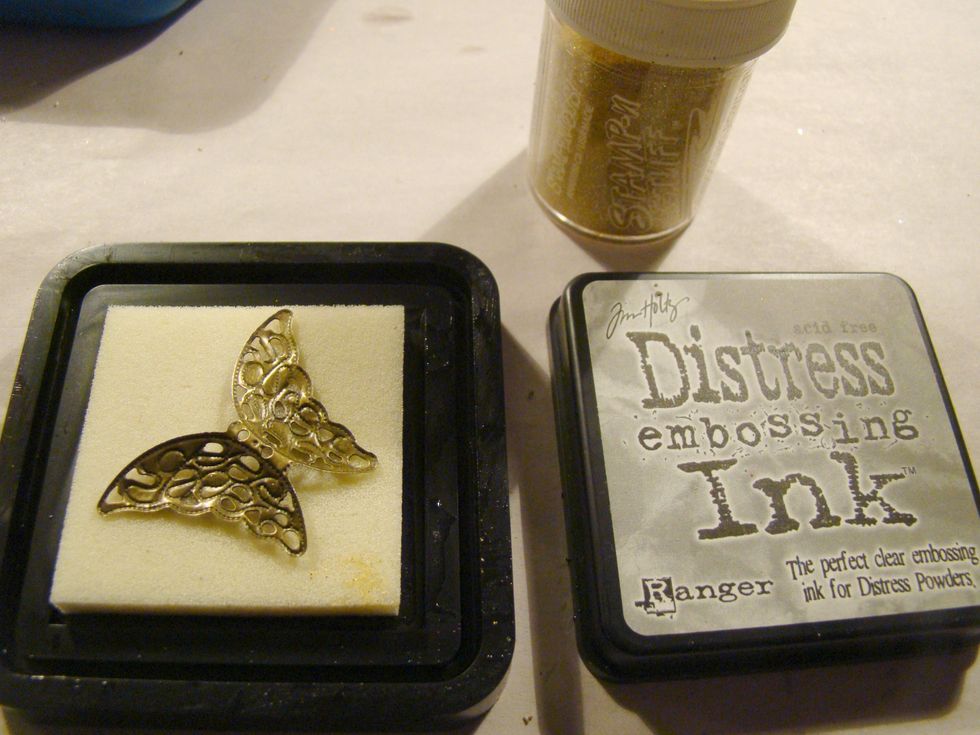
Apply Versamark or DI Embossing Ink to metal butterfly and using gold embossing powder heat. Be careful, metal gets very hot when heated.
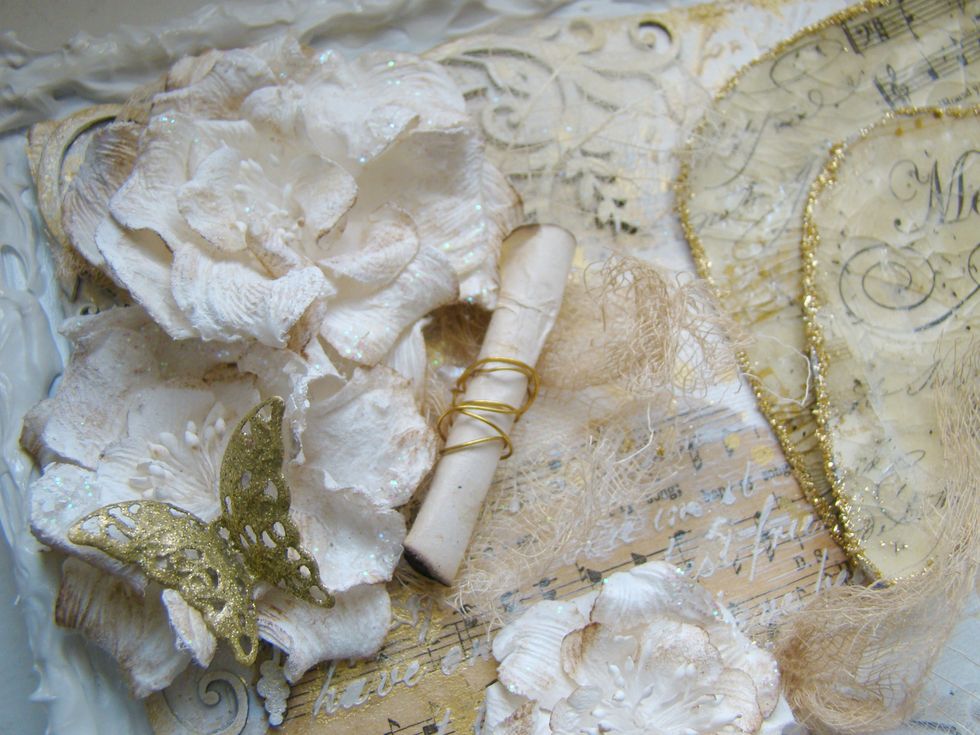
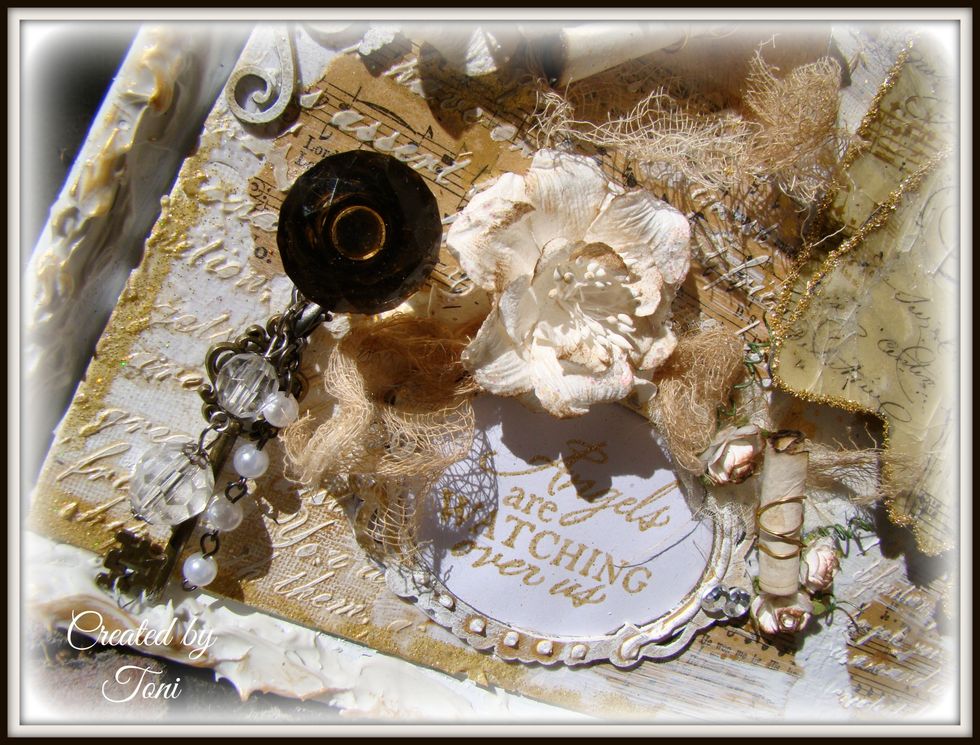
Start adding your embellishments to your canvas, I used E6000 glue for the metal embellishments and hot glue for the flowers.

I used E6000 glue to adhere my wings, added tiny rosebuds, and natural skelton leaves.
I love how the cheese cloth provides texture.

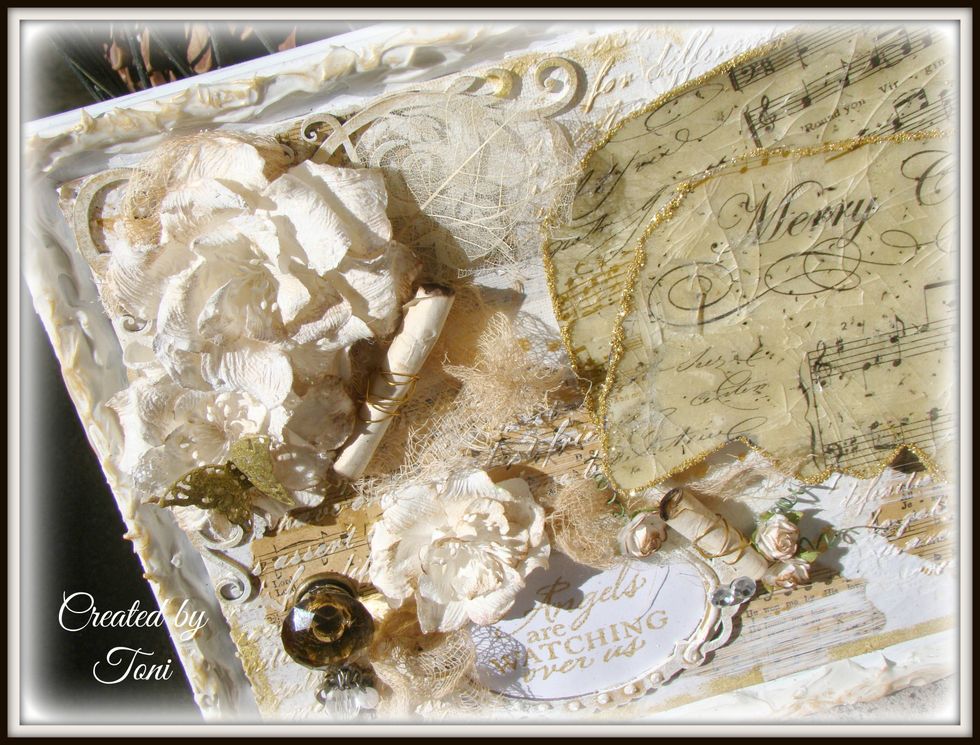
When doing mixed media, it is all about the layering...

I hope you enjoyed this tutorial and wishing you a beautiful Christmas !

I hope you try this freezer method on other projects. This looks really pretty on old photos.

For more creative inspiration visit my blog @ www.toni-burks@blospot.com