The Conversation (0)
Sign Up
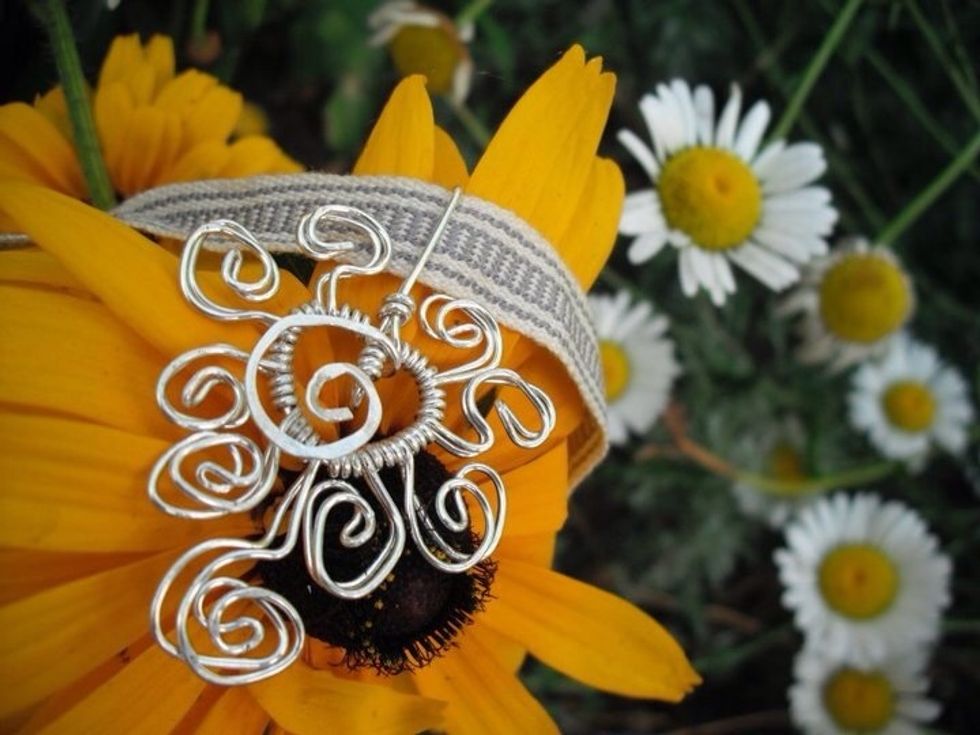
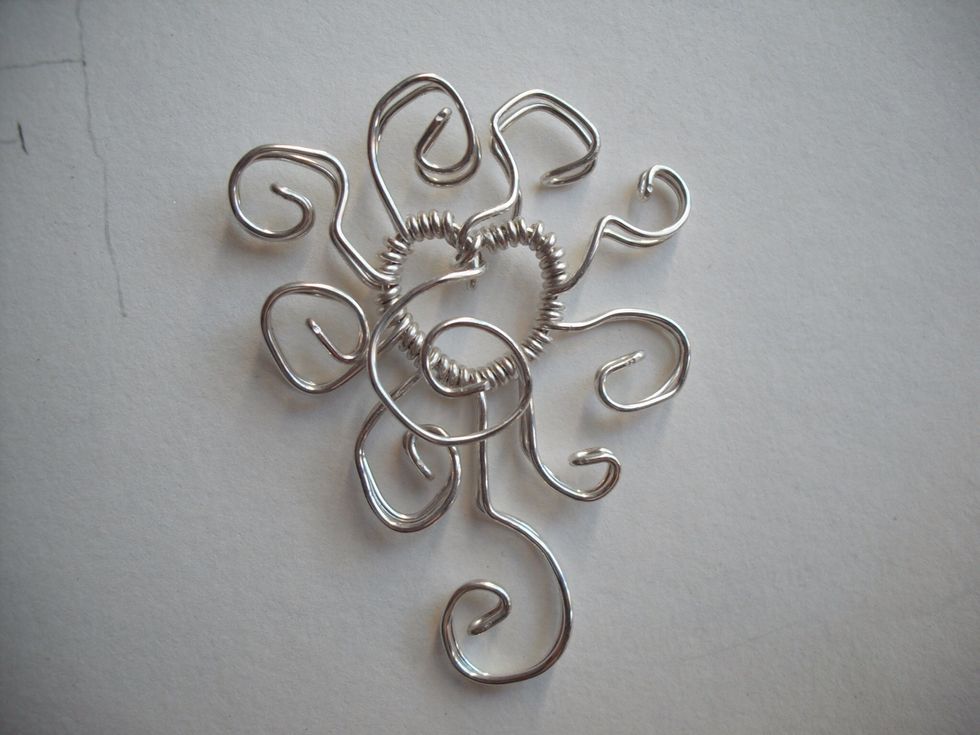
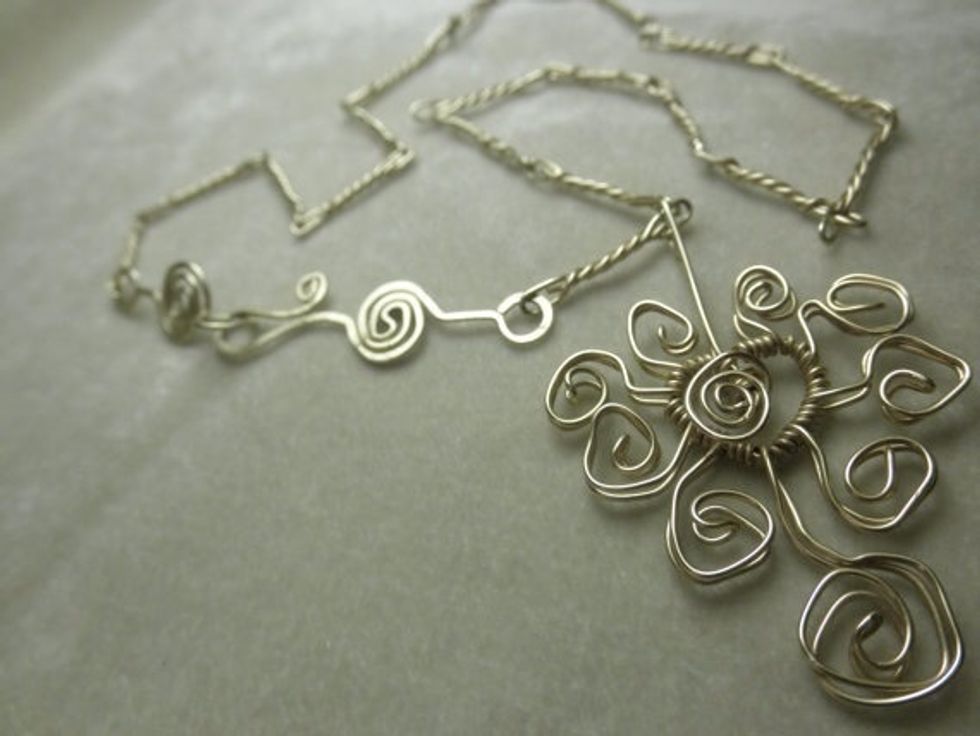
Organic and earthy, but lastingly precious.
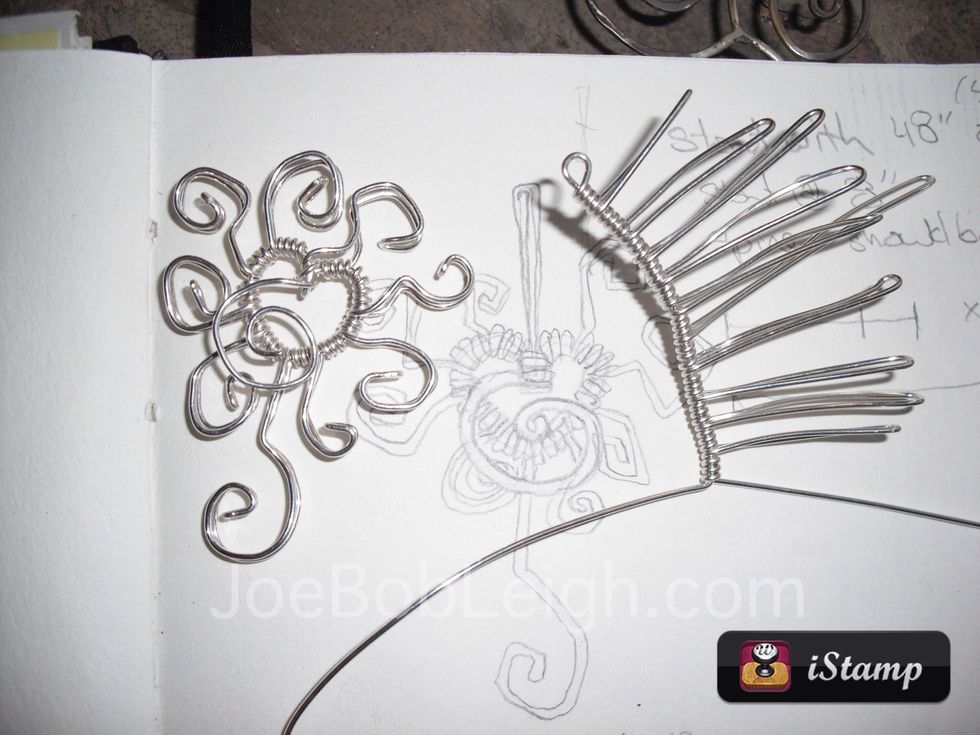
The finished size will depend on how much you curl the heart rays, but this one, modeled by Nicole, was made from this "recipe."
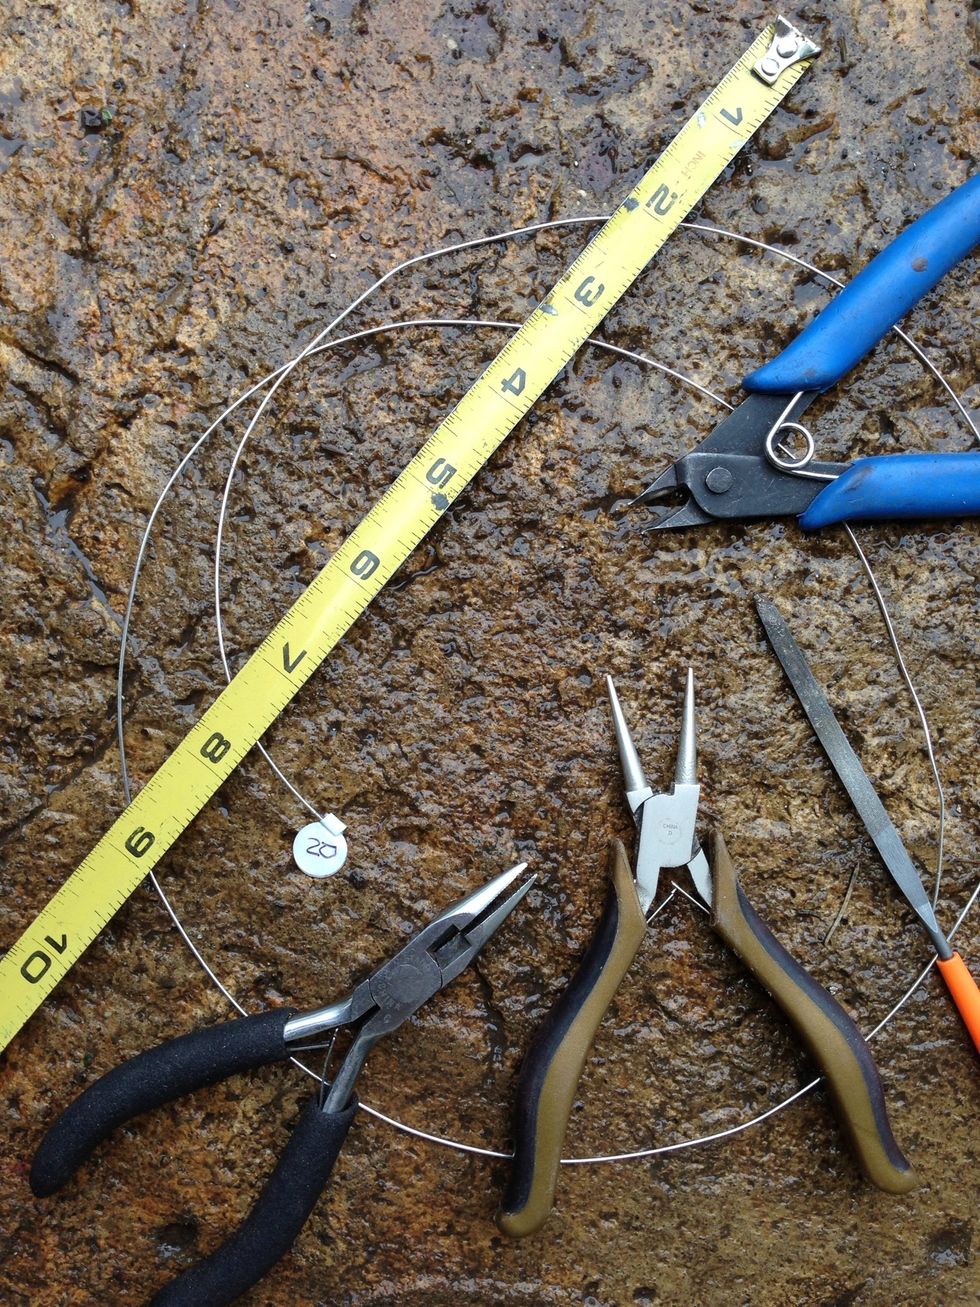
Start with 48" of 20 gauge wire. You will likely use a bit less, so there is some waste. (This is the standard earring post thickness...hint-hint!)
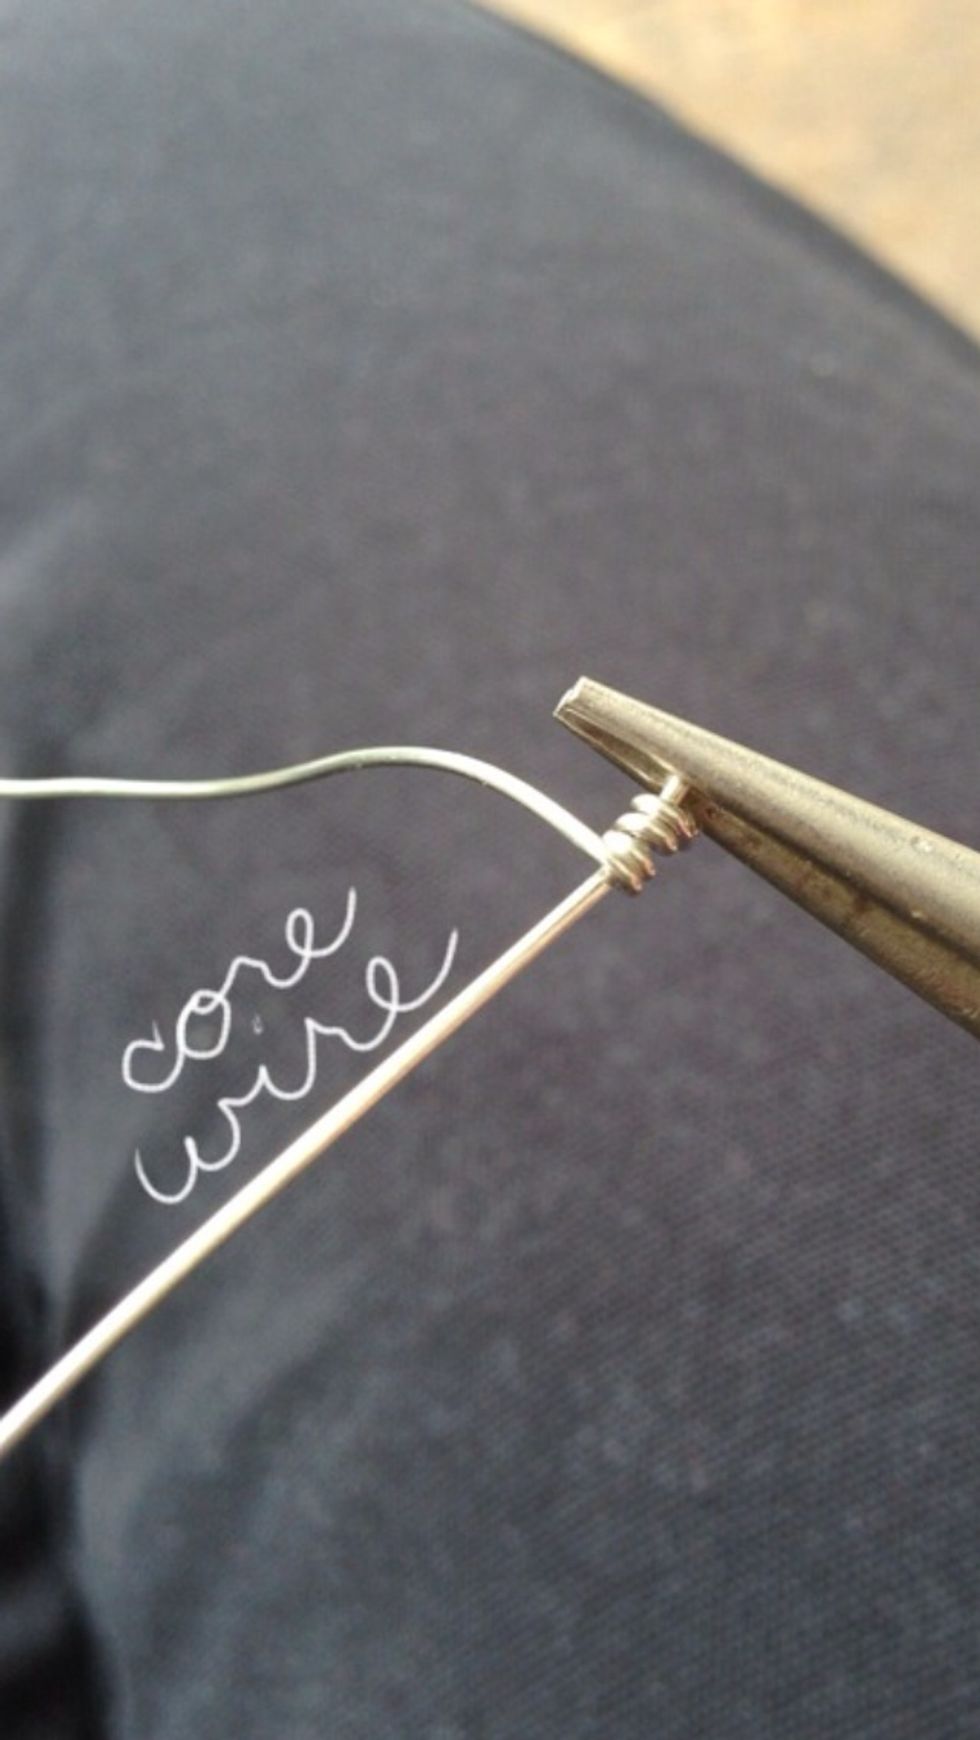
Using needle nose pliers grab the wire at 8". This will be the core that you wrap around. , Grip firmly and begin wrapping the long tail around the core tightly.

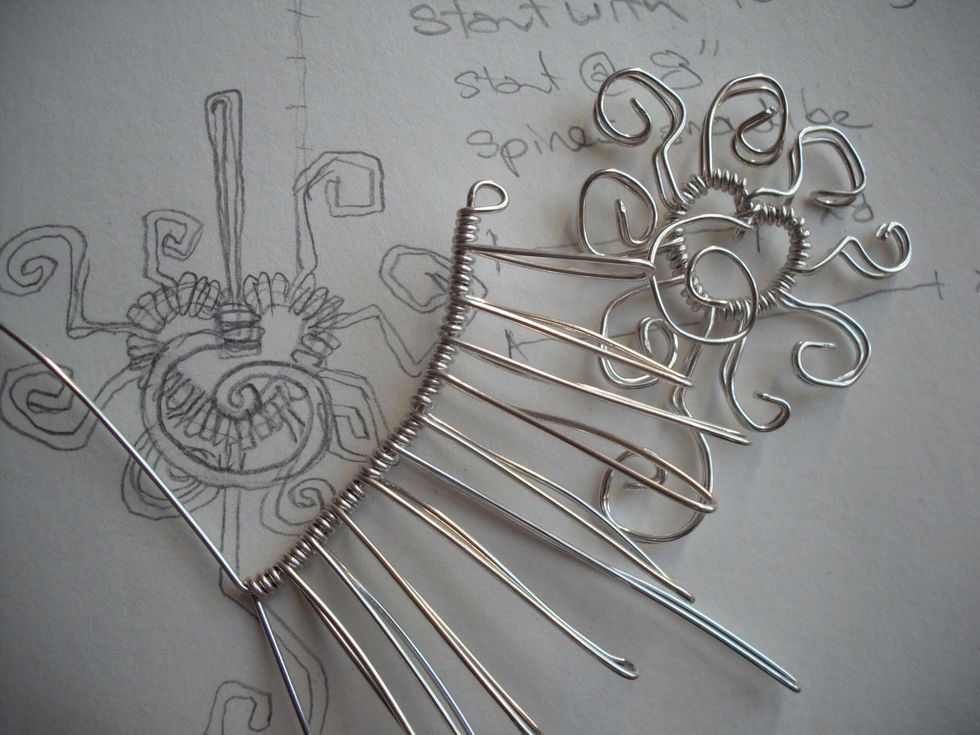
The first of 10 "rays" will be your "bale" or hanging loop.

Compress the wraps every so often.
Wrap 4 times around for each ray, so there are 3 tight rings on your core wire between each ray.
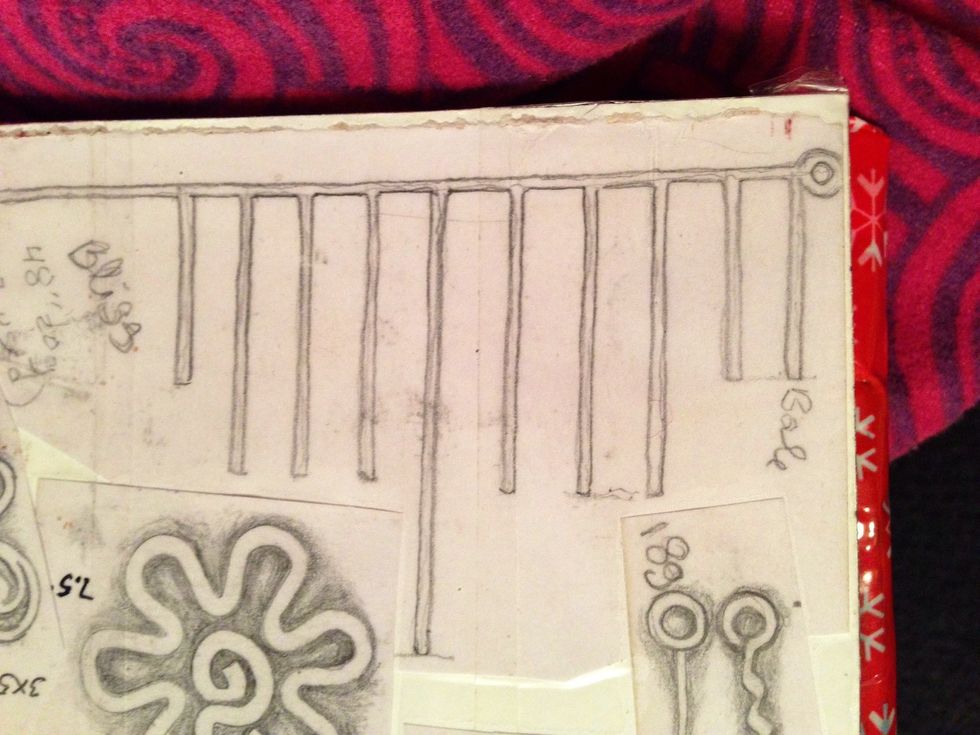
Rays 1-2-10 are about 3/4". Rays 3-4-5-7-8-9 are about 1 1/4". Ray 6 is about 2"
Some of my photos were for BLISS pins, and have no bale.
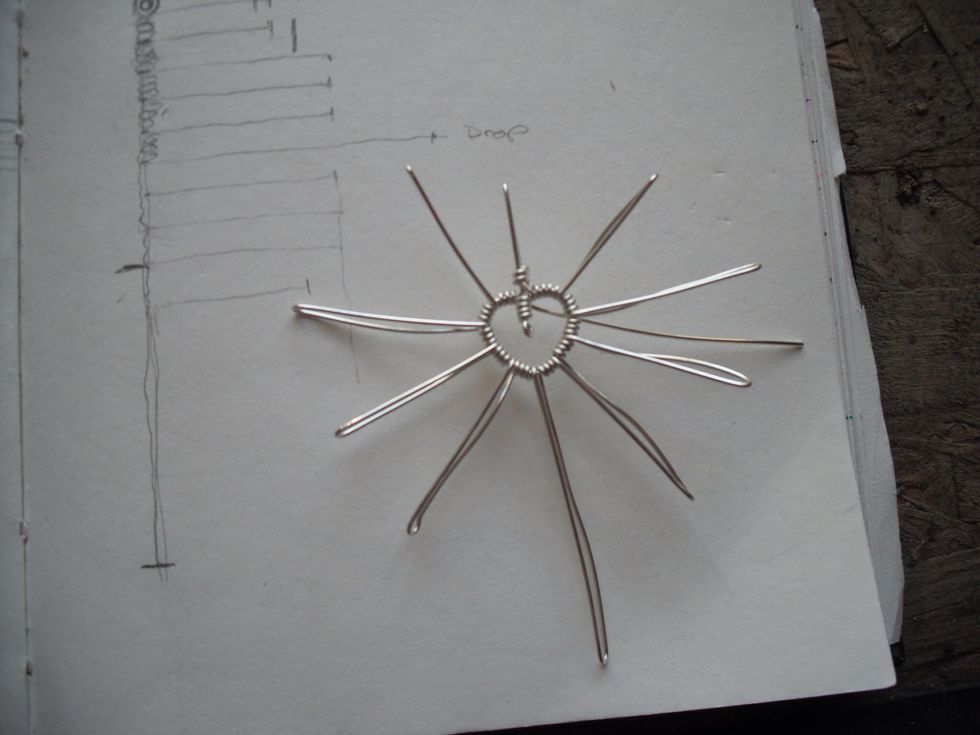
To close the heart, use the core wire to wrap the base of the bale. Snip close, and file. The eyelet goes down into the center which creates the heart shape. Gently bend the bottom into a point.

Curl each ray into the core until you like the look. (If you mess up like I did, and run out of wire, call it good and make a sun!)

Wrap the wrapping wire around the bale and Measure about 2.5". Cut the rest off with a wire snip. File any roughness away. Bring it to the front. Curl it up with your pliers.
This is an optional step: hammering. Using some sort of anvil, steel slab, a bench vise, hammer each curled ray separately, fairly lightly, with as few hits as possible.
You will have to hammer the center spiral bent out, and then bend it back into the center.
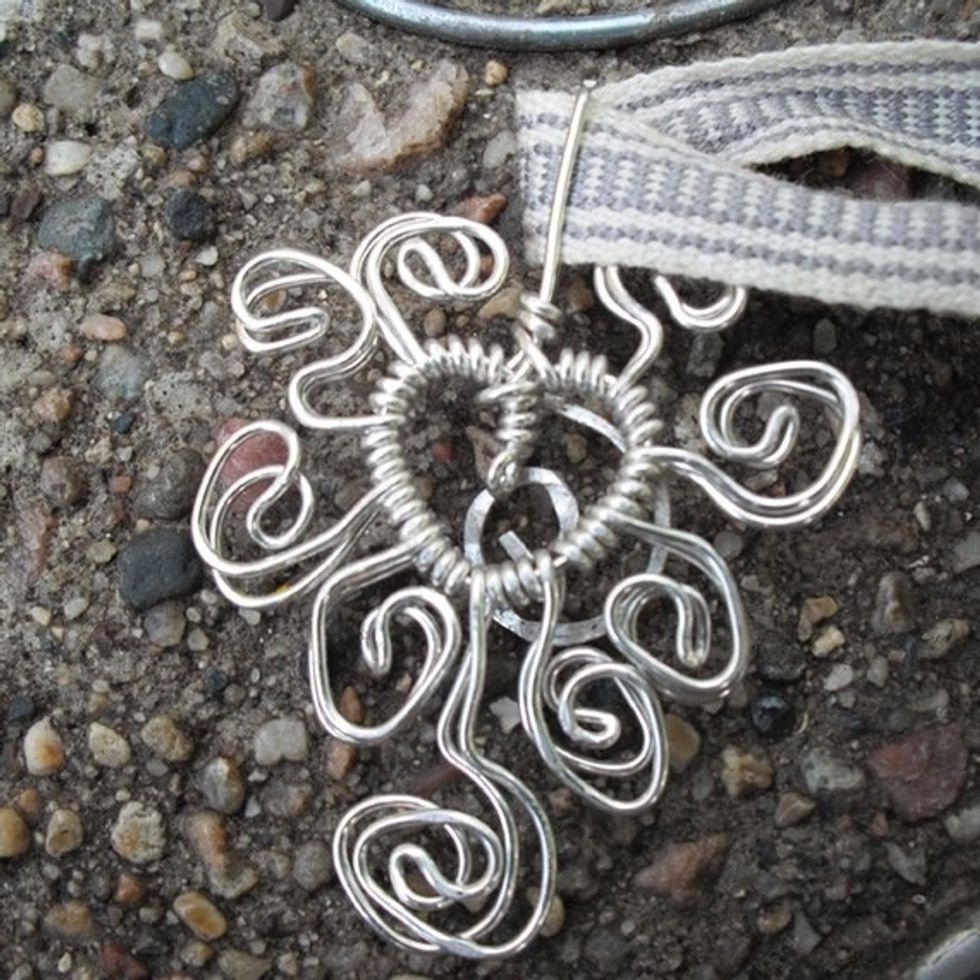
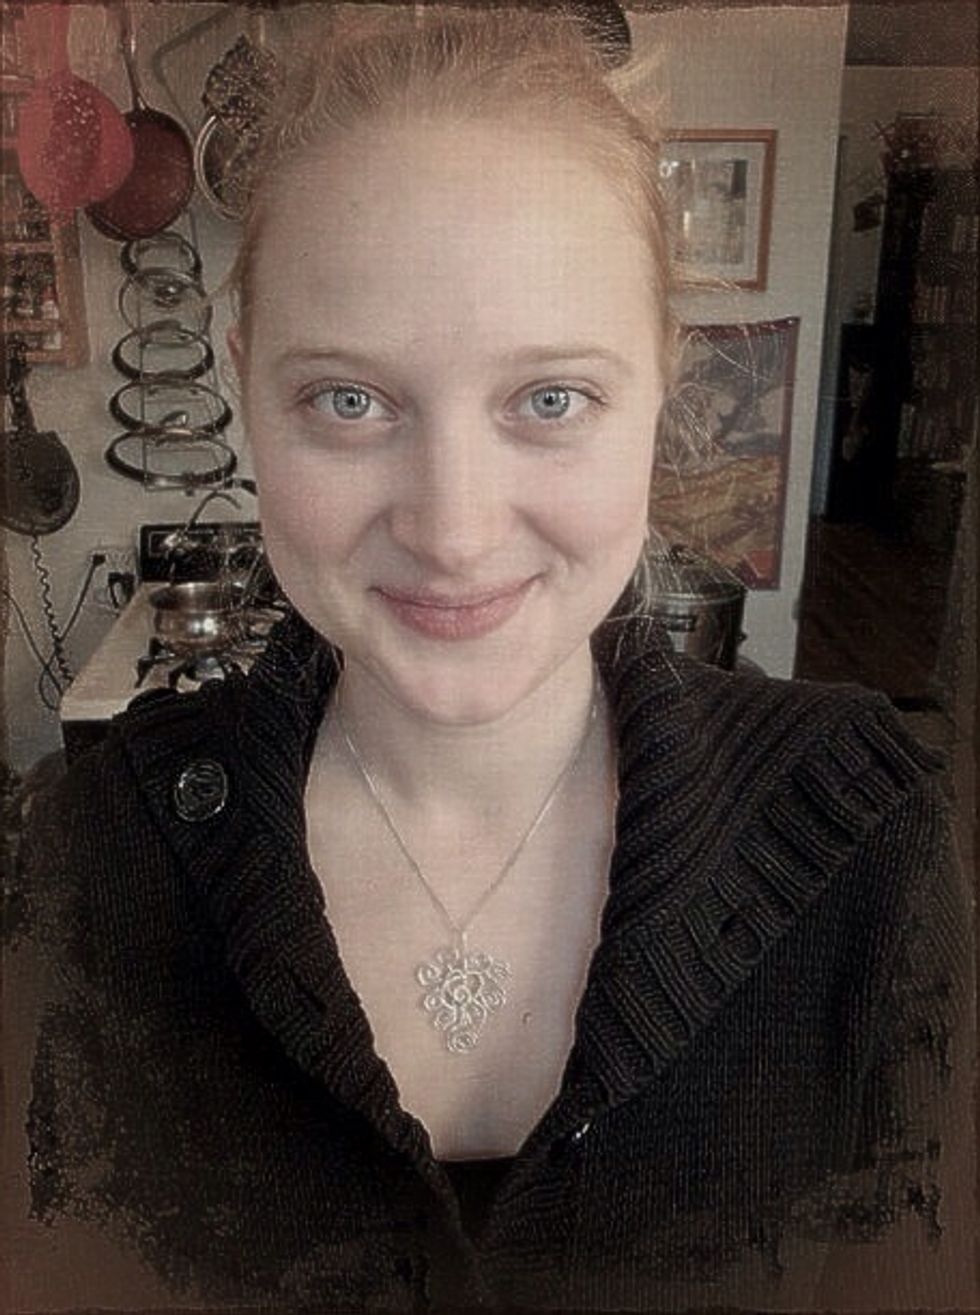
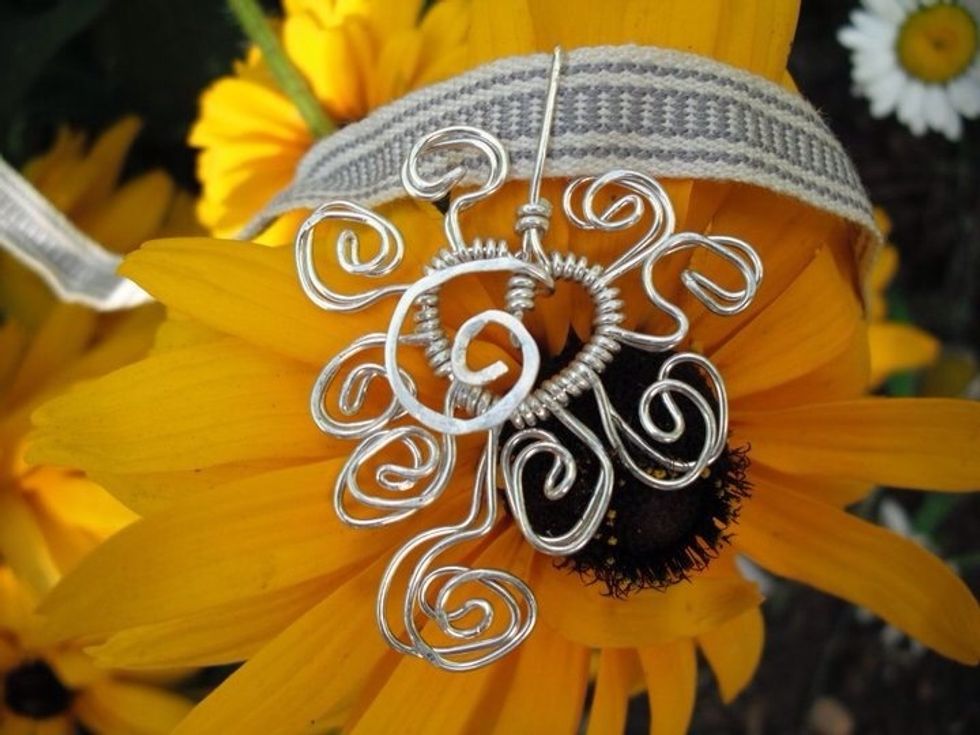
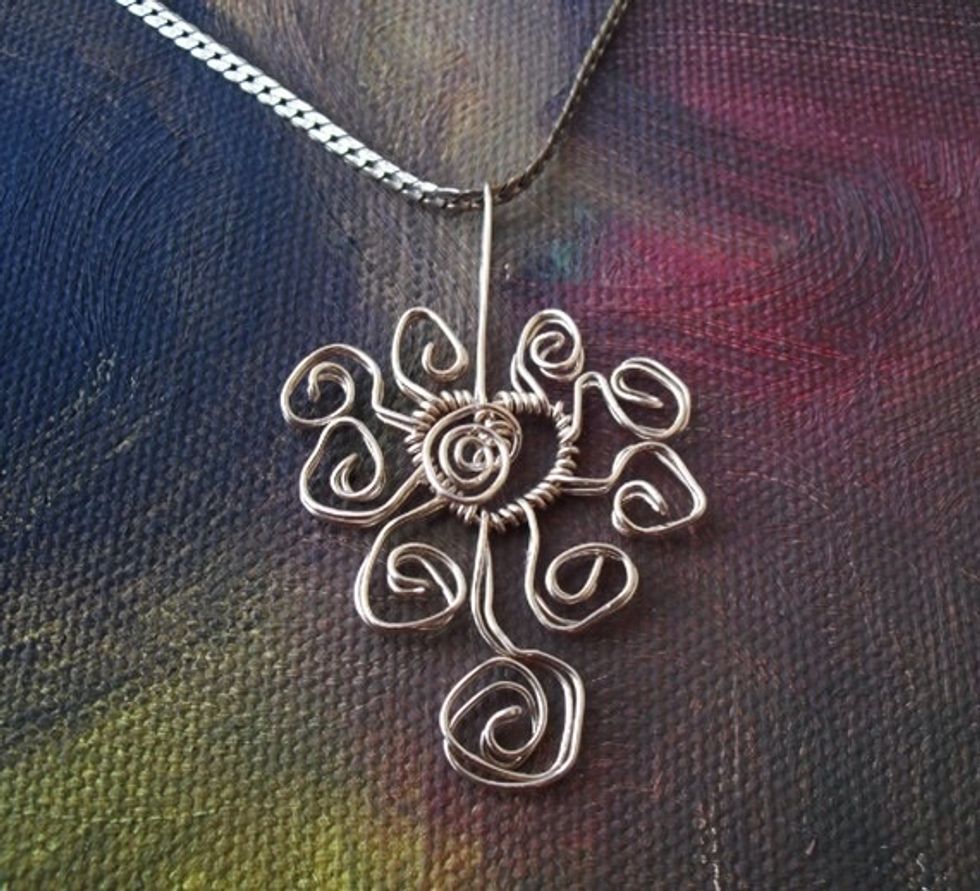
Ease open the bale and thread it with ribbon, leather, a linen cord, or chain.
Try it with finer wire, or other metals. This one is gold-filled, and 22 gauge.
Thanks for checking out my Snapguide! Make it yourself with JoeBobLeigh.com since 2006. Pass this along to your group!

Joe's Garage in Sioux Falls, SD.