The Conversation (0)
Sign Up

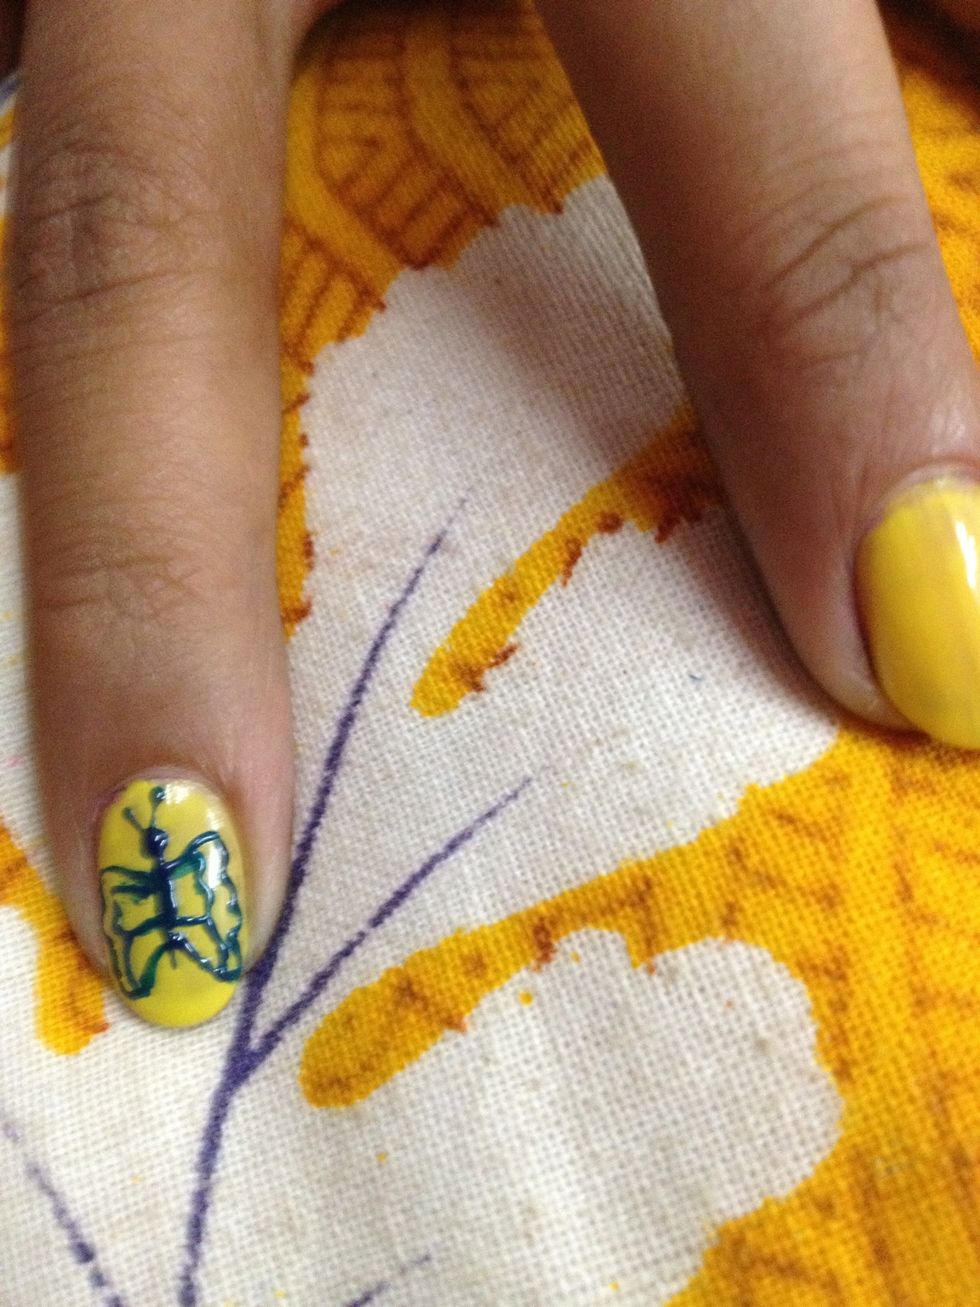
Start with French tips and a curved line for the body of the butterfly.
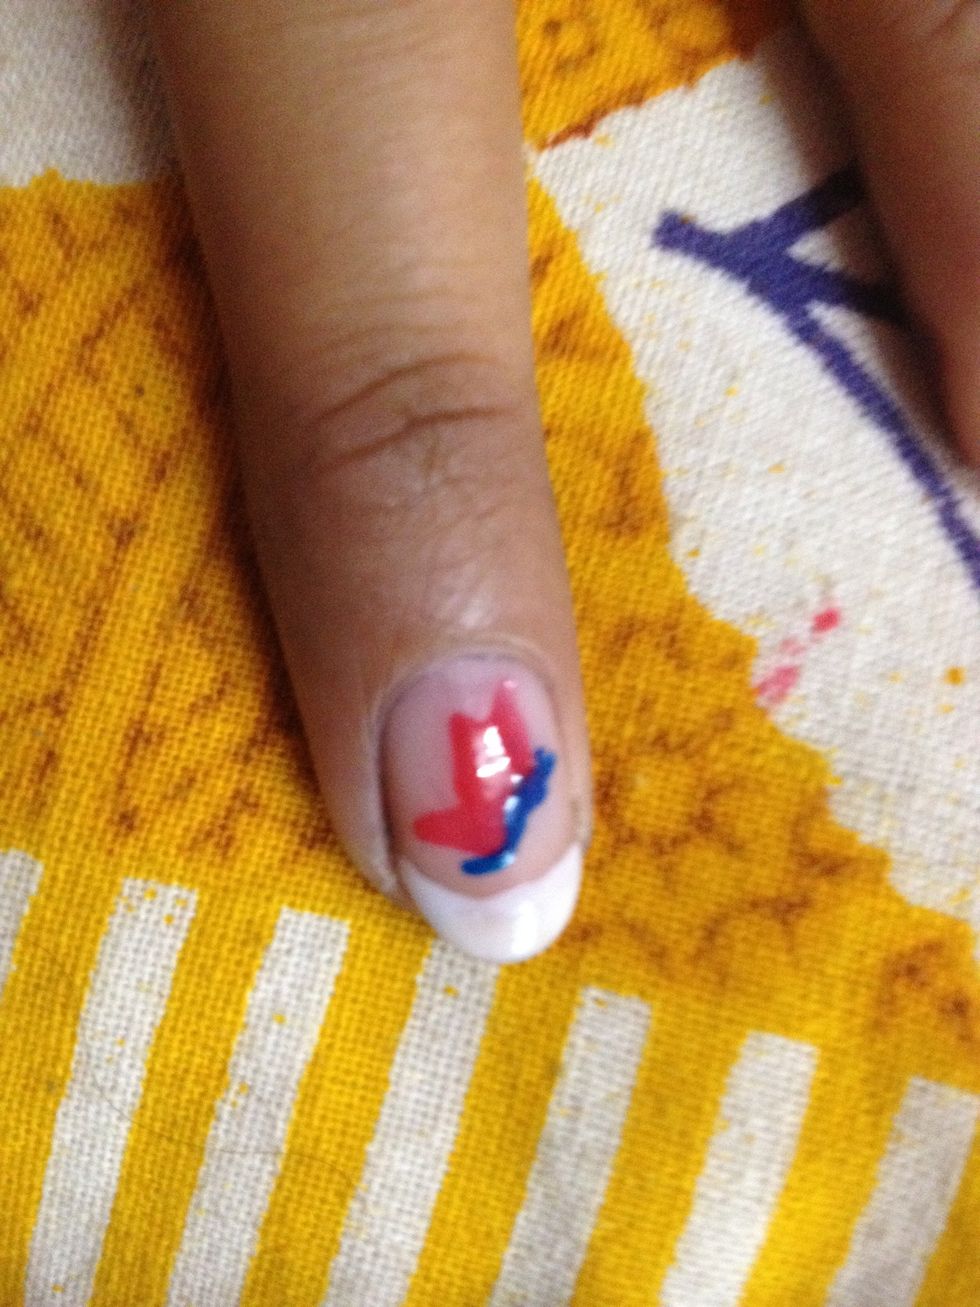
Draw the wings..two on top and one on the bottom..


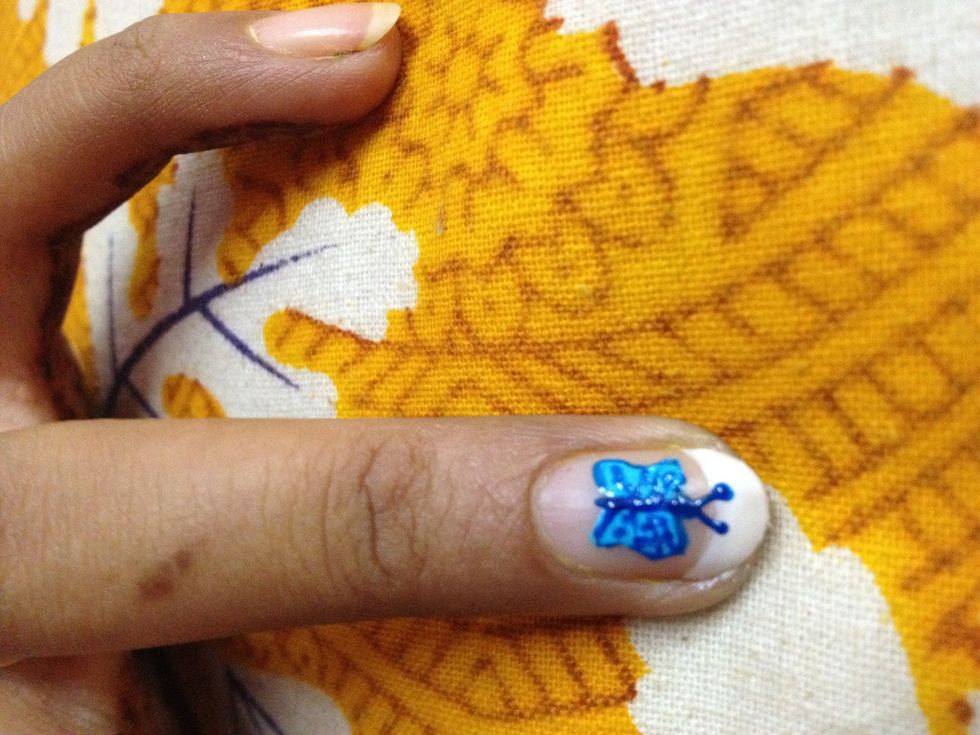
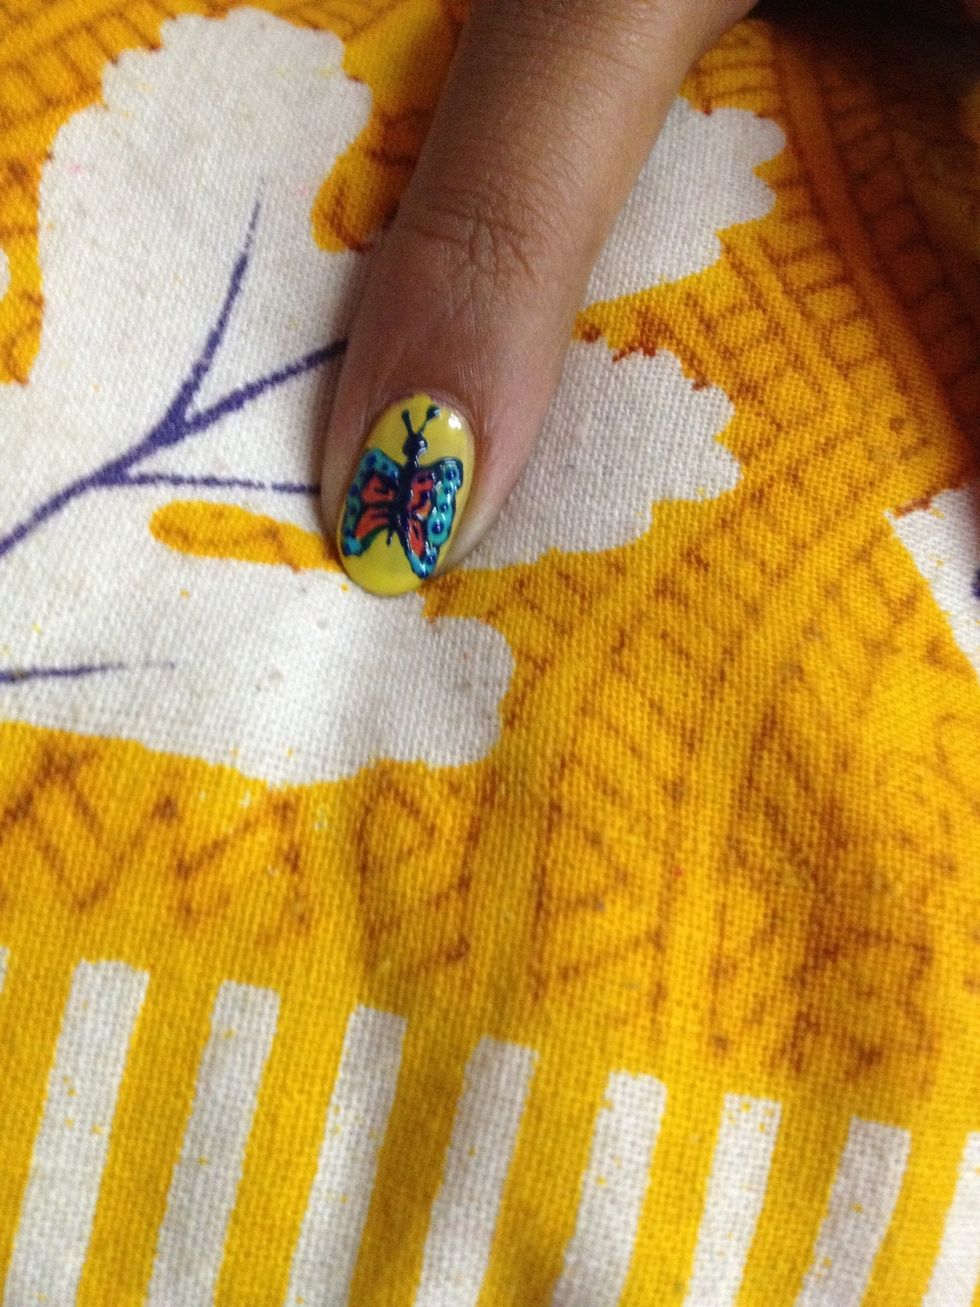
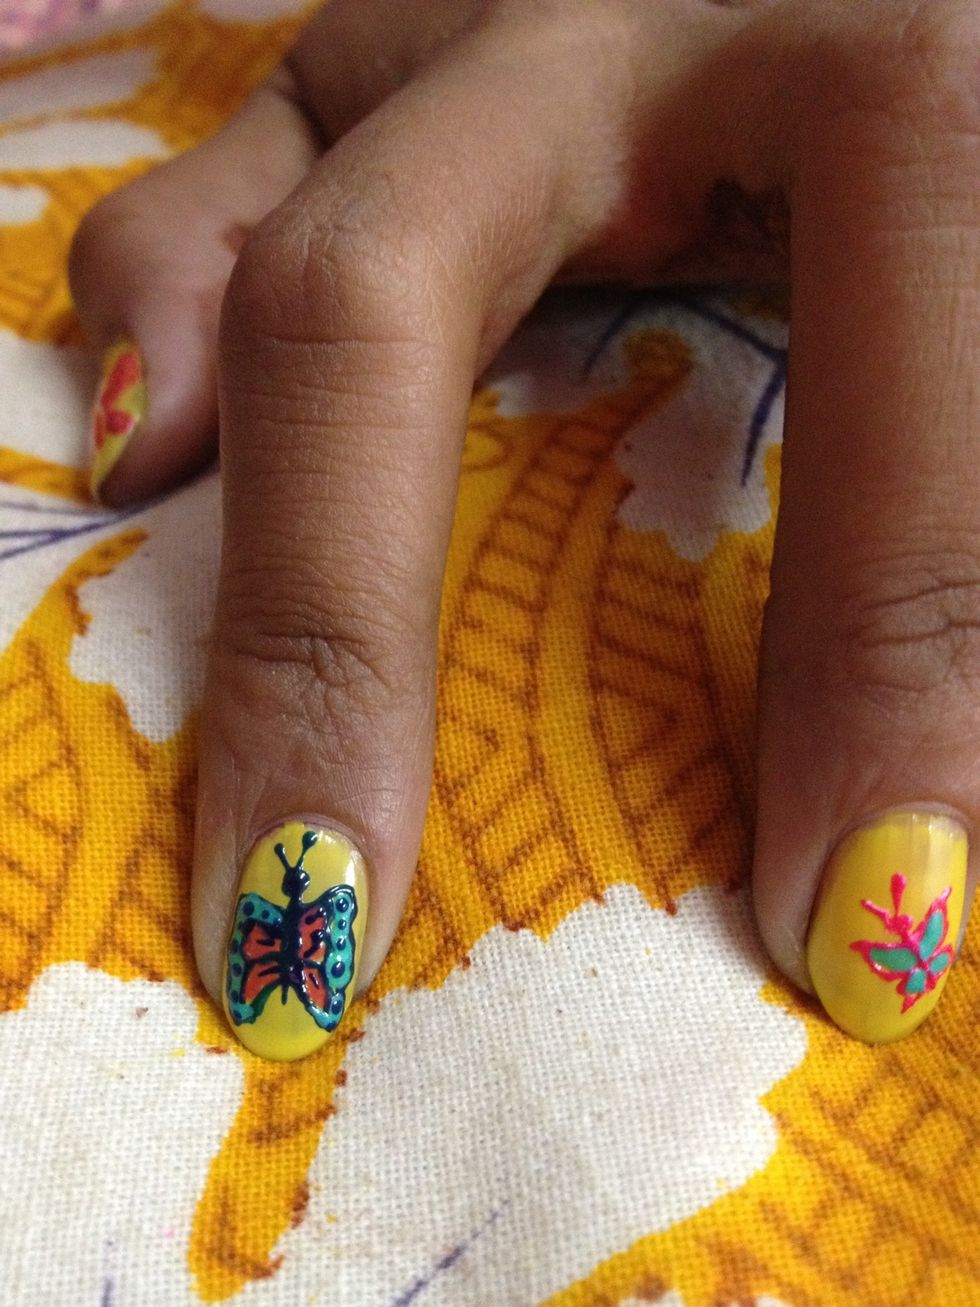
Draw the details.outline the wings and I put dots for the Wind design.its too small to fit anything else.

This is how it looks in the end!!
Finally...

A blob of blue paint shaped like an 'x' ...
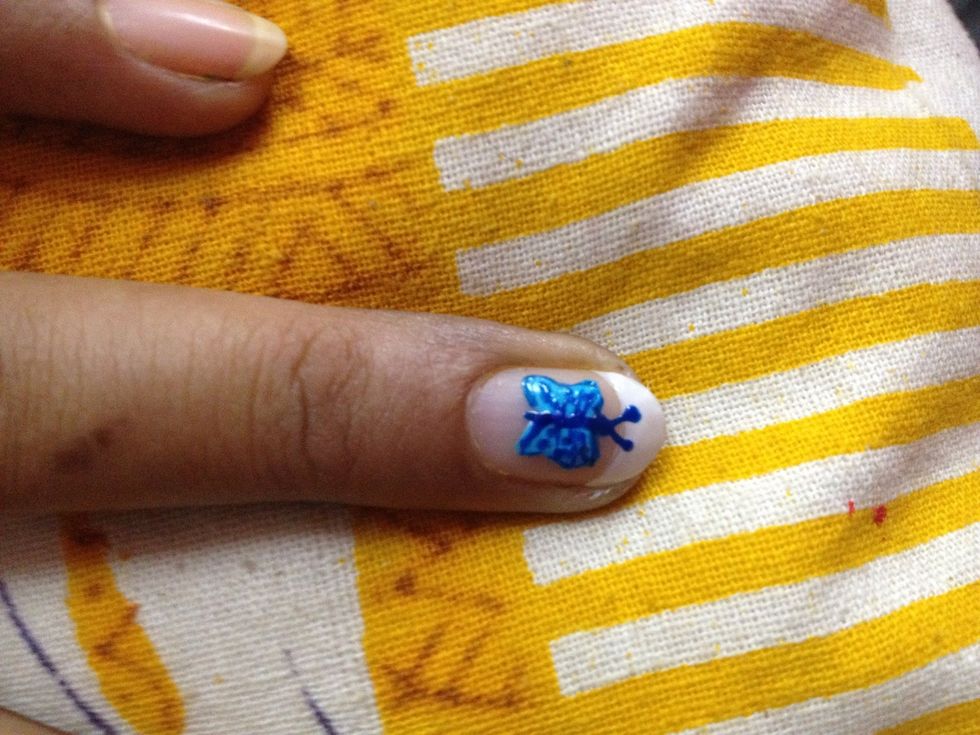
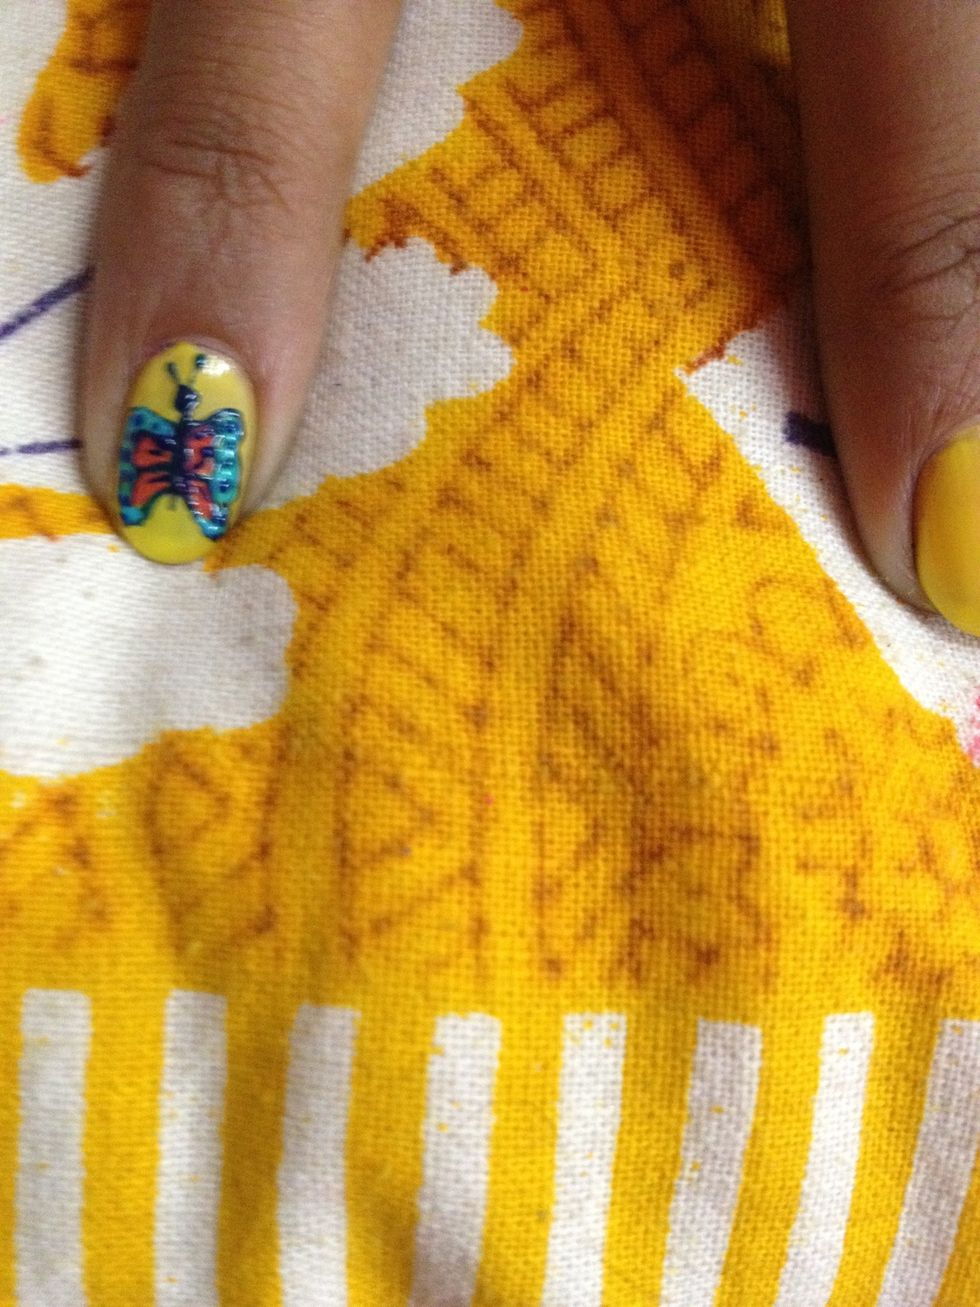
Draw the details I drew partitions in the wings more lik Criss cross
This is the final look
EAsy right??

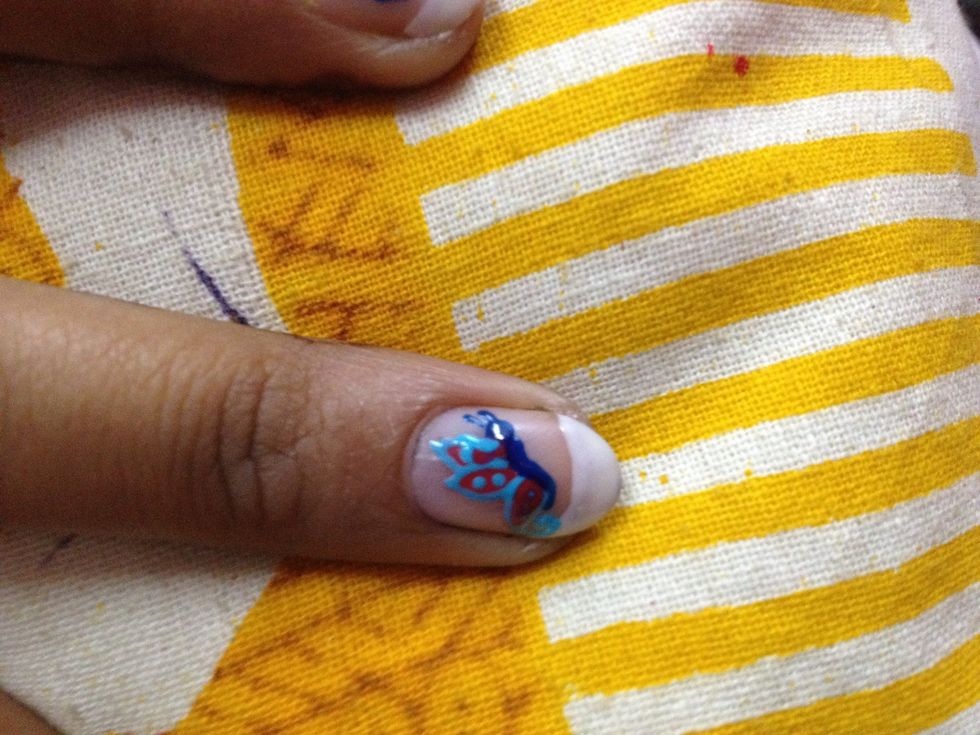
And 'x' shaped blob of white paint with pointy ends.
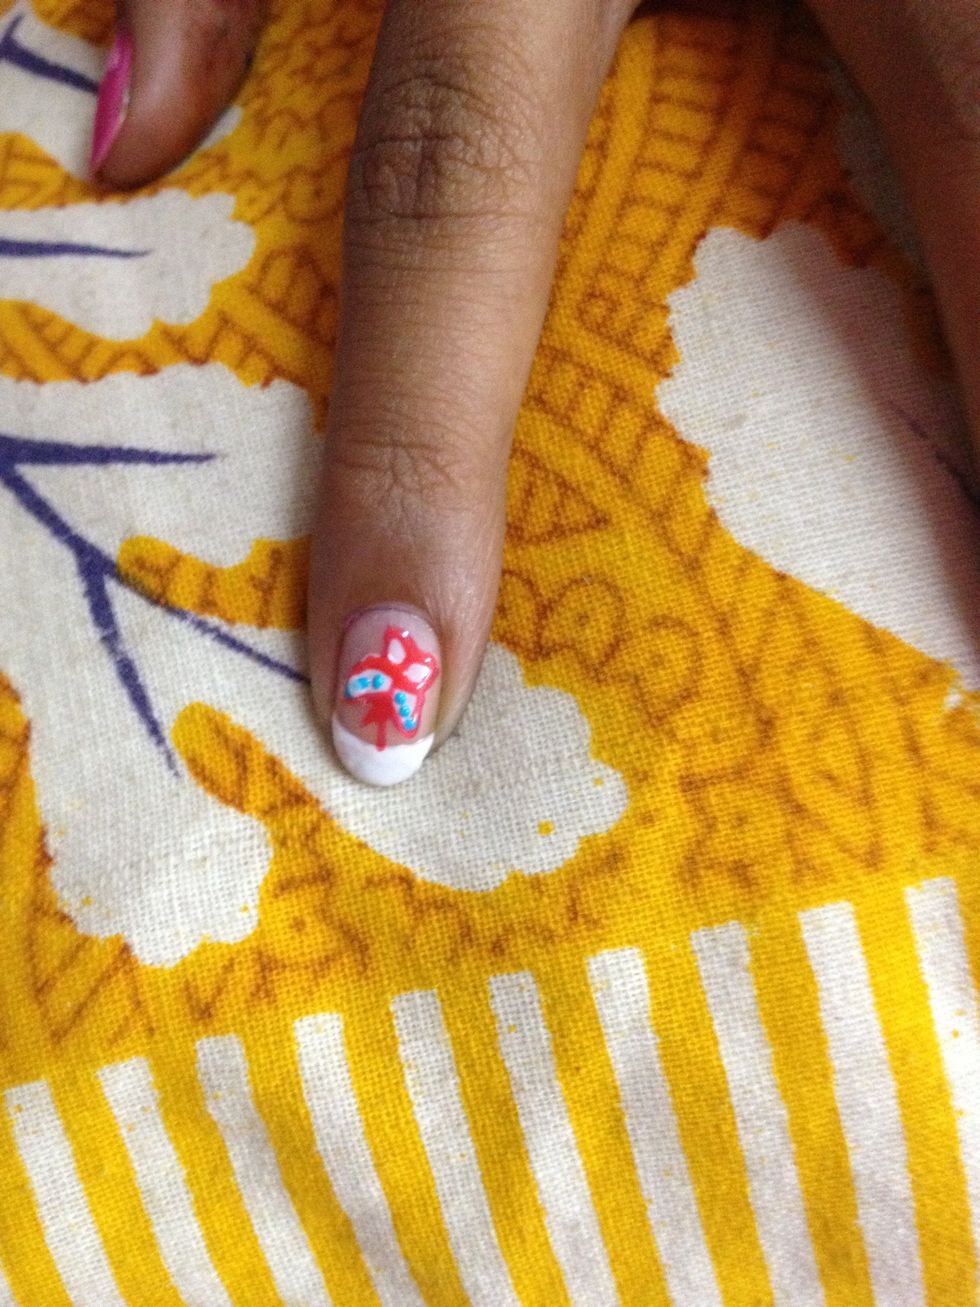
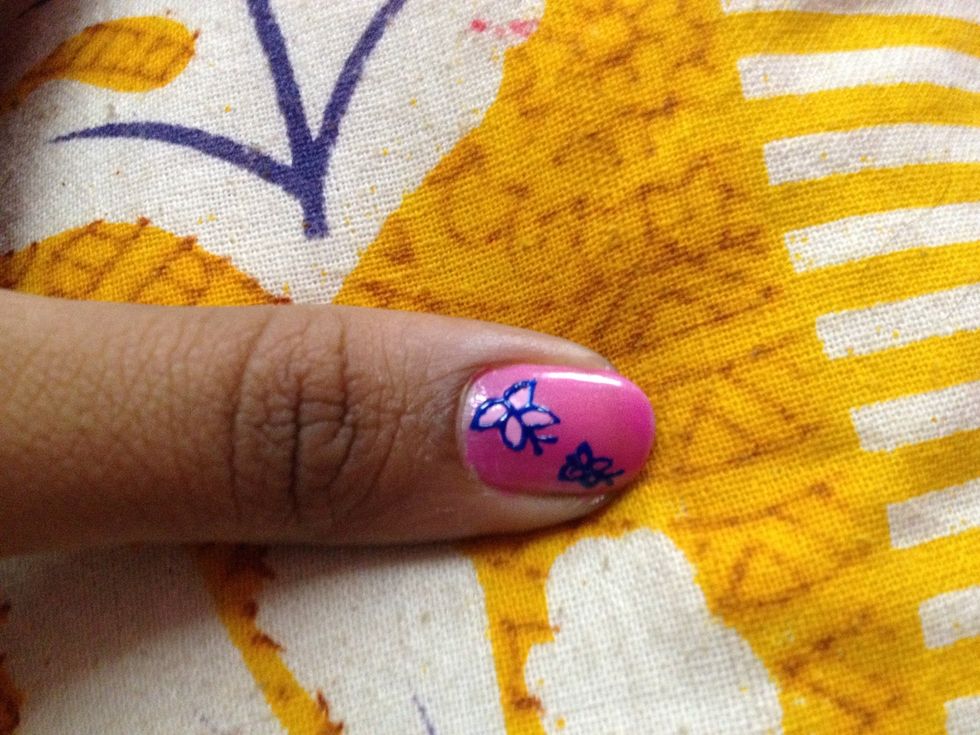
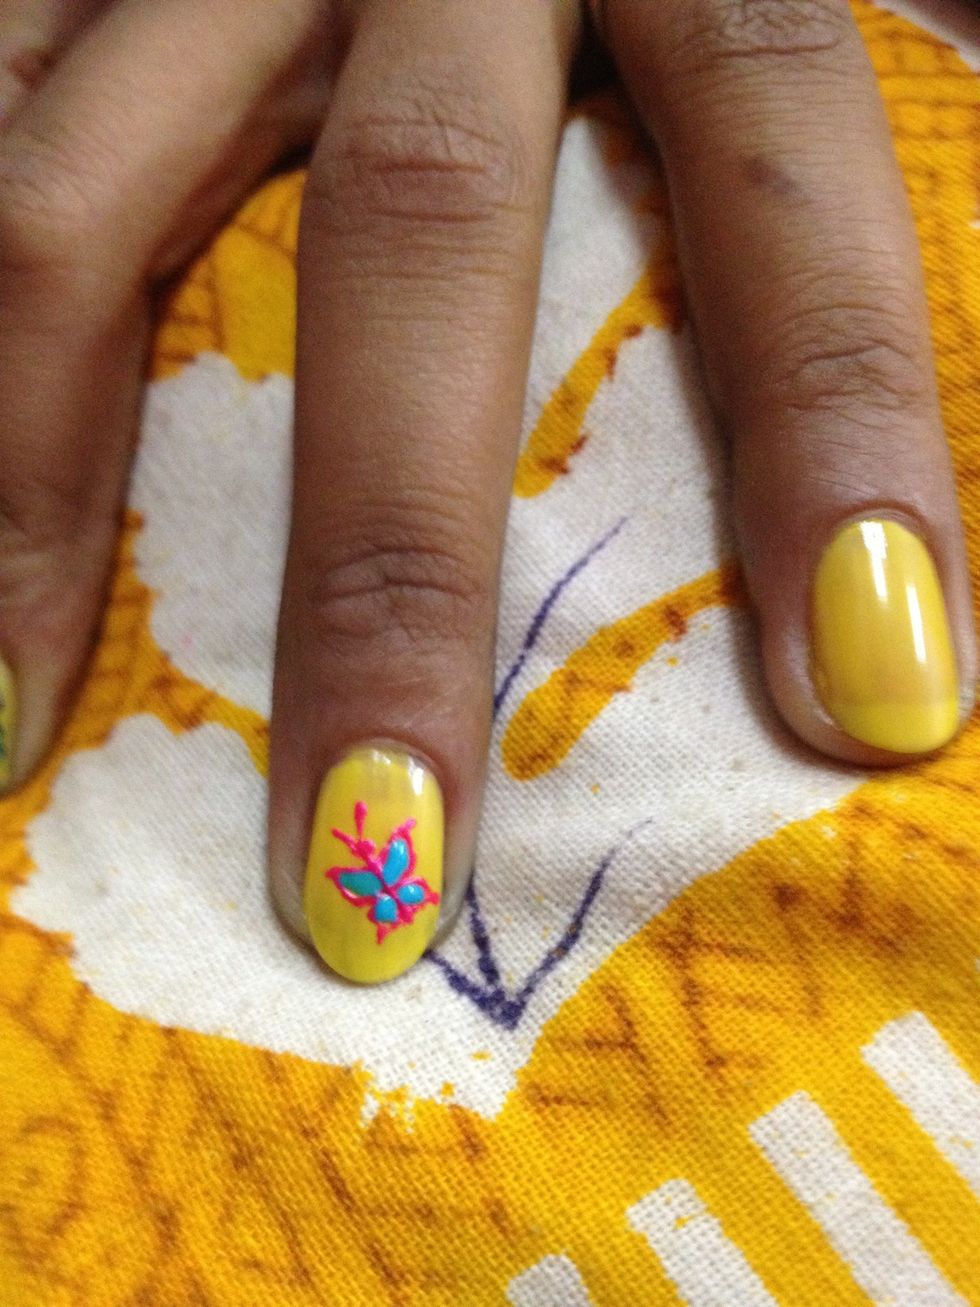
Draw the outline with pink and put dots with blue jus to add a few details
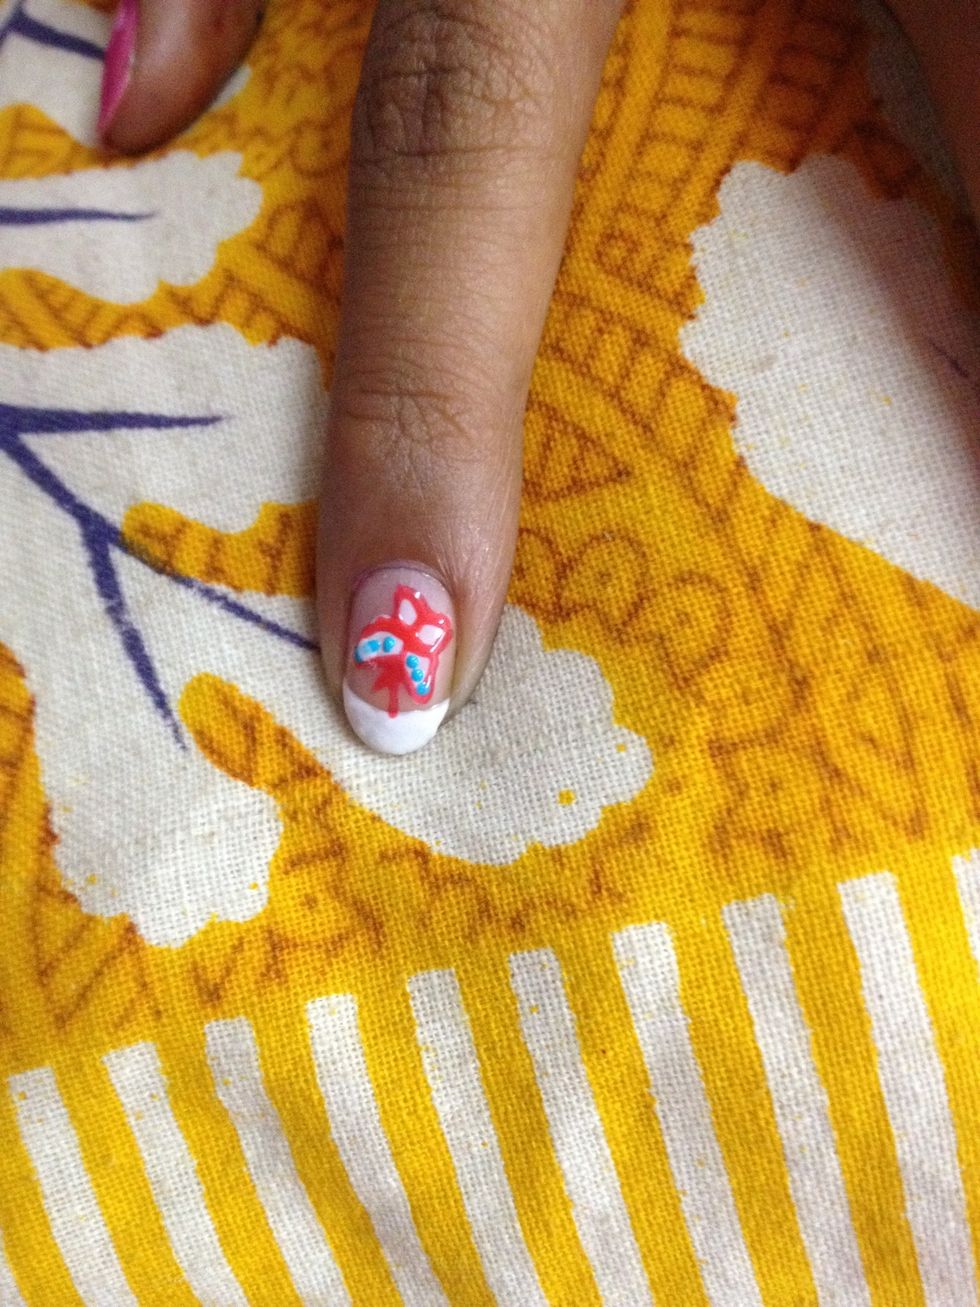
Finally ....

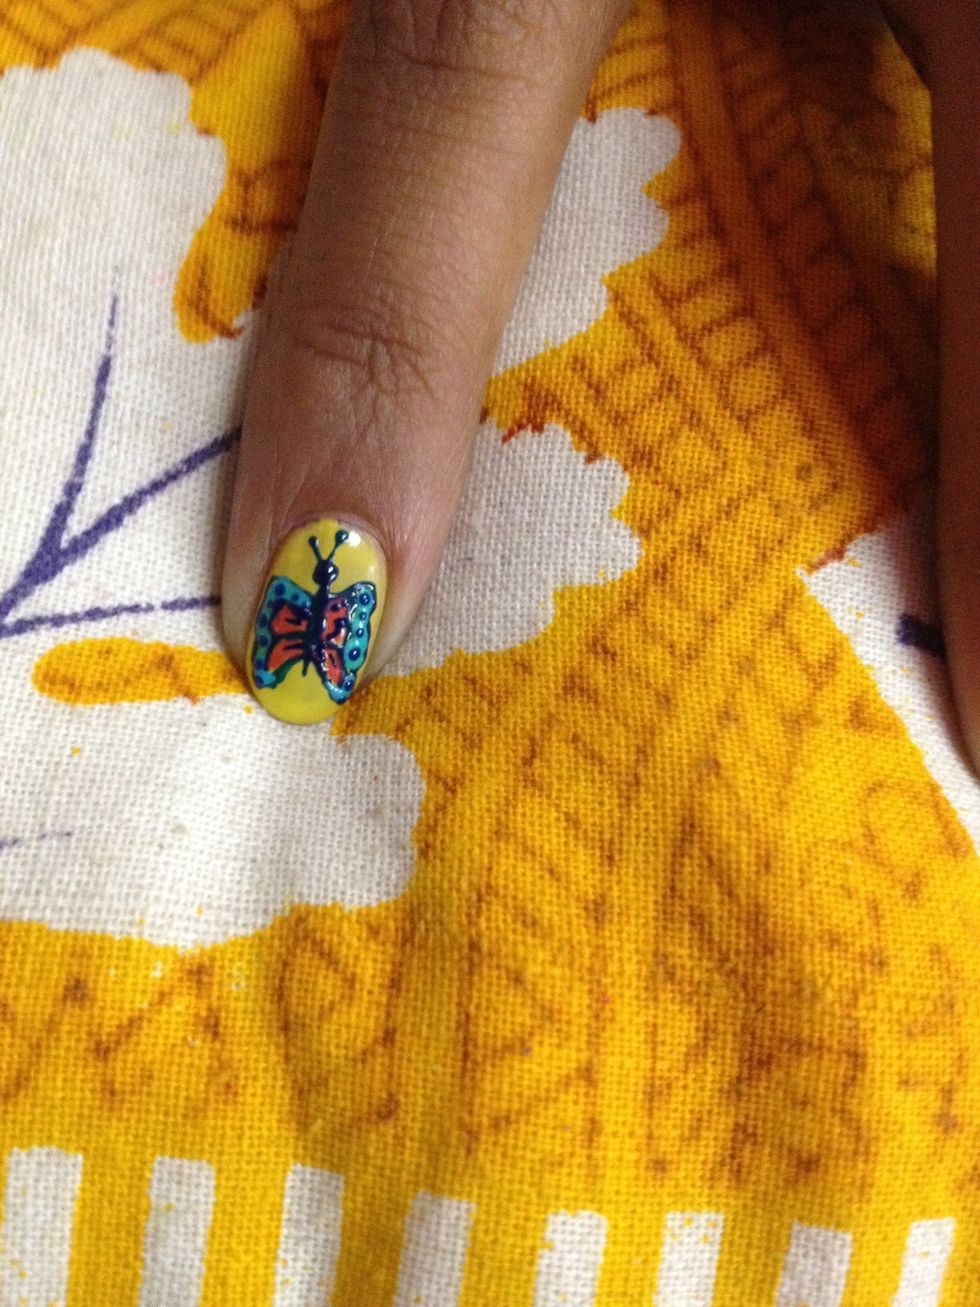
Outline the wings ...
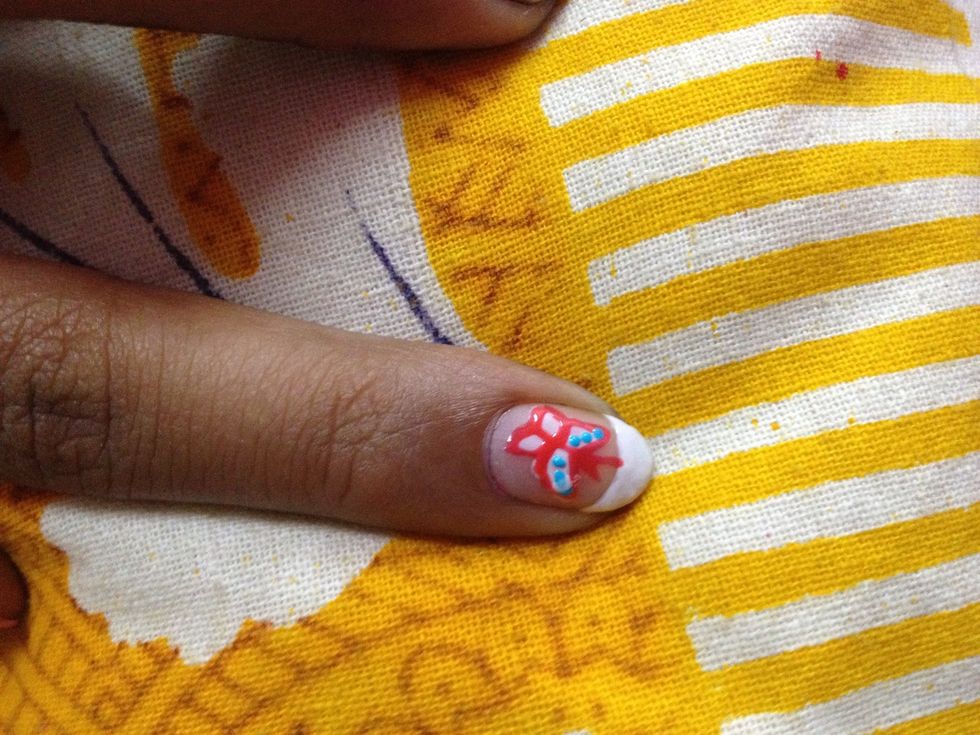
This is how it looks..this pink was toooo thick so it didn't come out very neat..very fine lines to outline..
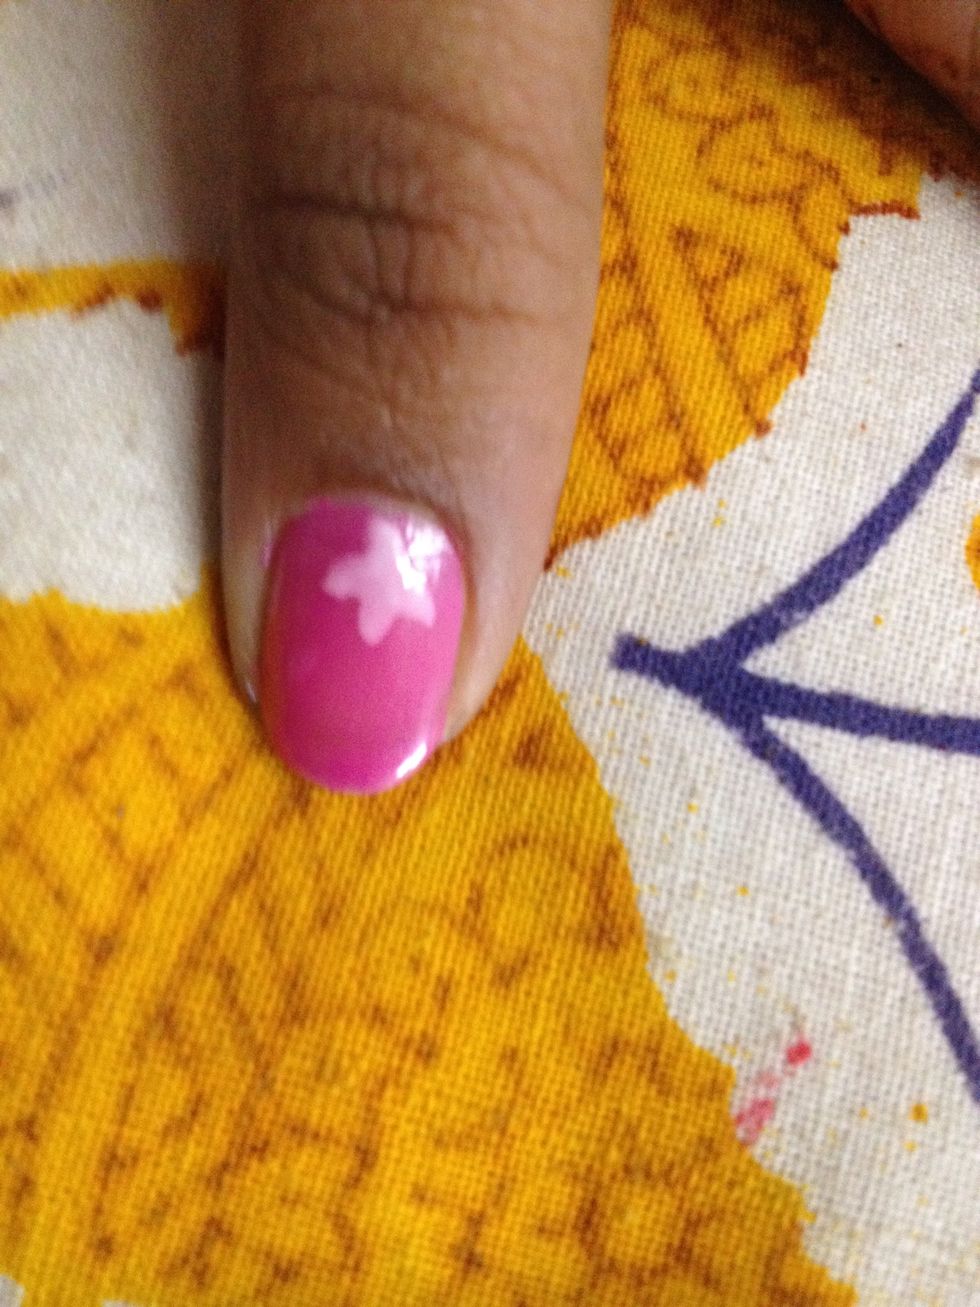
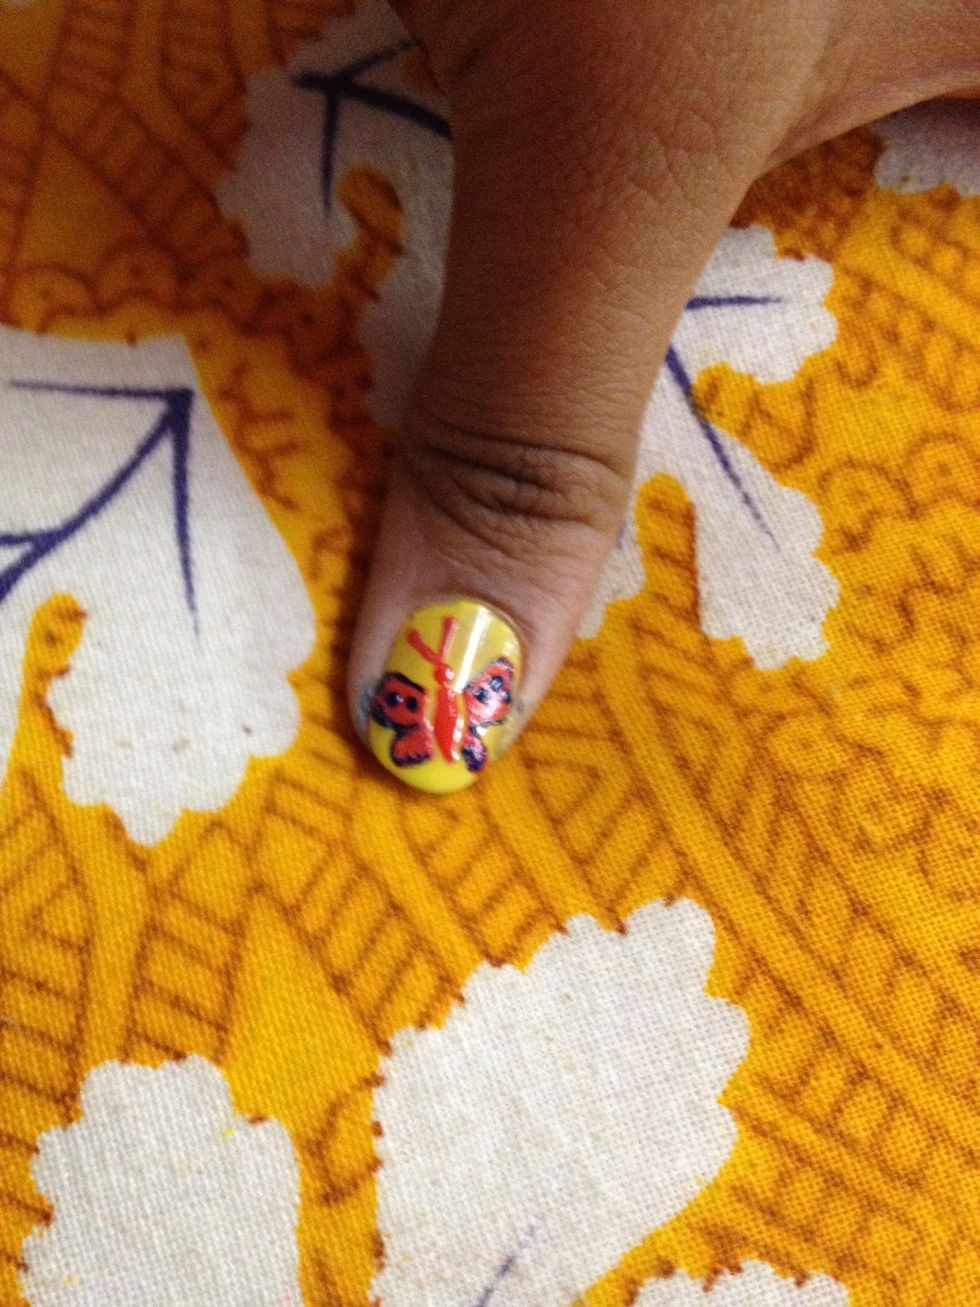
Blob of white shaped like an 'x' on a pink base

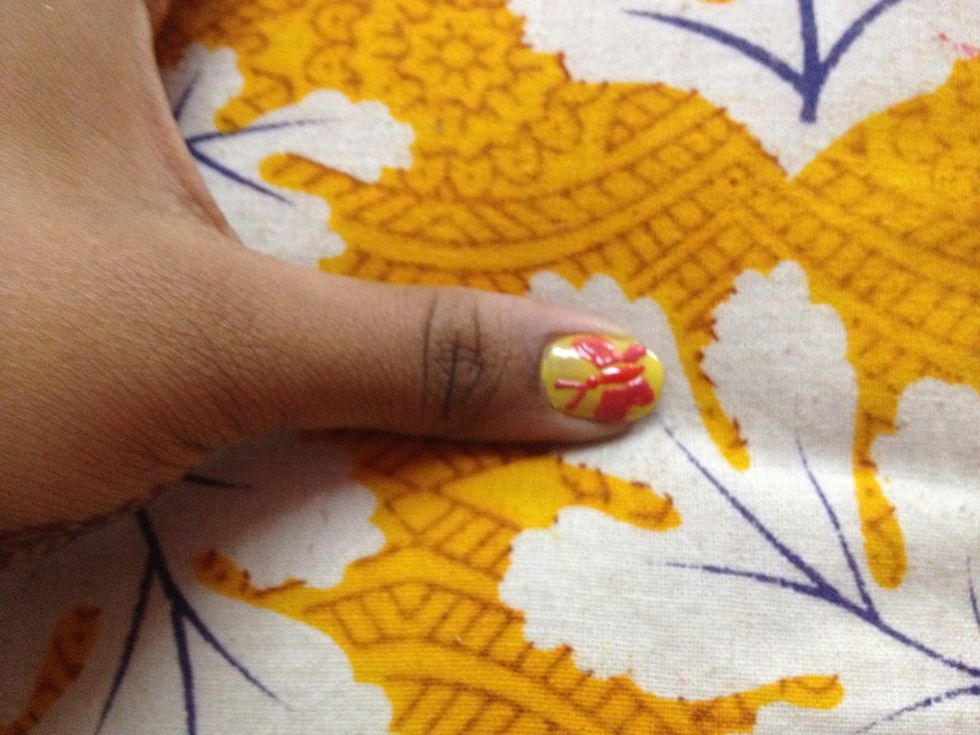
Outline the butterfly with a dark paint
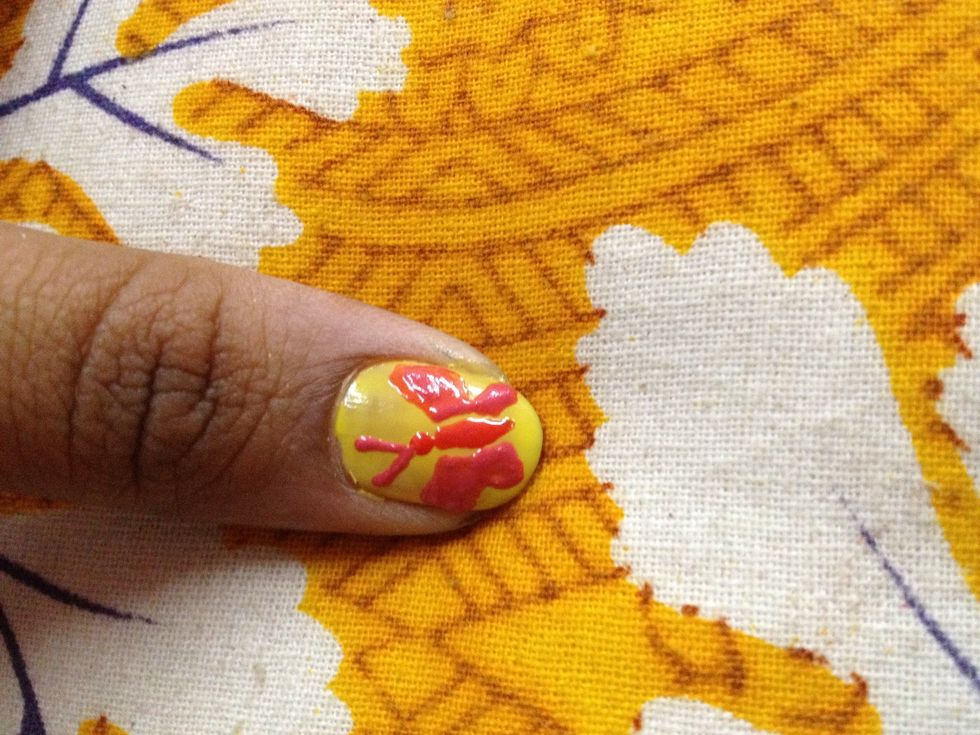
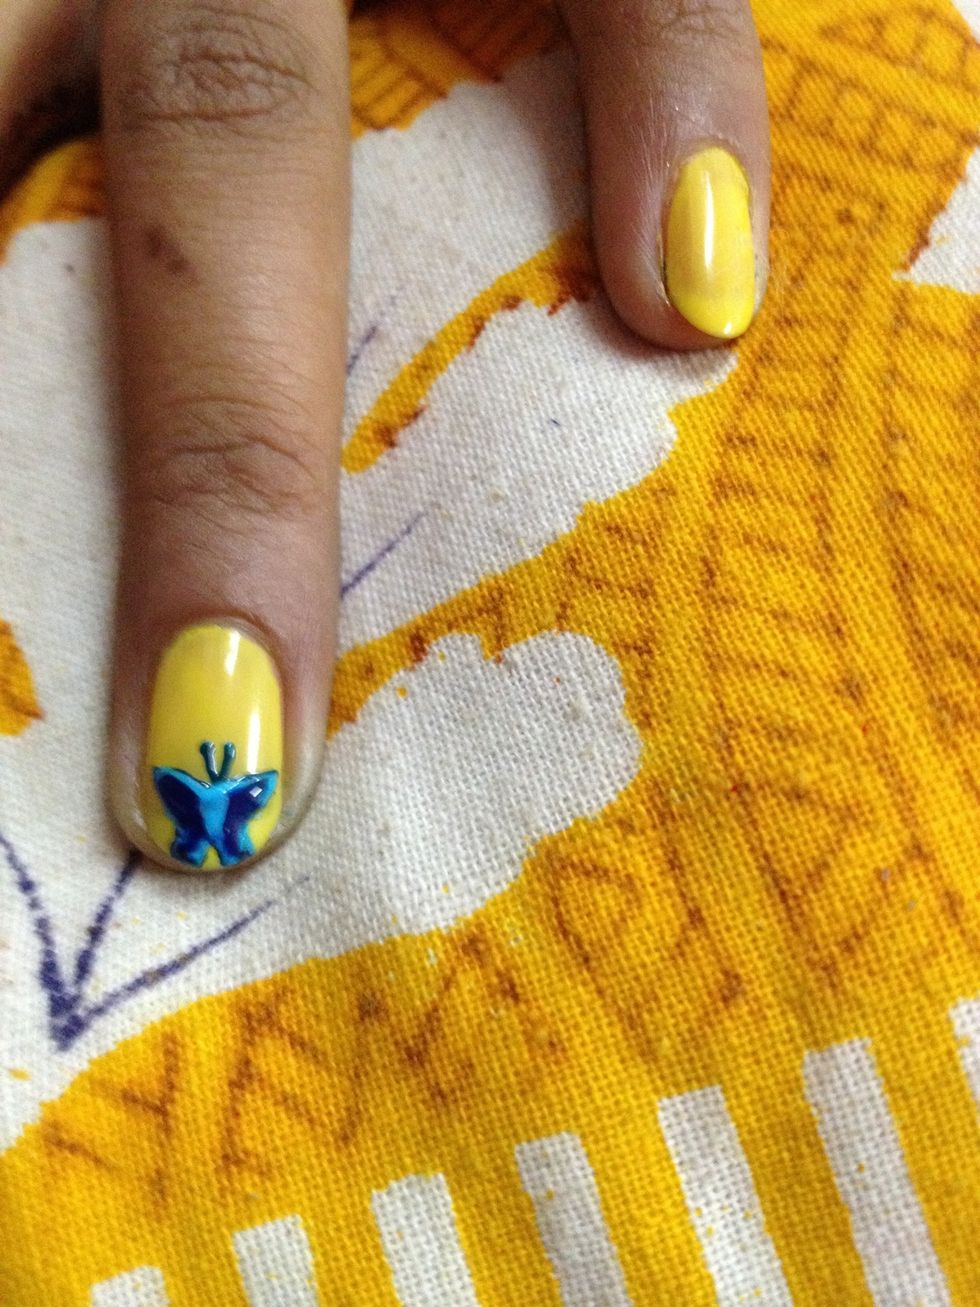
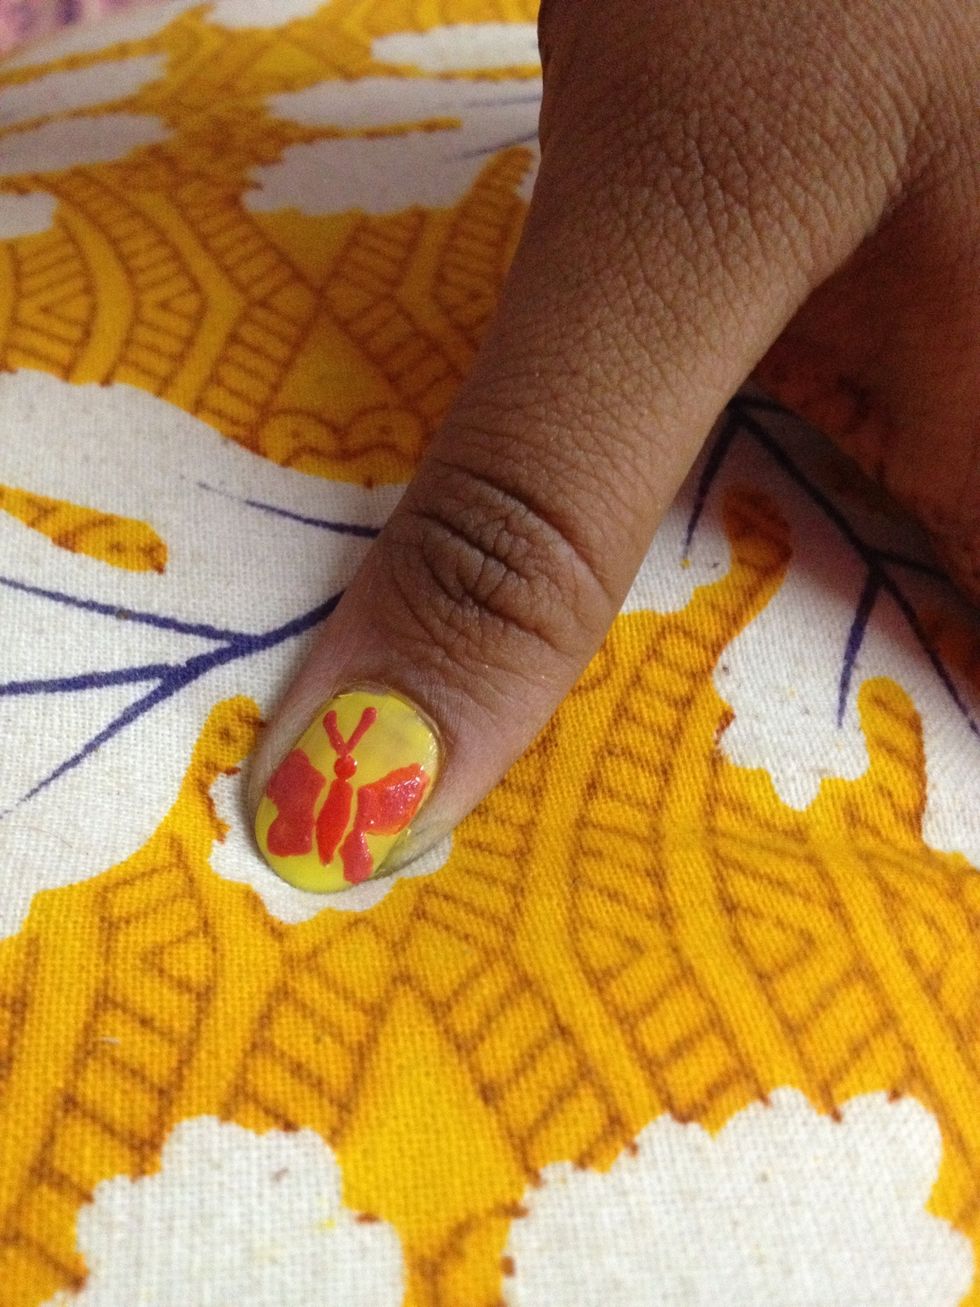
Just use one bright colour and draw the body and the wings on a bright base colour.
Sometimes simple gets the job done...
Outline and draw the butterfly

Fill in the 2 basic colours.i used pink and light blue.
I drew dots on the blue part and just lines on the pink
Final look after detailing.
Cute right?

Finally...

Outline with pink and colour the inside with a bright blue
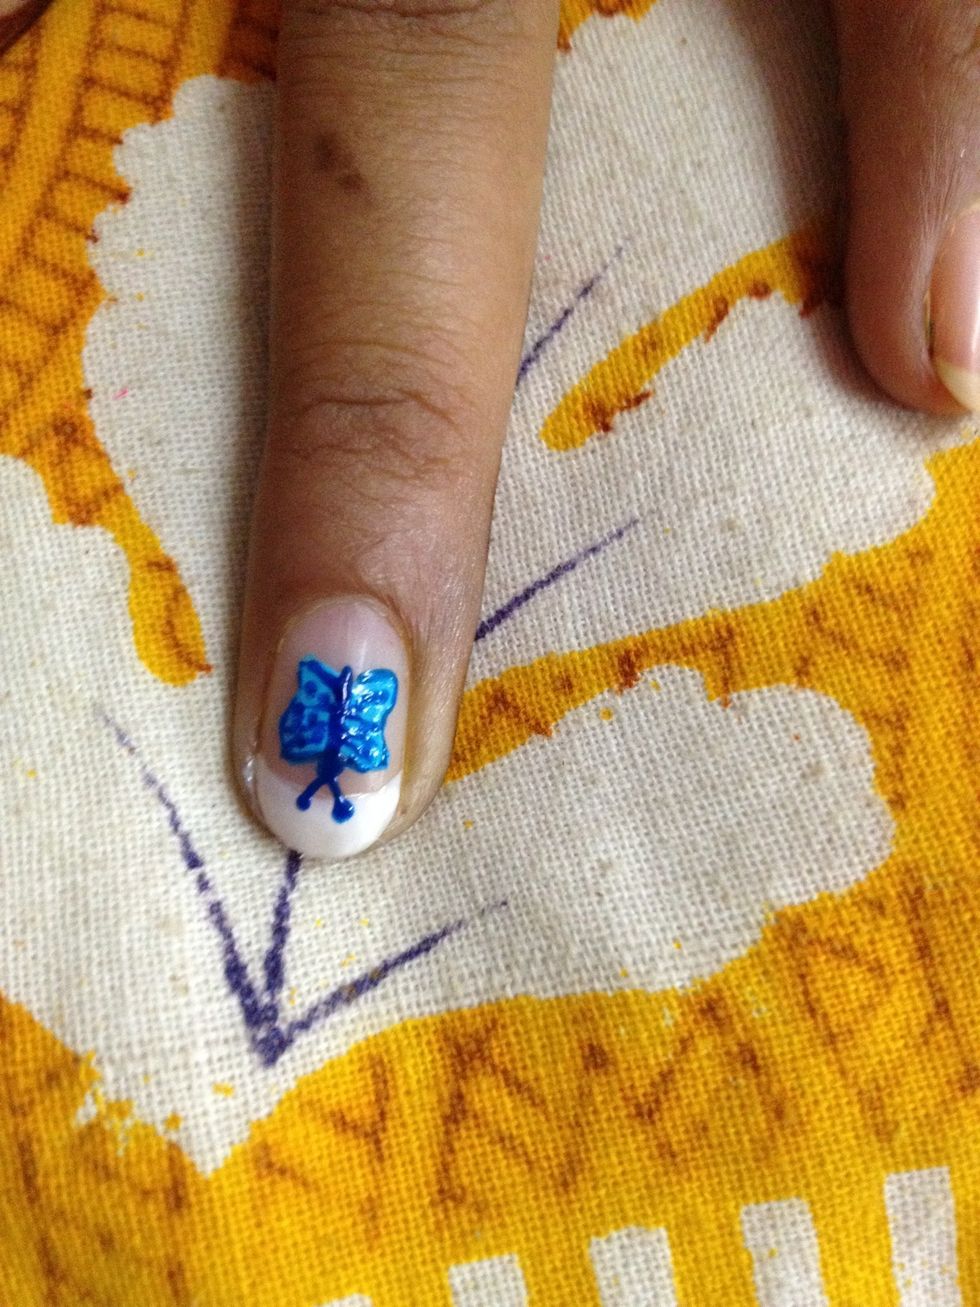
Simple And easy..
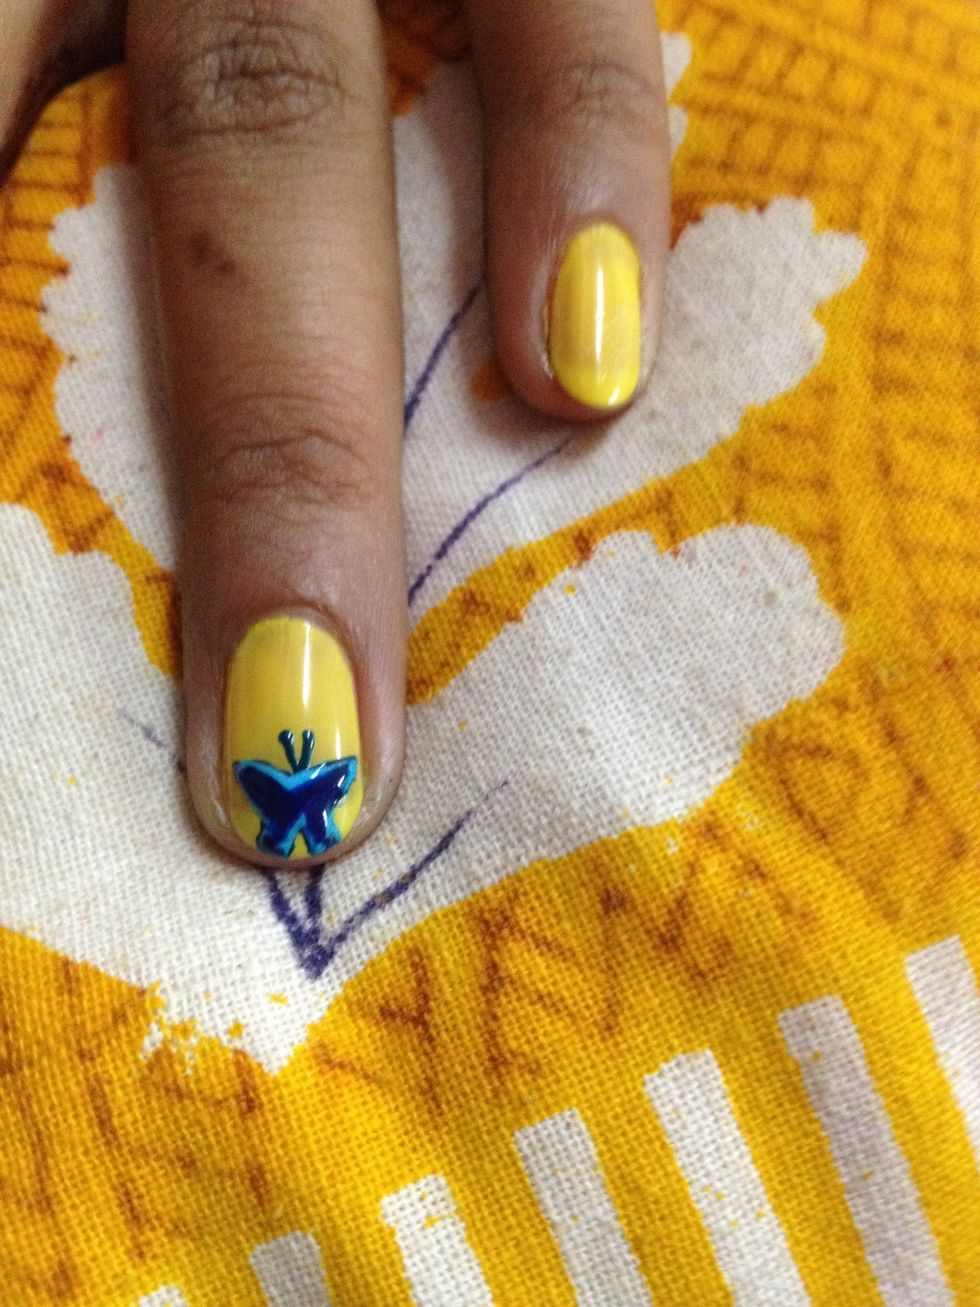
Just draw the 'x' shape outline and fill it with a dark blue
Make the centre body with the same colour as the outline
Editing the plain one to make it pop..
The same plain one..I drew the outline and added a few dots
Like I said in my previous guide lets leave stamping to the kids..we don't need konad.. All you need to know is how to draw an "x" to make all these designs..THANKS FOR WATCHING