The Conversation (0)
Sign Up
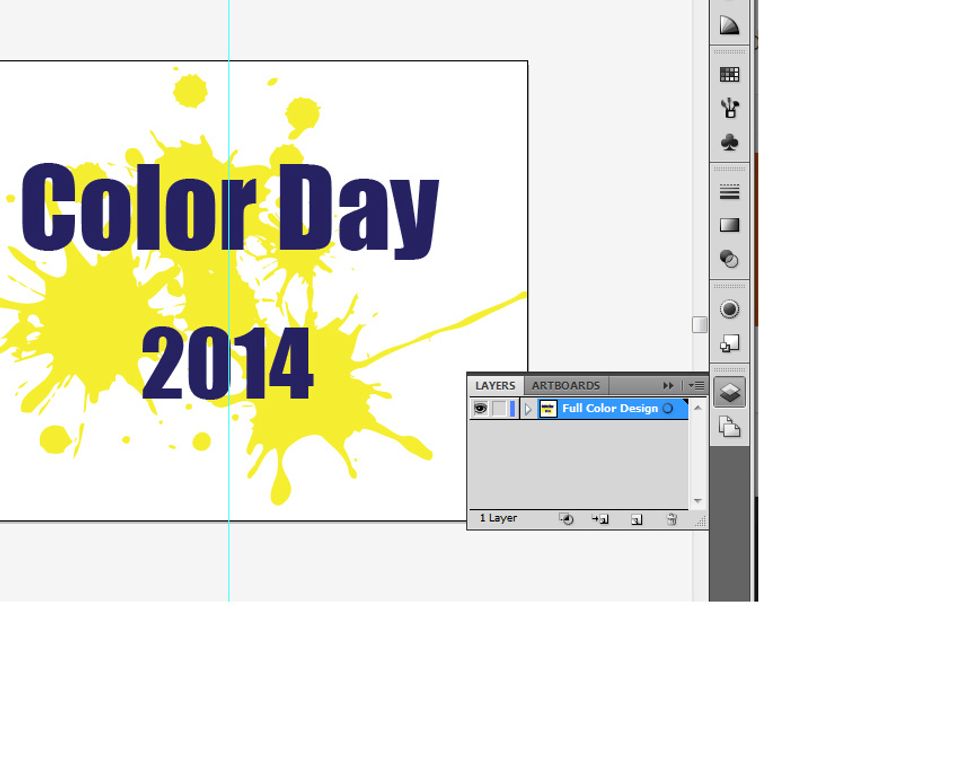
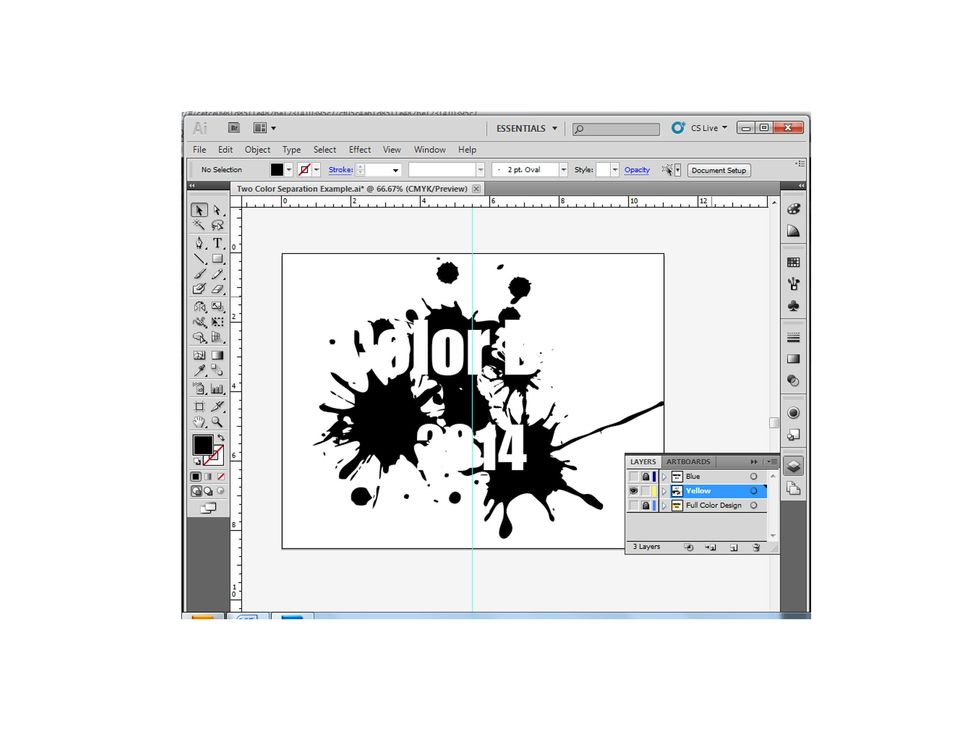
Open your file in Illustrator and check your layer setup. All the design elements of your design should be in one "Full Color Design" layer.
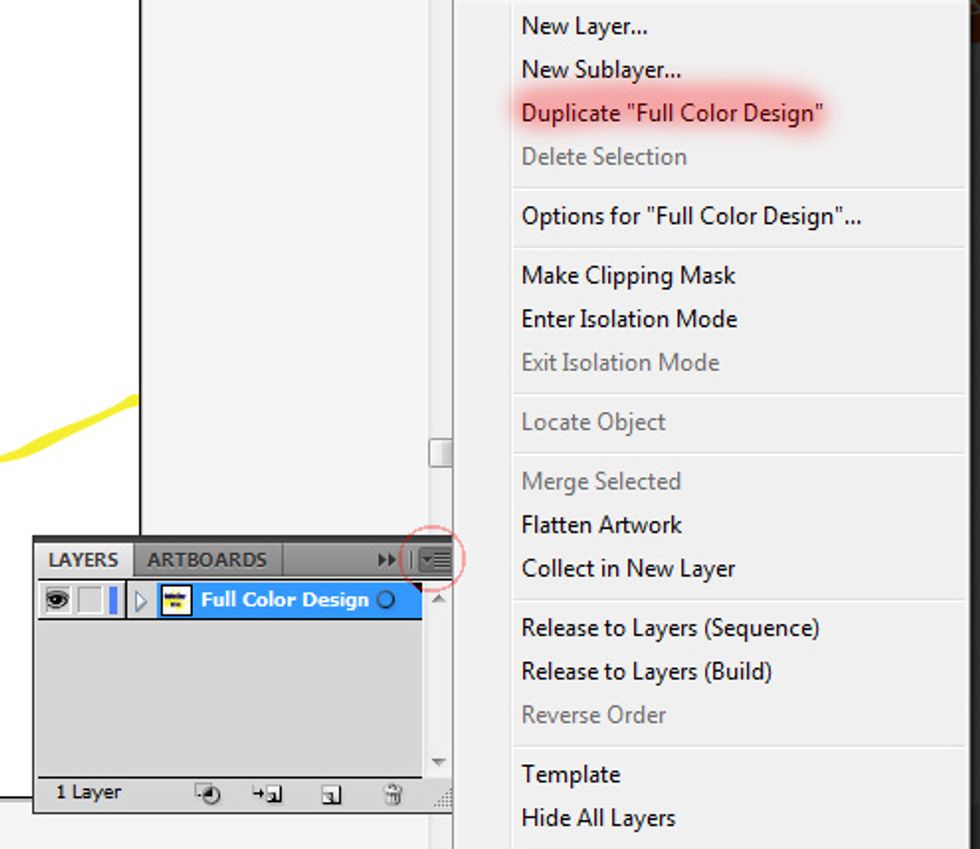
Duplicate the full color layer two times. You should now have three layers.
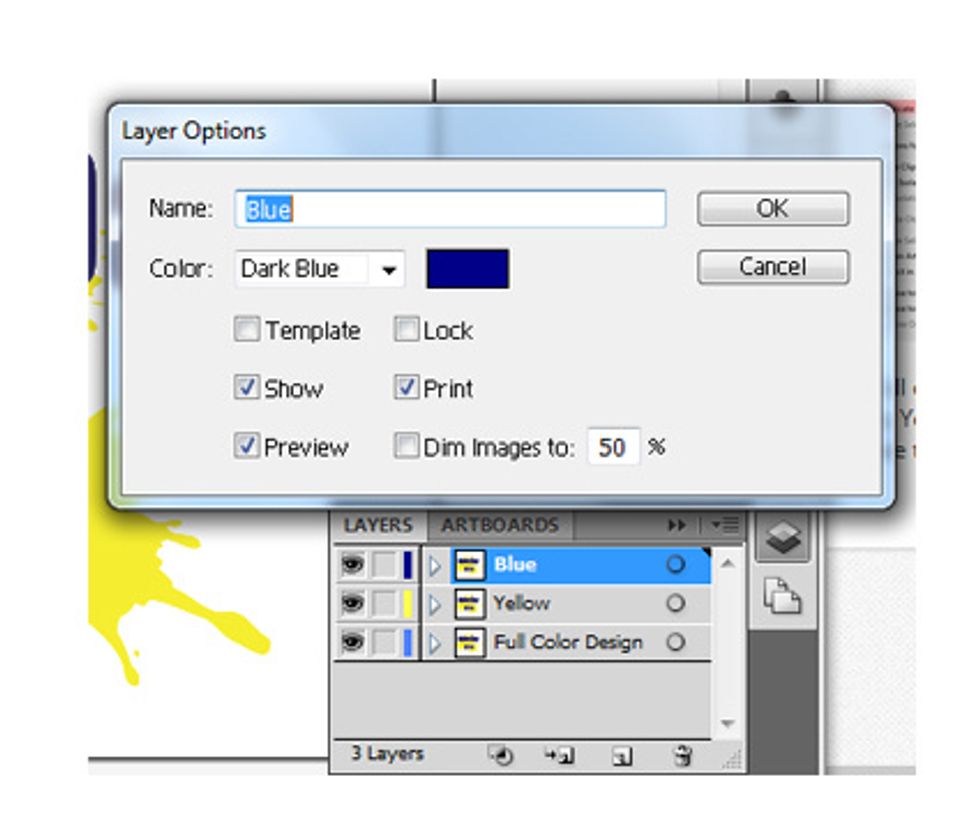
Rename the duplicated layers for each of the colors in your design.

Lock and hide all layers except the top layer.
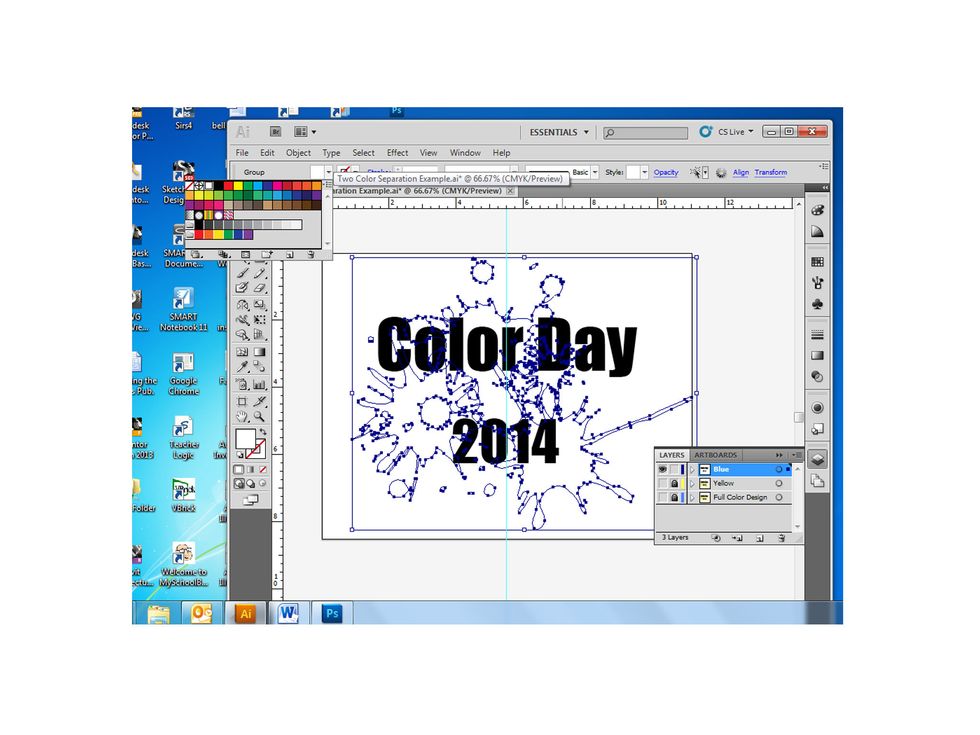
Everything in this layer that will be printed the color it is labeled should be changed to black. While everything that is not the labeled color should become white. Don't forget about stroke color.
Repeat the last two steps with your second layer. Make sure you select the correct layer. Don't forget to unlock the layer and change the colors to black or white.
Test print all layers separately on paper. Using a light table check for areas of overlap and if necessary make changes. Reprint on paper until you are certain that your color separation is correct.
Print your positives on the positive film. Load the film into tray 1 of the printer (landscape). You do not need to print the full color design on the film. You are now ready create your stencil.