The Conversation (0)
Sign Up
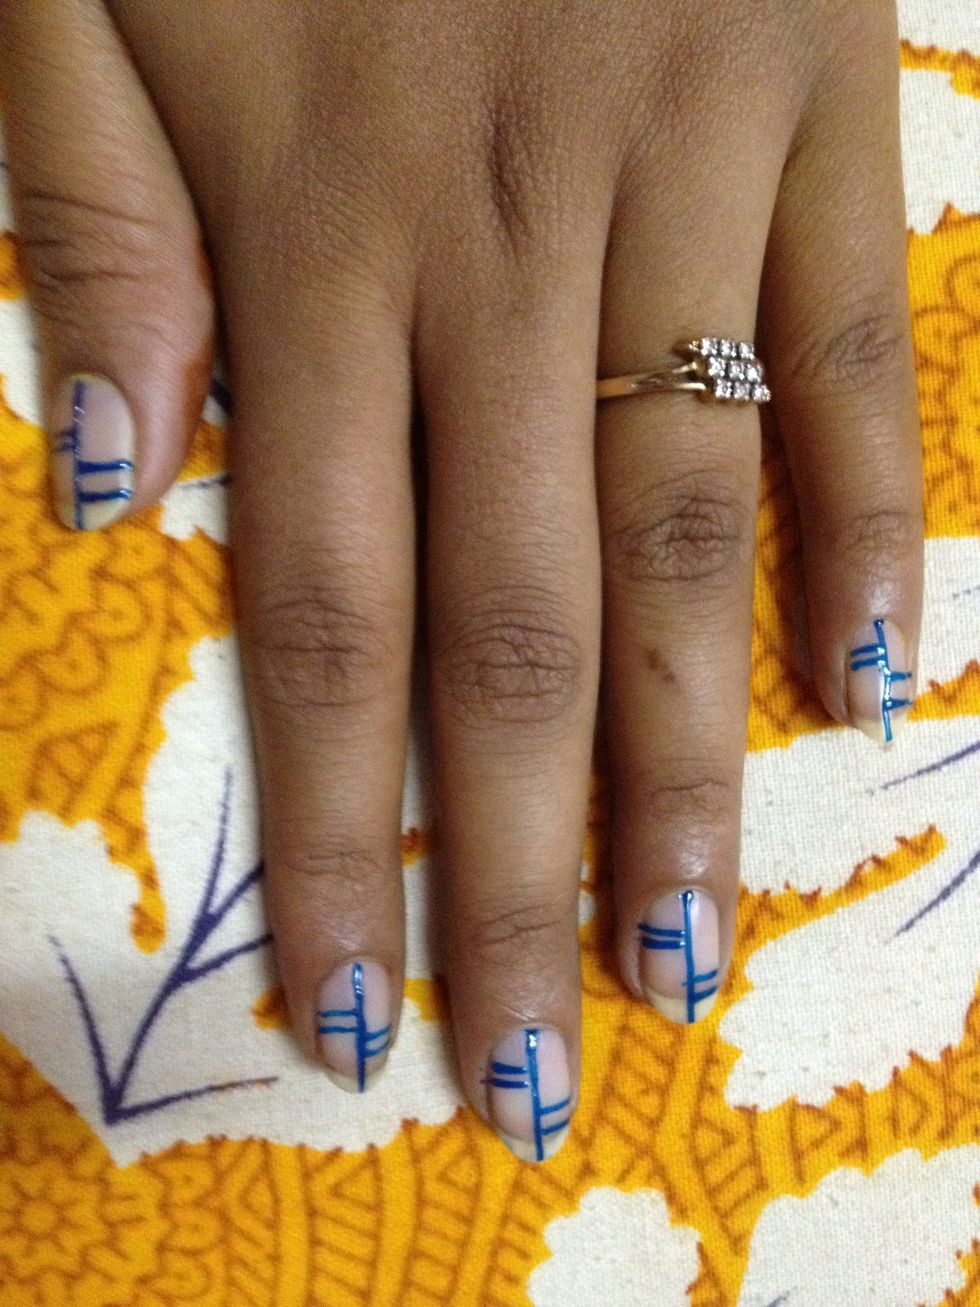
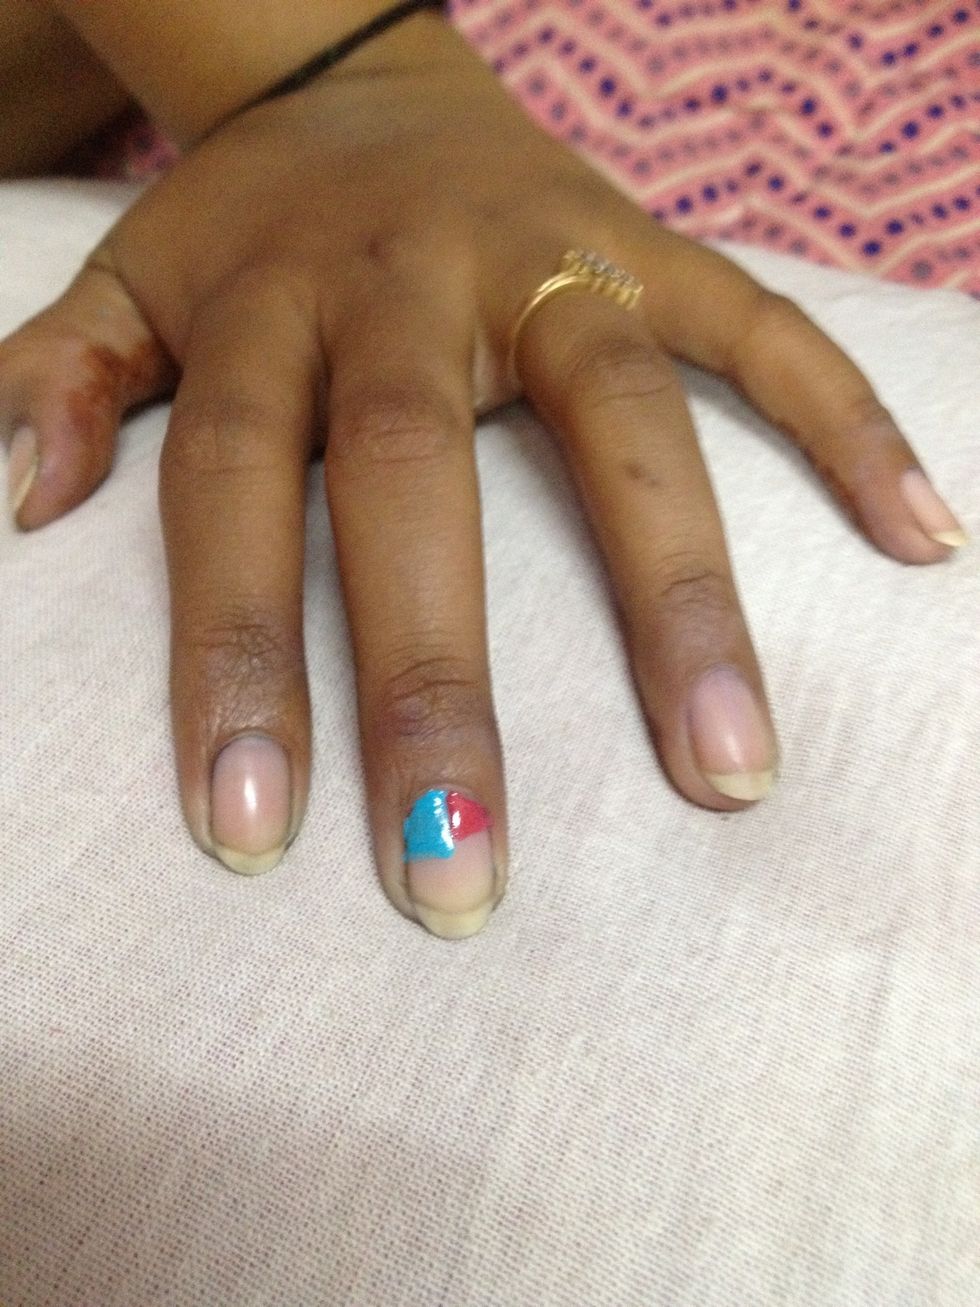
Always add the boundaries/outlines first in geometric designs to define the boxes that need to b coloured..
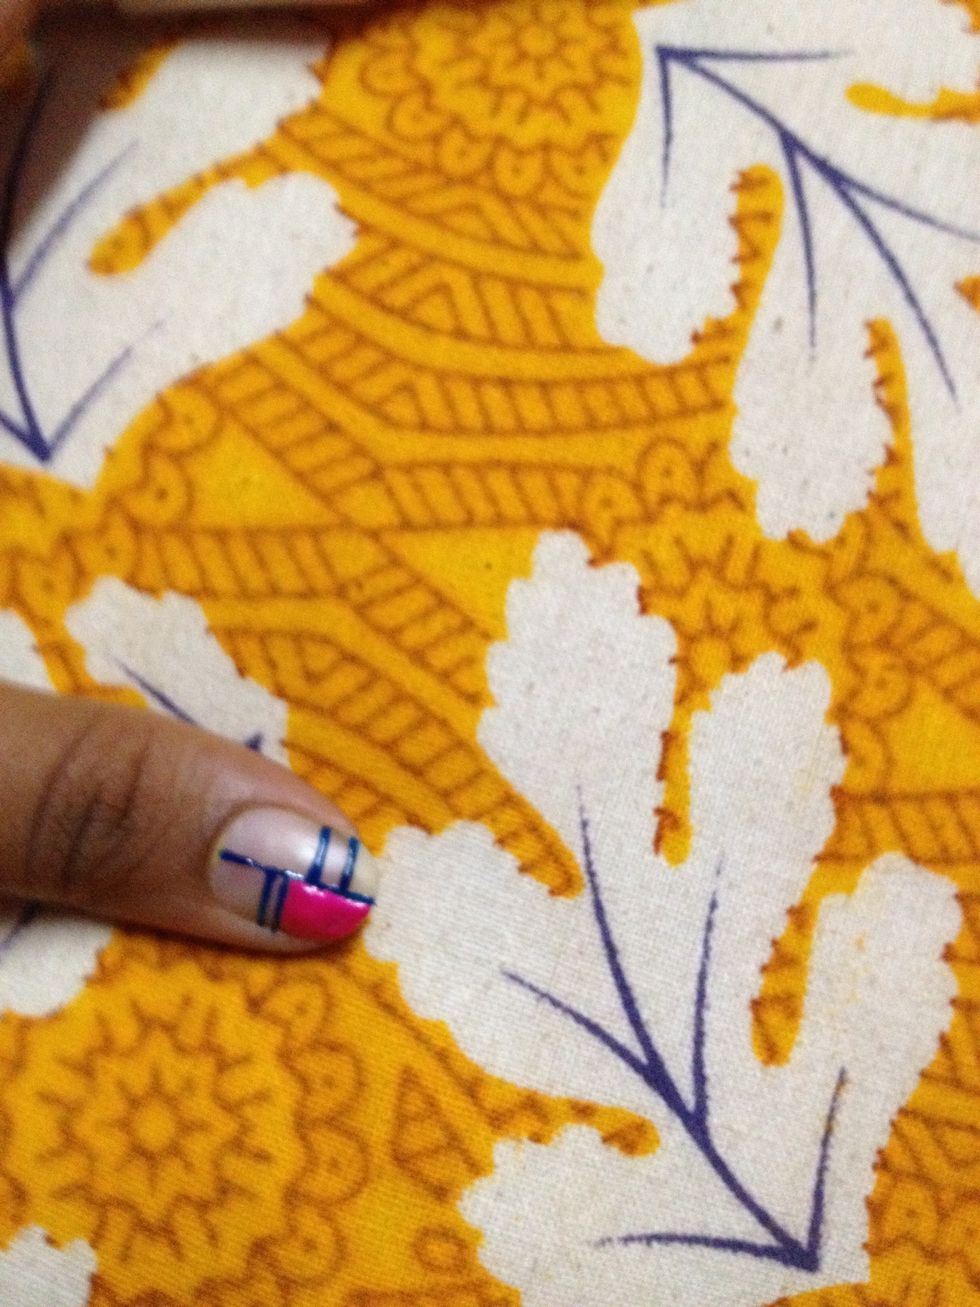
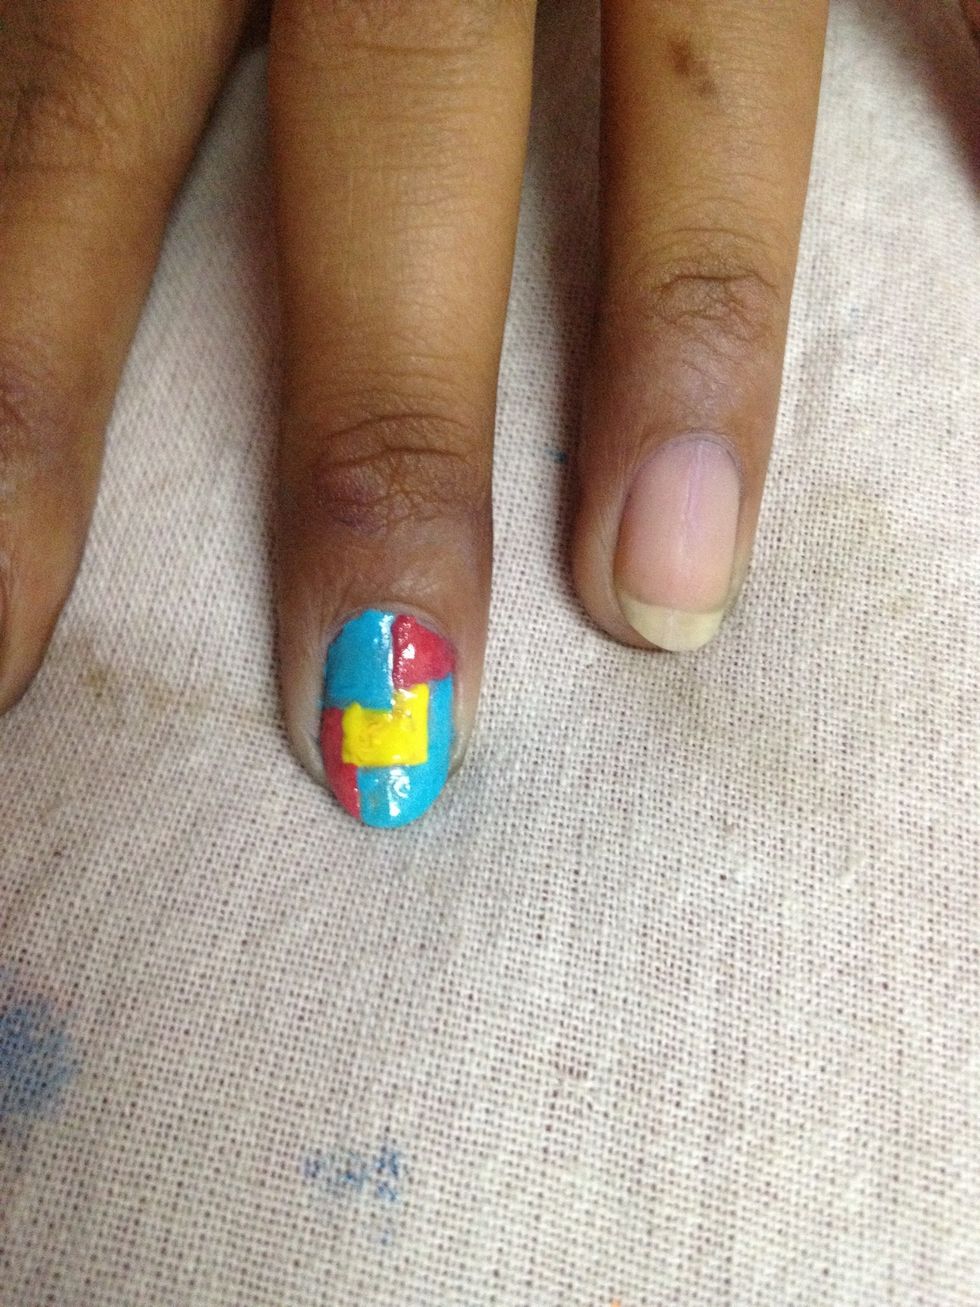
Start filling in the boxes..geometric designs look great if you use bright colours..people cannot stop looking!!! Seriously!!!
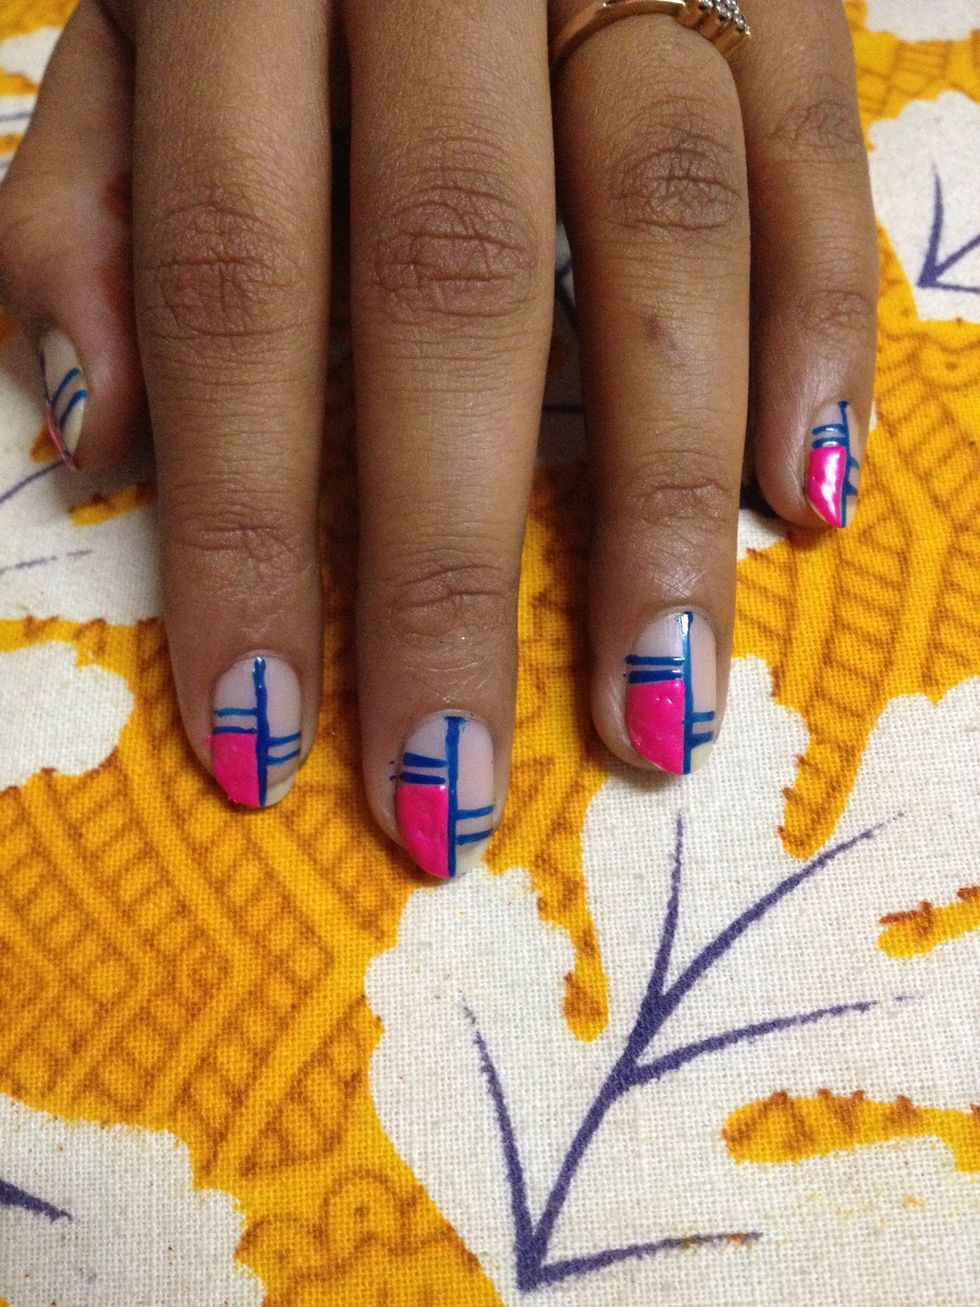
Now keep filling the rest of them..try staying inside the box to make it look neat..
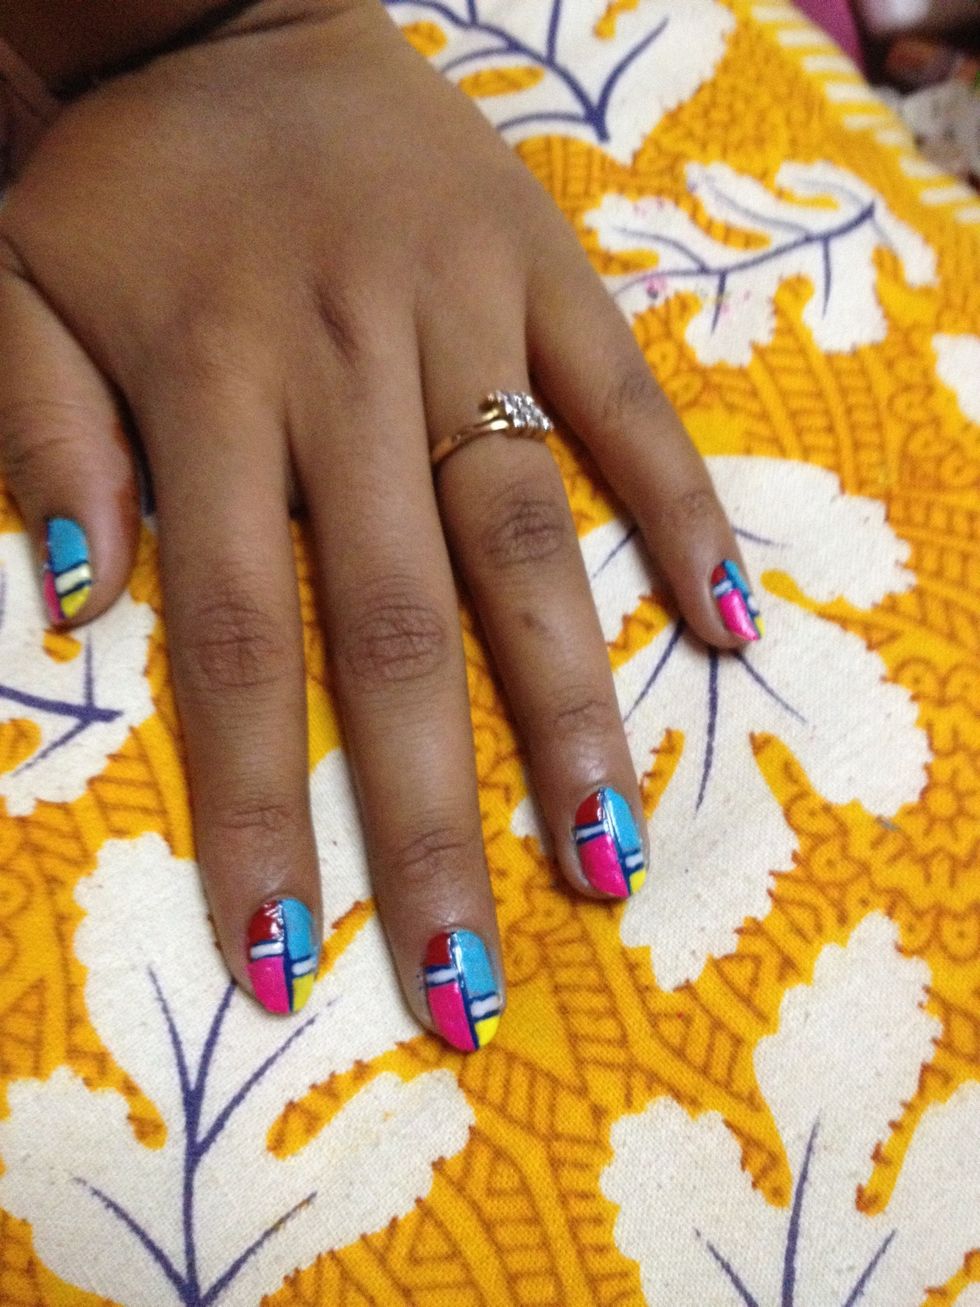
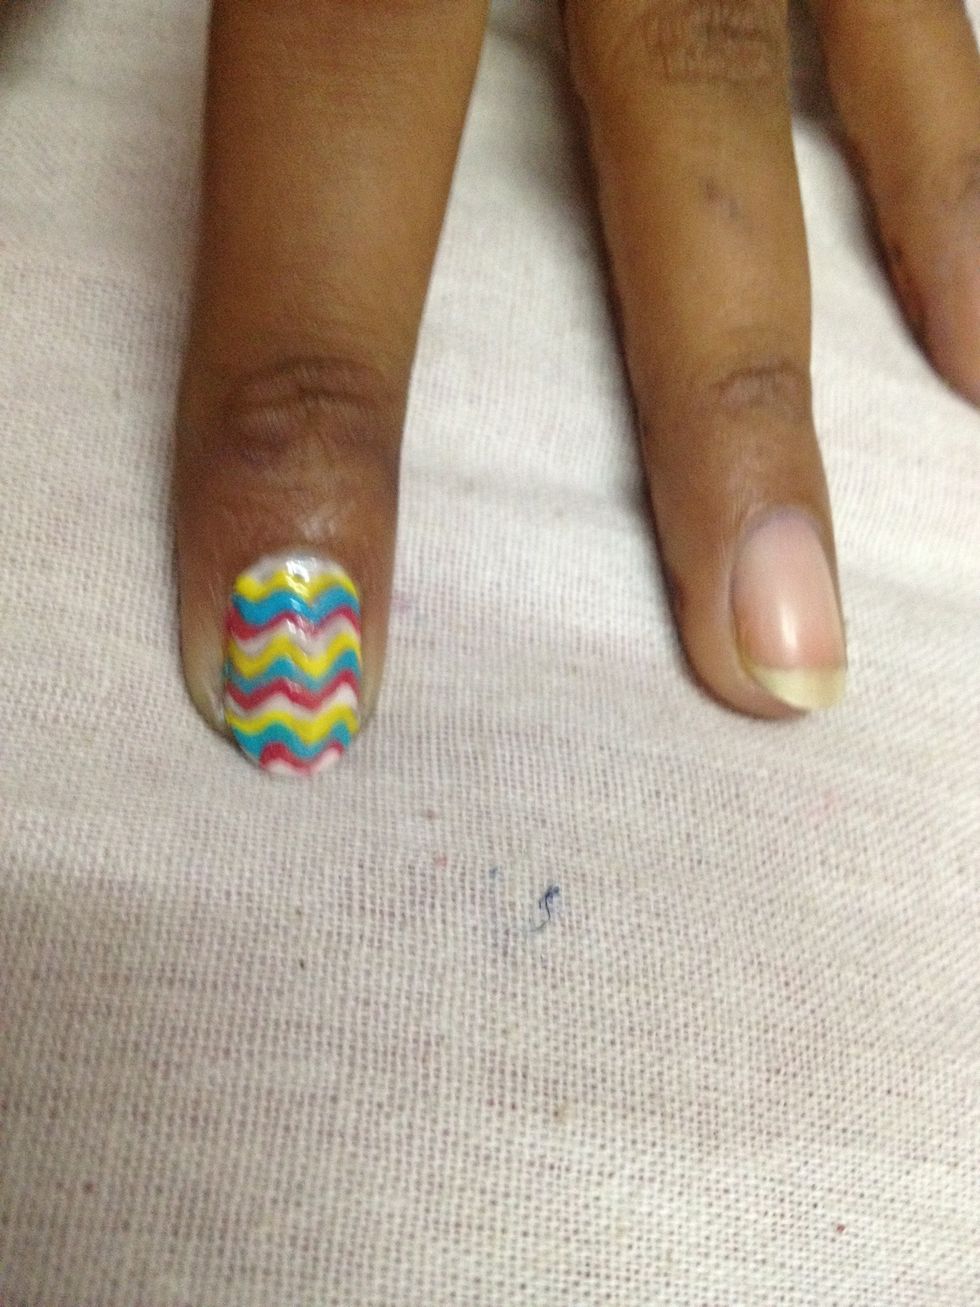
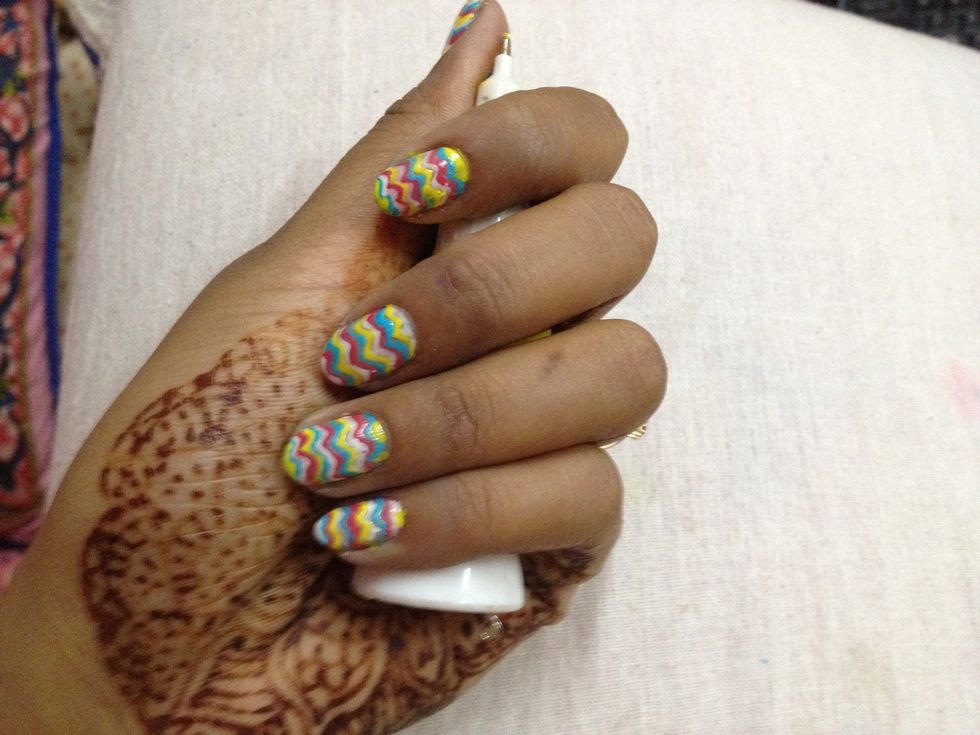
All done now..blue pink yellow are super bright and outlines are with a dark ink blue..the small separators I filled with white to tone Down the brightness..
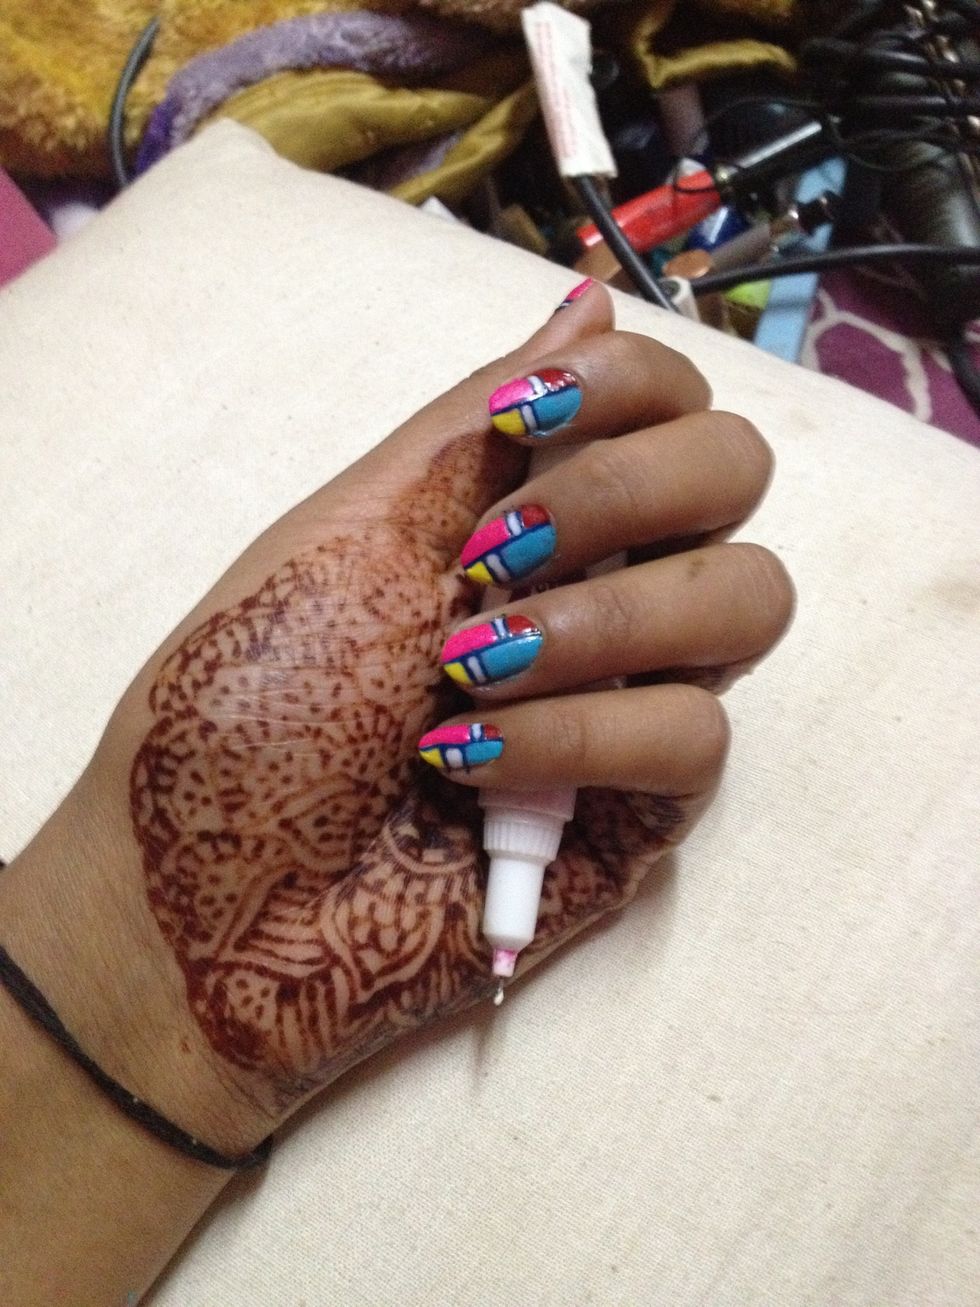
Finally!!!
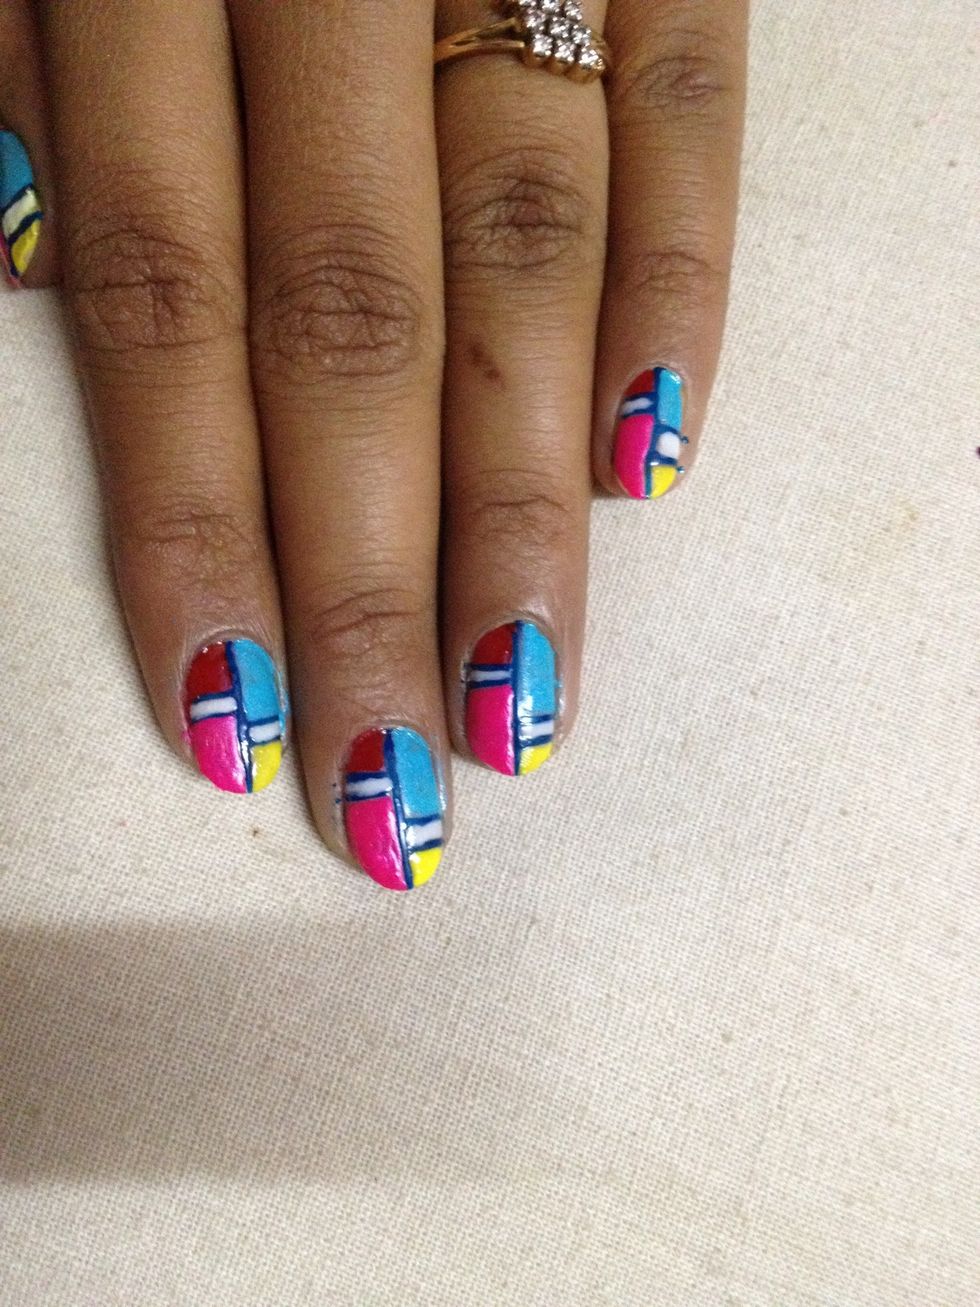
It's very simple and grabs everyone's attention..
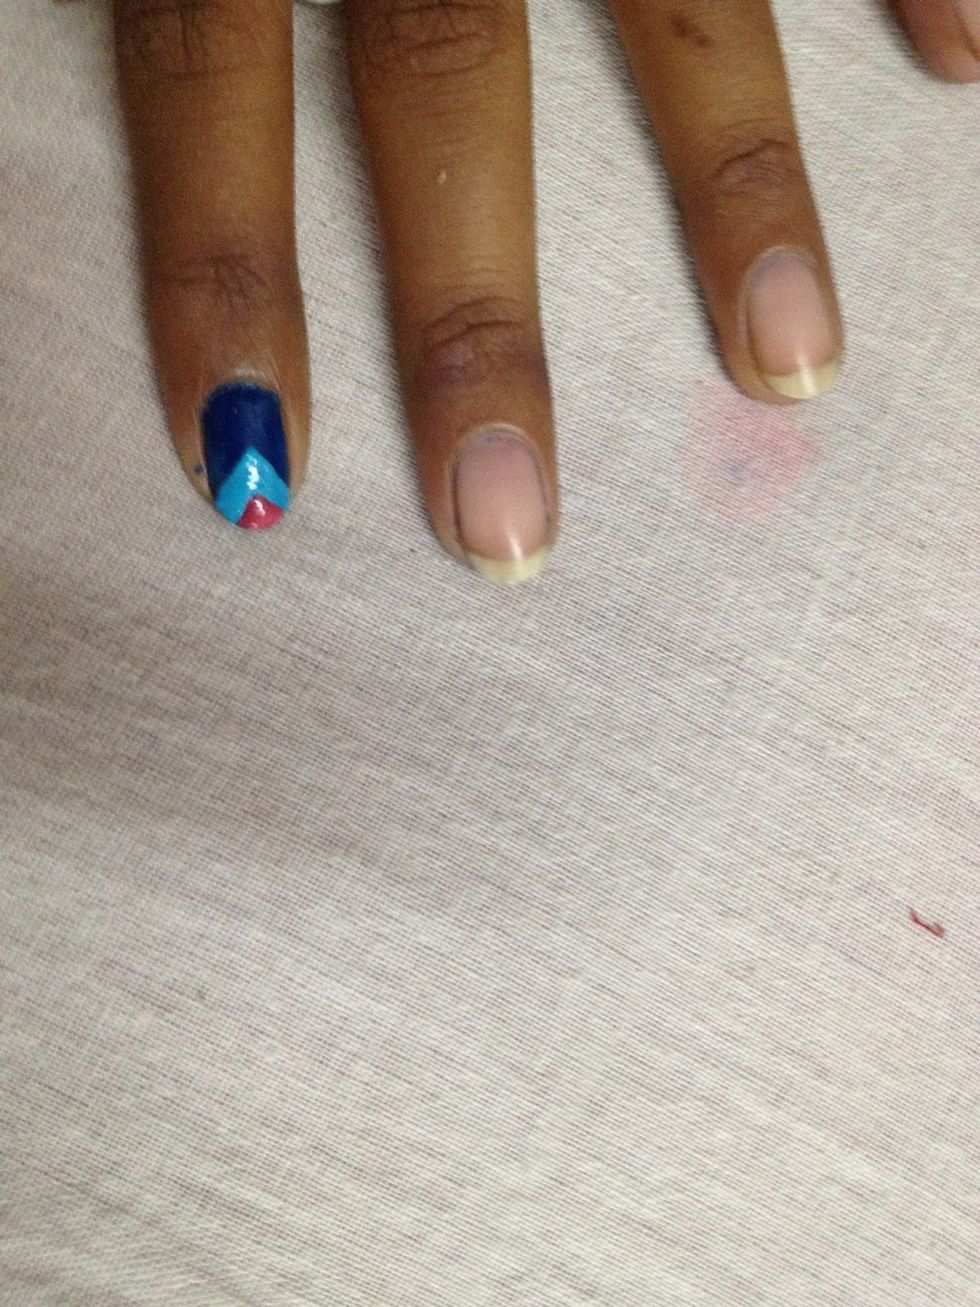
For this one I make the random overlapping squares first and outline later..you ll soon find out why..

Once u finish making the overlapping squares wait for it to dry..
The overlapping squares look great ..u can try overlapping triangles or circles too..
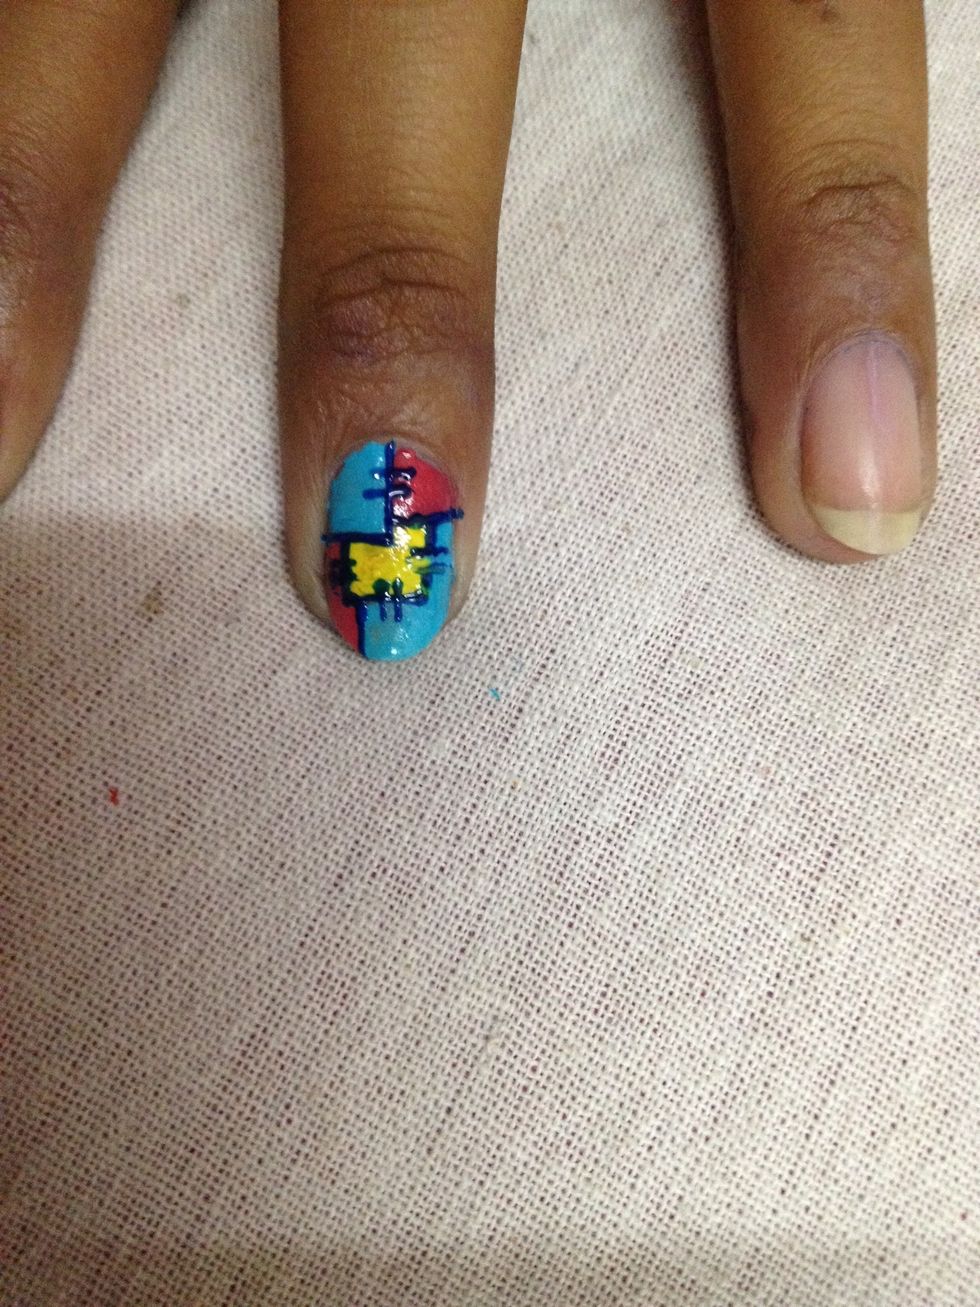
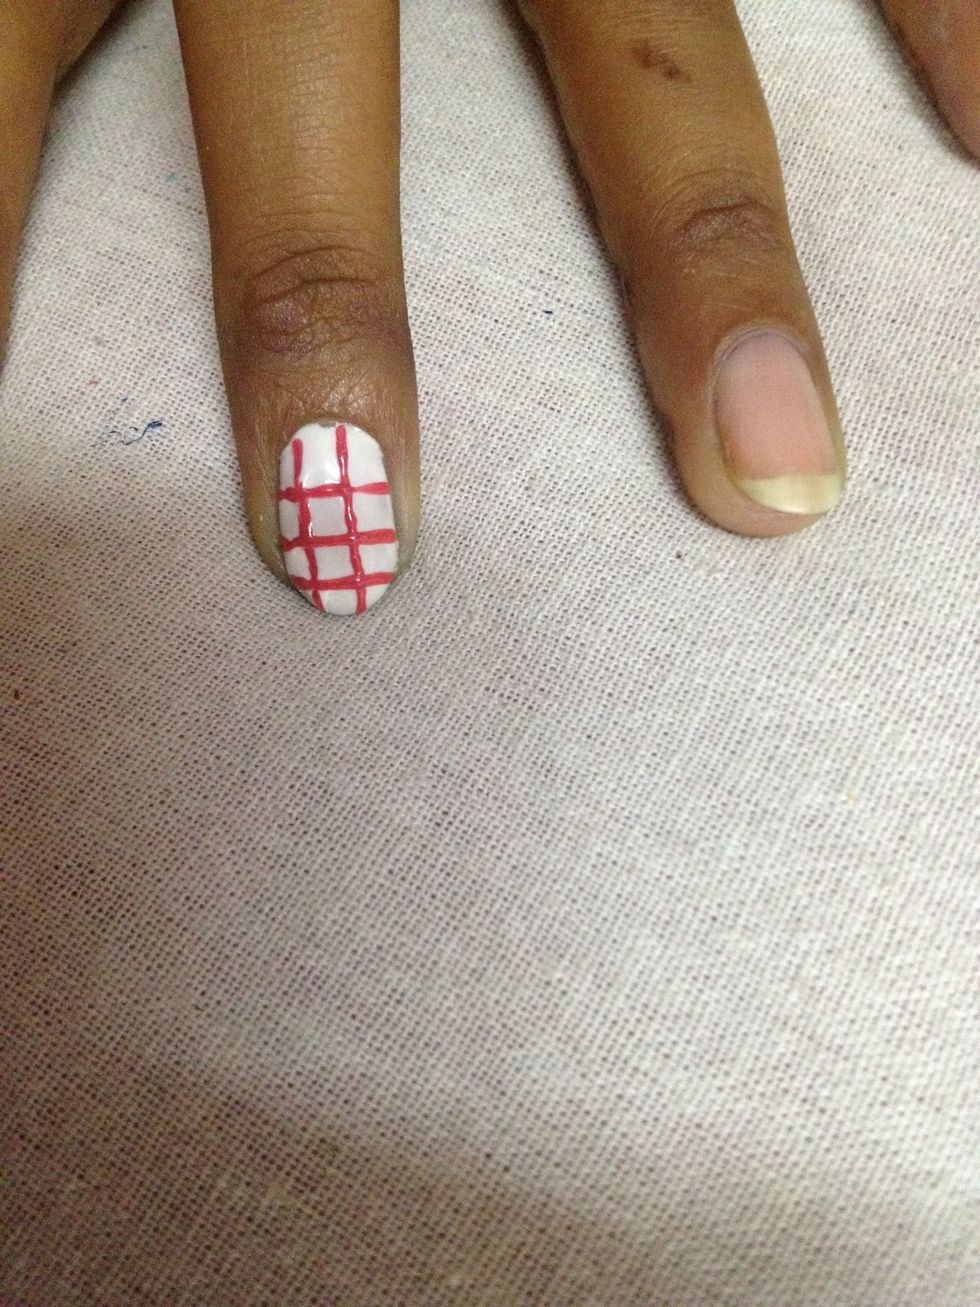
Now for the outline..outline the squares and I make them look like they are pieces of cloth stitched together..I rushed din wait for it to dry and screwed up one of the boxes..
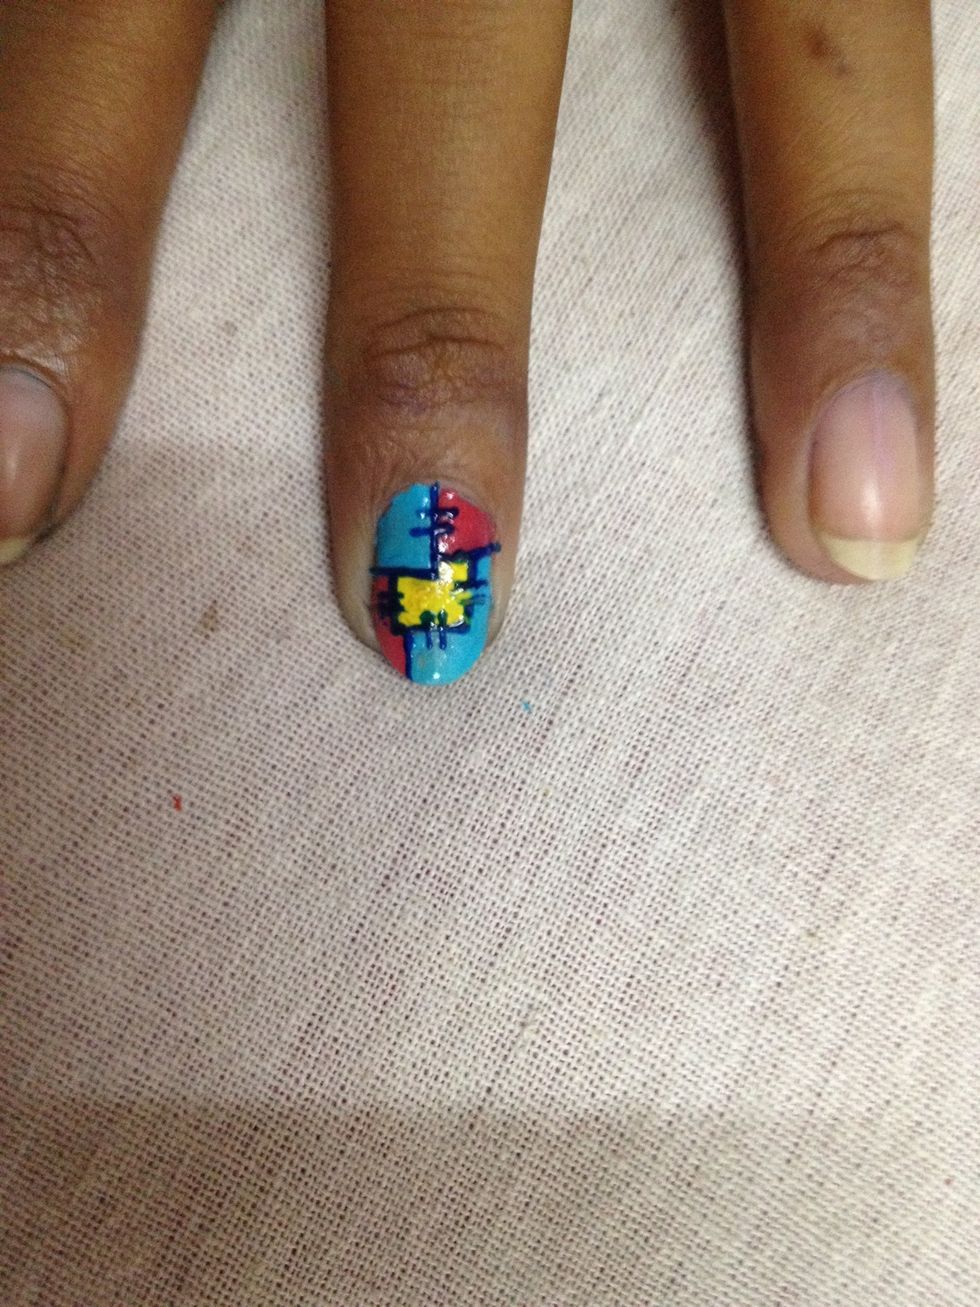
Finally...simple right??
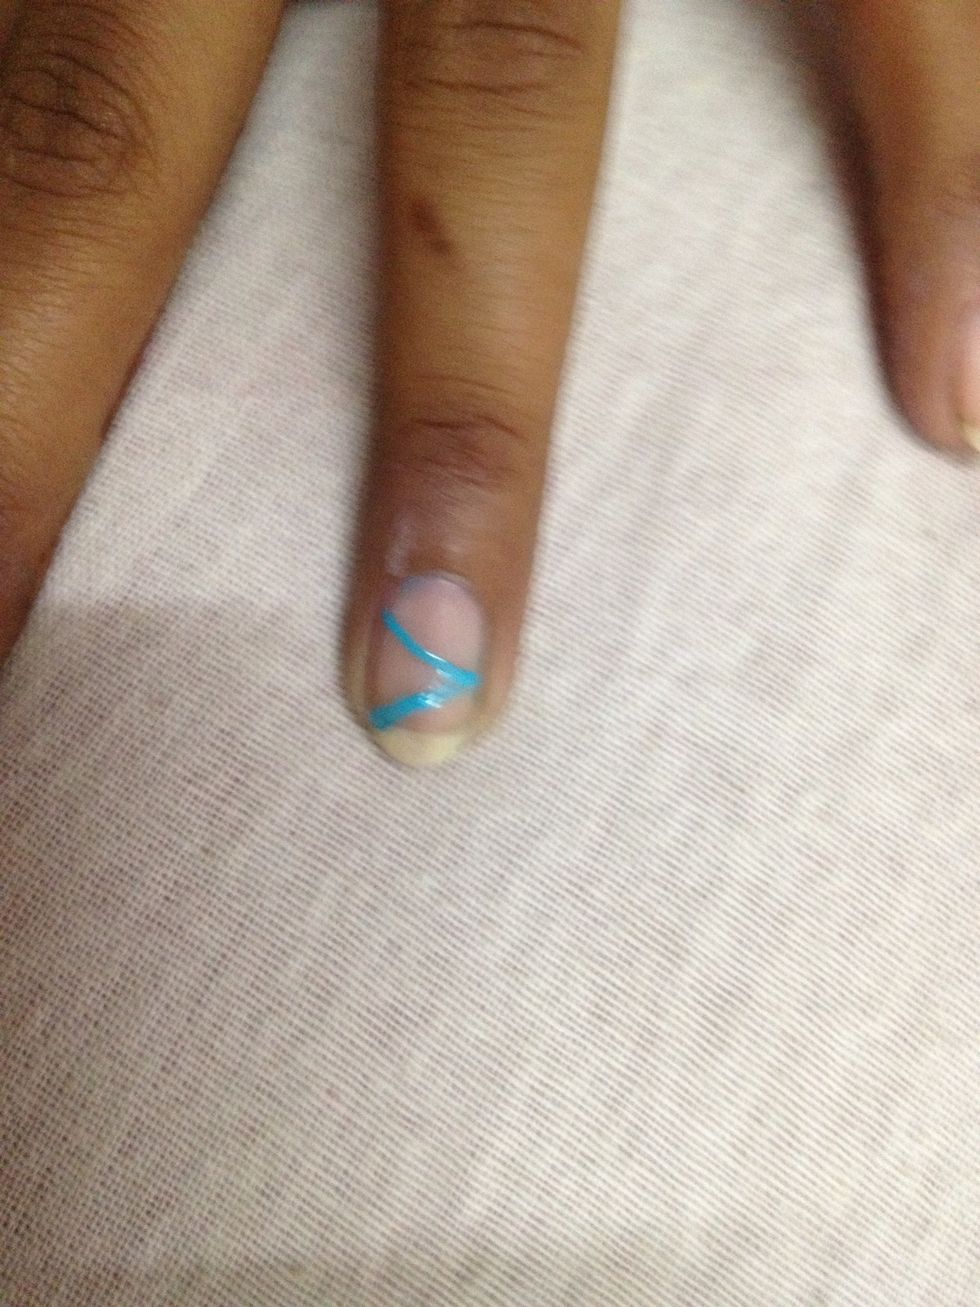
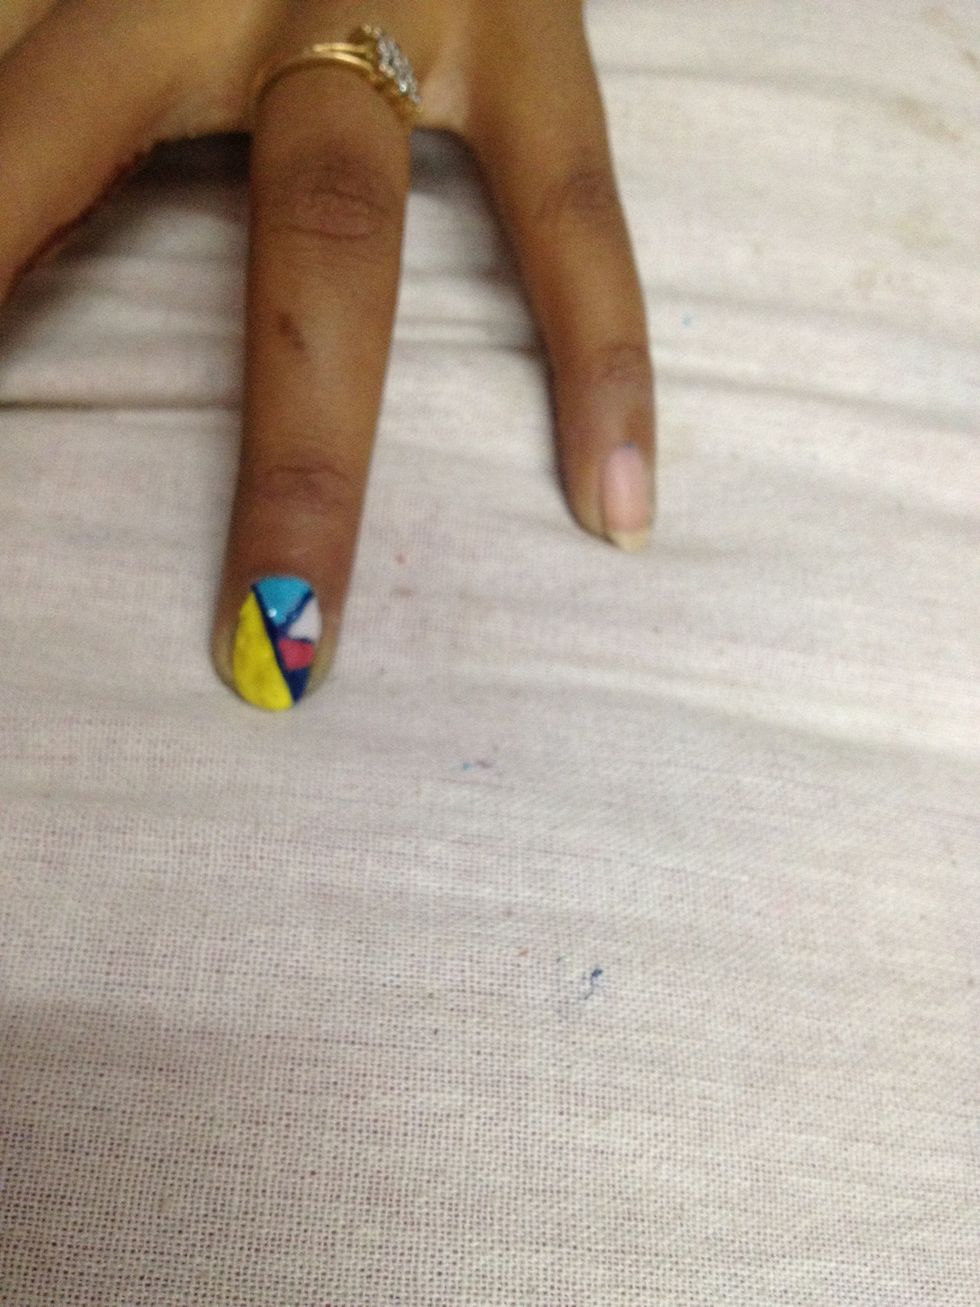
For this one,outline the boxes first..divide the nails randomly in how many ever parts..
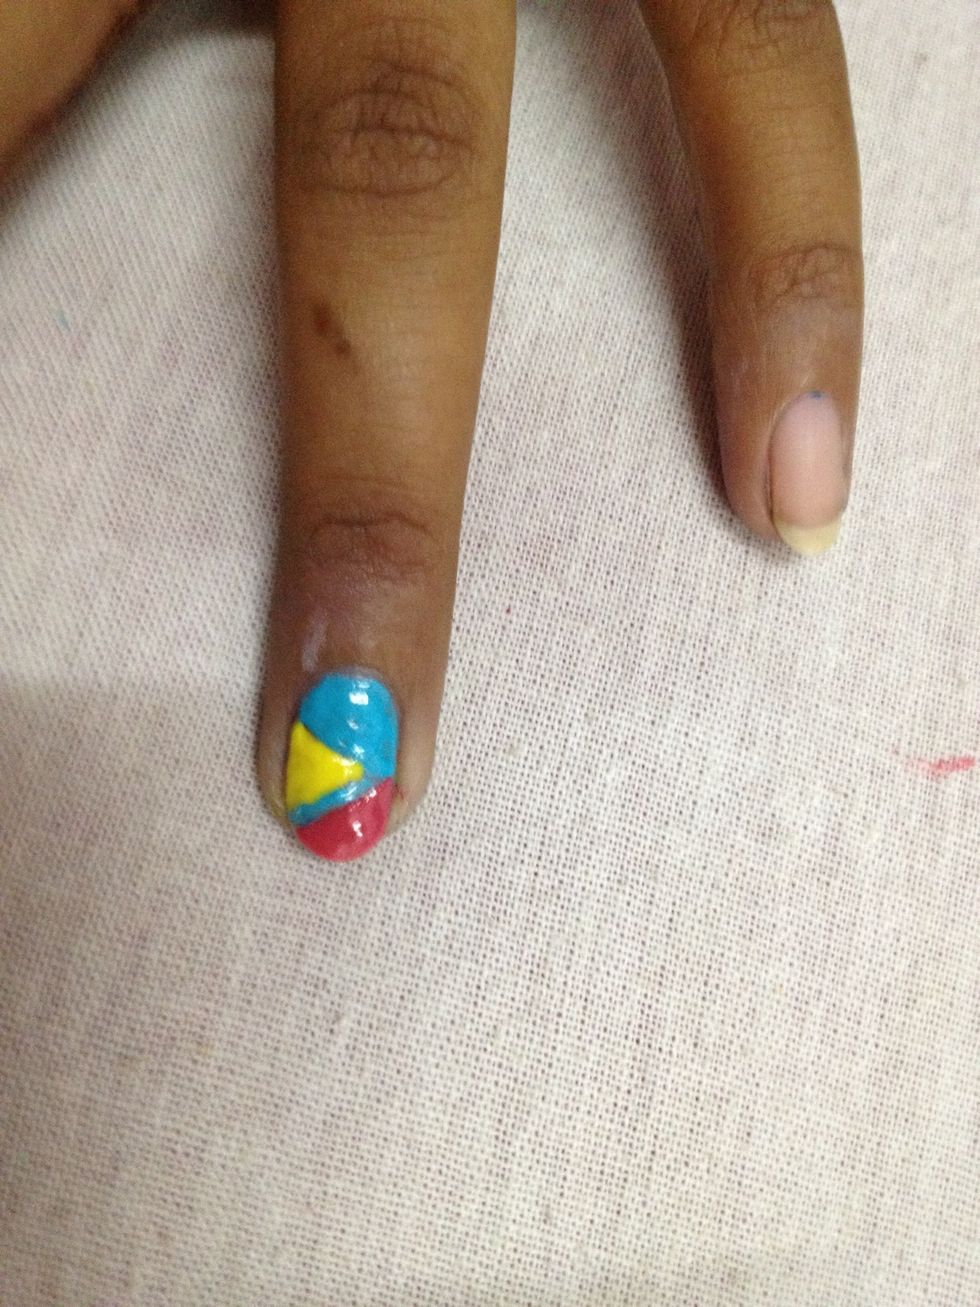
Fill in the colour..I still have short nails so I just made 3 sections.
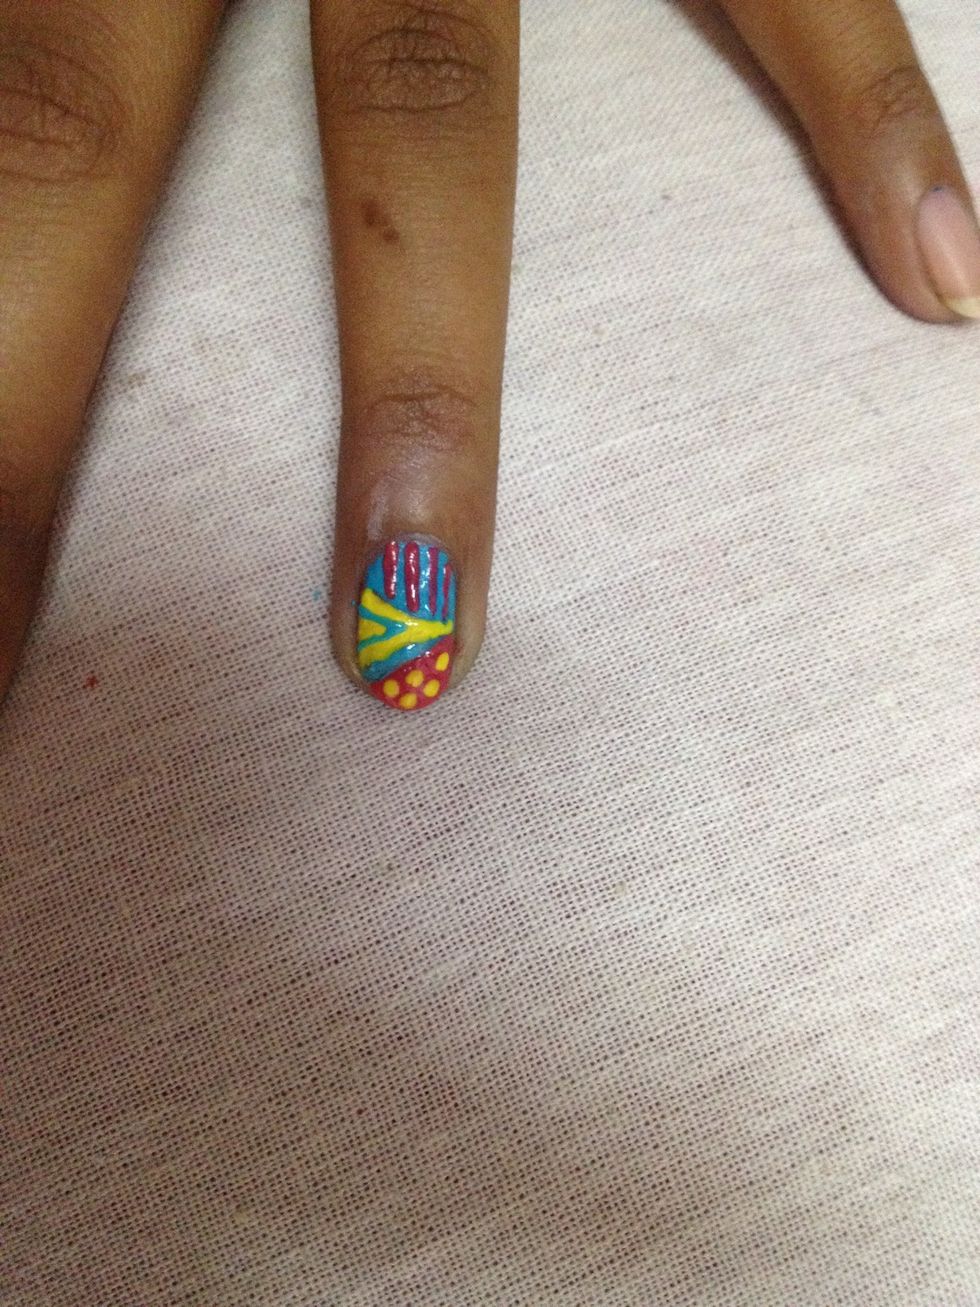
Now add a few details I made all 3 section designs different..
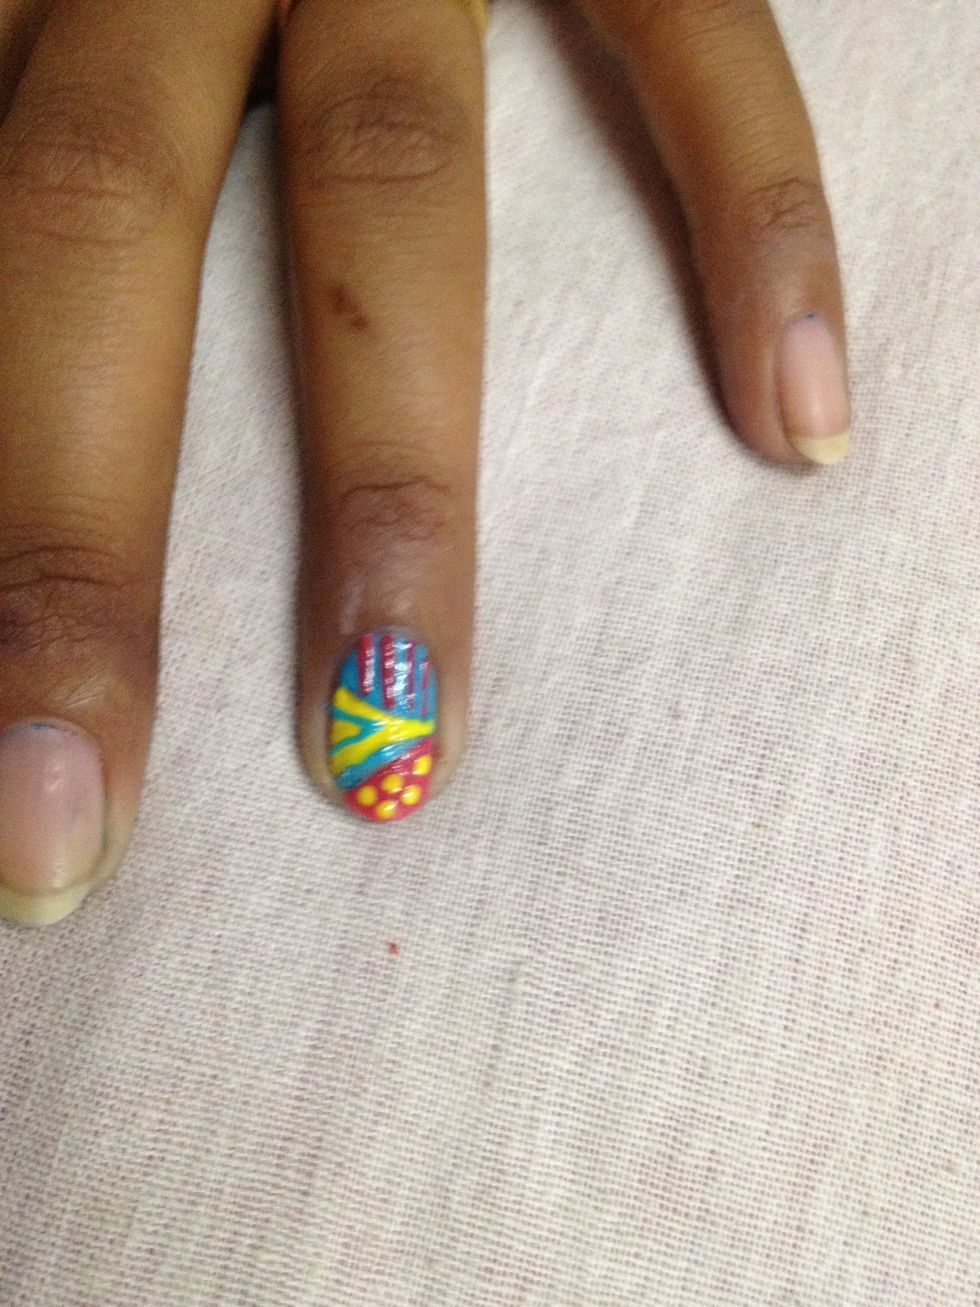
Finally...

Start with drawing a 'z'..in geometric designs 'Z' and 'T' are mostly use..u can try making these with a 'T' it looks great too..specially for short nails!!

Keep drawing "z" with different colours close to each other..don't leave any gaps.
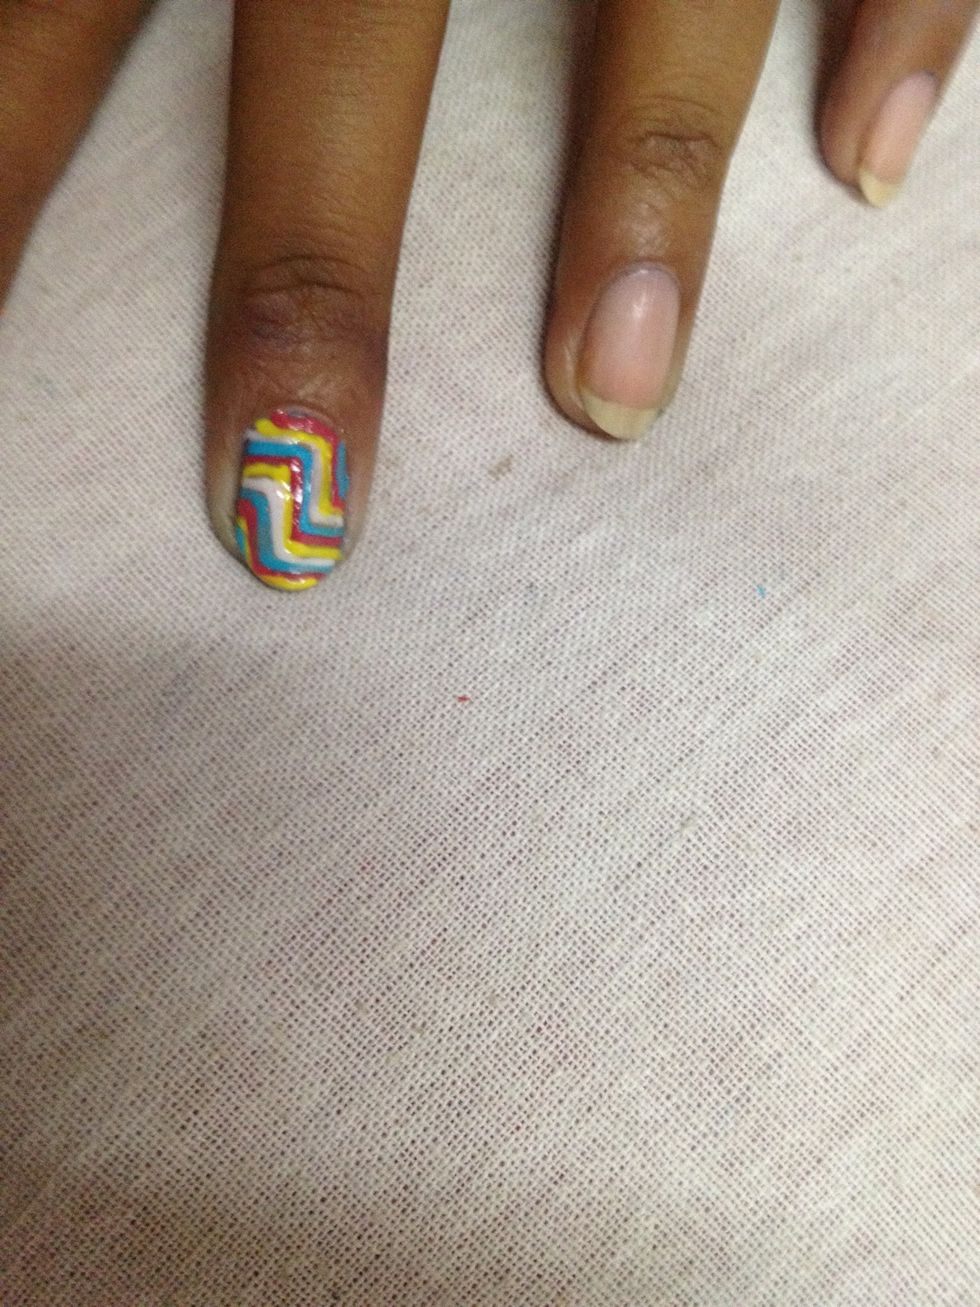
Keep drawing with different colours..
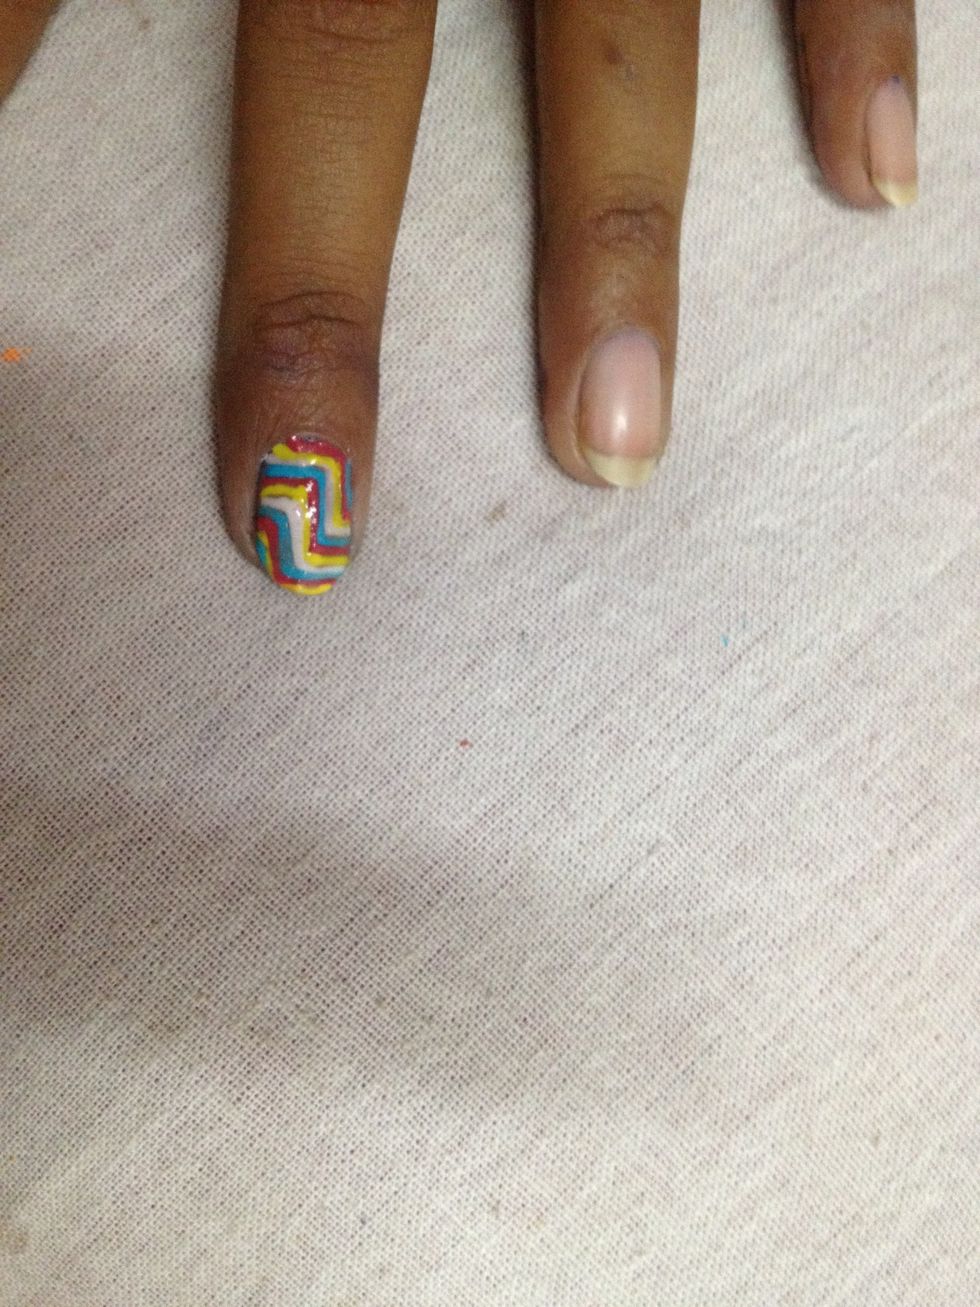
Clean up the sides..I forgot to clean mine so it looks a lil messy.
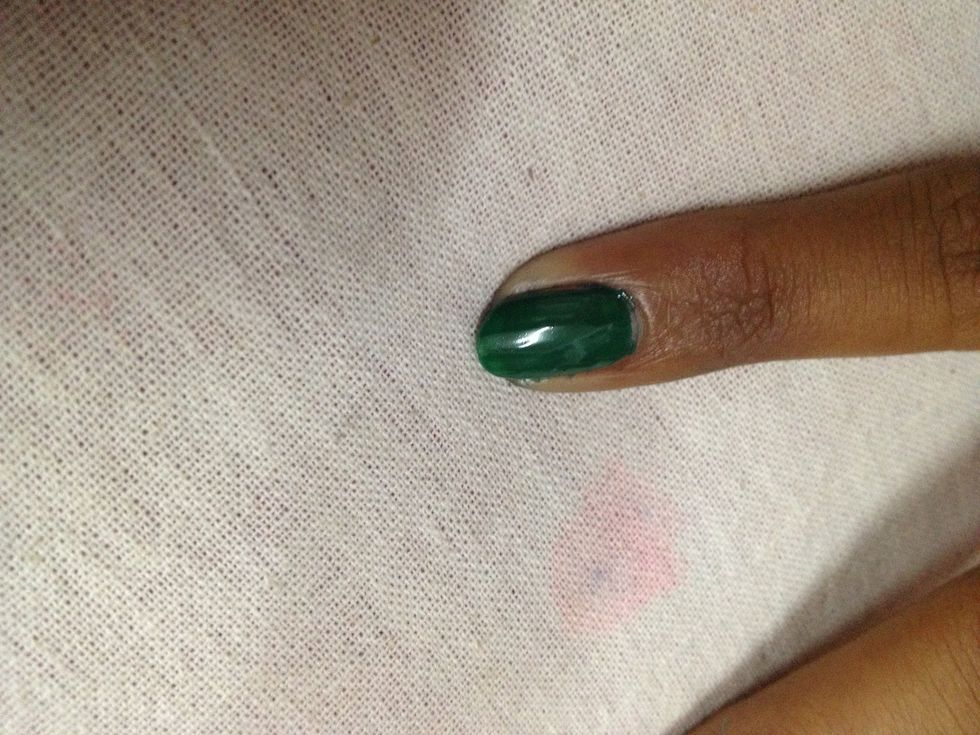
Apply a base coat..use a slightly lighter shade to make the details stand out
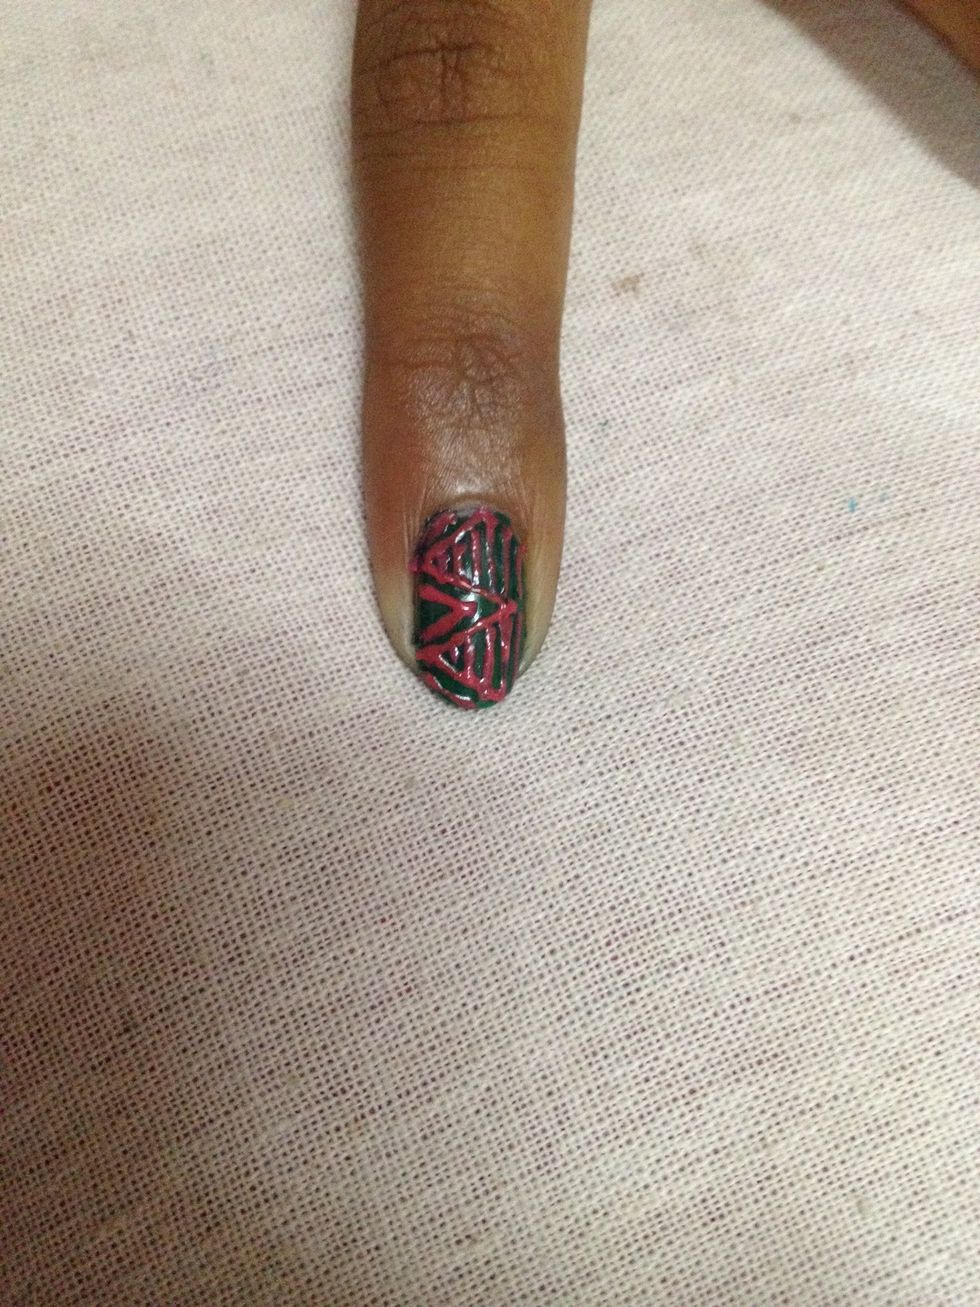
I used a pink for details but the green base is too dark so the pink doesn't pop!
Fill in a few boxes..randomly!!
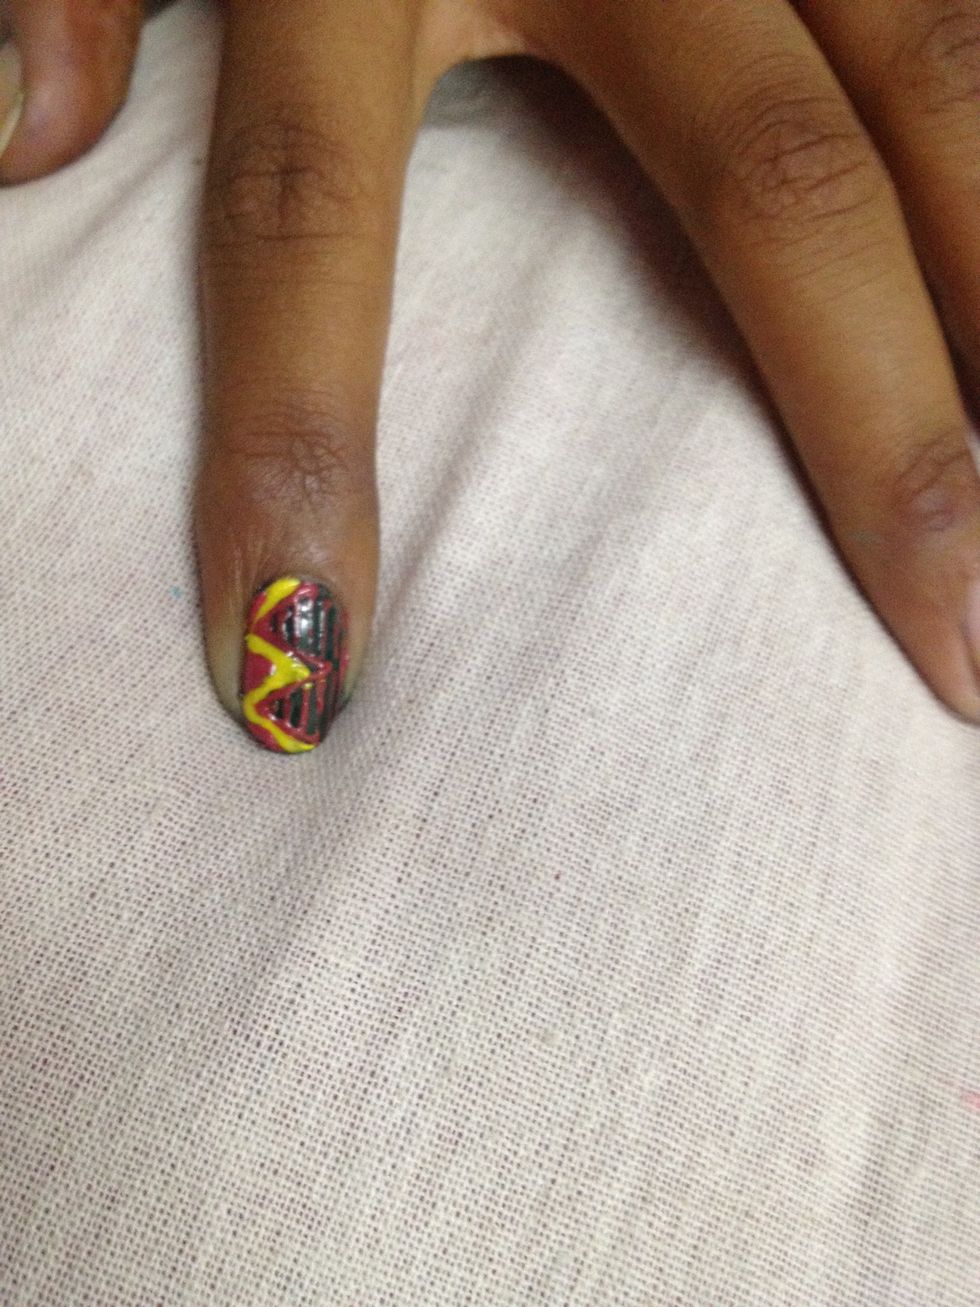
Another vertical zig zag with thicker lines and 2 colours..

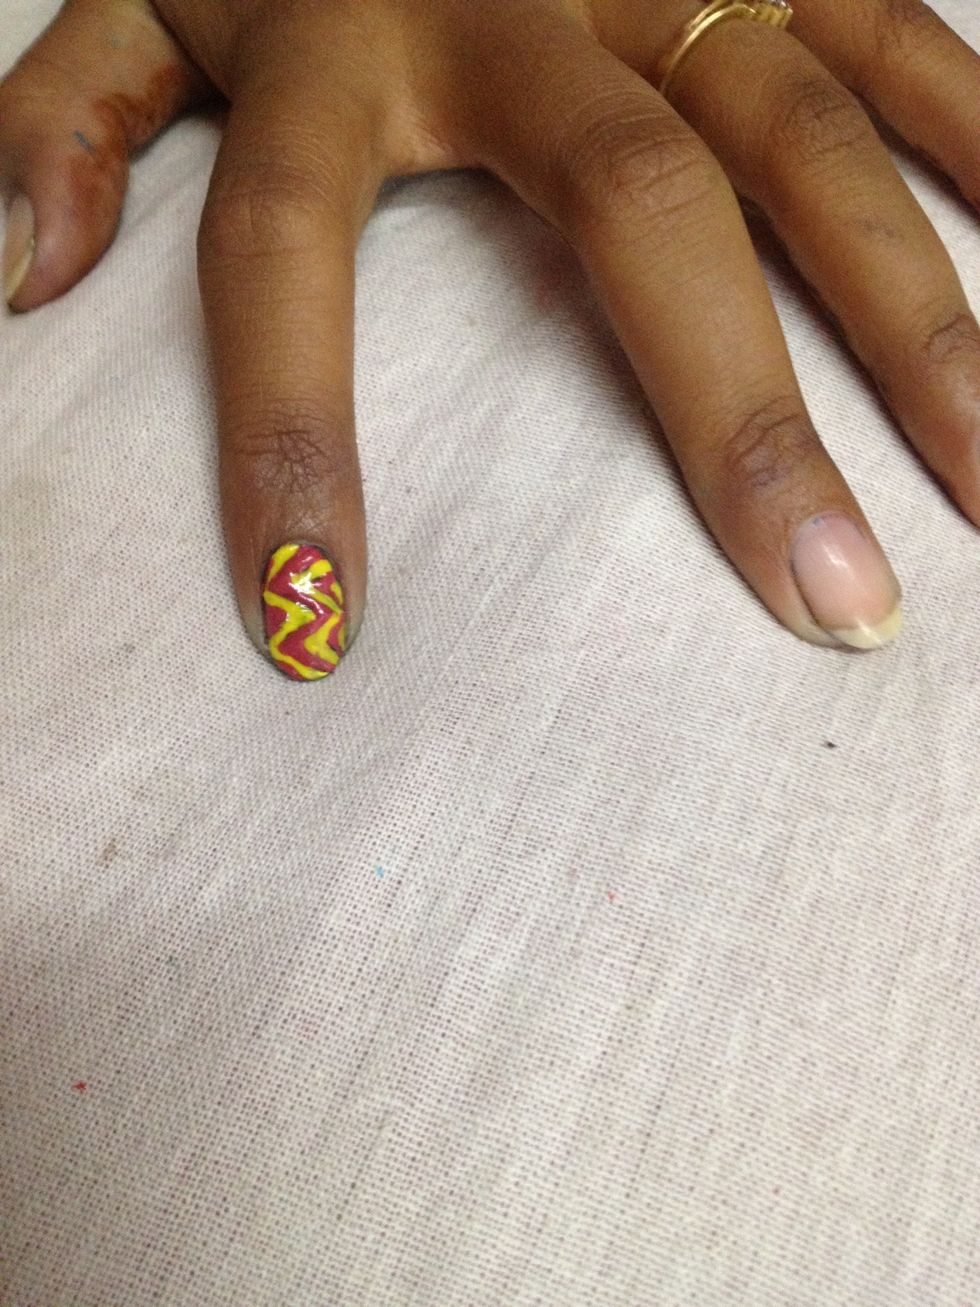
This one looks great with metallic colours.i din have any so am showing u all the design with whatever I have.it's fairly simple to make..
Finally..don't forget to clean up the excess polish
After the base(white) dries up ,draw Criss cross lines...
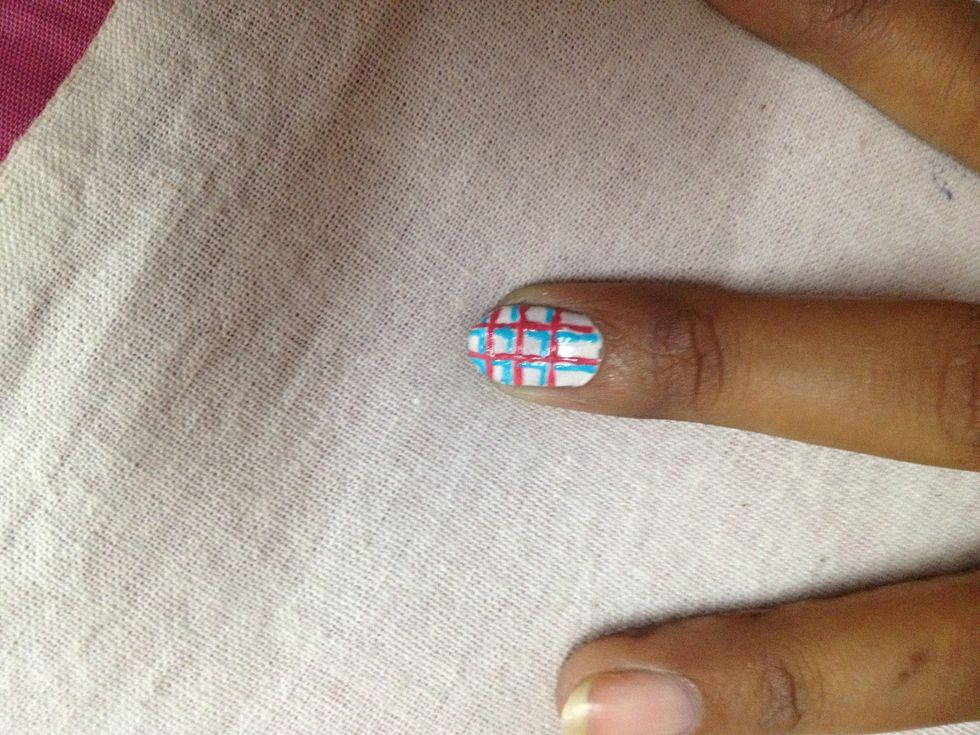
Now draw the 2nd colour lines and make sure you dont overlap with the first colour lines..
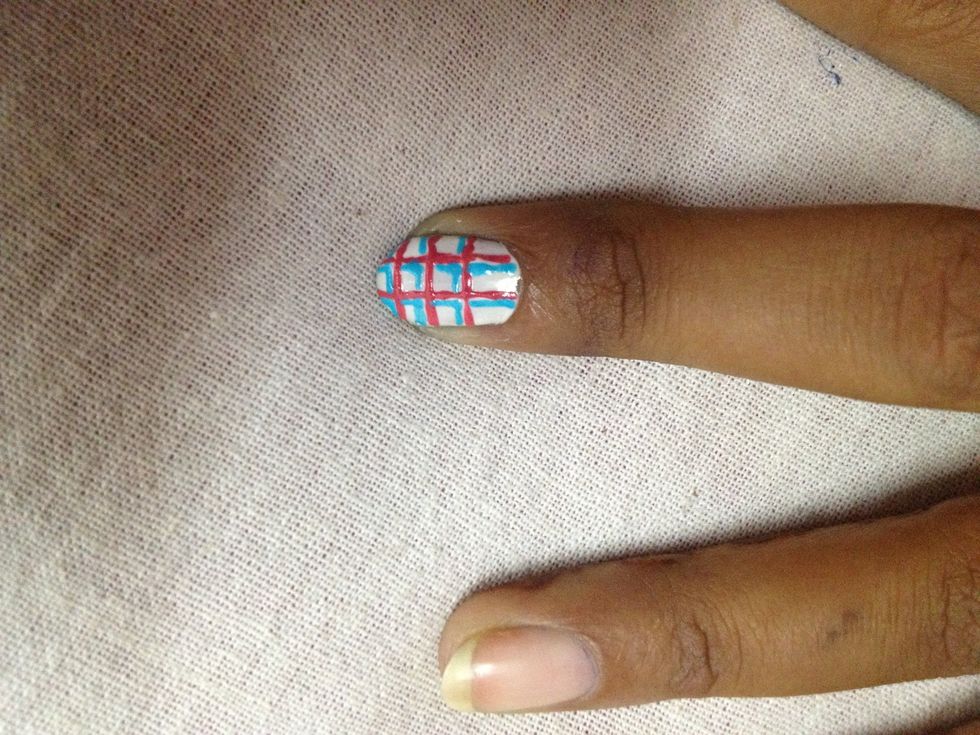
By skipping the overlaps it looks like a mesh..I like this look a lot more than the Criss cross overlapped look..
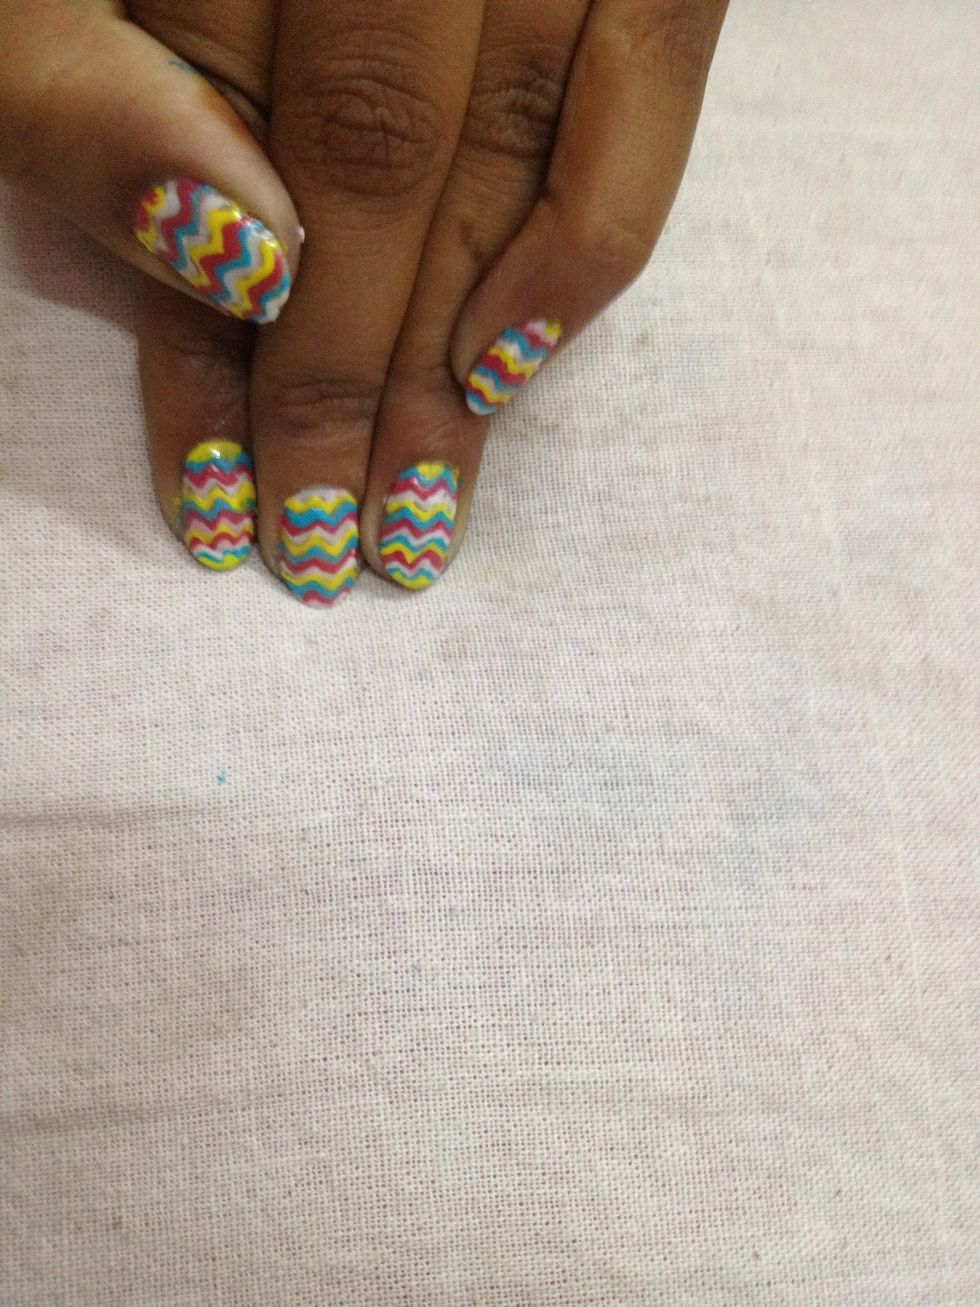
Horizontal zig zag.. I just use random colours in sequence..don't colour the base because it won't show and simply make it thicker n difficult to dry..don't leave spaces..try going in a sequence...!!!
Finally!!!
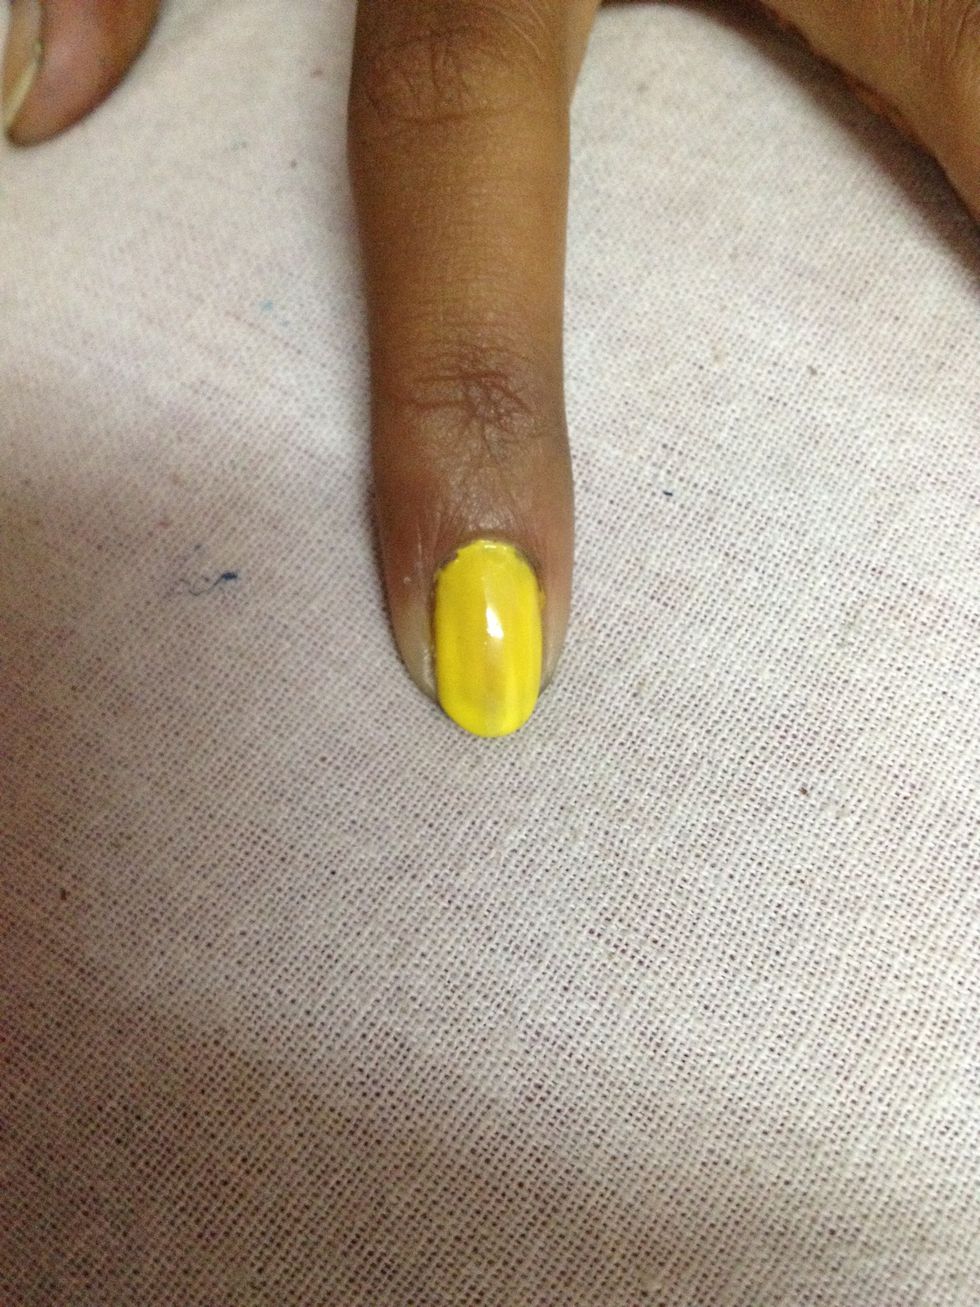
Yellow base..
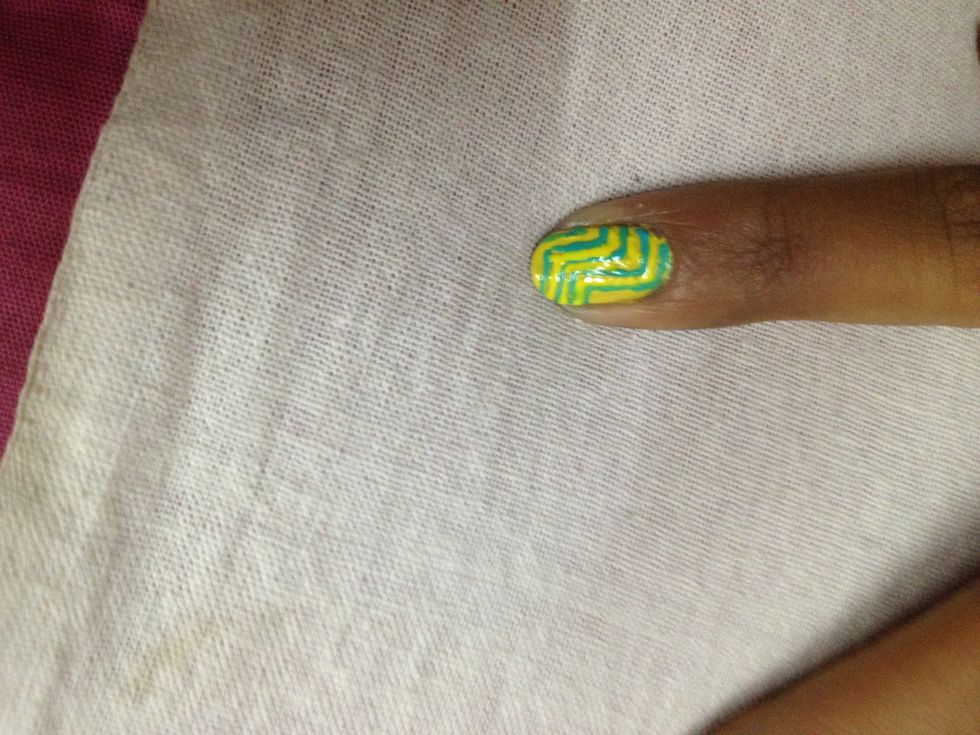
Single colour 'z'..since the base is already yellow if you leave space between the lines it looks like a dual colour 'z'..very quick and very easy..

This was just a simple design..using 2 lines in different styles randomly.it looks better with a lighter background..blue was too dark for this design..
Divide the nail in random sections of random shapes!! Outline first then Fill in the colours!!
THANKS FOR WATCHING!!!