The Conversation (0)
Sign Up
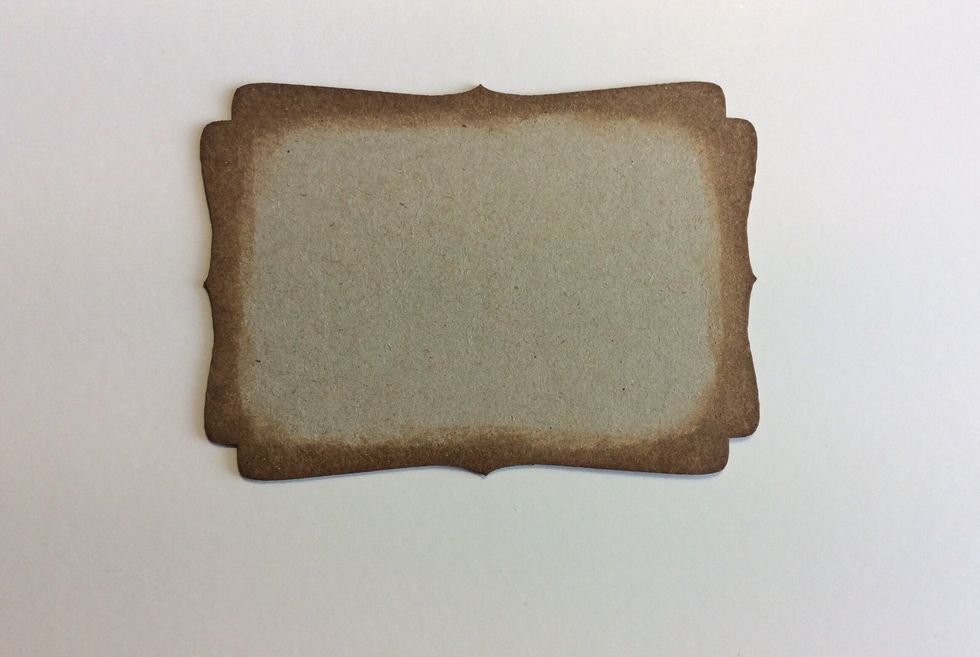
Cut a piece of medium weight chip board ( piece 1 ) at 4 x 3 inches and ink the edges of one side
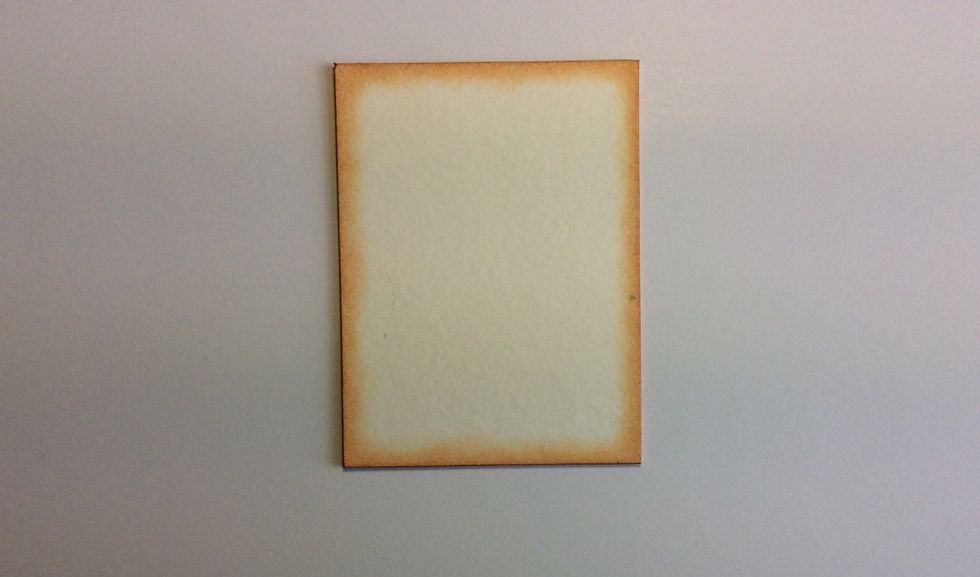
Take you favorite Scrapmatts ATC and ink the edges of one side
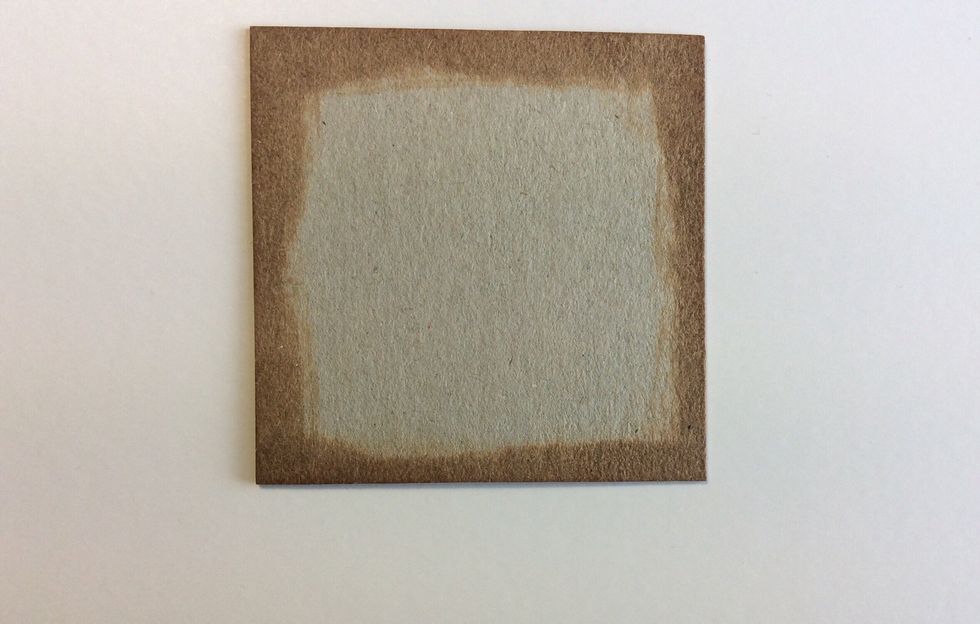
Cut a piece light weight chipboard at 2 1/2 x 2 1/2 inches ( piece 2 ) and ink the edges of one side
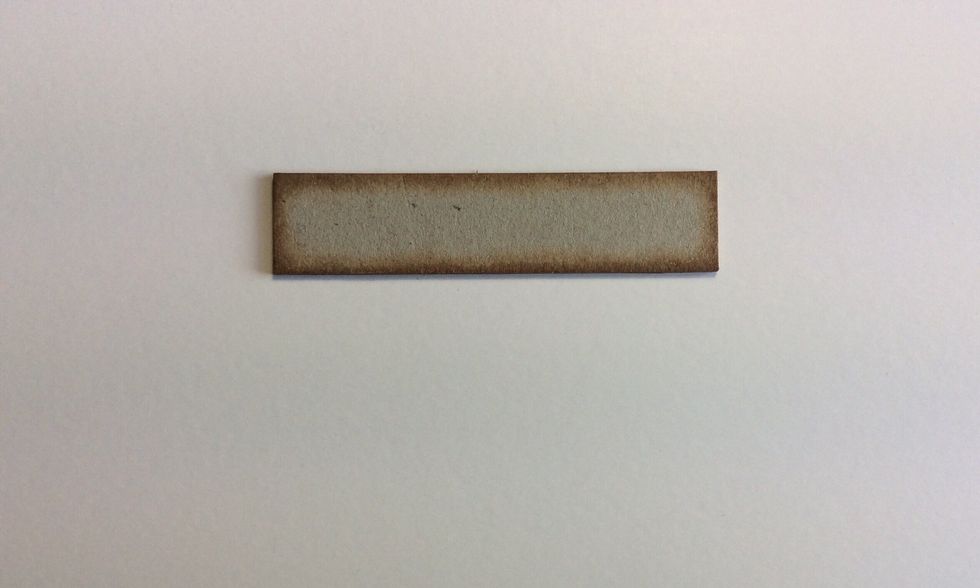
Cut a piece of medium weight at 3 x 5/8 inches ( piece 3 ) and ink the edges of both sides.
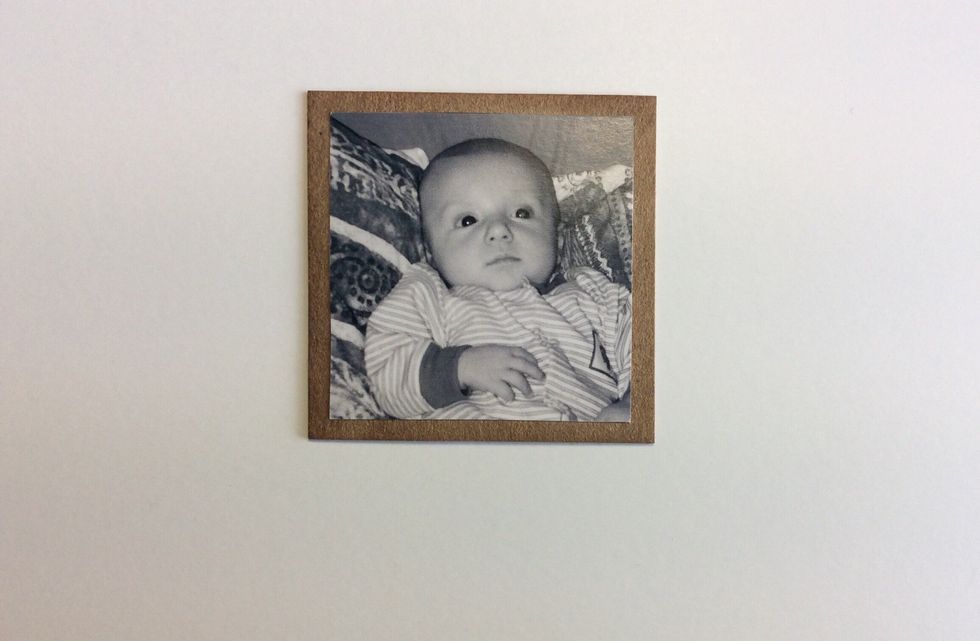
Cut a chosen photo down to size measuring 2 x 2 inches and adhere to chipboard piece 2
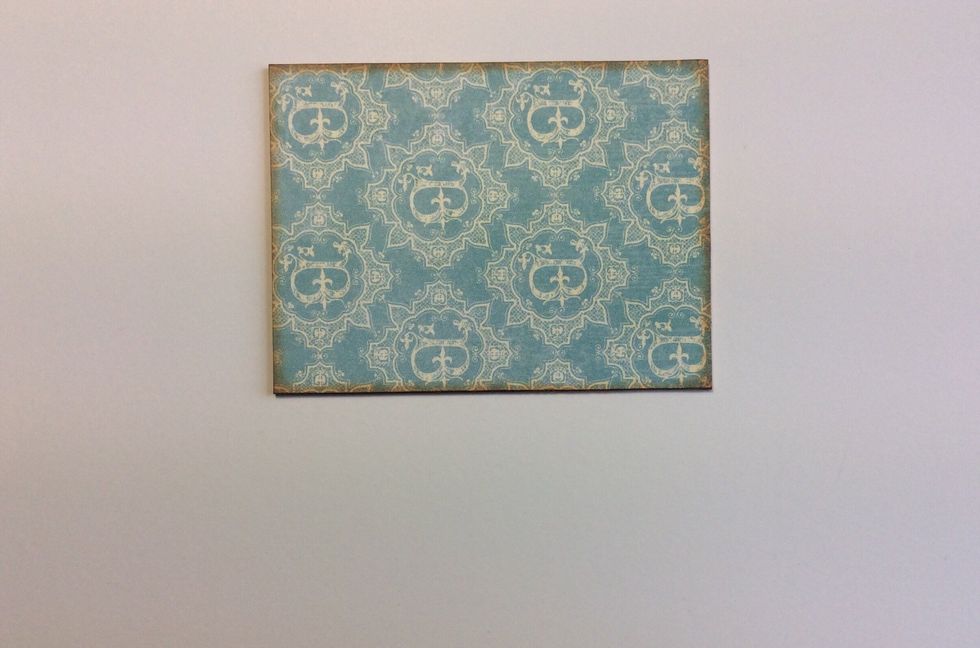
Cover the non inked side of chip board piece 1 with your chosen patterned paper then ink the edges
Adhere the ATC to the to chipboard piece 1centrally.

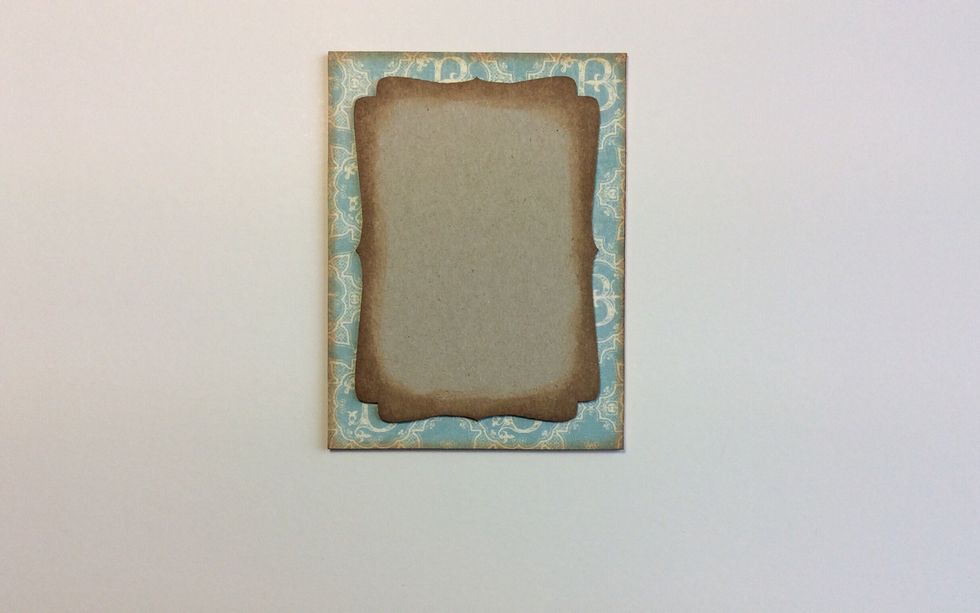
Paint the frame from the scrapmatts pack CB5017 tested shapes. heat dry.
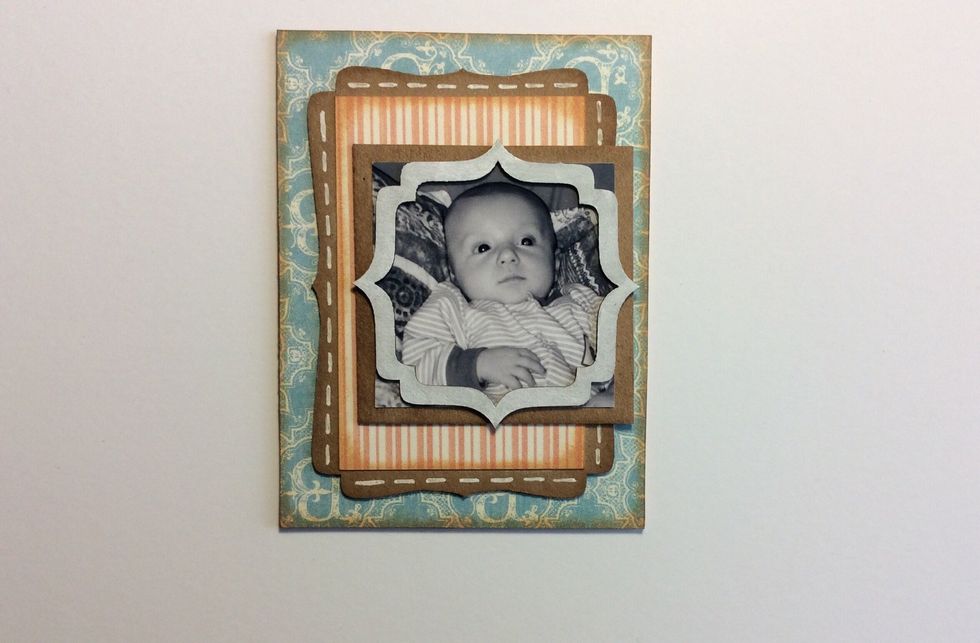
Adhere frame to photo unit and then adhere to the ATC base piece. off to one side as pictured.
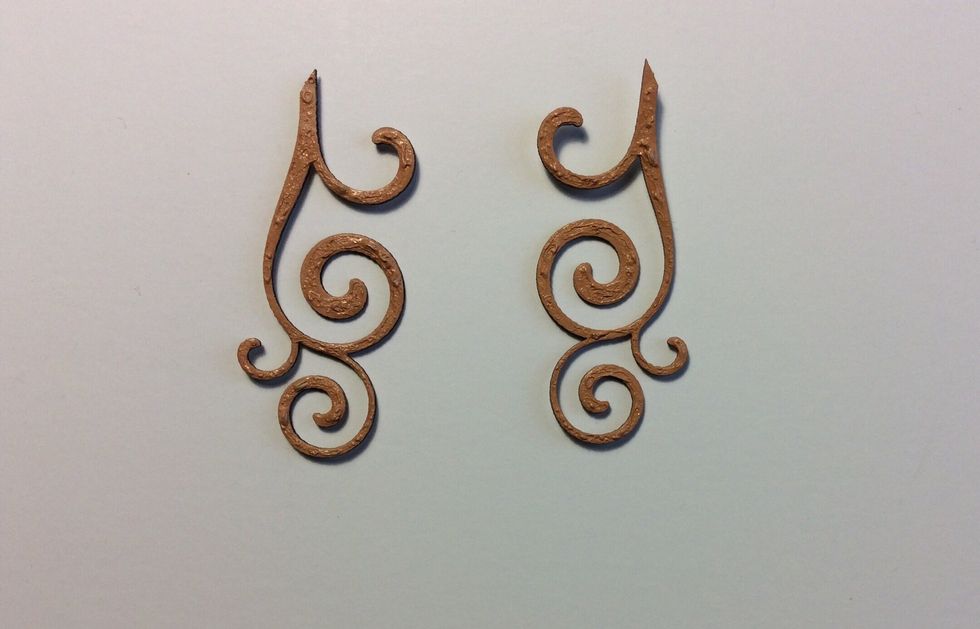
Paint two flourishes from Scrapmatts pack Flourishes 03 CB1002 with your chosen paint. Apply thickly then over heat to cause bubbling and when cools it gives the texture as demonstrated.
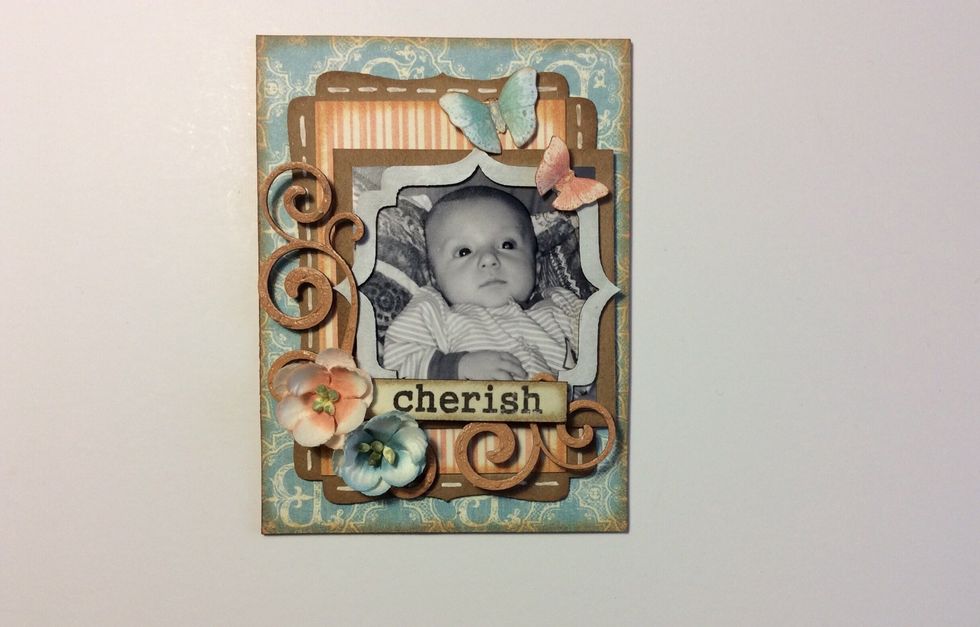
Adhere the flourishes as pictured, then glue two flowers in to position. The ATC frame is now complete.