The Conversation (0)
Sign Up
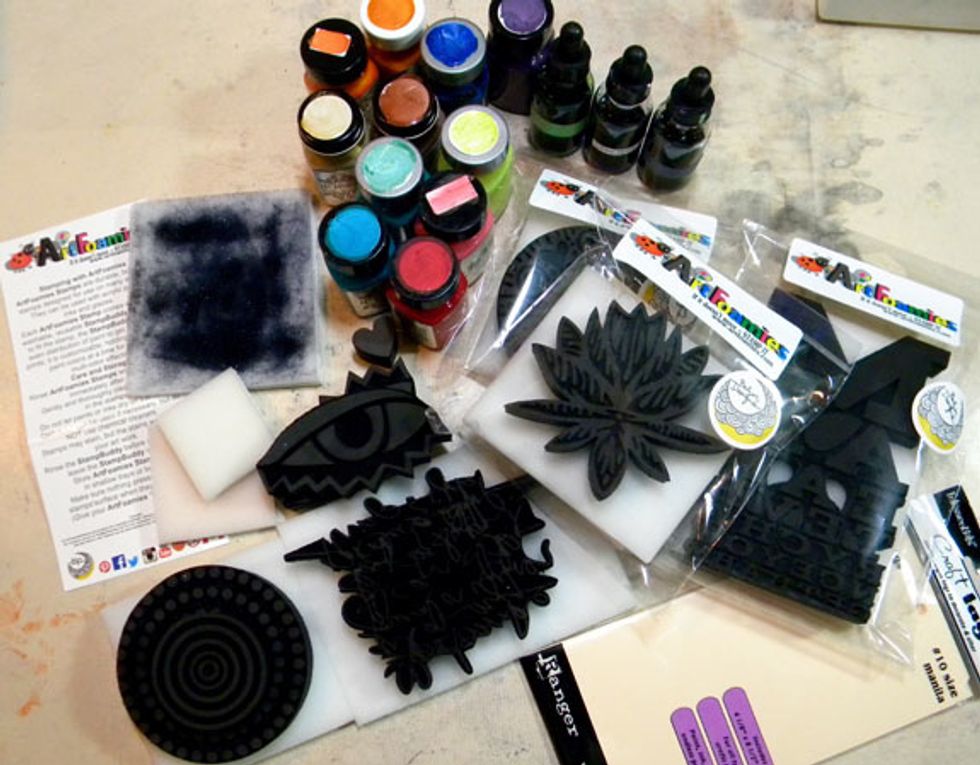
ArtFoamies are foam art stamps that pair perfectly with Art Anthology mediums.
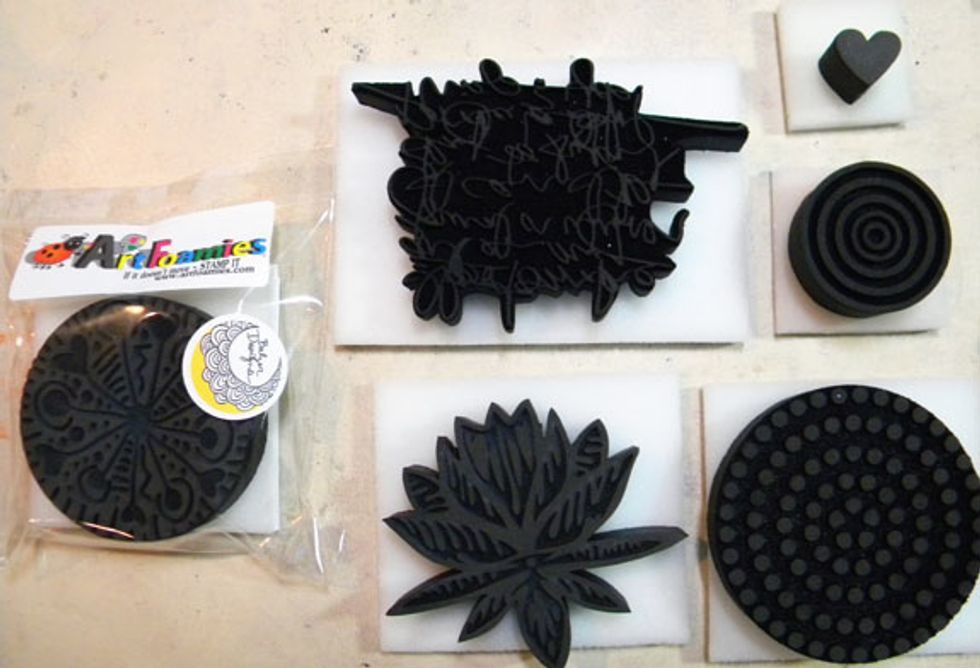
Each ArtFoamie has it's own Stamp Buddy, a customizable stamp pad that is washable and reusable.
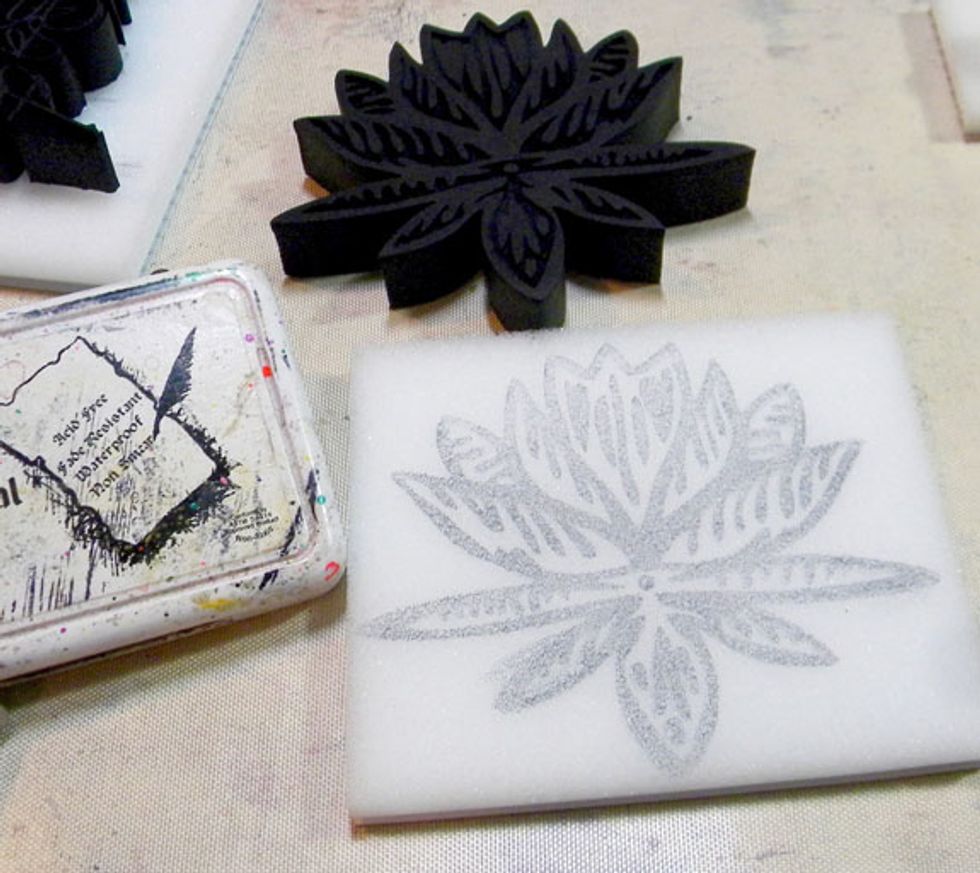
Before using ArtFoamies, stamp the Stamp Buddy using Archival or StazOn ink. This is done so that you will know where to add the paint to ensure full coverage on the stamp.
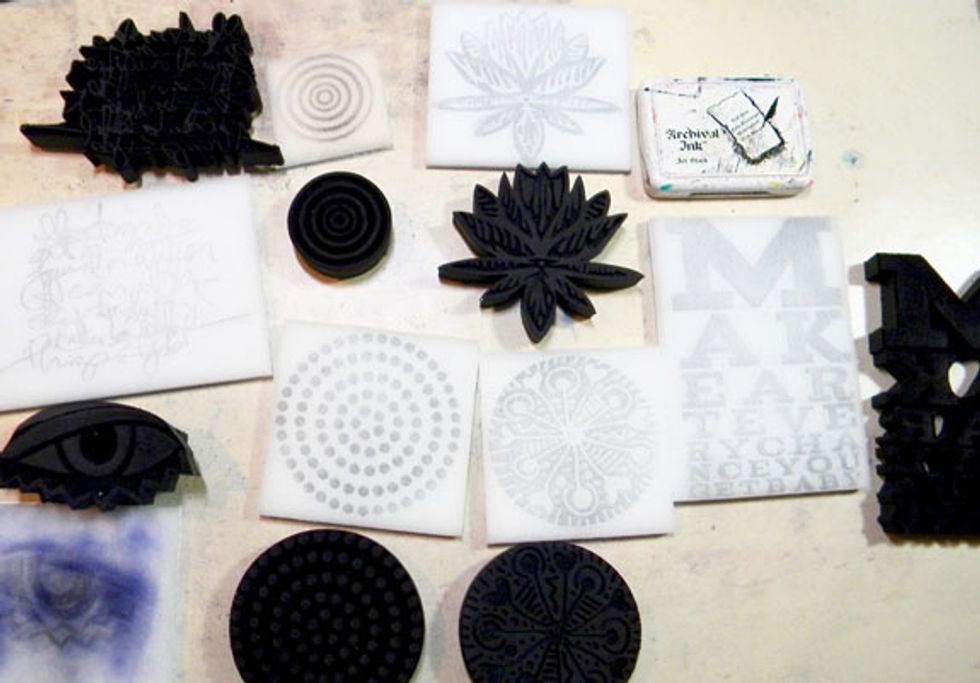
This also allows you to apply different paint colors to specific areas to create a custom stamped image.
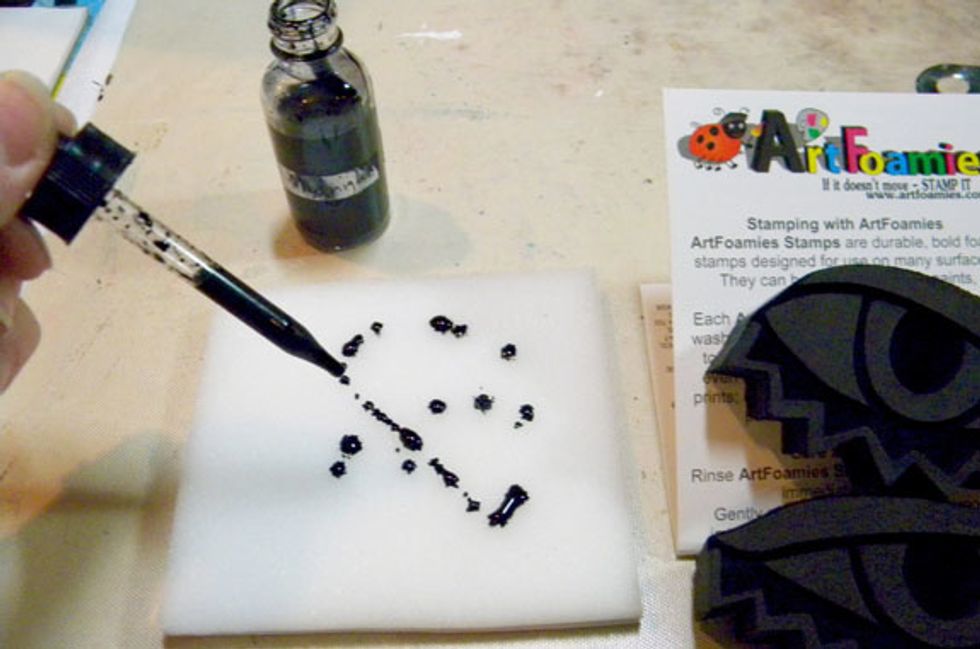
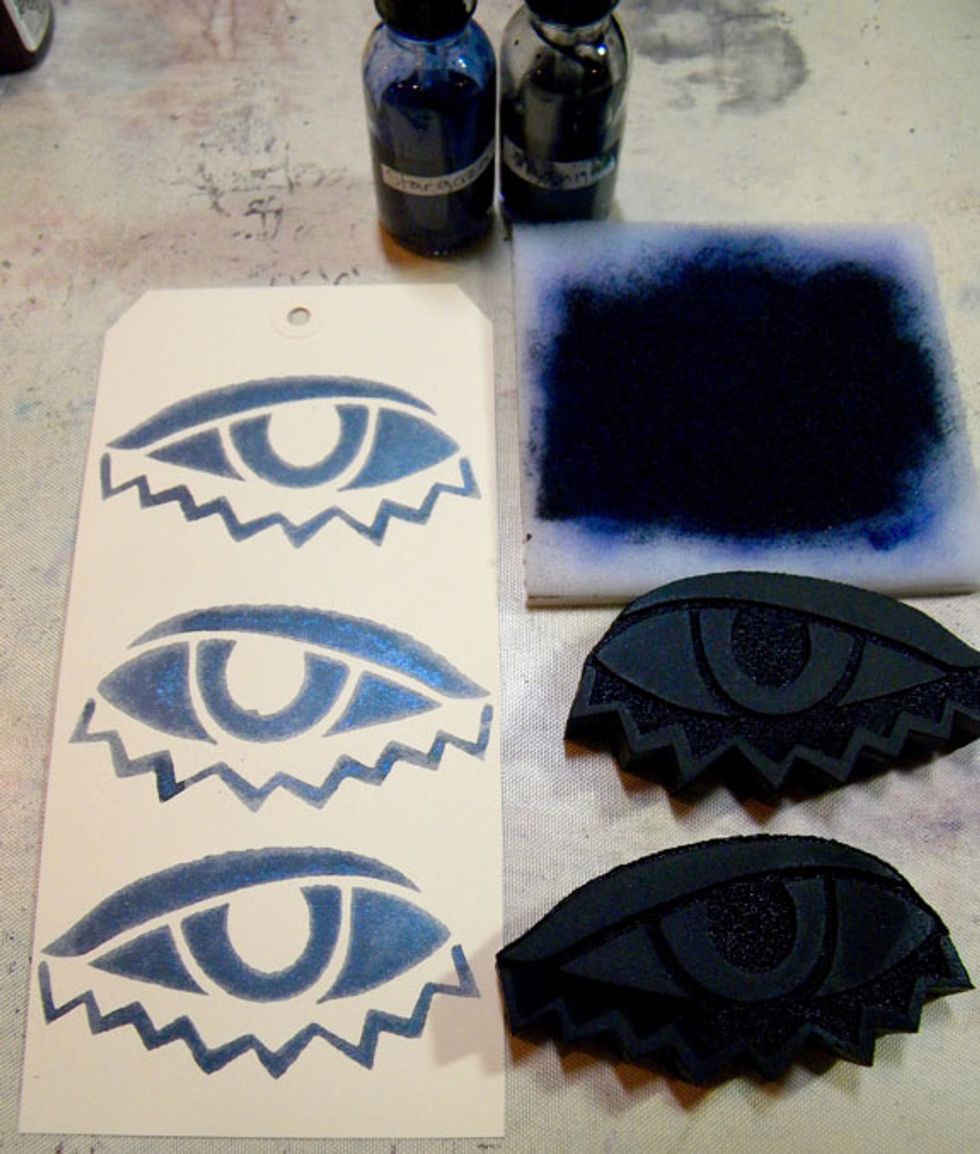
First, I added Midnight Minx to the Eyes Stamp Buddy. It is very absorbent and will hold a lot of ink.

Add Stargazer Minx to the Stamp Buddy. I like adding two colors to make the image more interesting.
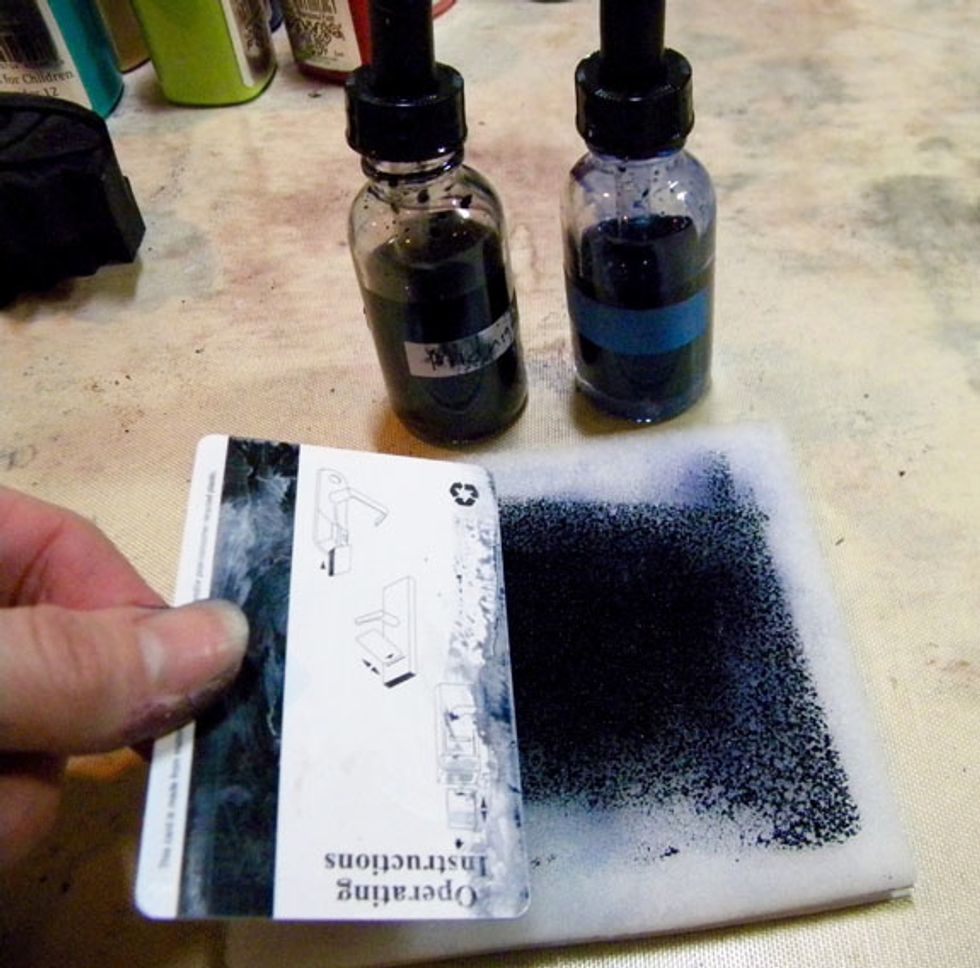
Spread the ink around the Stamp Buddy using a key card or palette knife. Make sure that the image is covered by ink.
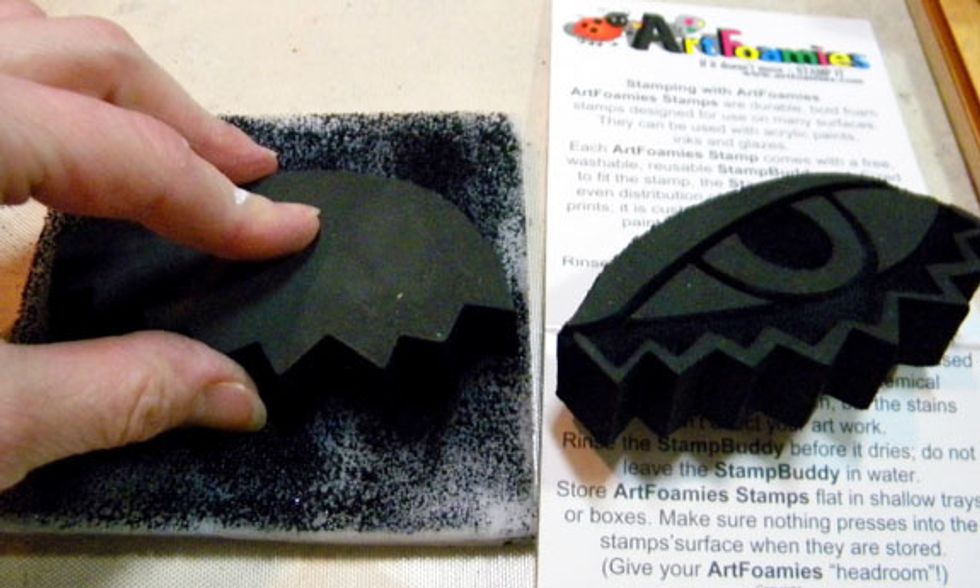
Now you are ready to stamp! Pounce the stamp onto the Stamp Buddy to apply the ink.
You will be able to stamp lots of images before the ink is gone. Don't let ink dry onto the Stamp Buddy. To clean it, run it under water and let it dry completely before using it again.
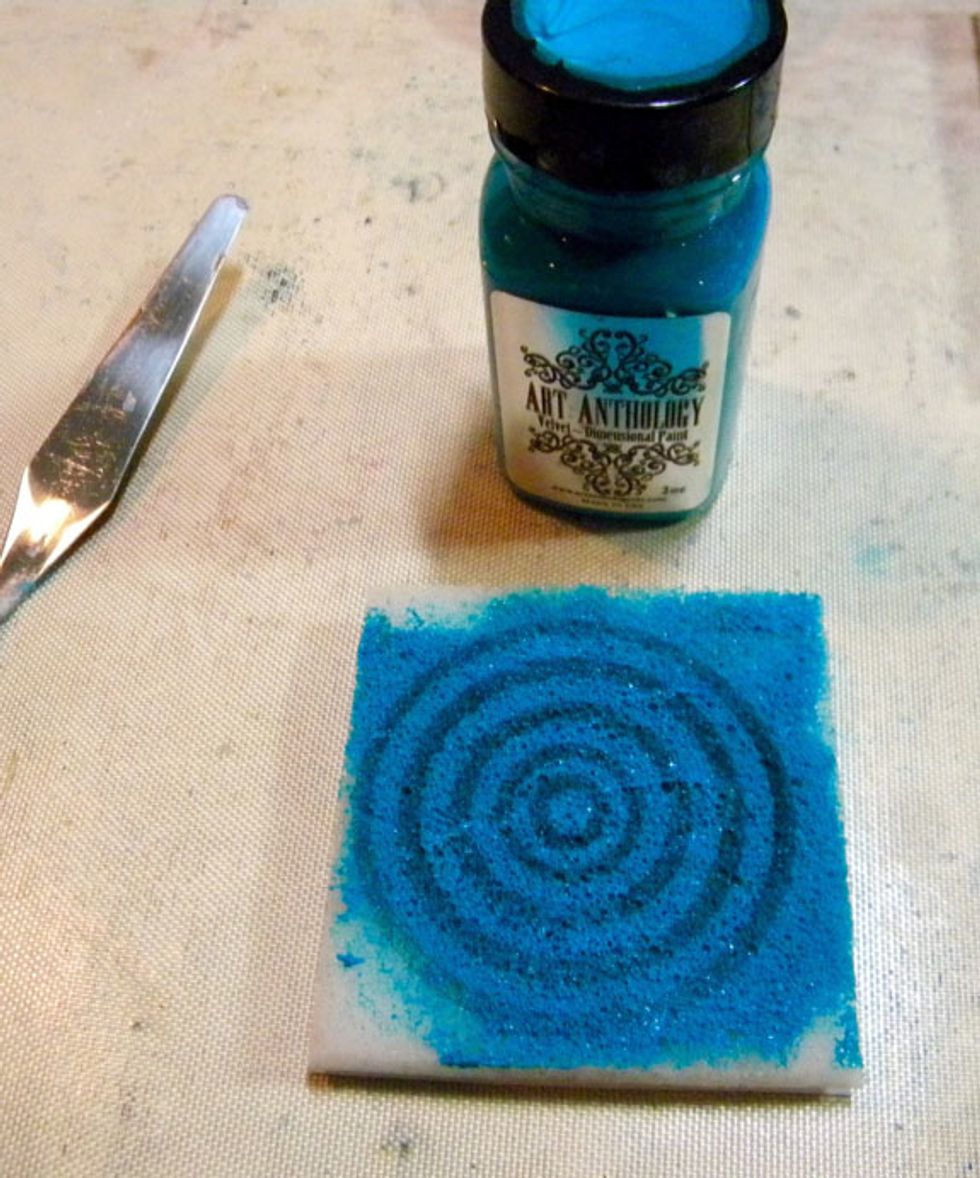
Velvets work great with ArtFoamies too. Since they are dimensional mediums, they sit on top of the paper or fabric. Just add a liberal amount to the Stamp Buddy and spread to coat the image.

Keep an art journal or some art paper handy to stamp extra images onto.
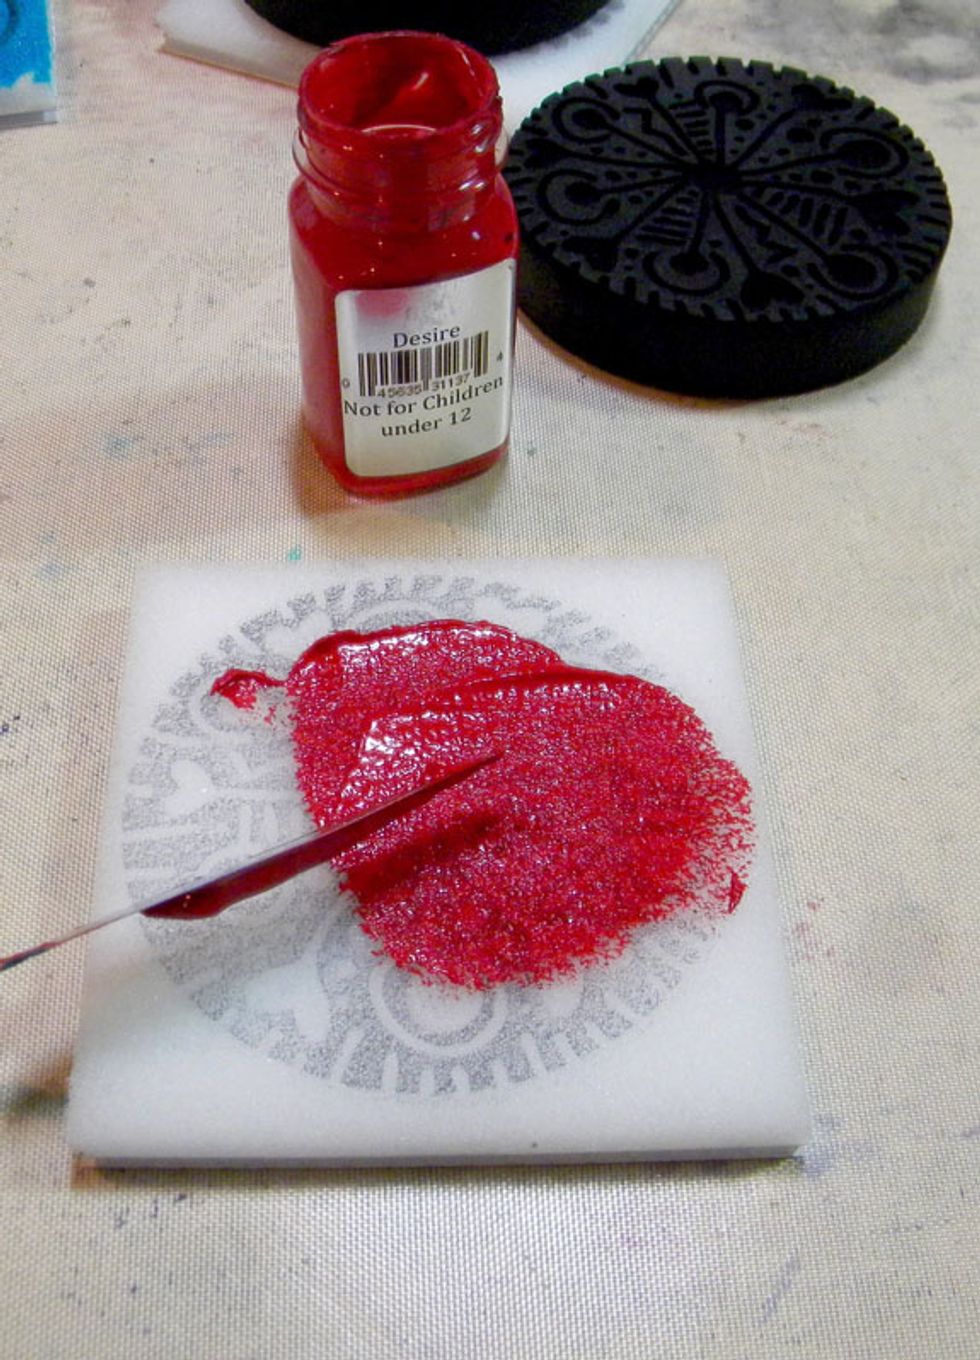
Look at that brilliant color! Desire Velvet is one of my favorites!
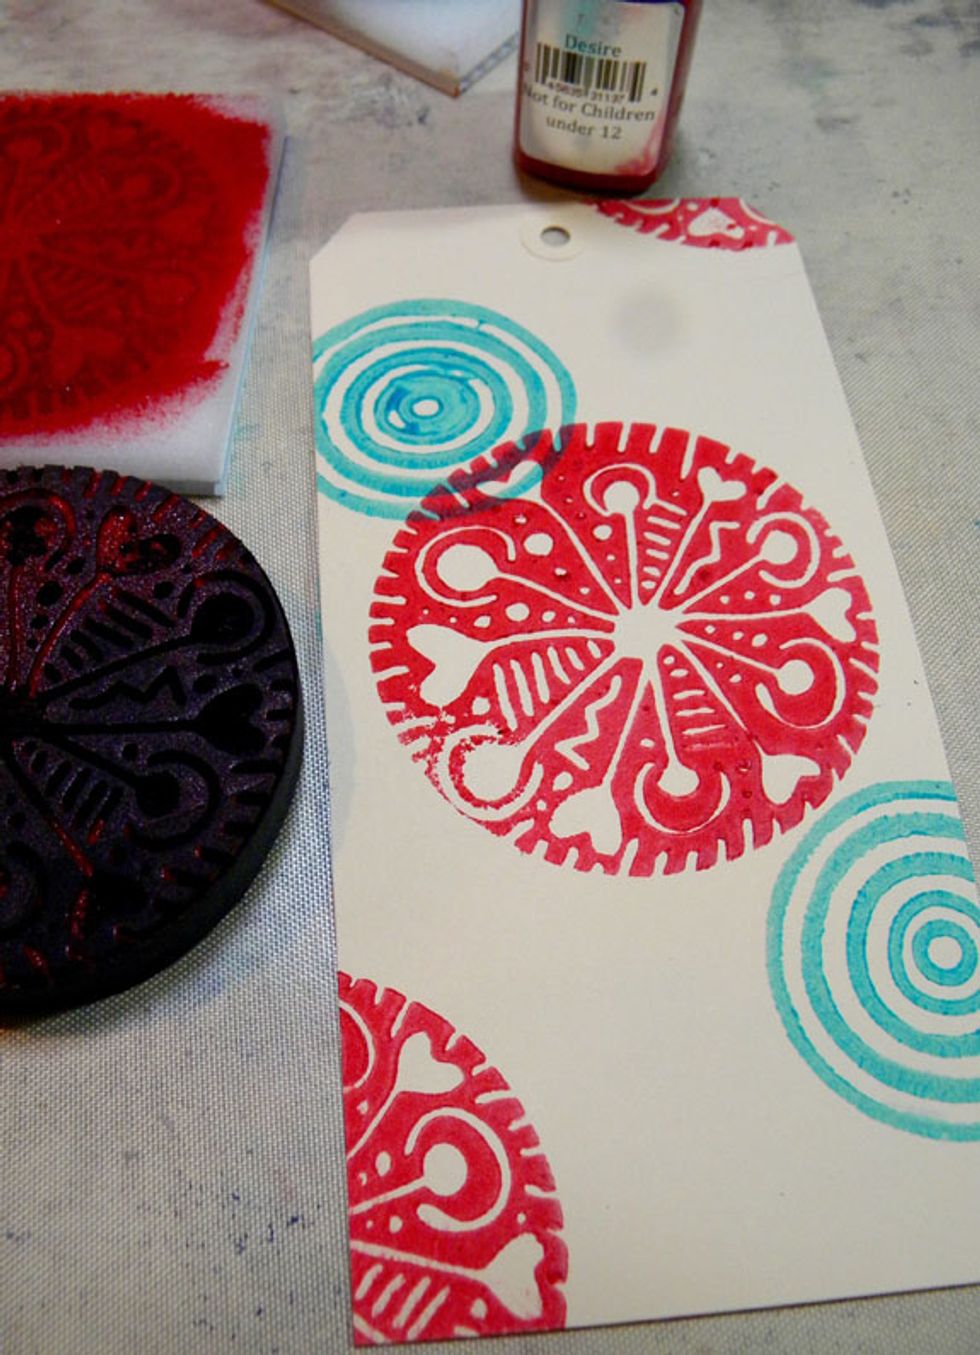
I love the image I get with these stamps and Art Anthology Velvets. And since they are semi-transparent mediums, they layer well. This stamp is called Love Candy and is designed by Julie Balzer.
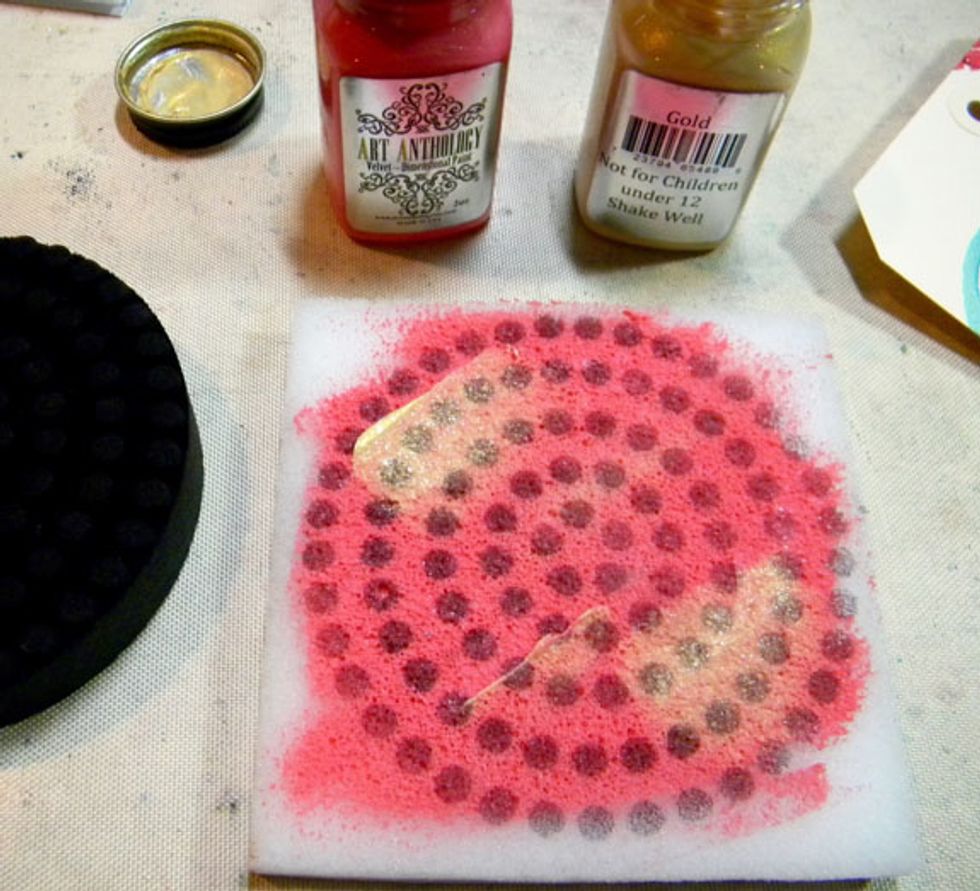
Mix Persimmon Velvet and Gold Metal Effects on the Stamp Buddy.
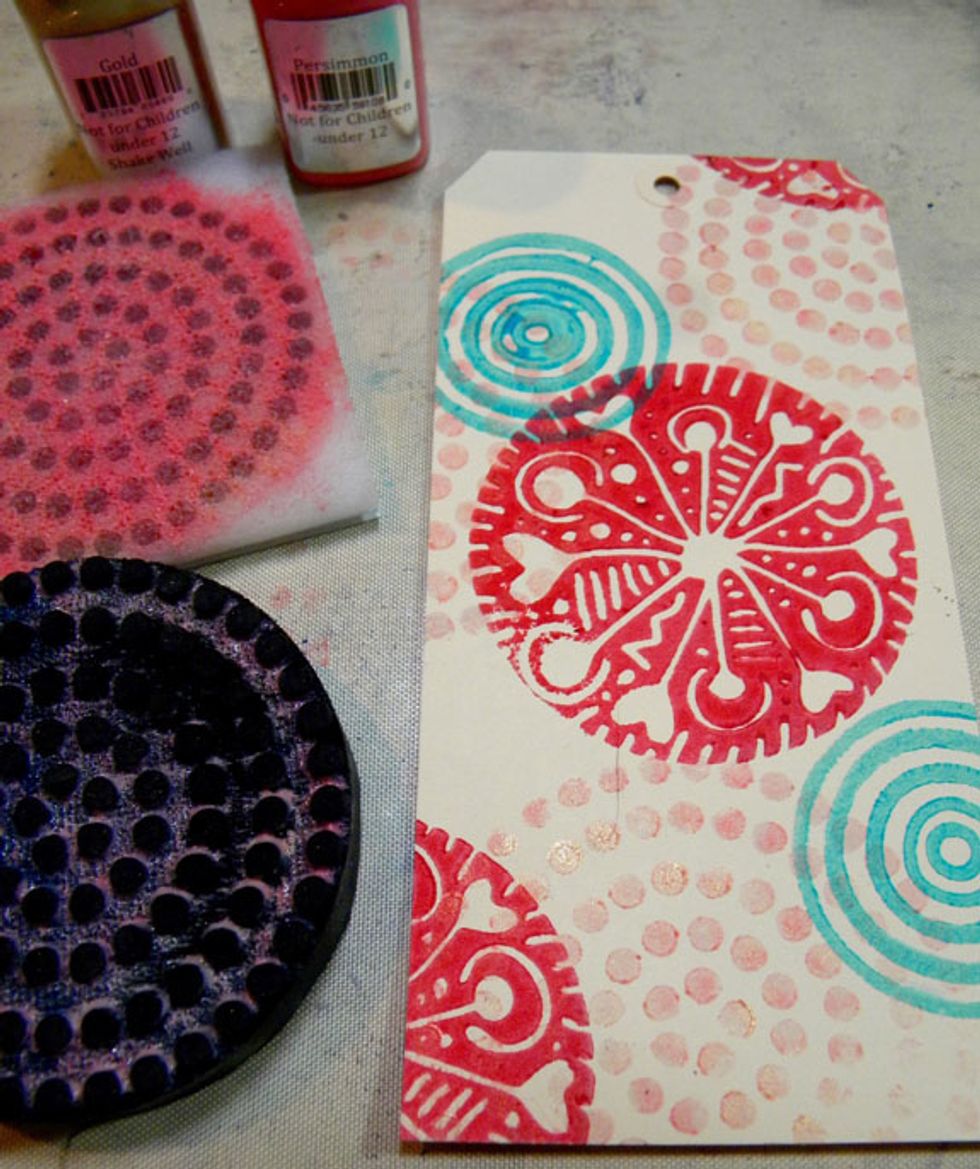
Look at the shimmer from the Gold Metal Effects! Make sure to wash the foam stamp before the paint dries.
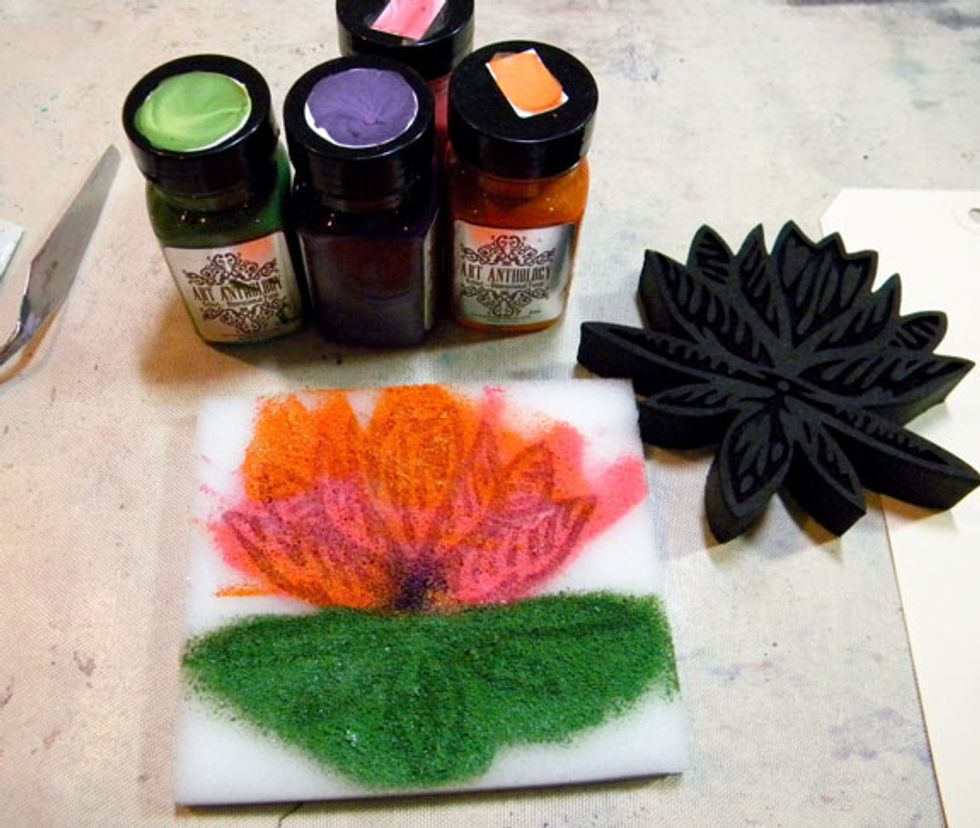
The water lily is my favorite! Apply Shamrock to the lower leaves, Persimmon and Tango on the upper leaves. Add a bit of Mardi Gras in the center. I used a key card to spread the mediums around.
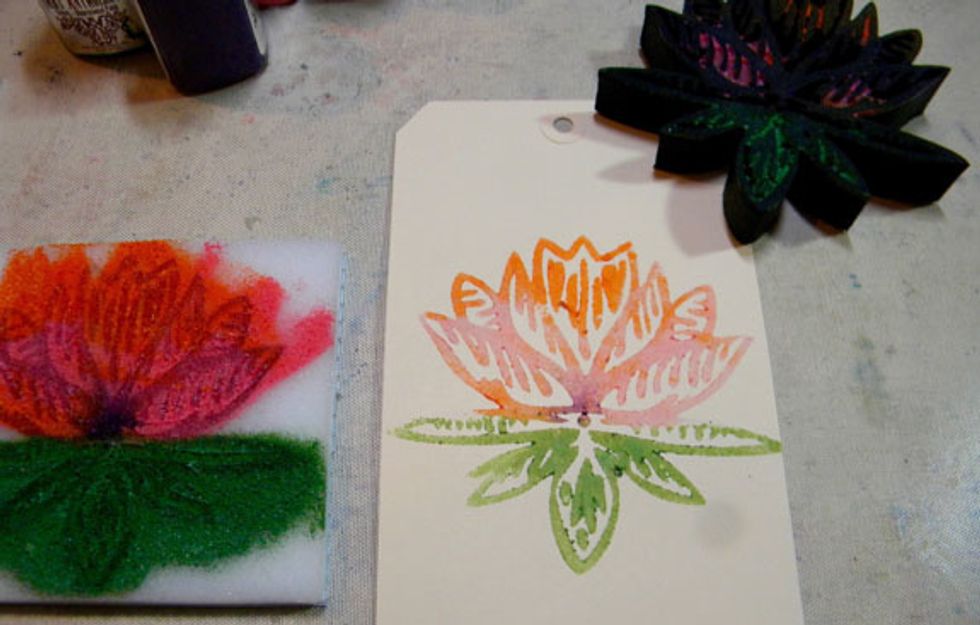
I stamped 6 water lilies with one application of paint to the Stamp Buddy! I cut out one of the water lilies and mounted it on top of the tag using foam tape for a 3D effect.
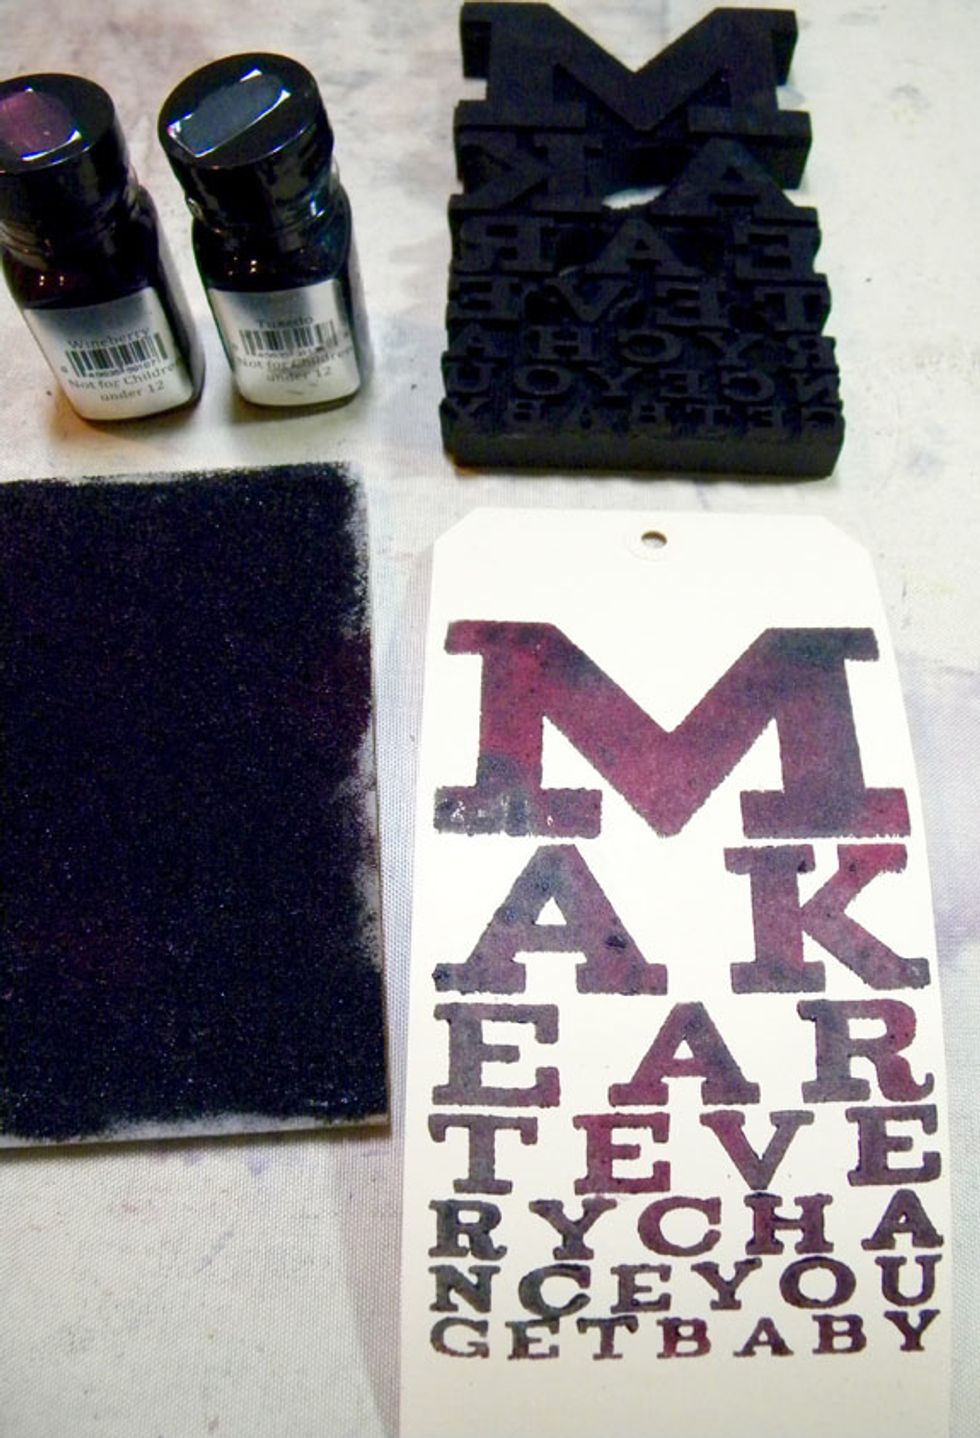
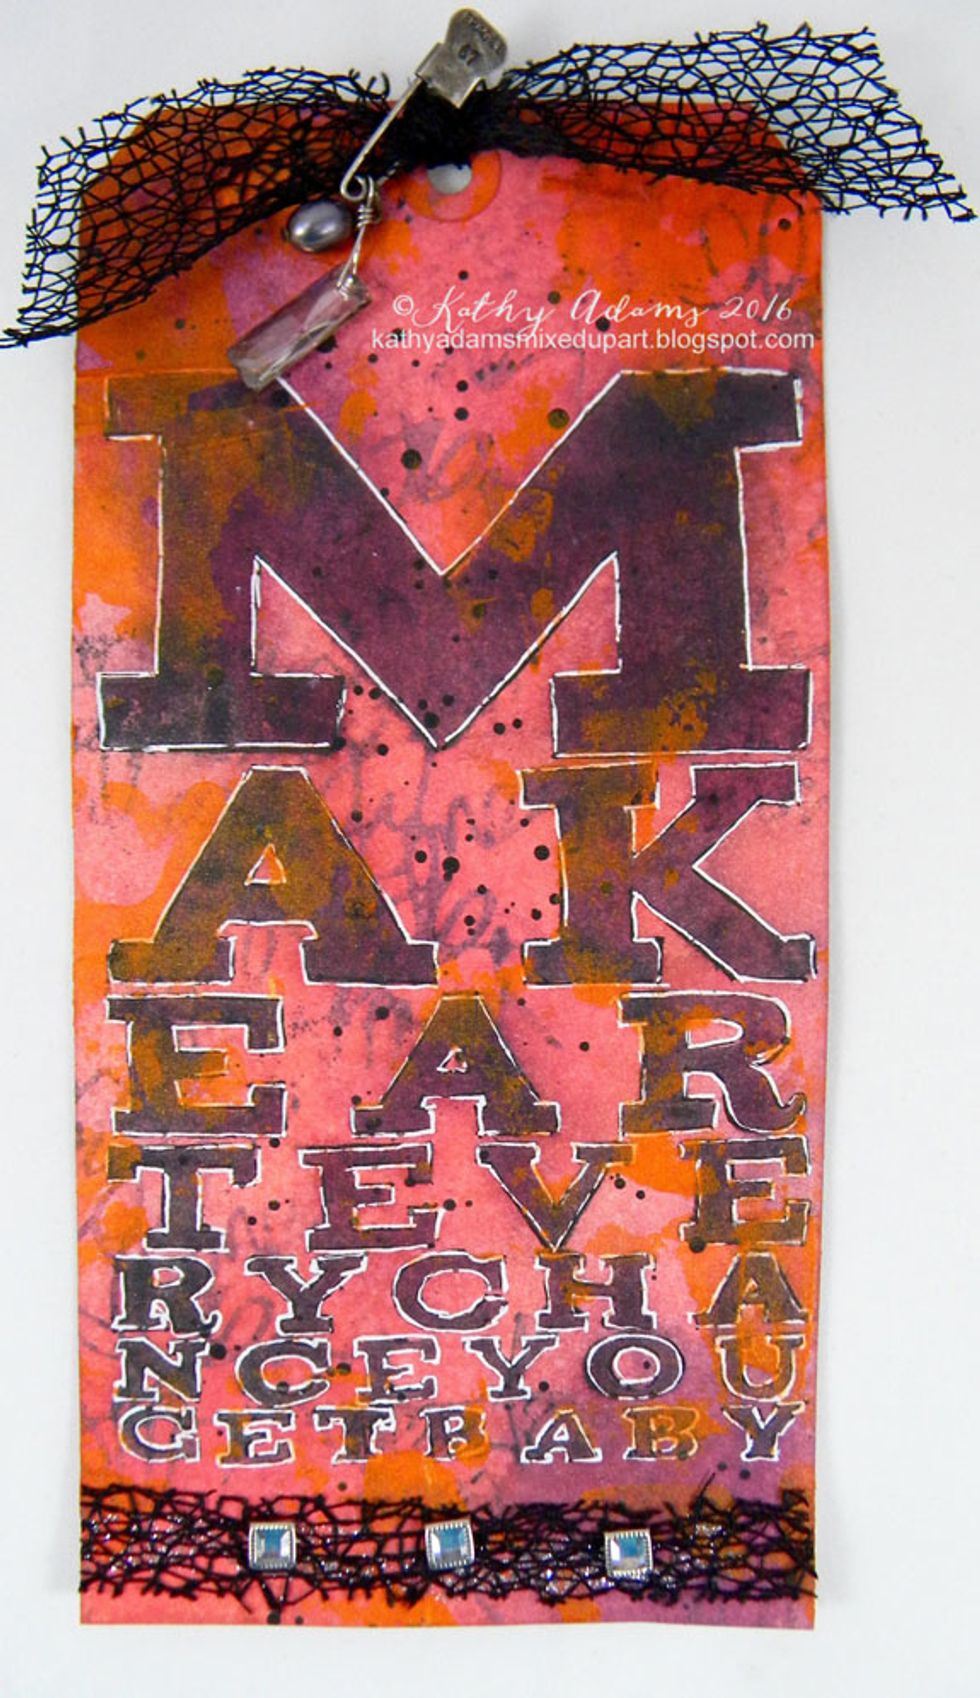
This stamp reads, "Make Art Every Chance You Get Baby". Love the subway look! I got at least 3 more images out of this application!

I keep a tub of water close to my workspace and throw my stamps and Stamp Buddies into it and rinse them when I am done.
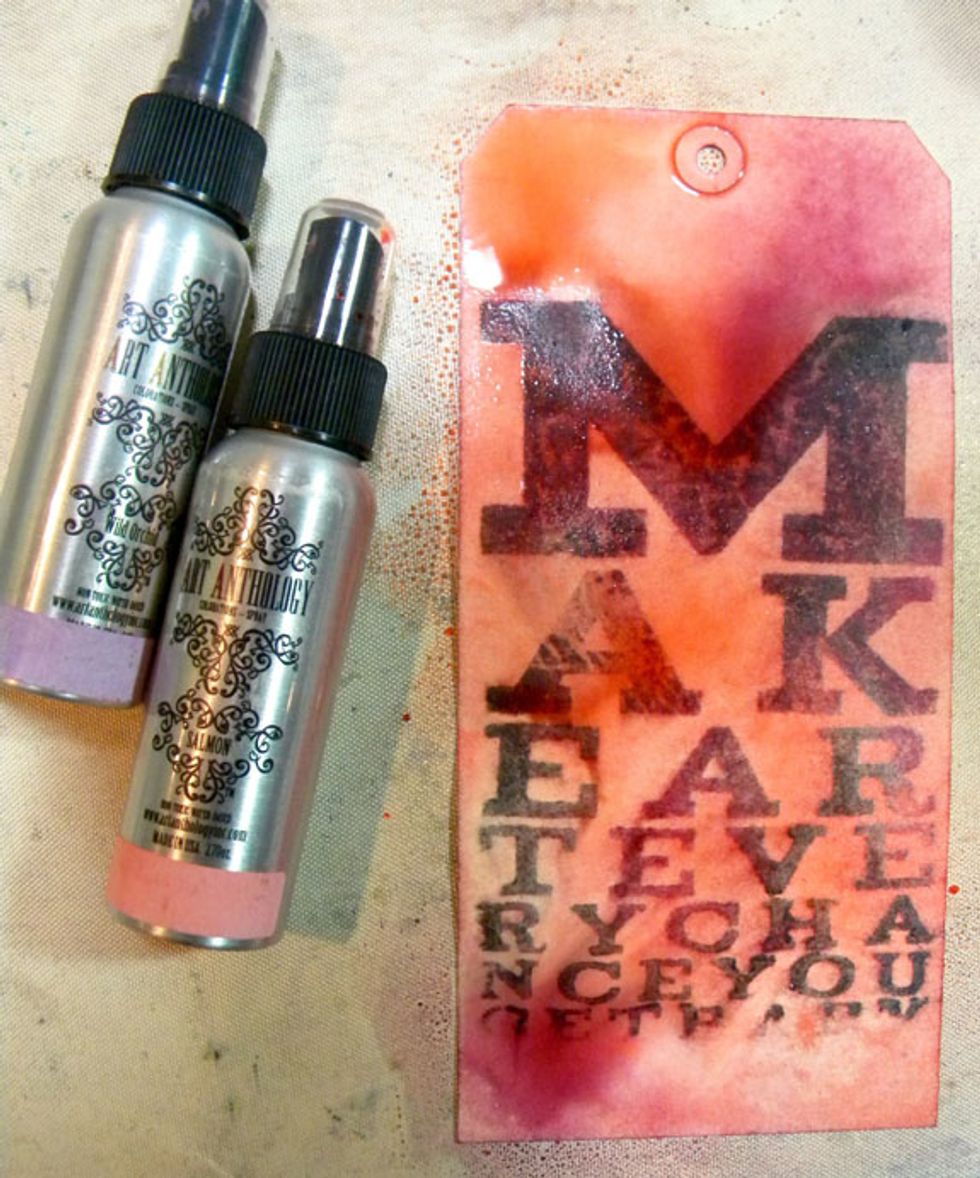
Now to embellish the tags. Apply Salmon and Wild Orchid Colorations Sprays. The Velvets will resist the sprays. I rolled a paper towel roll over it to soak up excess spray.
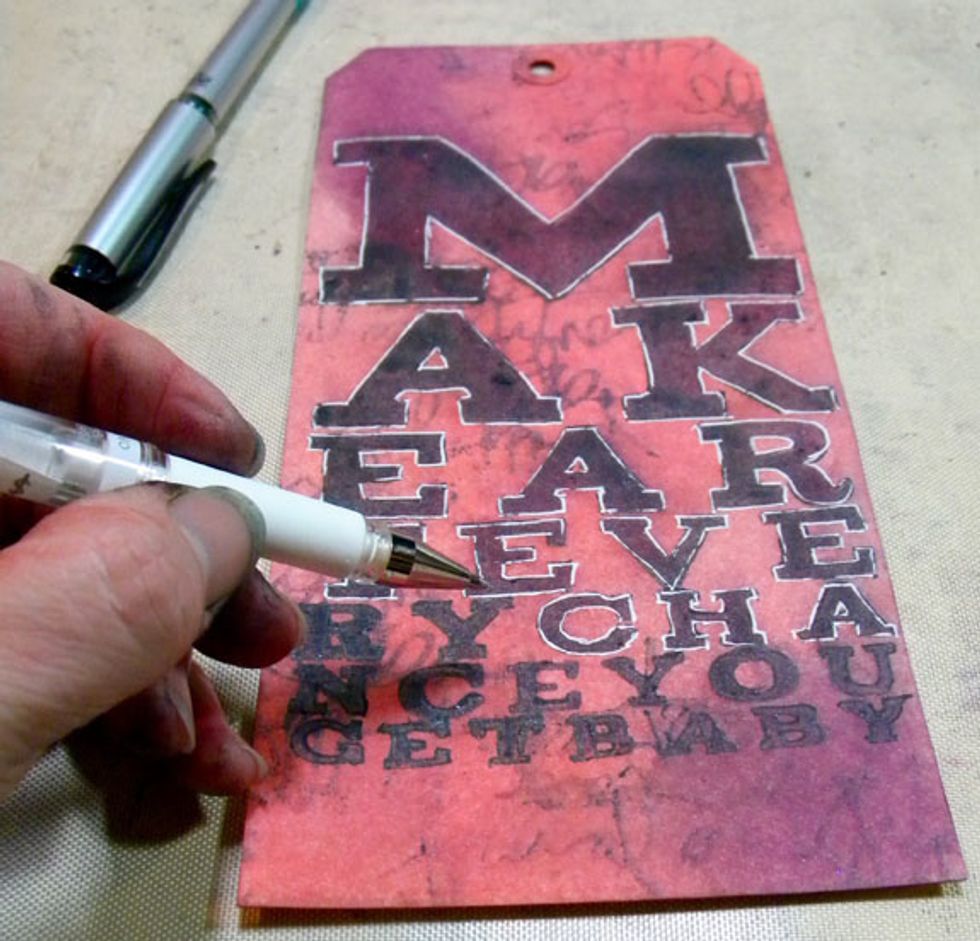
Outline the letters with black and white gel pens, add ribbon and embellishments.
It needed a bit or brightness, so I randomly applied Tango Velvet to the tag.
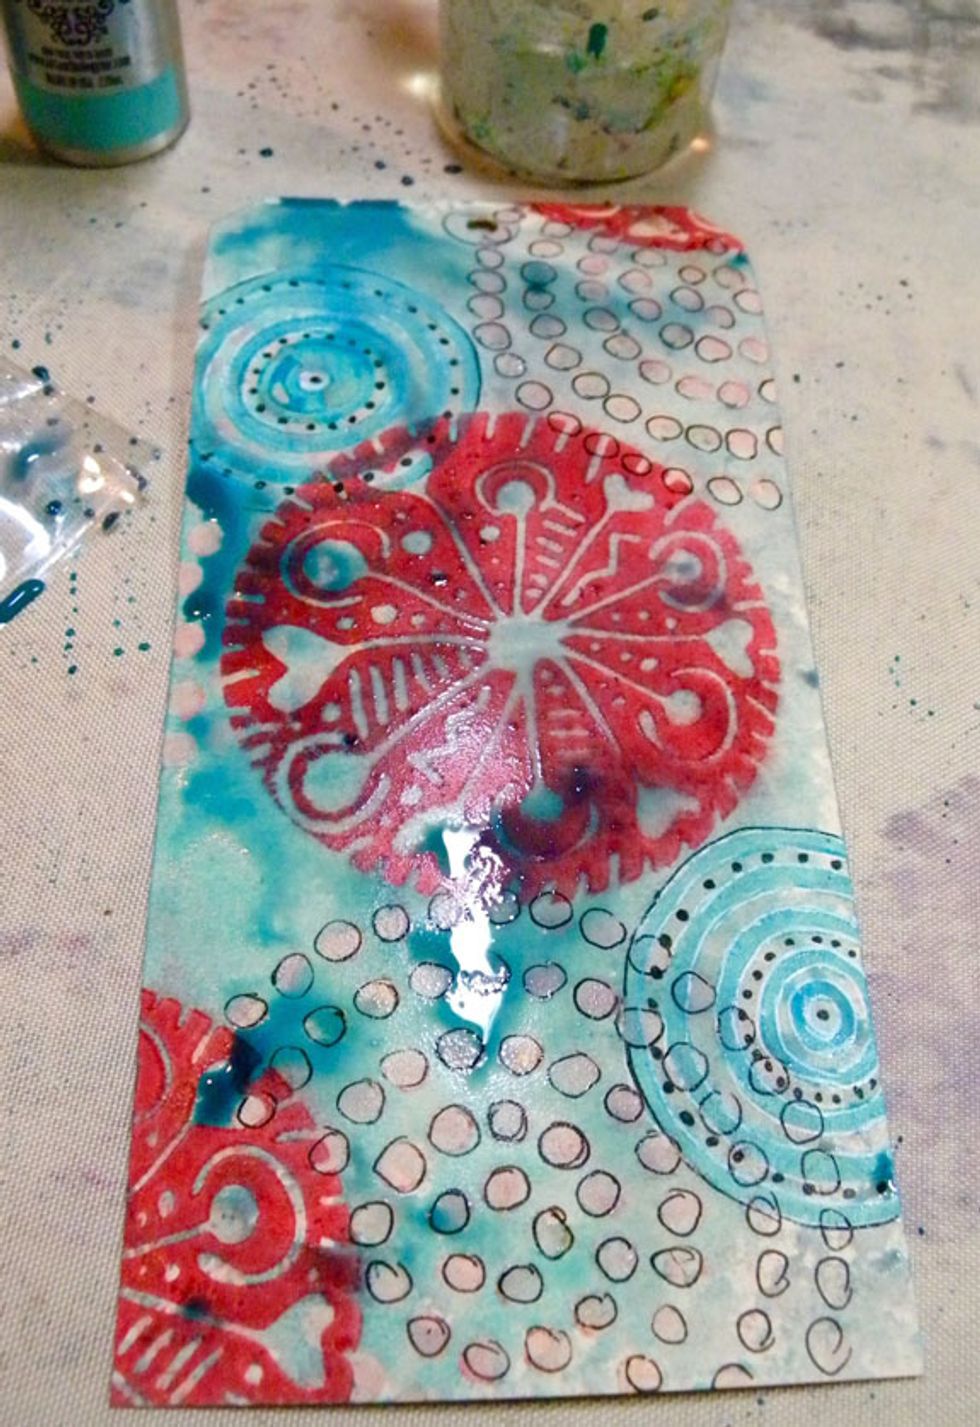
Next, I sprayed Waimea Bay and Siesta Key Colorations Sprays onto the circle tag and let it pool around the painted images. Use a heat tool to dry.
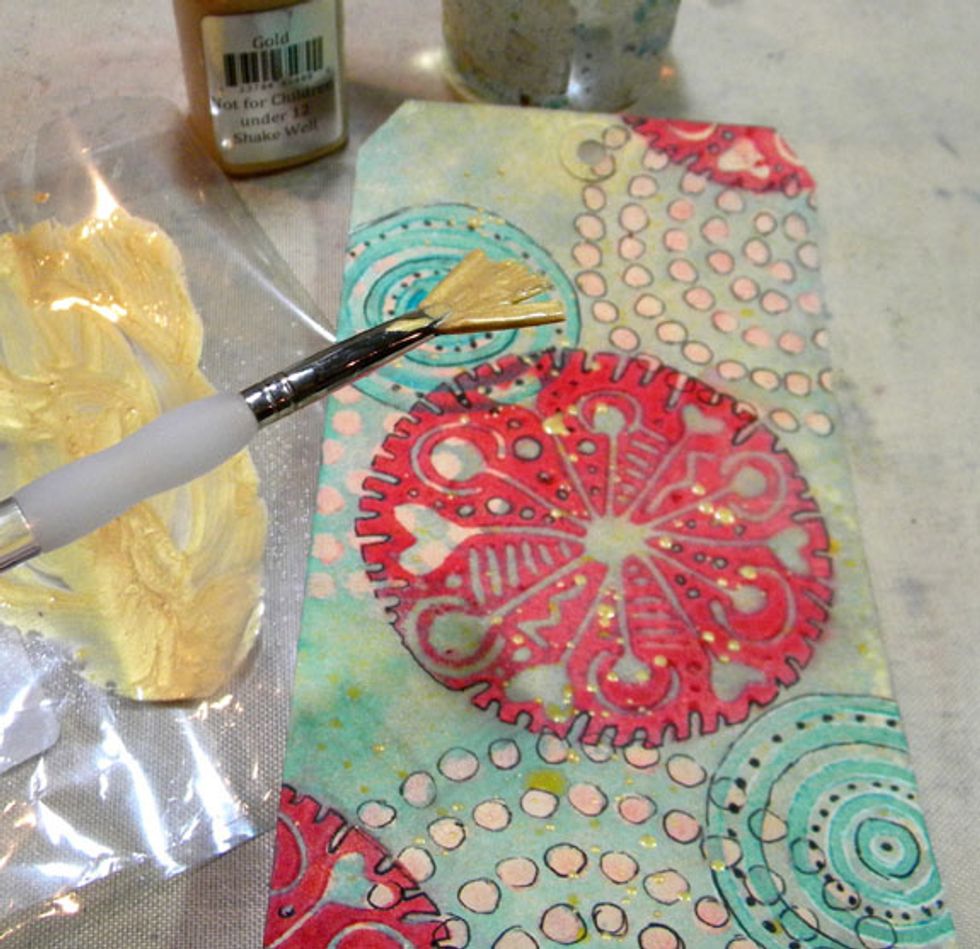
I added a bit of Gold Metal Effects and splatter it around the tag liberally. Once that was dry, I added some patching tape painted black, hearts and ribbon.

I stitched around the perimeter of the tag with my sewing machine and doodled with a black and white gel pen.
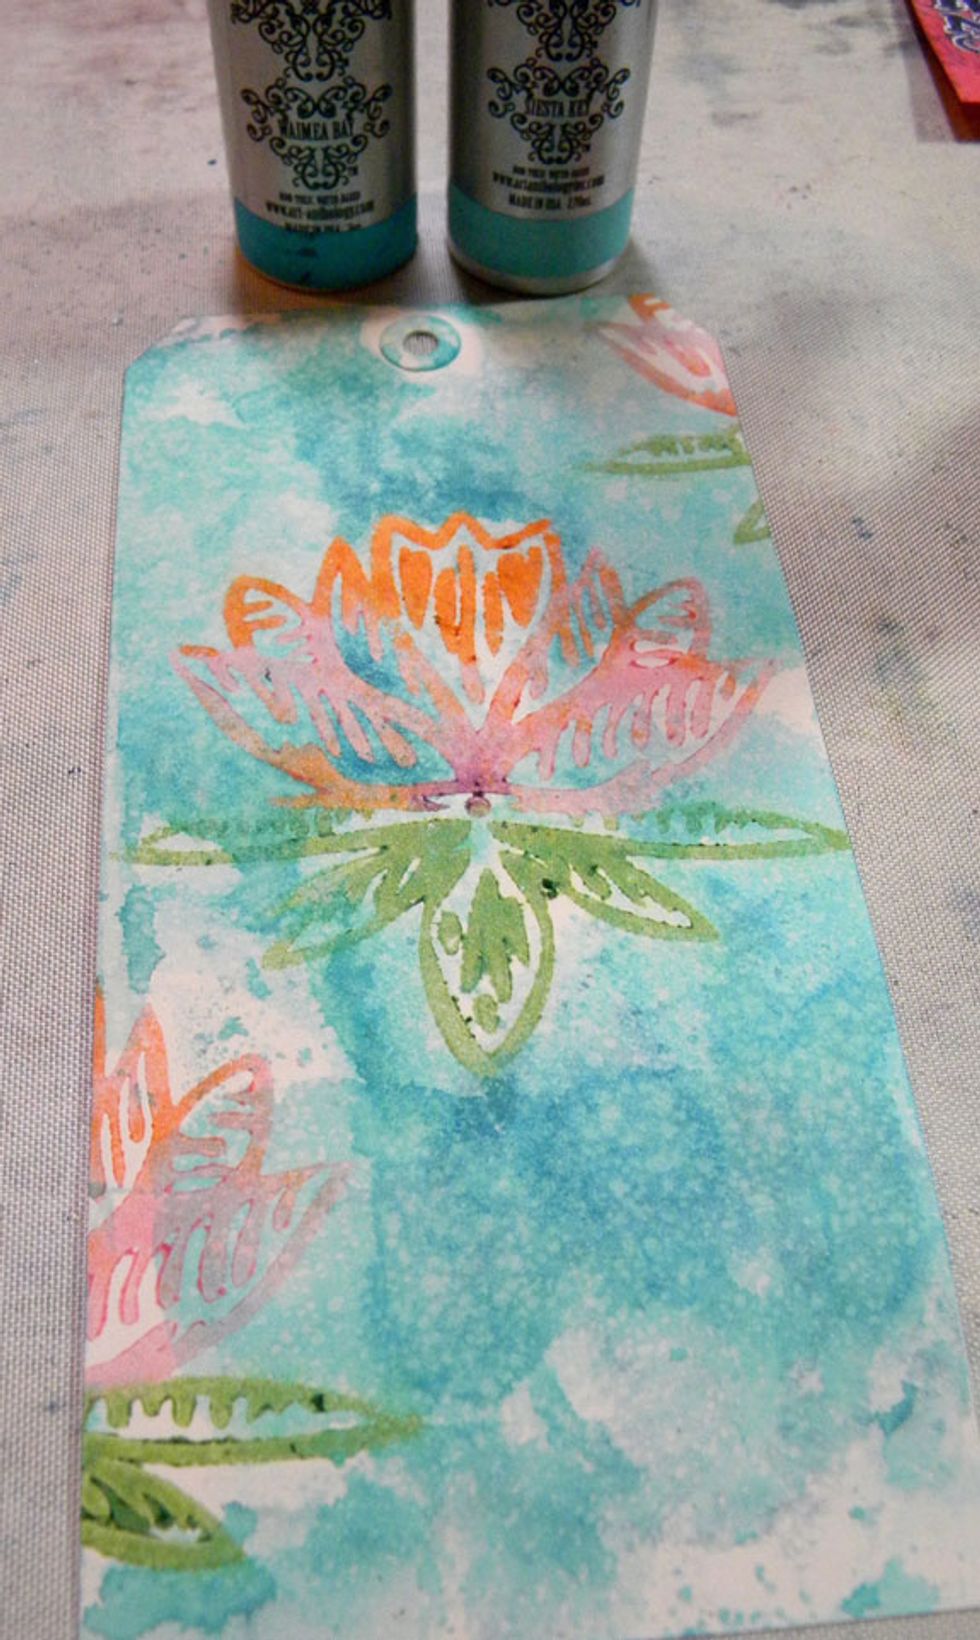
For the water lily, I added Waimea and Siesta Key Colorations Sprays to the background and moved it around with a paint brush. I also stamped with light blue archival ink on the background.
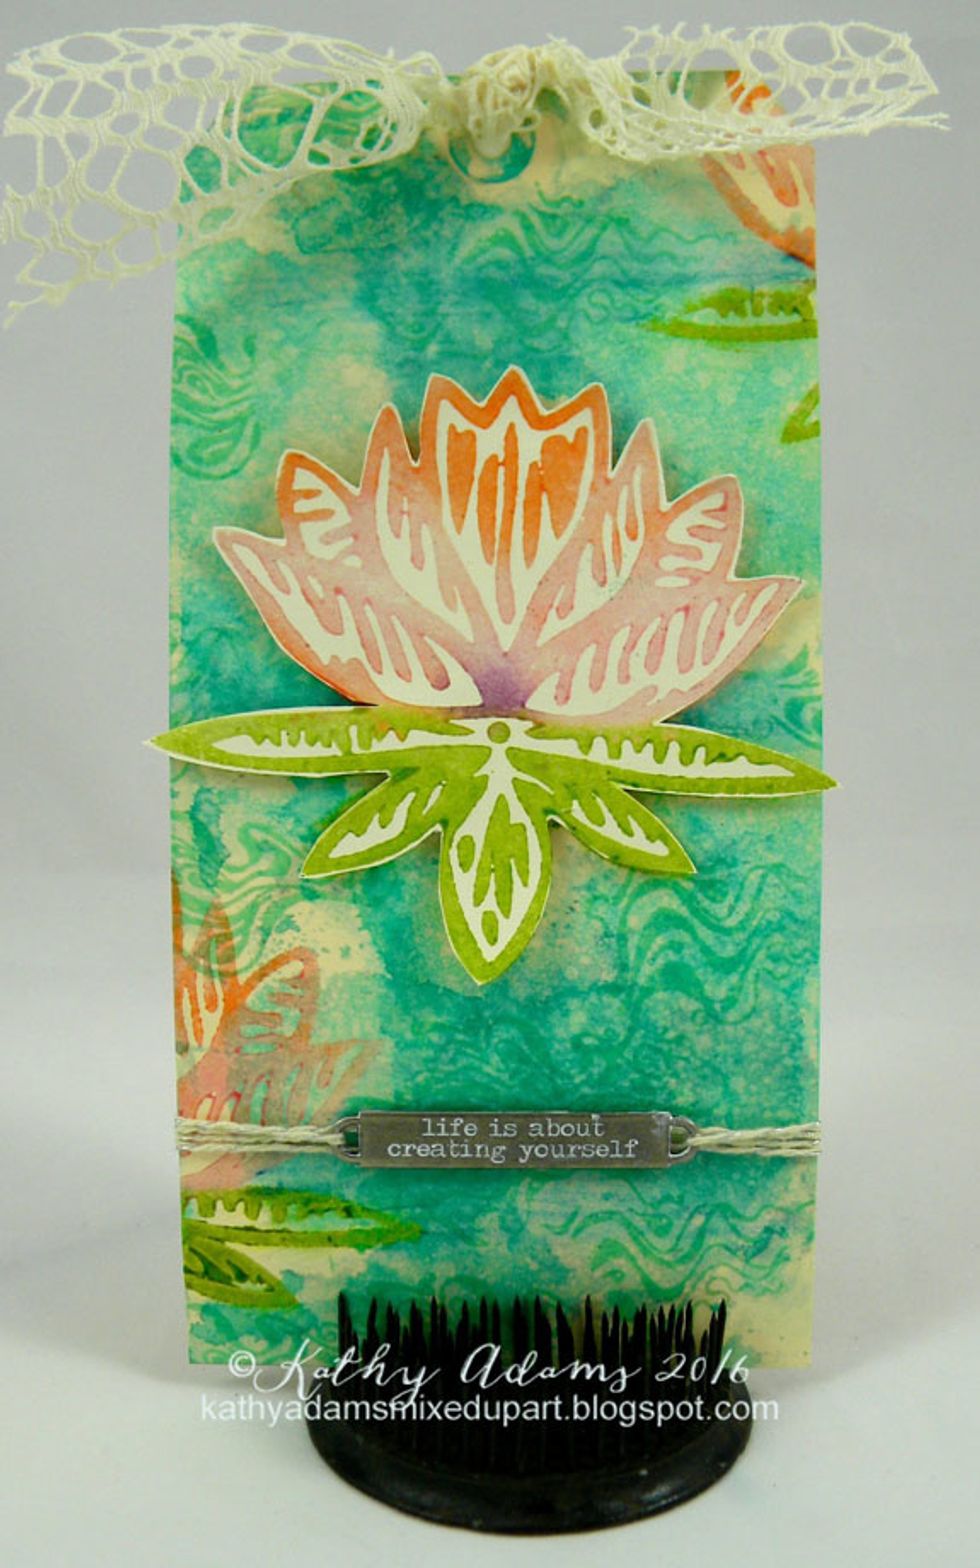
I also added some background stamping, ribbon and a metal word band.
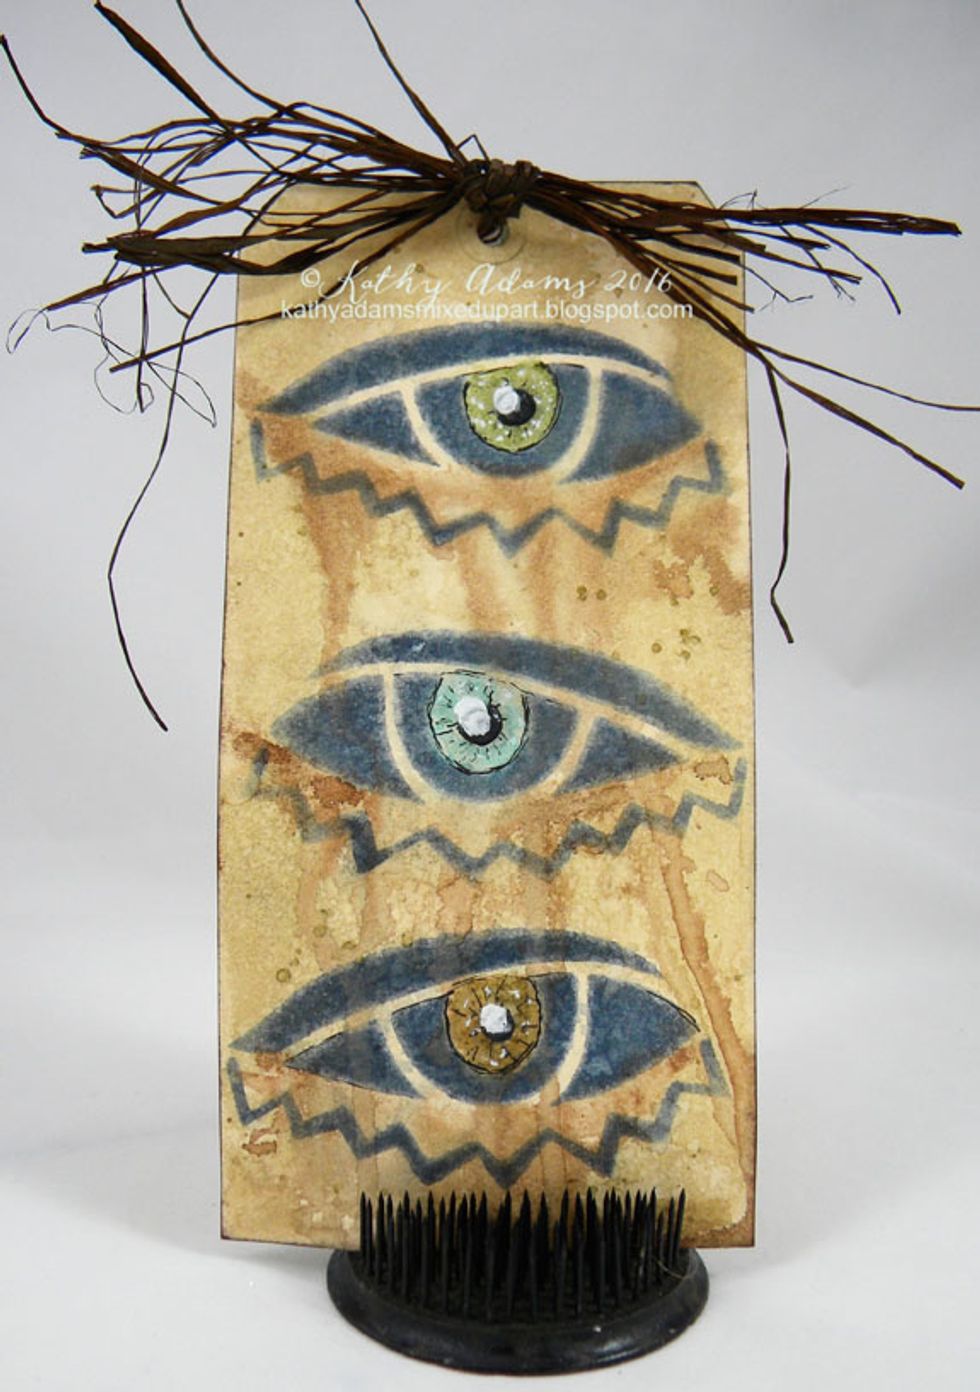
Paint the background Warm Colorations Spray mixed with water and let dry. Add French Toast Spray under each eye and add water, letting the color drip. I colored each eye a different color