The Conversation (0)
Sign Up
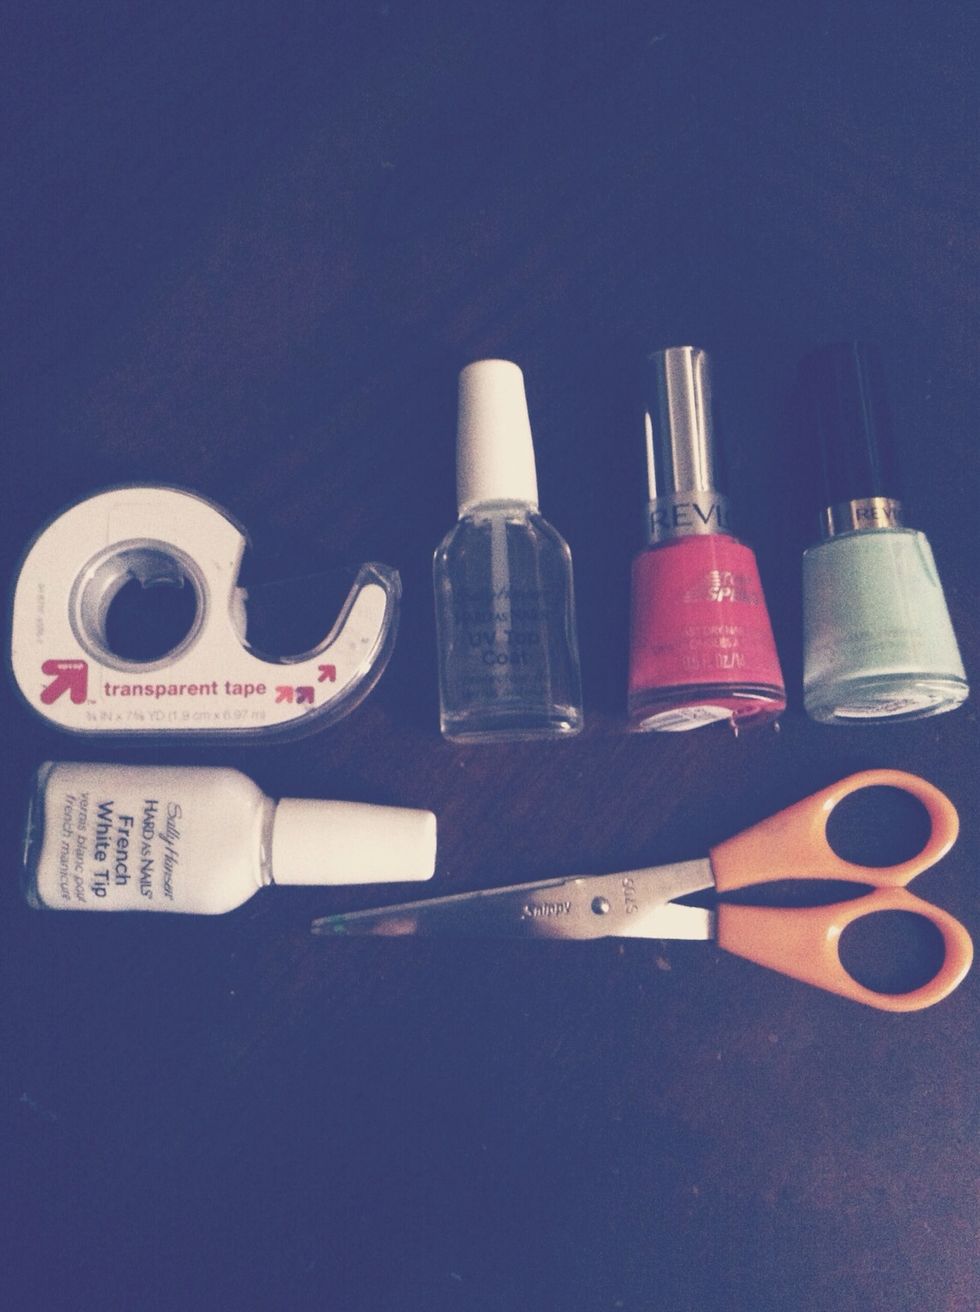
1 light NP, 3 contrasting NPs, a pair of scissors, tape and a base and top coat
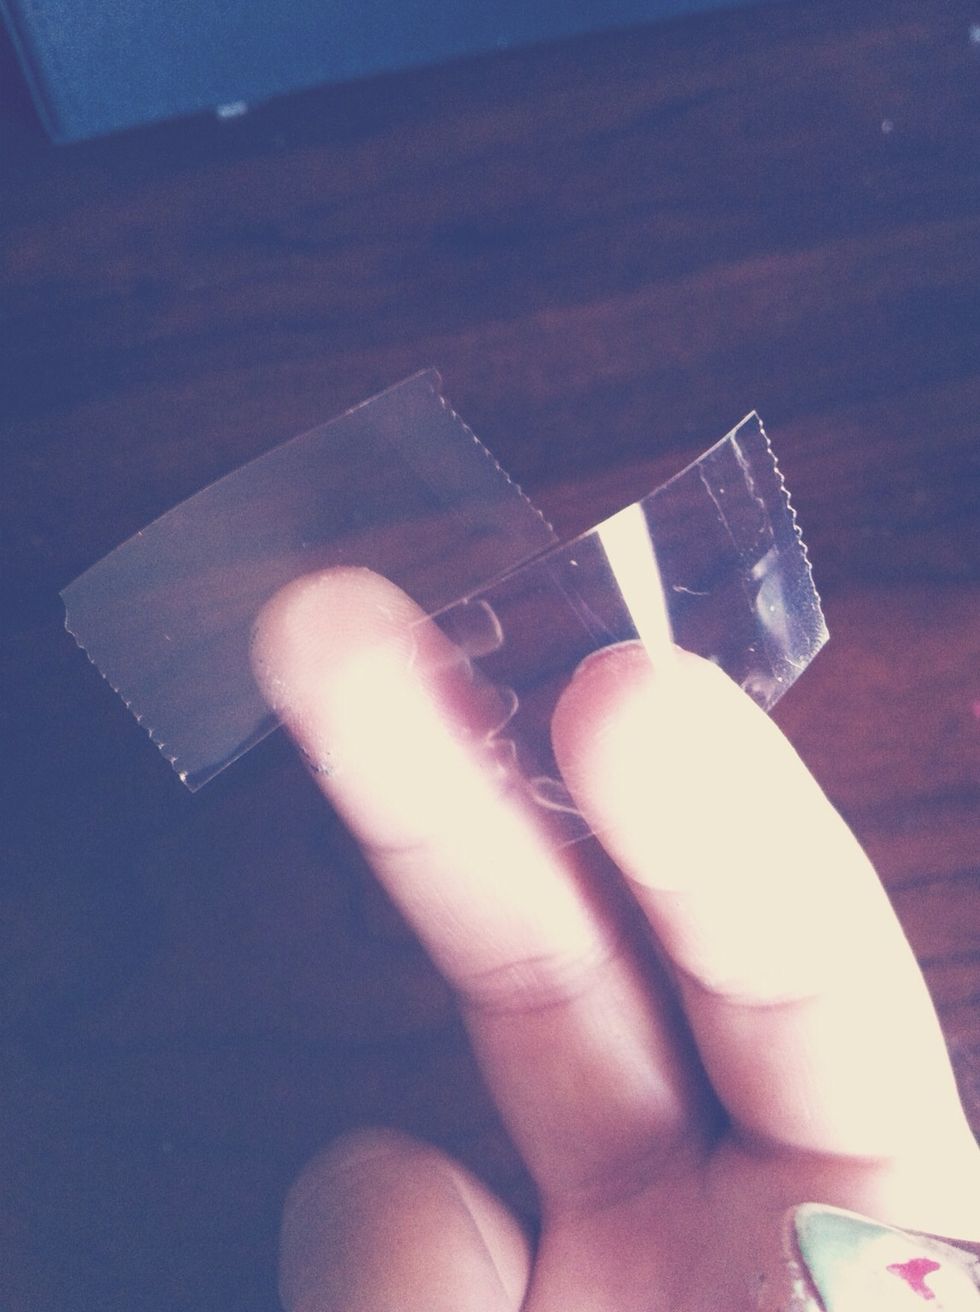
Cut two pieces of scotch tape

Next, put the two pieces together to form a two sided triangle

Cut another piece but this time make sure two corner edges are straight.

Next cut another price of tape making sure two sides are straight.
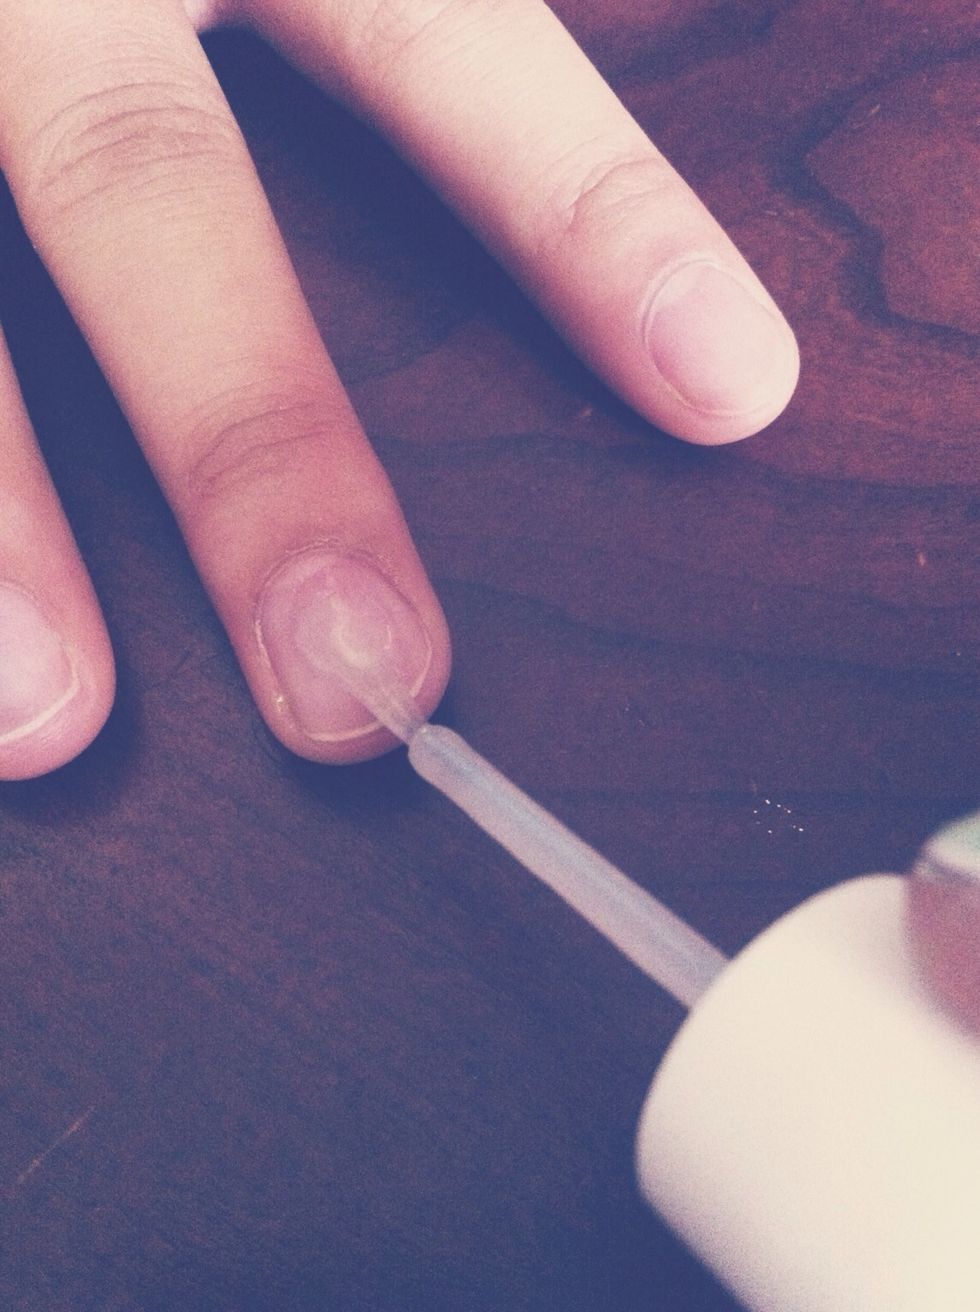
Now that you have the tape pieces cut out, put a base coat on. Let it dry.
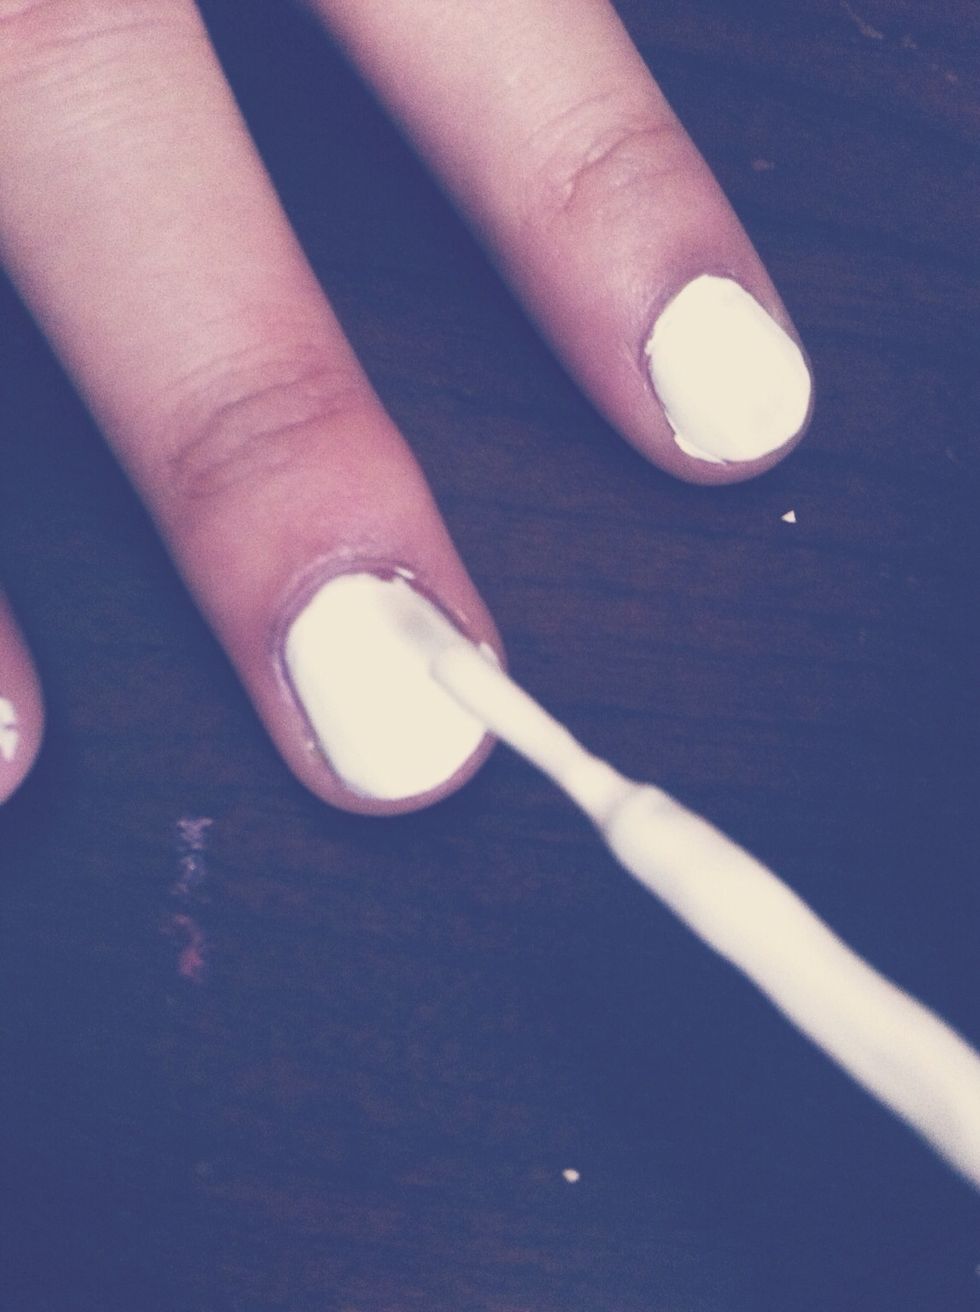
Next add your lightest shade on all nails. Let dry completely so when applying tape, the polish doesn't come off.

Now put the two pieces of tape that form the 2 sided triangle towards the center of your nail
Now put on of the straight edged tape under the other tape to form an arrow. The corner should be pointing the same way as 2 sided triangle.
Now paint the inside of the arrow with one of the contrasting polishes.
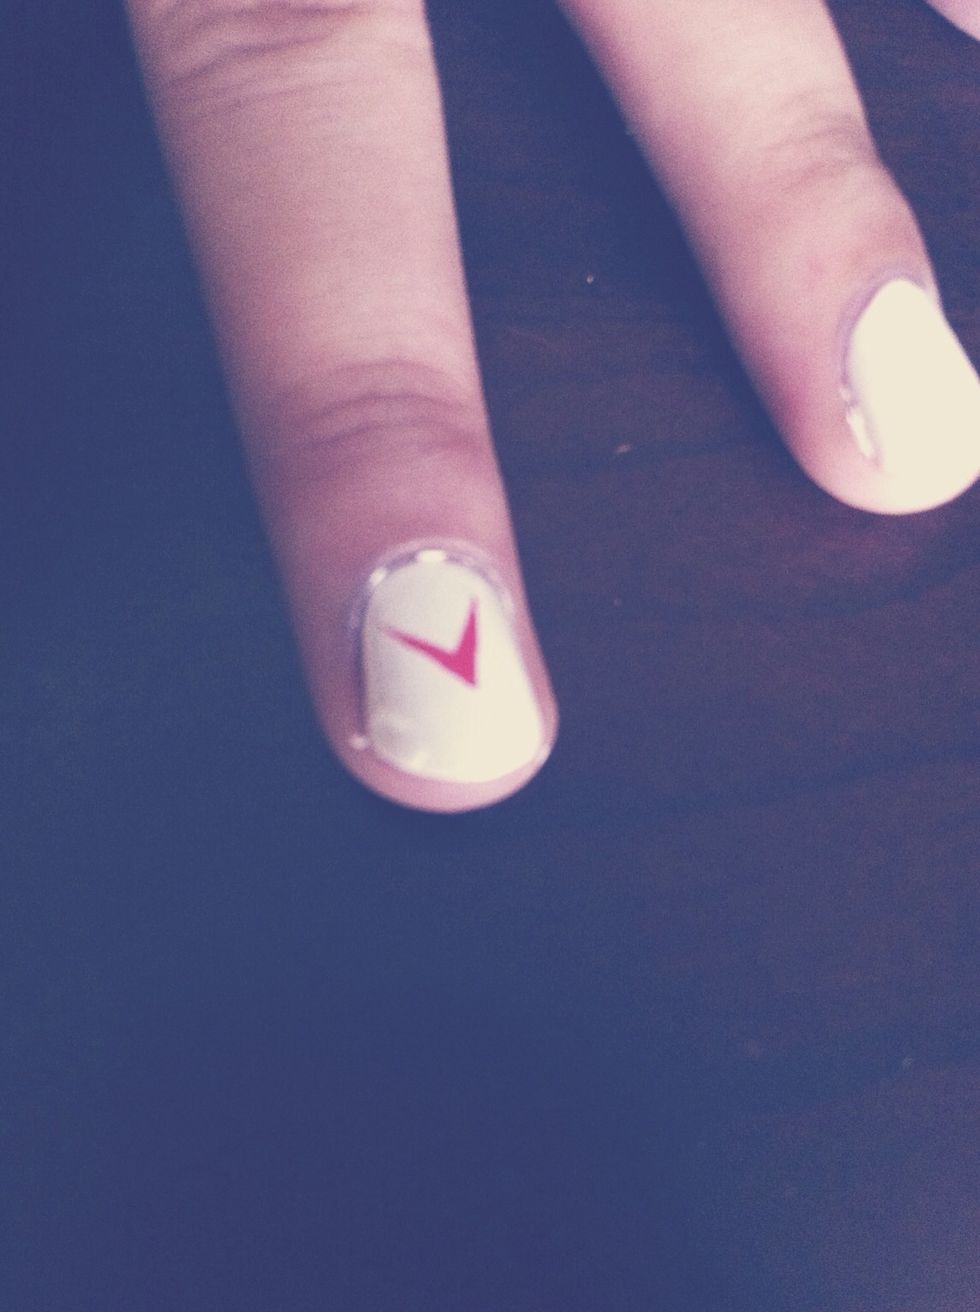
This is what it should look like
Now put the third piece of straight edged tape over the arrow. Put it on after a minute. Leave a little but if space above the arrow so there's a gap when painting the rest of the nail.
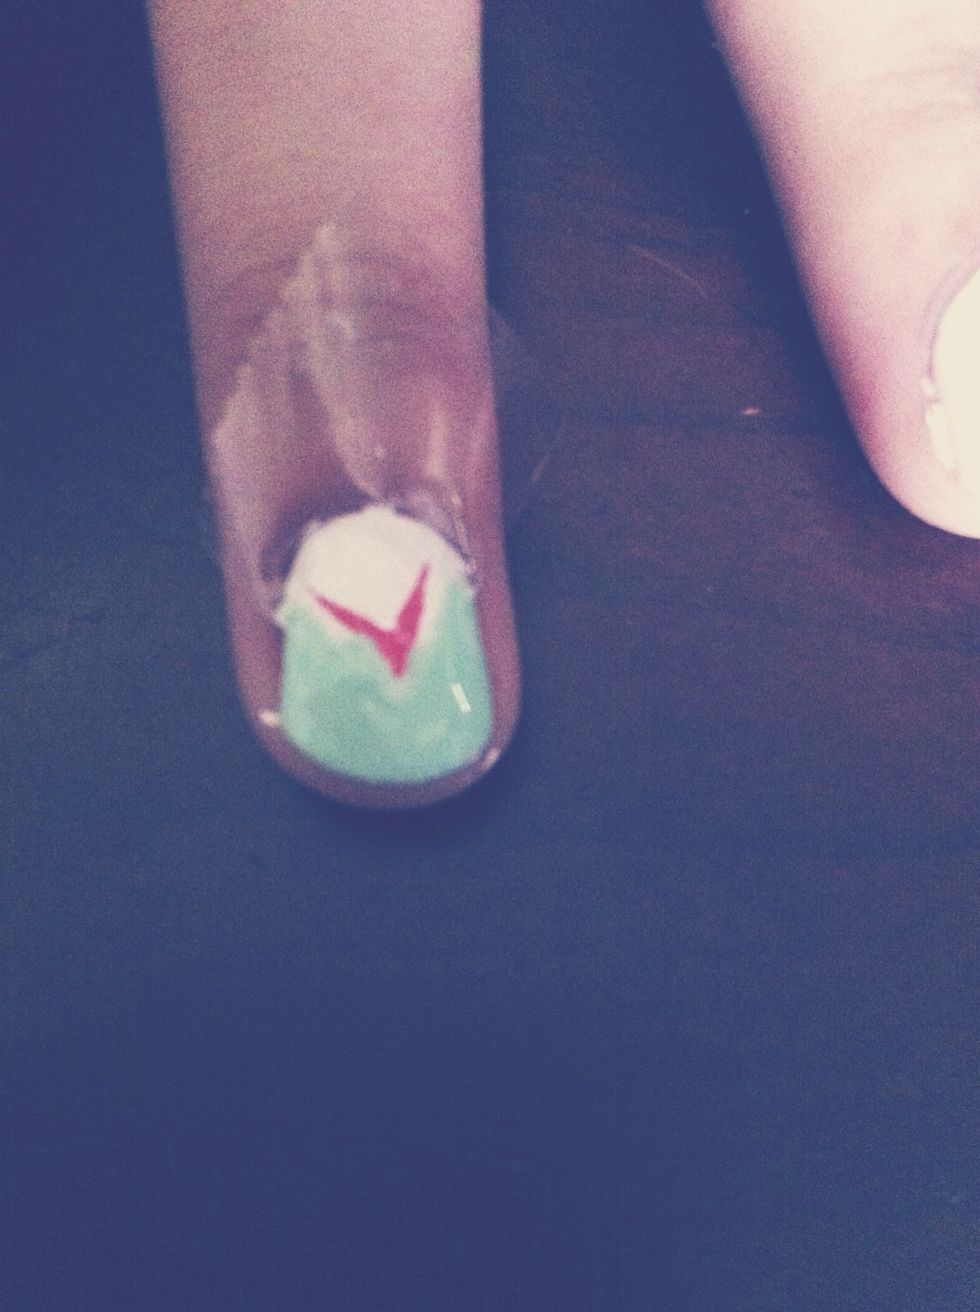
Now paint the rest of your exposed nail with the second contrasting color.

After you are sure the second polish is dried, smoothly lift the tape off your nail. The tape may or may not pull of some of the arrow but its ok. It adds character :)
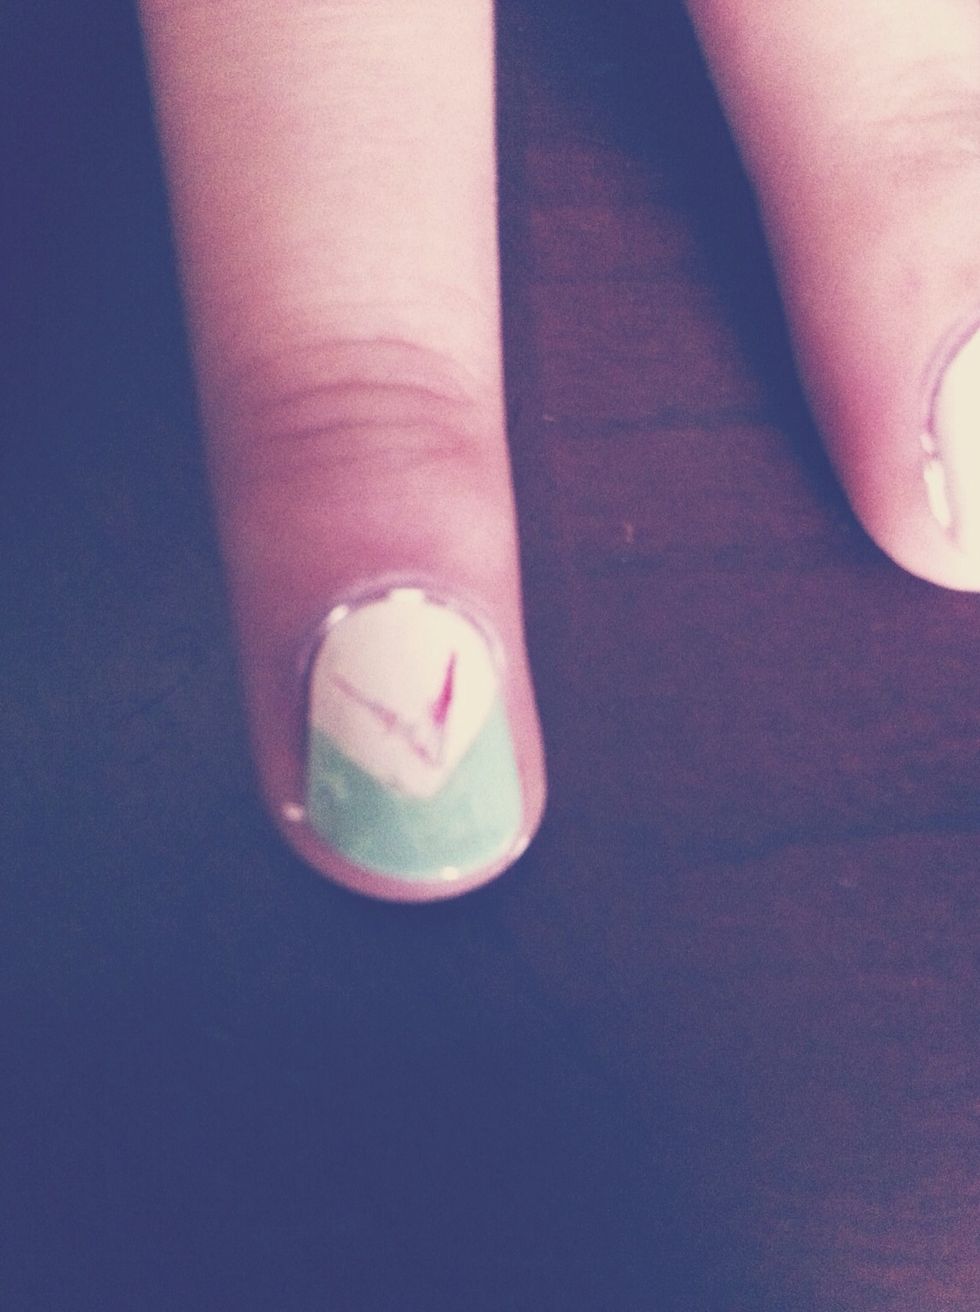
This is how it should look in the end. Put a top coat to prevent chipping.
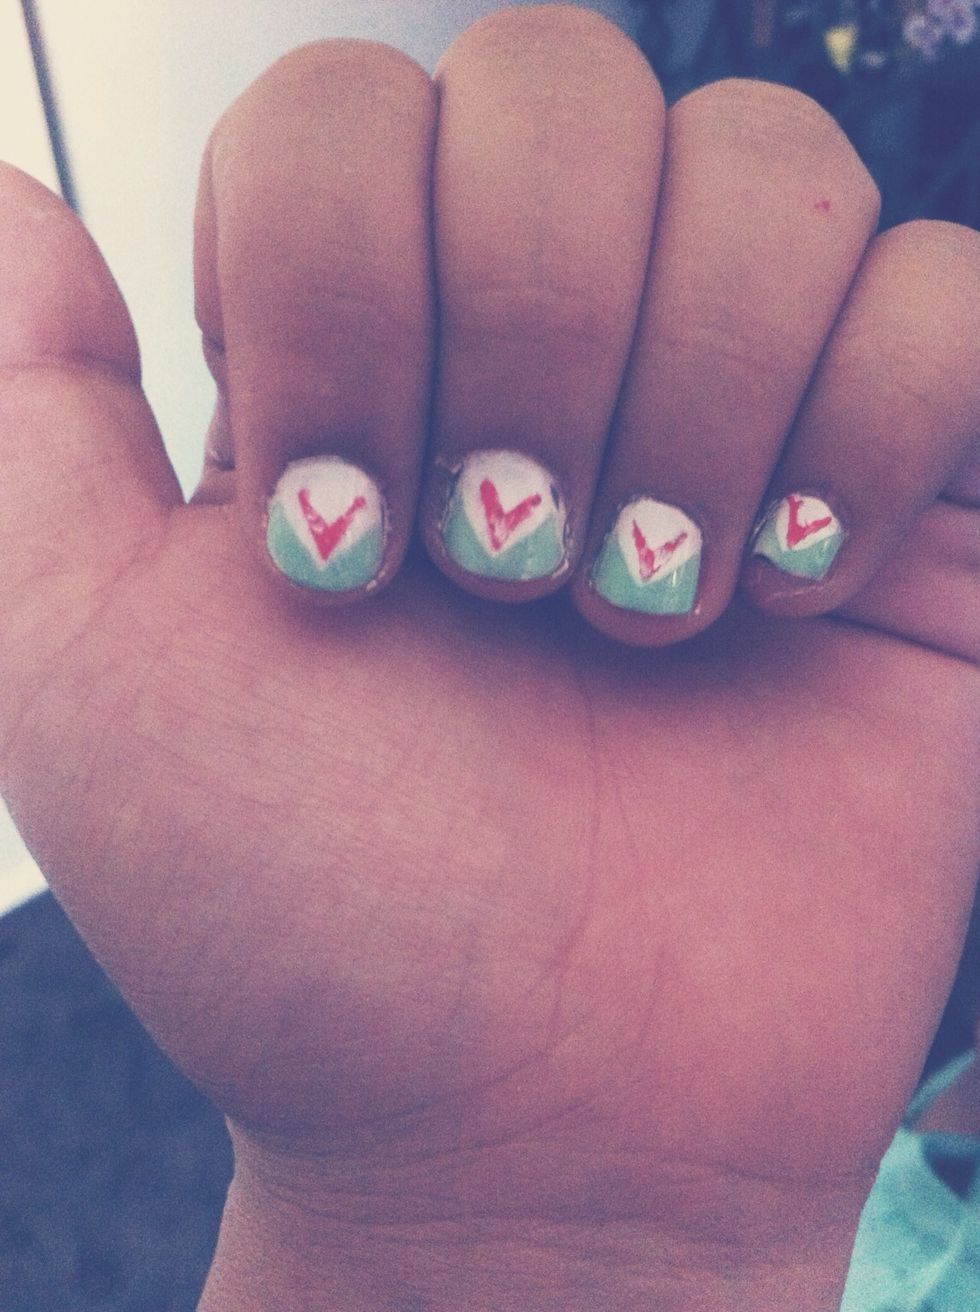
Tadaa :) again if the tape pulls of parts if the arrow, it's ok. But if you want sleek and solid arrows, put an over coat and let dry before putting tape on top of the arrow.