The Conversation (0)
Sign Up
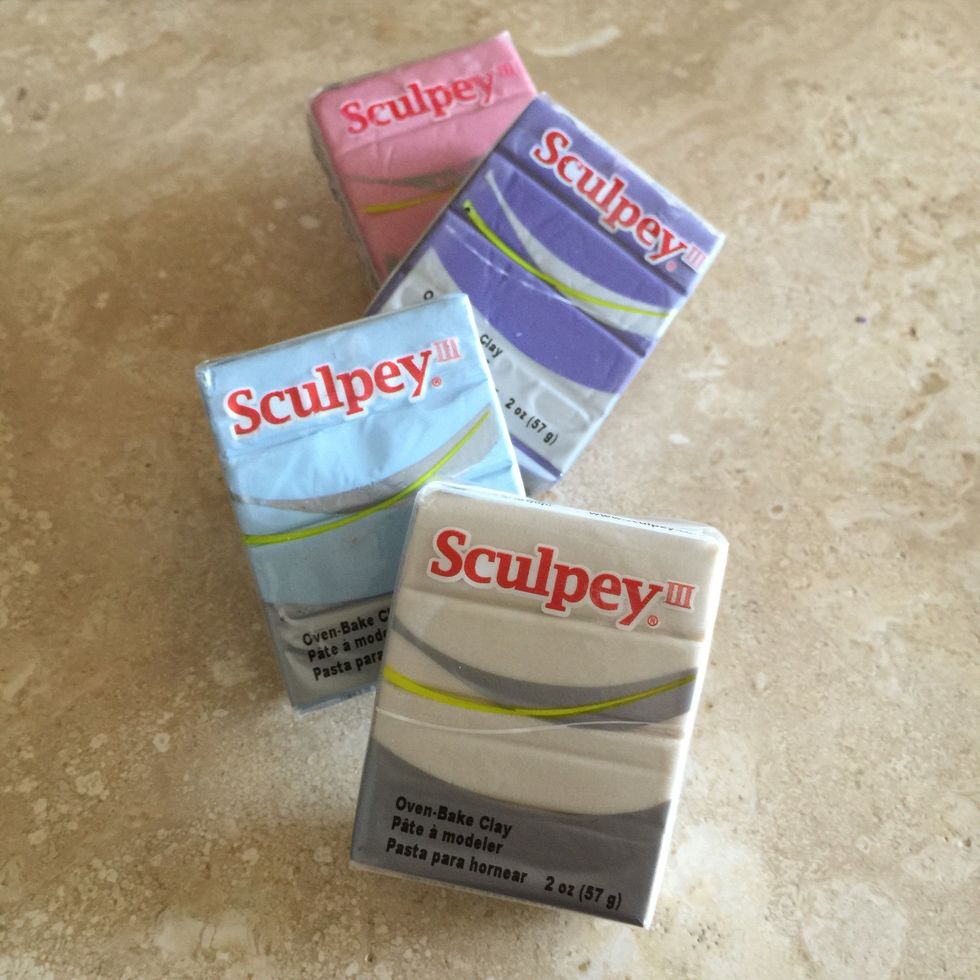
Gather the colors of sculpey oven-bake clay that you would like to create your totems out of. You can even mix them together for a tie-dye look!
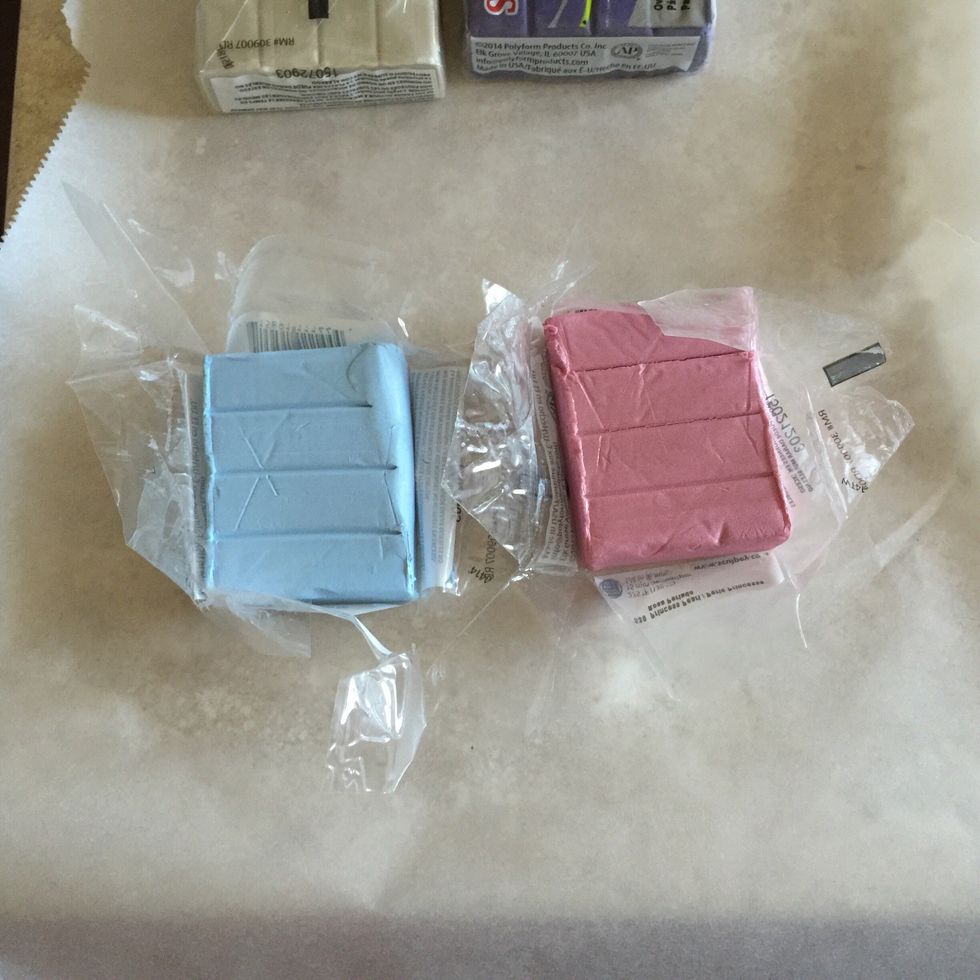
Tear the packages open of the colors you have chosen to use.
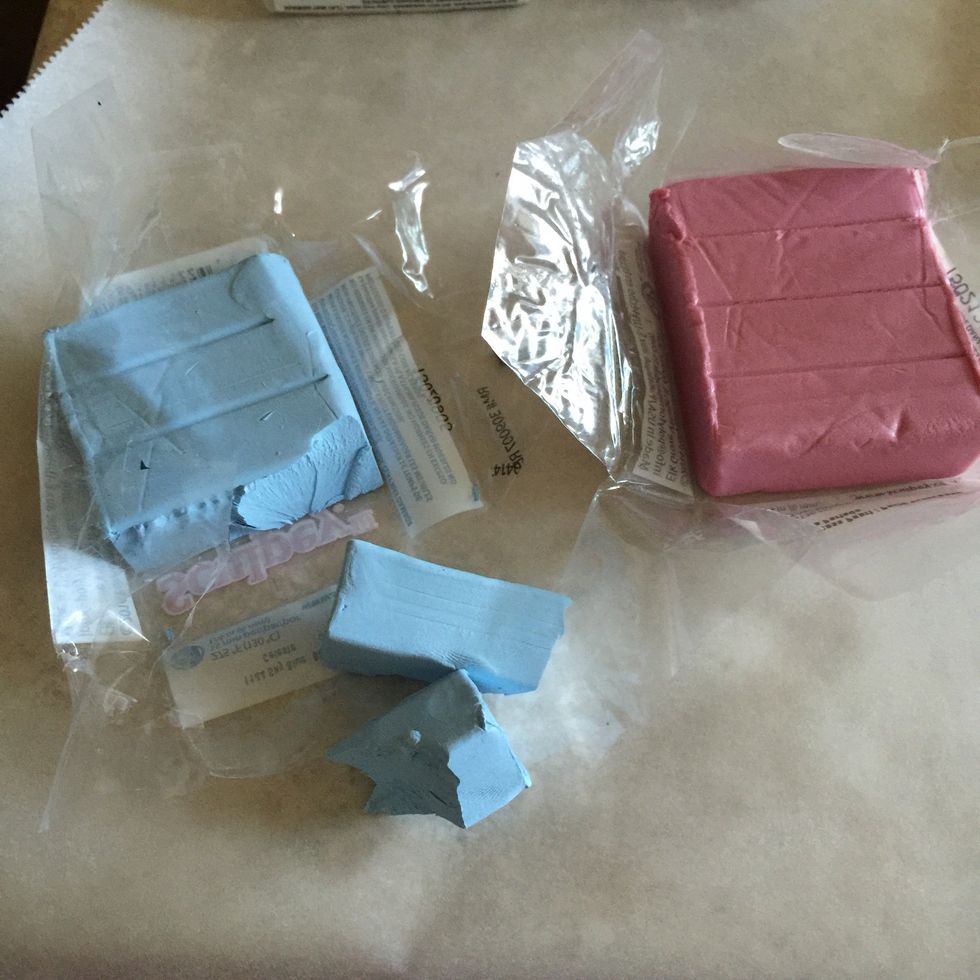
Cut the clay that you'll be using off. Here, I used only one of the pre-cut rectangles. The animal doesn't need to be that large, but the size is up to you!
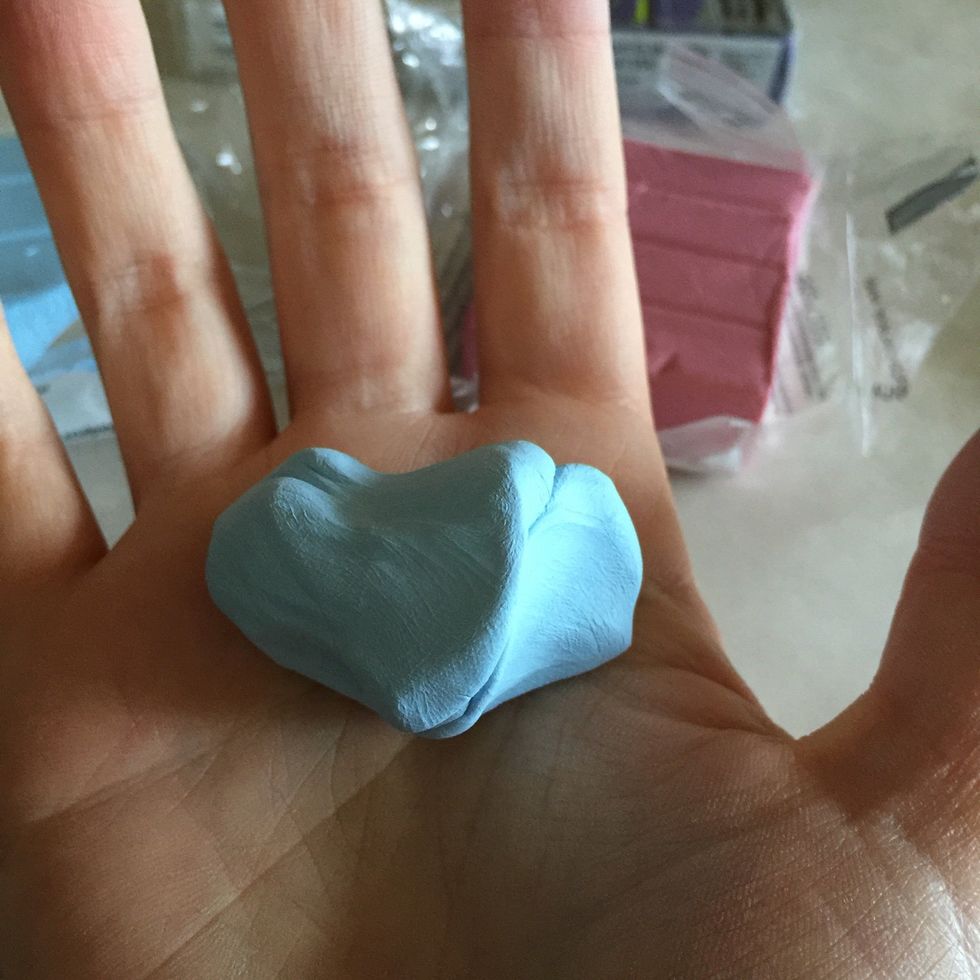
Start massaging the clay into your hands. It will start to get a little bit softer and easier to work with.
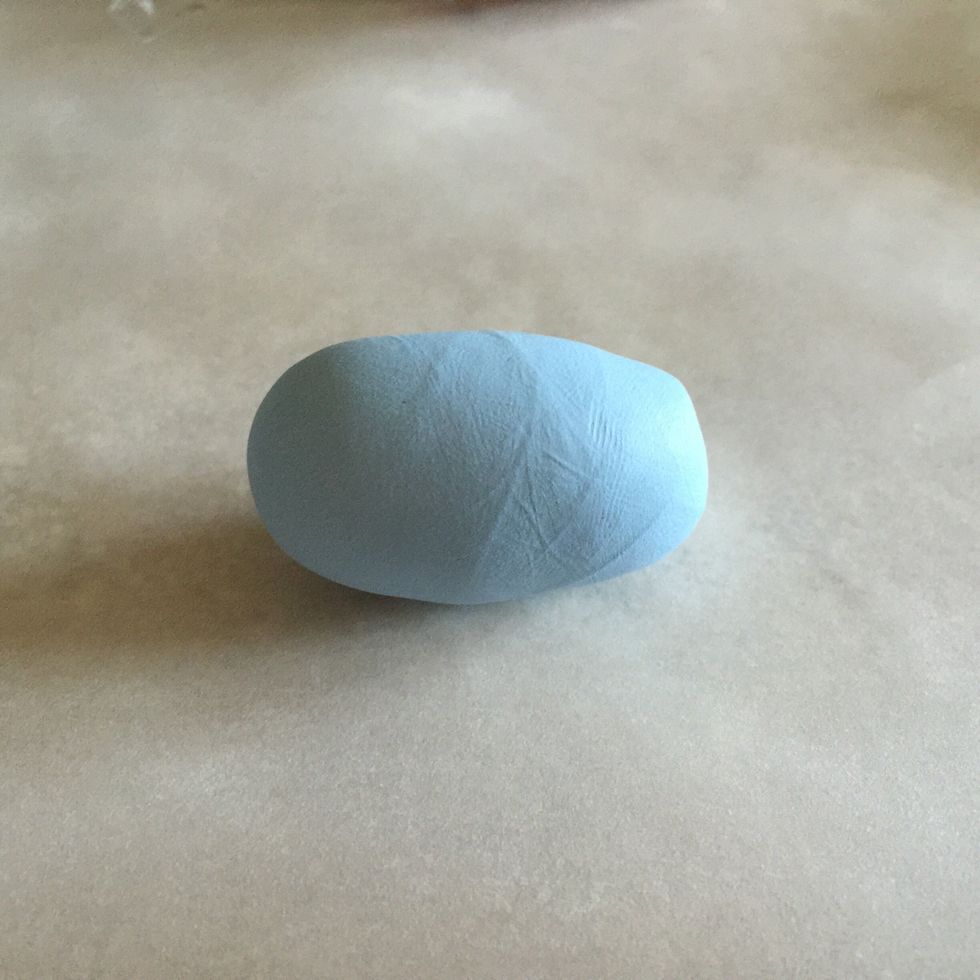
Form a ball in your hands. Roll out into rectangular shape. This will be the body.
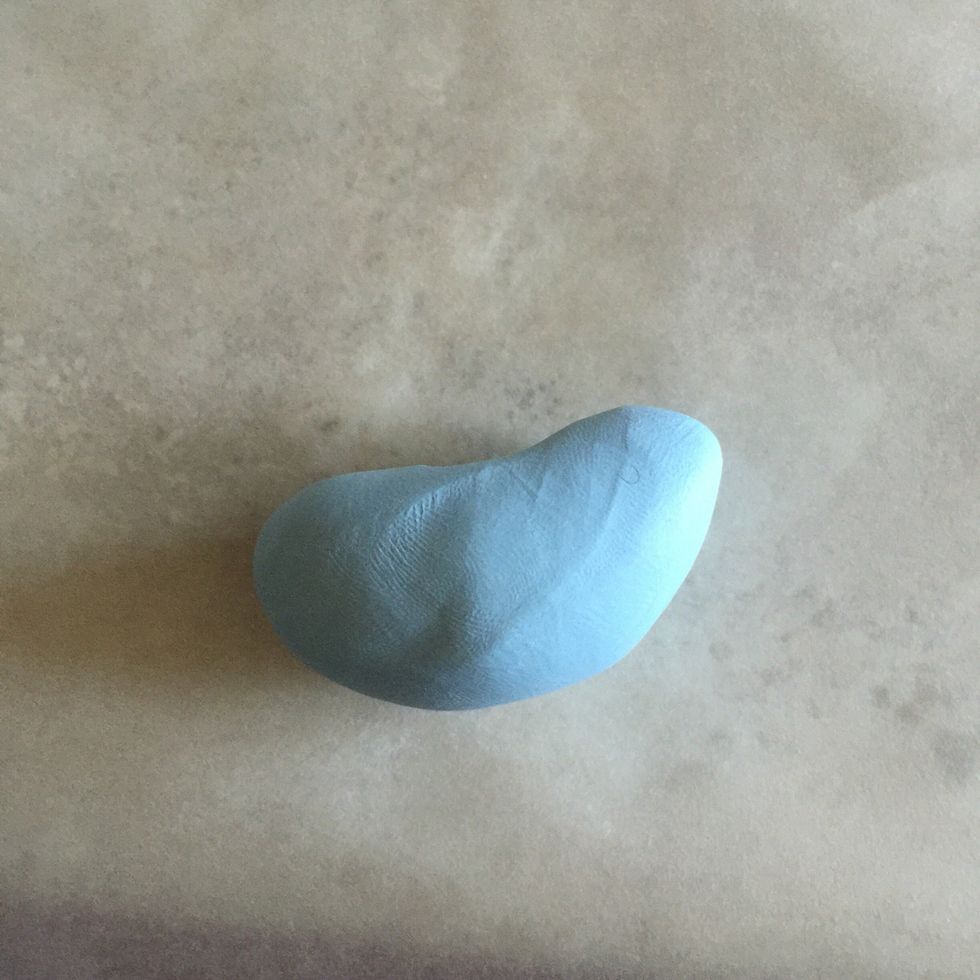
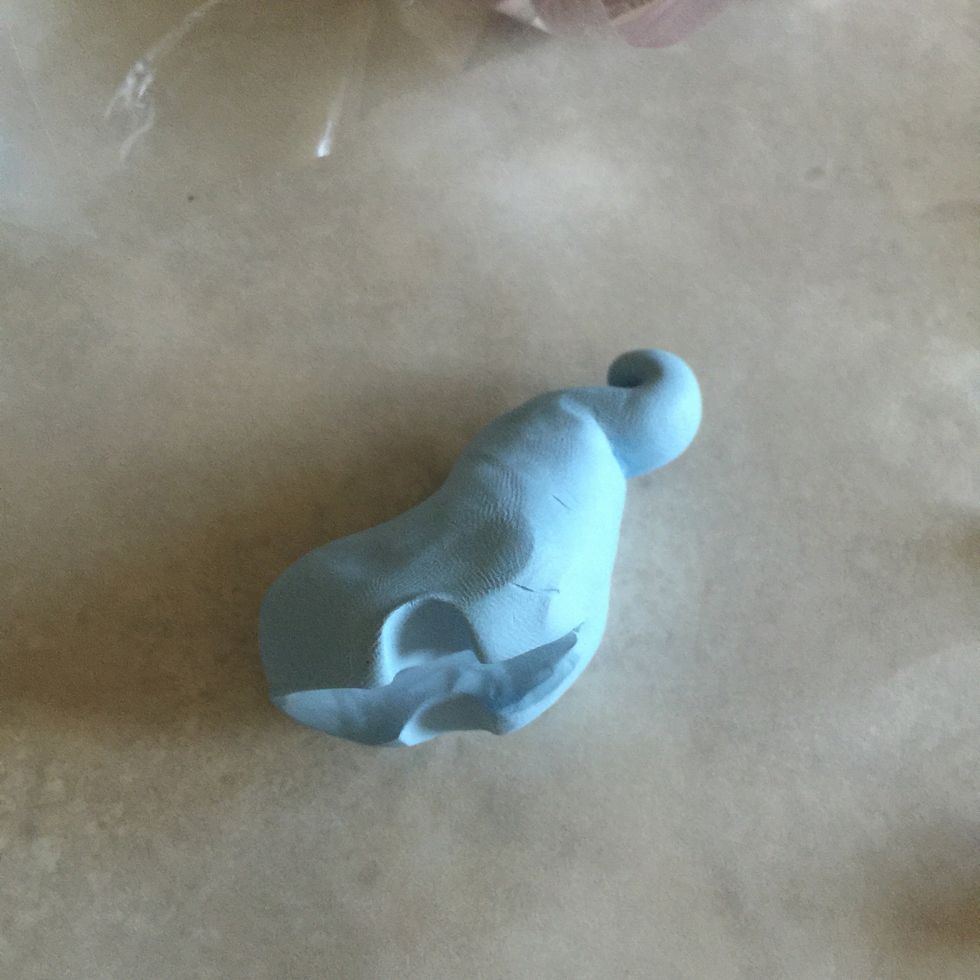
Pull one side upwards to start forming a head.
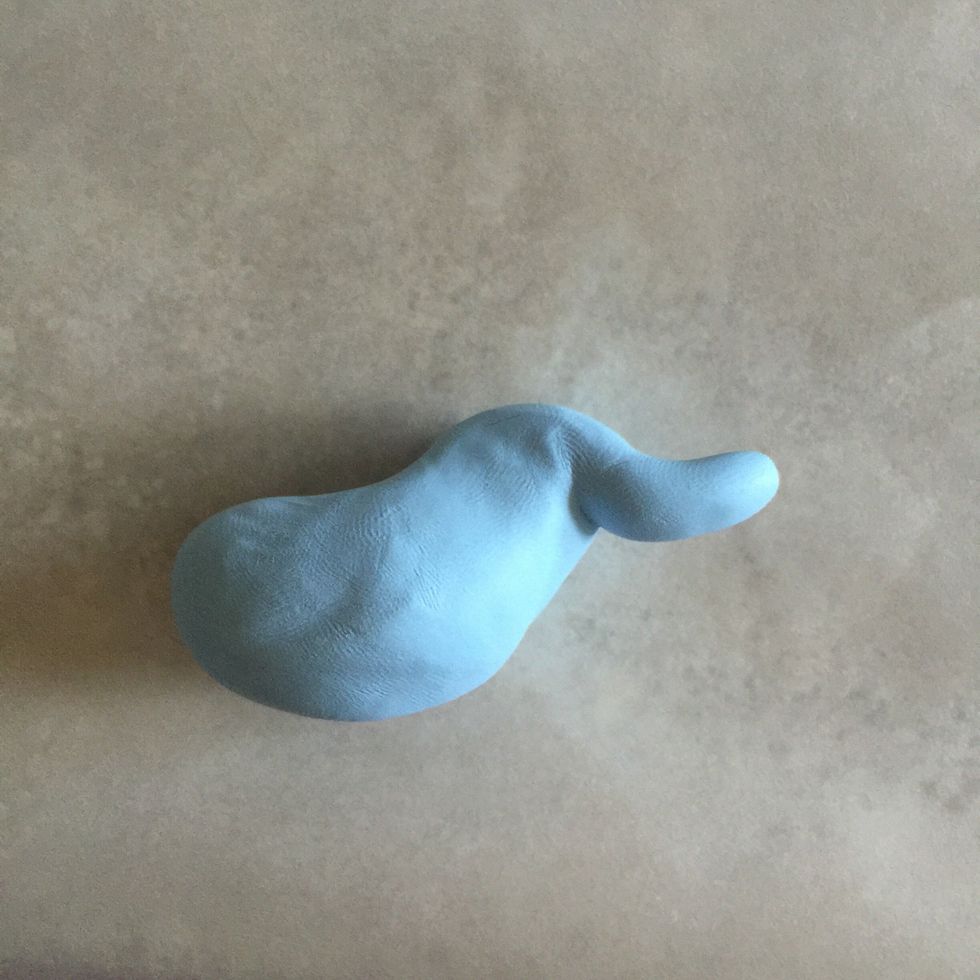
Carefully pull part of its head and form to start his trunk.
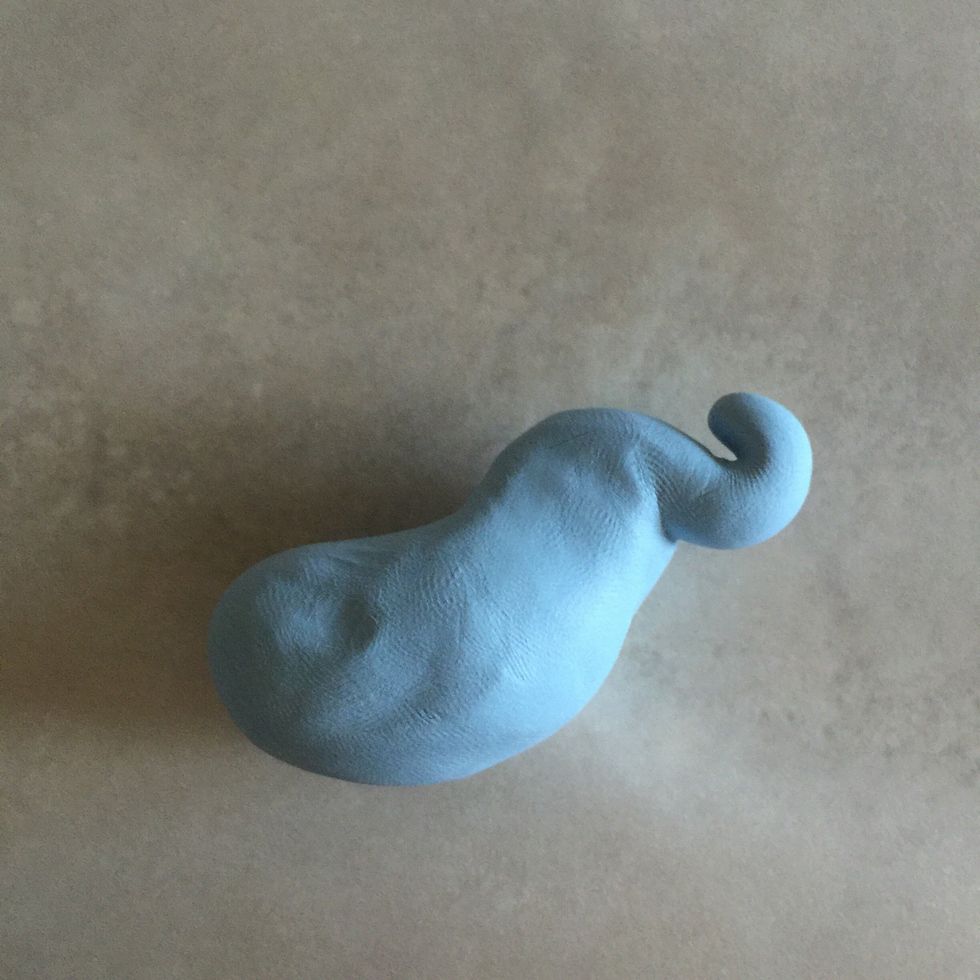
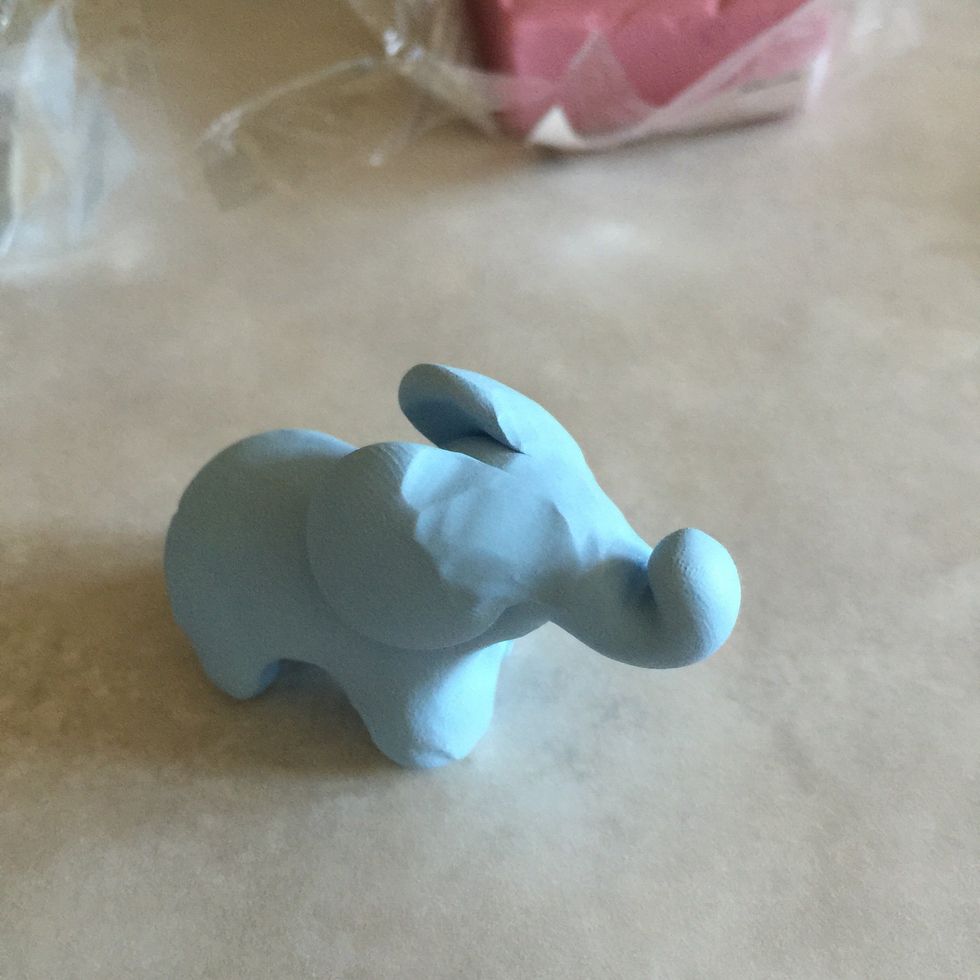
Pinch the end of the trunk to tilt upwards.
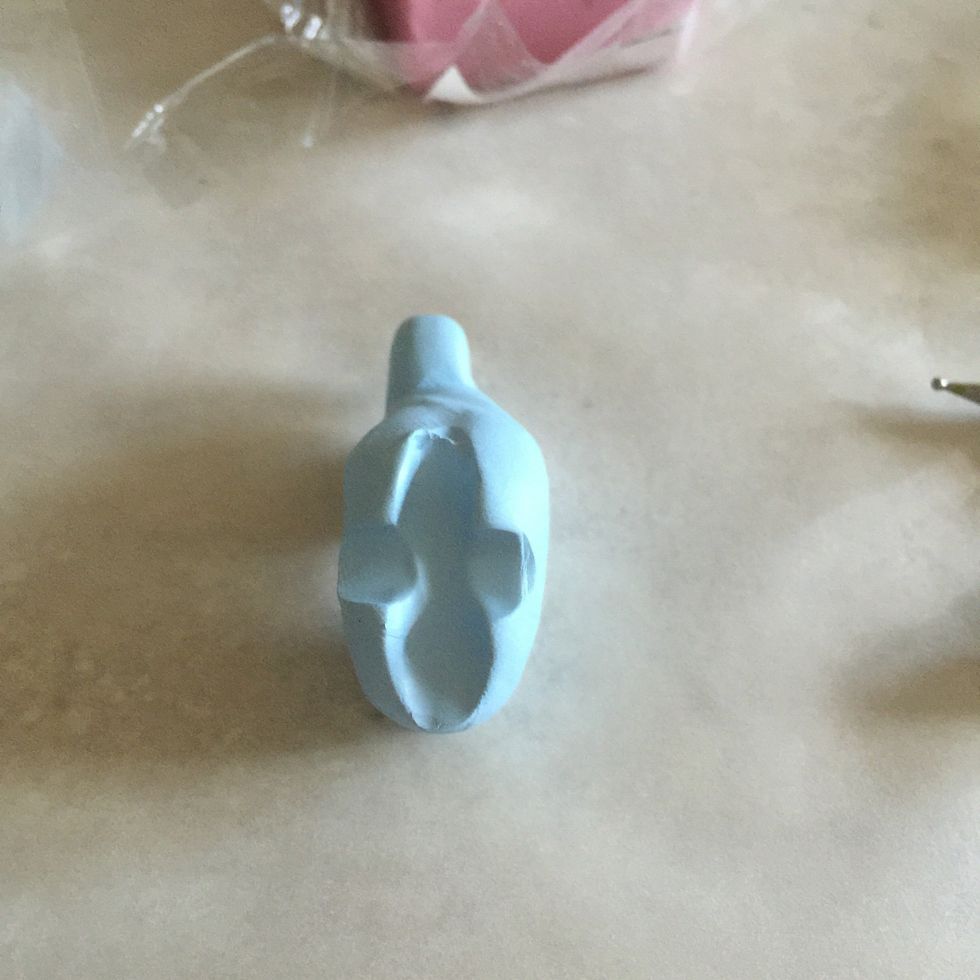
On the bottom of the animal, grab a pen or pen-like object and push into the animal both vertically and horizontally. The pieces sticking out will become its legs.
Here, you can see the legs forming. Now start to pull each leg downwards, elongating each one to create a round or square leg (your preference!).

Here, the elephant starts to take its form. You can see the legs can stand upright now. Yay! He can walk! :)
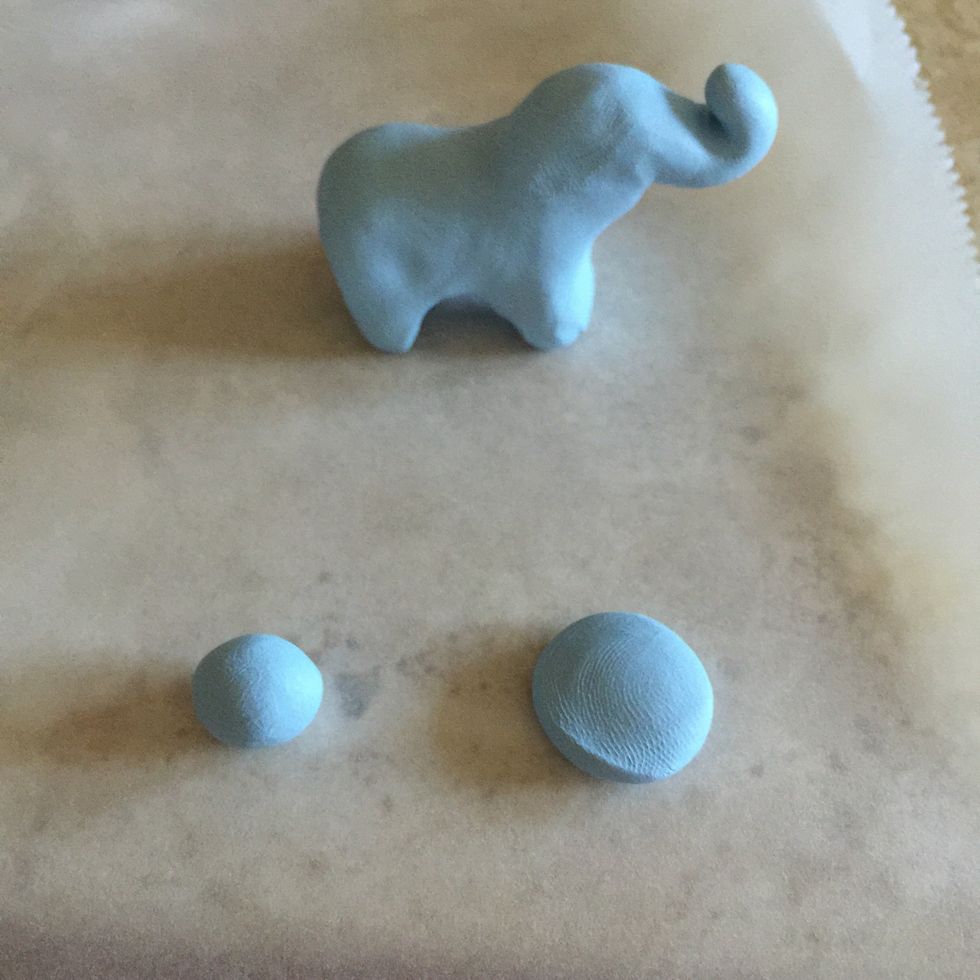
Grab a pinch of clay from the Sculpey package. Roll it into 2 small balls (like on the left) and then push the ball down with your thumb (like on the right).
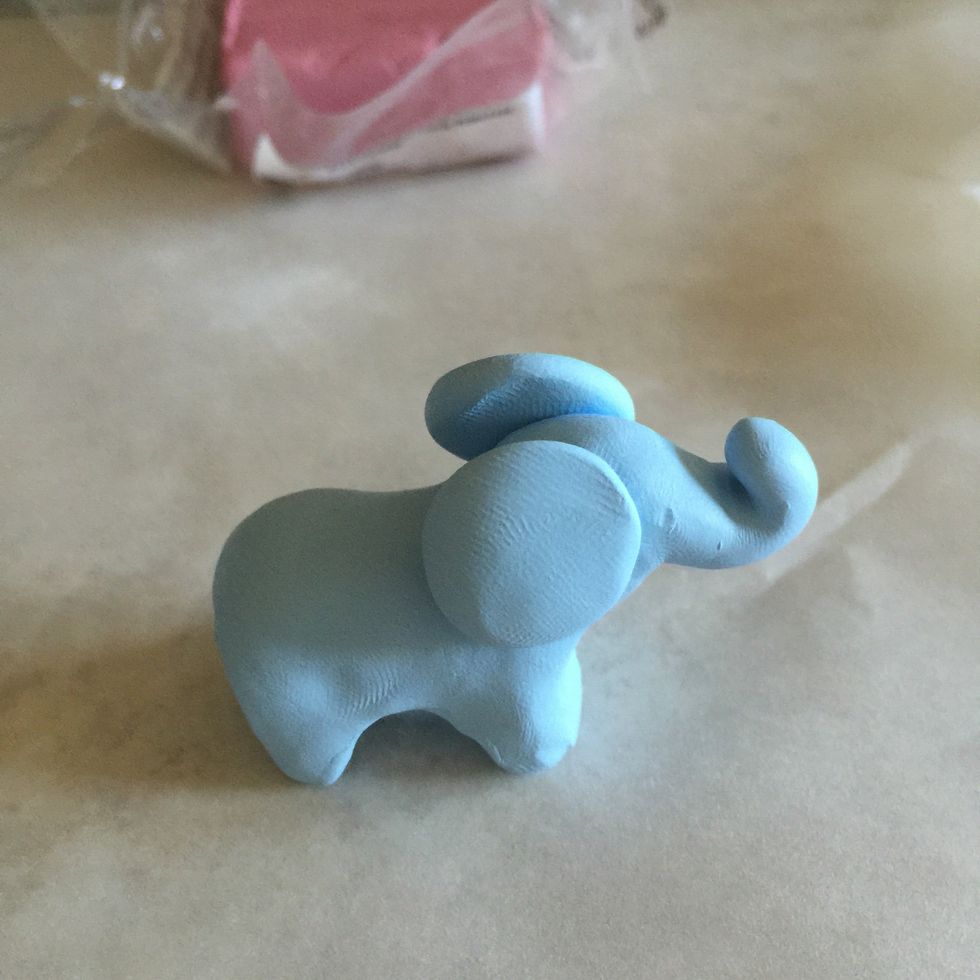
Attach the disks to the side of the elephant's face.
Carefully, push the clay towards the side of the elephant's face to mold the disk into the face. Using a pen to roll out the disk into the face slowly may help create a smoother look.
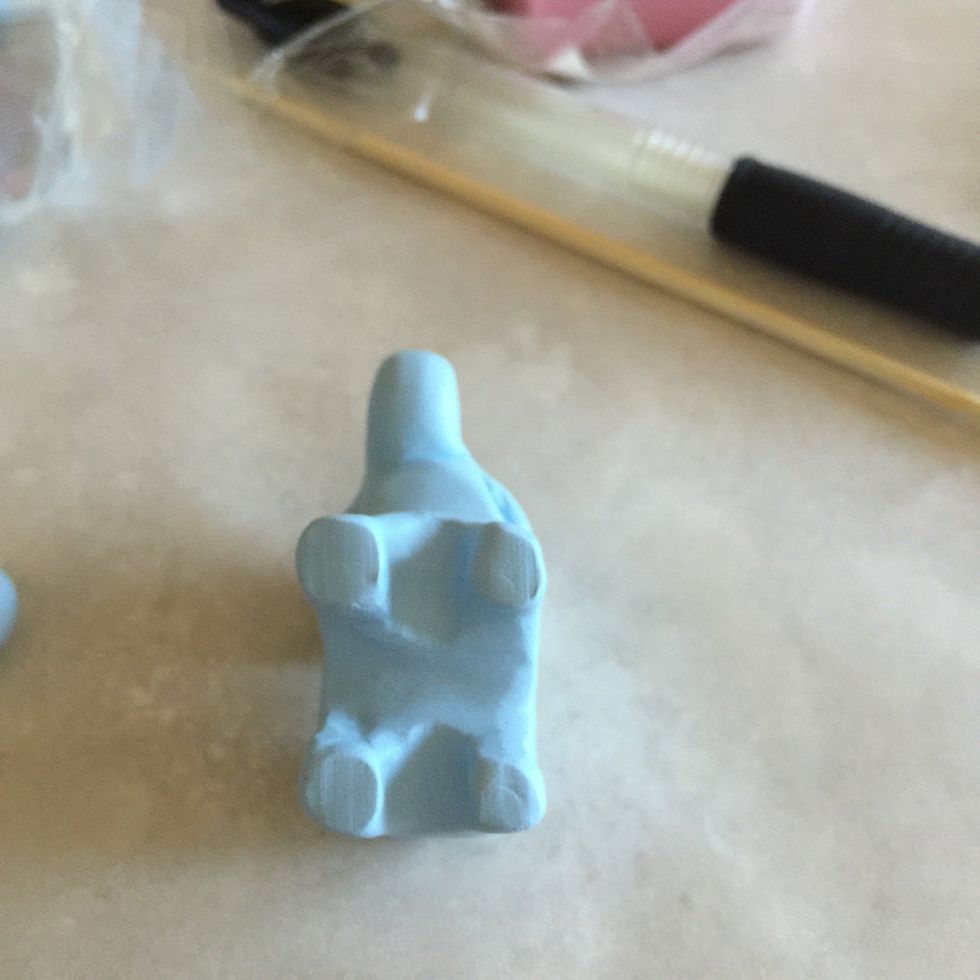
Here you can see the feet are smooth and flat. To do this, stand elephant on flat surface and push into surface OR roll out each foot with a pen.
Here, you can see the legs formed, the belly flattened and smoothed, and the feet flattened on the bottom.
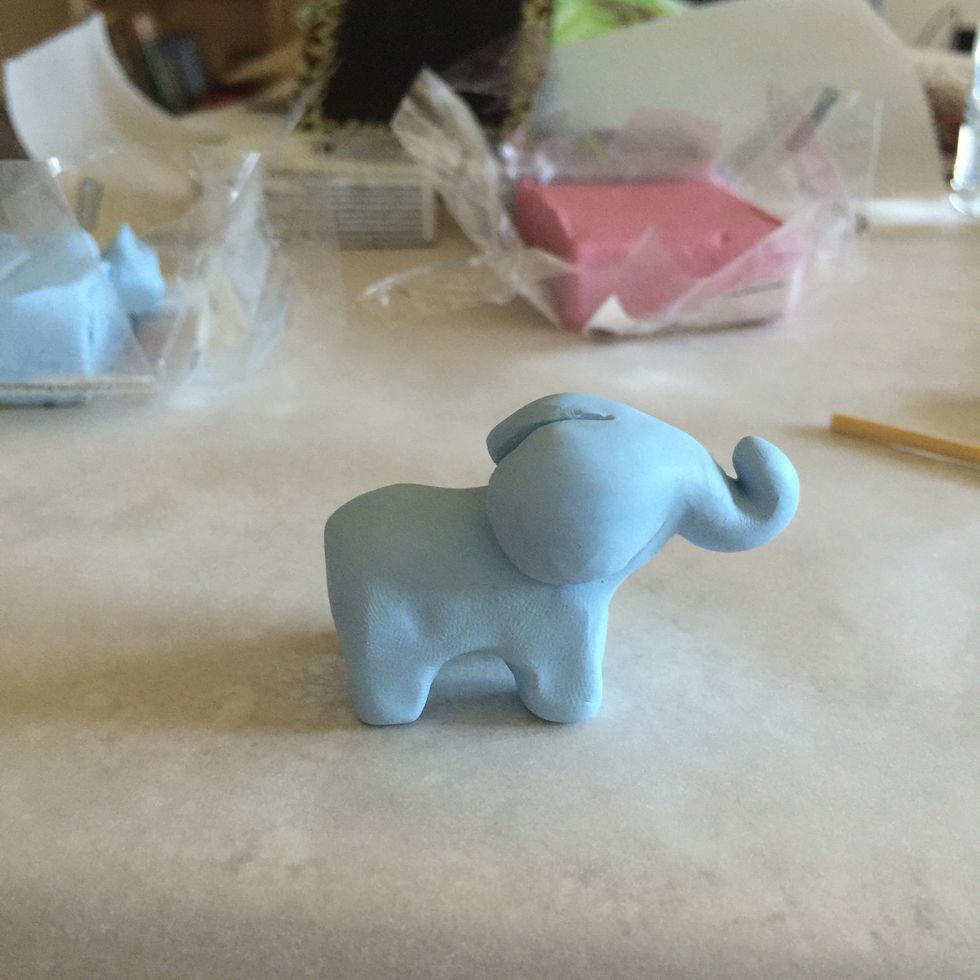
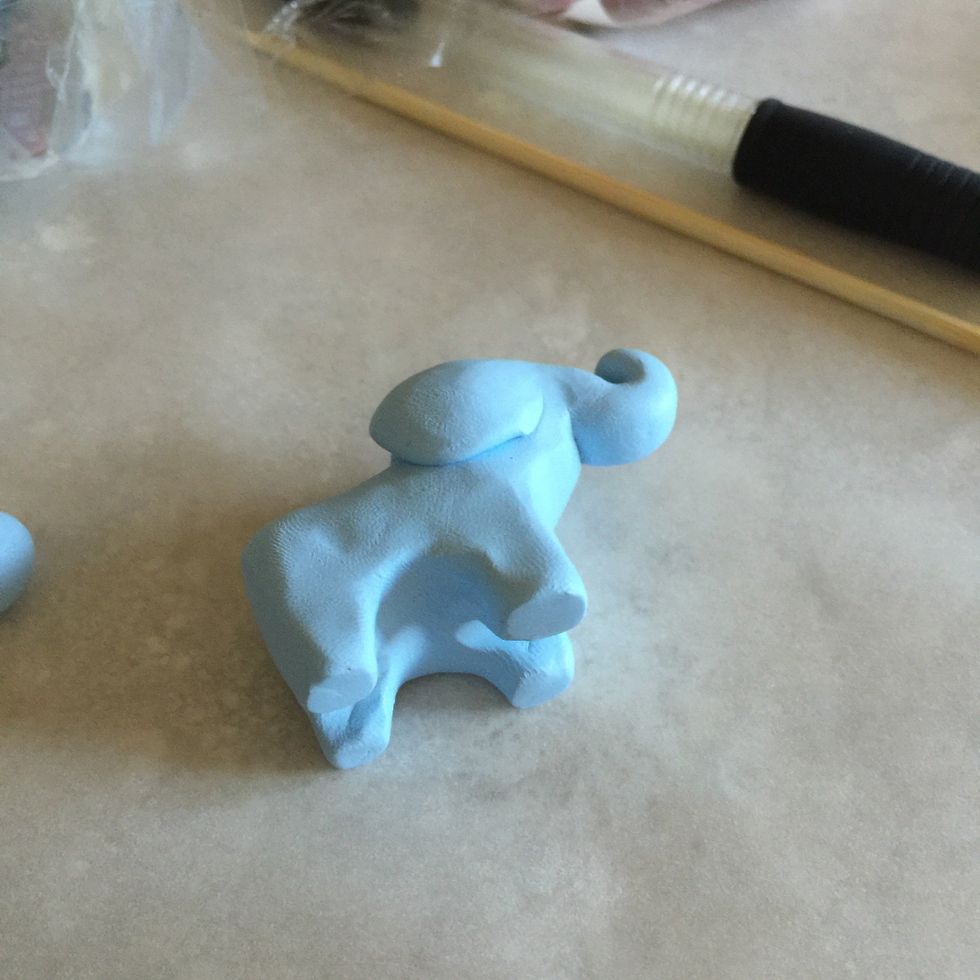
Now our elephant has been born!
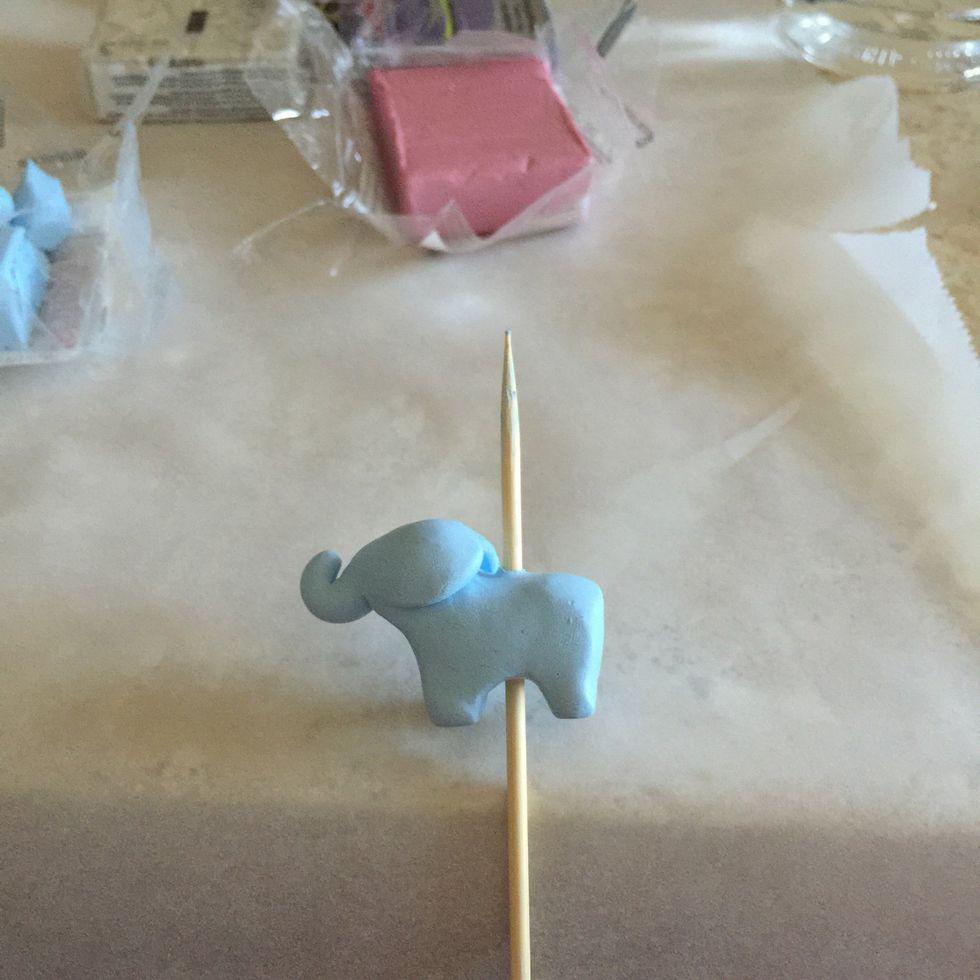
The awfully terrifying part: sticking a skewer or similar object through your totem to create the hole in which string will go through. Make sure to create a hole large enough for the tassel string.

Make sure the top and the bottom of the hole are flattened and smoothed out.
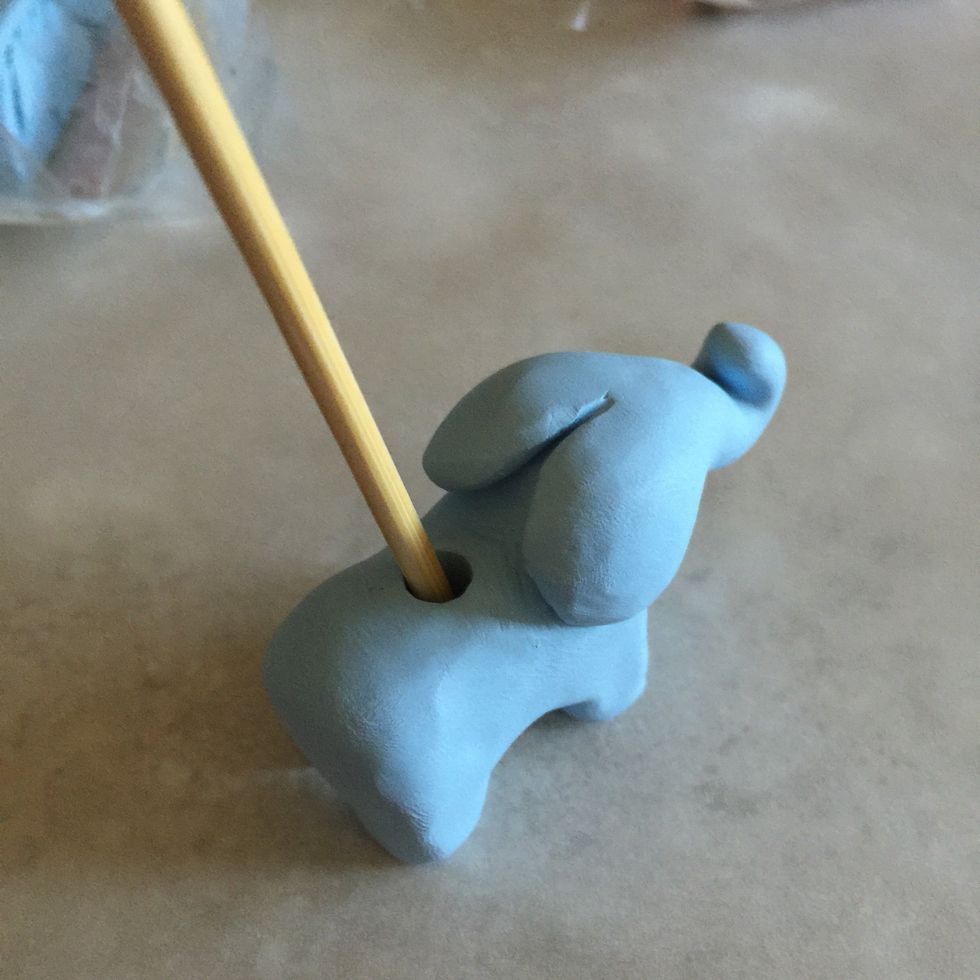
Make the hole bigger by moving the skewer around slowly on each side.
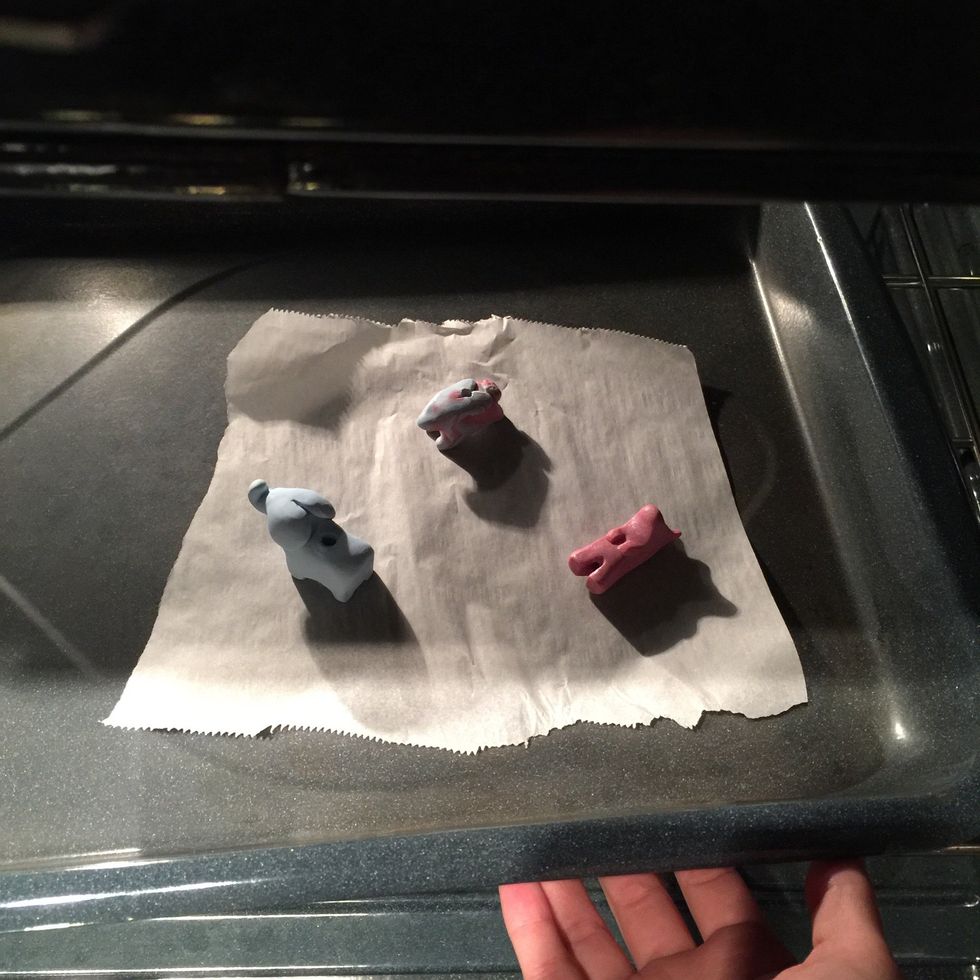
With a ruler, measure and follow the baking instructions on the Sculpey package according to the size of your totem. Pay attention to the time and keep an eye on your totems throughout the baking.
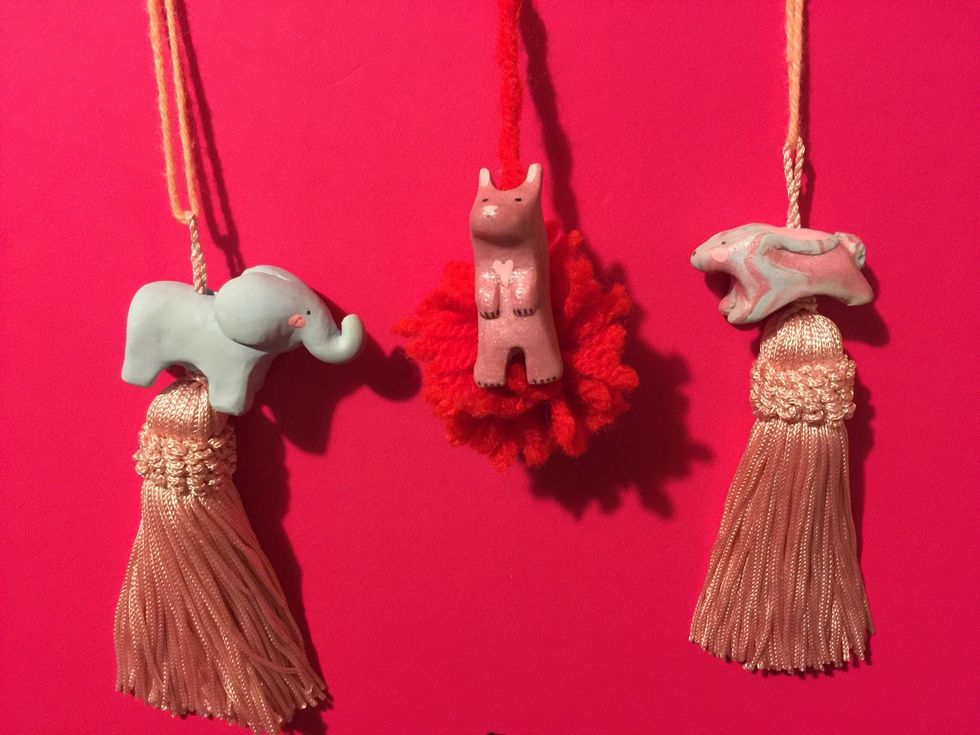
Once dried and cooled off: With the acrylic paint, paint on a face, paws, and any other characteristics your animal may want! Hearts and flowers look great too! Get creative!

Add totem to tassel or string. Add keychain or simply tie using a string. You can add other beads too!
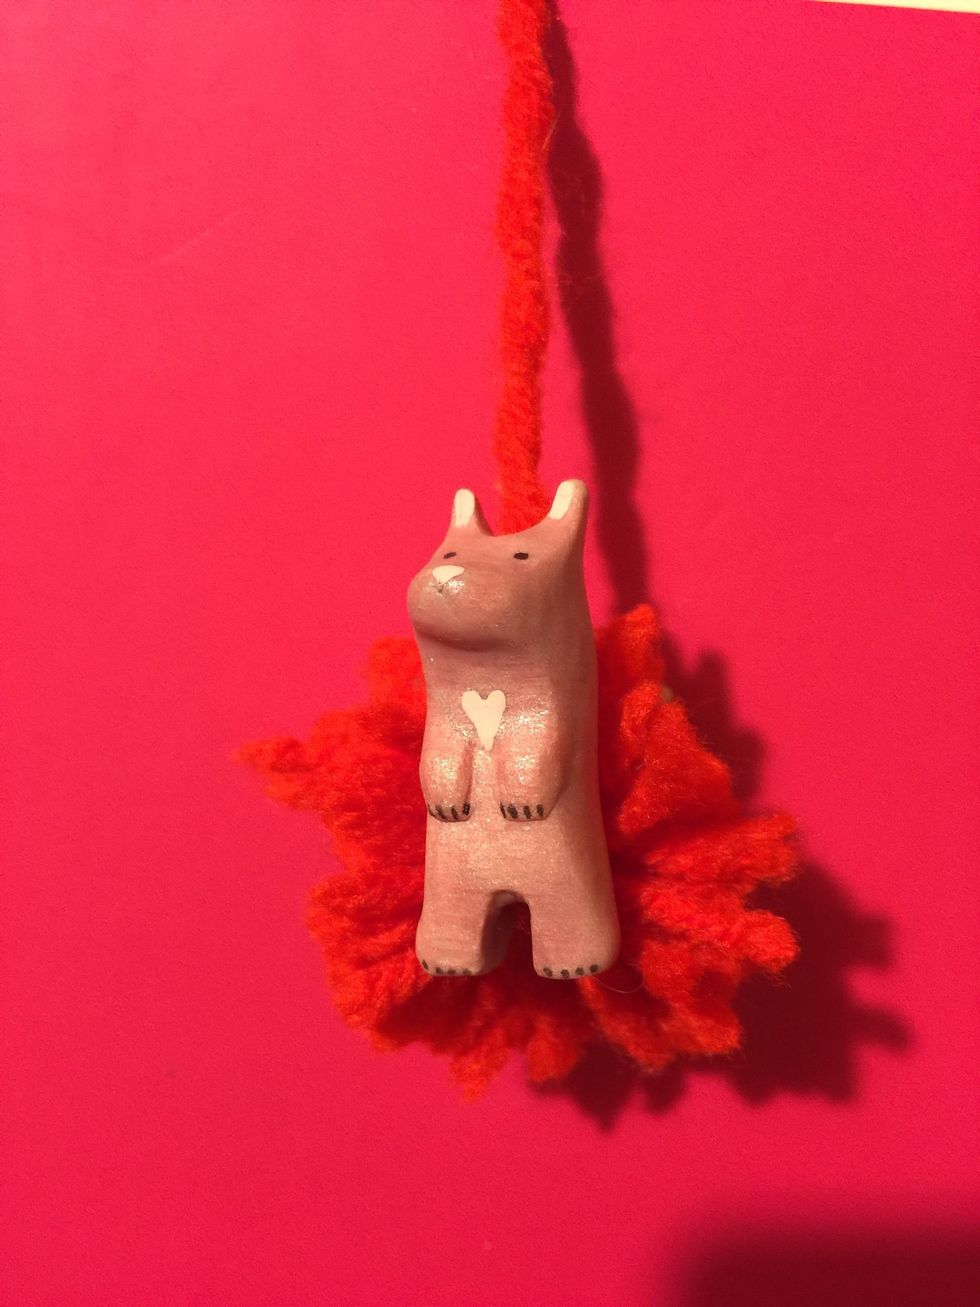
You can add pom poms to your key chains too!

Add to a handbag to give new life and color!

You can also use totems to wrap gifts or add to lunchboxes, bags, or packages! Get creative and enjoy your new little animal totems! :)