How to create and remove a weaving from a loom
Create and Remove a Weaving From a Loom
1259
STEPS
TOOLS
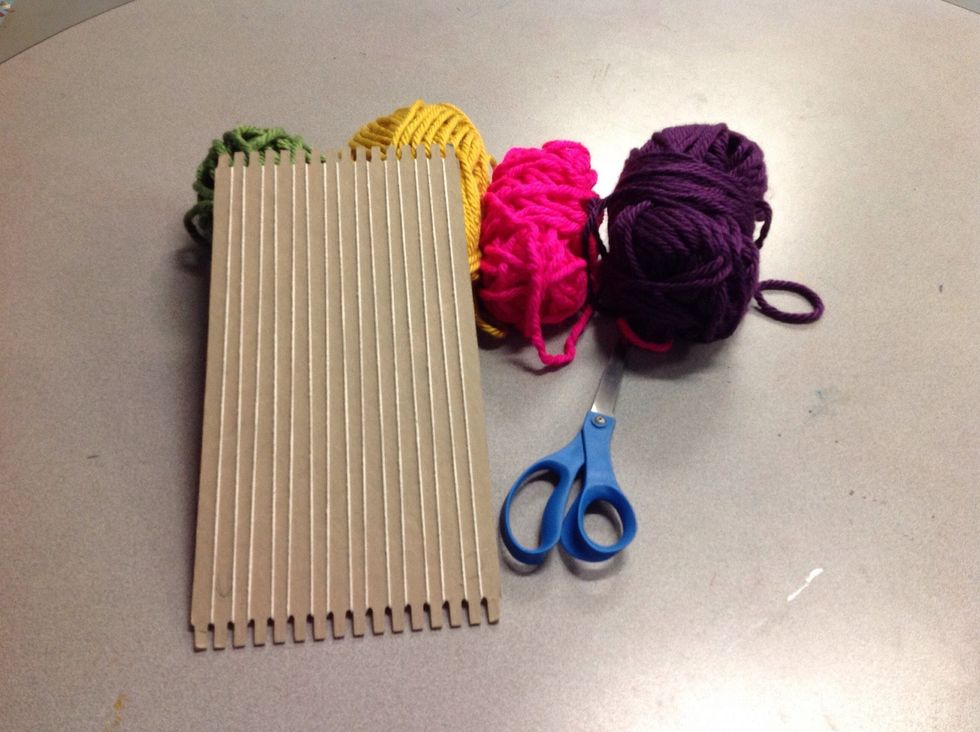
These are the supplies you will need. A cardboard loom which has been warped (white strings), yarn (weft) and scissors.
Select your first color. Starting on the left, tuck your weft under the first warp string. Then place the weft over the second warp string. Continue this under/over pattern until you reach the end.
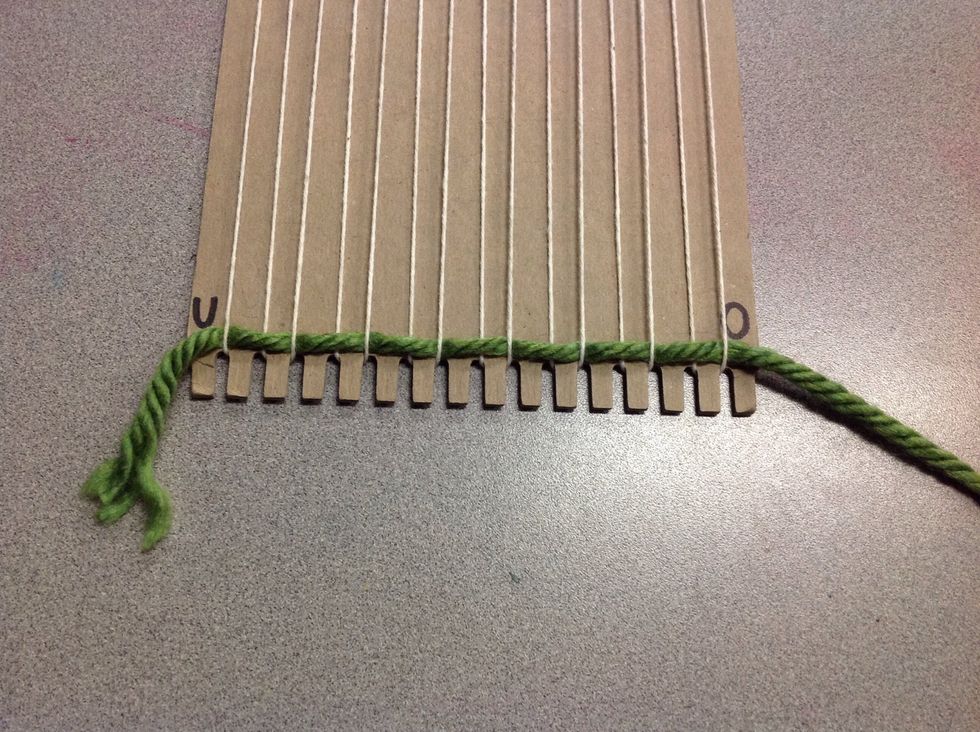
"U" stands for under and "O" stands for over.
Pull weft all the way through, so there is a short tail on the left. The second row begins on the right. Place weft over the first warp string and under the second. Continue the over/ under pattern.
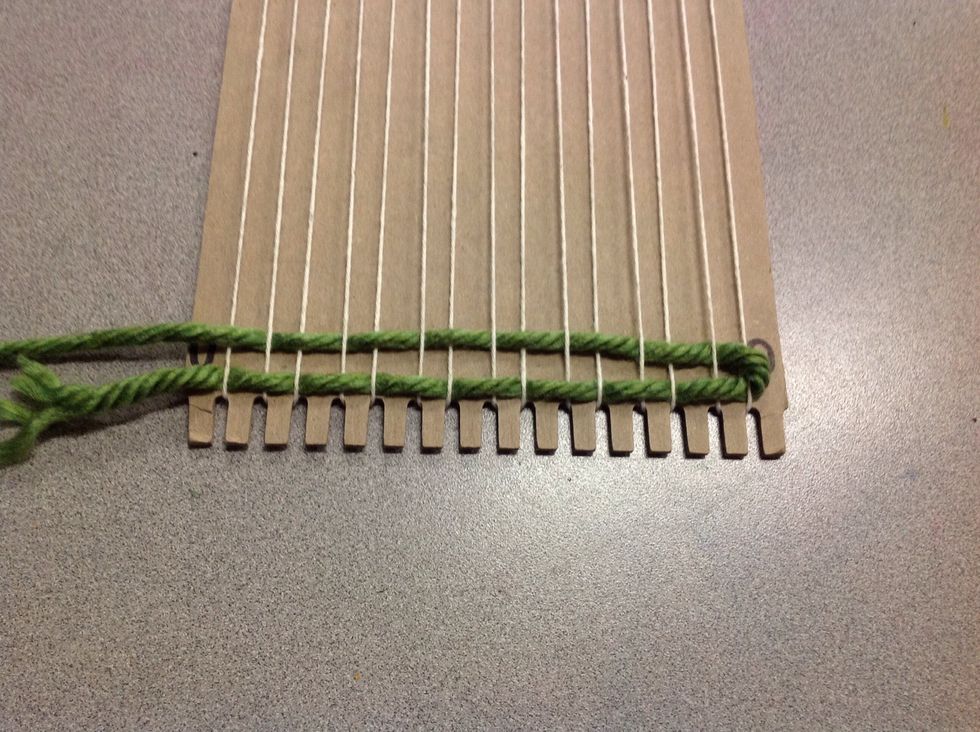
I like to pick up every other string and tuck my weft under it. The "over" takes care of itself. The "under" you have to make happen.
Follow the under/over pattern when working left to right and the over/under pattern when working right to left until you run out of yarn.
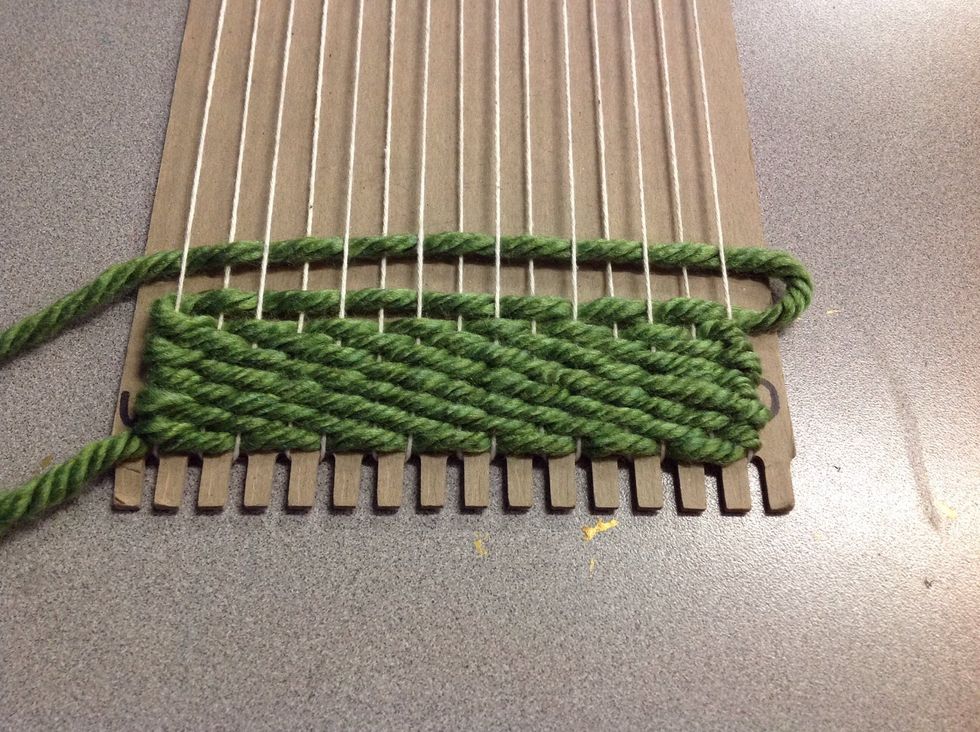
Push down the weaving as you work. A good weaving doesn't show any of the warp.
Don't pull your weft too tightly when wrapping it around the warp strings to start a new row. Leave a little loop. Otherwise, your weaving will become narrow in the middle.
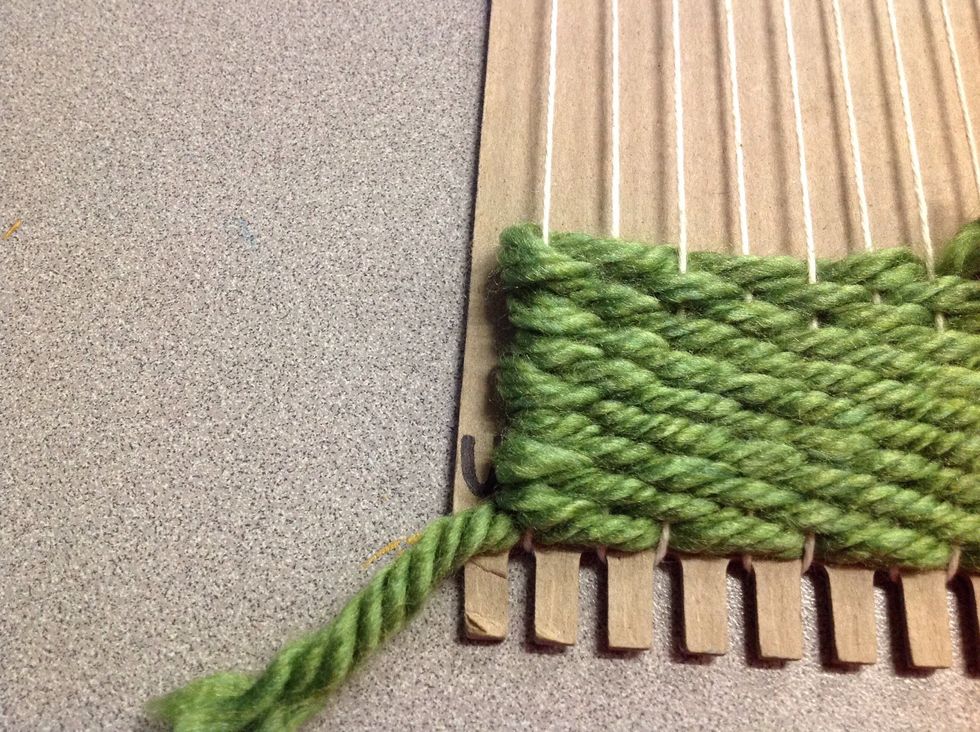
Leave it loose on the sides.
Weave your weft into the middle of the loom so the end of the weft won't hang off the side of the weaving.
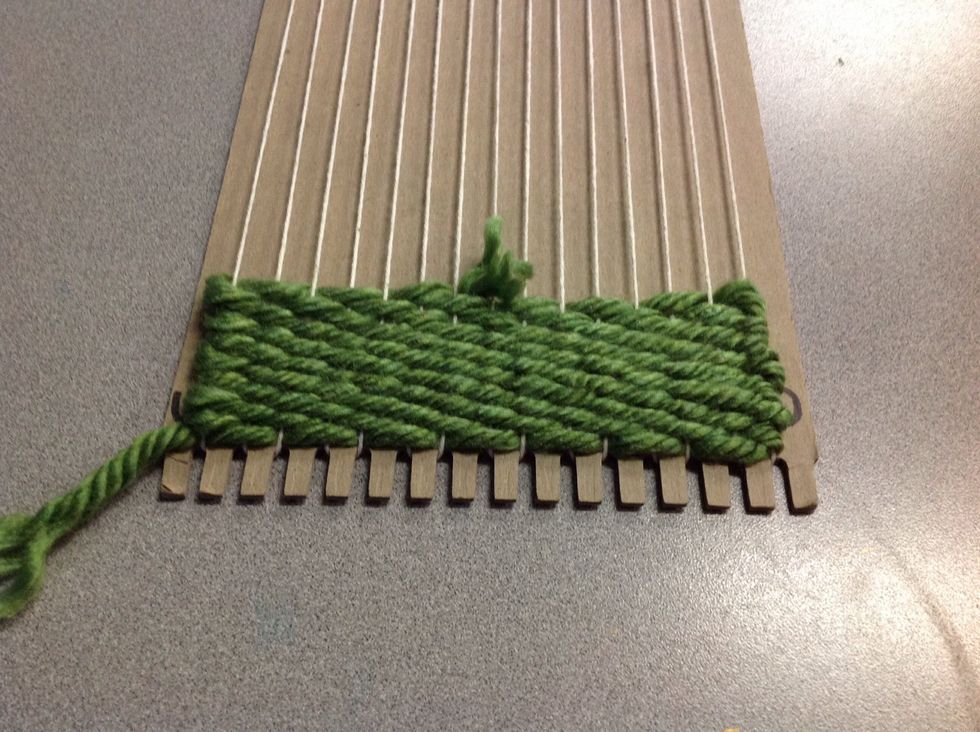
If you need to trim the weft, be careful you don't accidentally cut your warp.
Choose your next color. You will need to finish that last row, so weave with the same under/over pattern. The last piece and the new piece should overlap in the middle.
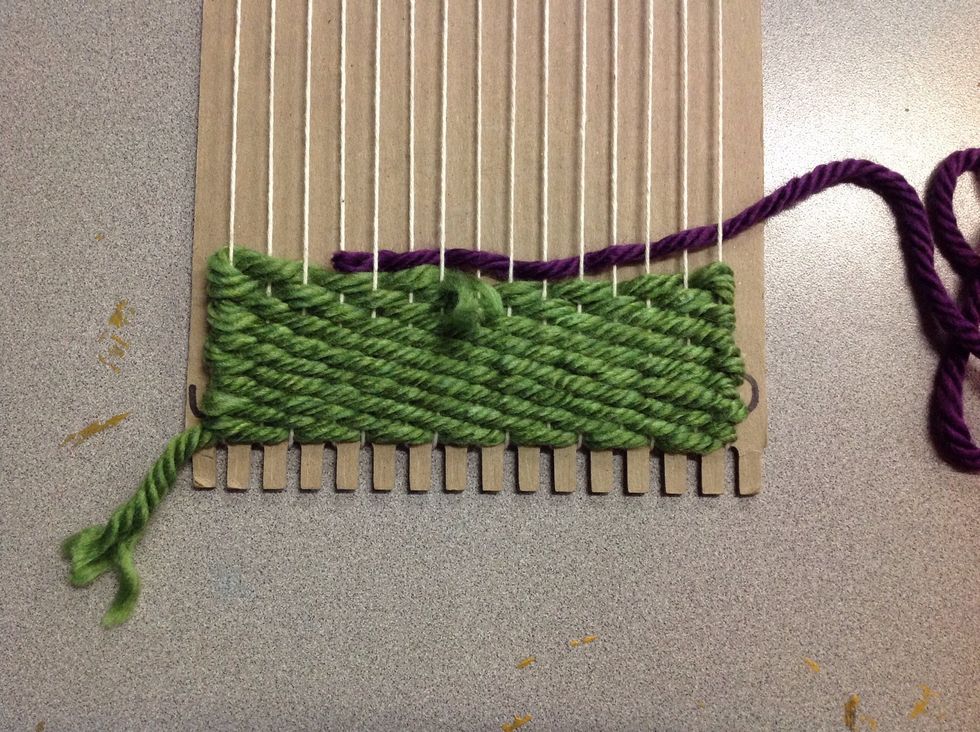
The only time your under/over pattern should be the same is when stating a new piece.
Then start the next row, right to left, with the opposite pattern. In this case, it is over/under.
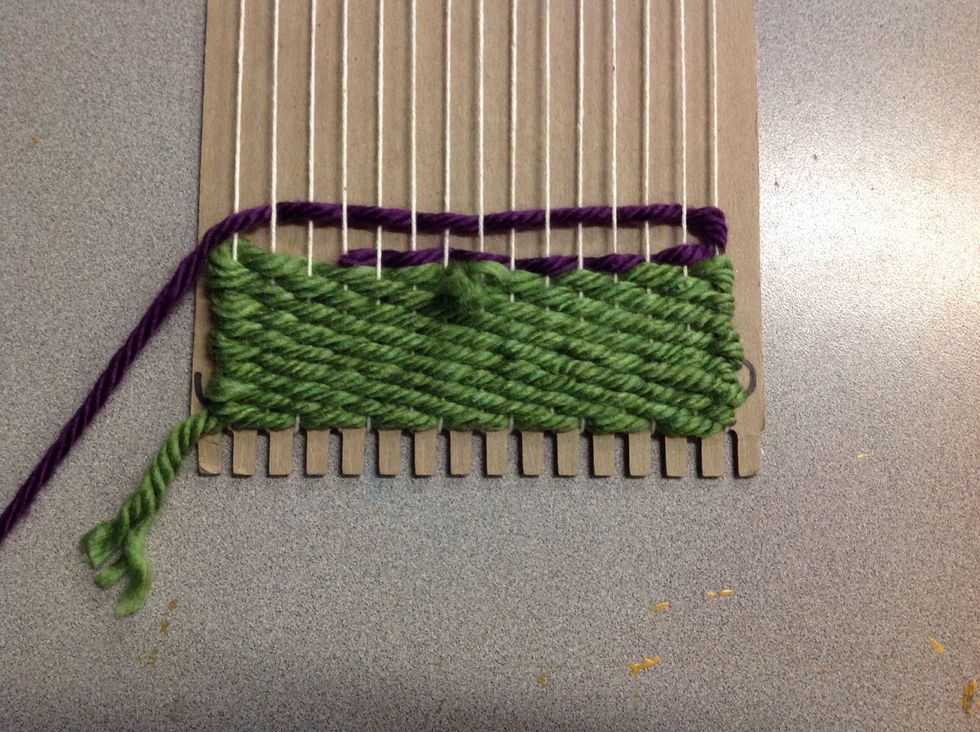
Keep weaving with desired colors until you reach about 3/4 of the way up the loom. Going to close to the end of the loom makes it more difficult to remove.
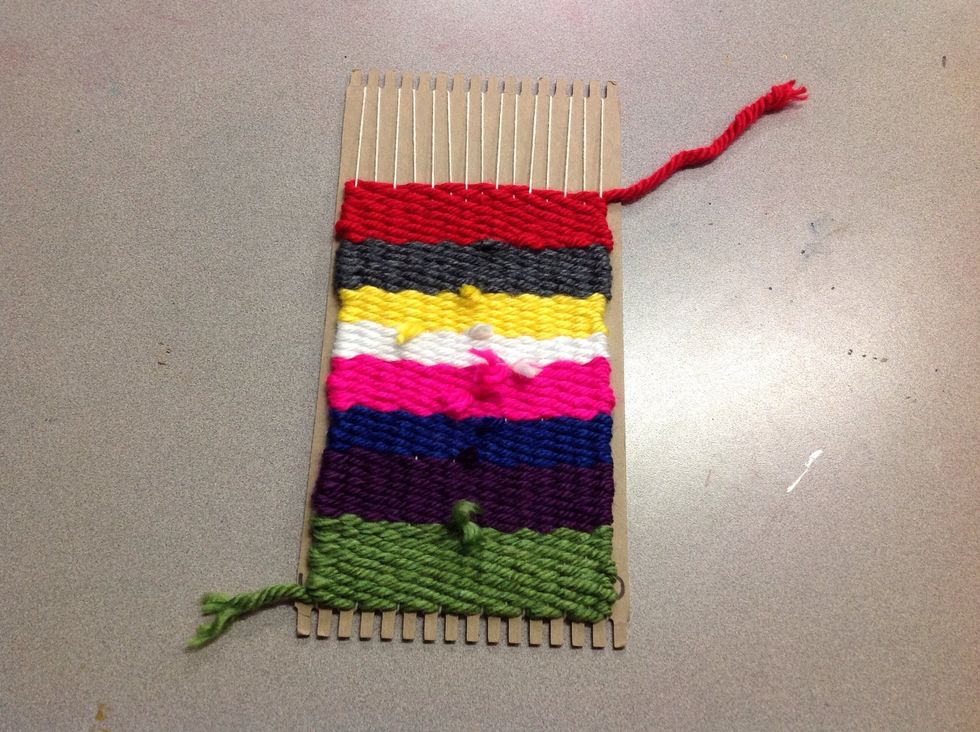
Using your fingers, slide the weaving into the middle of the loom. This will also pack it tight. Yes, it will be smaller, but you don't want the warp to show.
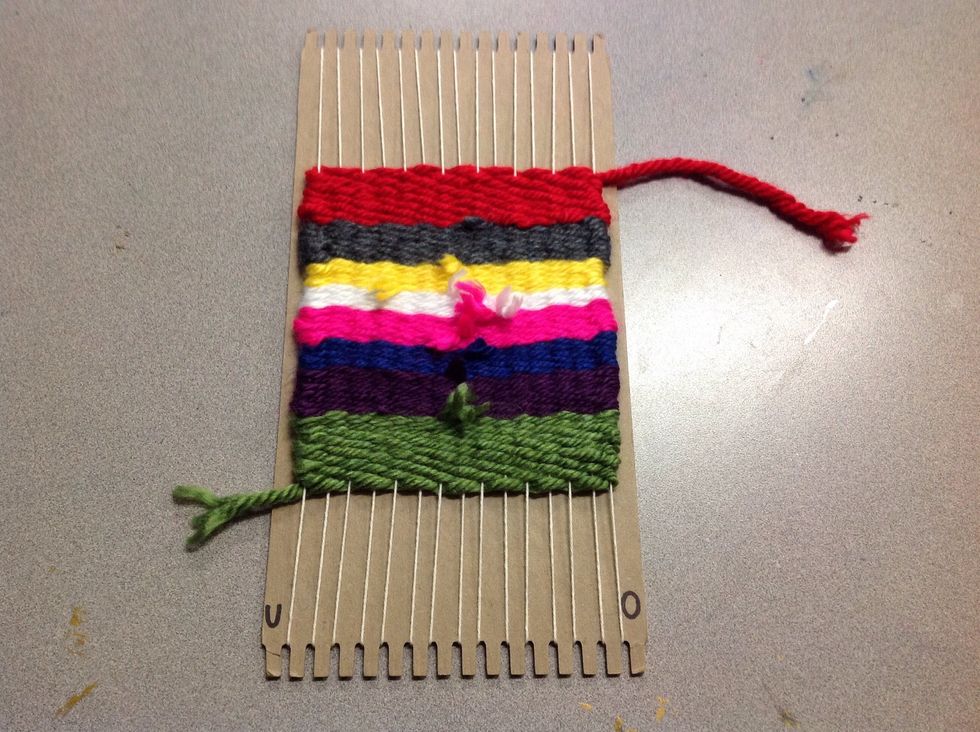
To remove the weaving from the loom you need to locate where the warp wraps around one of the teeth of the loom. You can start on the top or bottom, doesn't matter.
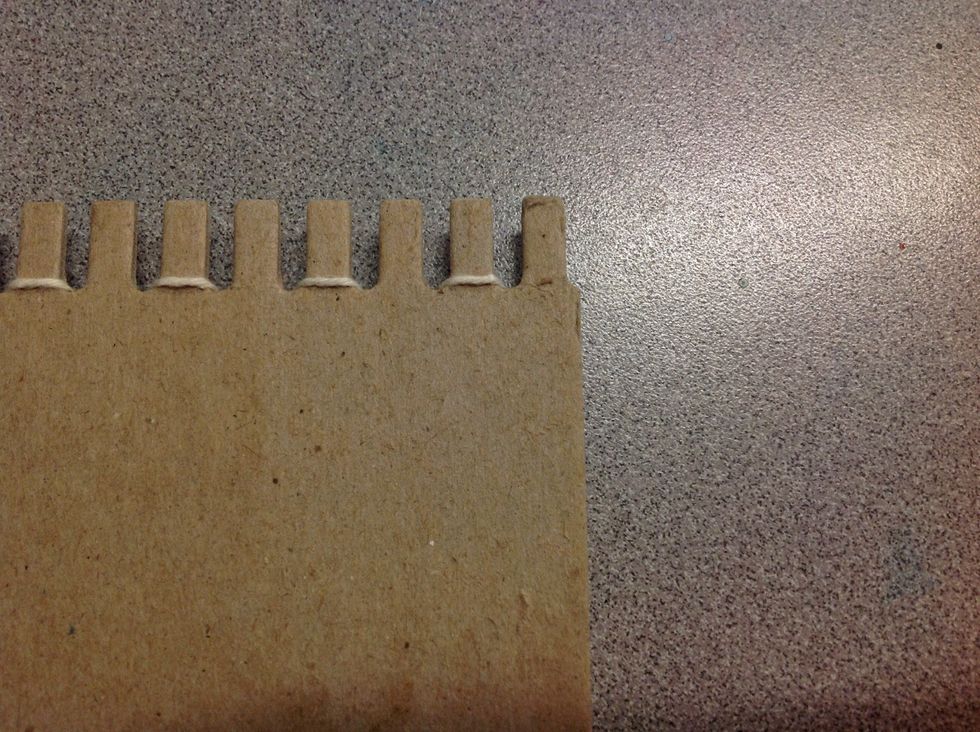
You will cut that warp string. Don't cut all of them at once. Do it one at a time.
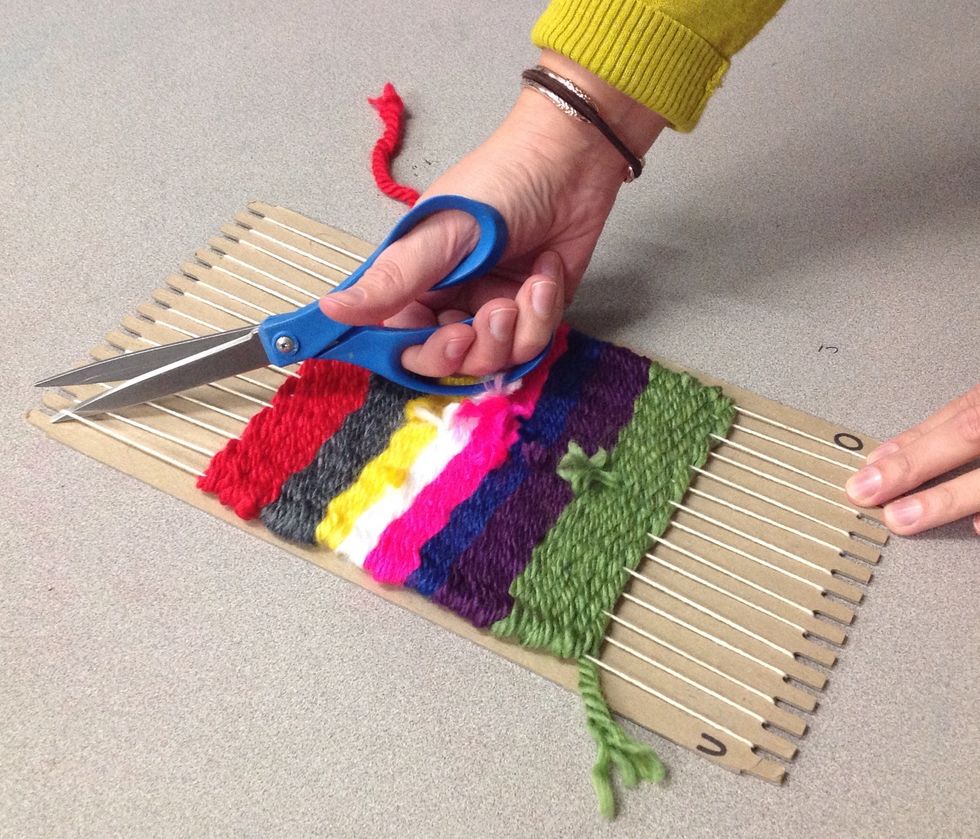
Tie those two pieces together, double knot.
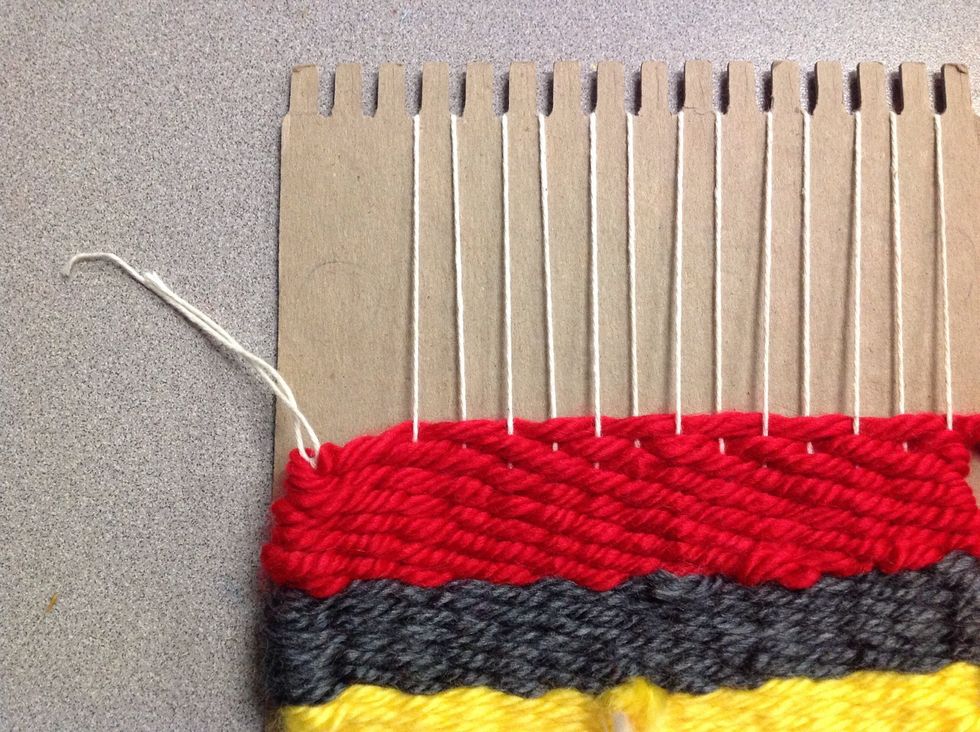
Continue cutting one string at a time and tying together. The last warp string can be tied to the tail of the weft (red yarn). Double knot!
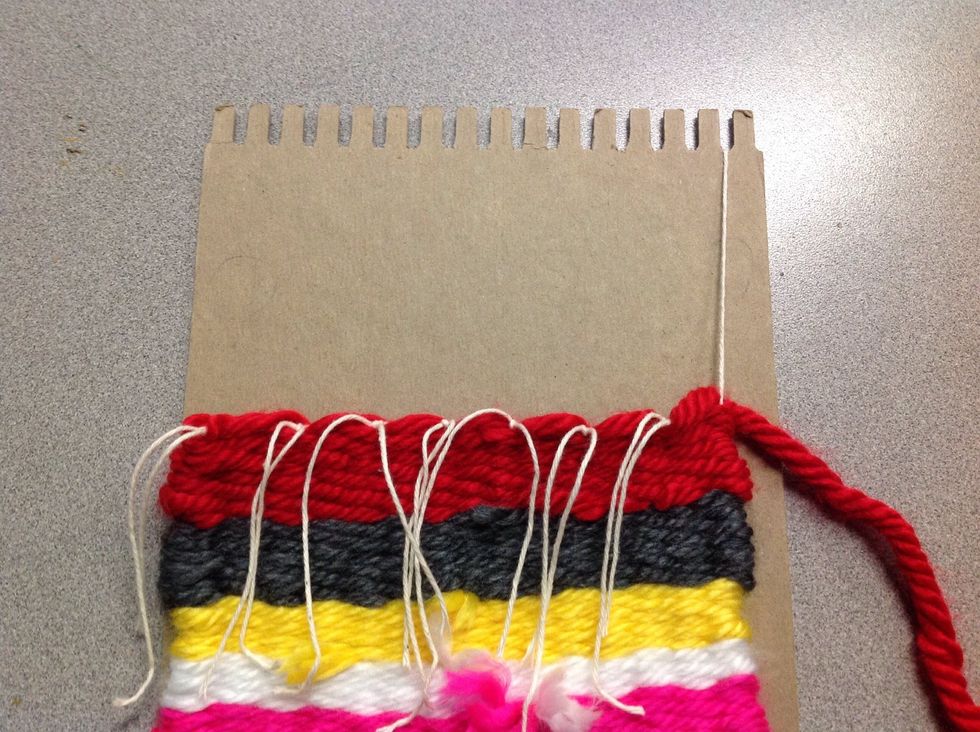
Follow the same steps on the other side of the loom. Cut one warp string at a time and tie together. Tie the last warp string to the other tail of the weft (green yarn).
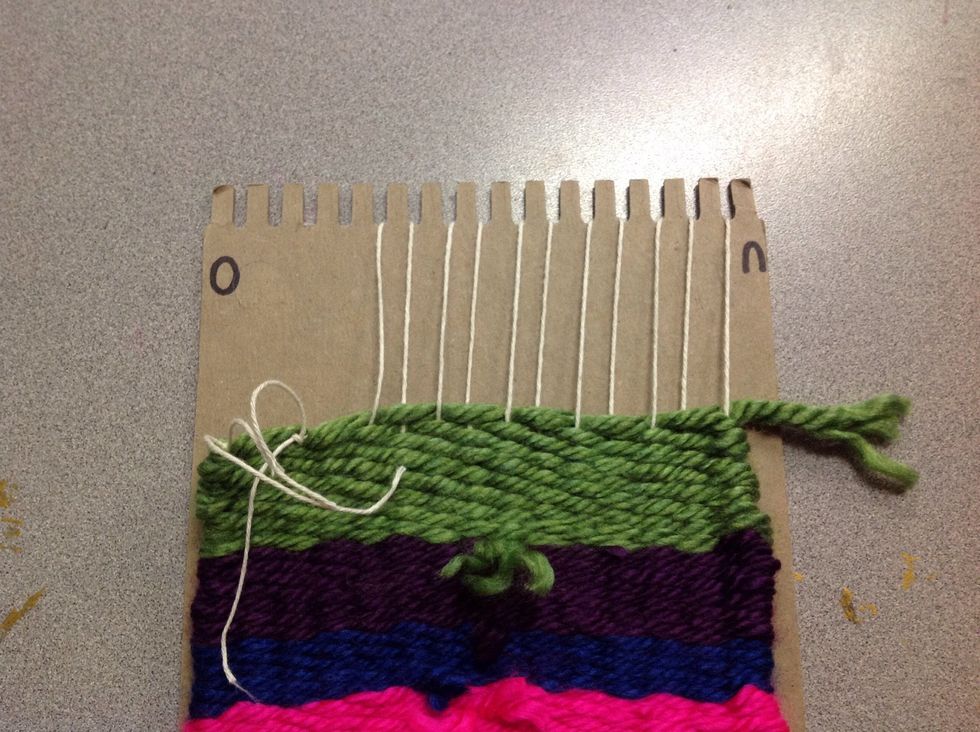
No need to trim the fuzzy pieces because that is the back side of your weaving. Turn it around and you will notice a smooth, tightly woven weaving.
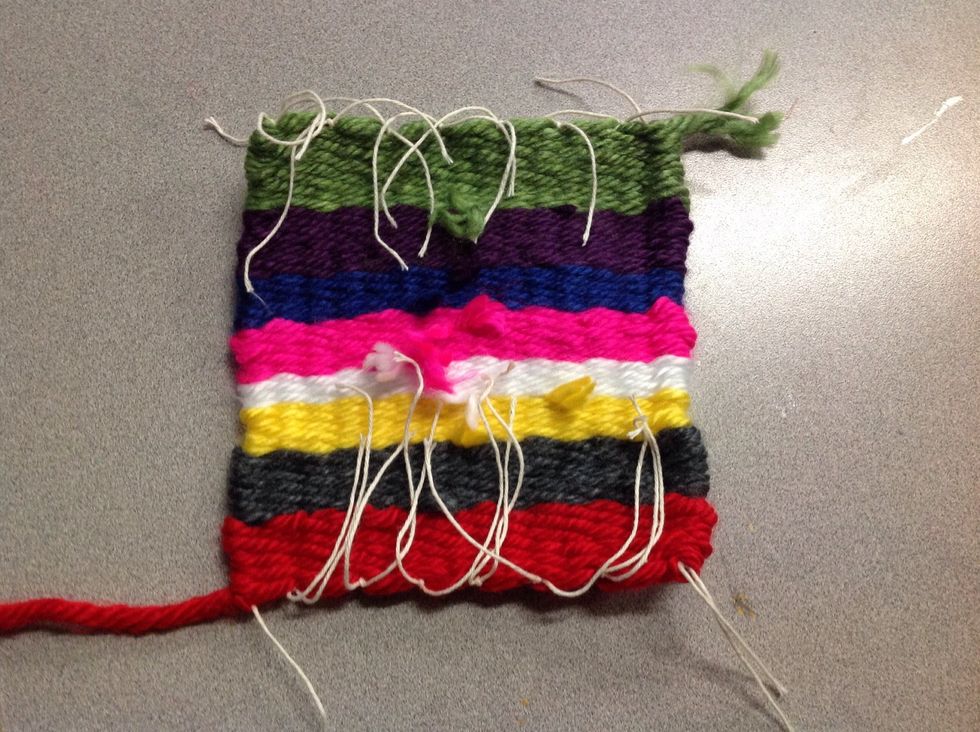
Back
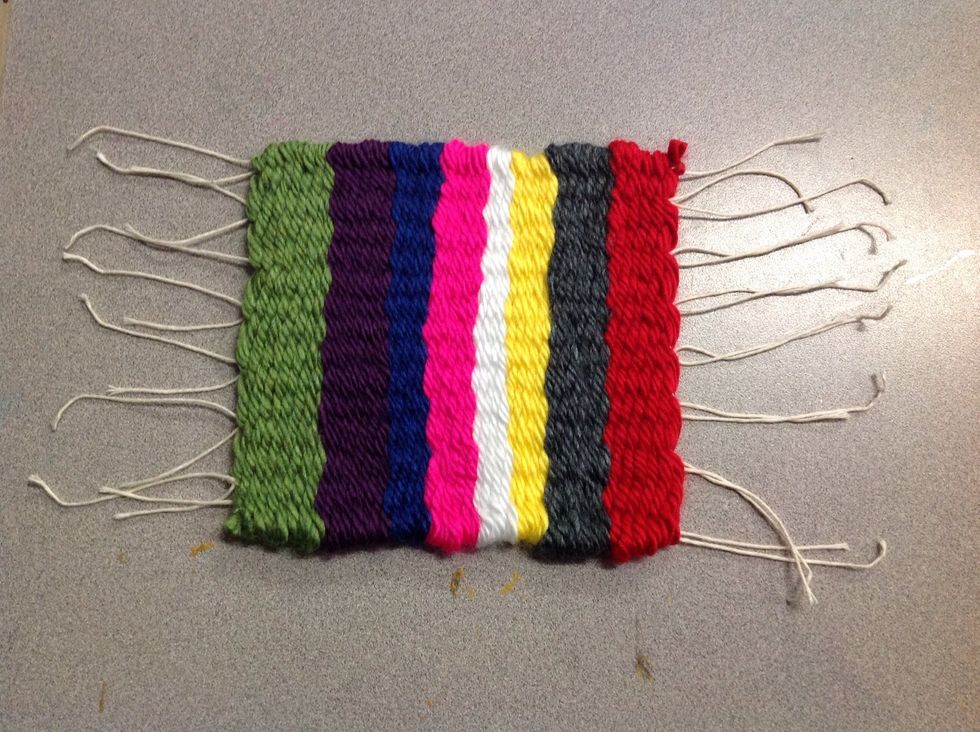
Front
The creator of this guide has not included tools
The Conversation (0)
Sign Up