The Conversation (0)
Sign Up
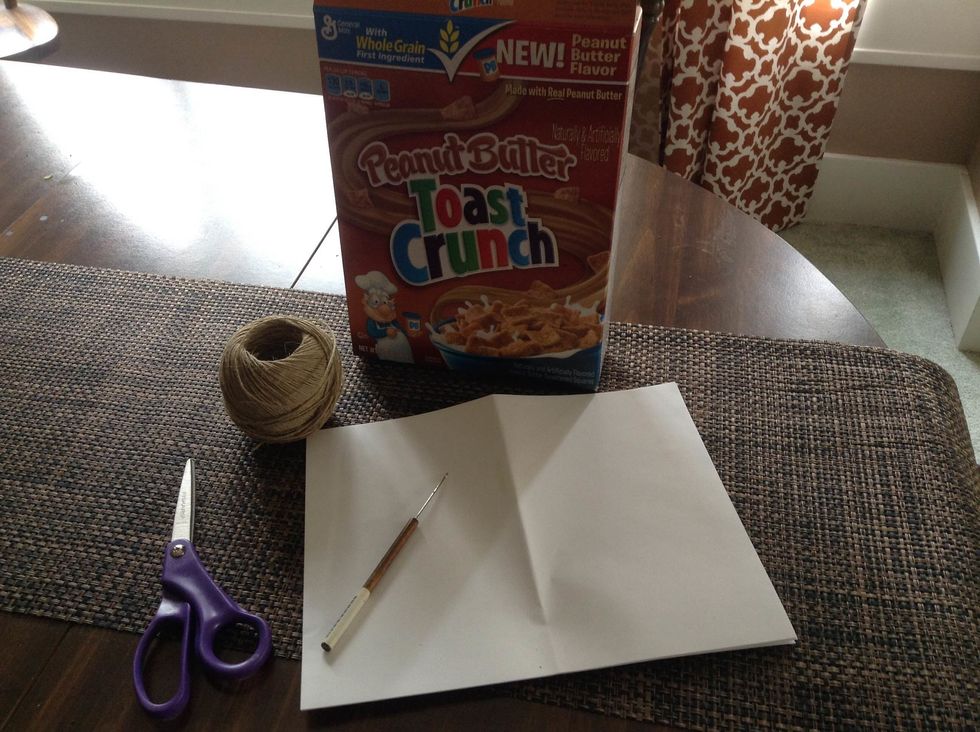
Gather all materials. I did not have a needle so I used a clay pointer tool instead.

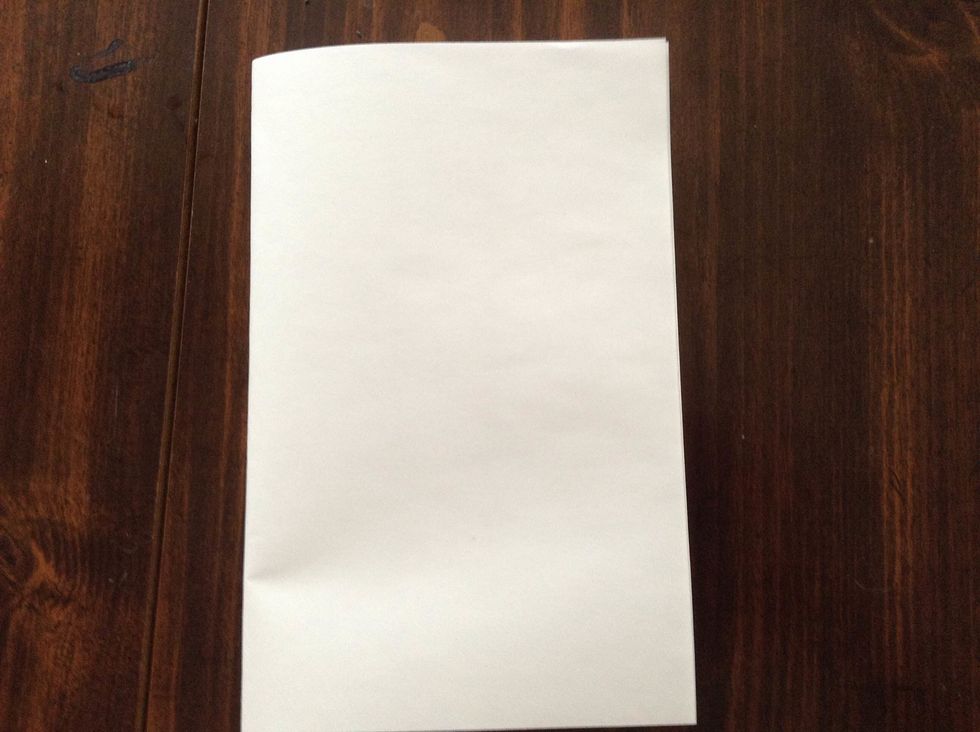
Fold the paper hamburger style.
Measure the width and length of the paper.
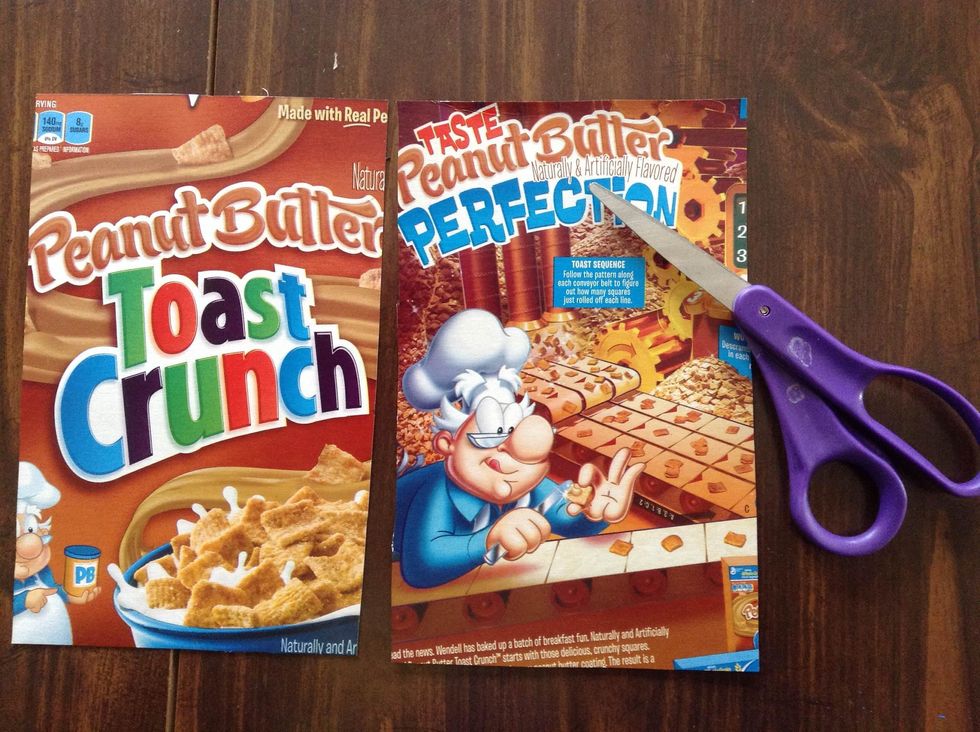
Both the front and back should be the same size. You could cut the cover to the exact size or 1/4 inch bigger.

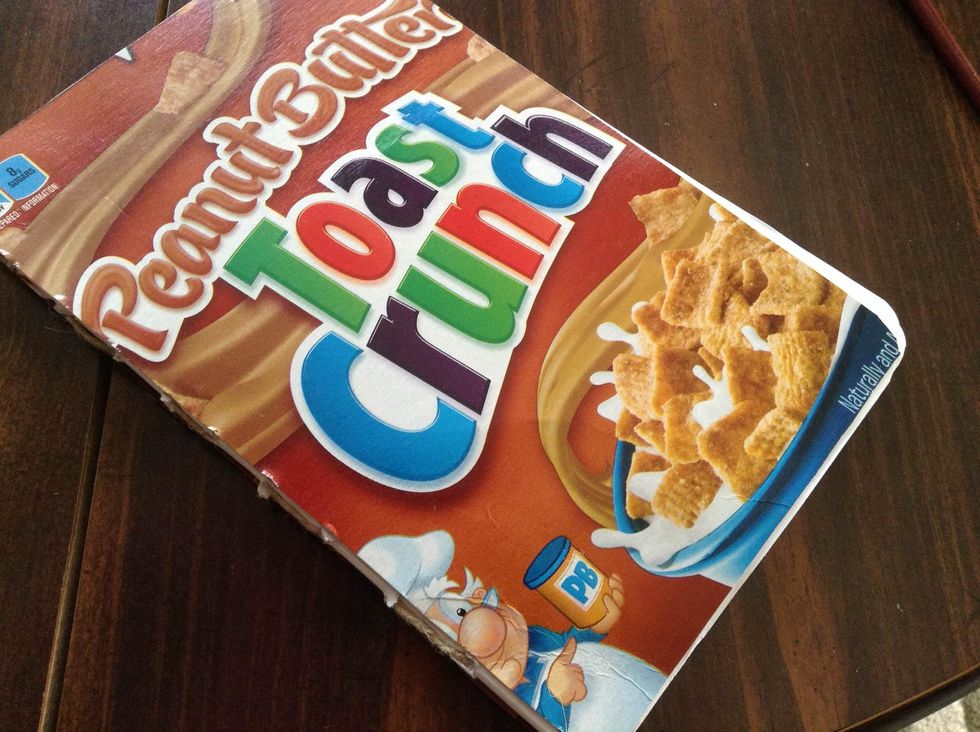
Glue the covers onto one side of the drawing paper. The back cover I glued on backwards so it would be brown.

Poke holes as a starter for the needle and thread. Evenly space the holes.
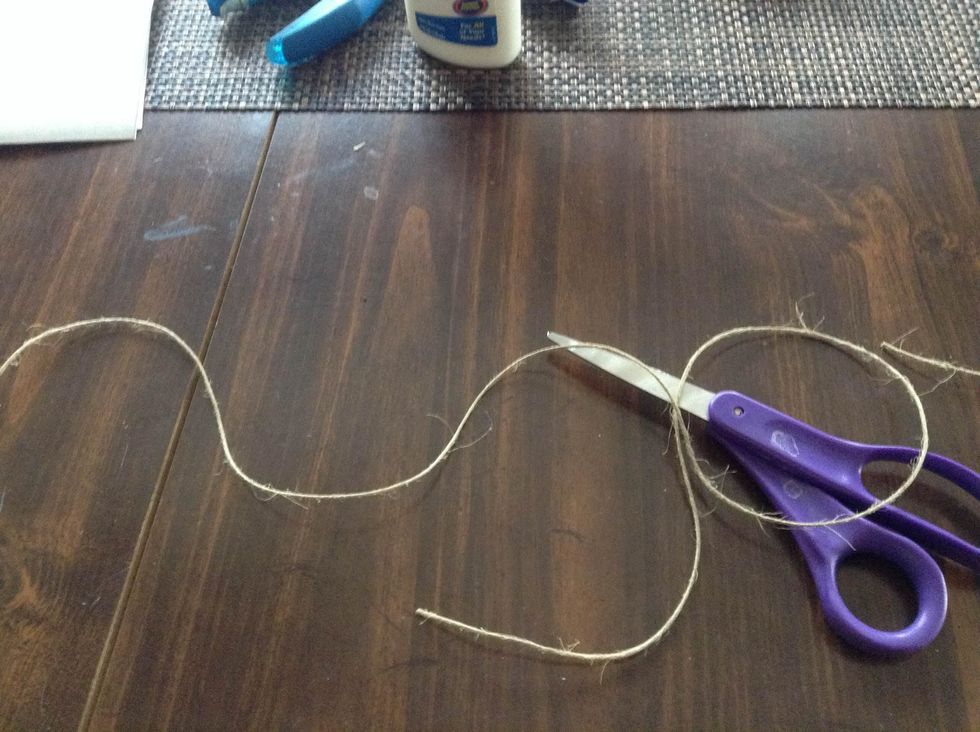
Cut a string to the desired length. I usually cut 3-4 inches longer than the actual book.
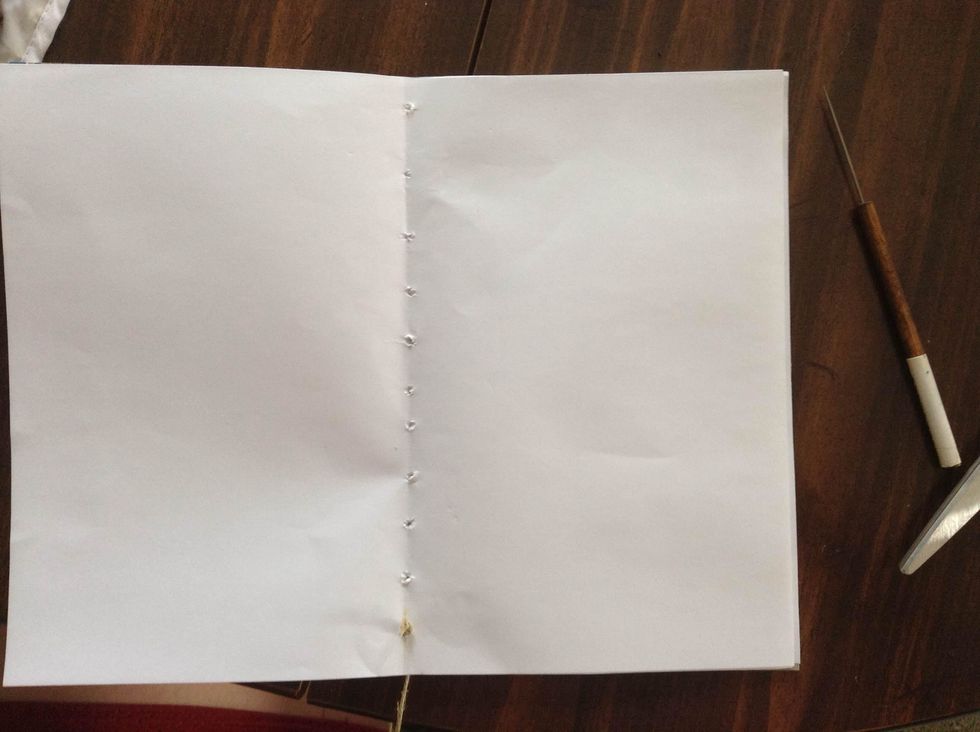
I prefer the knots to be inside the book. You could tie it like mine or add bows to the outside. (may need extra string)

Weave the string over and under all the way down the spine of the book.

Optional Step: Use a paper corner trimmer to add a more polished look to your sketchbook.
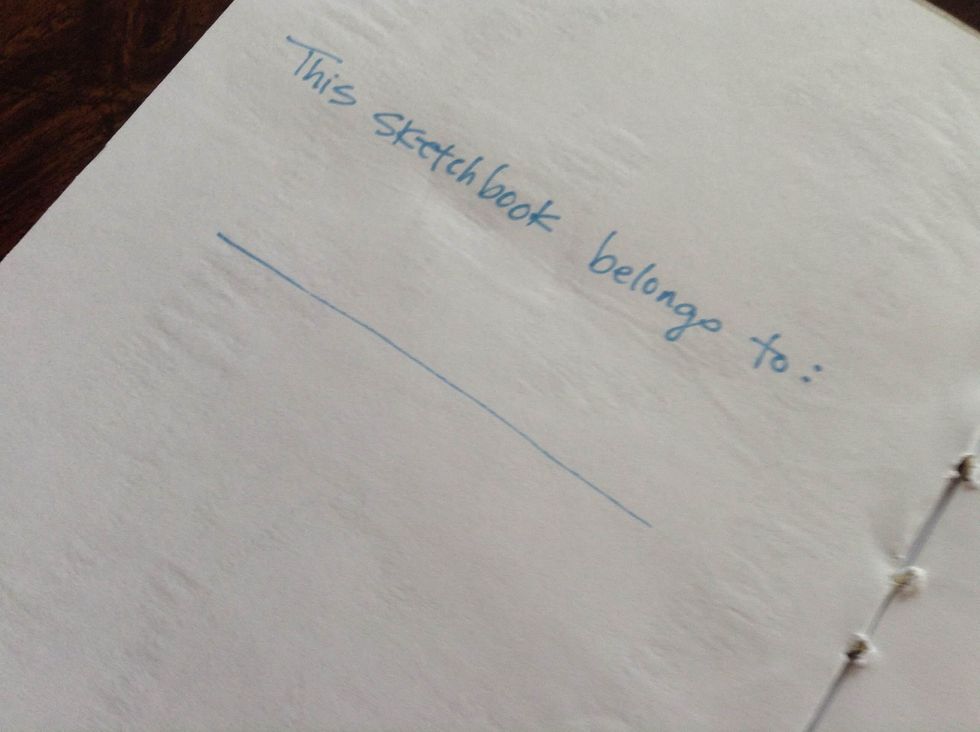
Add details to your liking.
Voila!