The Conversation (0)
Sign Up
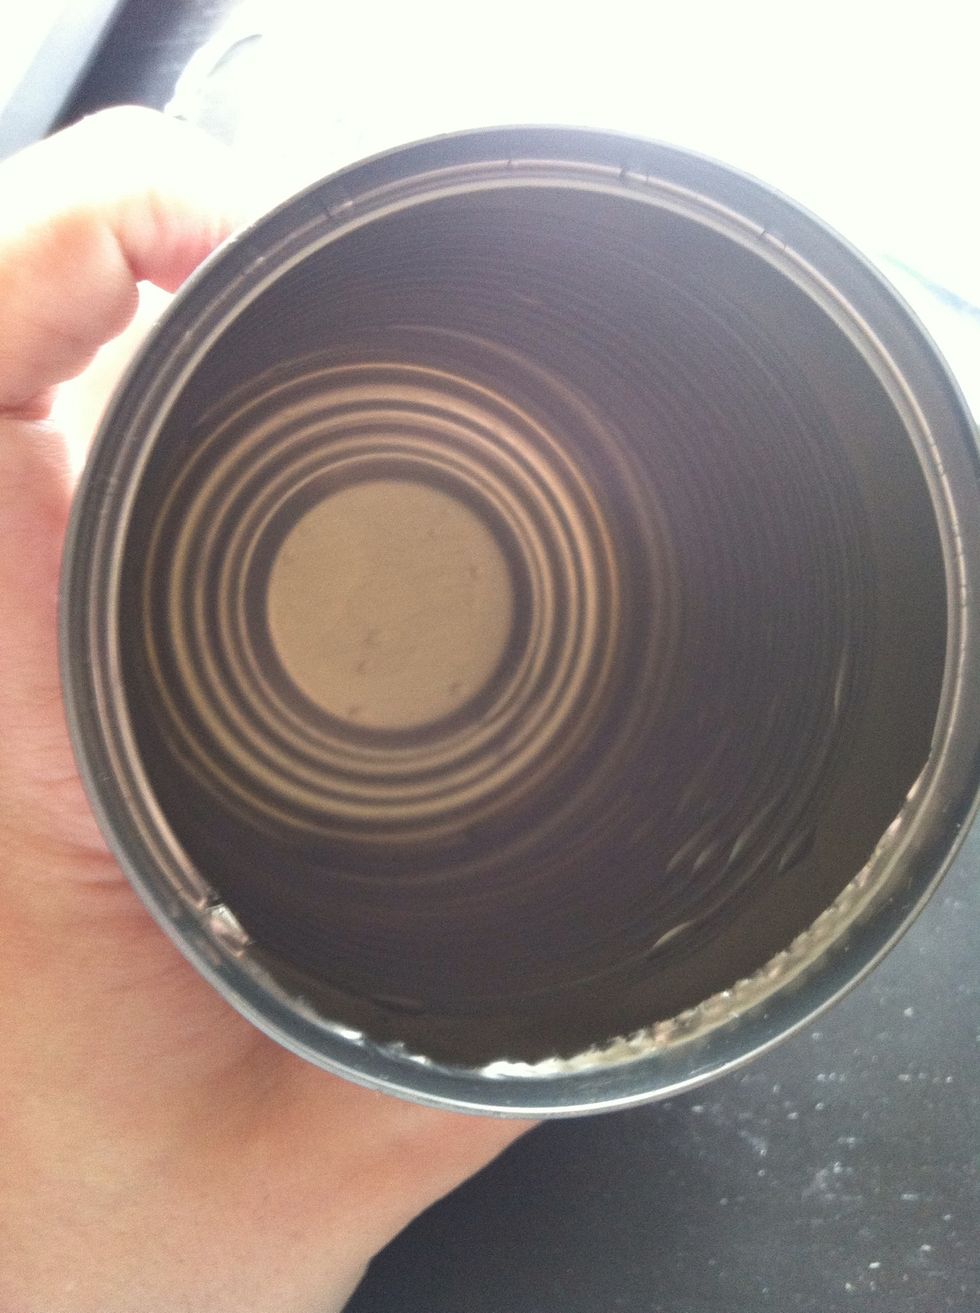
First step- wash your can! wash it very well! I rinsed mine with white vinegar to deodorise it. After cutting my hand while washing, I used pliers to bend the sharp lip inside the can, down.
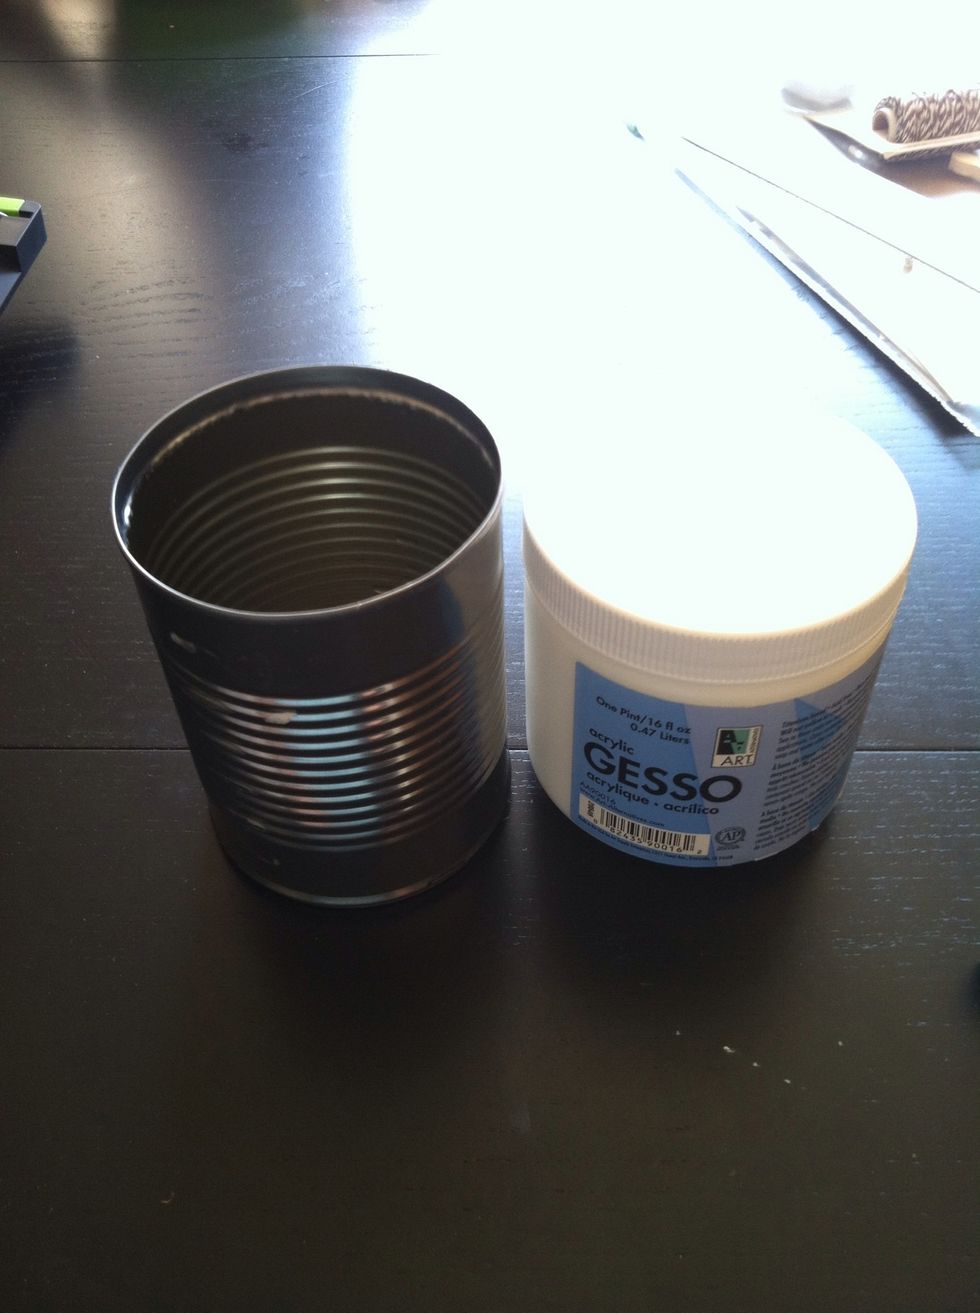
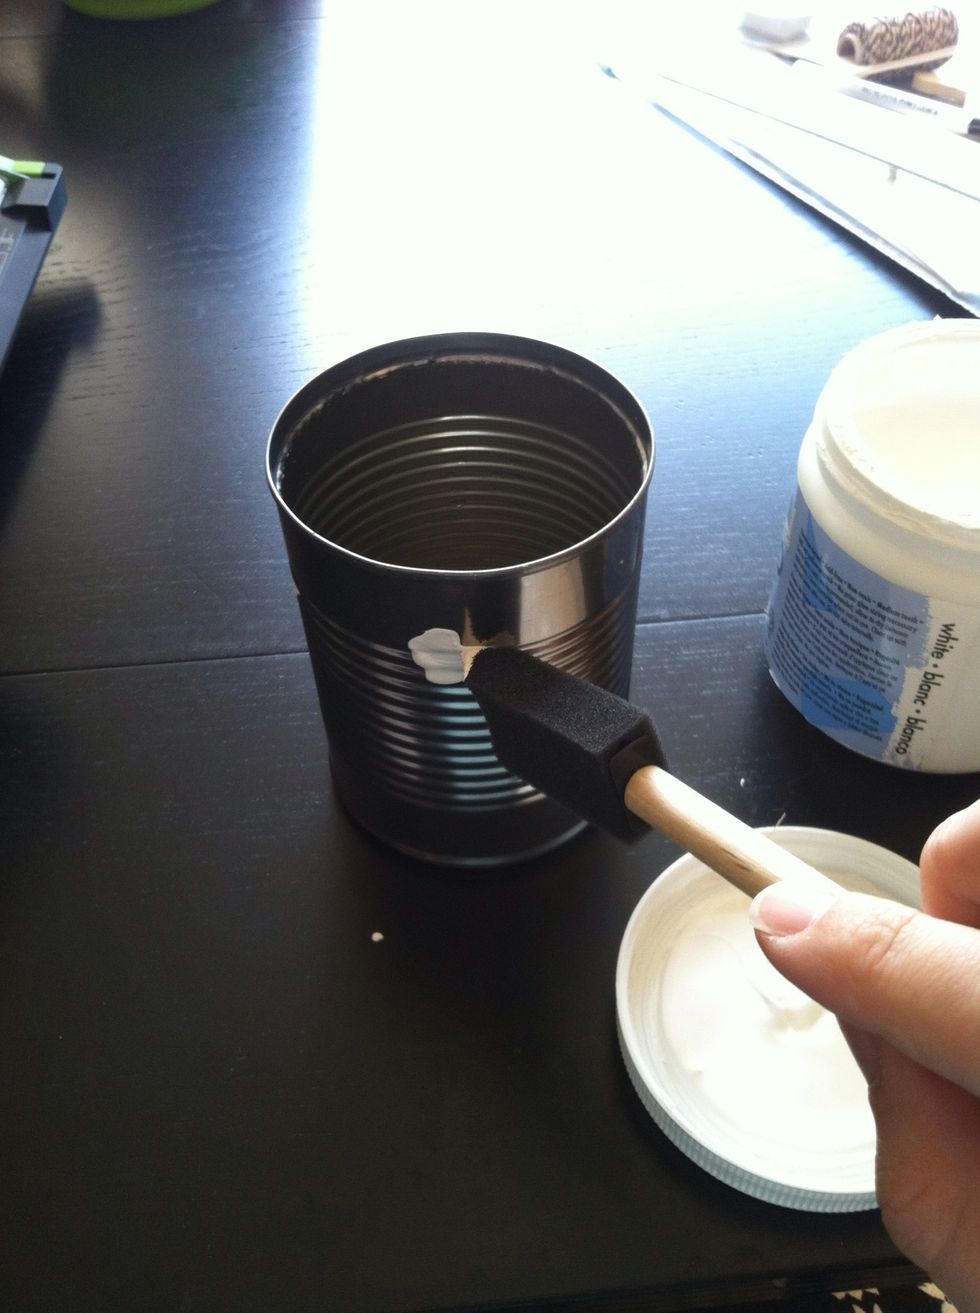
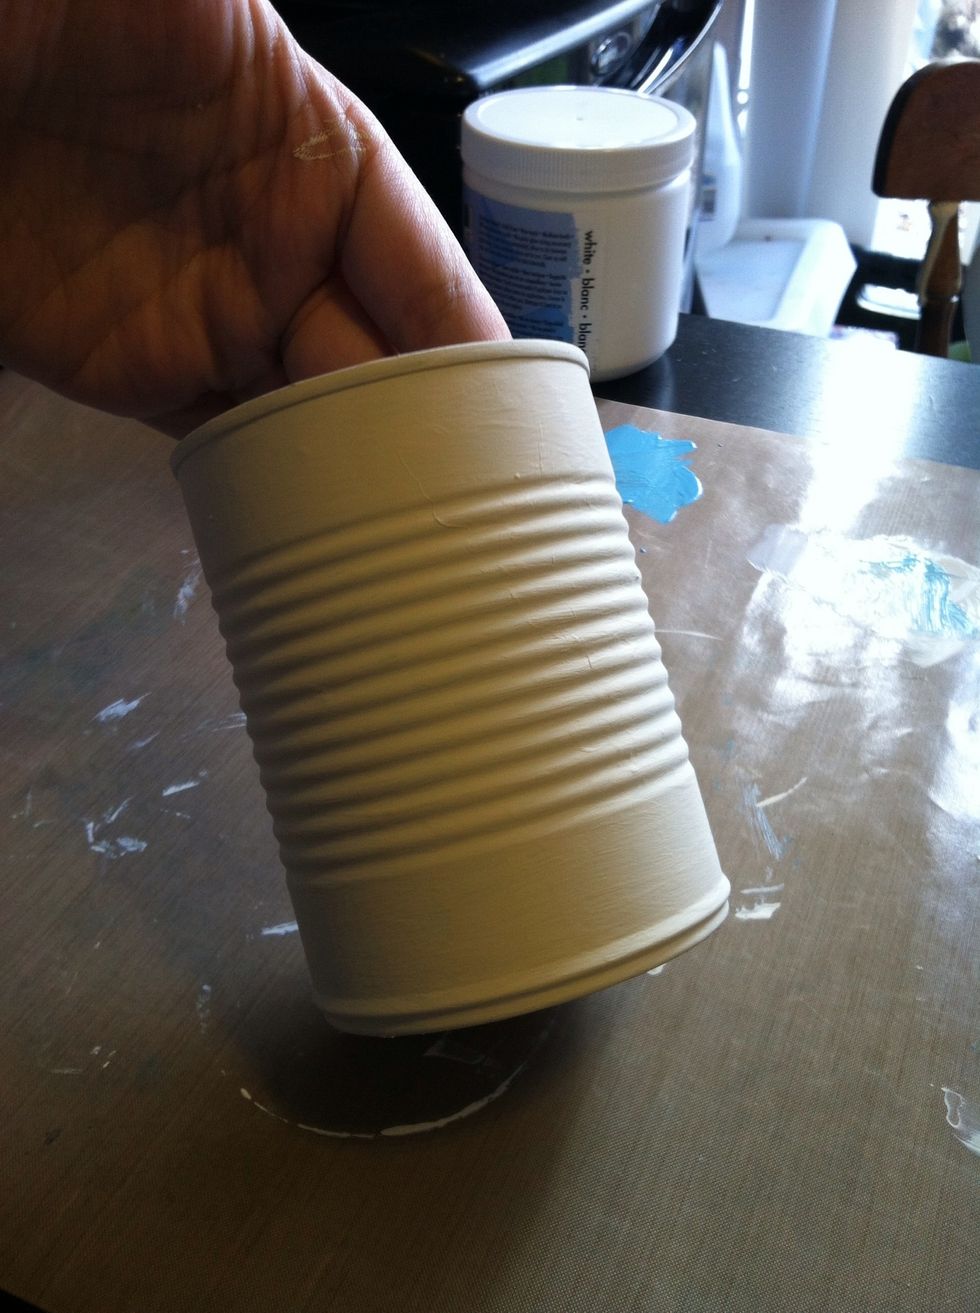
Put down a coat of gesso, just so the acrylic paint has something to hold onto.
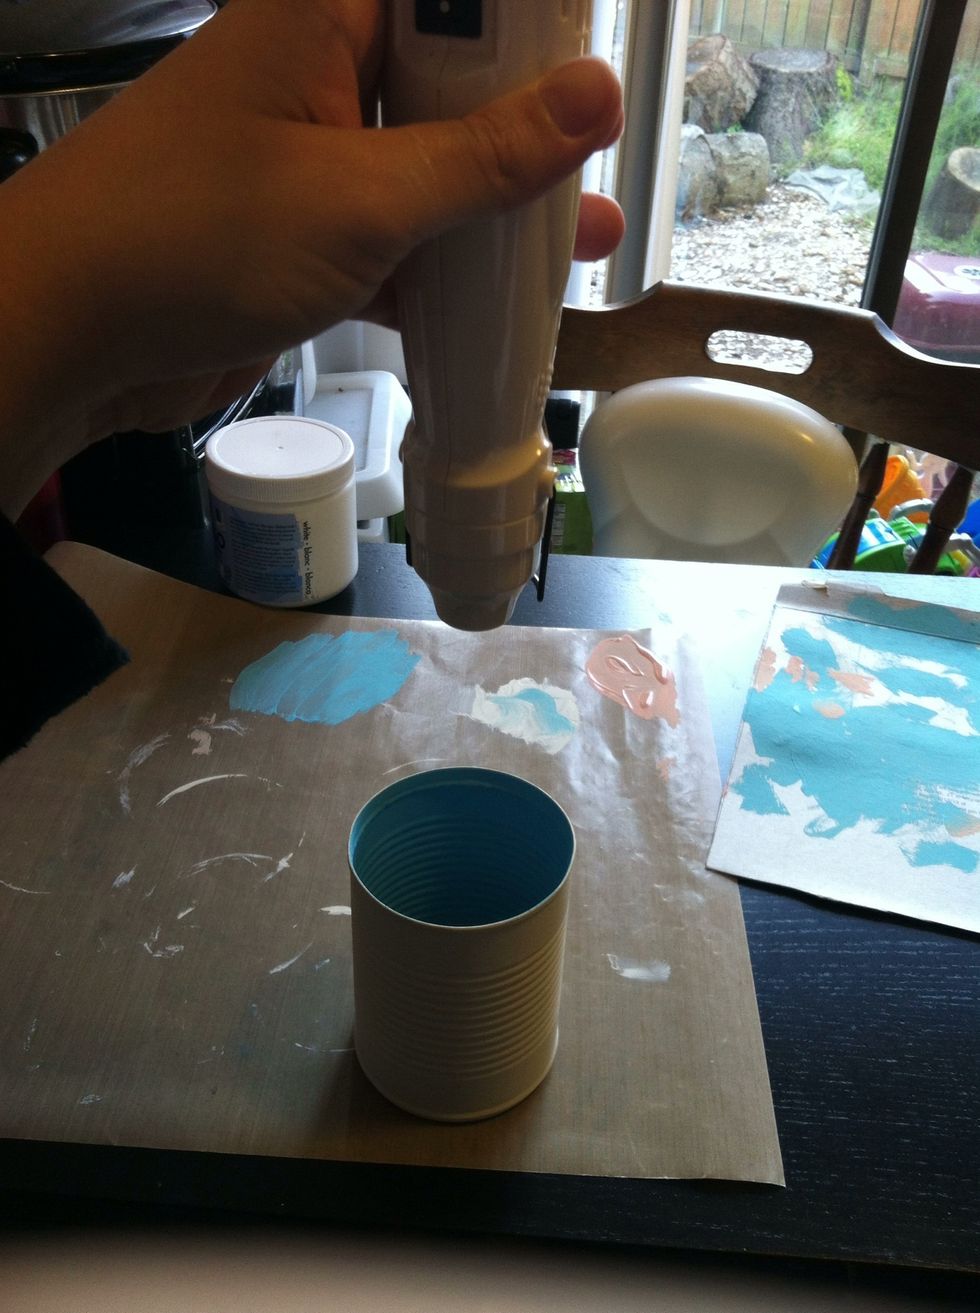
Don't forget to put down a Silpat or craft mat to catch drips and absorb the heat from the heat gun! (Notice the drips on the table... lol!)
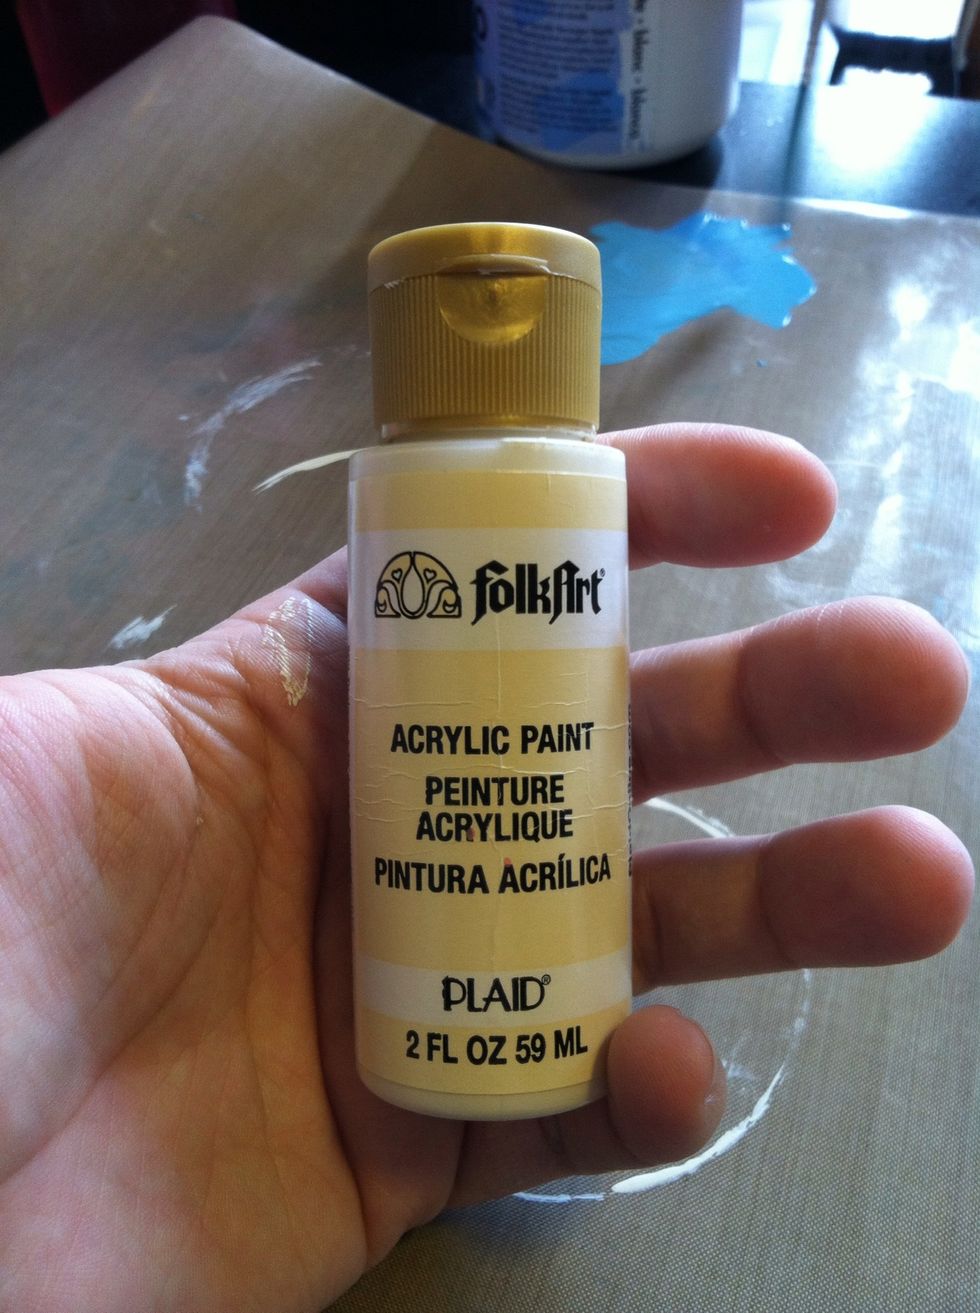
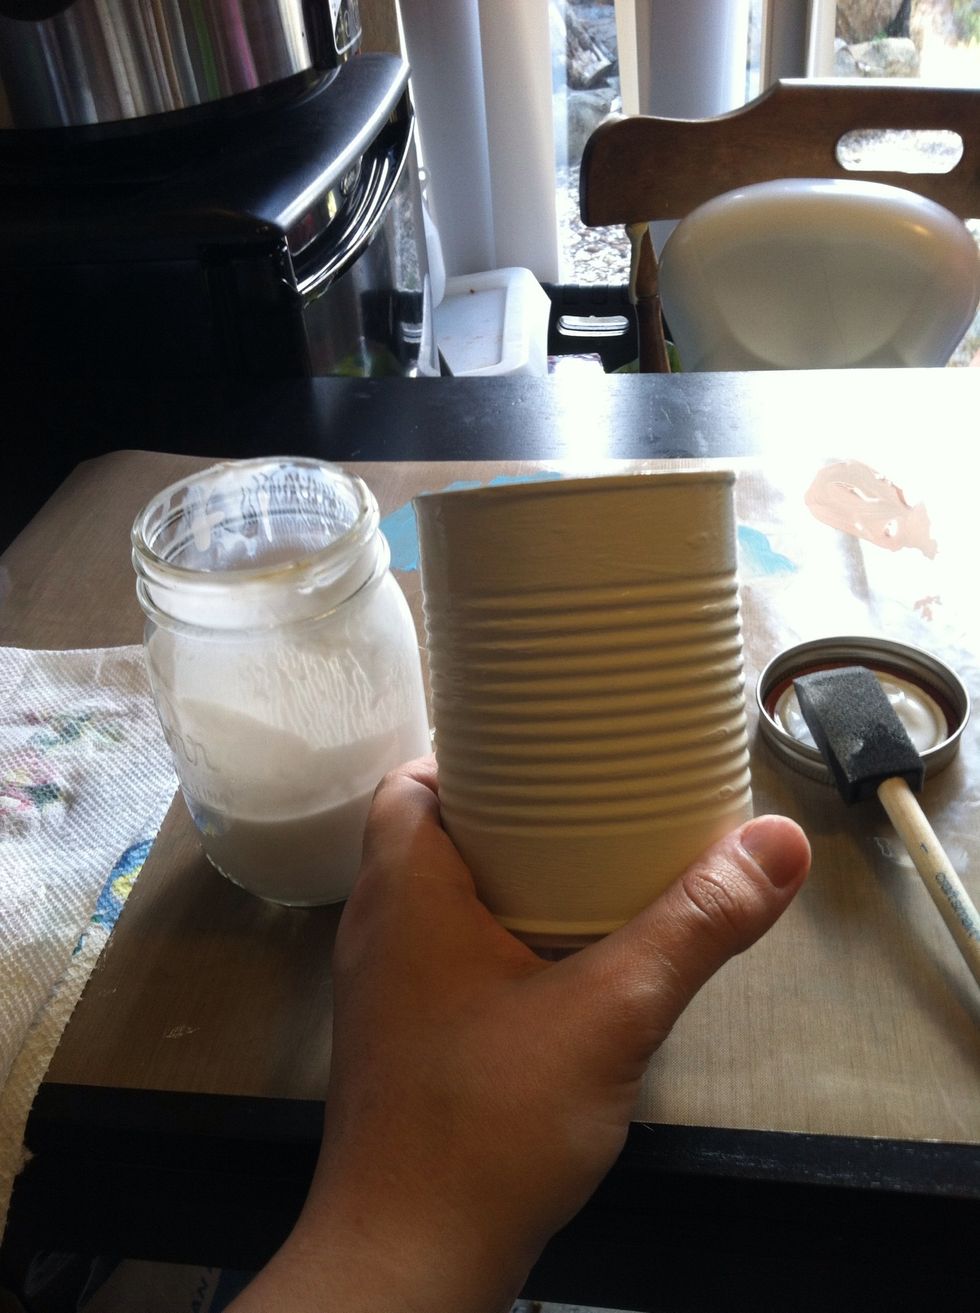
This is the colour of beige I used. I did one coat of gesso, dried it completely, and then painted 3 coats of beige. Dry with heat gun between coats!
I used a foam brush so there really weren't any streaks. Don't forget to dry super well between coats! I also painted the bottom of the can!
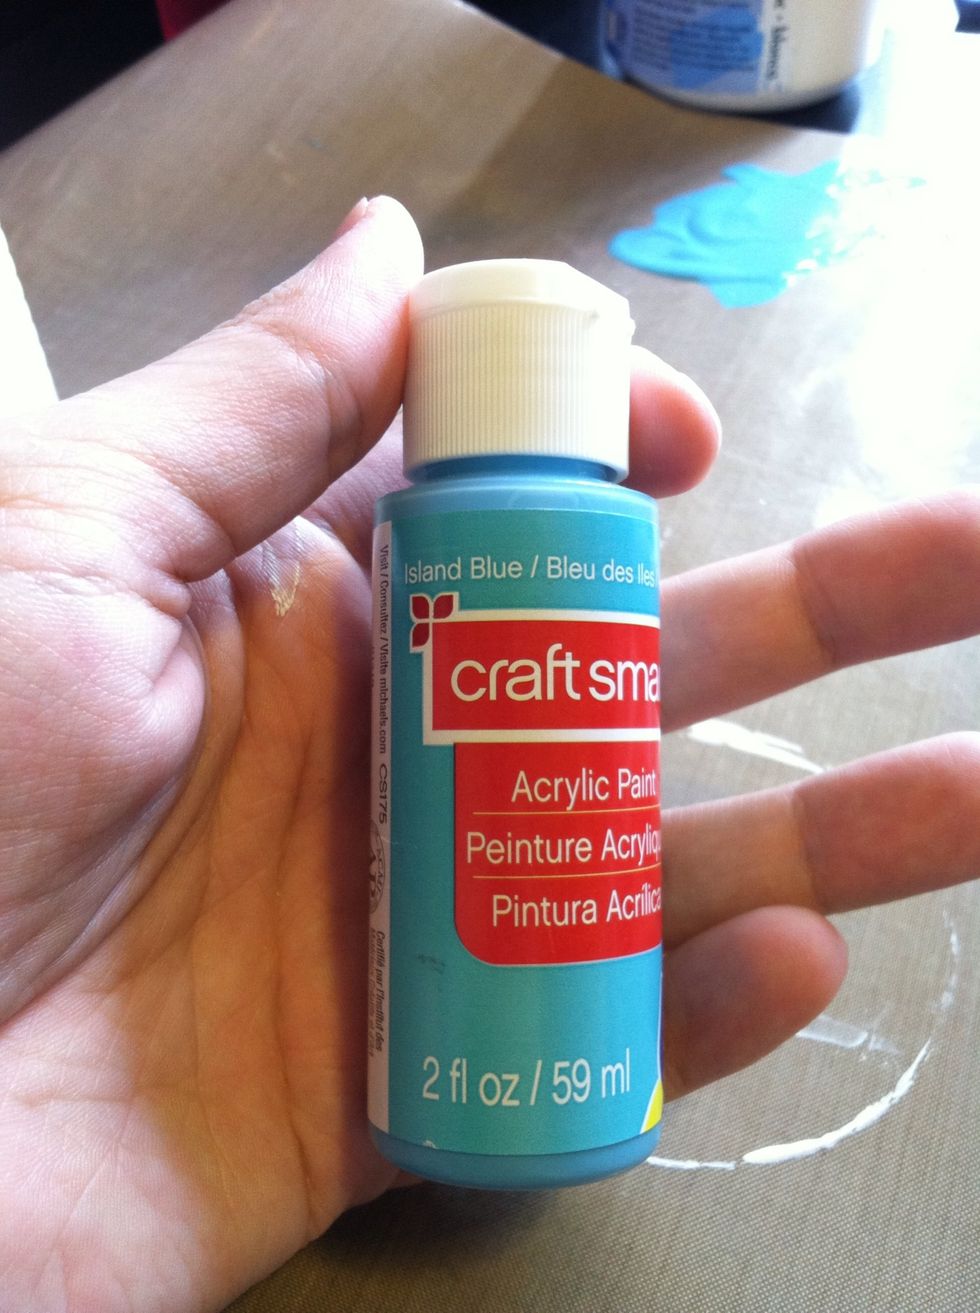
This is the blue I used on the inside of the can. I think navy blue or coral would look amazing as well!
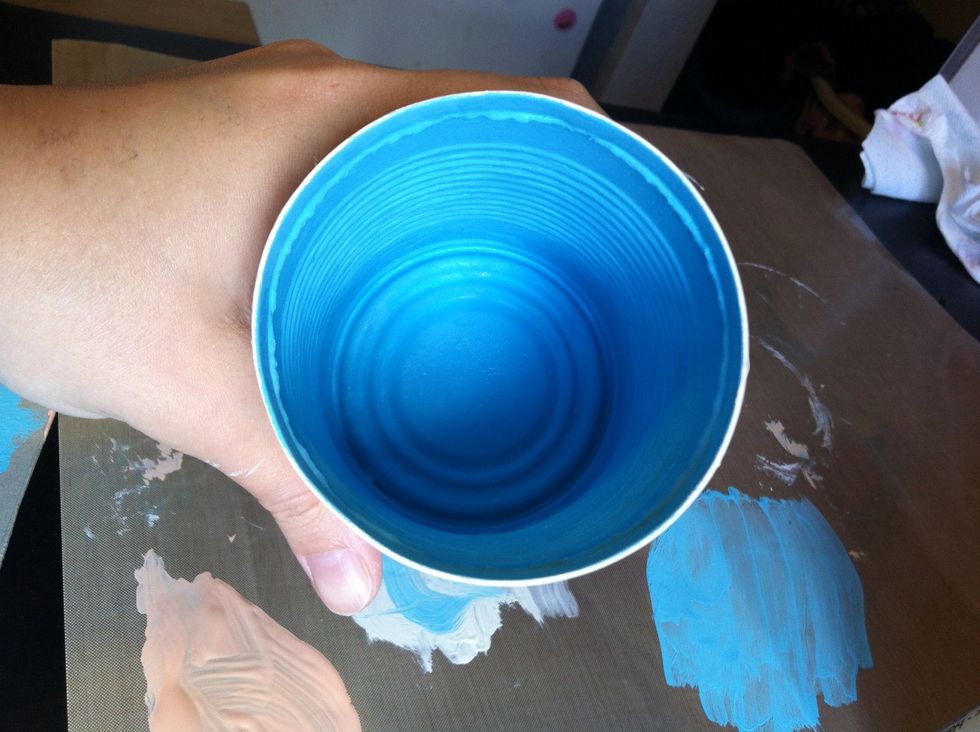
Try to get even coats! I pulled the paintbrush from the inside out so I painted exactly to the edge. Try to get up under where you crushed the inner lip down.
Heat it well between all coats!
I did two coats of matte mod podge on the inside and outside of the can. Dry well between coats! If the inside isn't drying fast, just let it air dry. We're not touching the inside for a while.

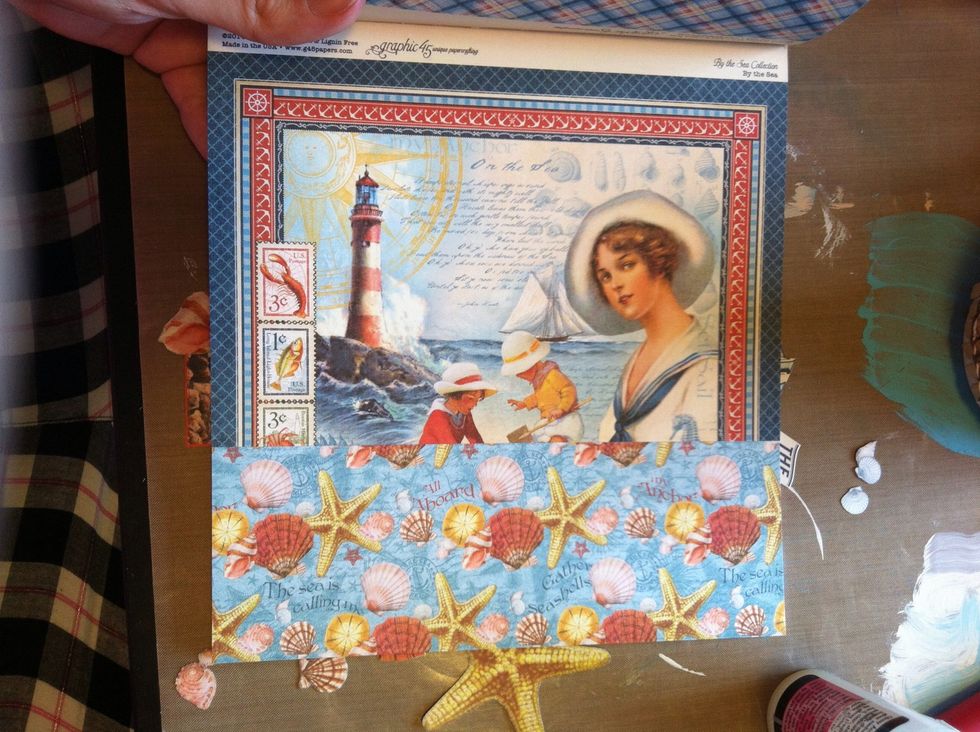
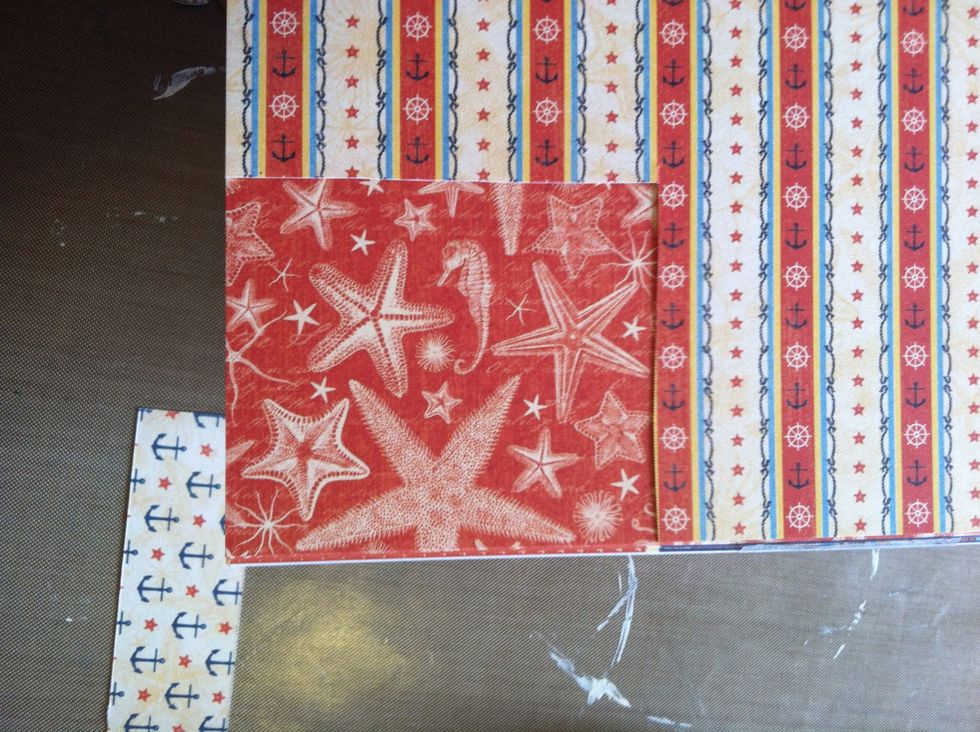
Cut an 8-1/2" by 4" piece of the 'By the Sea' patterned paper. You might need to trim it to fit from top of the can, under the lip, to the bottom.
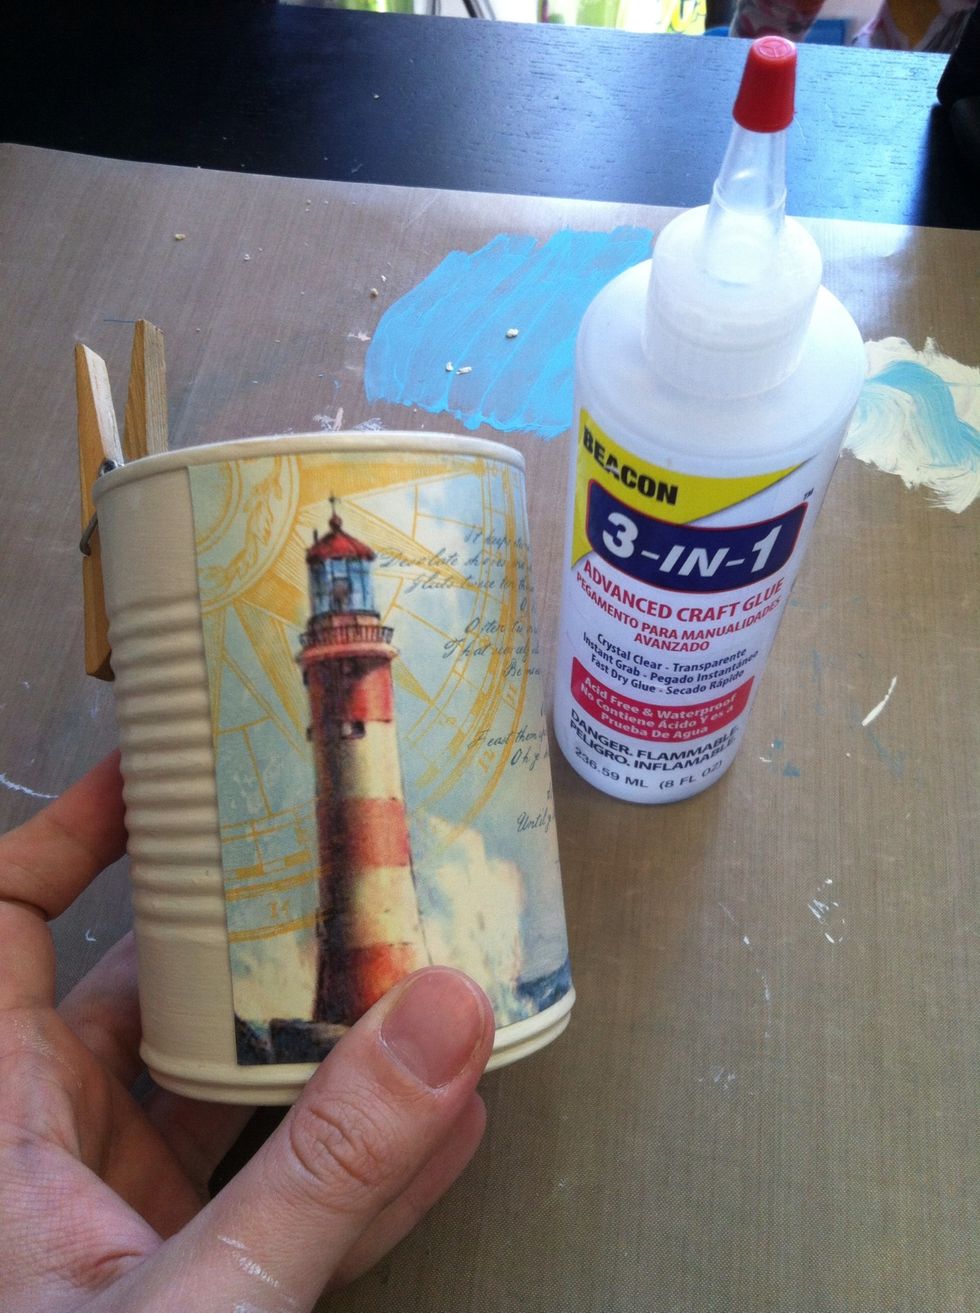
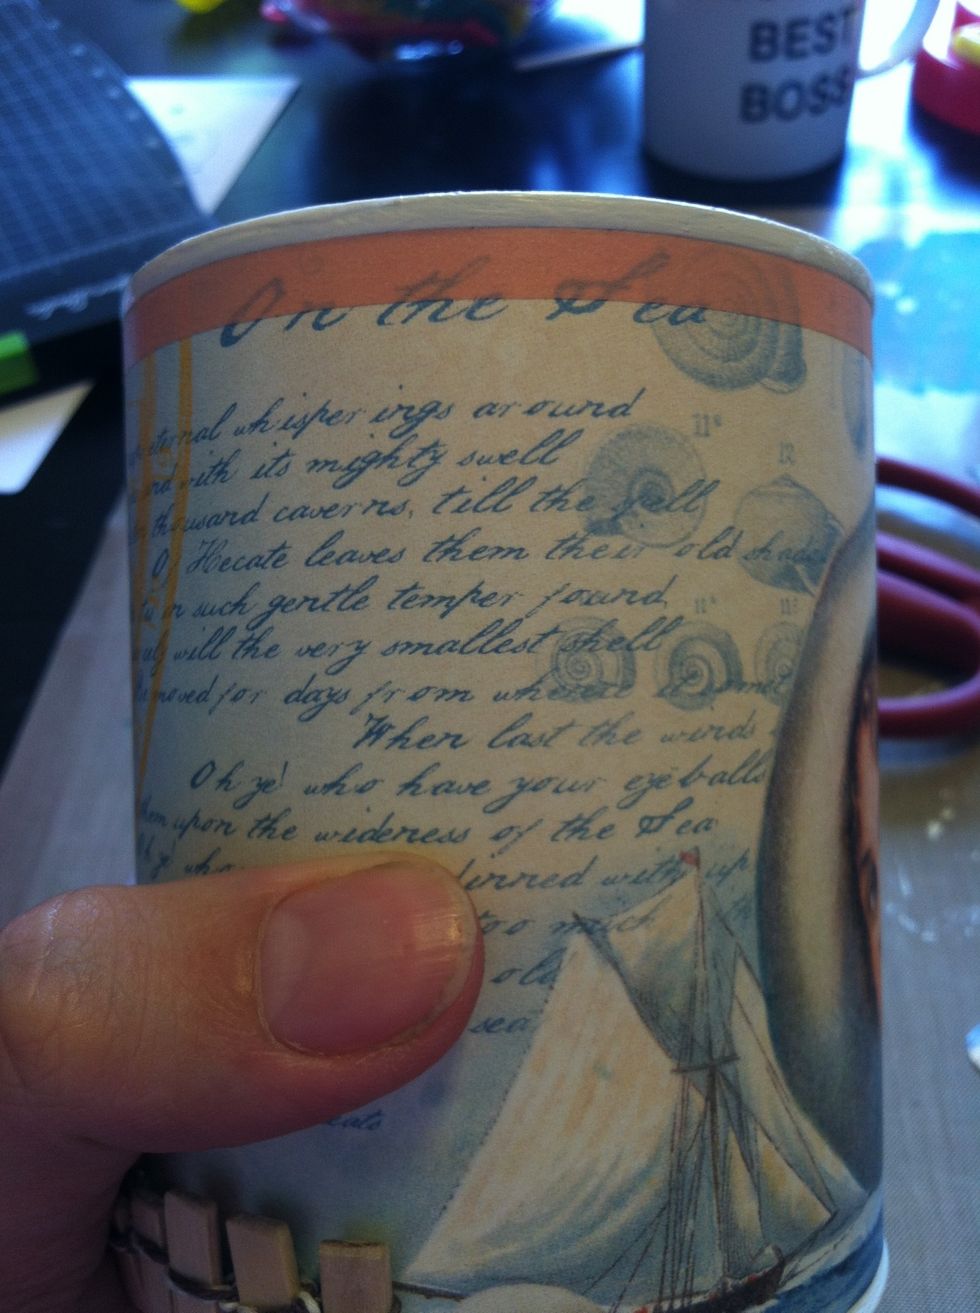
Adhere the paper to the tin, using a strong, faster drying adhesive.
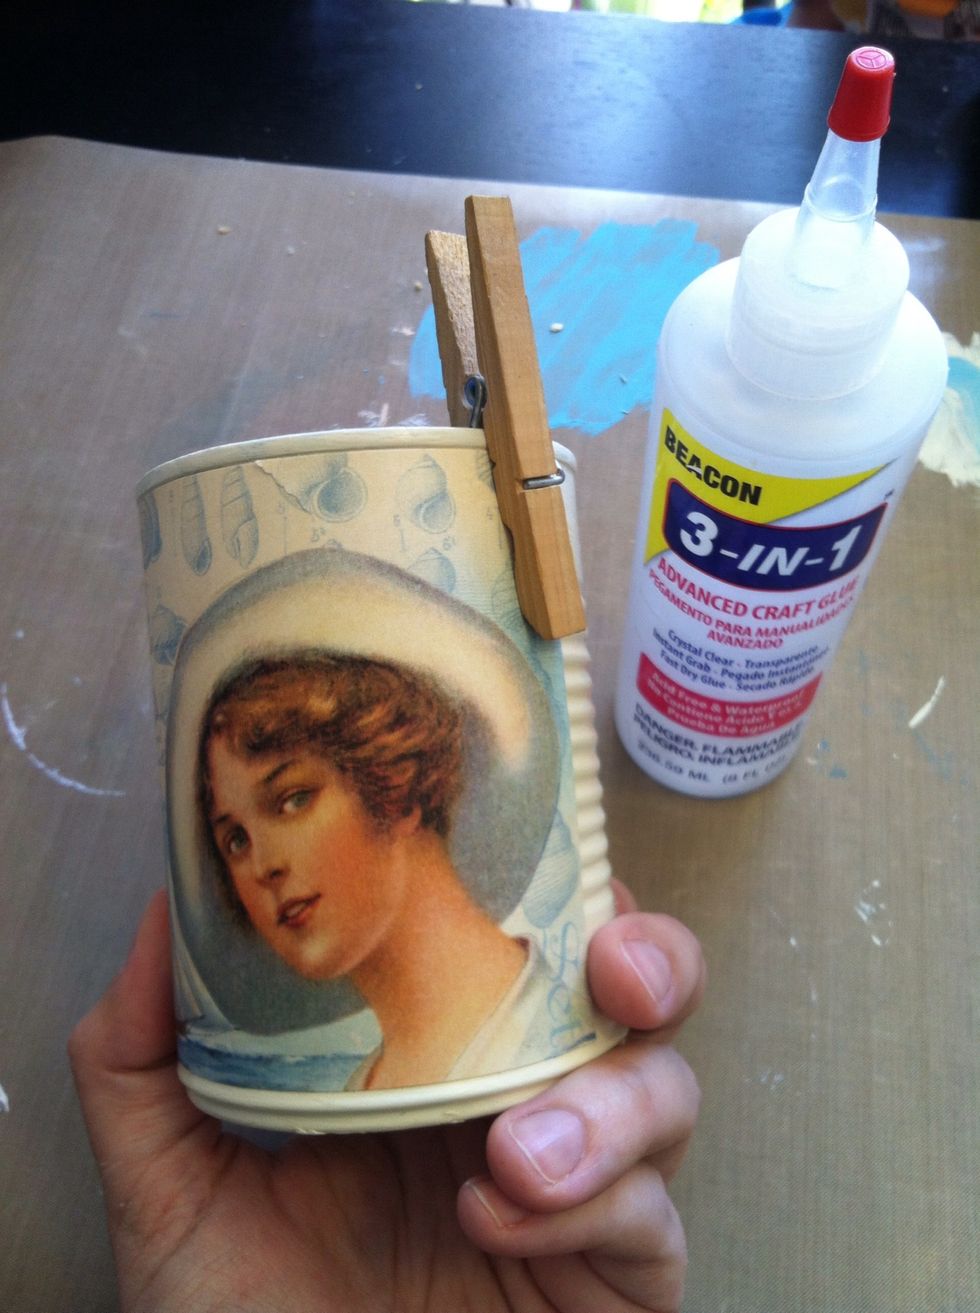
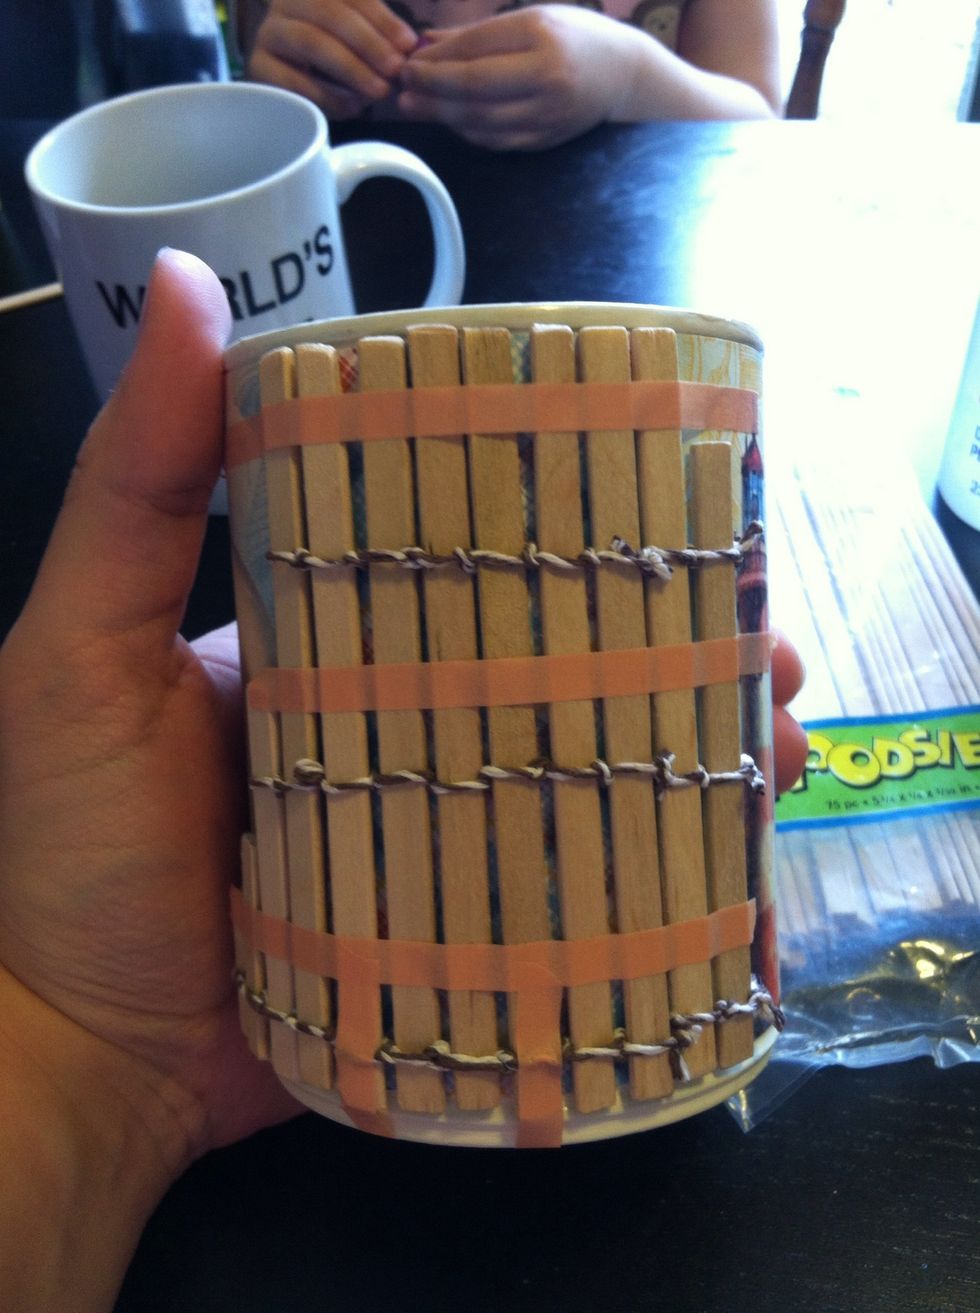
I used clothes pins to hold it in place while it dried.
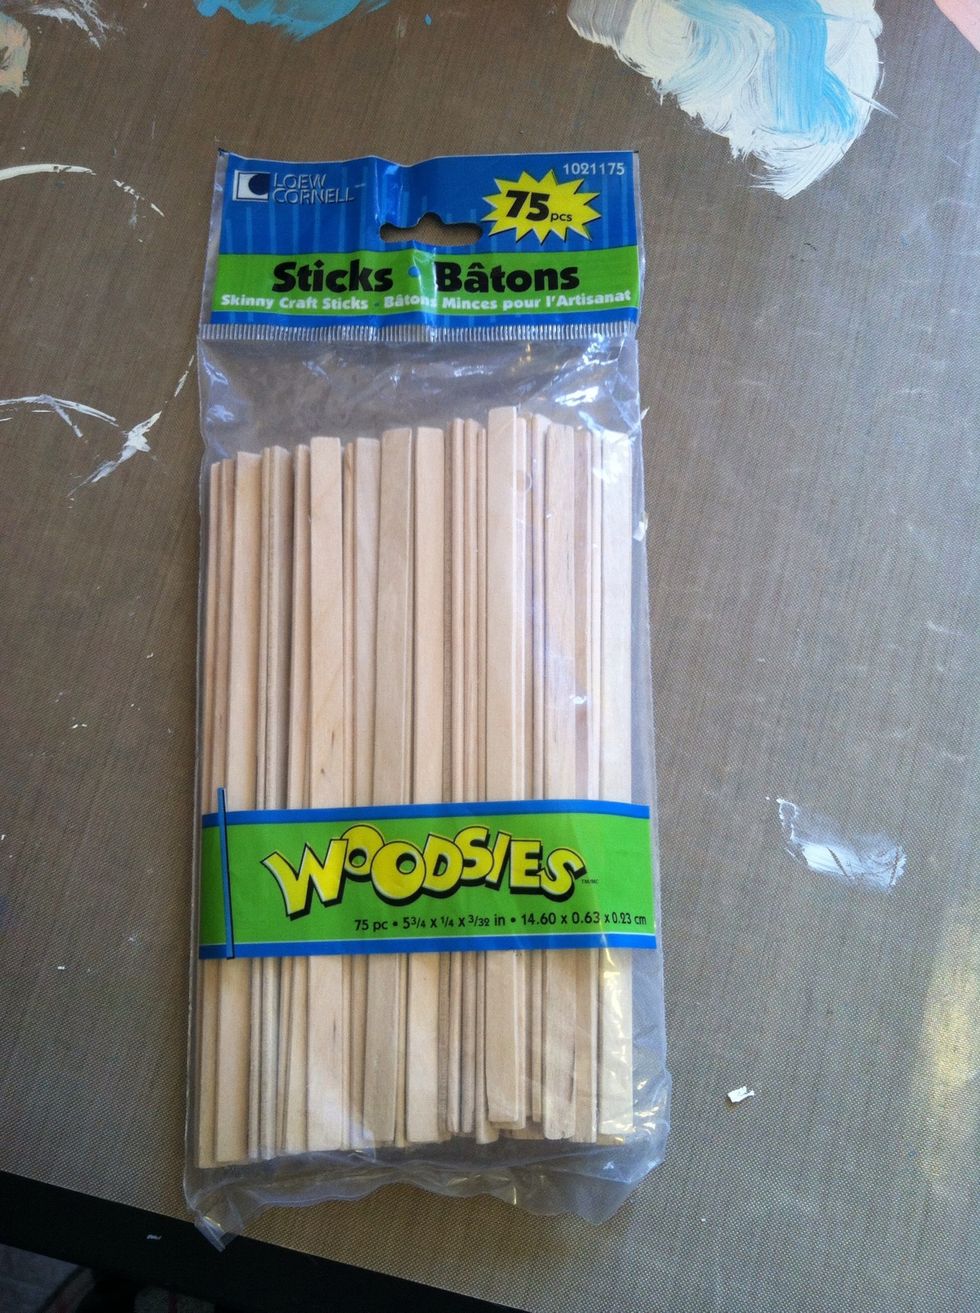
This is the size of Woodsies I used!
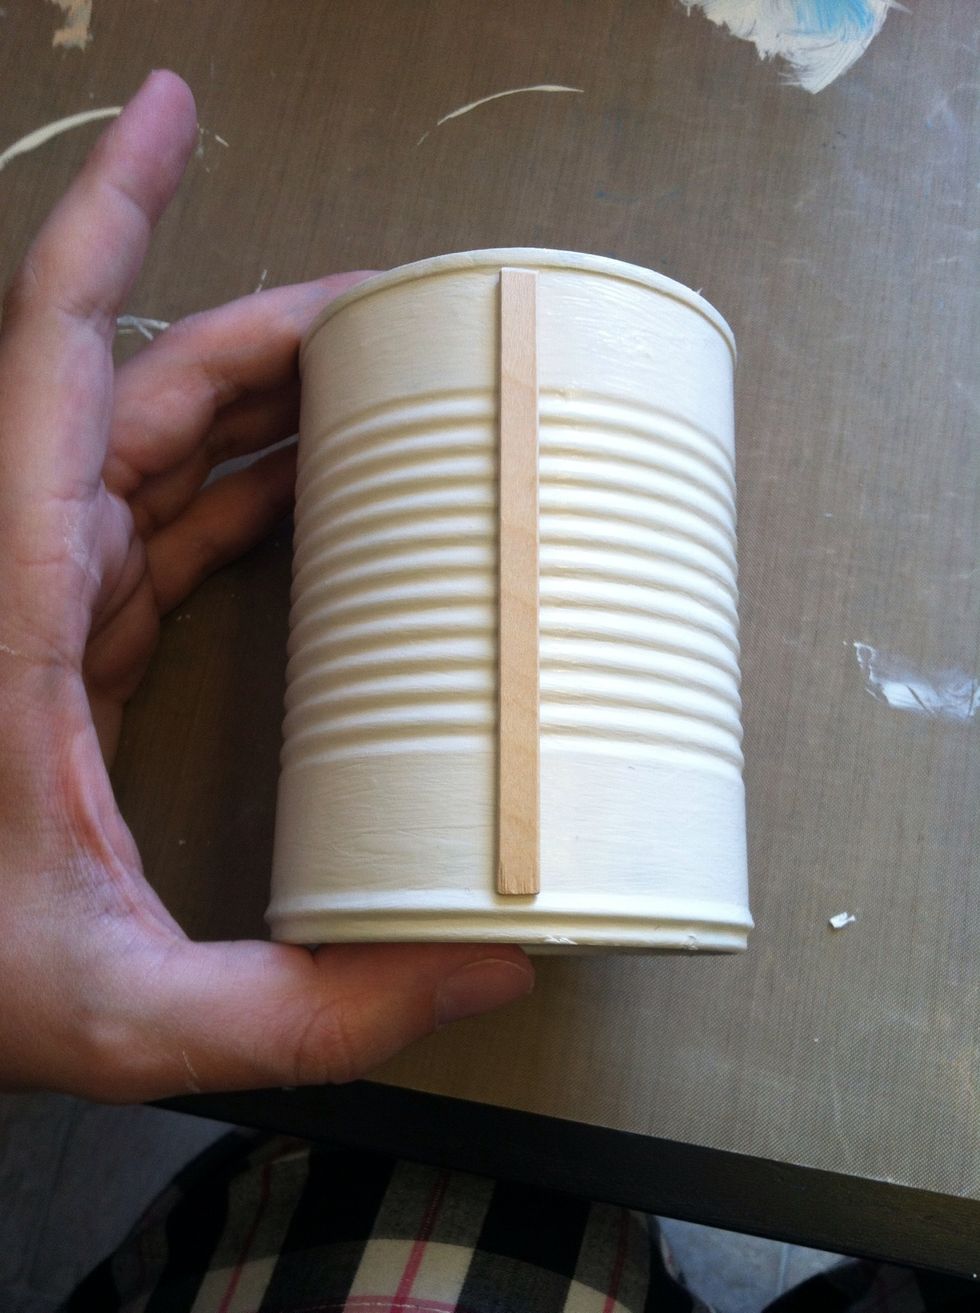
They're a bit long for the tin so I used my (non-paper) scissors to trim them.
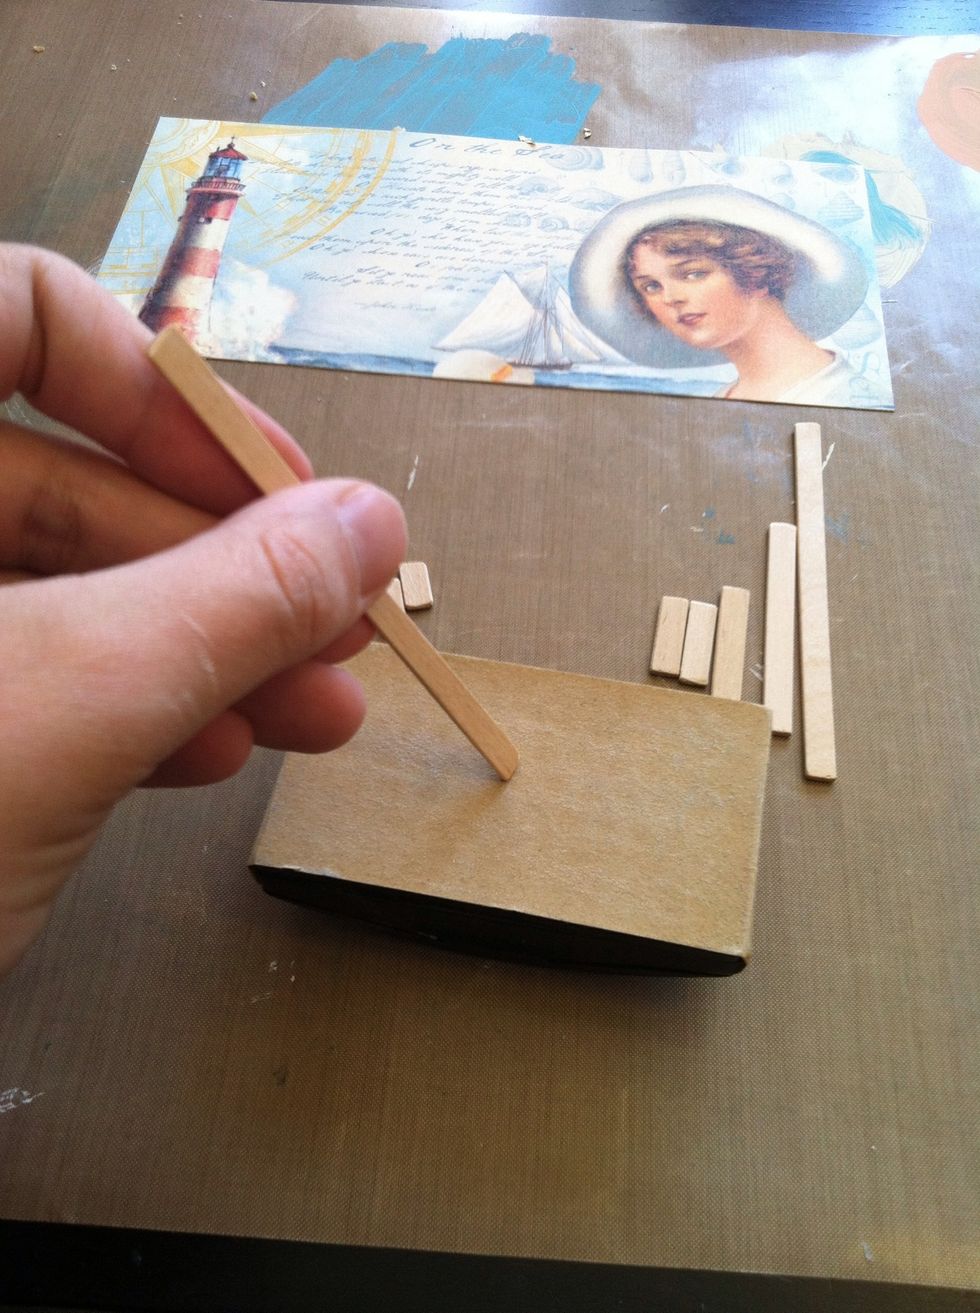
After trimming, I used a sanding block to smooth the edges of the Woodsies.
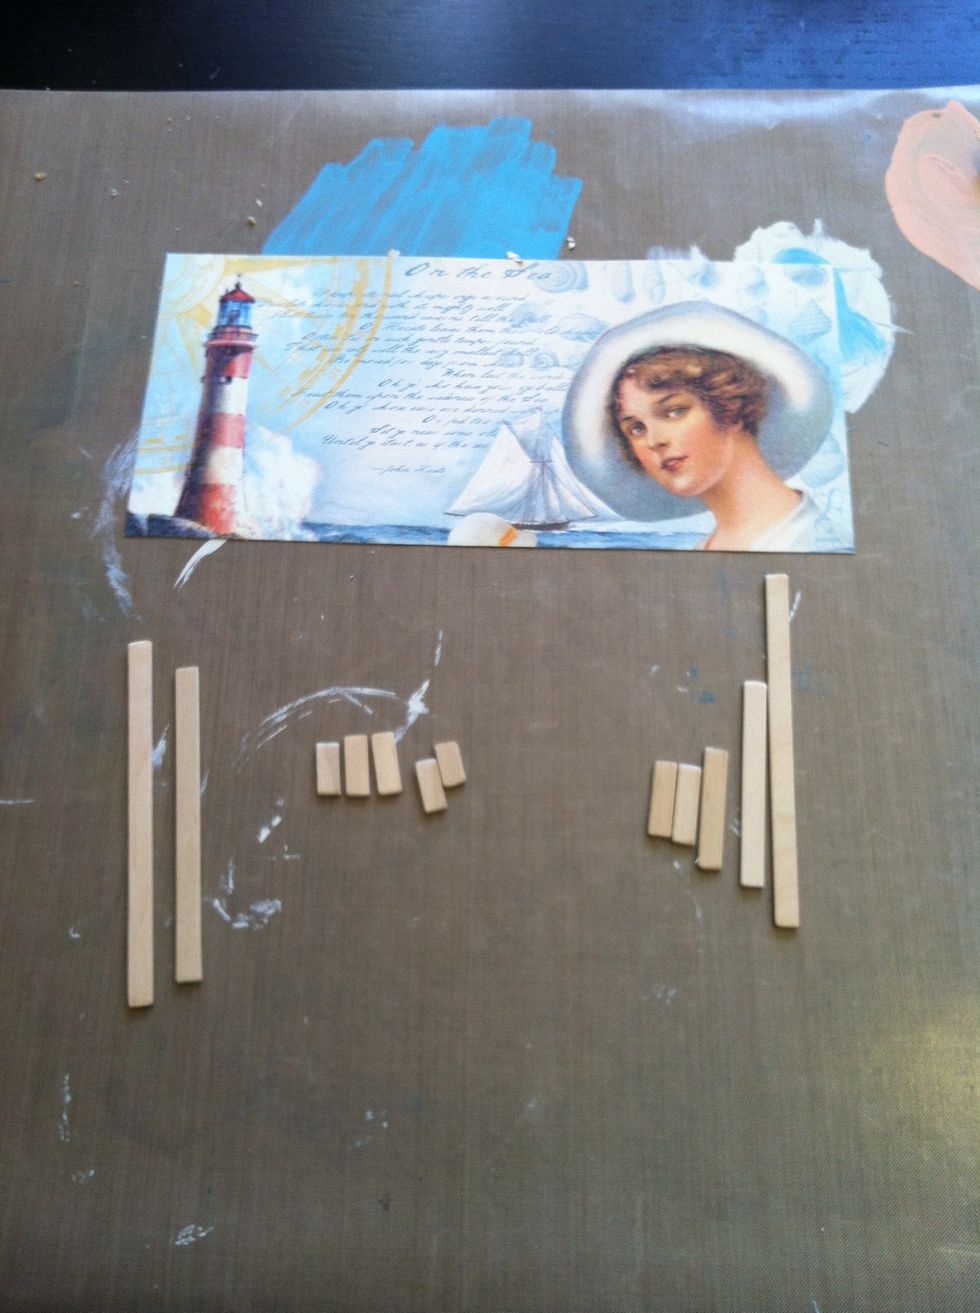
I made two pieces the height of the can, and the rest I just eyeballed.
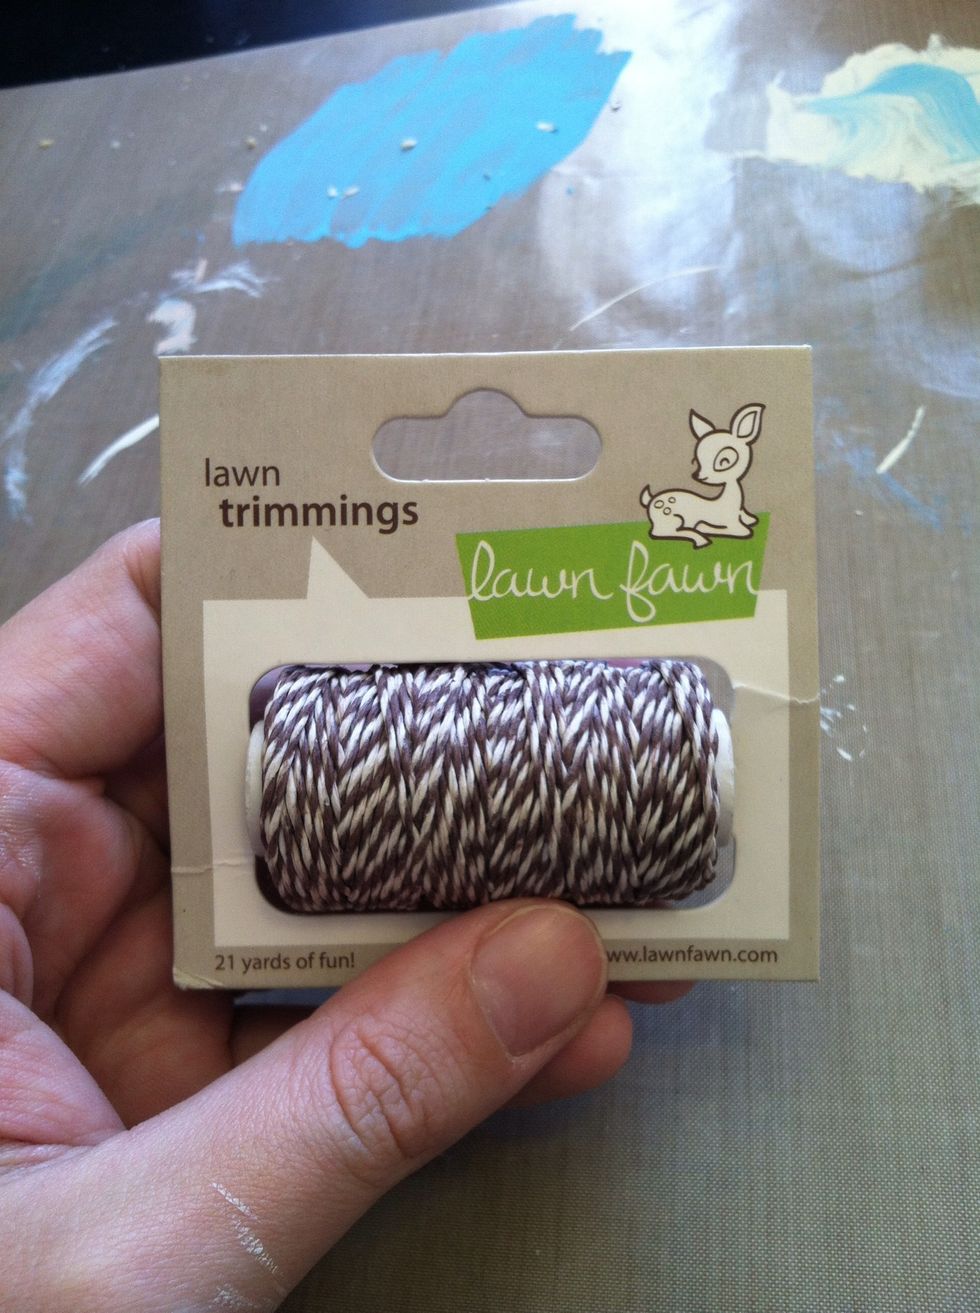
This is the twine I used on the "fencing". I would have preferred this ultra tiny jute my local scrapbook store carries but I ran out. This twine is a bit stiff. Something softer would be better.
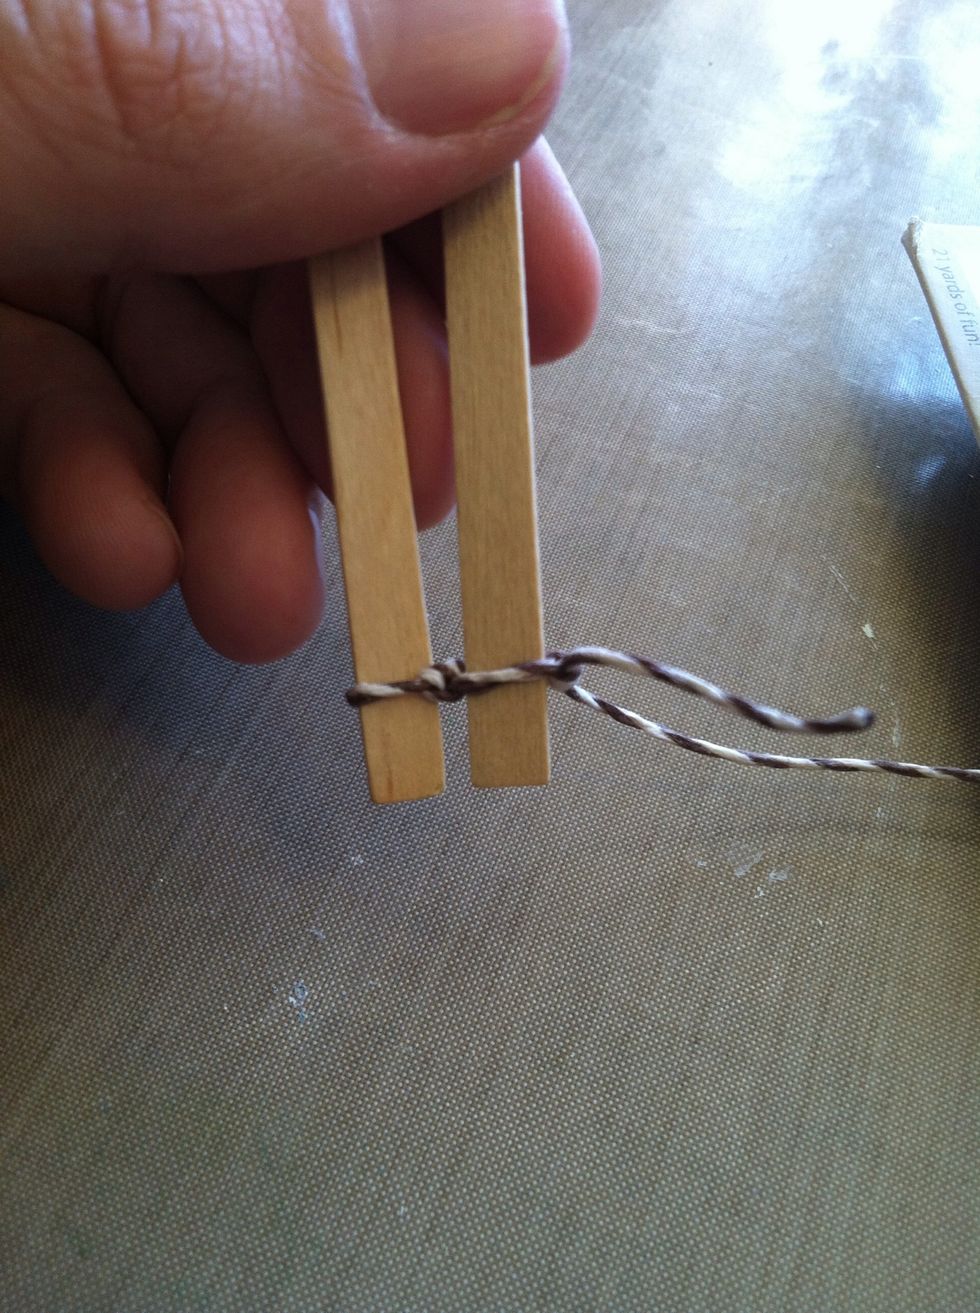
I just started knotting the Woodsies together.
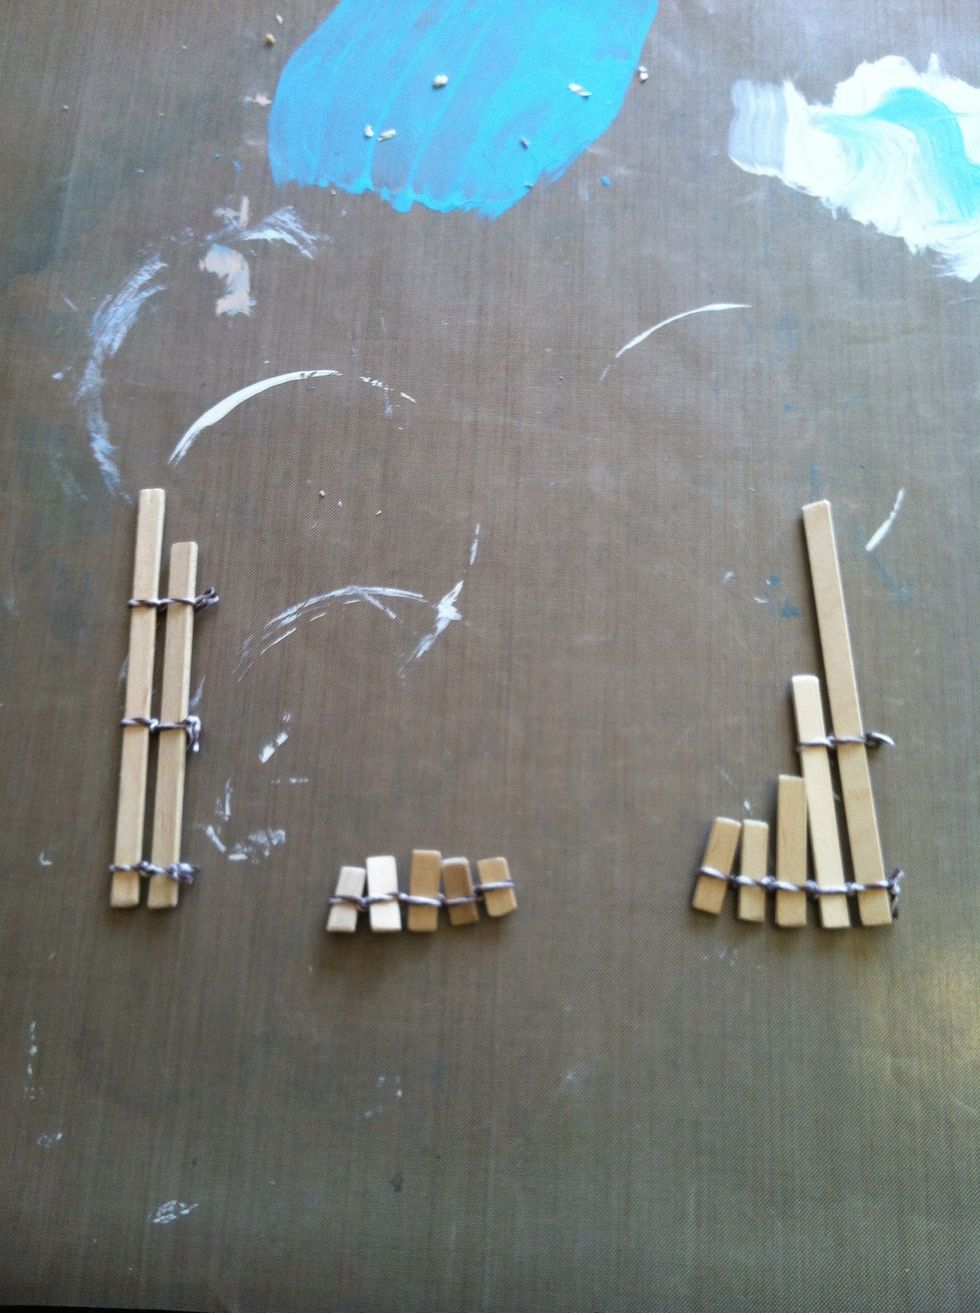
This is what I ended up with.

You now have a couple inches of bare can. I covered this with a piece of plaid paper on the back of the "By the Sea" pattern. Do this before putting the wood down, unlike me.
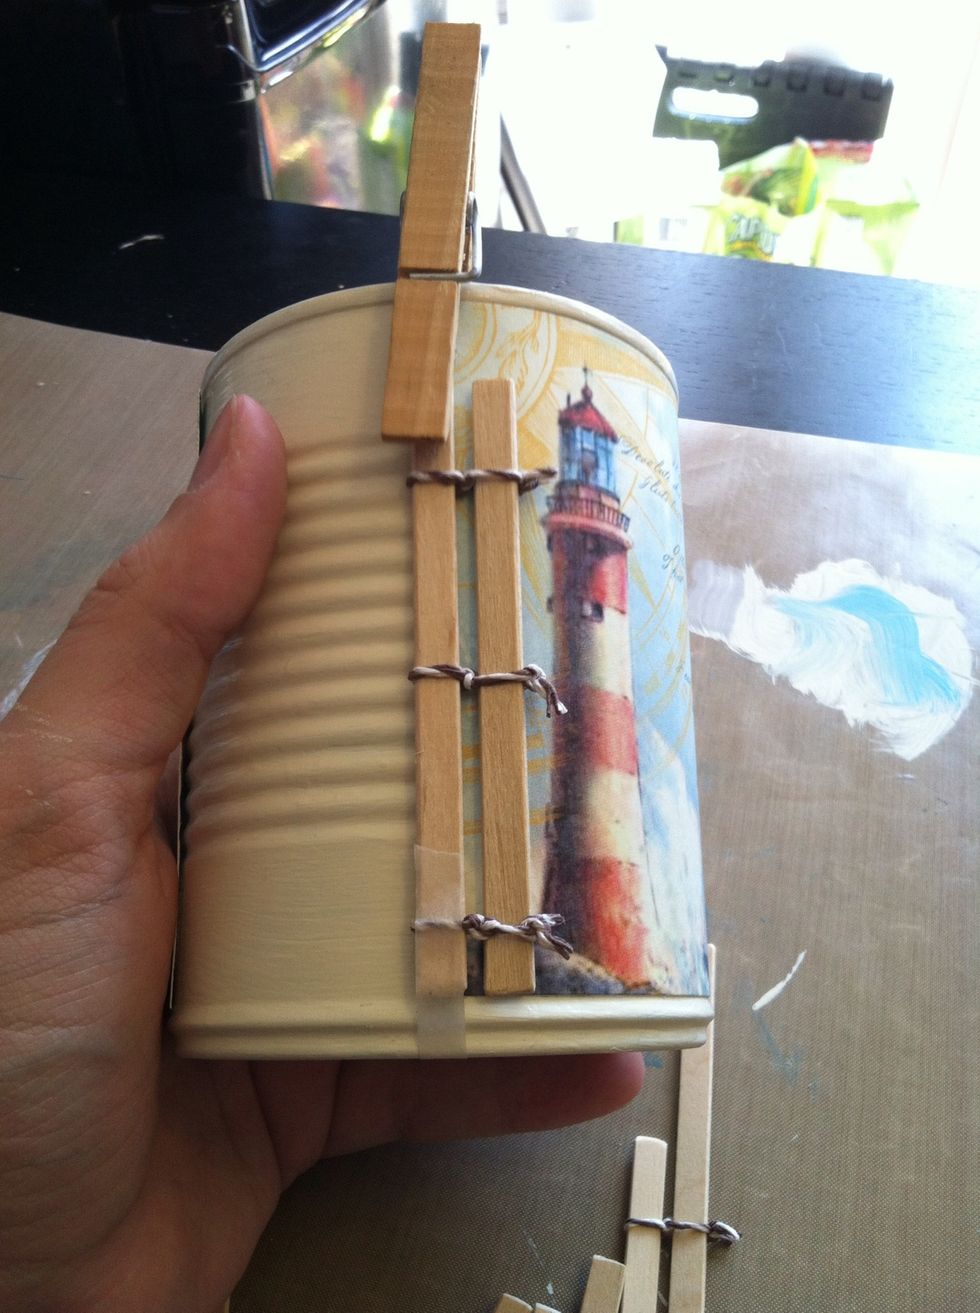
I adhered the long Woodsie to the paper edge. Use the clothes pin to hold it on while it dries. Hot glue would also work, but I had none.
Adhere the other piece of fencing on the other edge. Clothes pin or hot glue to hold it in place!
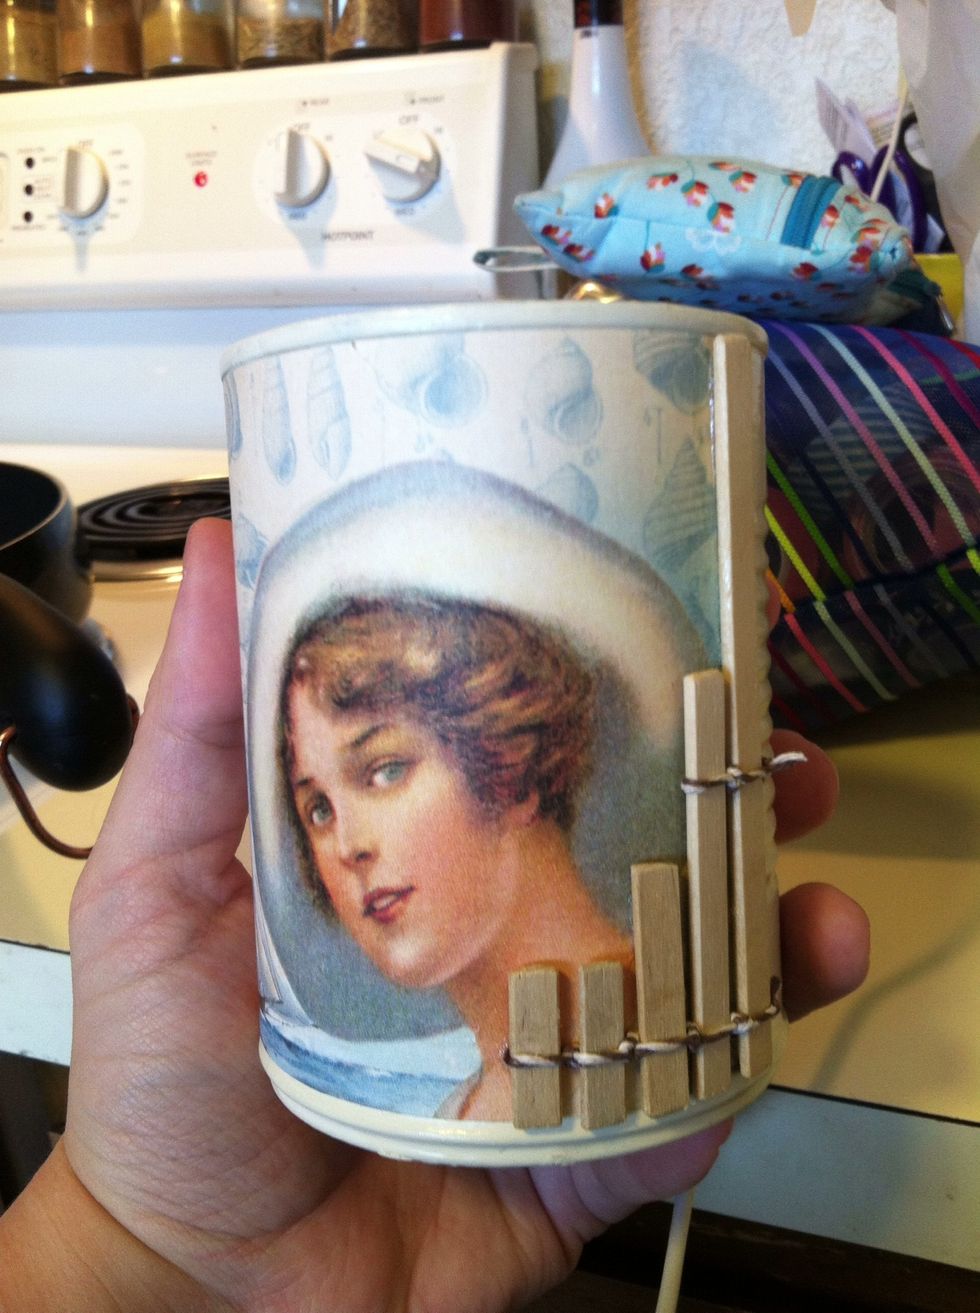
I didn't like how the wood fencing stopped at the plaid, so I tied together 6 more can-height Woodsies to put over the plaid paper.
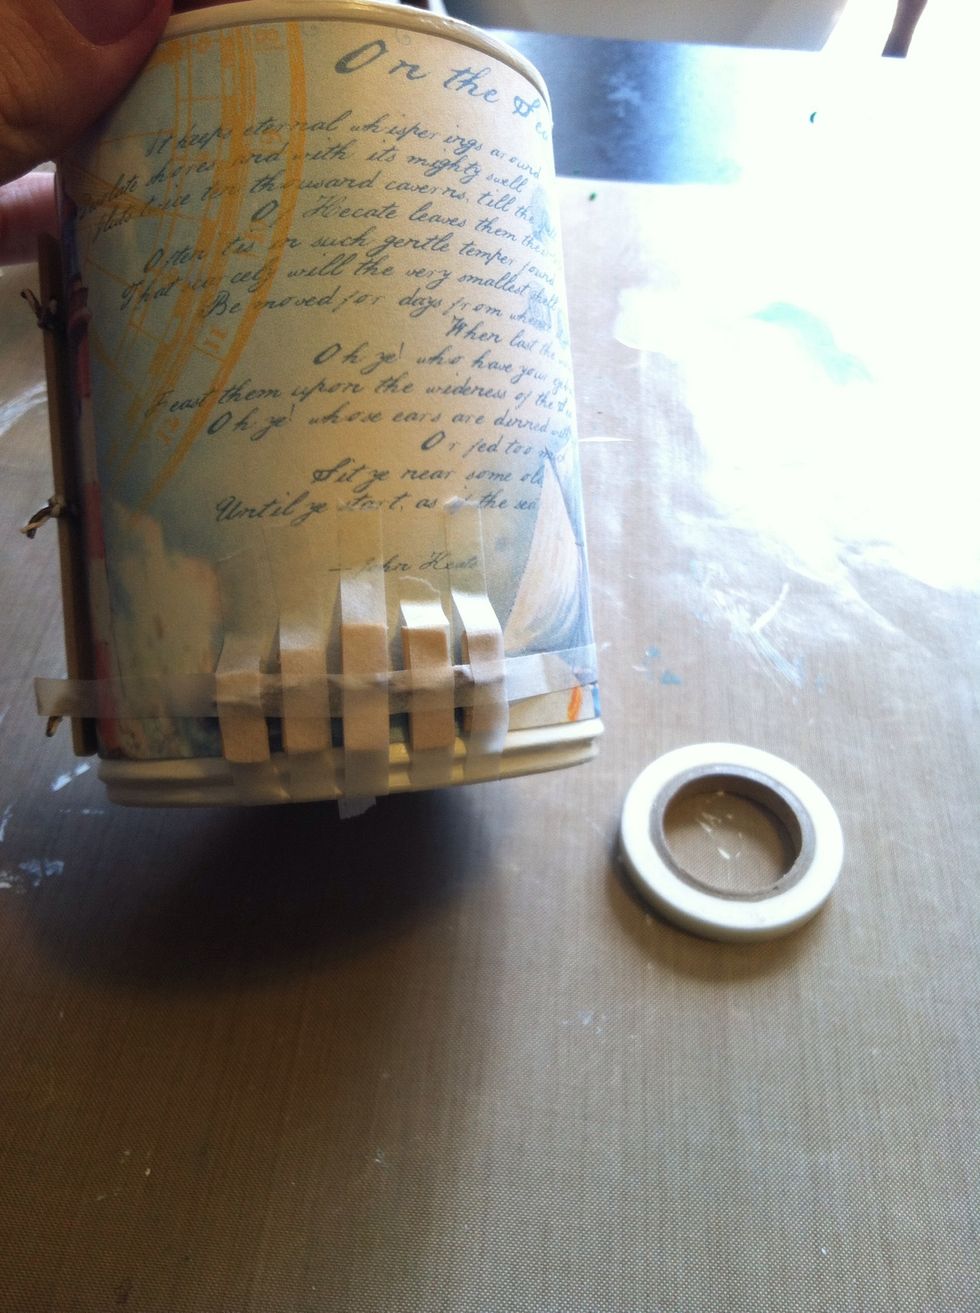
Adhere the tiny bits of fence. I used washi tape to hold them in place until they dried.
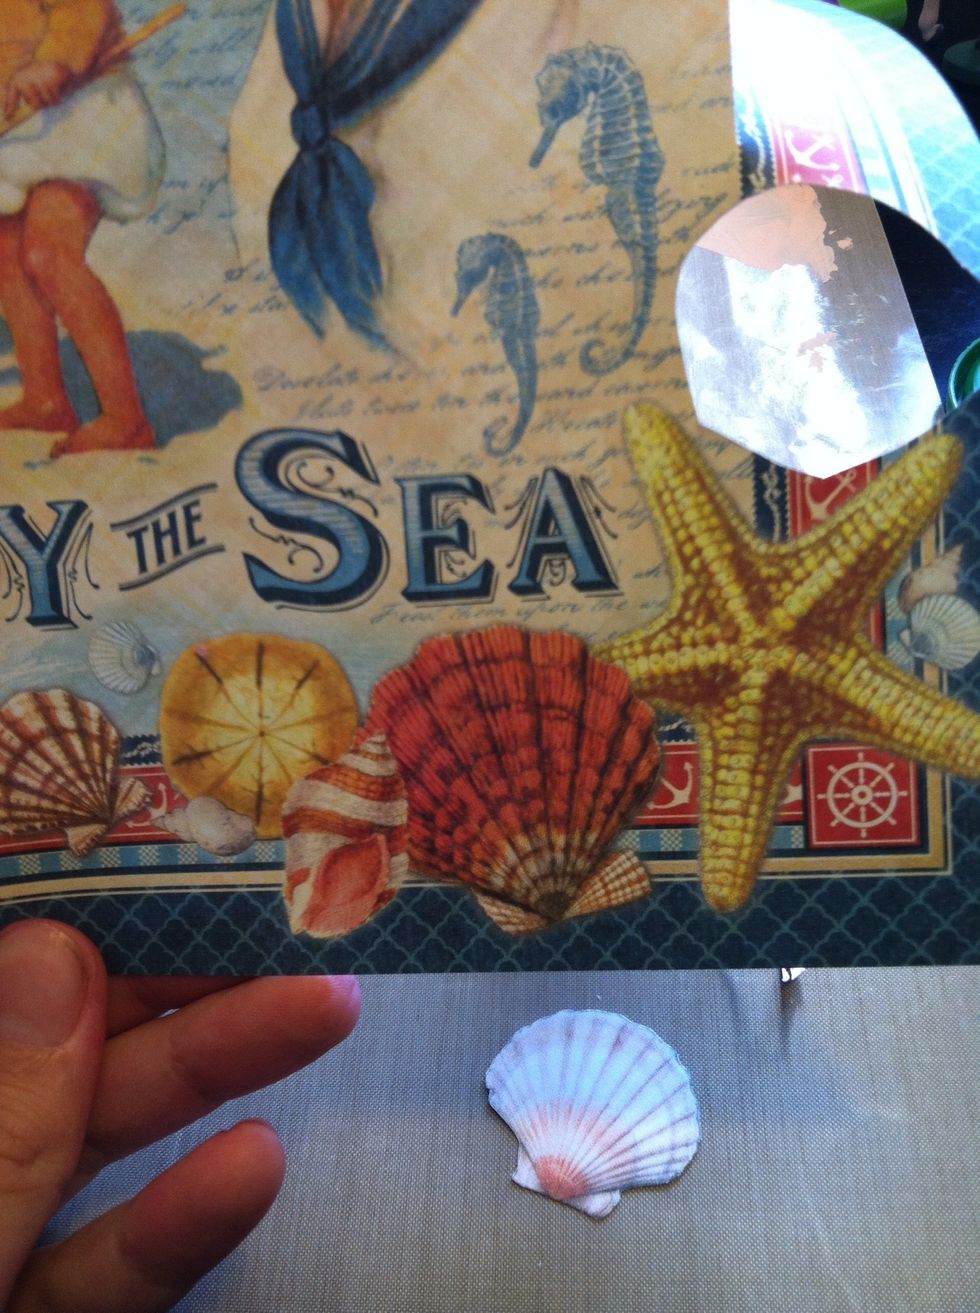
Fussy cut out all the shells!
This is what I fussy cut out. In hindsight, I would have cut the B and Y together just like I cut out the SEA.
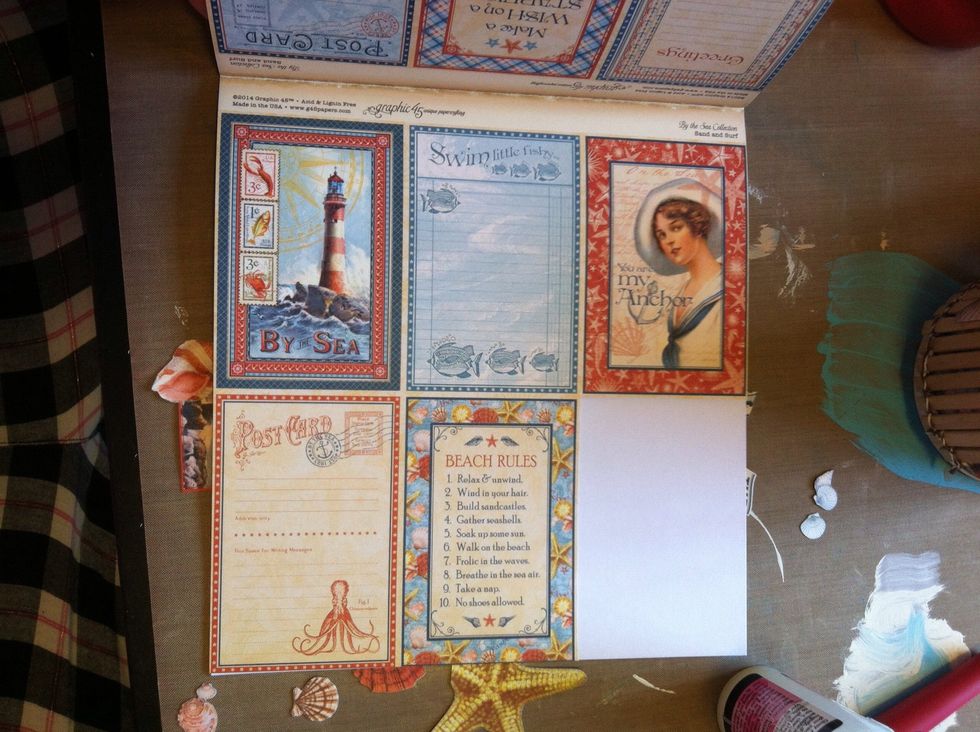
Cut the bottom right card out of an 8x8 stack.
This is the card! (it is on the backside.)
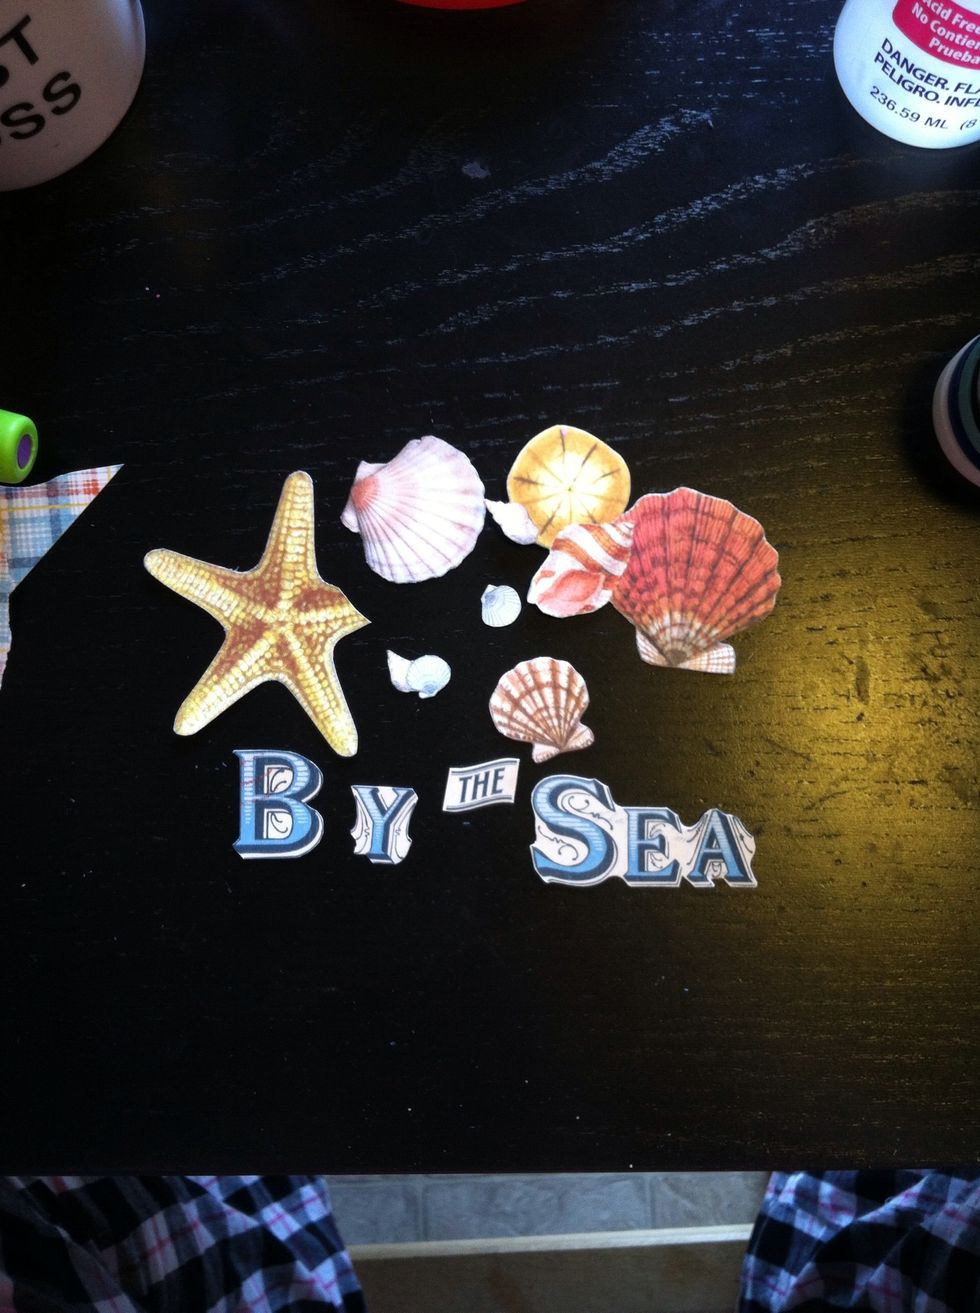
I cut the bottom third of the paper (8x8" stack again), and fussy cut all the shells. I also recut the "BY" to be one piece as I didn't like how the separate B and Y turned out.
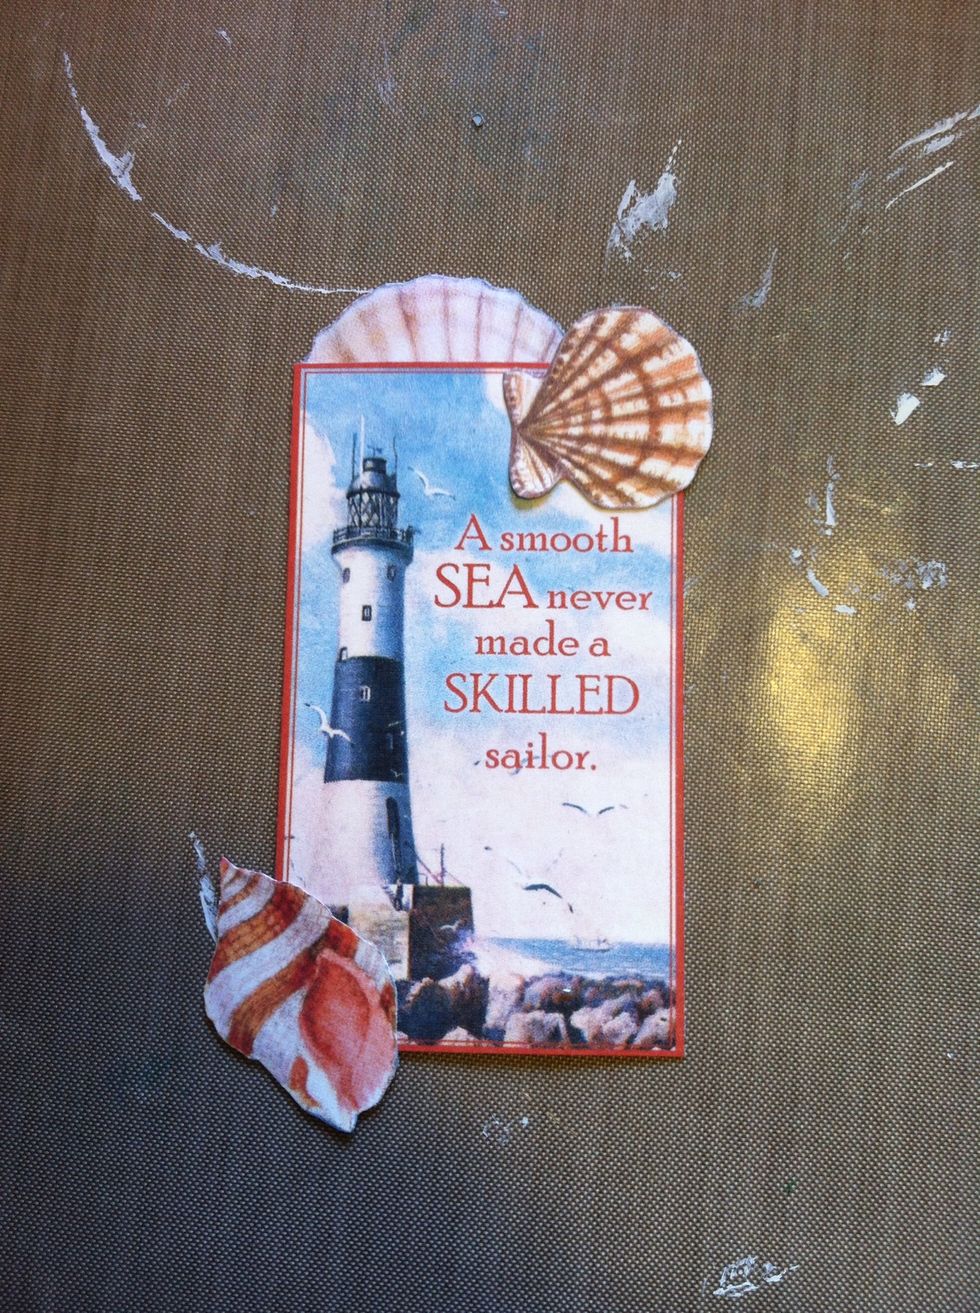
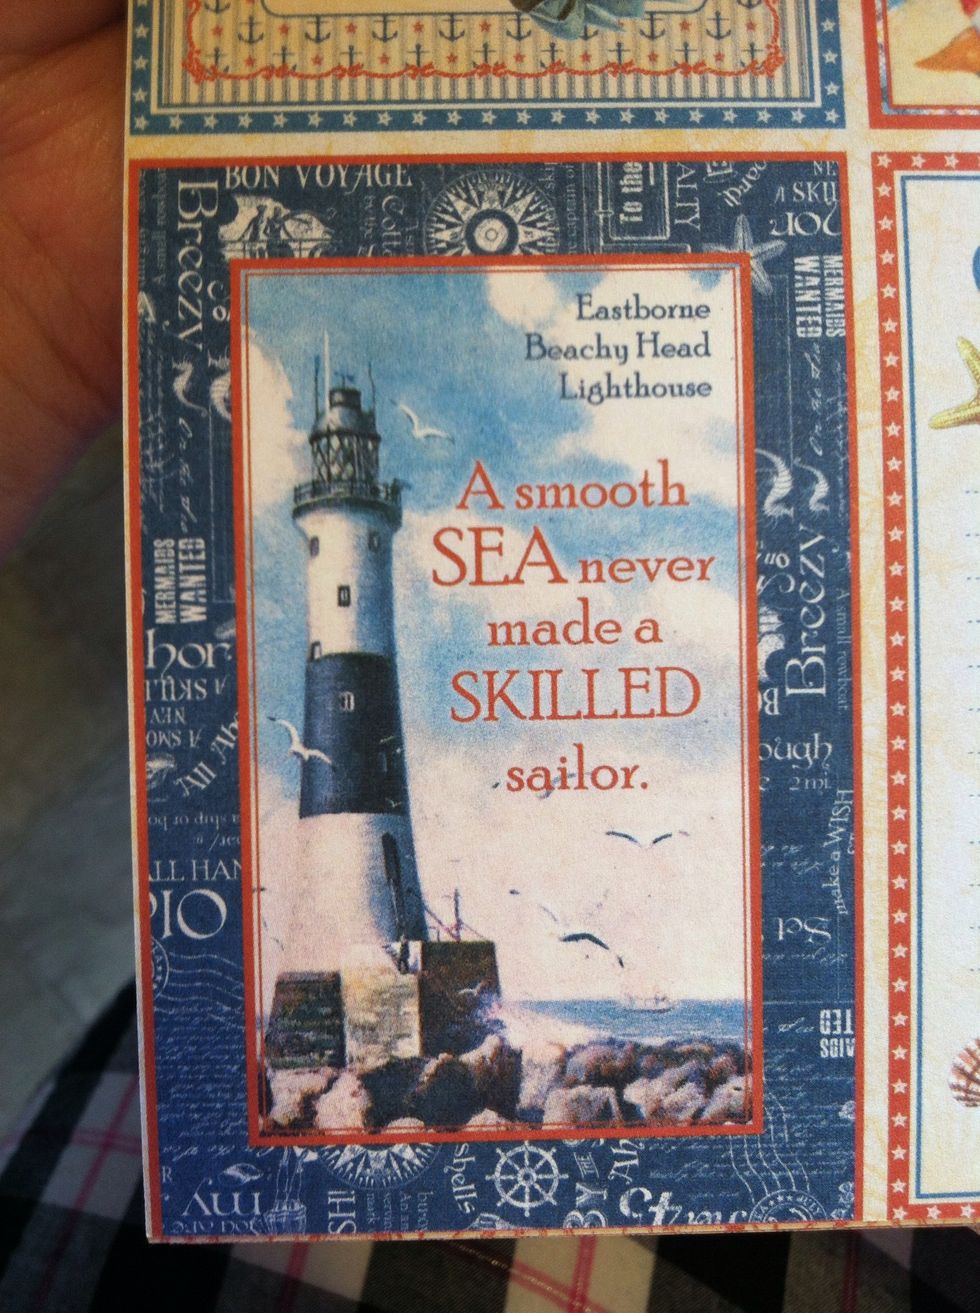
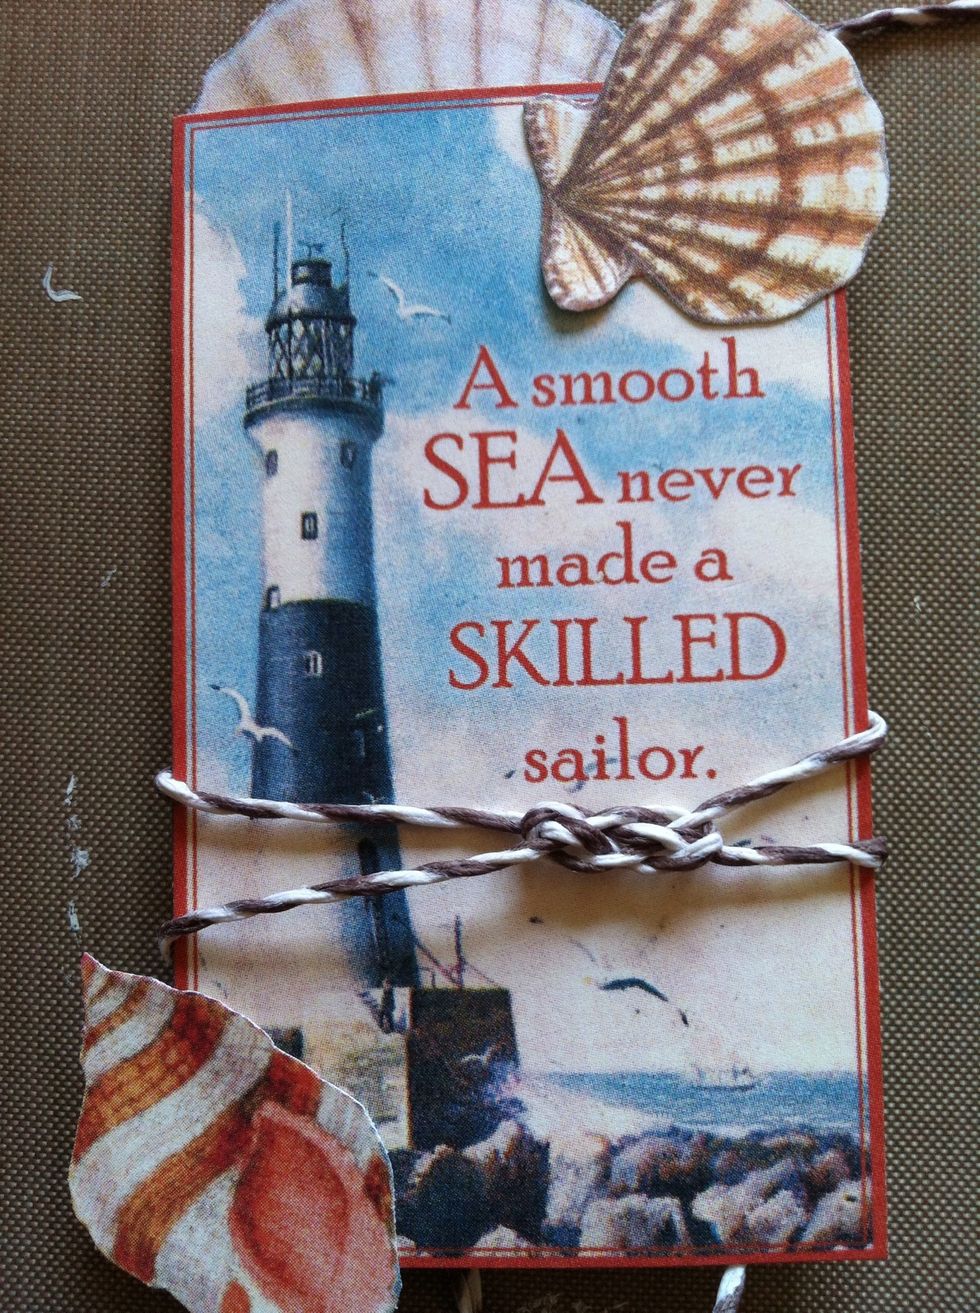
Trim the blue border from the lighthouse card. I glued a few shells on the front. I wanted to cover the lighthouse name as I felt it took away from the phrase on the card.
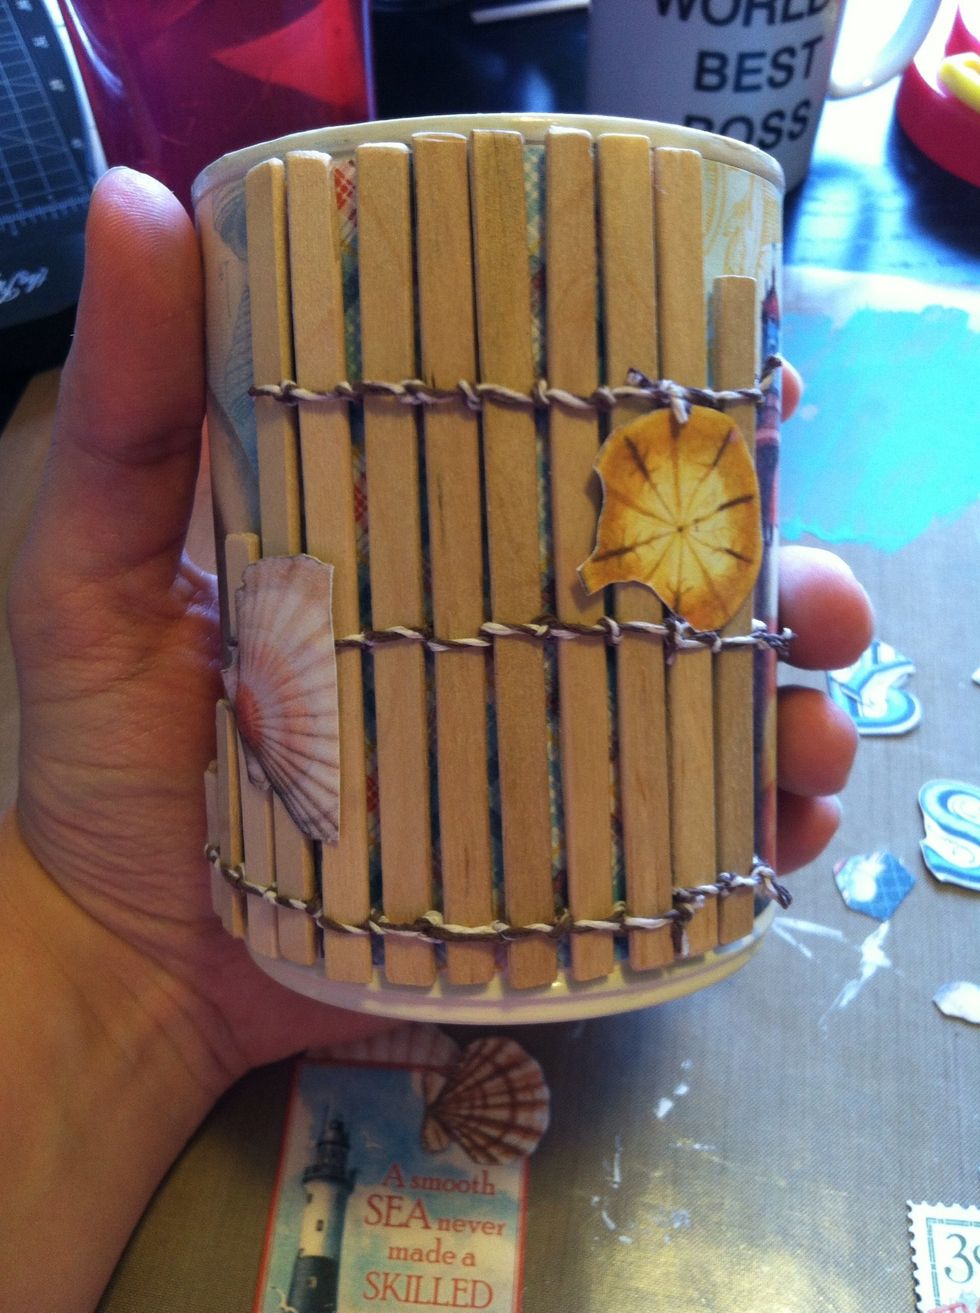
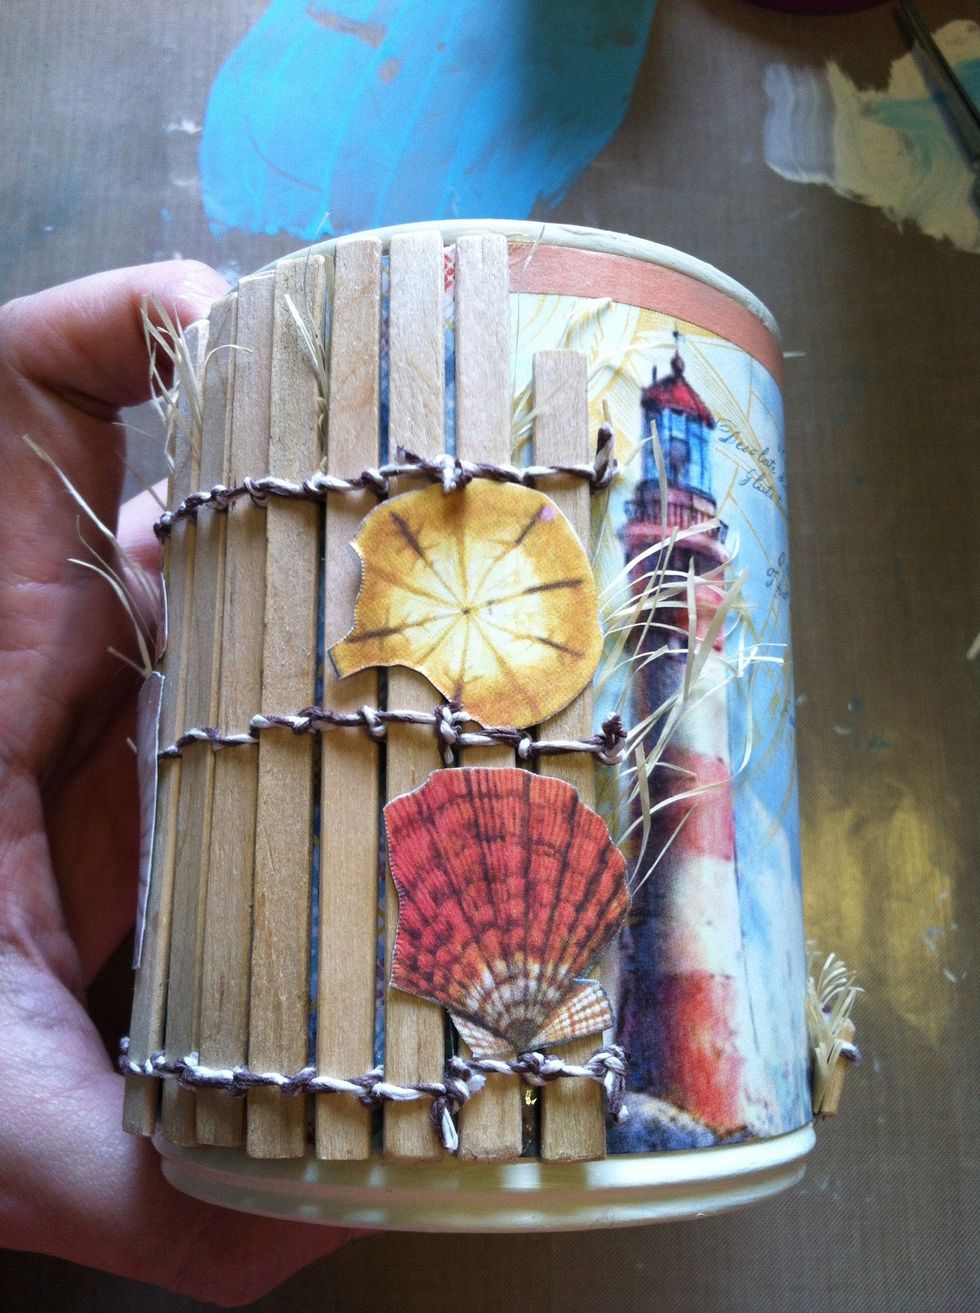
I glued a few of the partial shells onto the wood fence base.
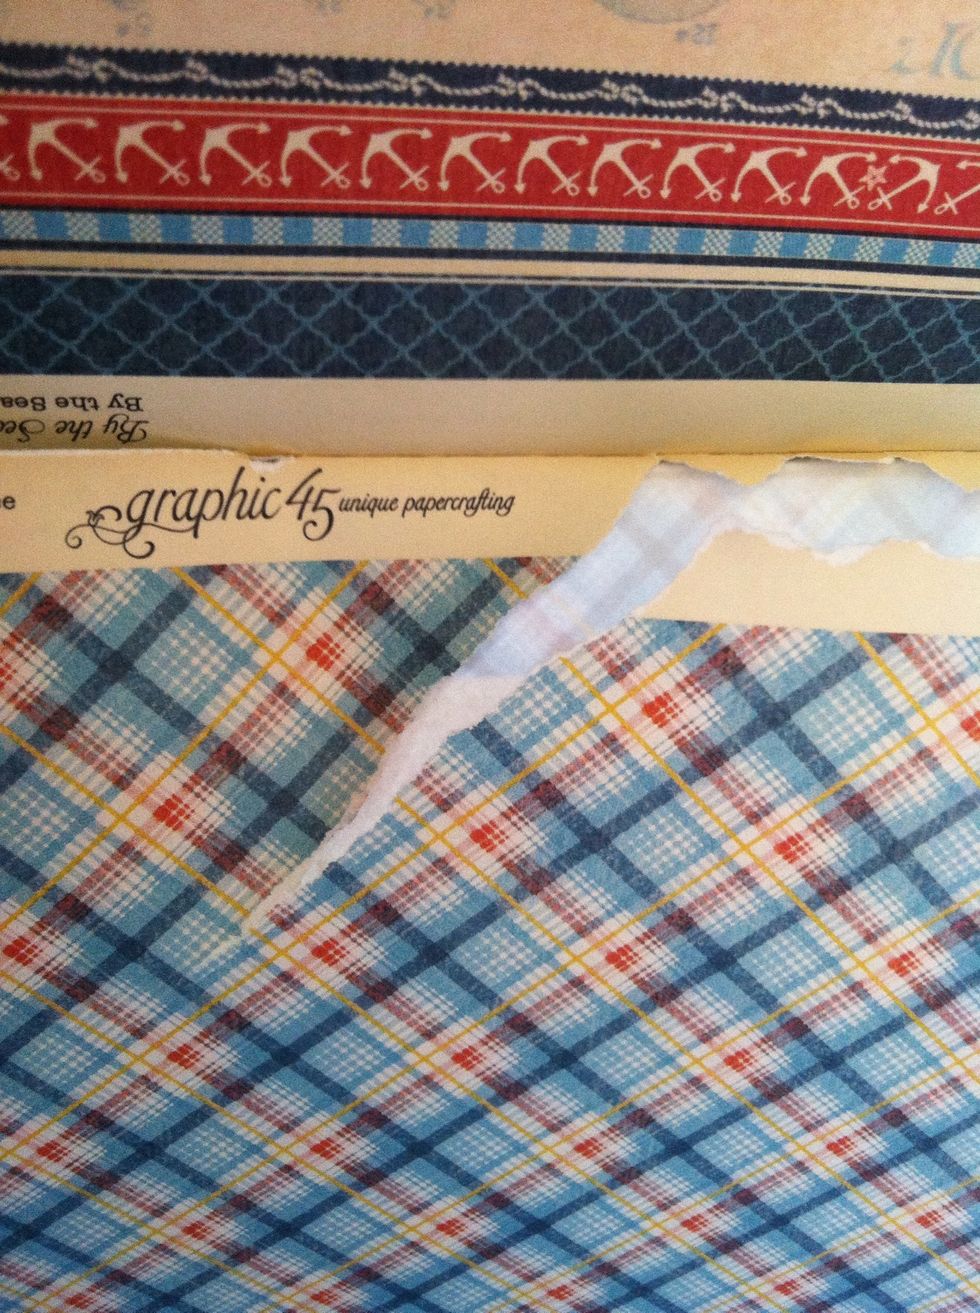
Confession time: when I was pulling a page out of my 12x12, (instead of cutting it out like I should have) I tore the paper. Oops! I didn't want to waste it, so I used it anyway. So....
The rip was extremely visible and nearly an inch long. Instead of getting messy with glue, I put a strip of coral coloured washi tape along the entire length of paper (the large gap in the fence)
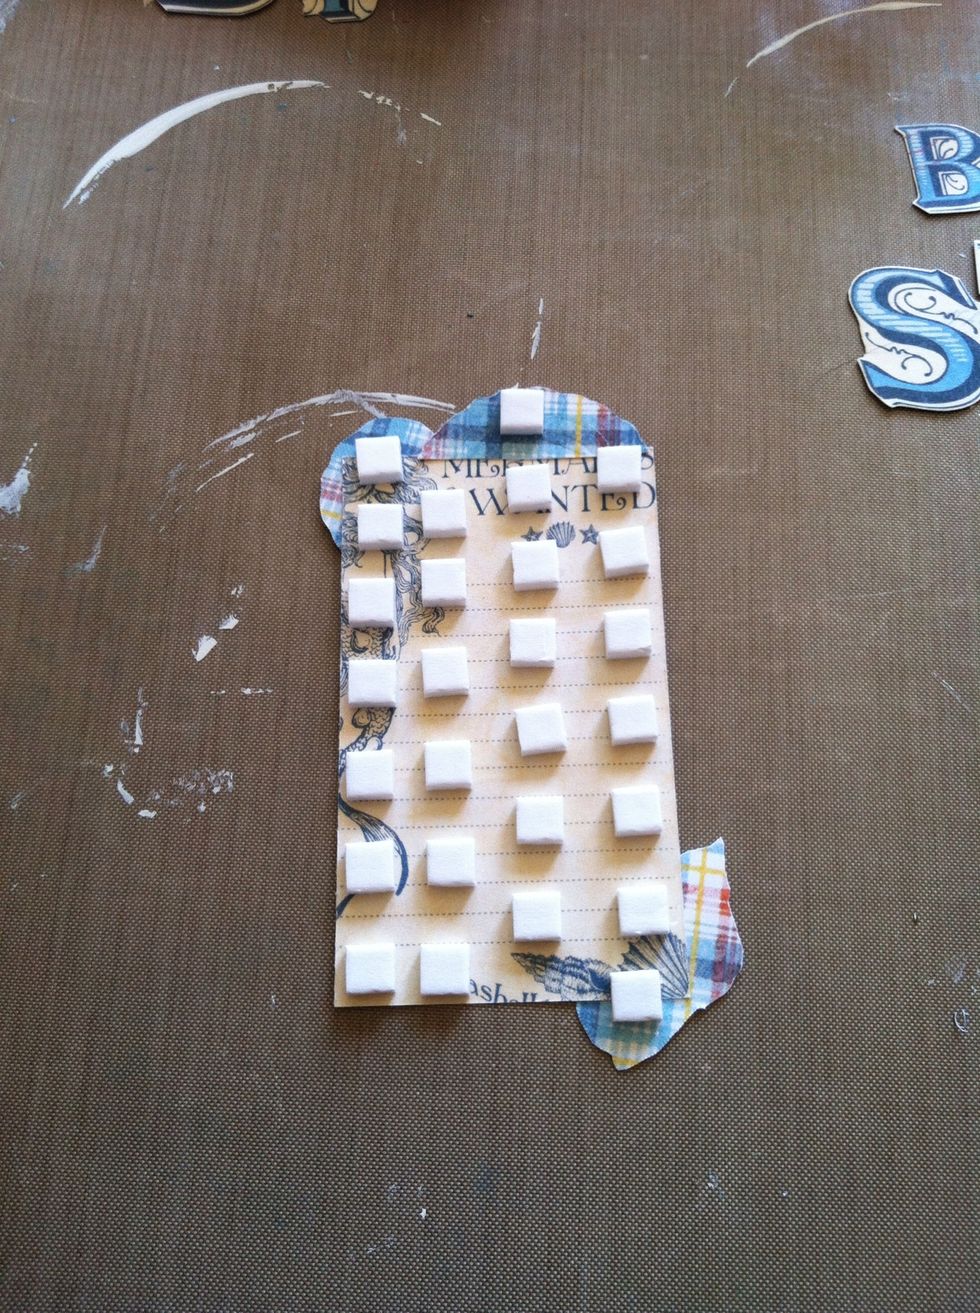
Popdot the entire back of your lighthouse card!
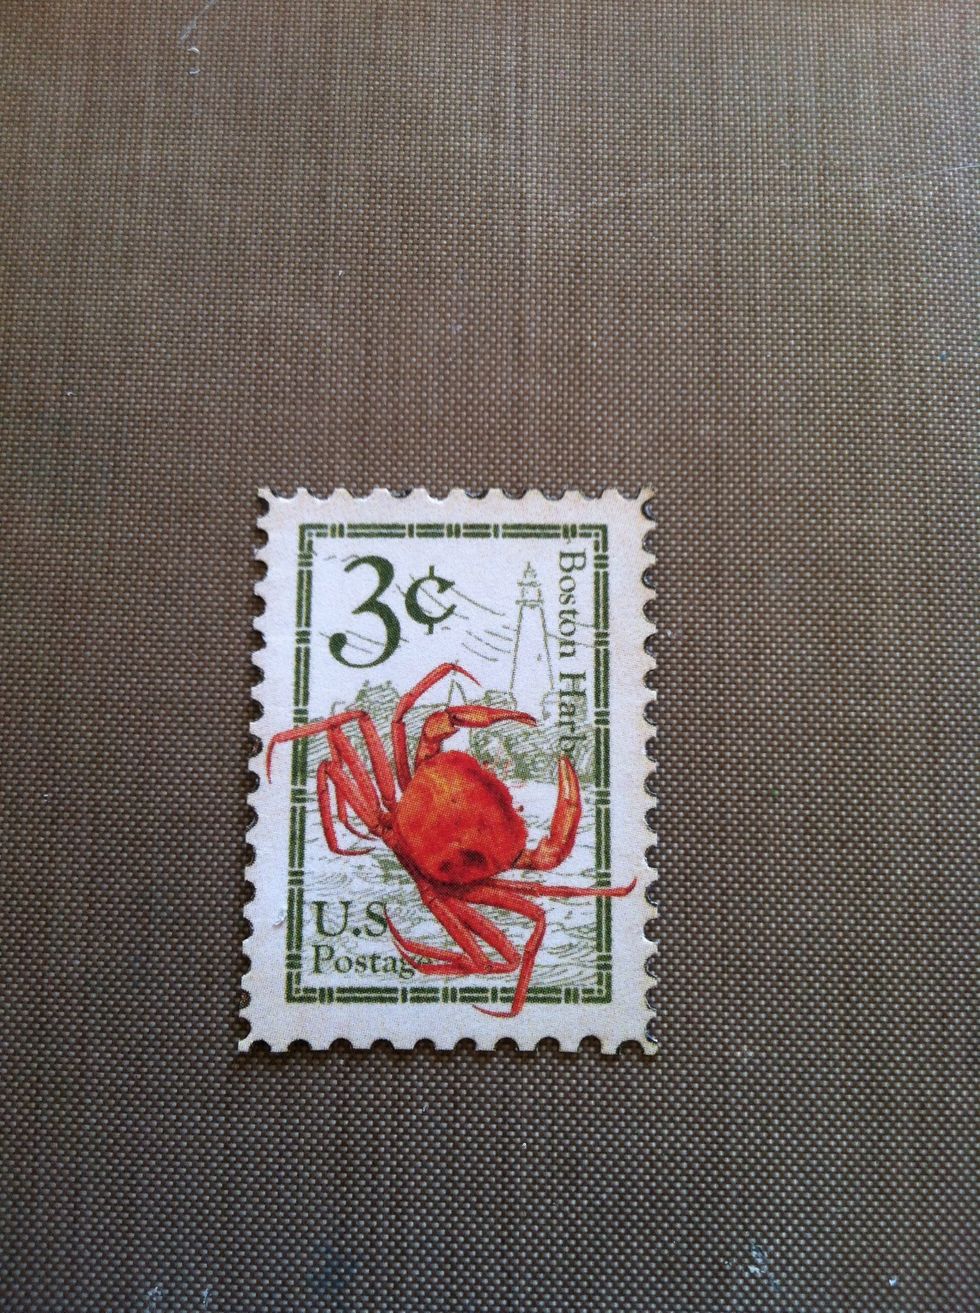
Fussy cut out one of the stamps from your leftover 12x12" paper. I used a 1/16th hole punch to give it that stamp edge.
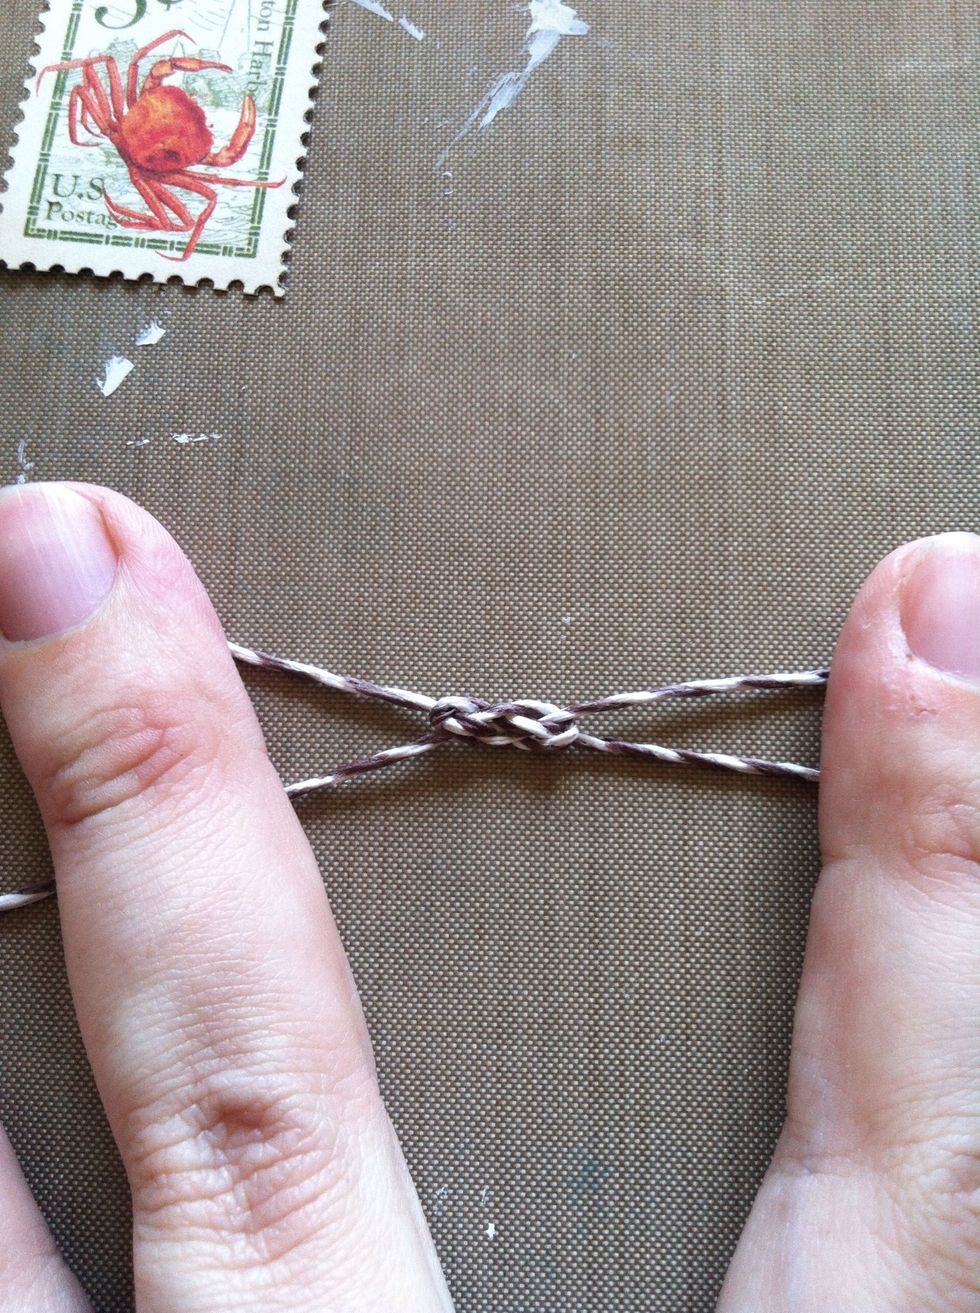
Using two pieces of twine, tie a Carricks Bend knot. I have a Snapguide how to tie one on my profile. My twine was about a foot long each, but you could probably get away with 4" or so.
Position the knot under the "sailor" on the pop-dotted card. Adhere it in place with a bit of glue on the back of the card only. Trim your excess twine.
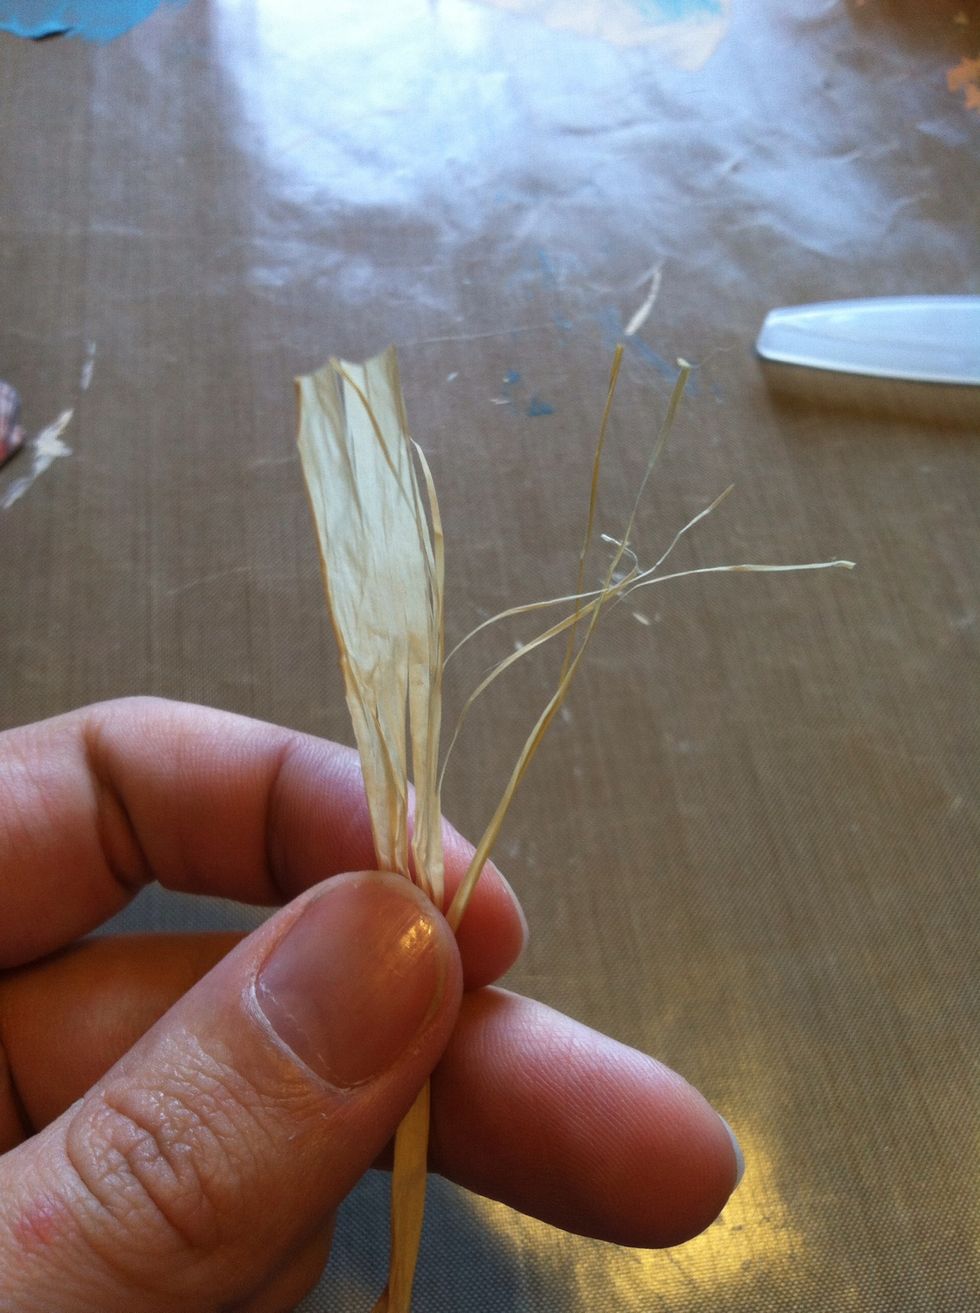
Grab your raffia. I used about a foot and a half. I shredded the end to look like beach grass, but left the other end together. Each piece is about 1.5"-2" long.
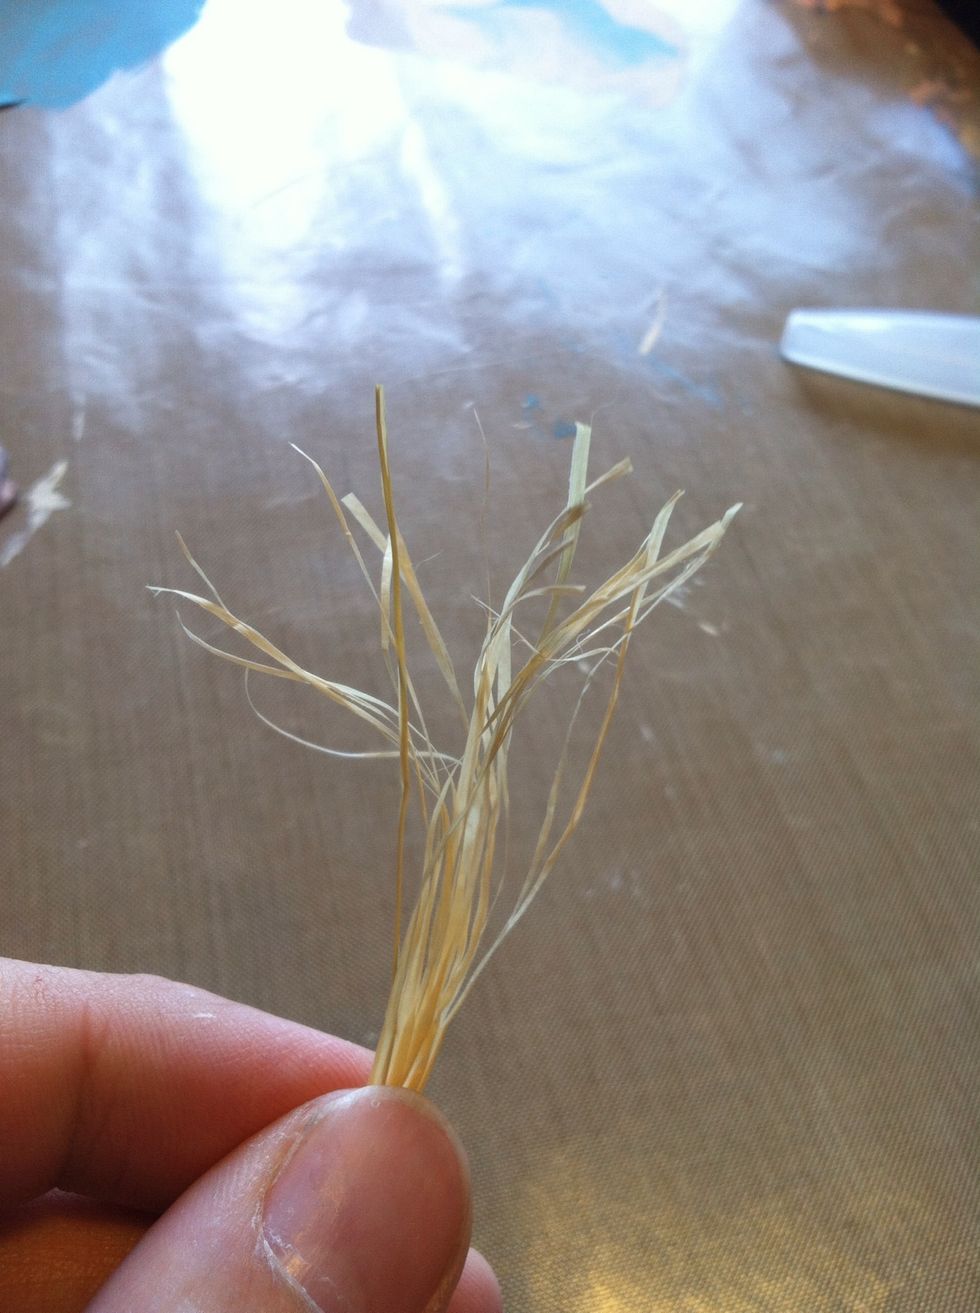
This is what it ended up looking like.
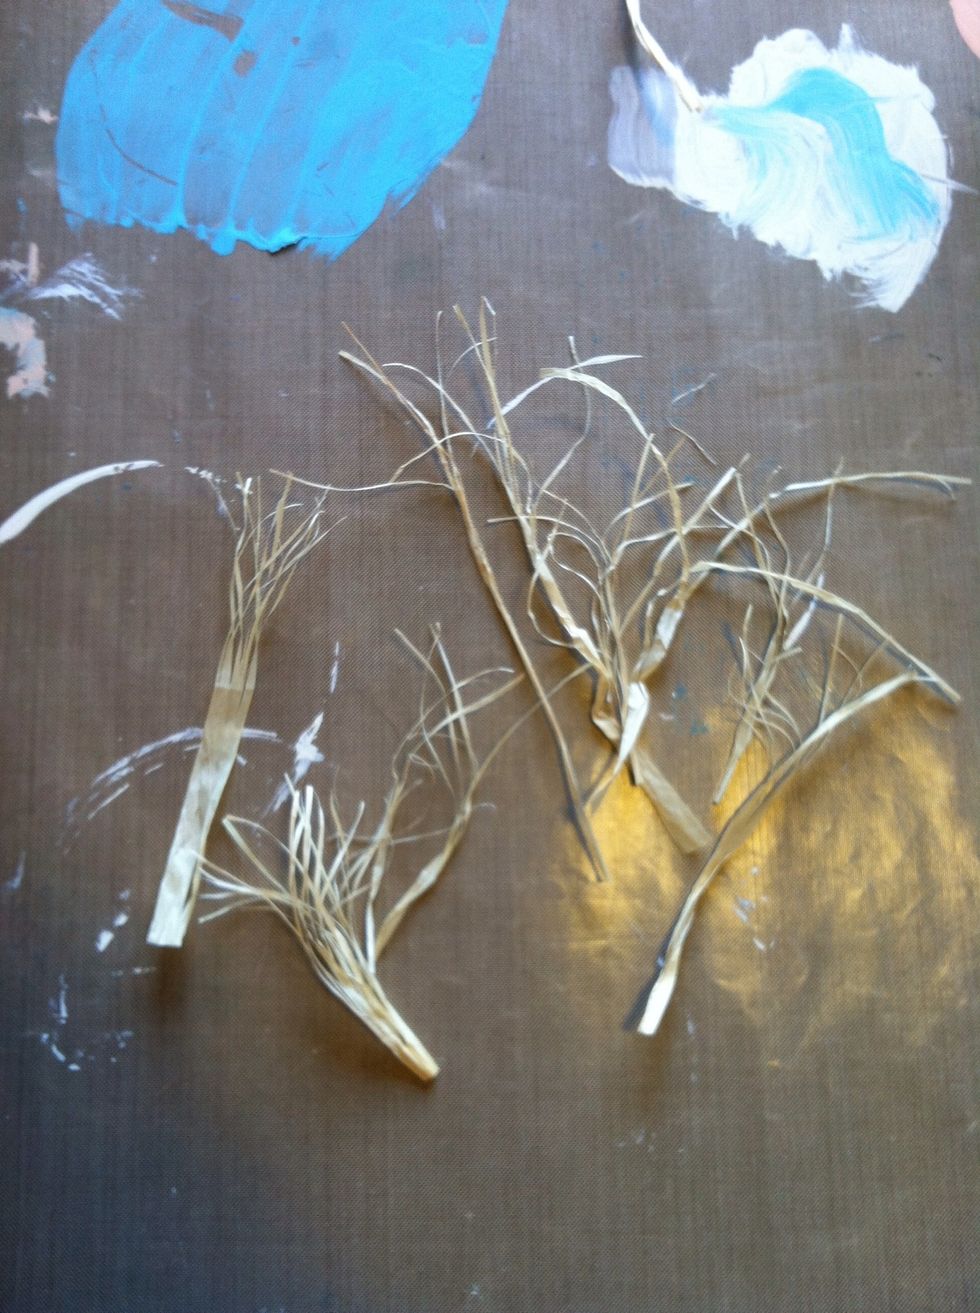
This is how much I made for the cup.
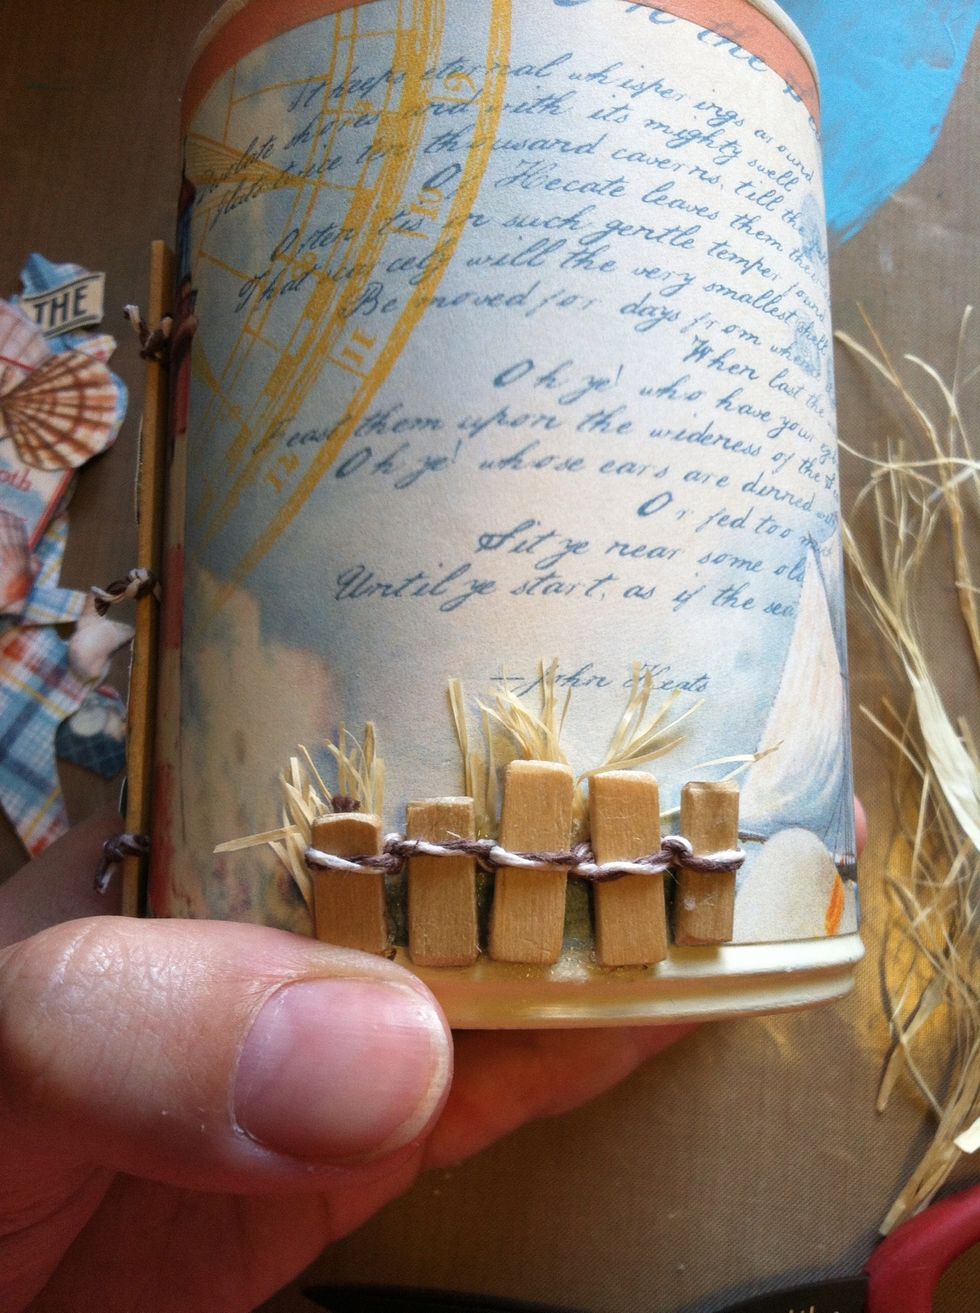
I cut some super short pieces and glued it behind the short fence. I pressed it in place using reversible tweezers.
I glued the longer pieces behind the longer fence pieces, as well.
After gluing them in place, let them dry well. I trimmed some pieces at odd lengths to make it look more natural.
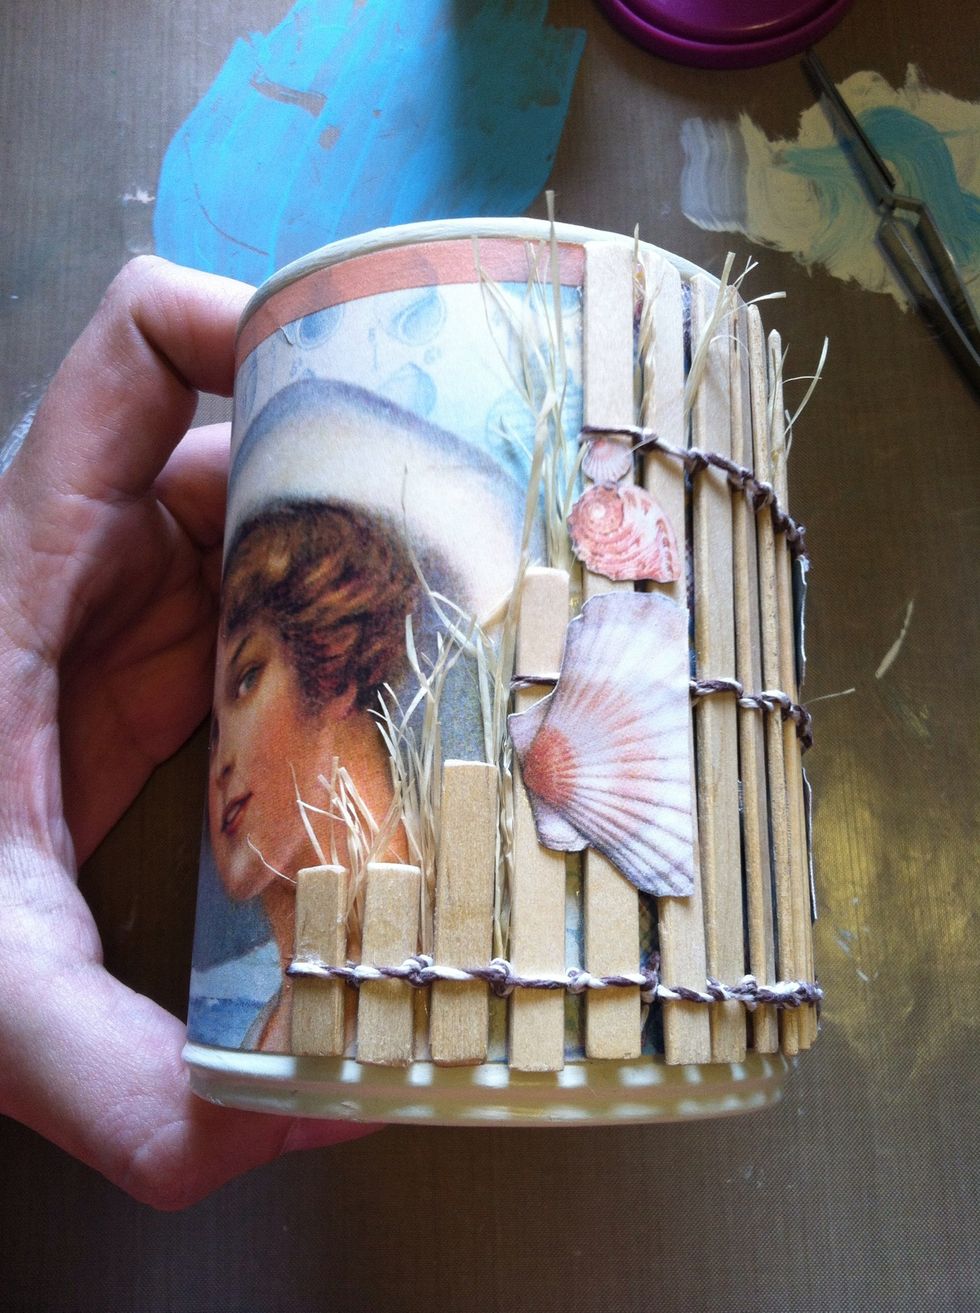
I pulled the backings off the popdots on the 'Sailor' phrase card we put together previously, and pressed it down on the fence area of the can.
Cut out a piece of the anchor paper about 2.5" long and 1.25" tall. Corner round it.
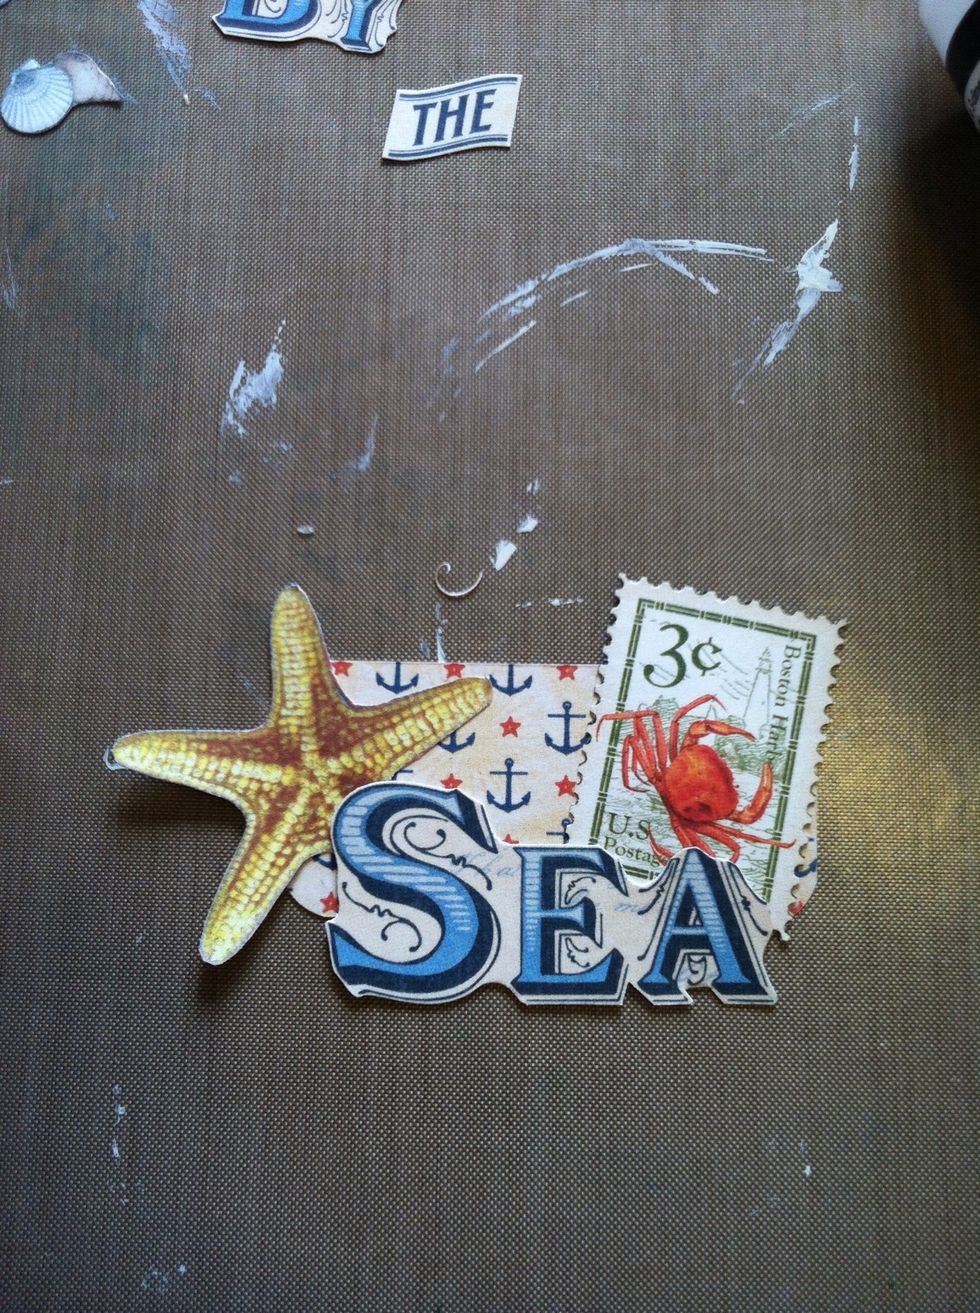
Grab all the bits you fussy cut earlier. I glued down the postage stamp, the starfish from the 8x8 stack and the SEA from the 12x12 stack. I also glued on the BY from the 8x8 and the THE from 12x12
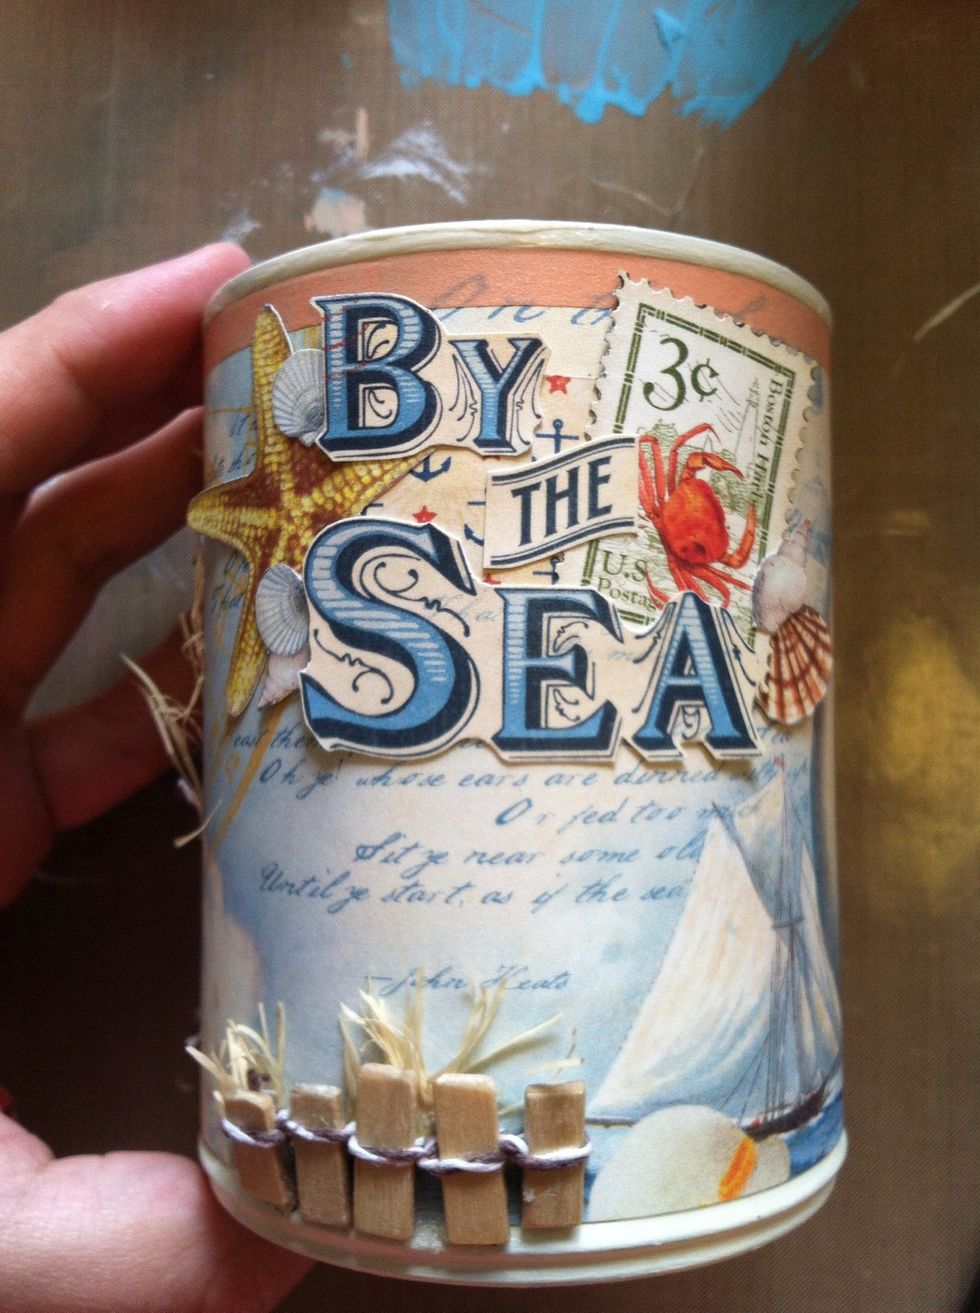
I added a few of the shells randomly. Just do whatever you think looks good! I adhered the whole thing to the can, just to the left of the woman's face.

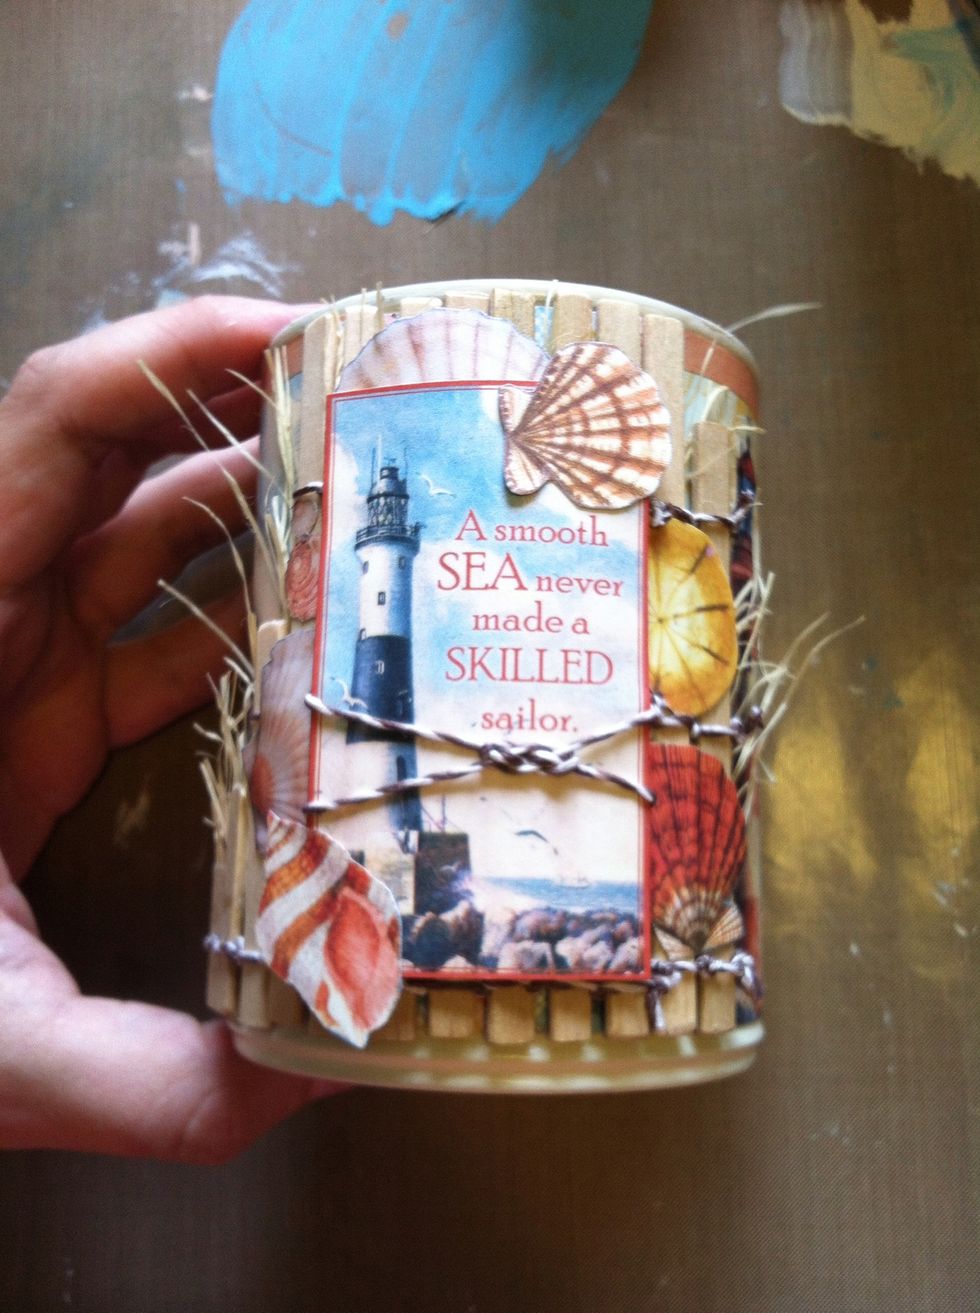
Finished! (1 of 4)
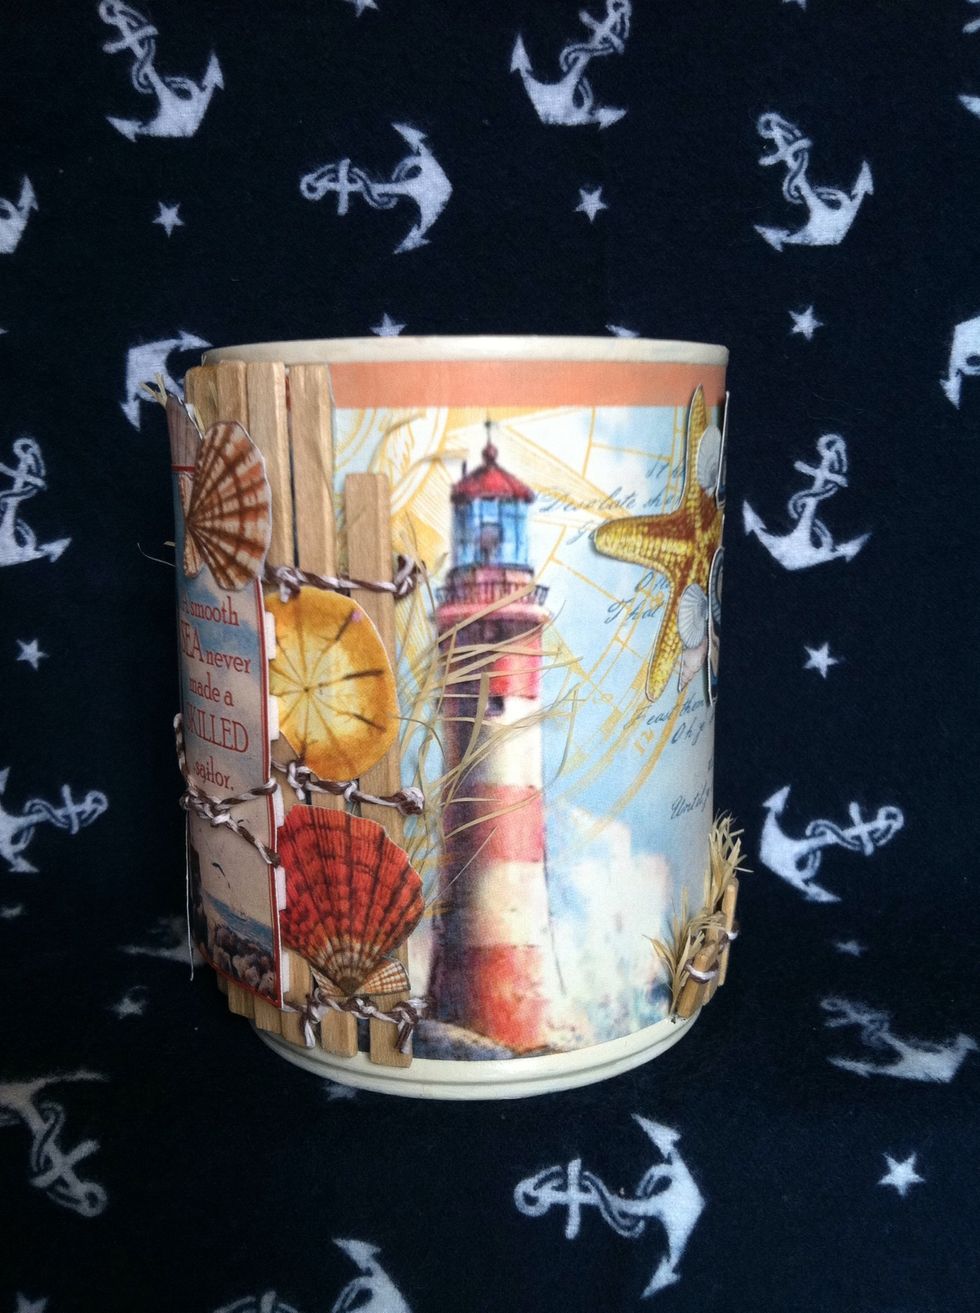
Finished! (2 of 4)

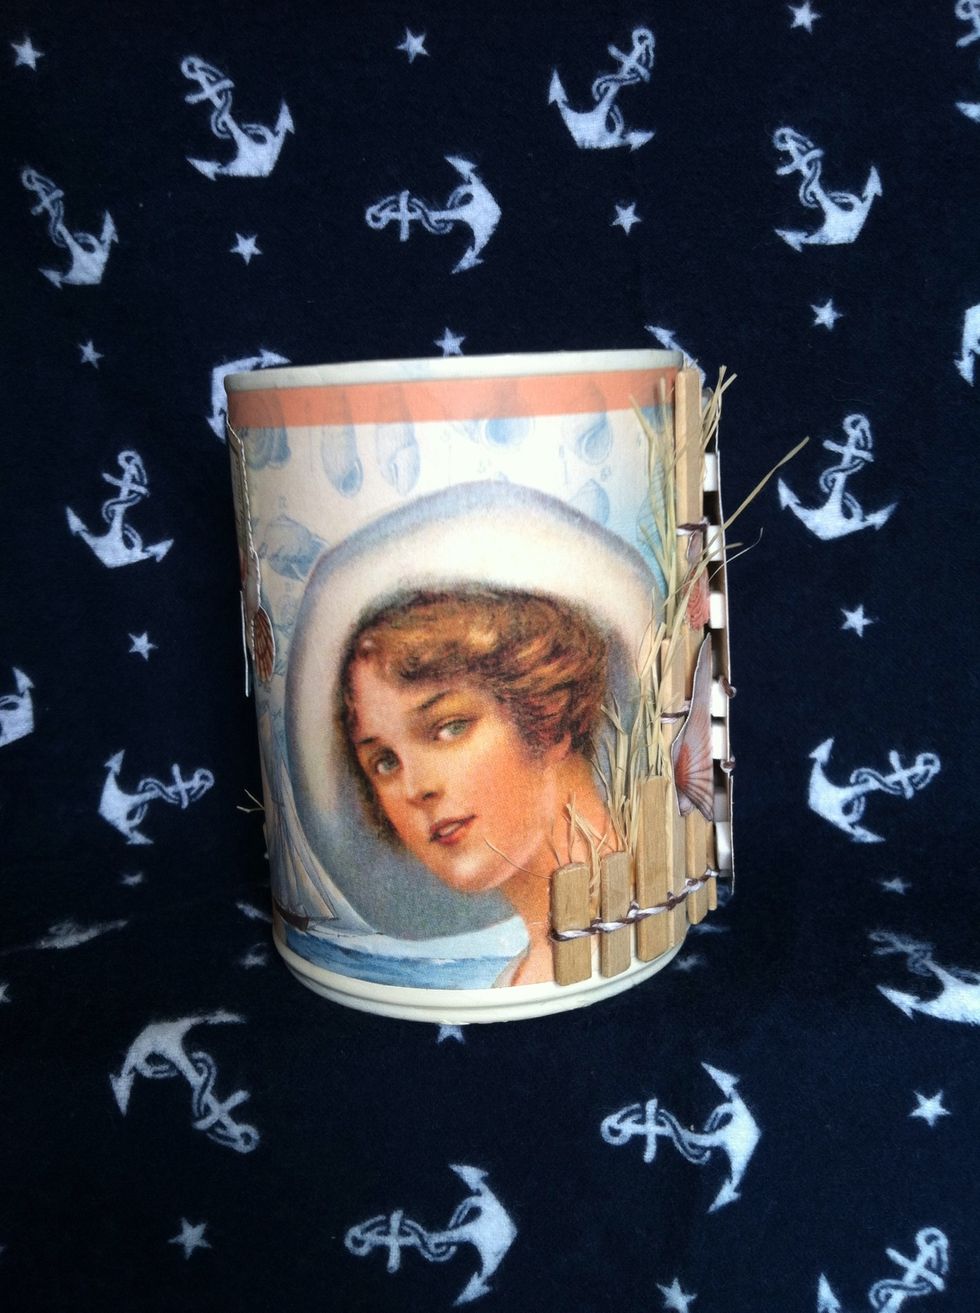
Finished! (3 of 4)
Finished! (4 of 4)