The Conversation (0)
Sign Up
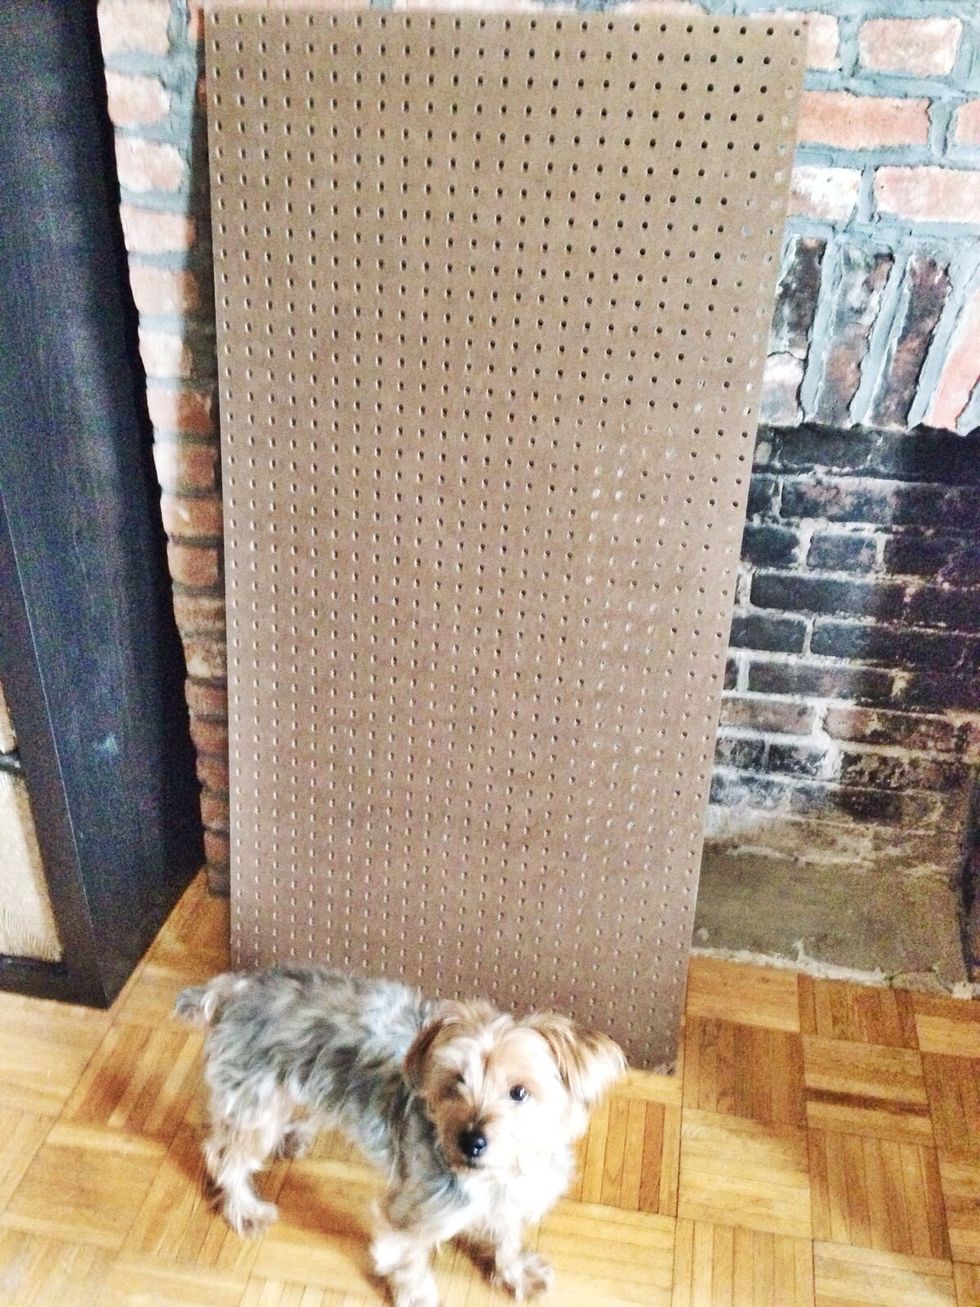
I'm starting with an unpainted pegboard for a more natural feel. This project does require knowing how to cross stitch and back stitch. Neither are hard!! Want to learn? Request a guide! ☺️
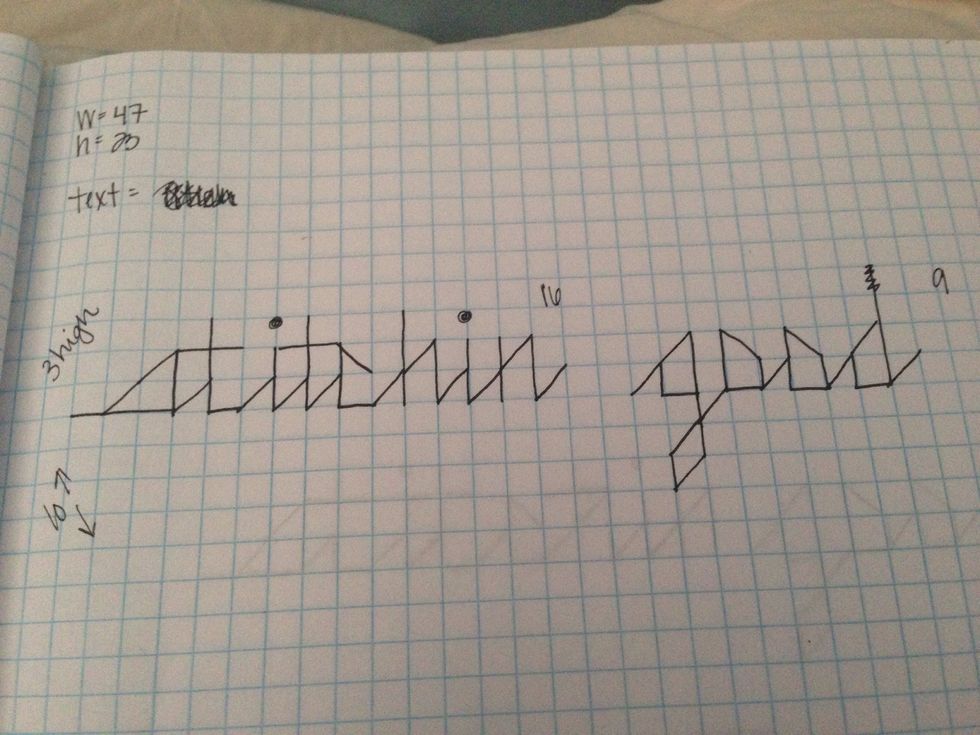
Draw your design out on graph paper. Center by counting the number of squares of the design and the size of the pegboard.
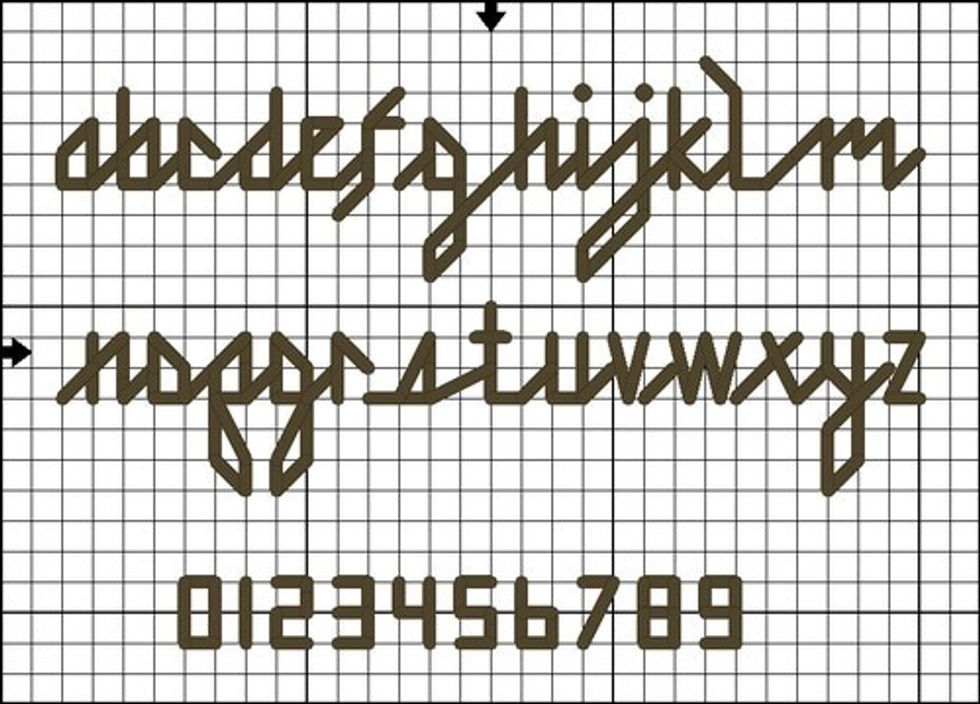
I used this free back stitch cursive alphabet.
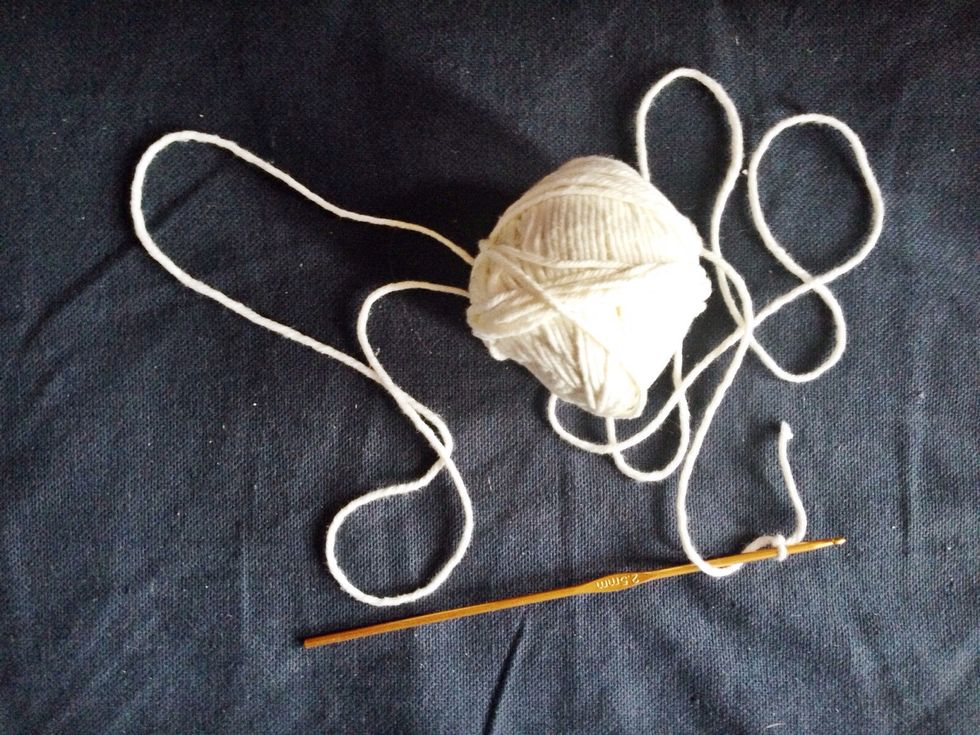
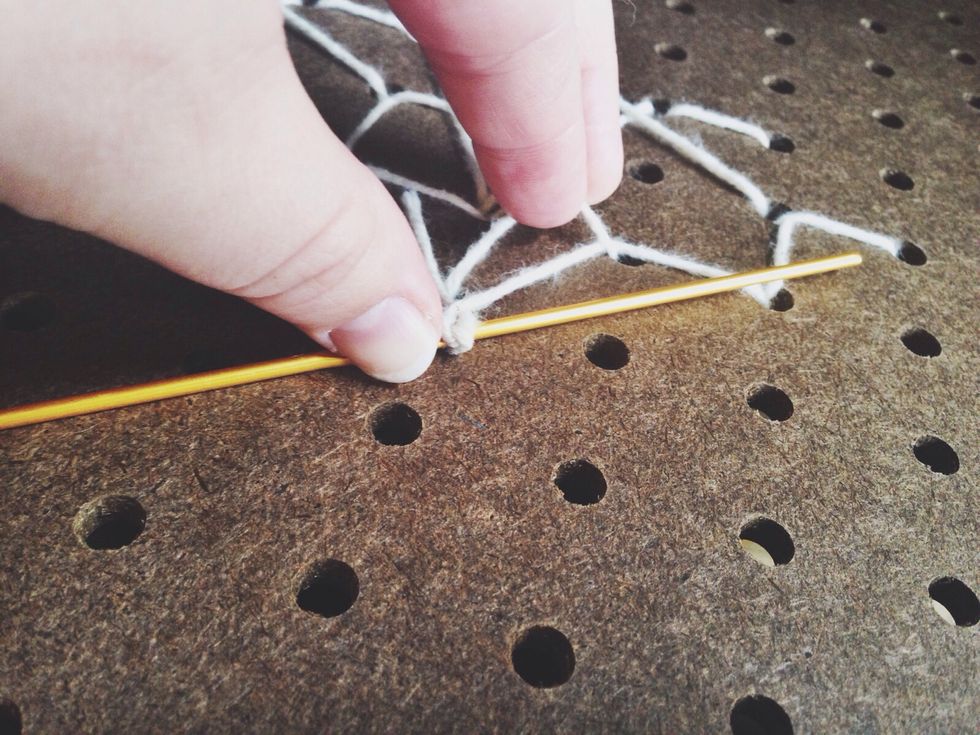
I'm using a small crochet hook as a needle. I tied a knot around the shaft near the hook to begin.
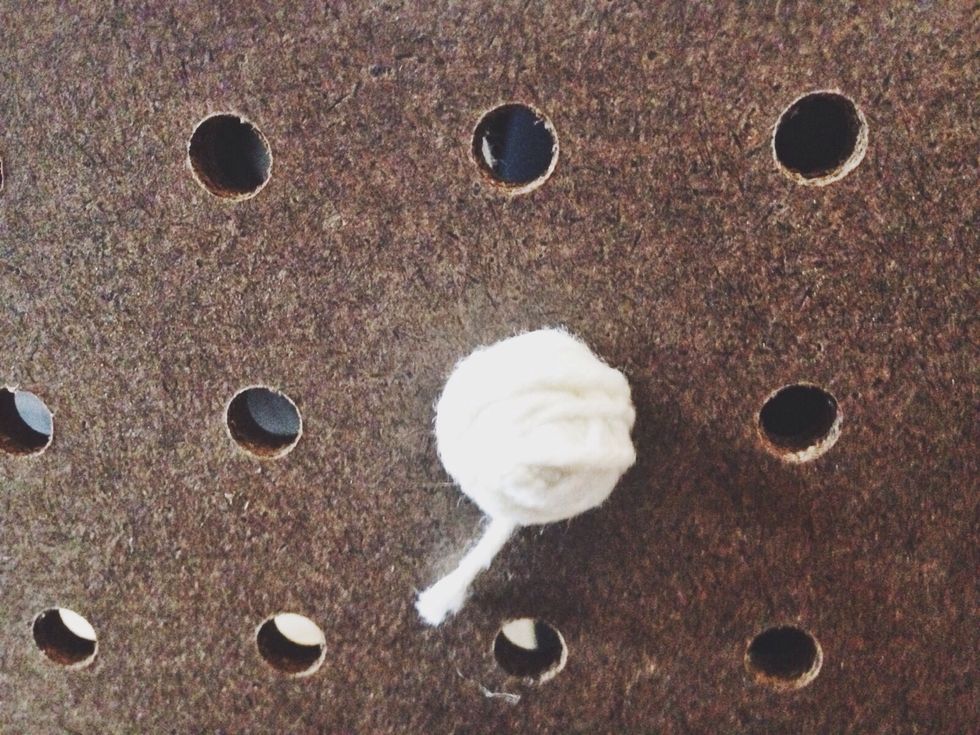
Create a large knot on a long piece of yarn and pull through.
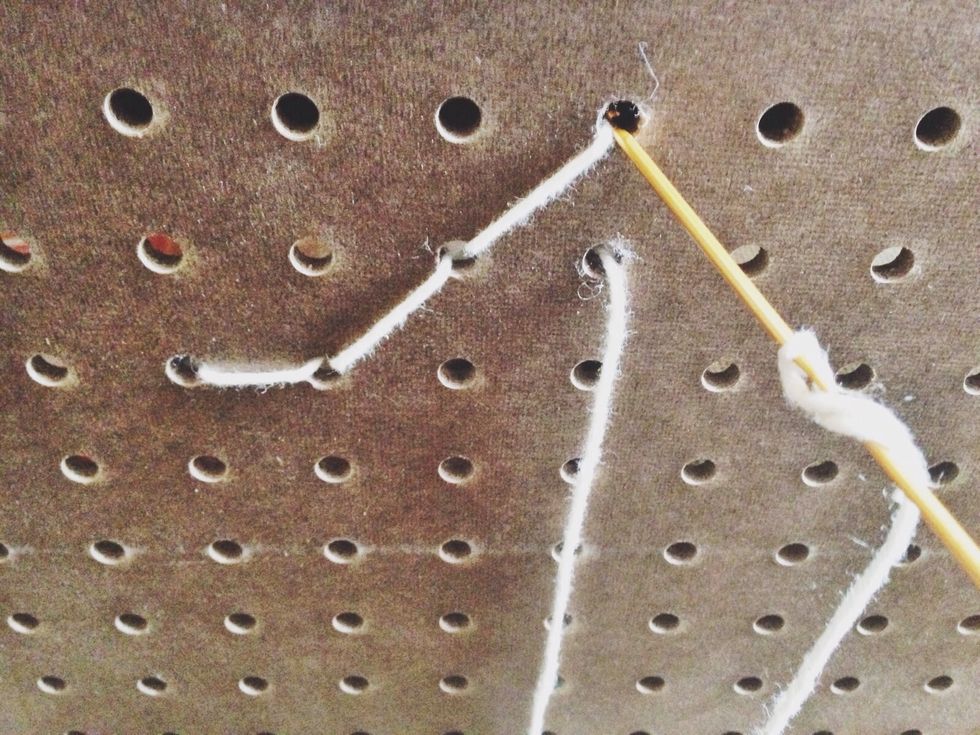
Begin to back stitch just like you would with Aida and a needle.
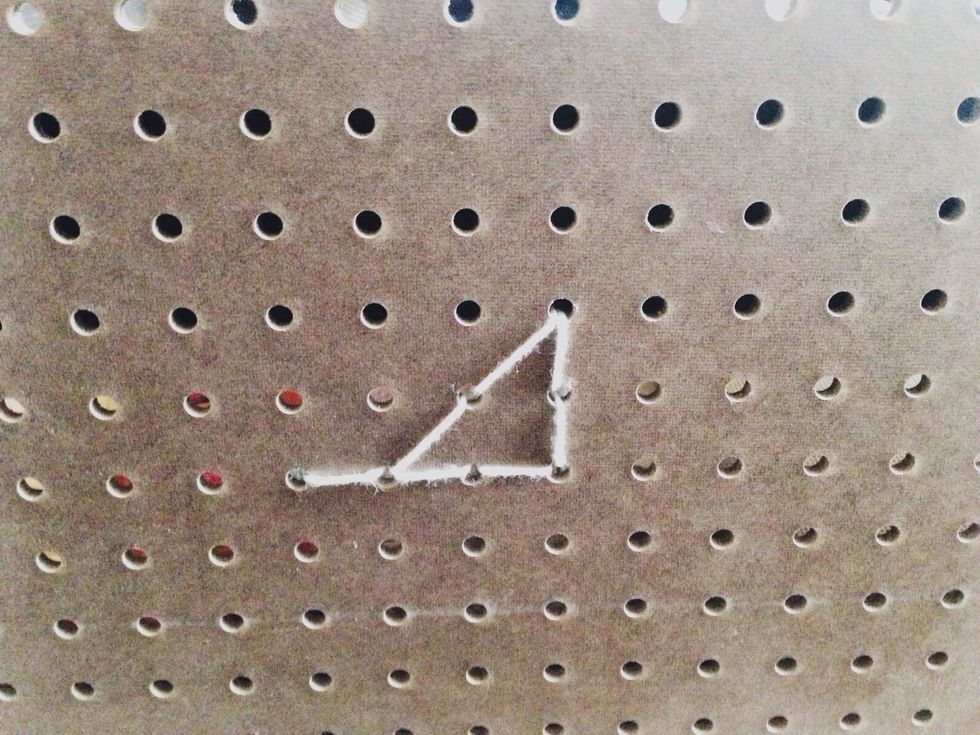
See?? There's the "s"!!
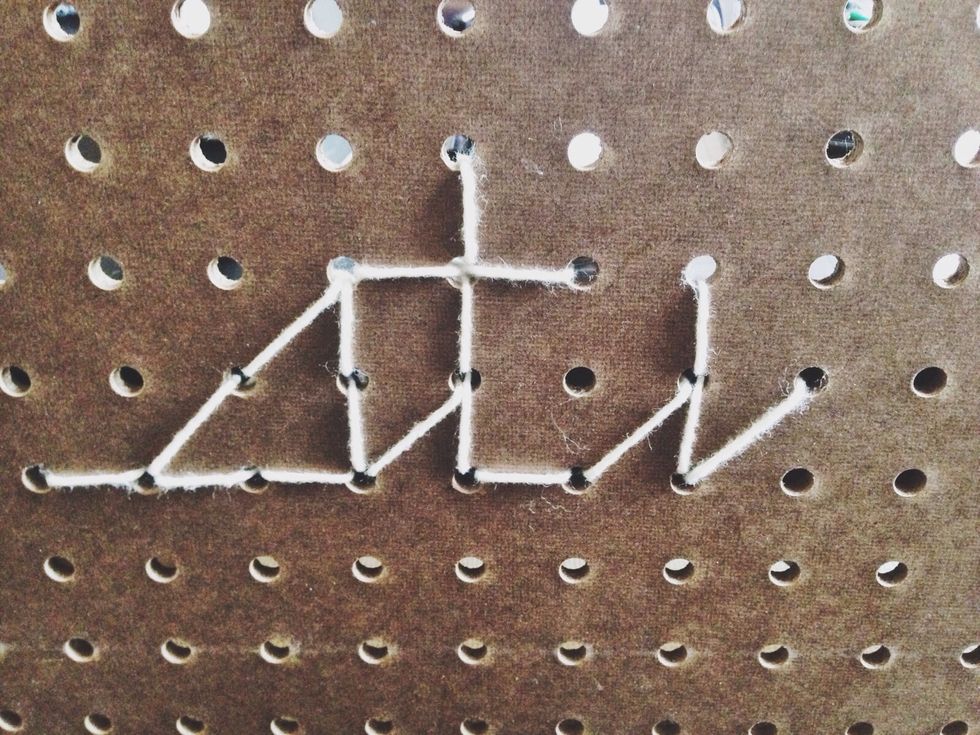
Continue your stitching.

This is what the back should look like. If/when you run out of yarn simply thread the hook/needle through a section on the back to secure the yarn. Pull off of hook/needle and repeat the beginning.
Like so.
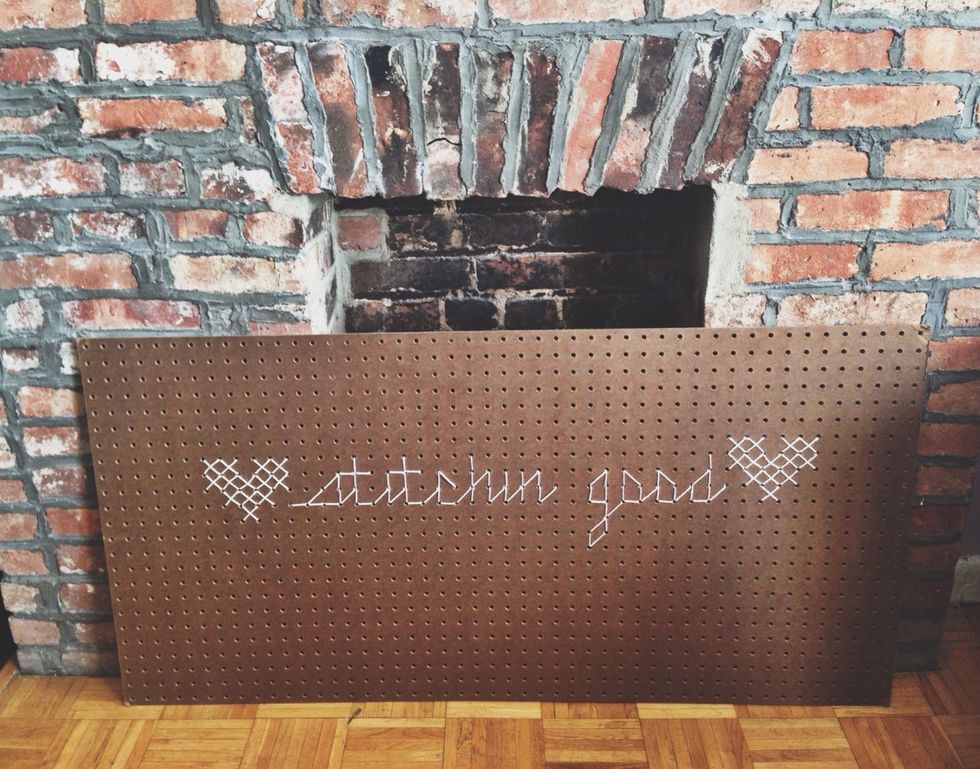
Keep going till you complete your design!! I created this if I ever need signage at a flea market for my etsy shop "stitchin good". Thanks for viewing!