The Conversation (0)
Sign Up
Collect maps showing Australian climate zones, vegetation and topography that are the exact same scale.
Use the map of Australia's topography as a base map.
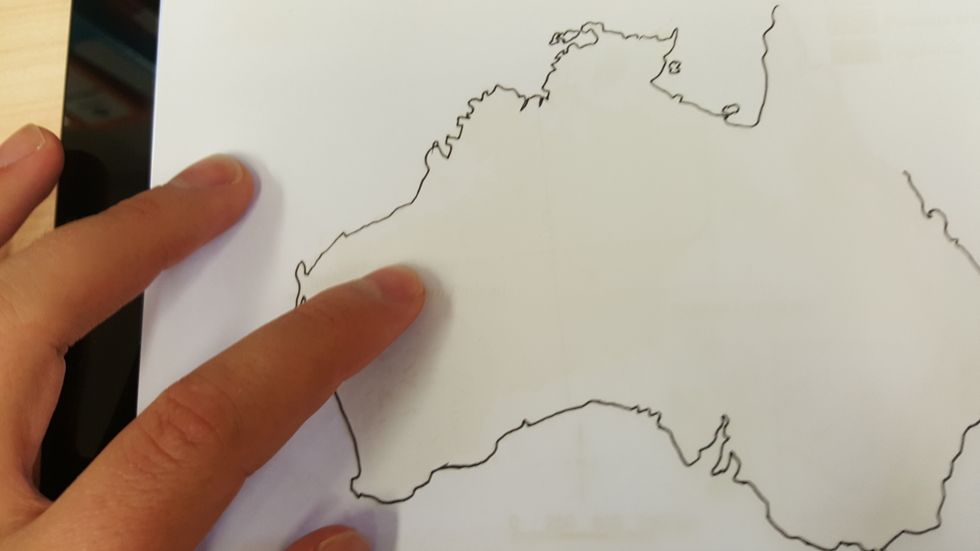
Using a pencil and tracing paper - trace the outline of one of the other maps. Use a window or the screen of a tablet for backlighting to make this easier.
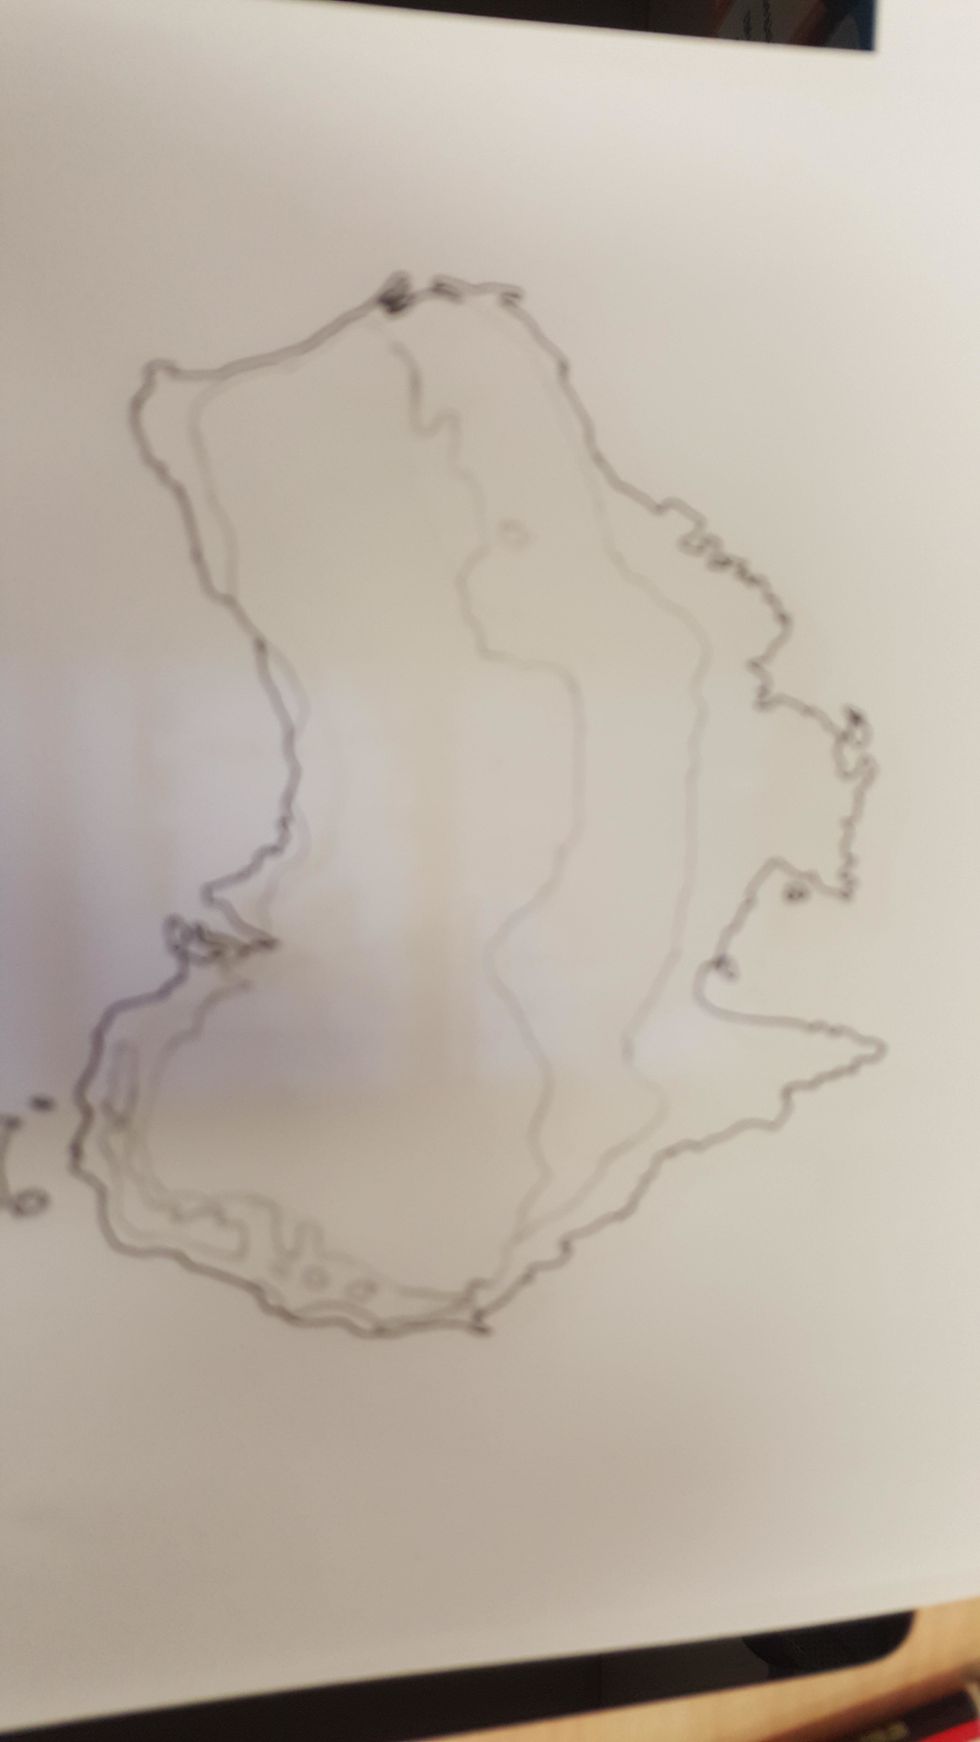
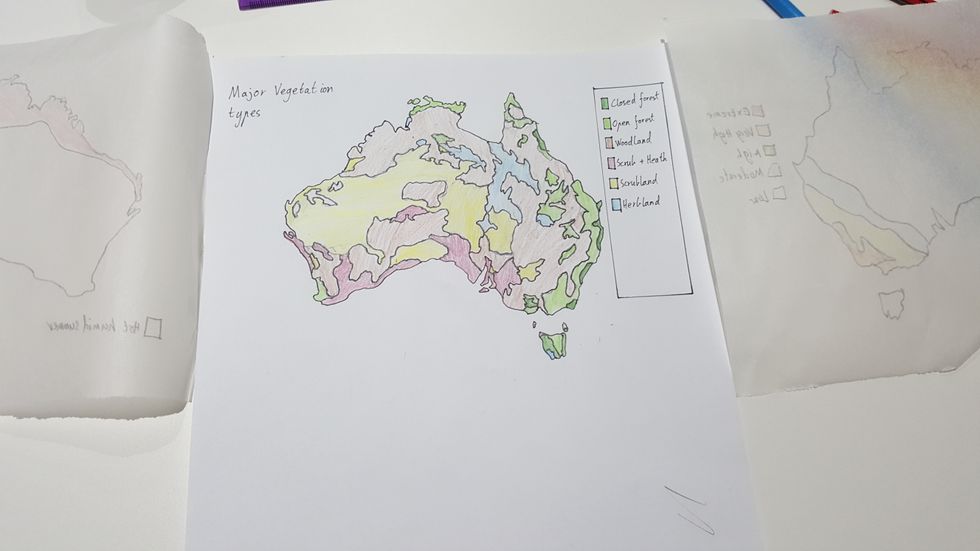
Once you have completed tracing the map and are satisfied that it is accurate use a fine-liner to go over your outline of Australia.
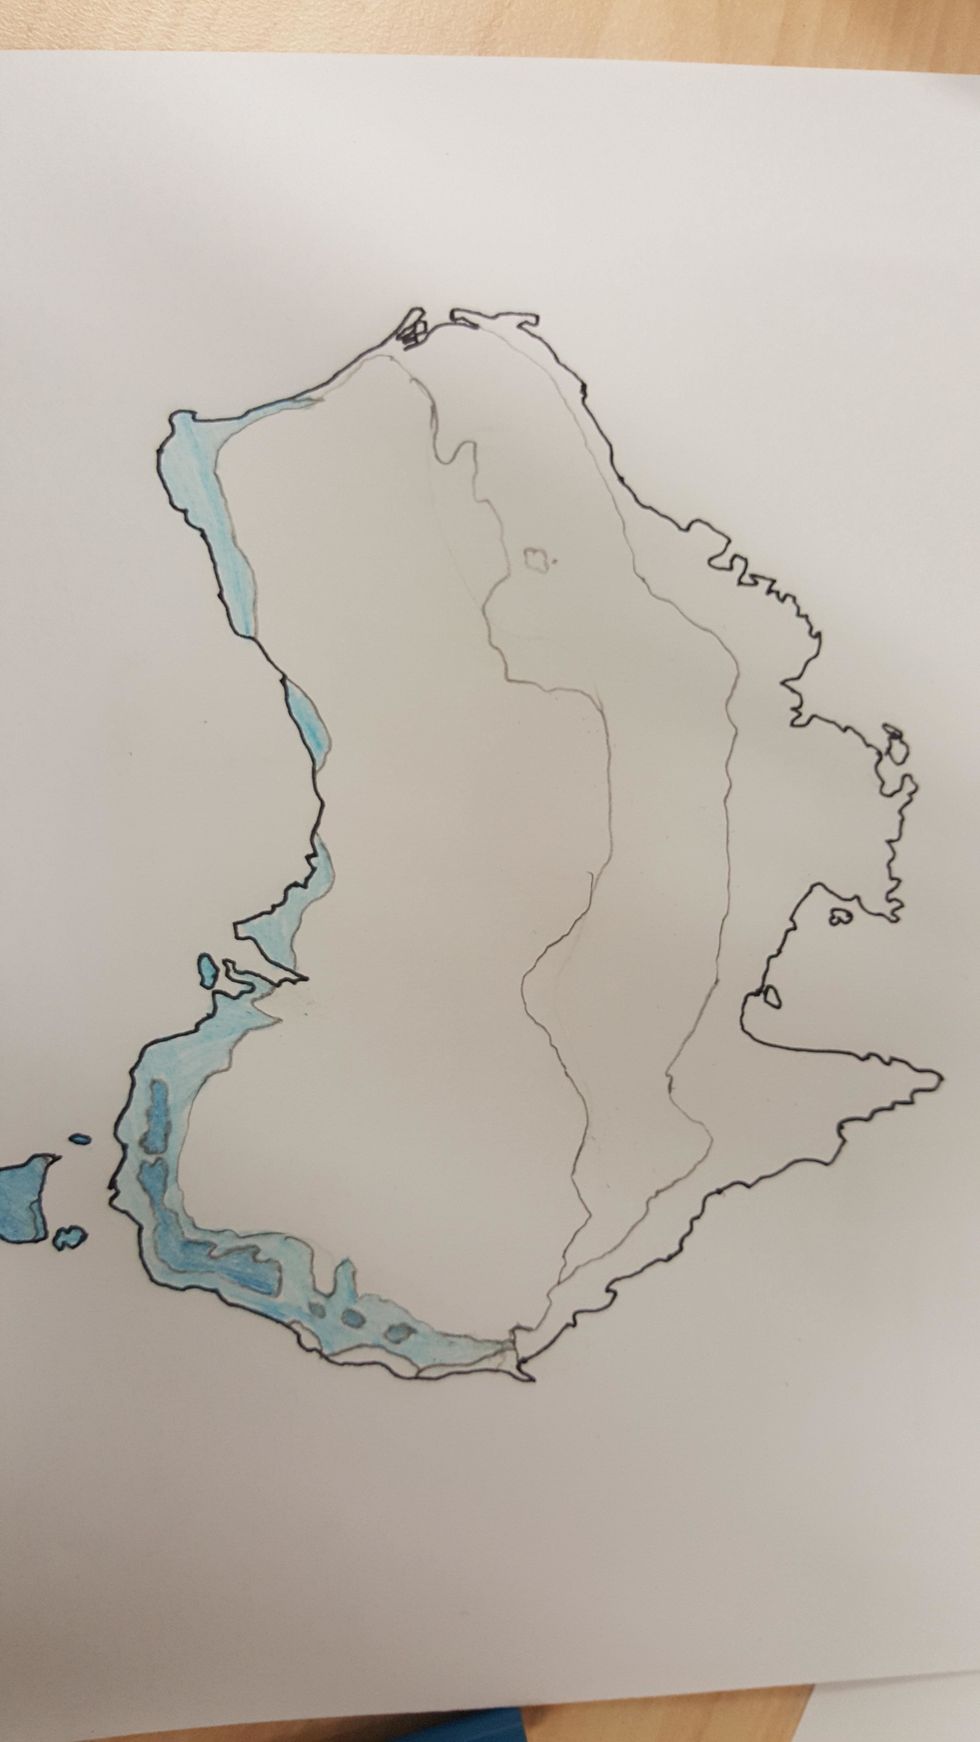
Colour in your map to represent the different areas to match the original. MAKE SURE YOU SHADE AREAS IN LIGHTLY AS IT NEEDS TO BE SEE THROUGH.

Add a key that clearly shows which colours you have used and what they represent.
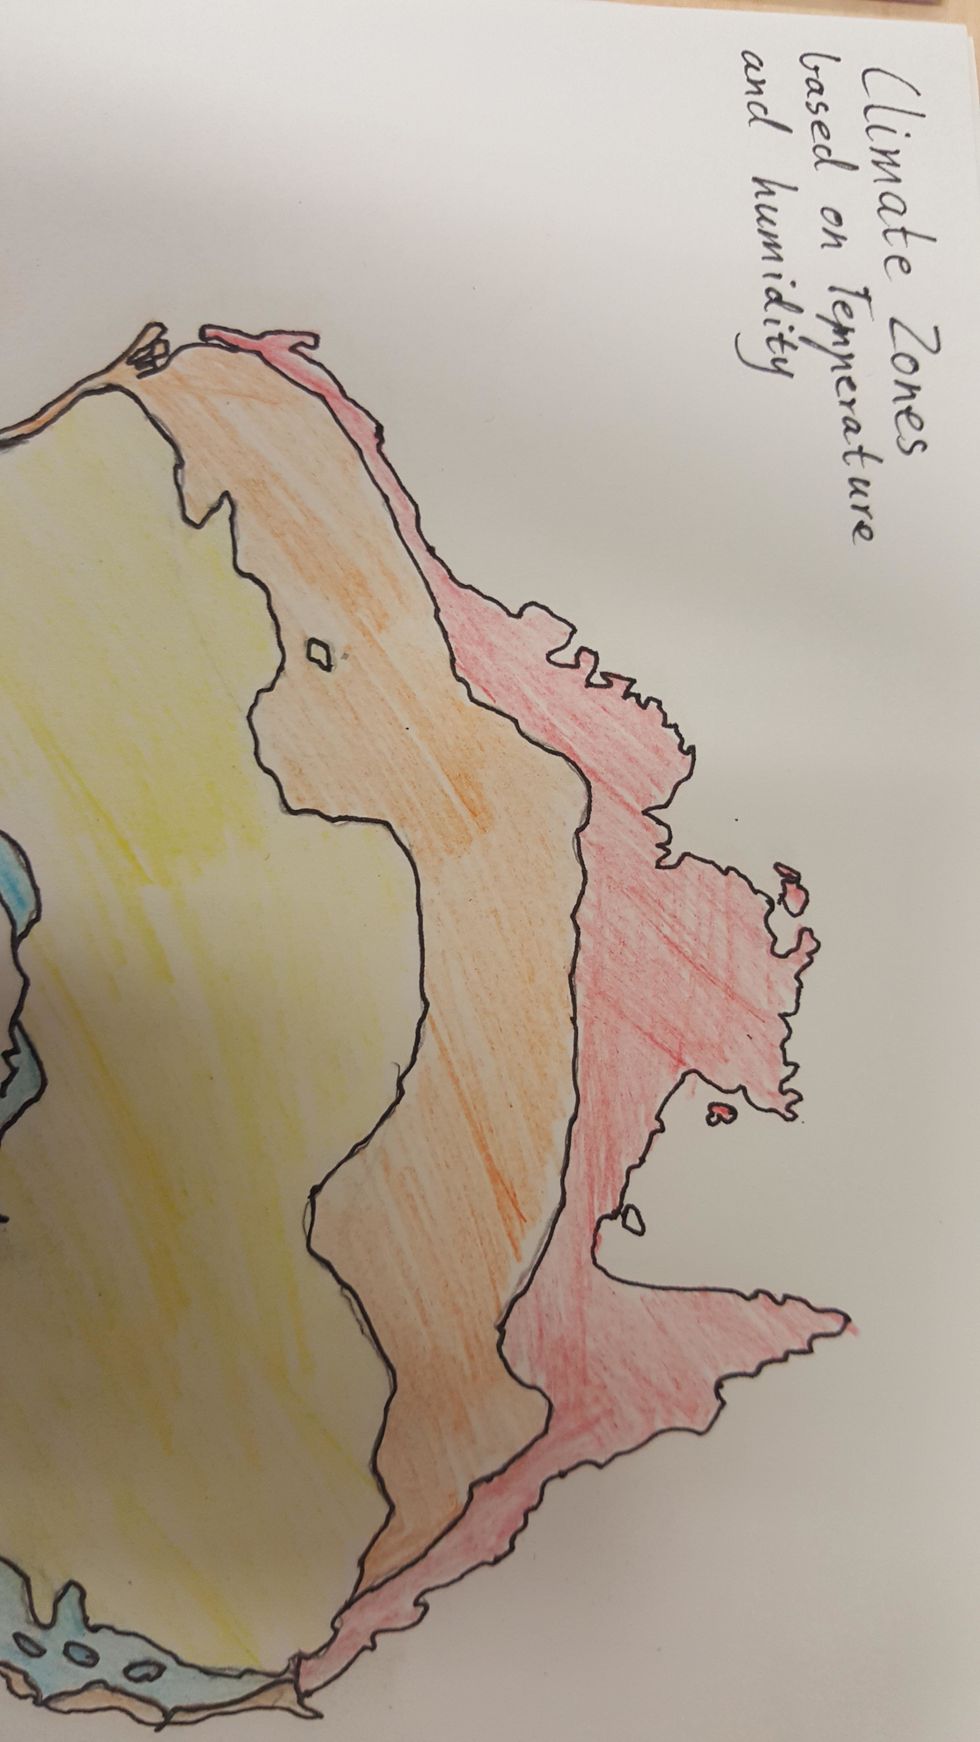
Complete your overlay by adding a title so that you know what it represents.
Complete steps 3 to 8 for the third map so that you have two overlays (maps on tracing paper) and a base map.

Match the outline of one of your overlays with the base map.

Use sticky-tap to attach the overlay to one-side of the base map.
Repeat step 10 and 11 with the second overlay and attach it to a different side of the base map. Your overlays should be able to open and close like a book to cover the base map.